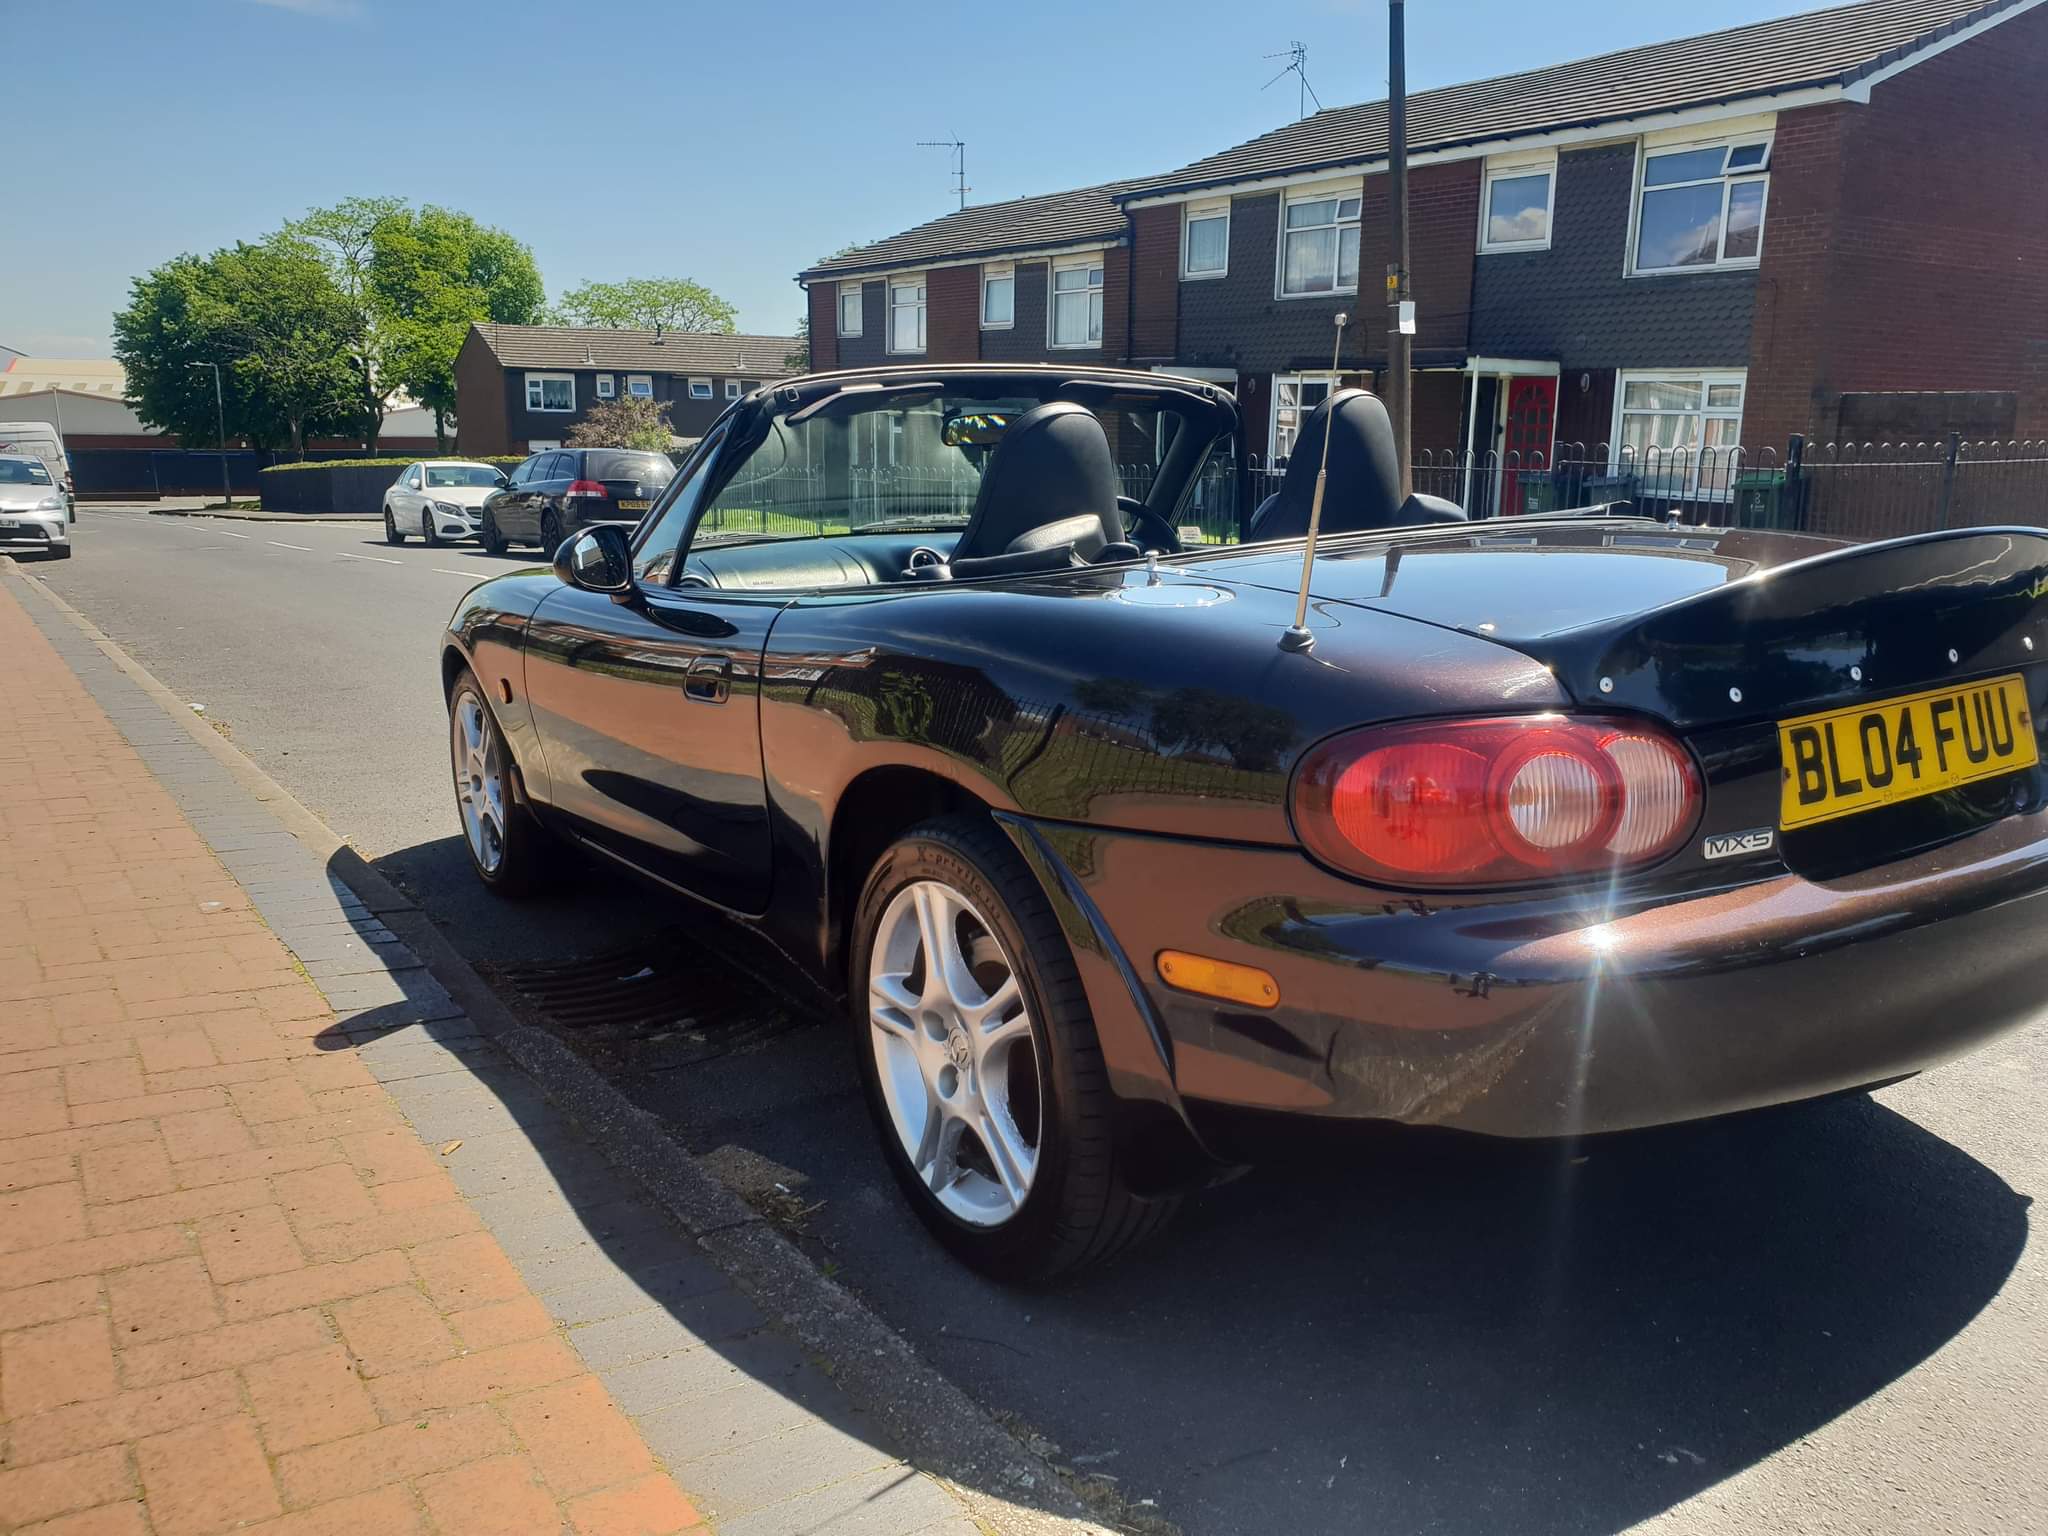
So, an itch developed in early 2021 after my wife told me i needed a new project to keep me busy - well, what could i say? It could only really be an MX5 (had been considering one for about 6 years already). So, here it is, a 2004 SVT in Radiant Ebony (the colour sold it for me).
6 Likes
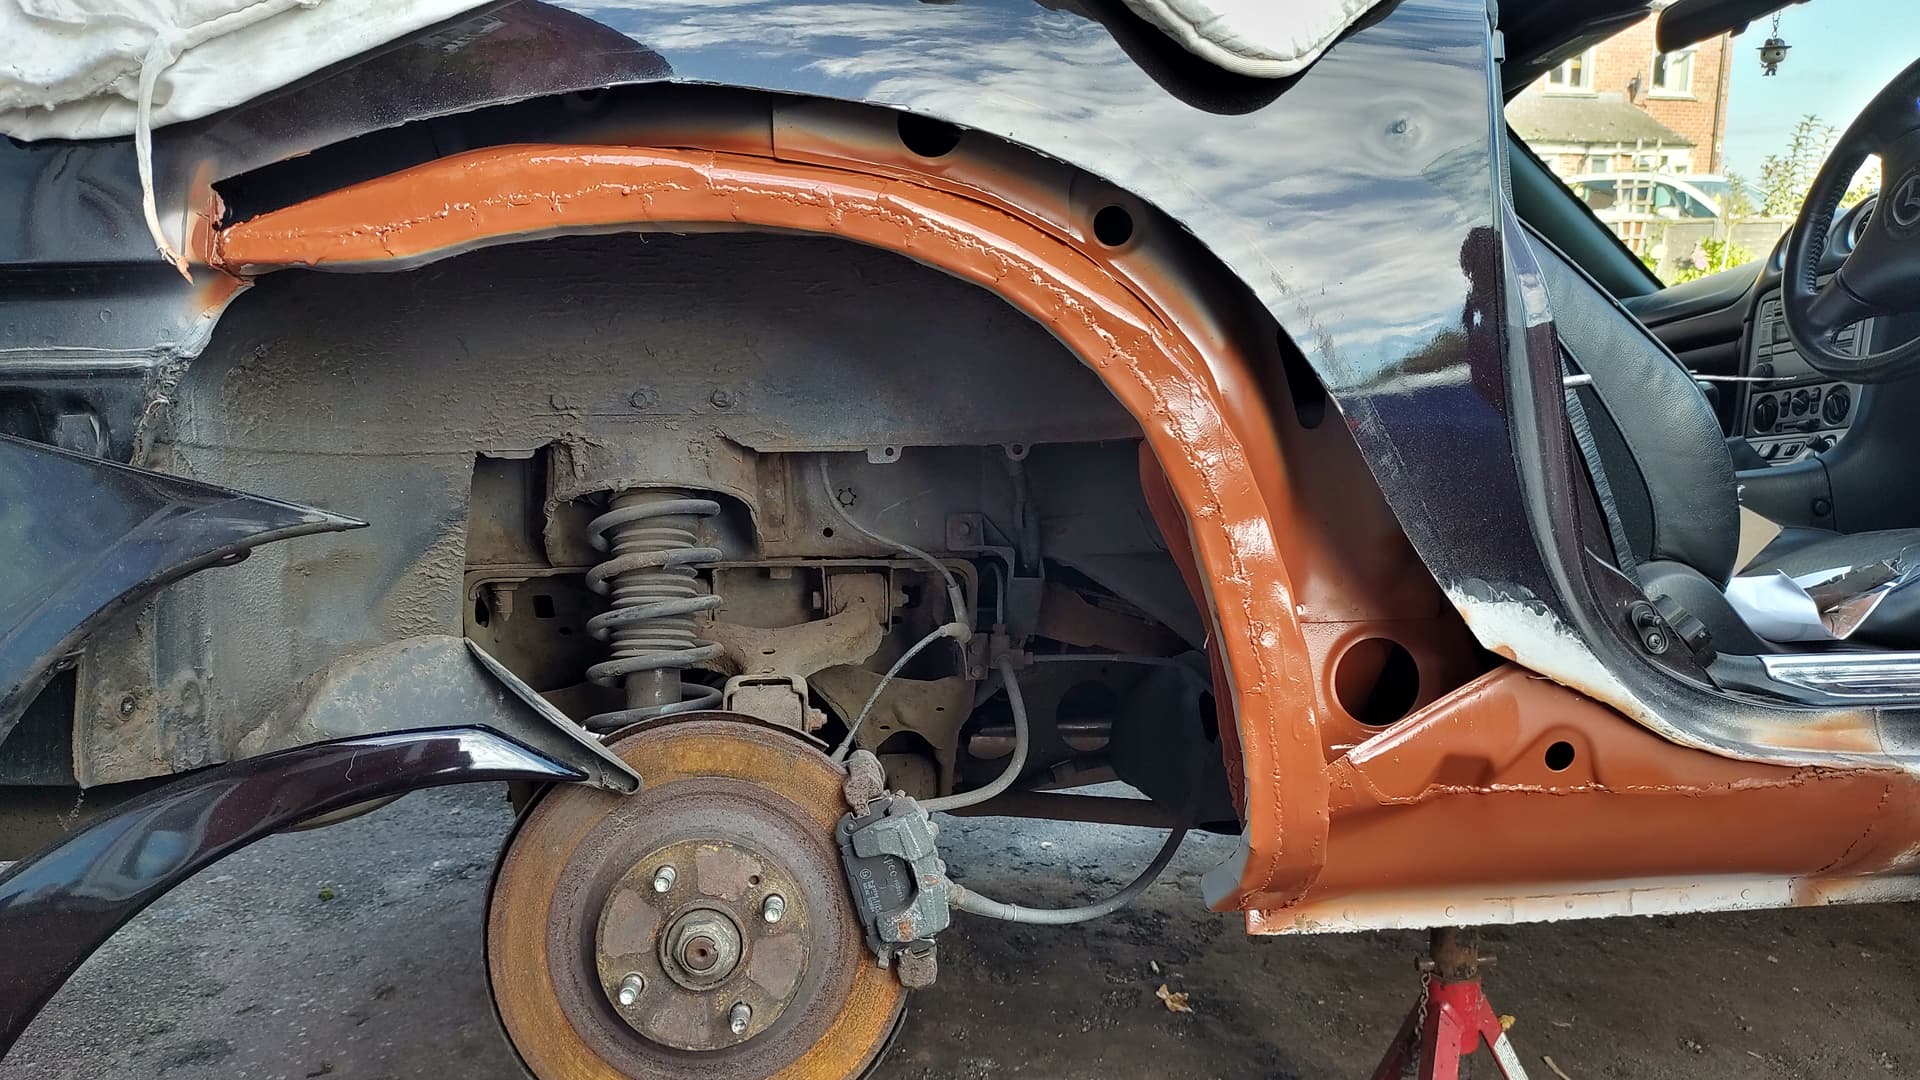
The first few months were mainly spent enjoying the experience of having a convertible as i had never had one before, then the poking and prodding began ![]()
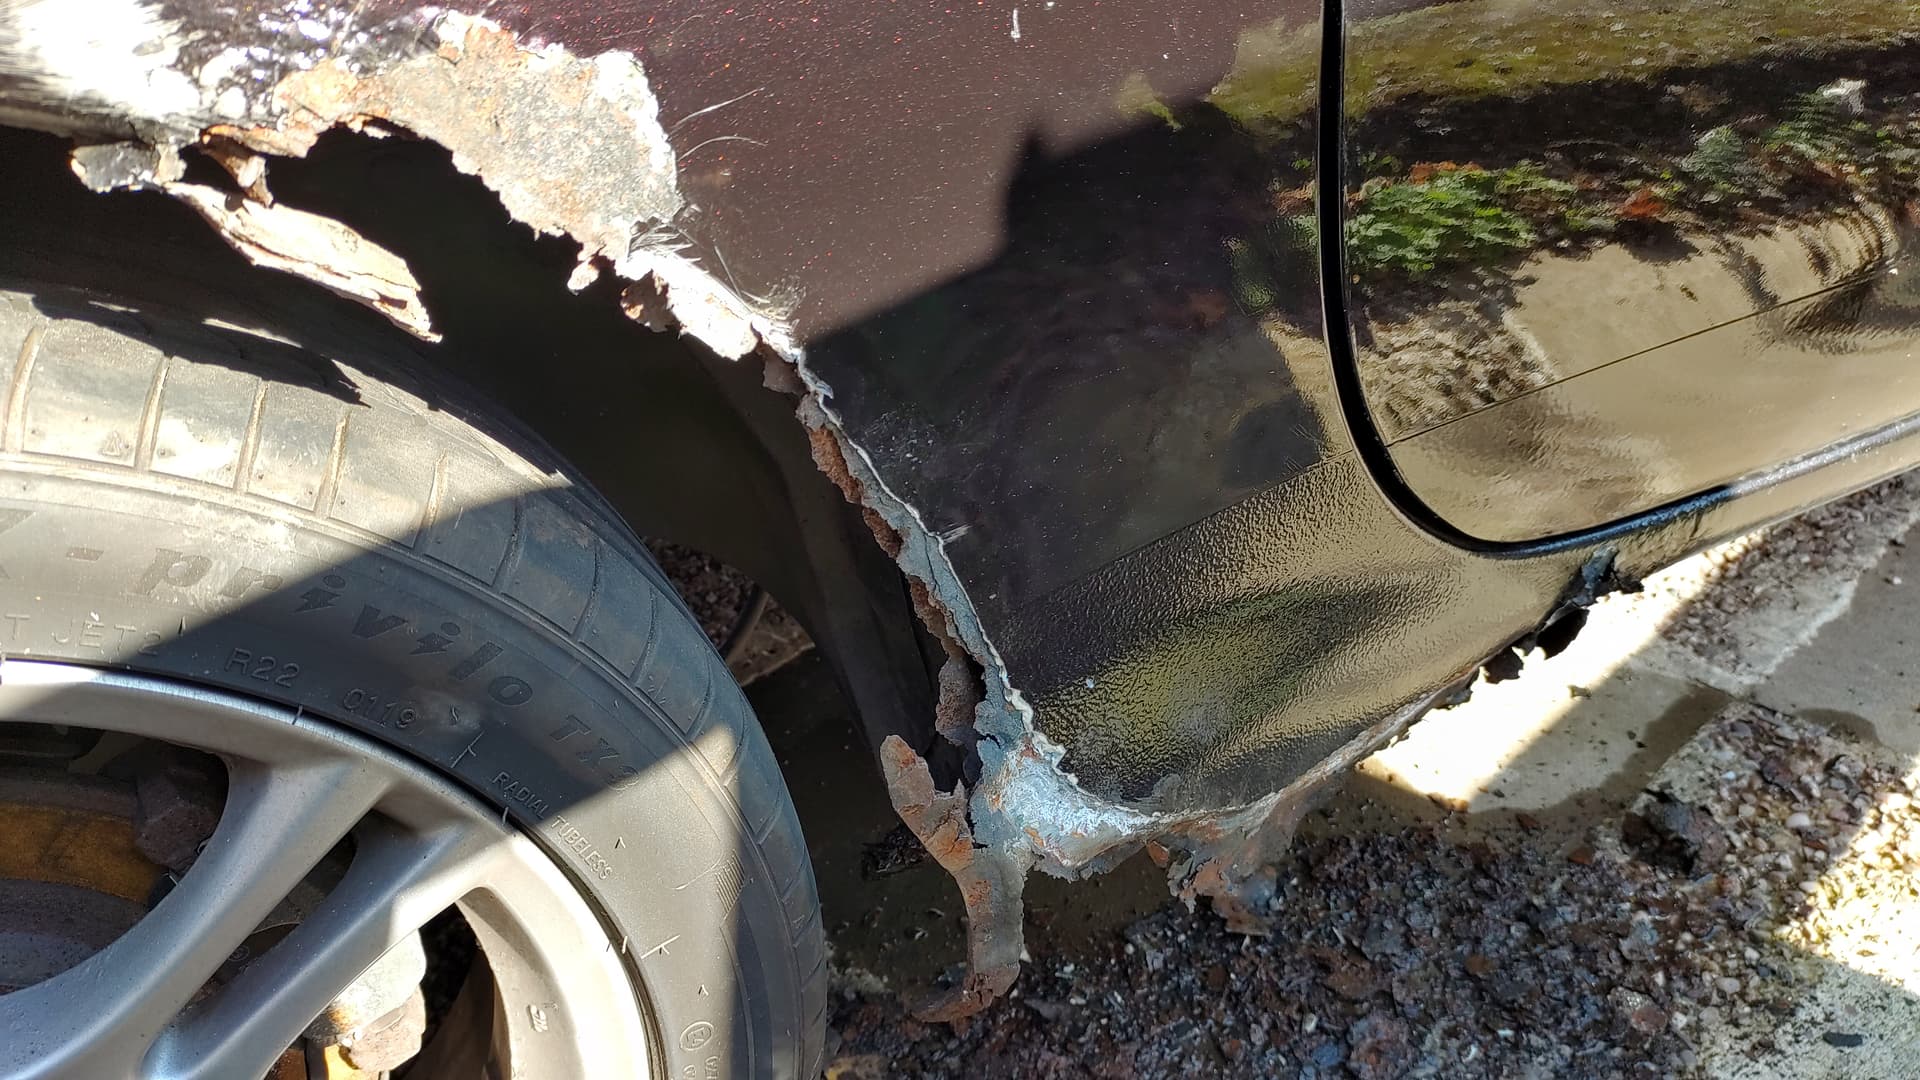
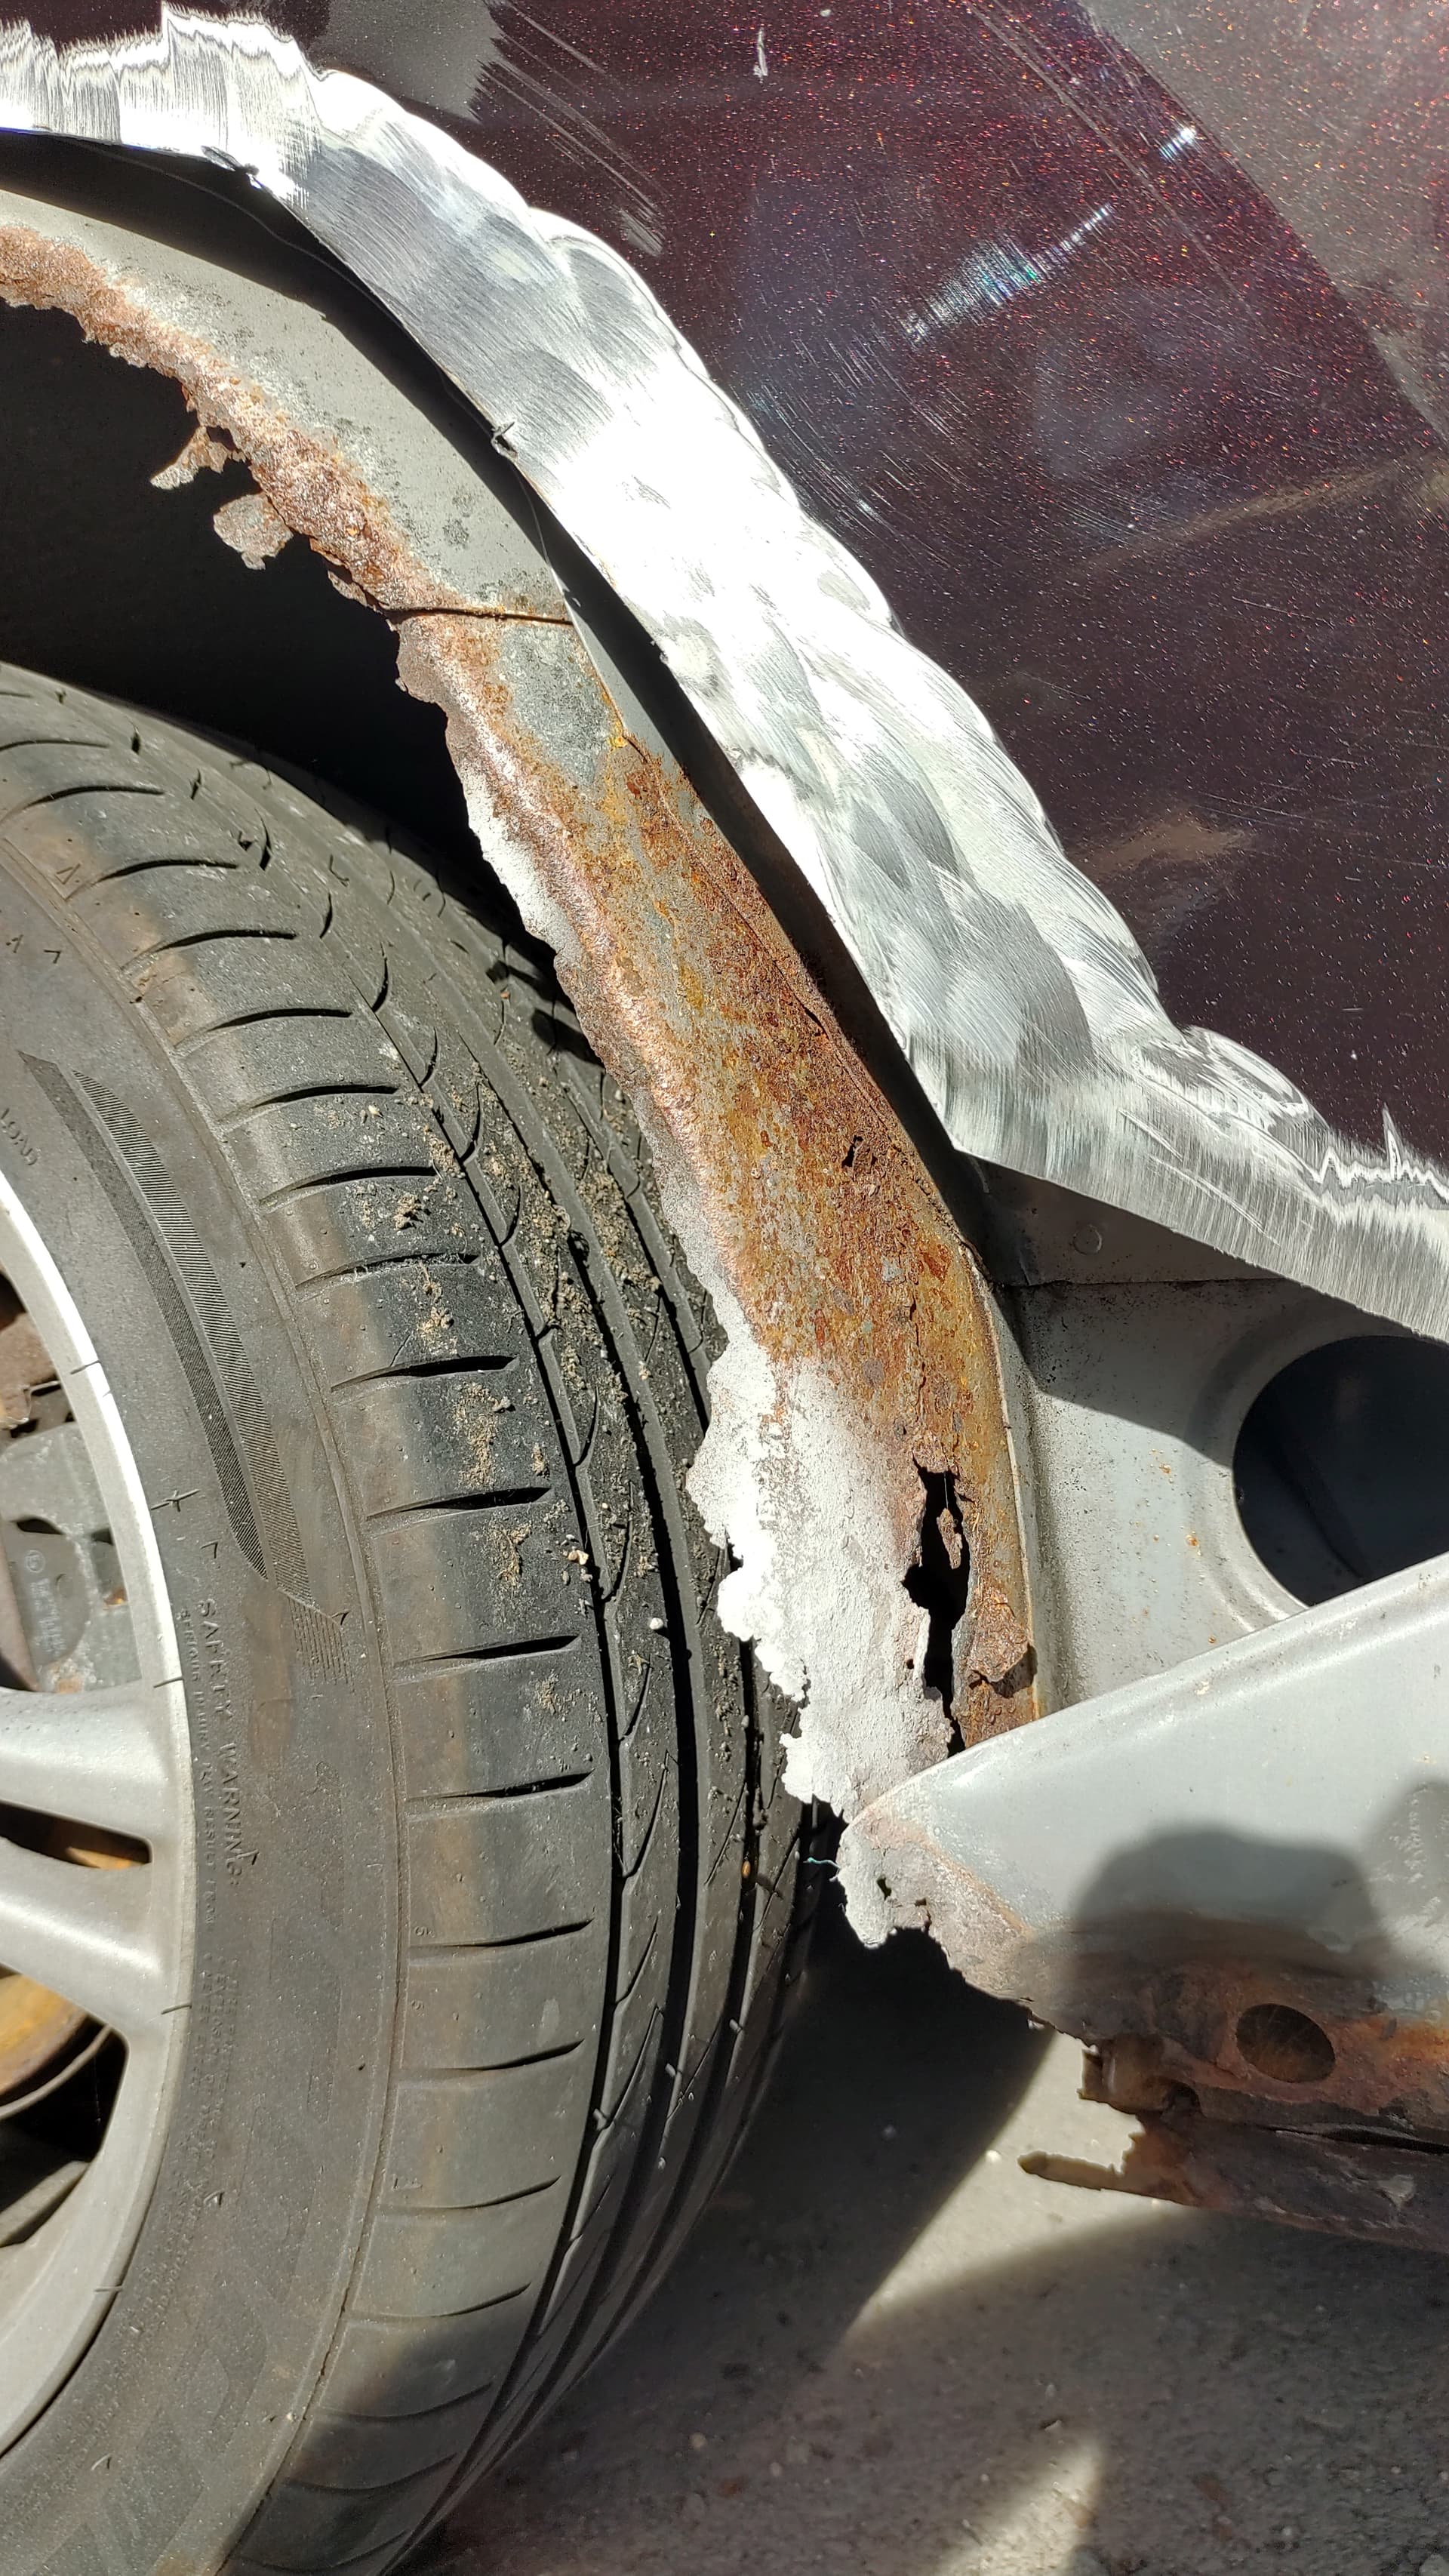
and what started as a small patch of suspected rust, turned into the usual nightmare of rusty bits that had been “well” hidden by previous repair work
3 Likes
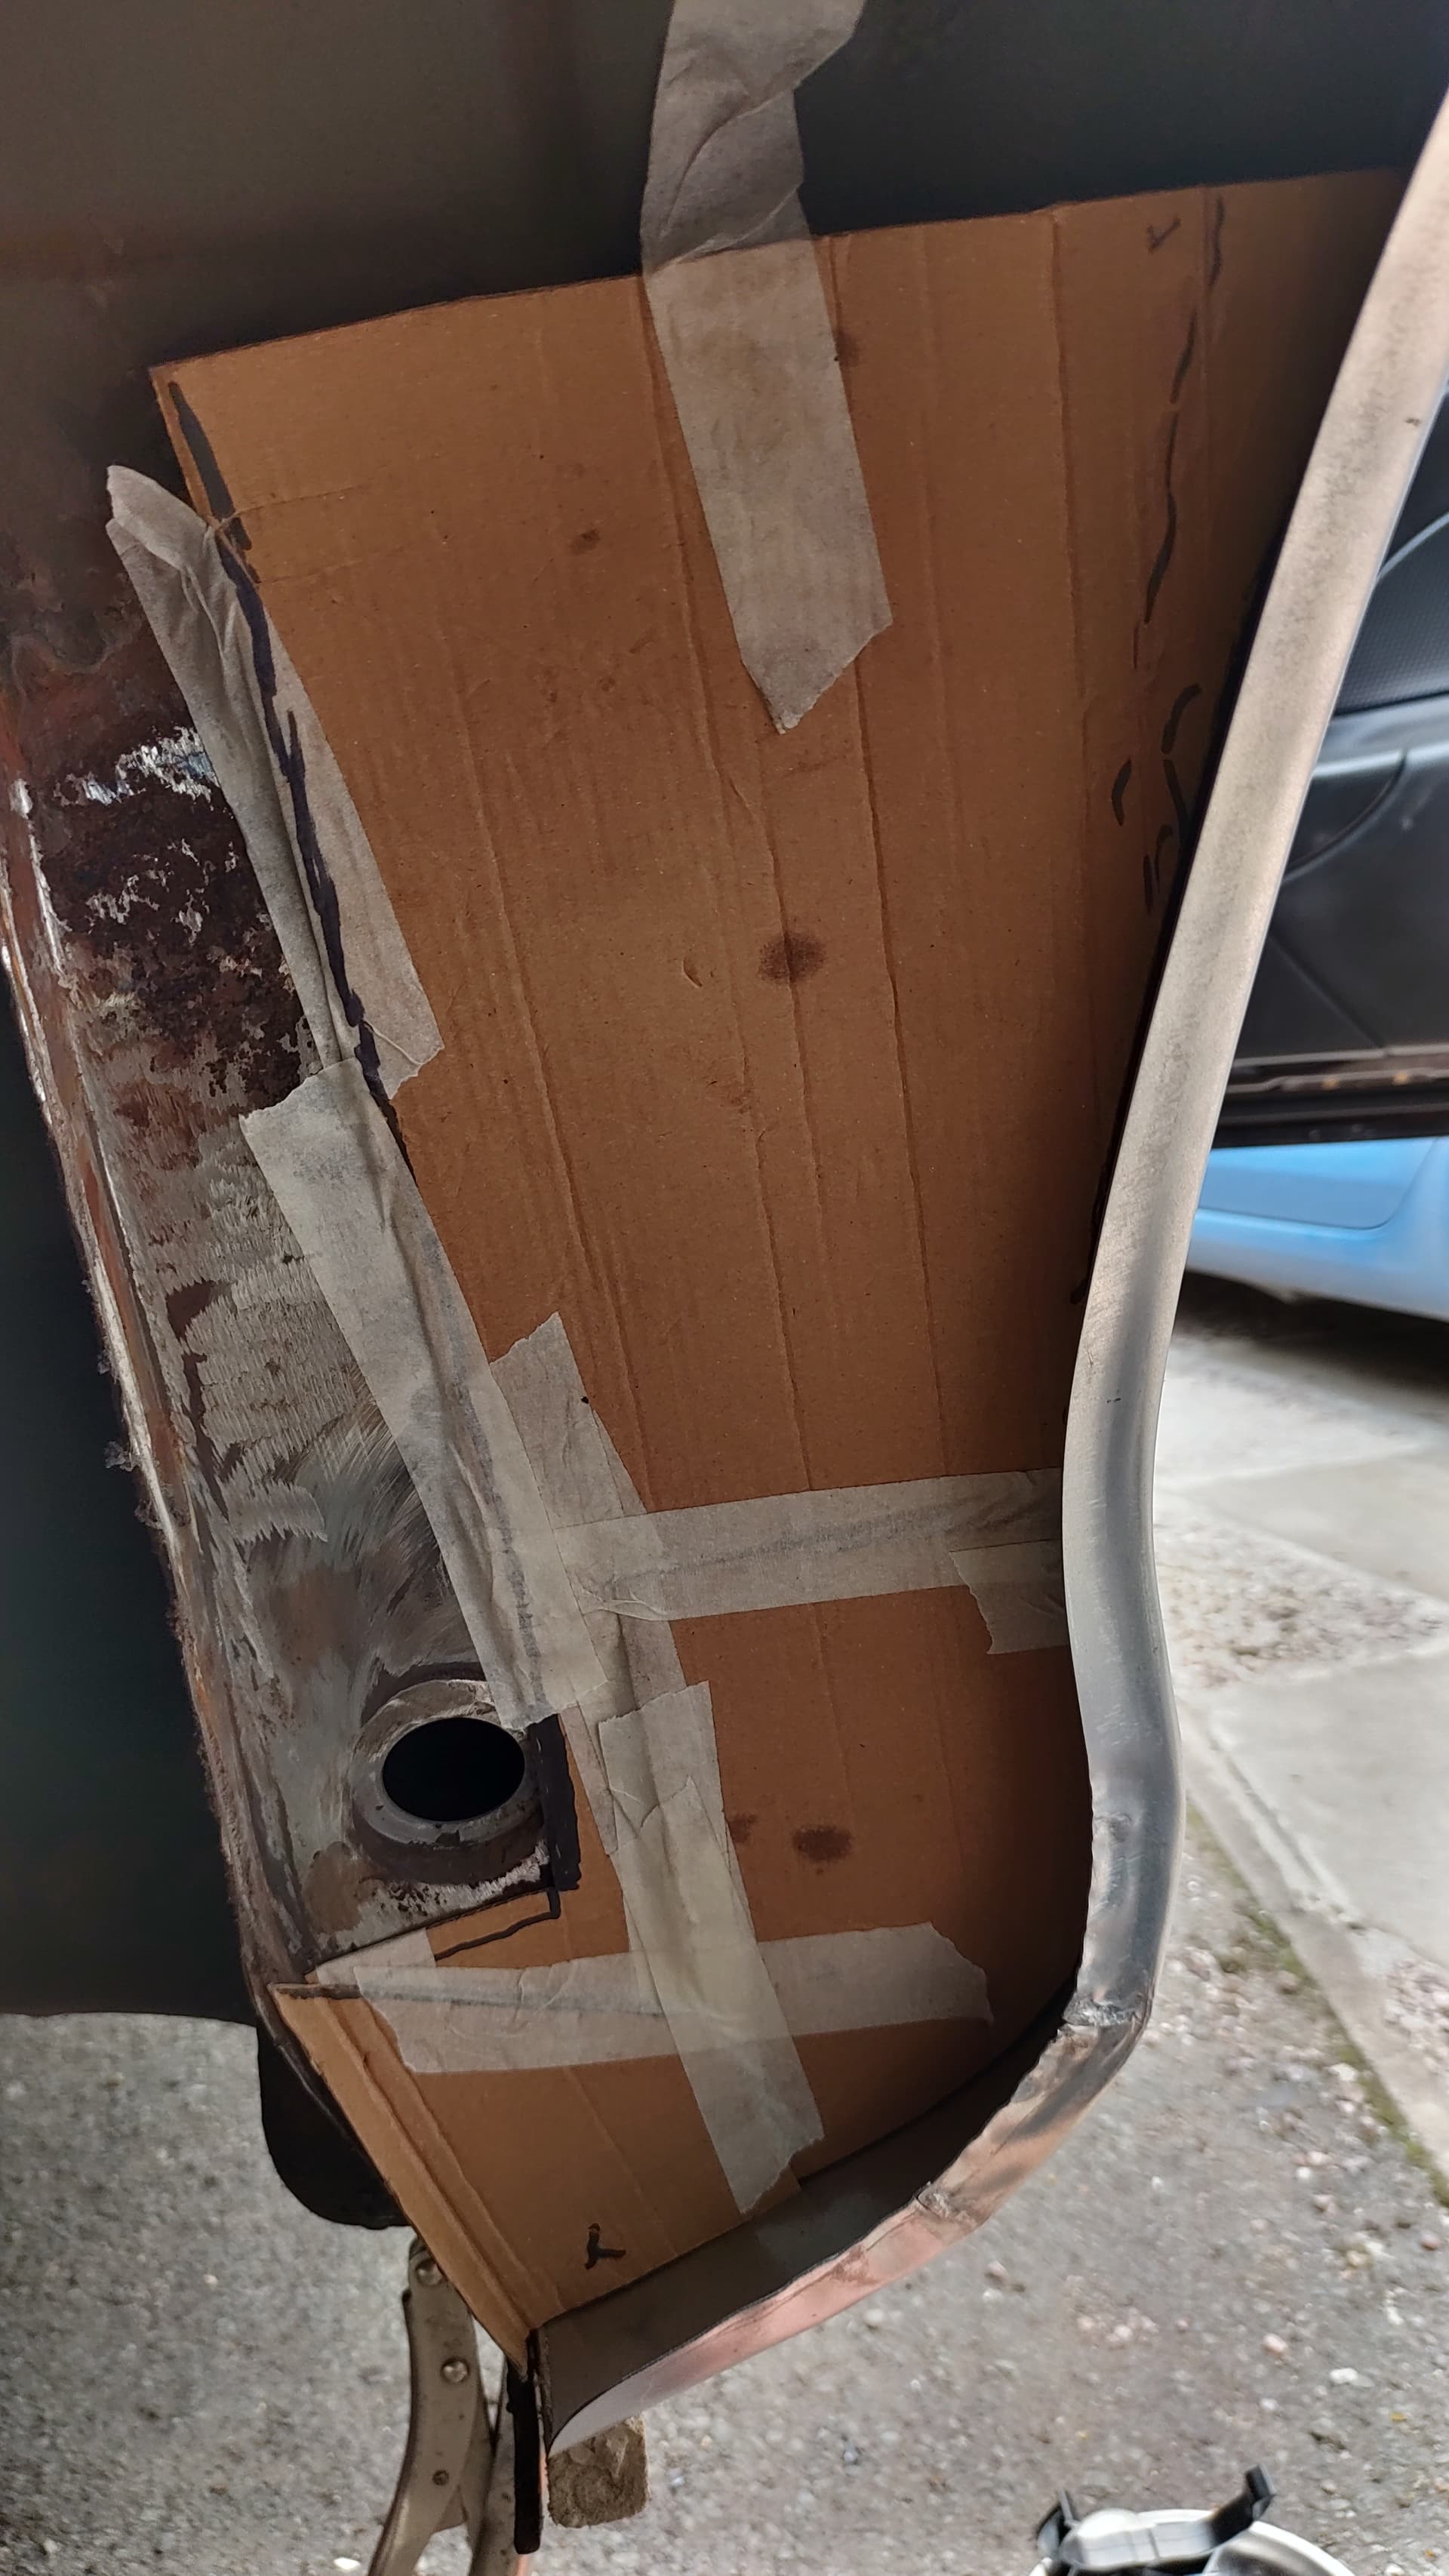
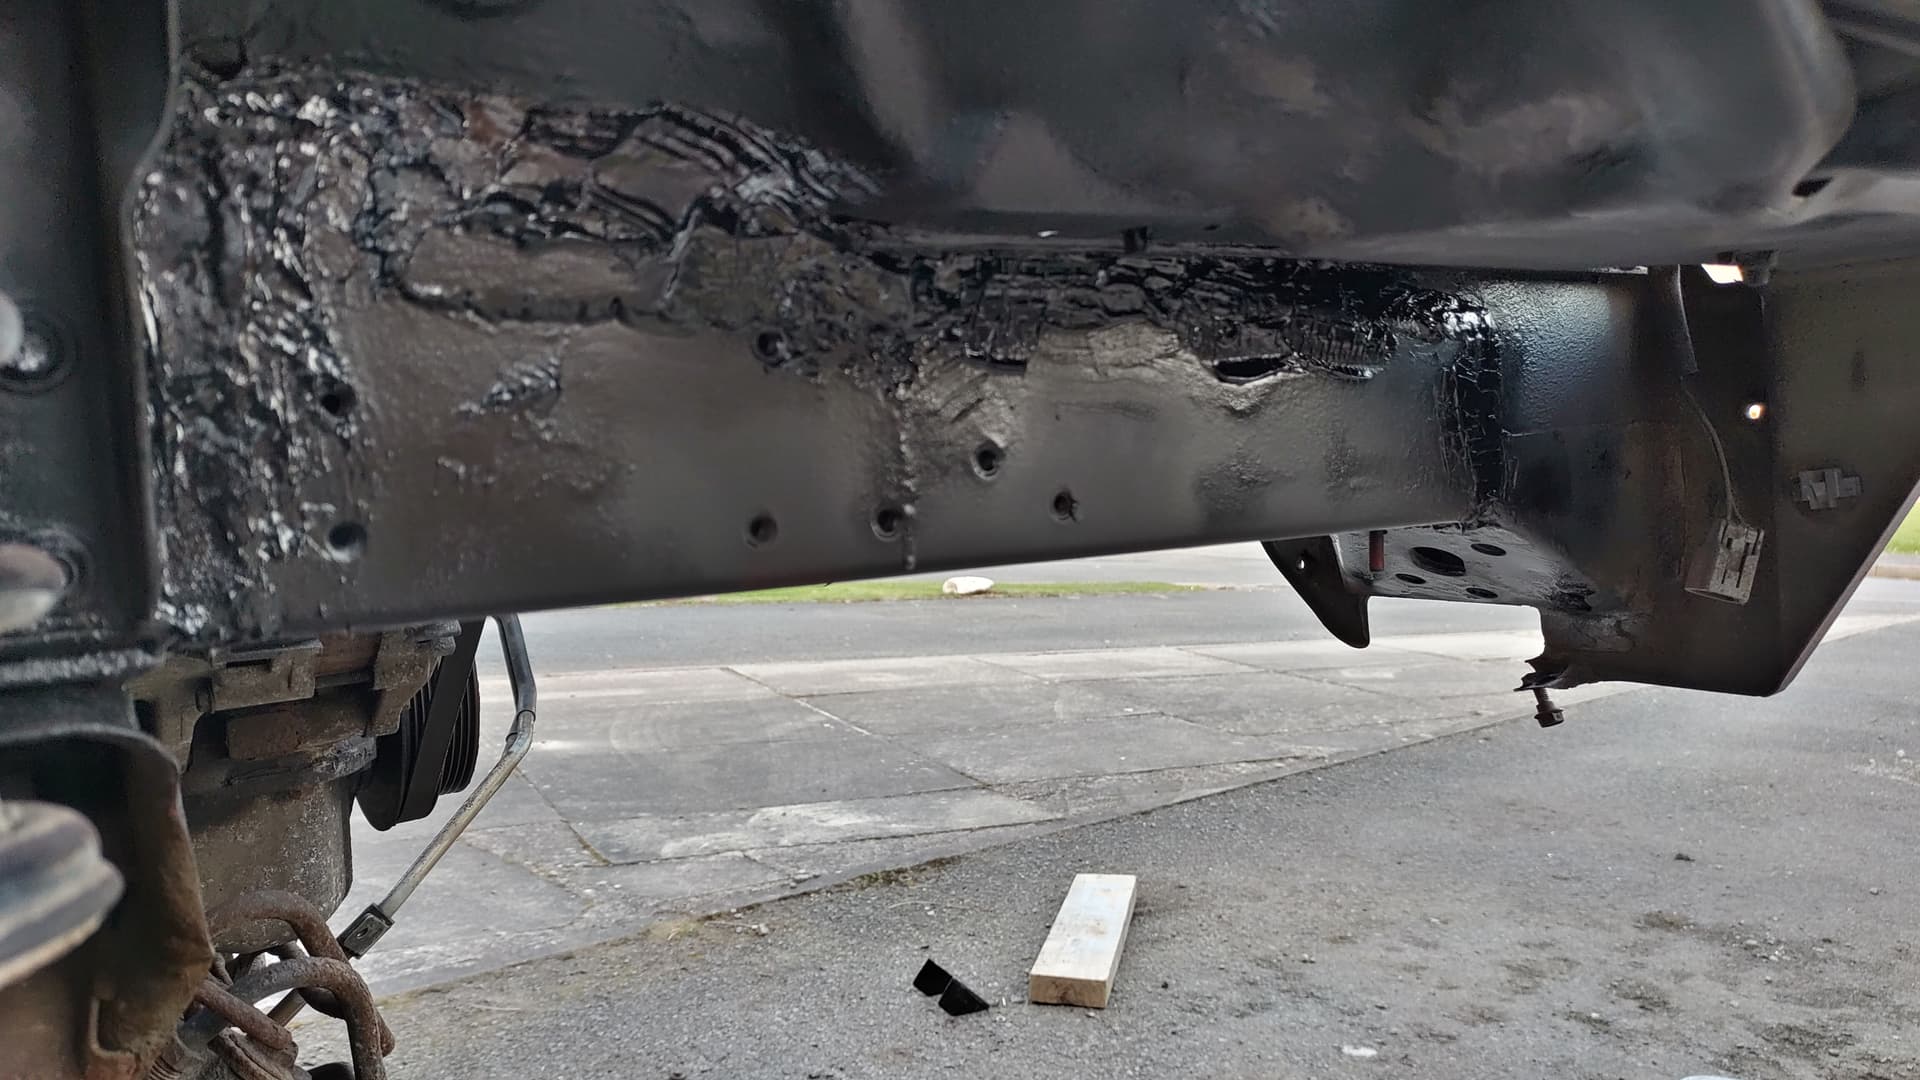
lots of cardboard templates and a fair bit of head scratching resulted in lots of fresh metal going in
along with copious quantities of zinc primer, buzzweld rust encapsulator and lots of cavity wax internally
4 Likes
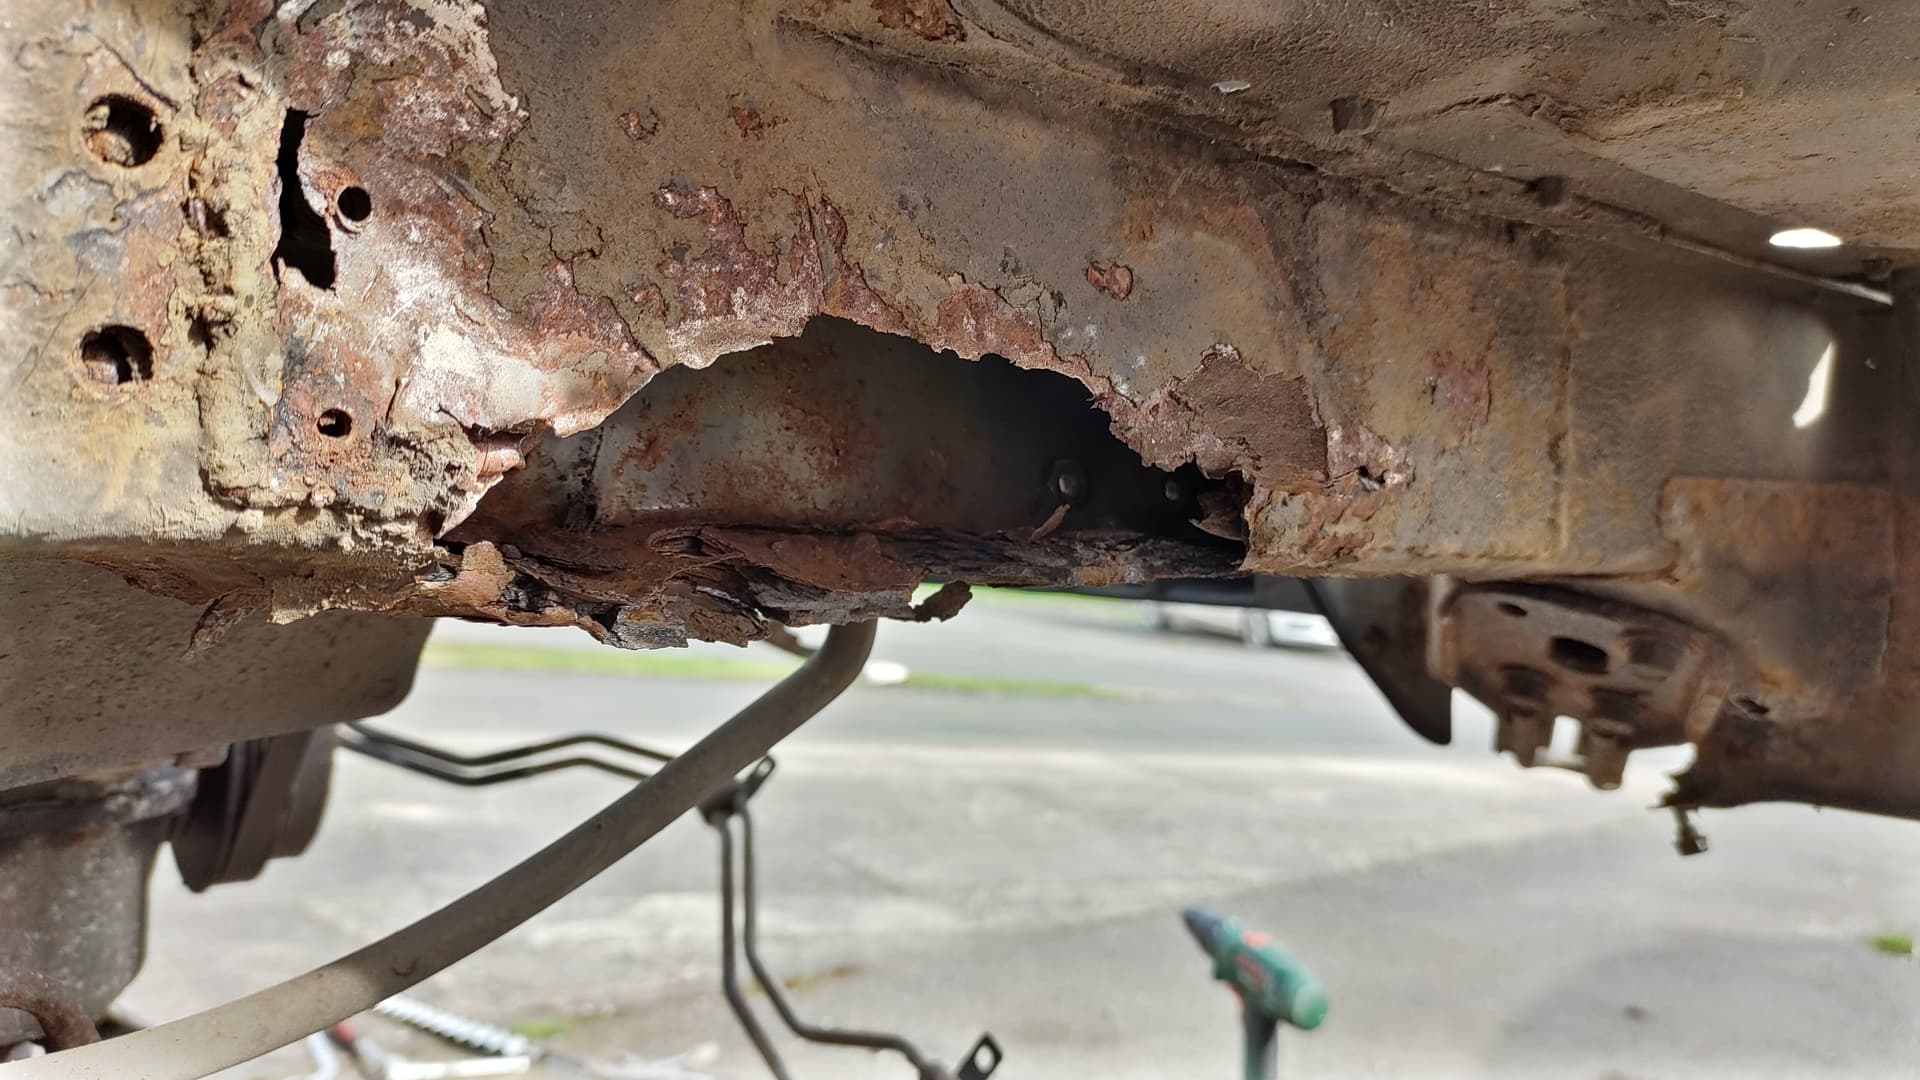
So, attention was then turned to the chassis rails (which had been cough "repaired by a previous owner…
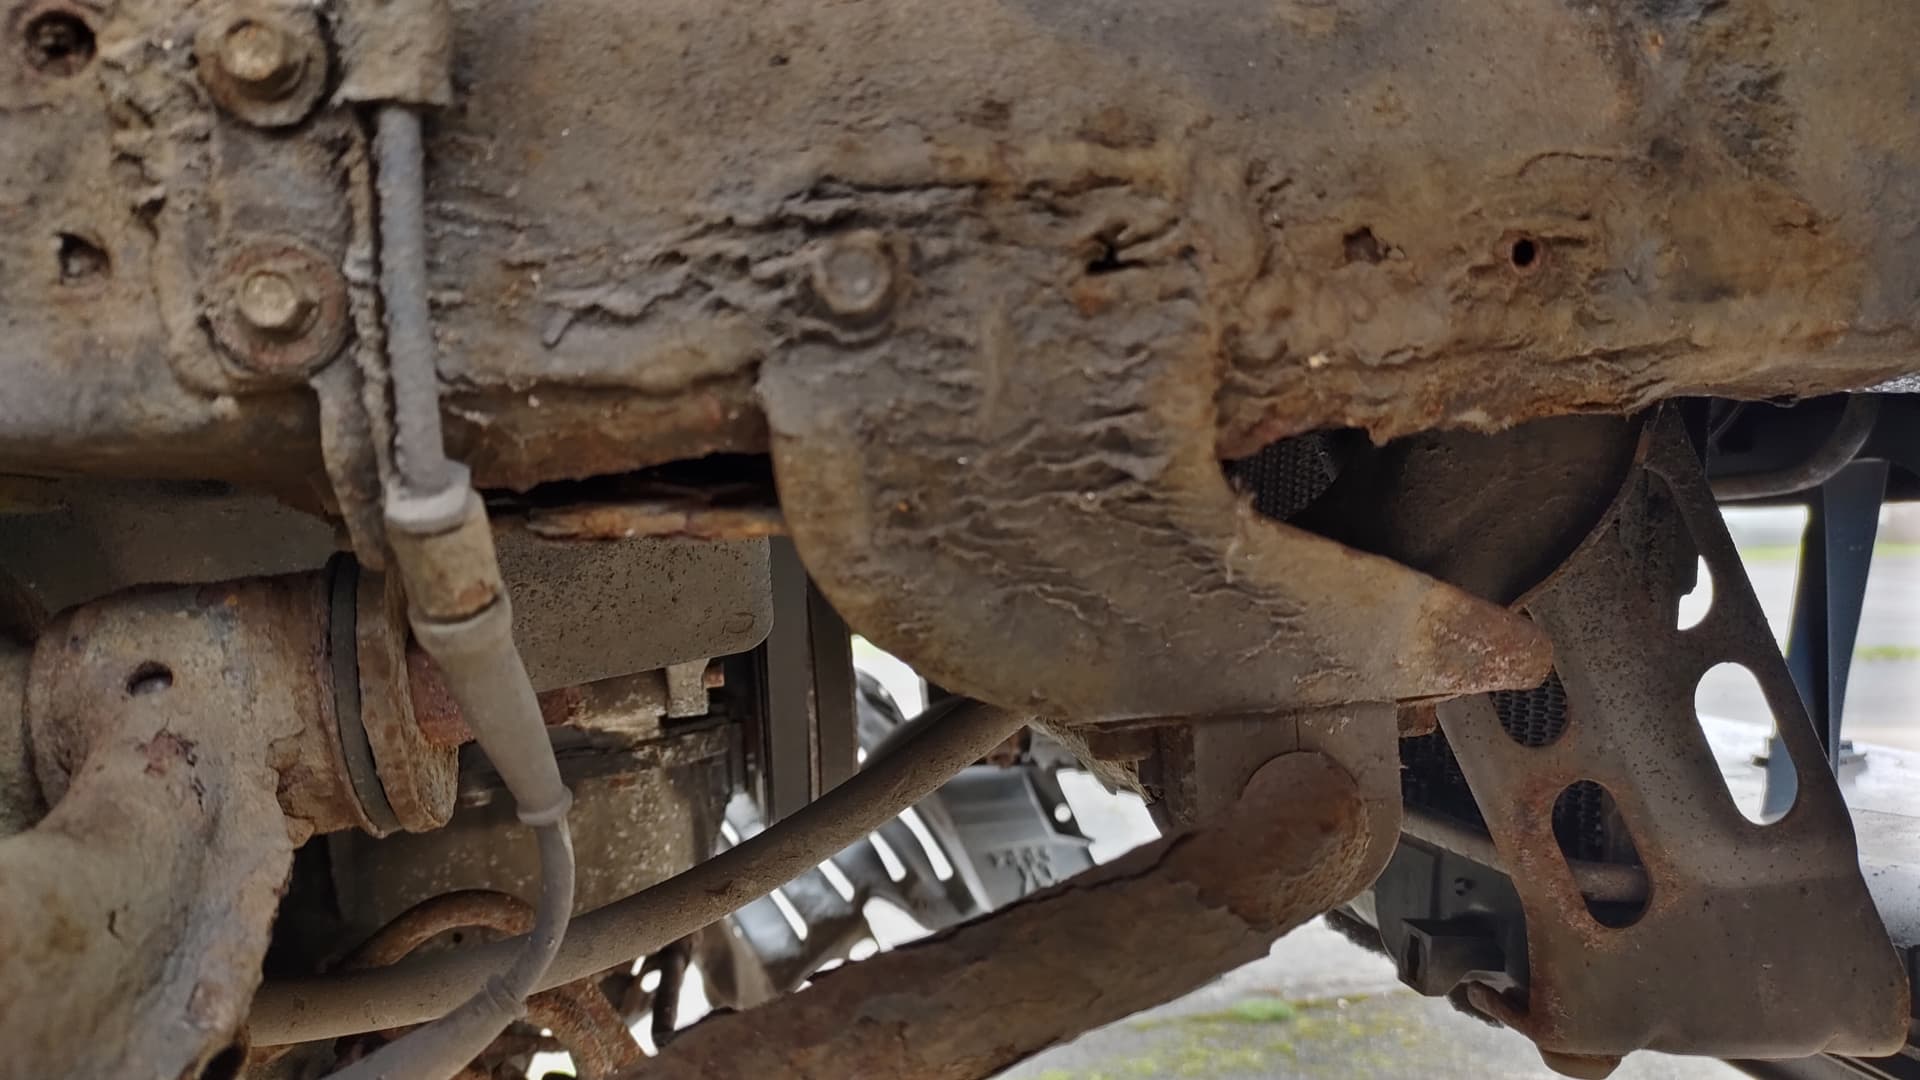
they didn’t look too bad to start with…
1 Like

2 Likes
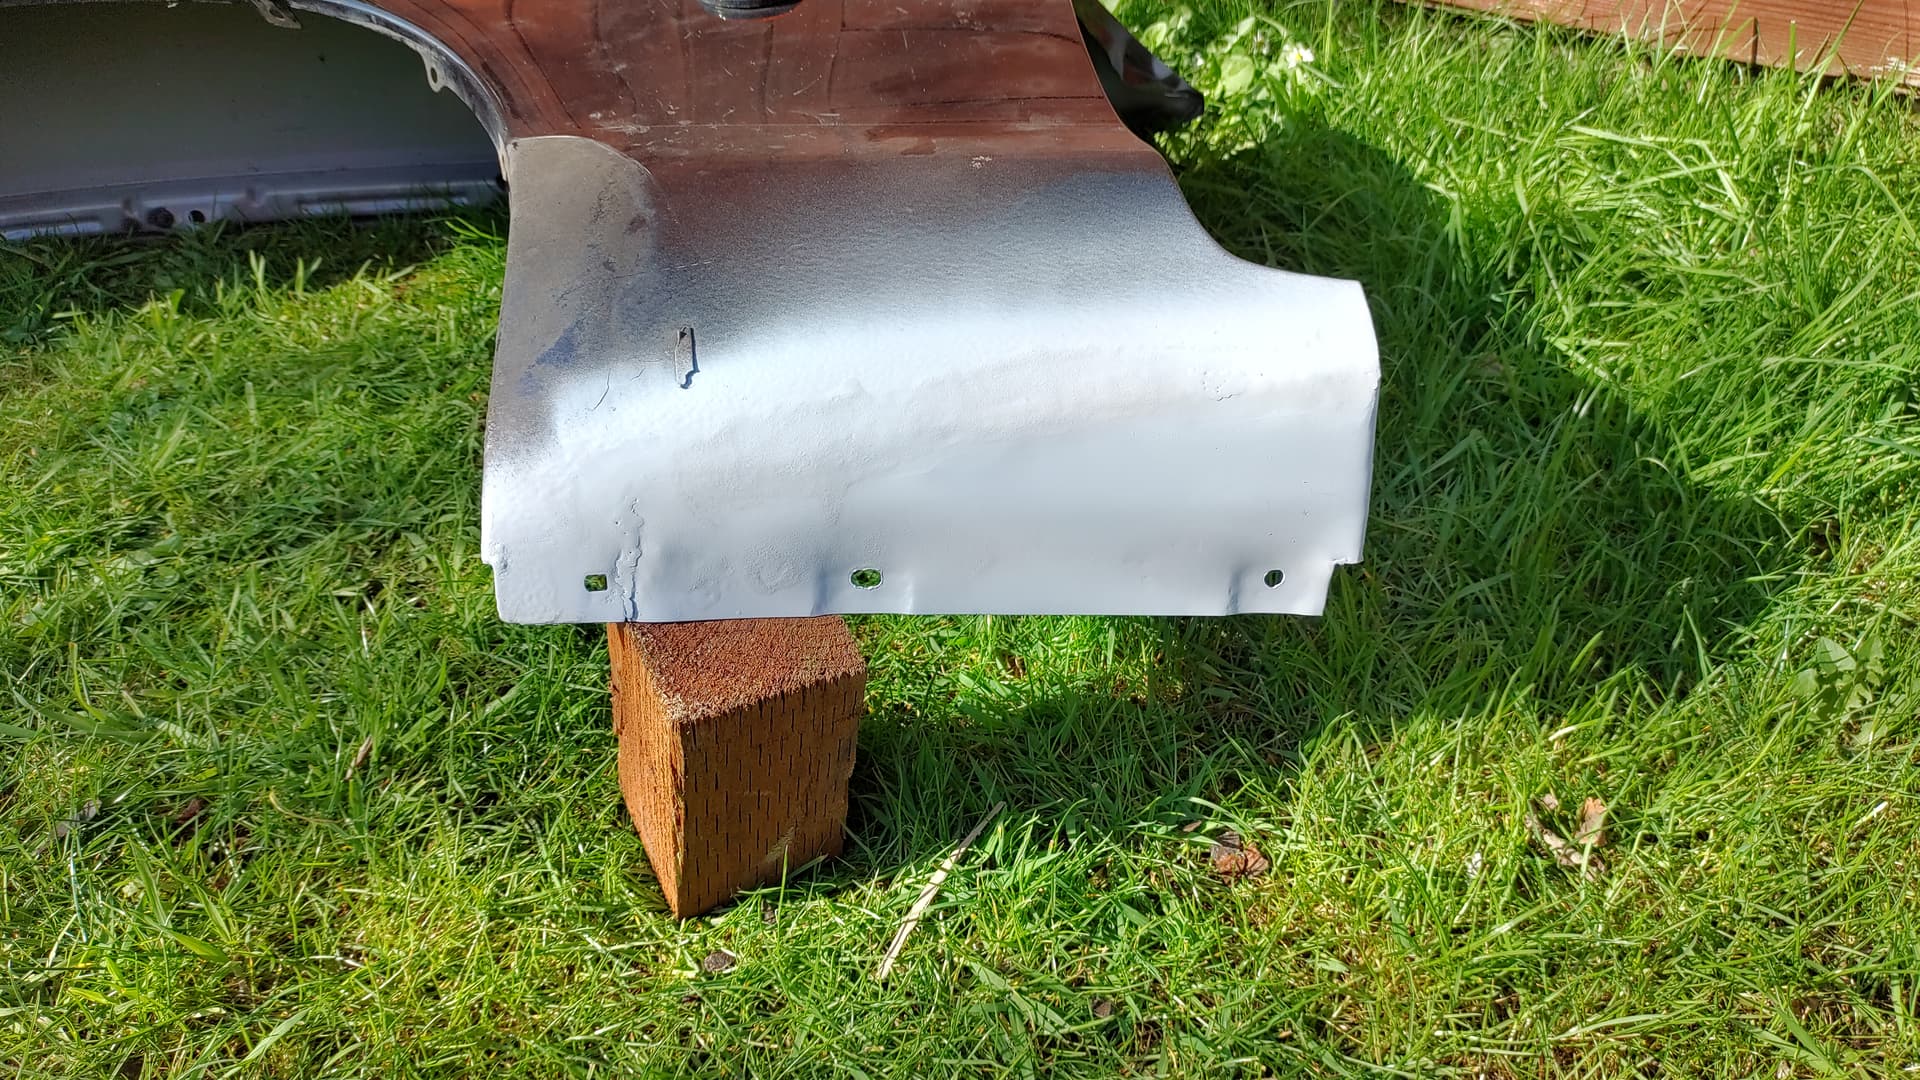
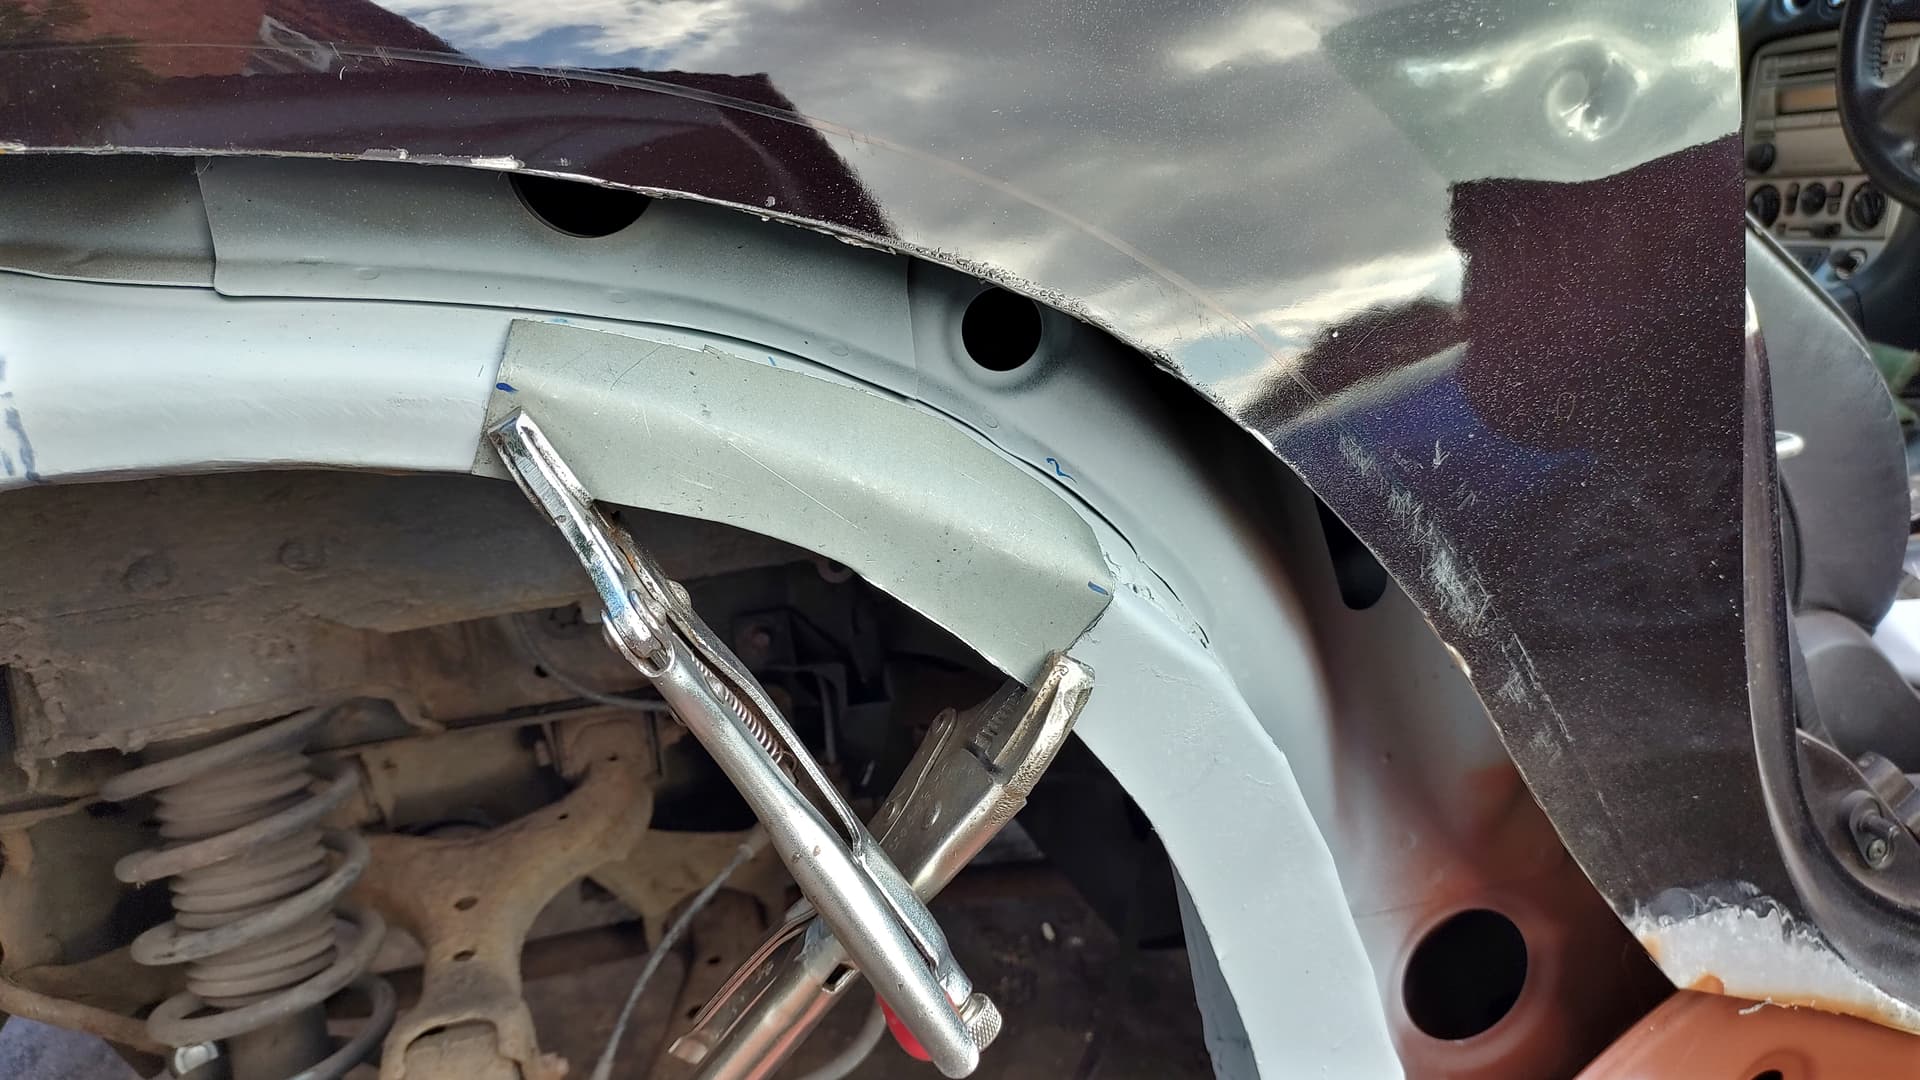
The front wings also required some attention along the bottom edge (as usual) so new sections fabricated and welded in place

Excellent work ![]()
Looking good. What did you use to fabricate the rear. Inner arches?
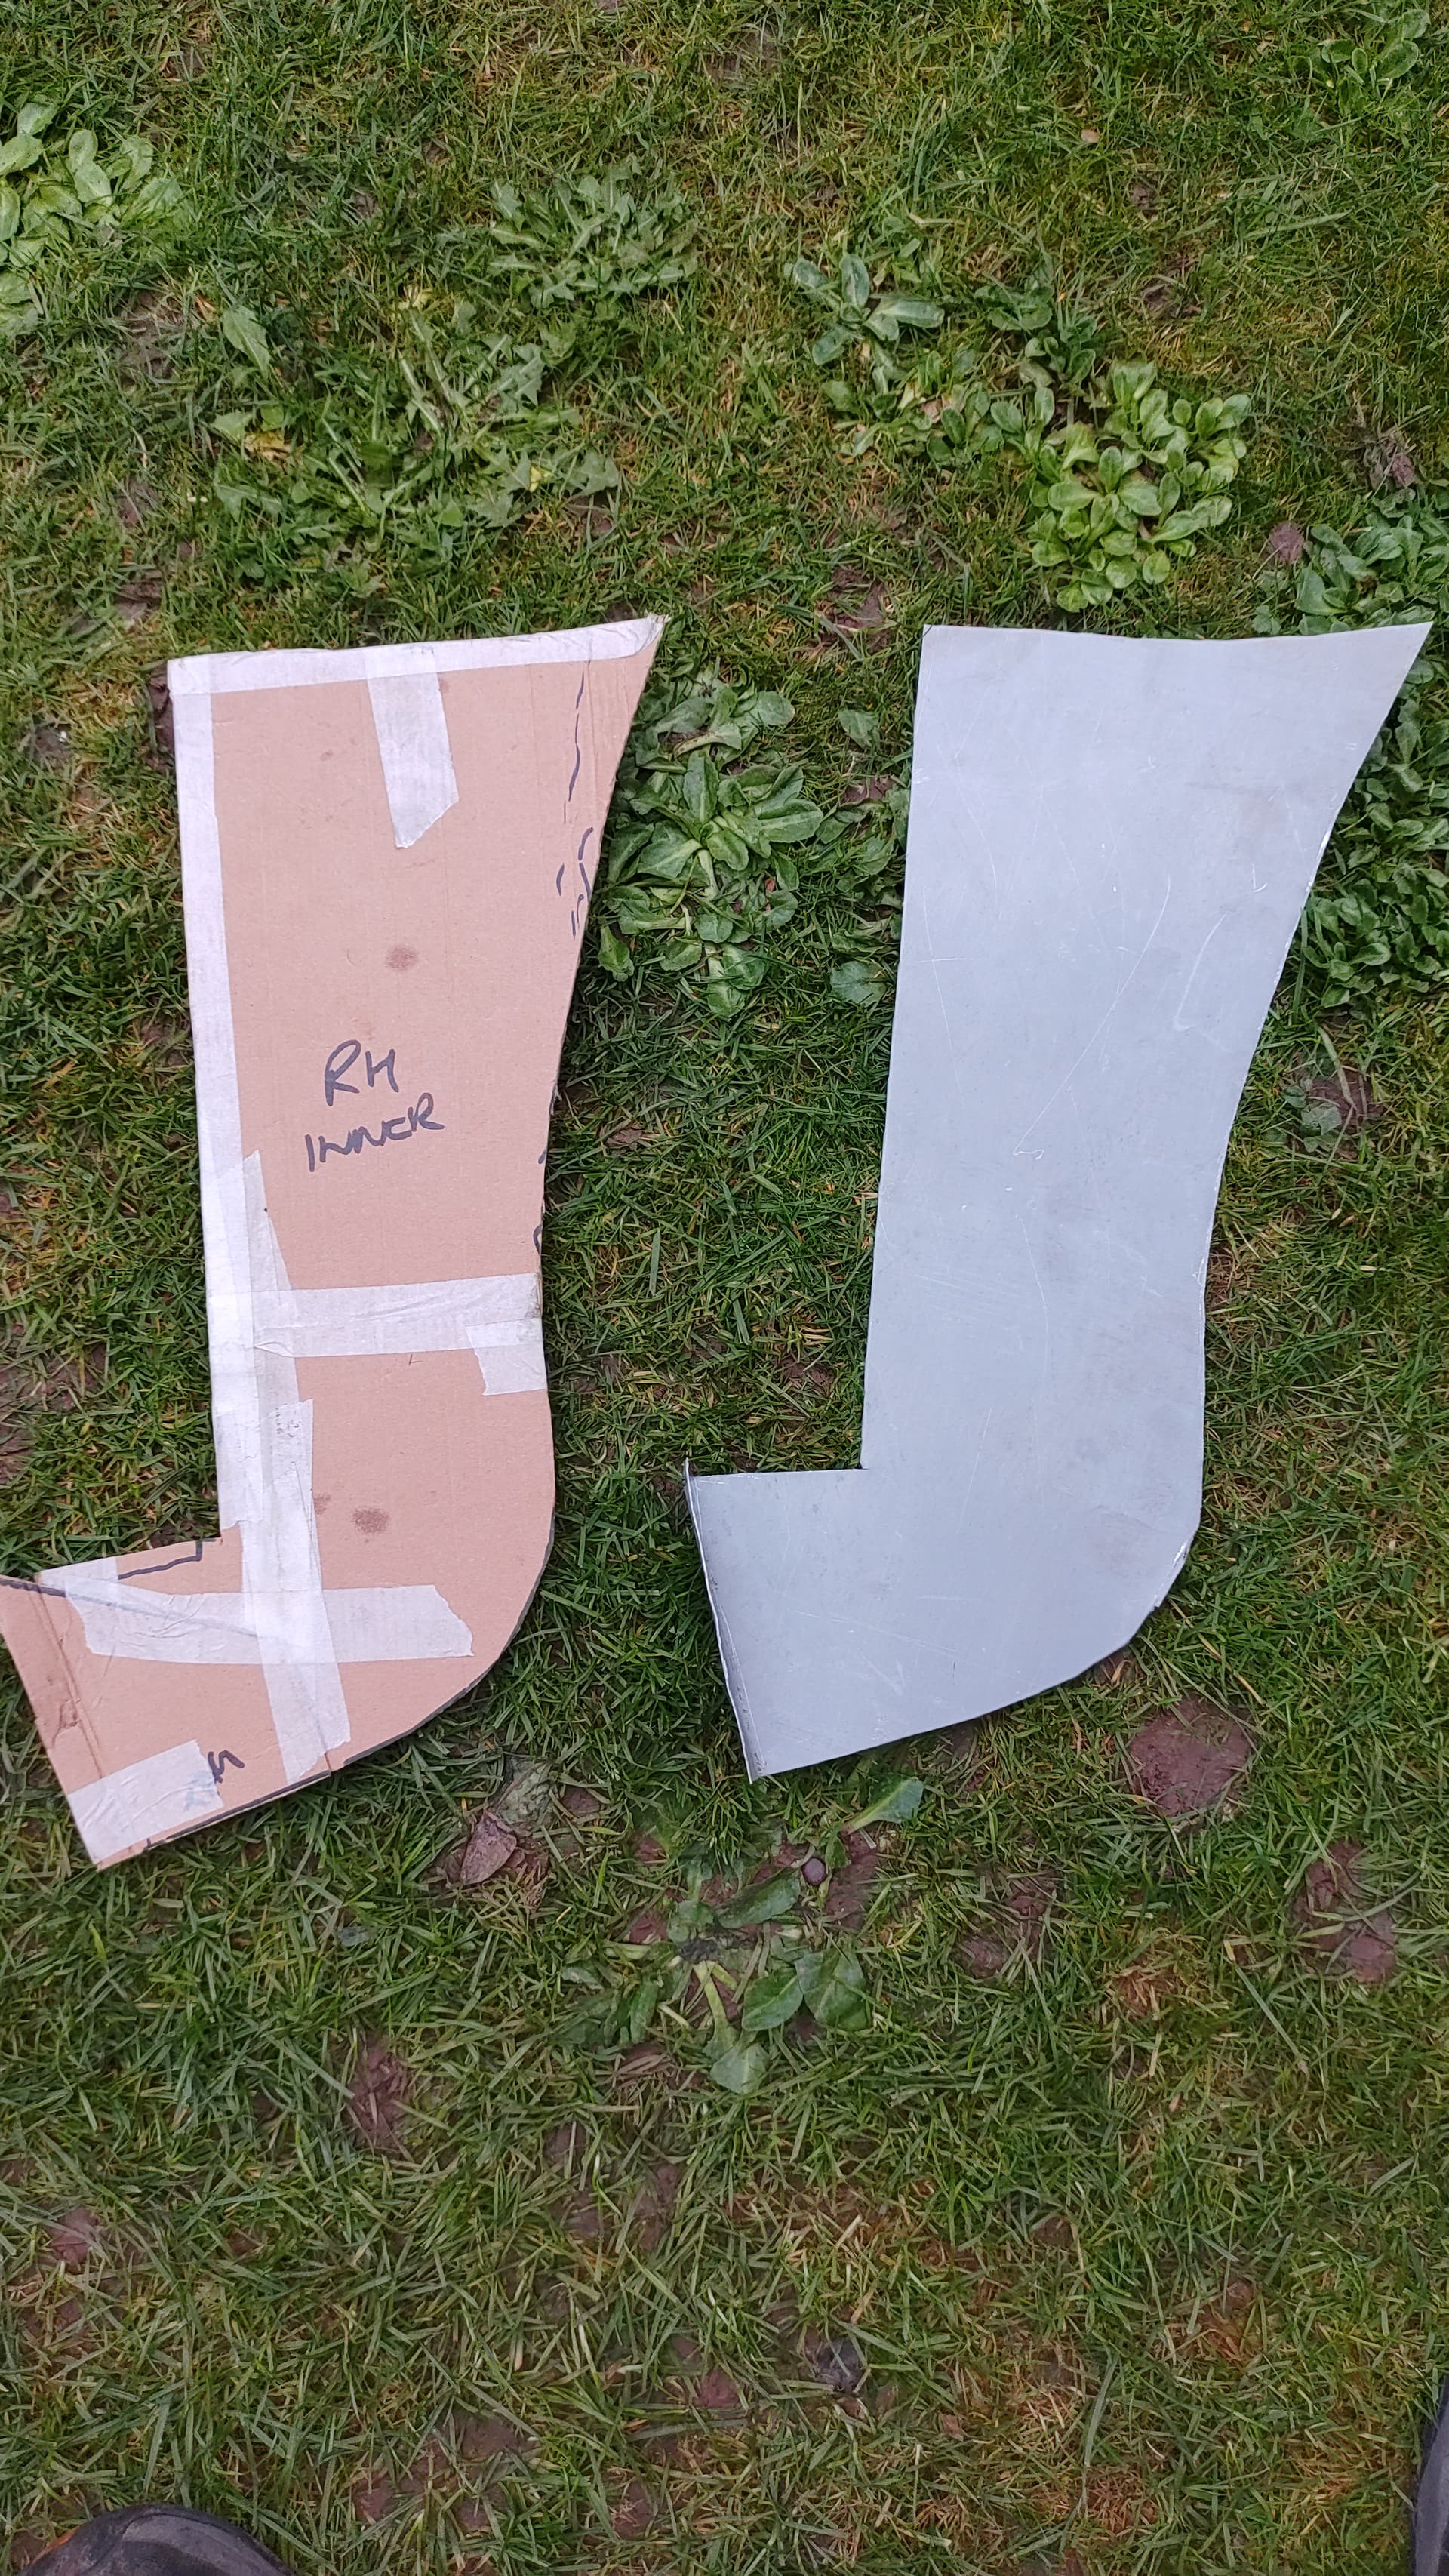
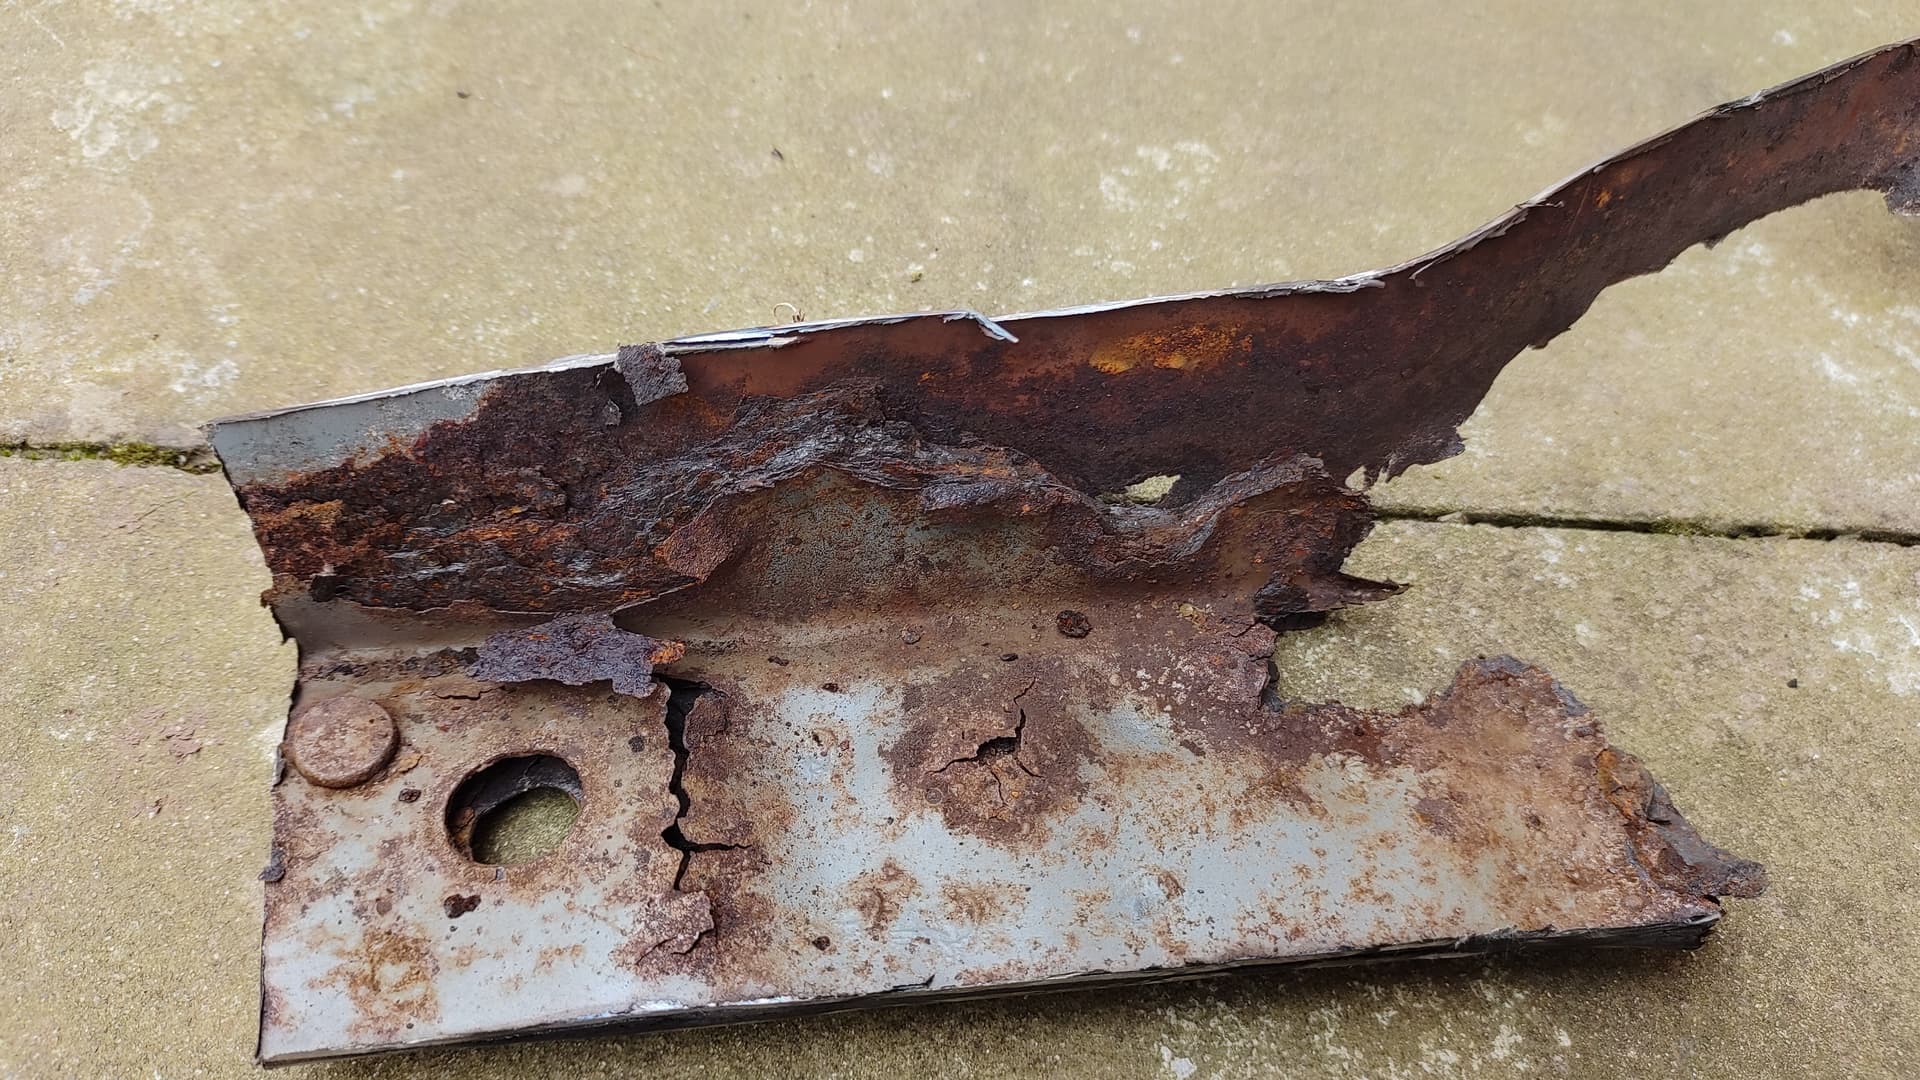
Cardboard templates for the majority of the pieces. The inner arch lip was made using some straight section that had a 90 deg lip on one edge. I cut a section off it, then sliced into the upright section to make it easier to form a return lip for the outer panel. When the forum allows i will upload a picture of the section.
1 Like
@Phoenix22 Here you go, gives you some idea. Domino’s boxes are good for templates ![]() (other pizza places are available
(other pizza places are available ![]()
![]() )
)


3 Likes
A few more pics of the crusty bits - just goes to show that something can look good on the surface but be a right mess underneath. I know “repairs” had been carried out on it in the past as i have receipts for work done - albeit cheaply.
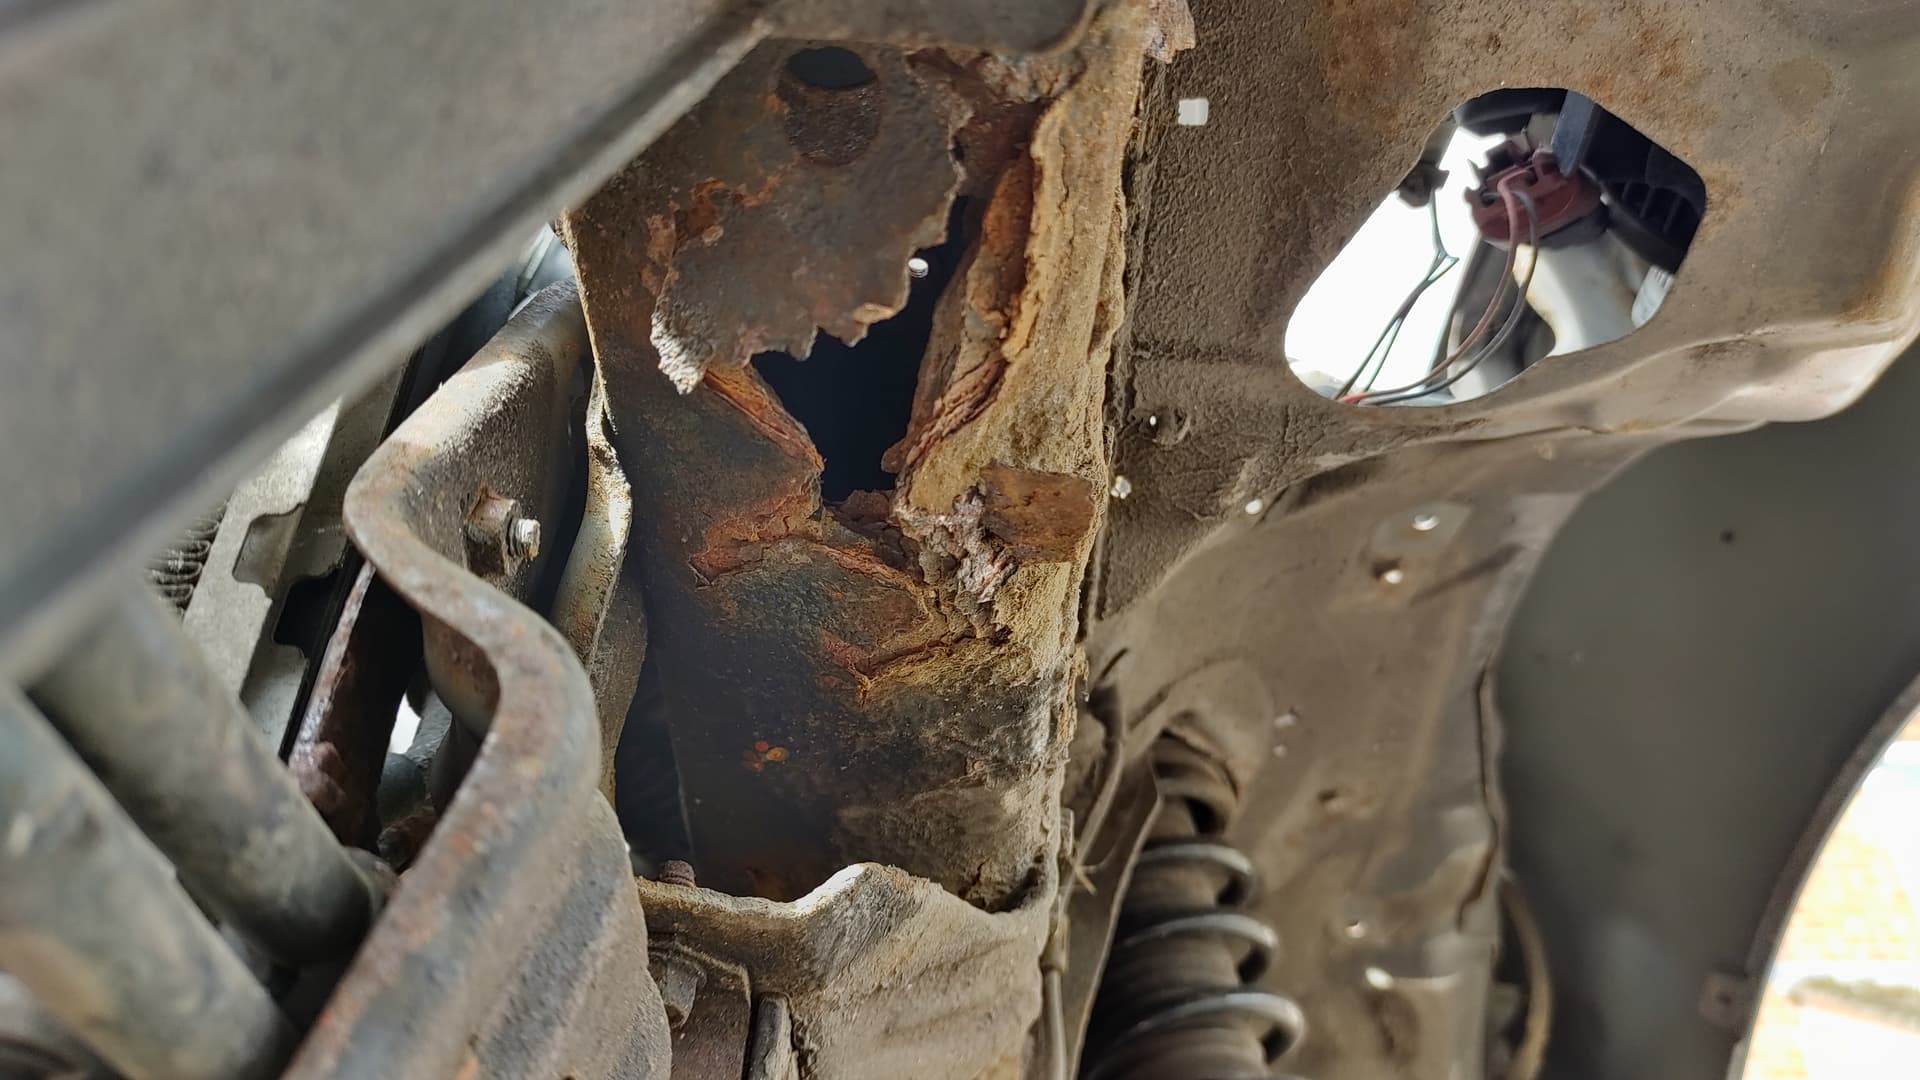
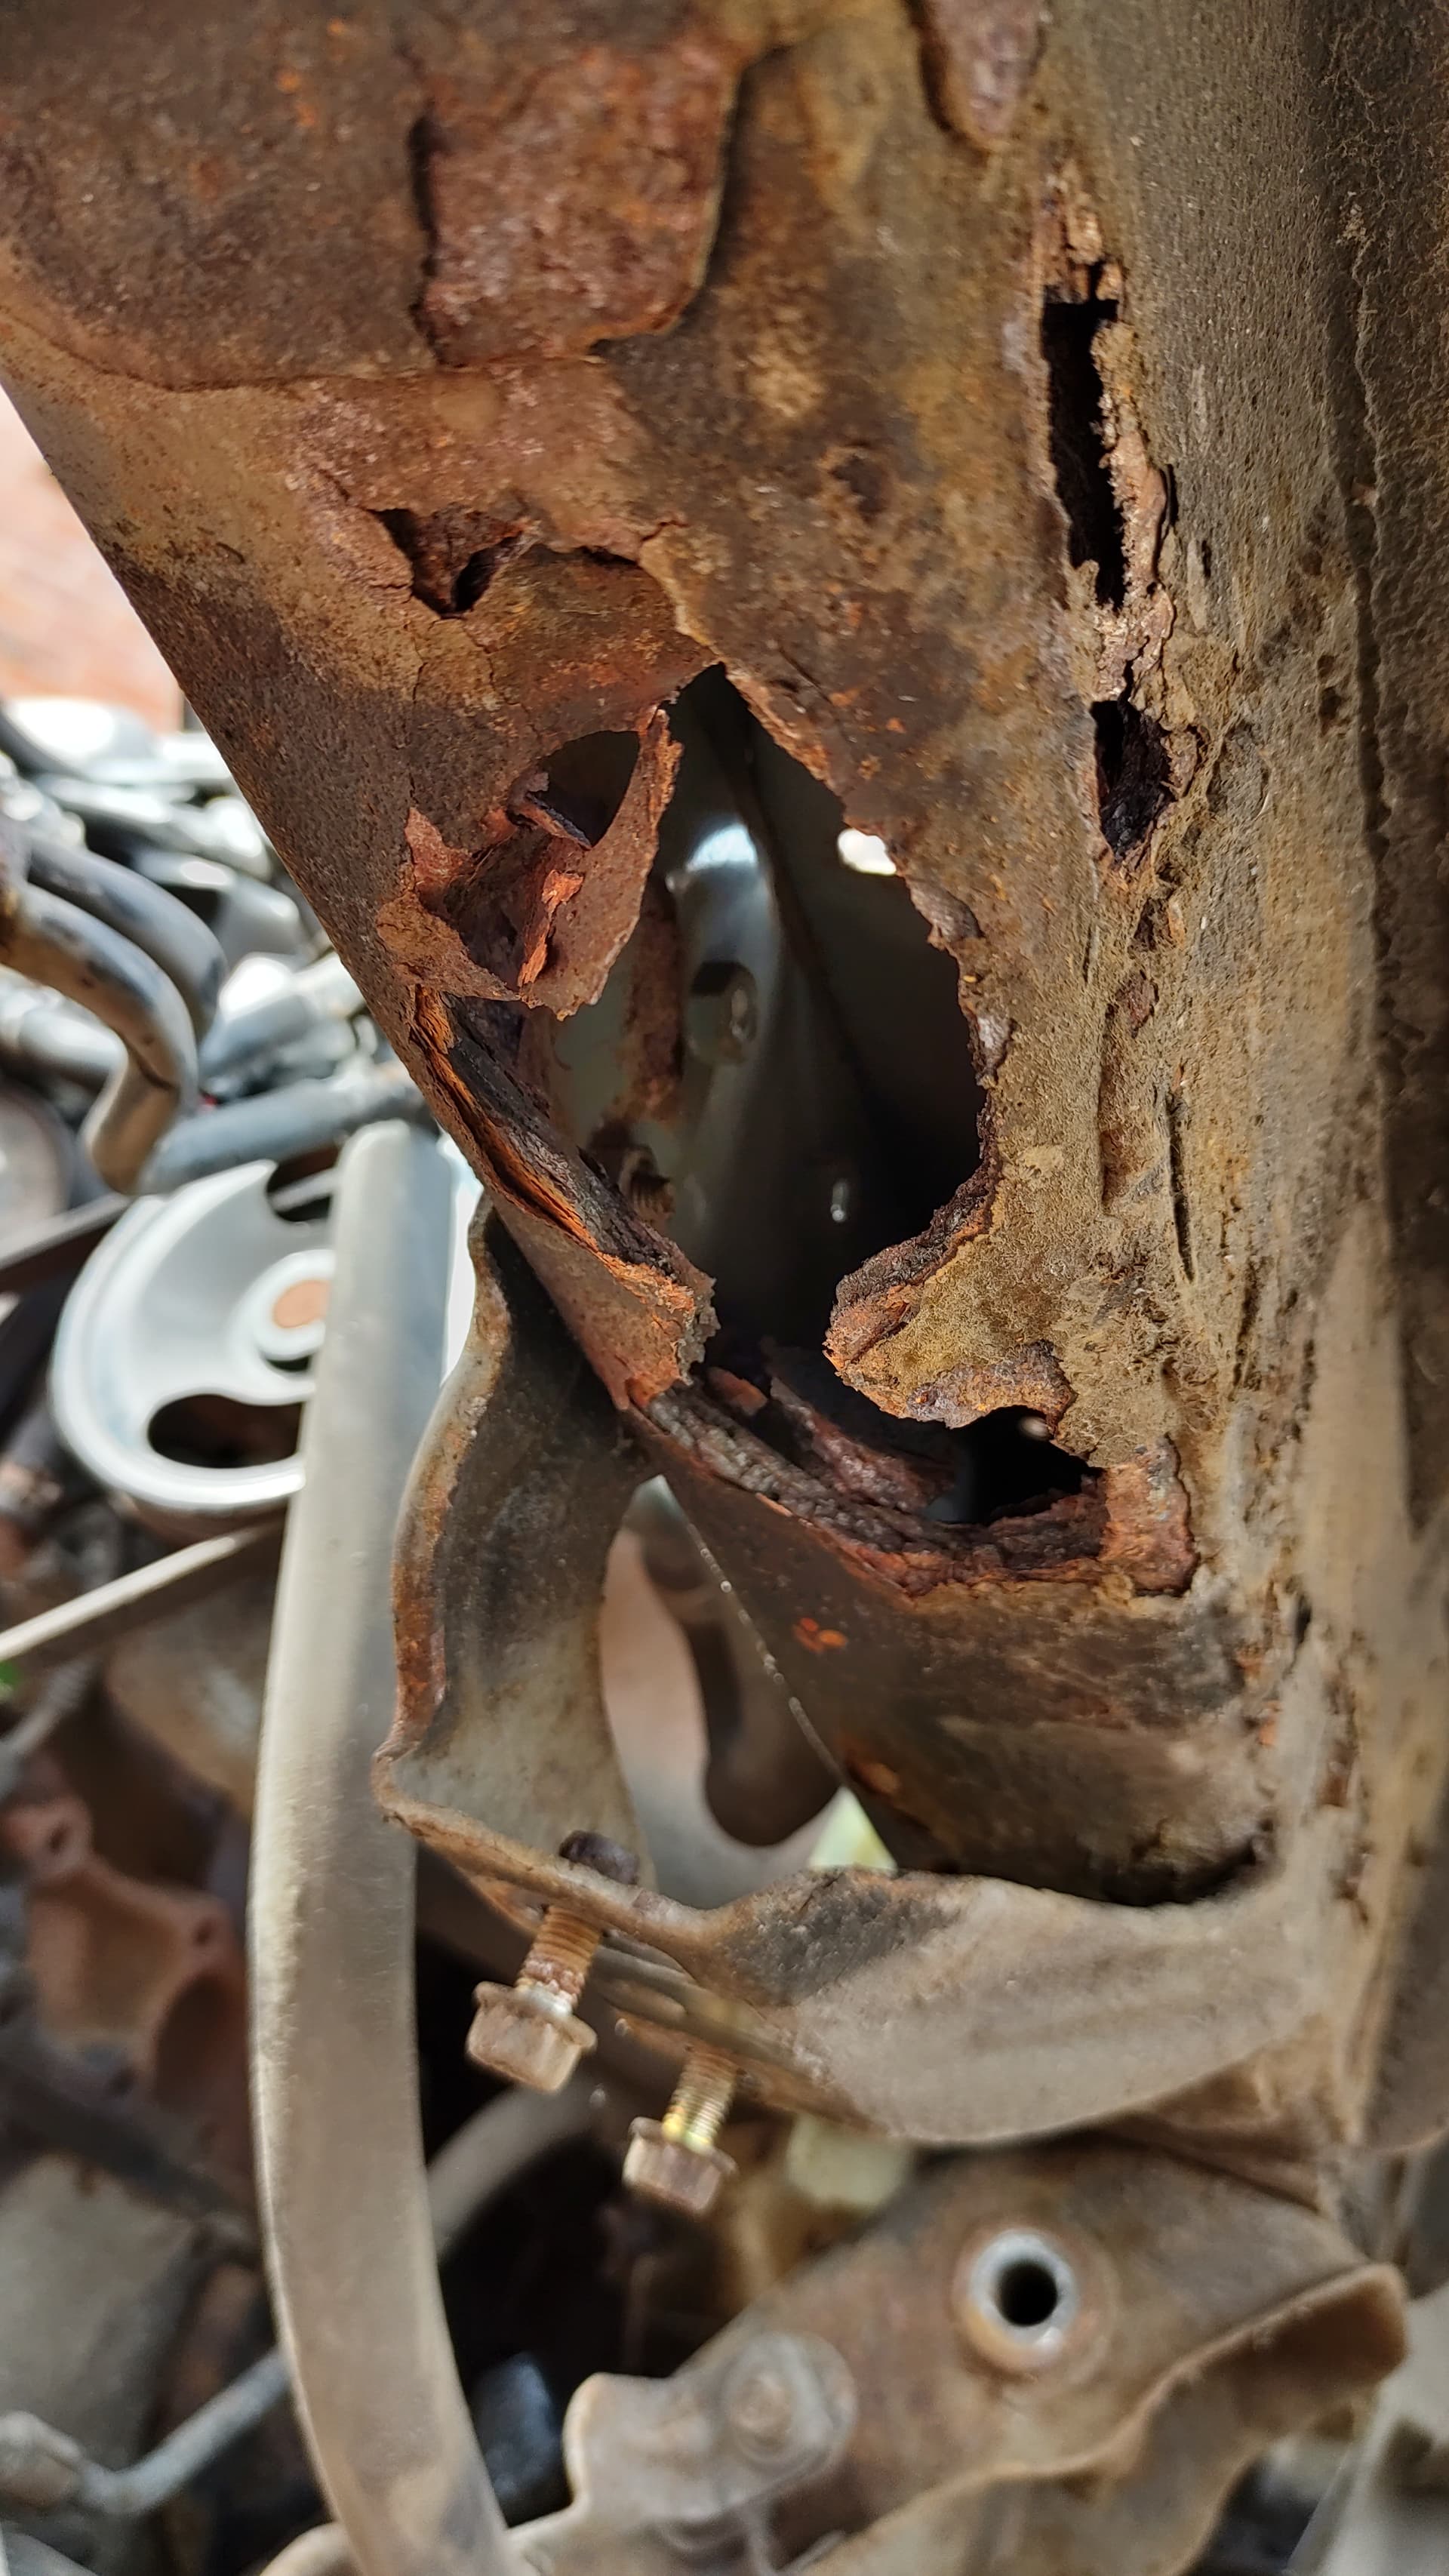
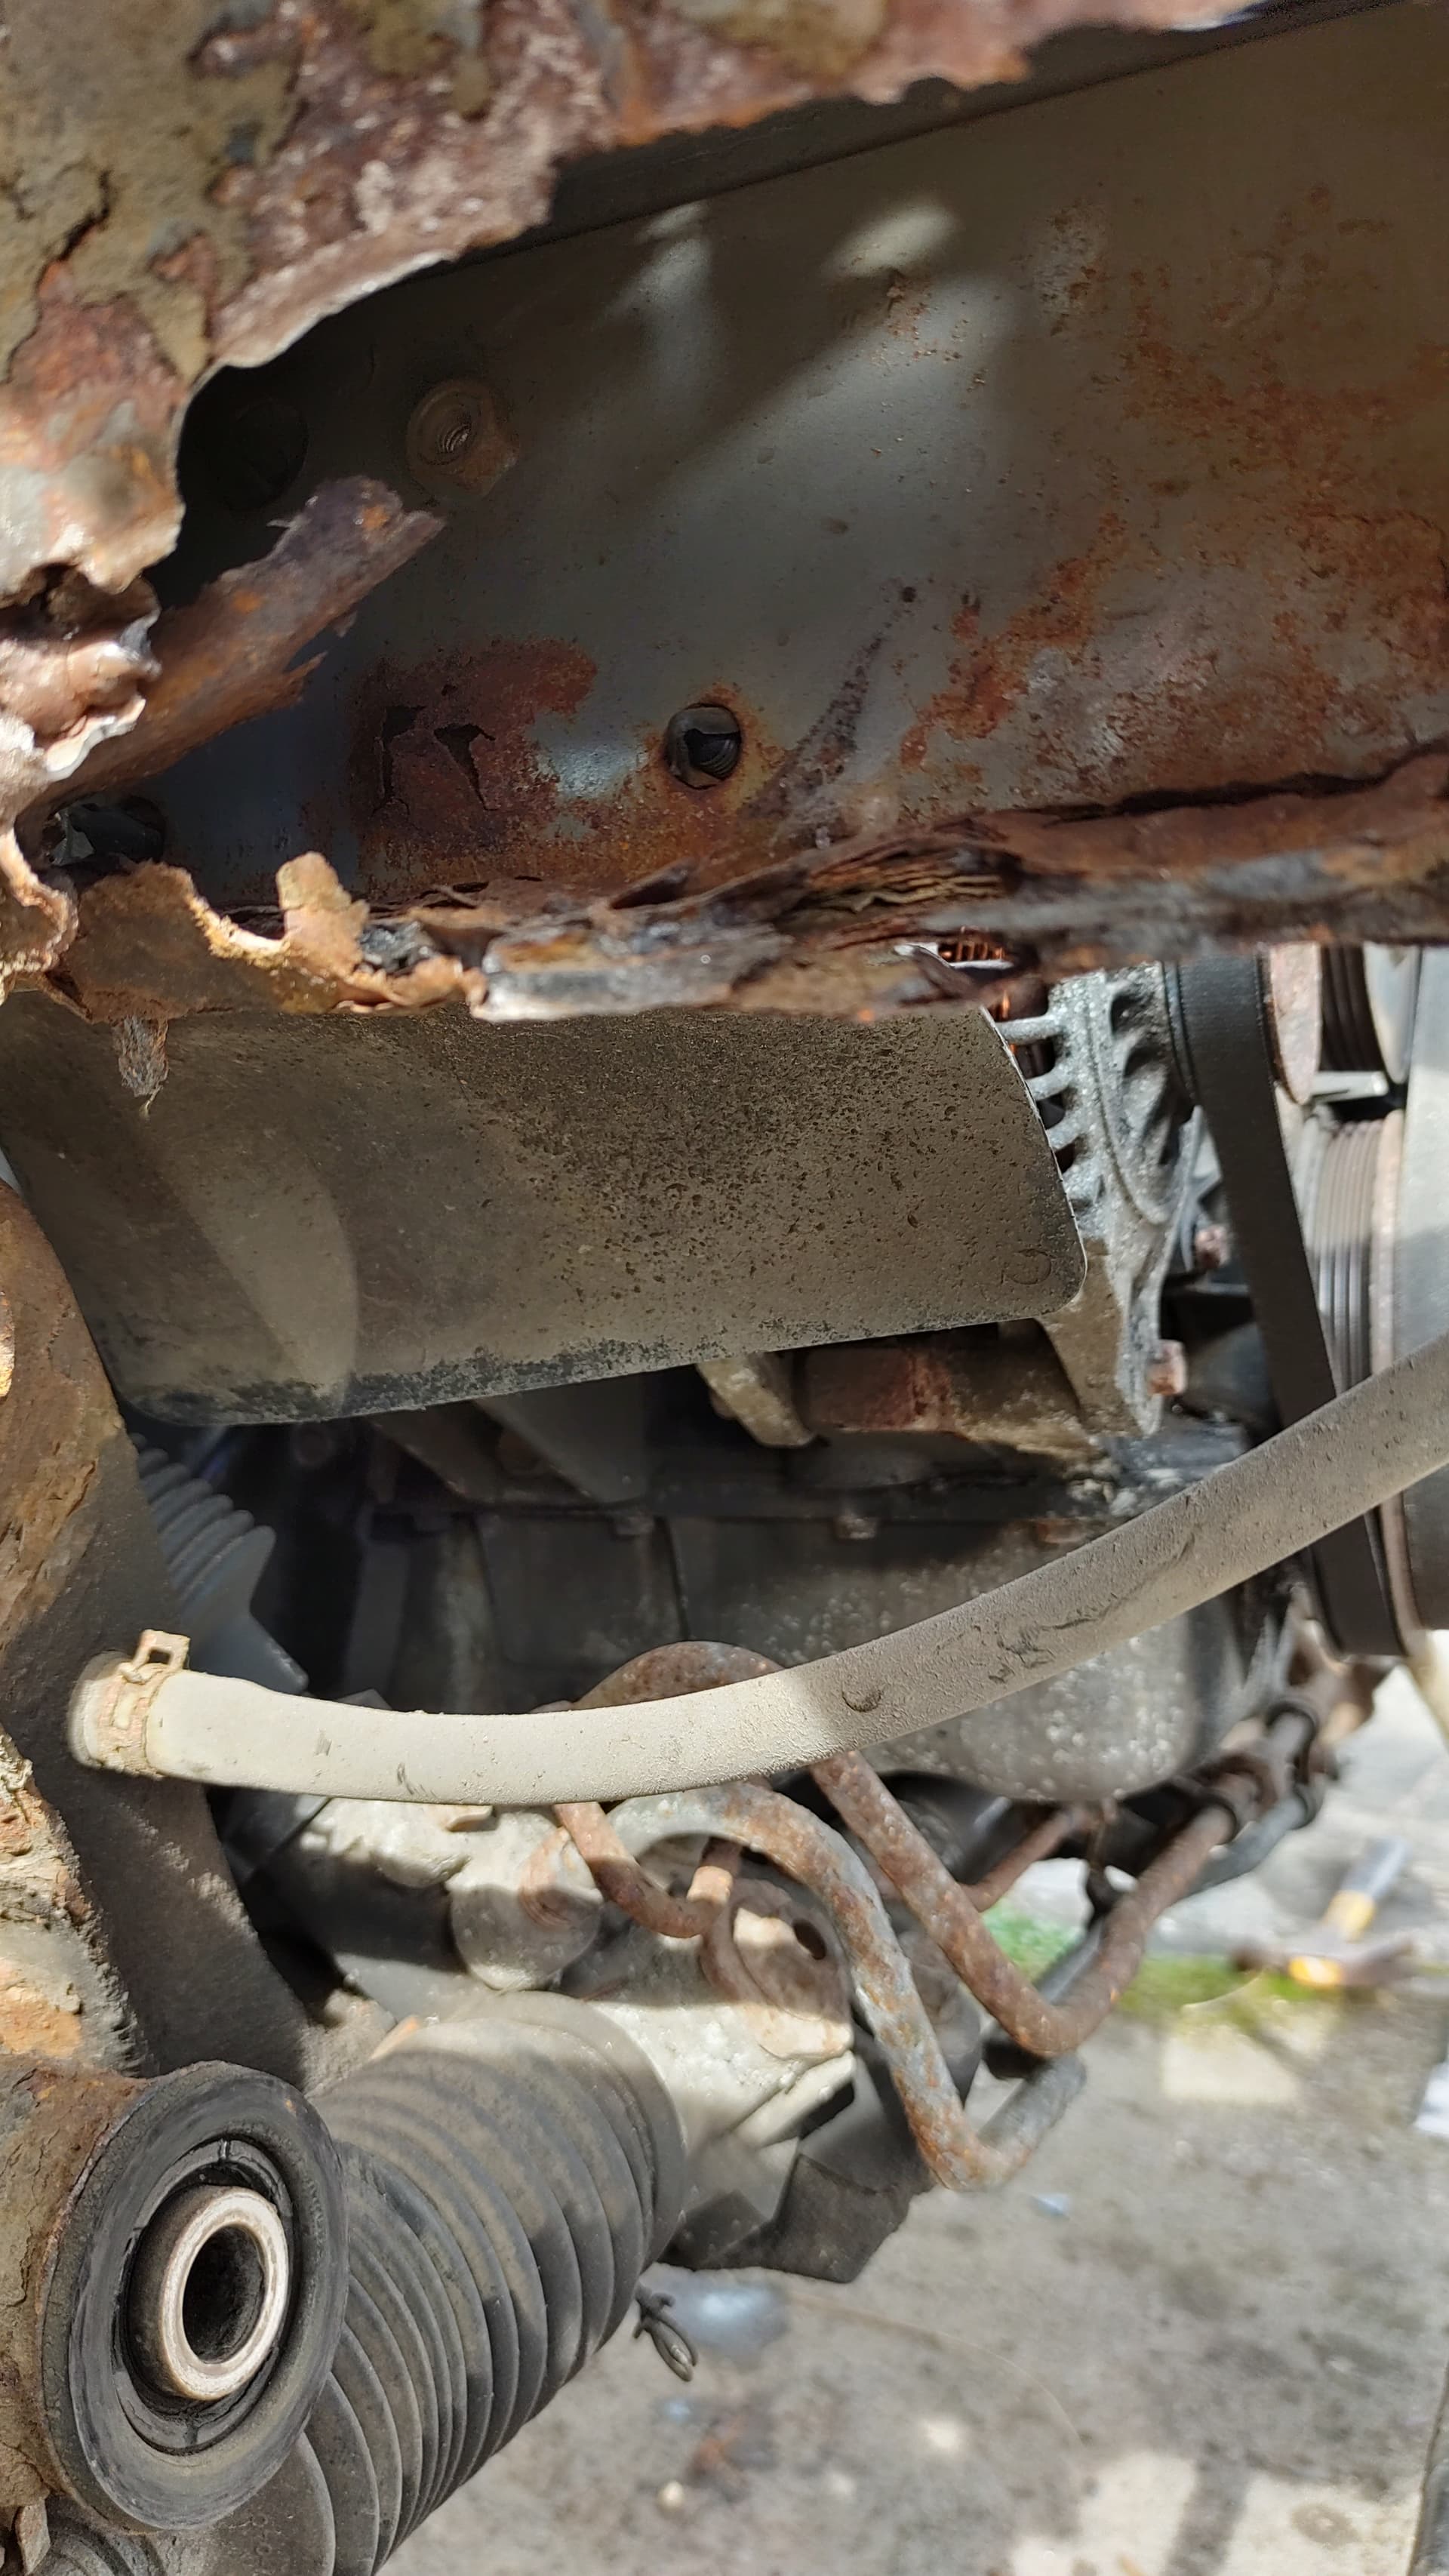
4 Likes
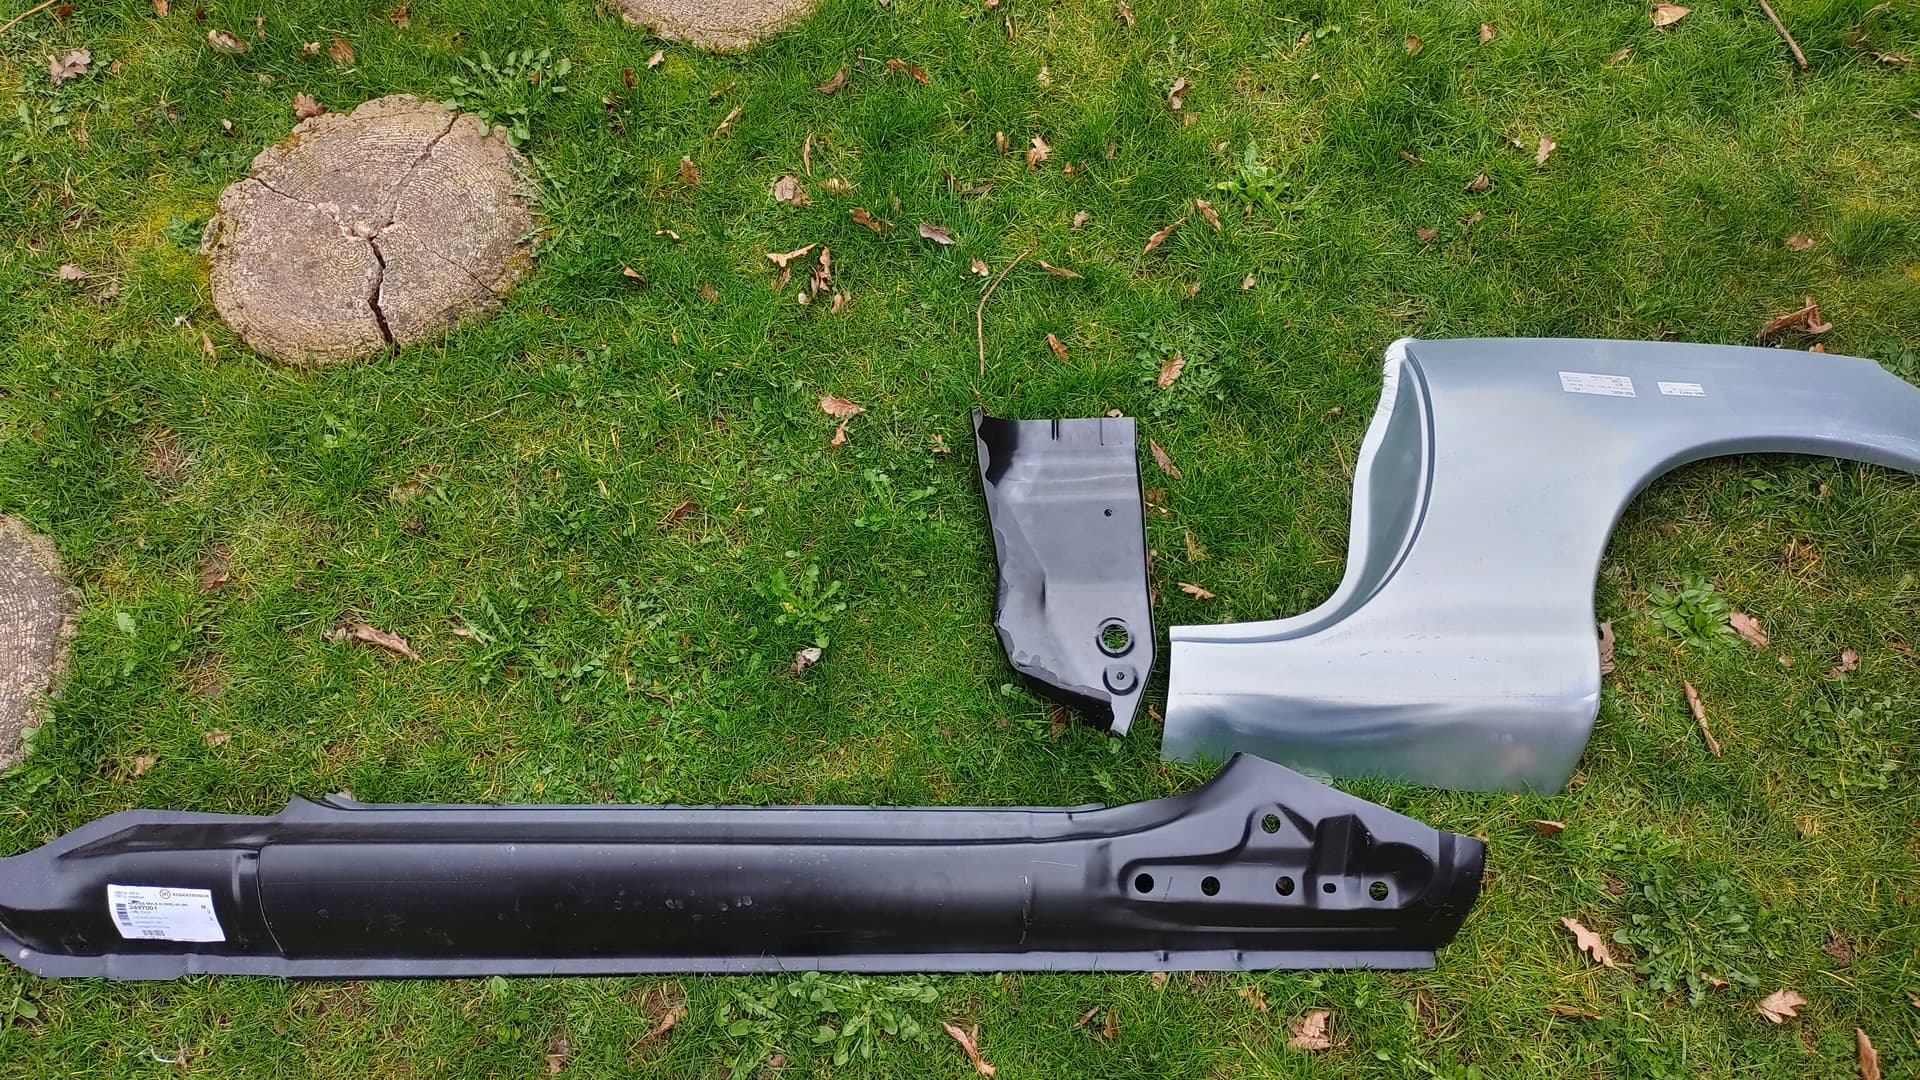
So, once those bits had been tackled, and an MOT pass was in the bag, we enjoyed using the car for the next few months, getting out and about as much as we could. Roll on 2023 and i planned to get the NS sill and arch changed, although the weather had other ideas and turned too wet to get any meaningful work done. I did however manage to bag all the repair panels quite cheaply ![]()
and add some DRL’s in place of the OE fogs (which i still have should i decide to refit them)
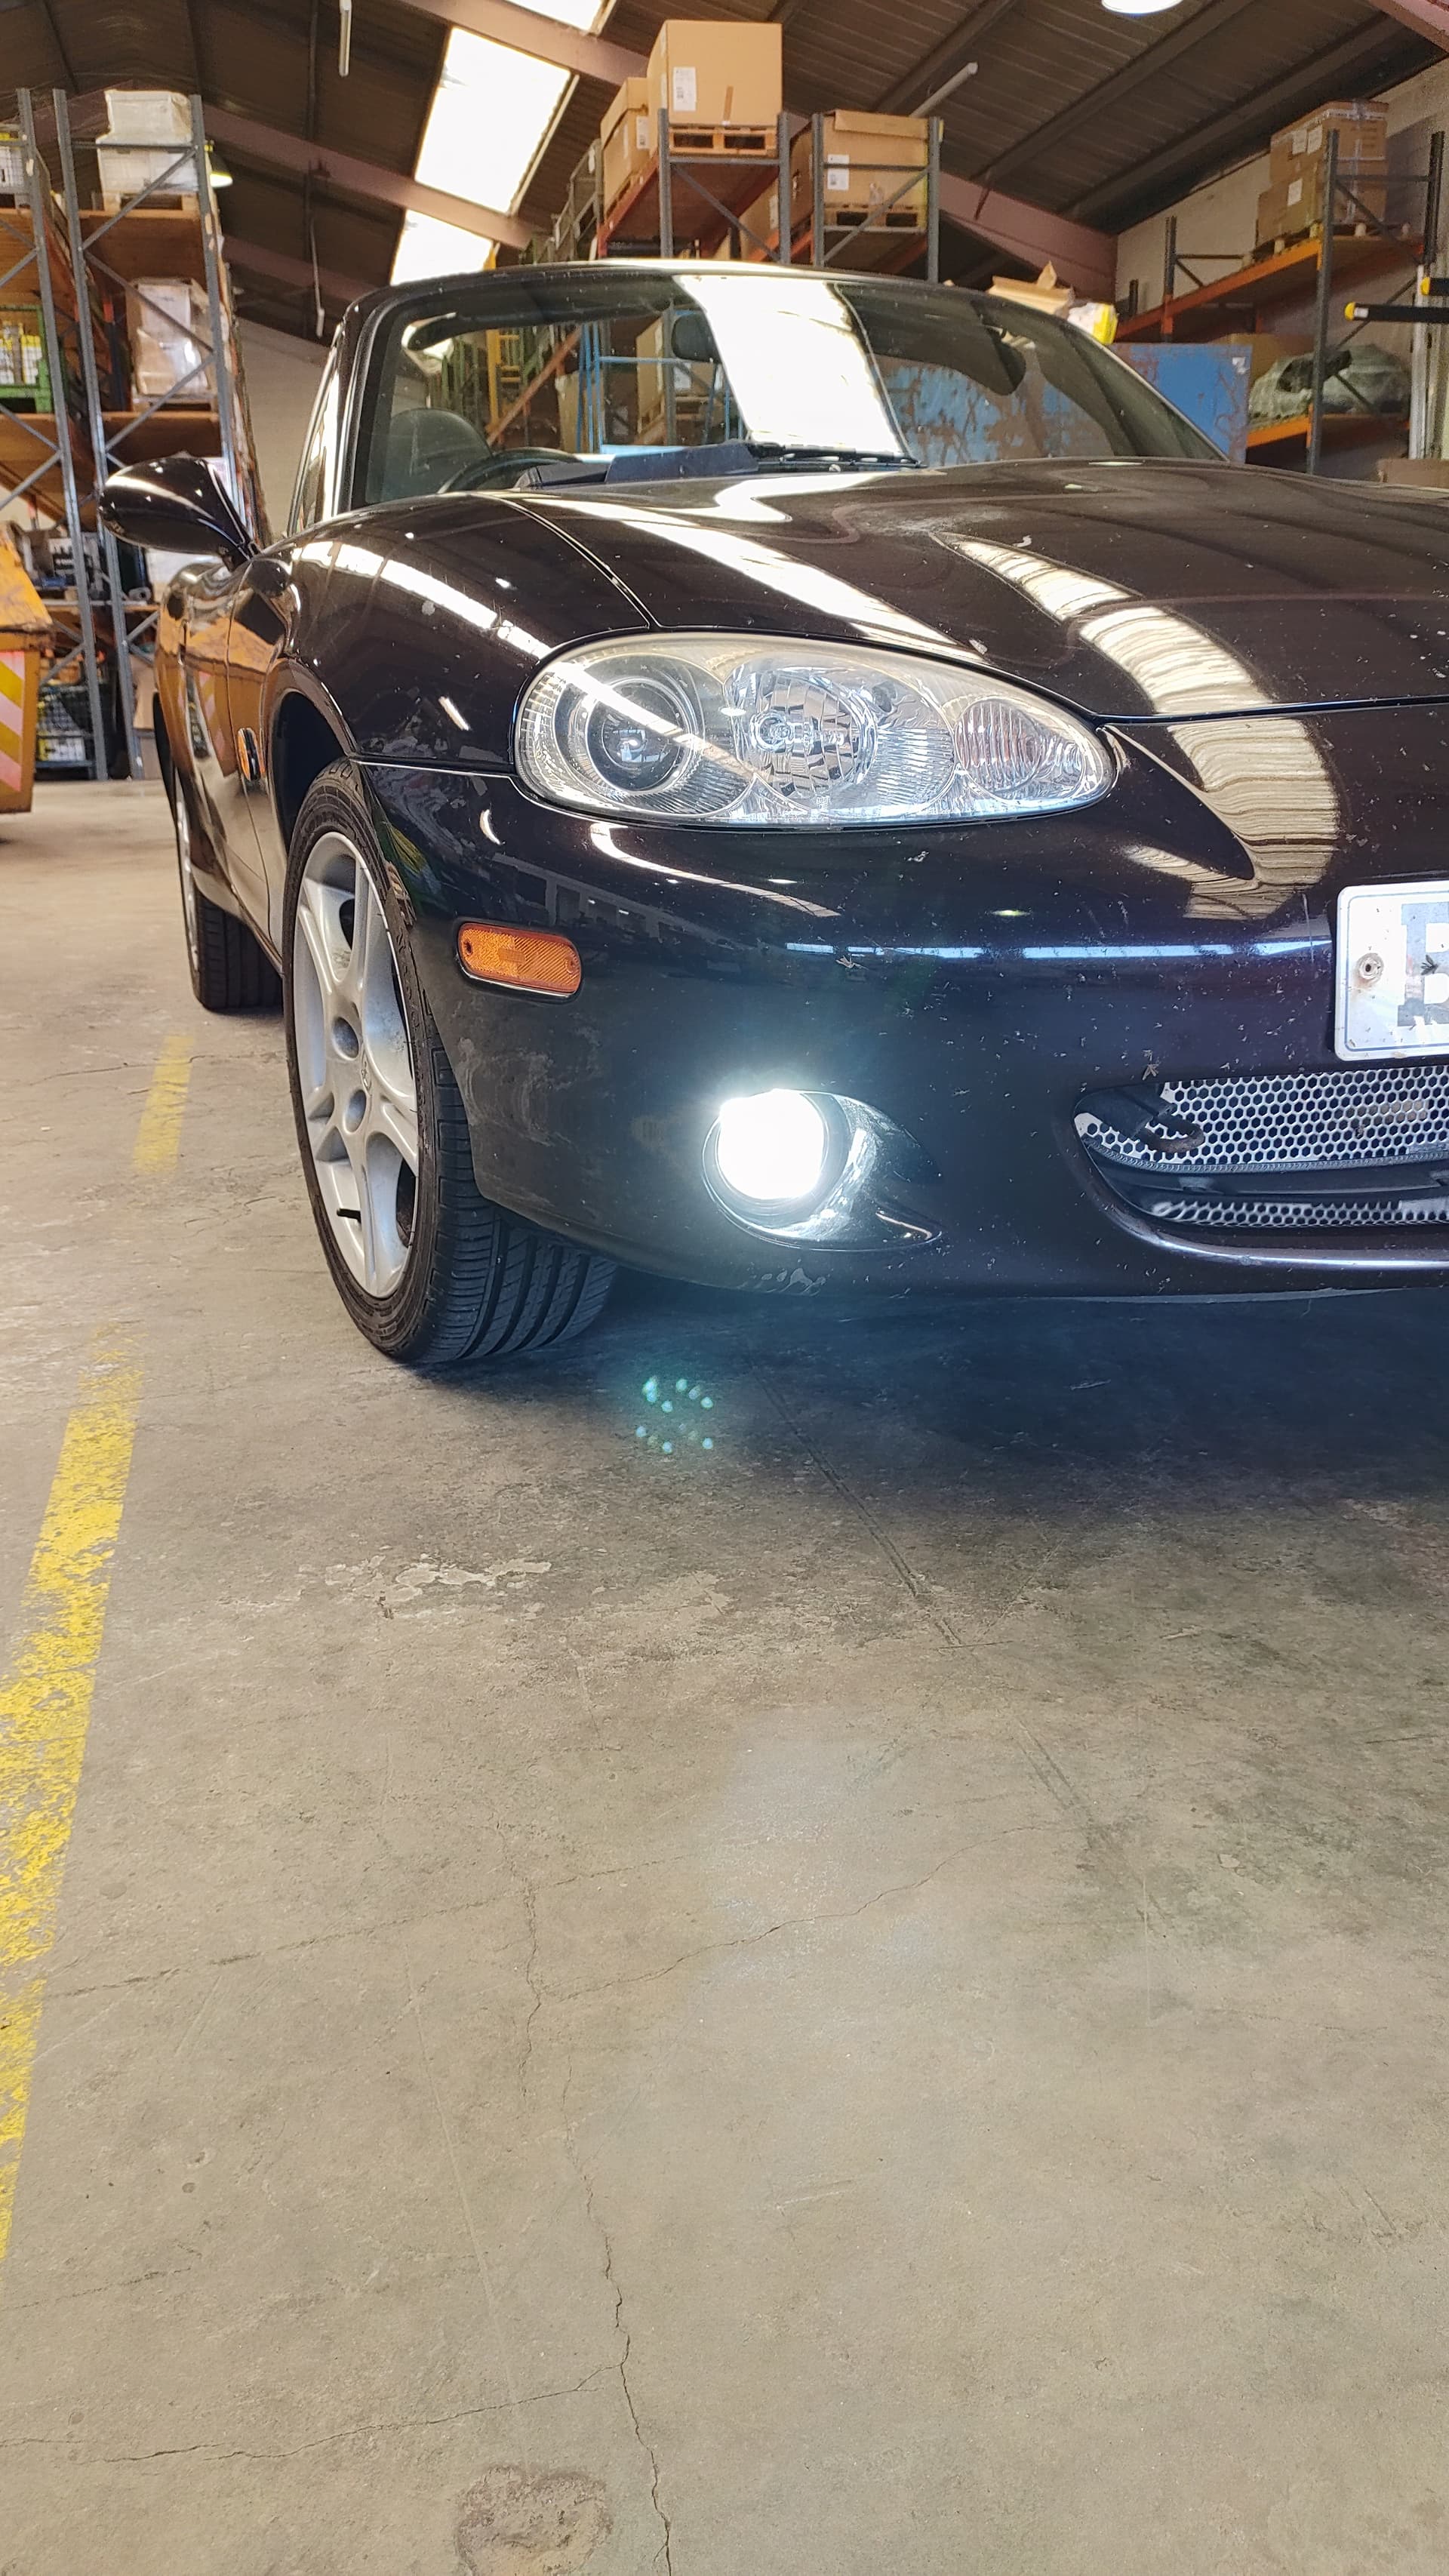
These are Magnetti Marrelli units that are entirely self contained, with only 3 wires to connect, earth, ignition live and a feed from the side lights so they go off when you turn the headlights on (as per the lighting regs) and they use the OE fog lamp bracket, so no cutting required
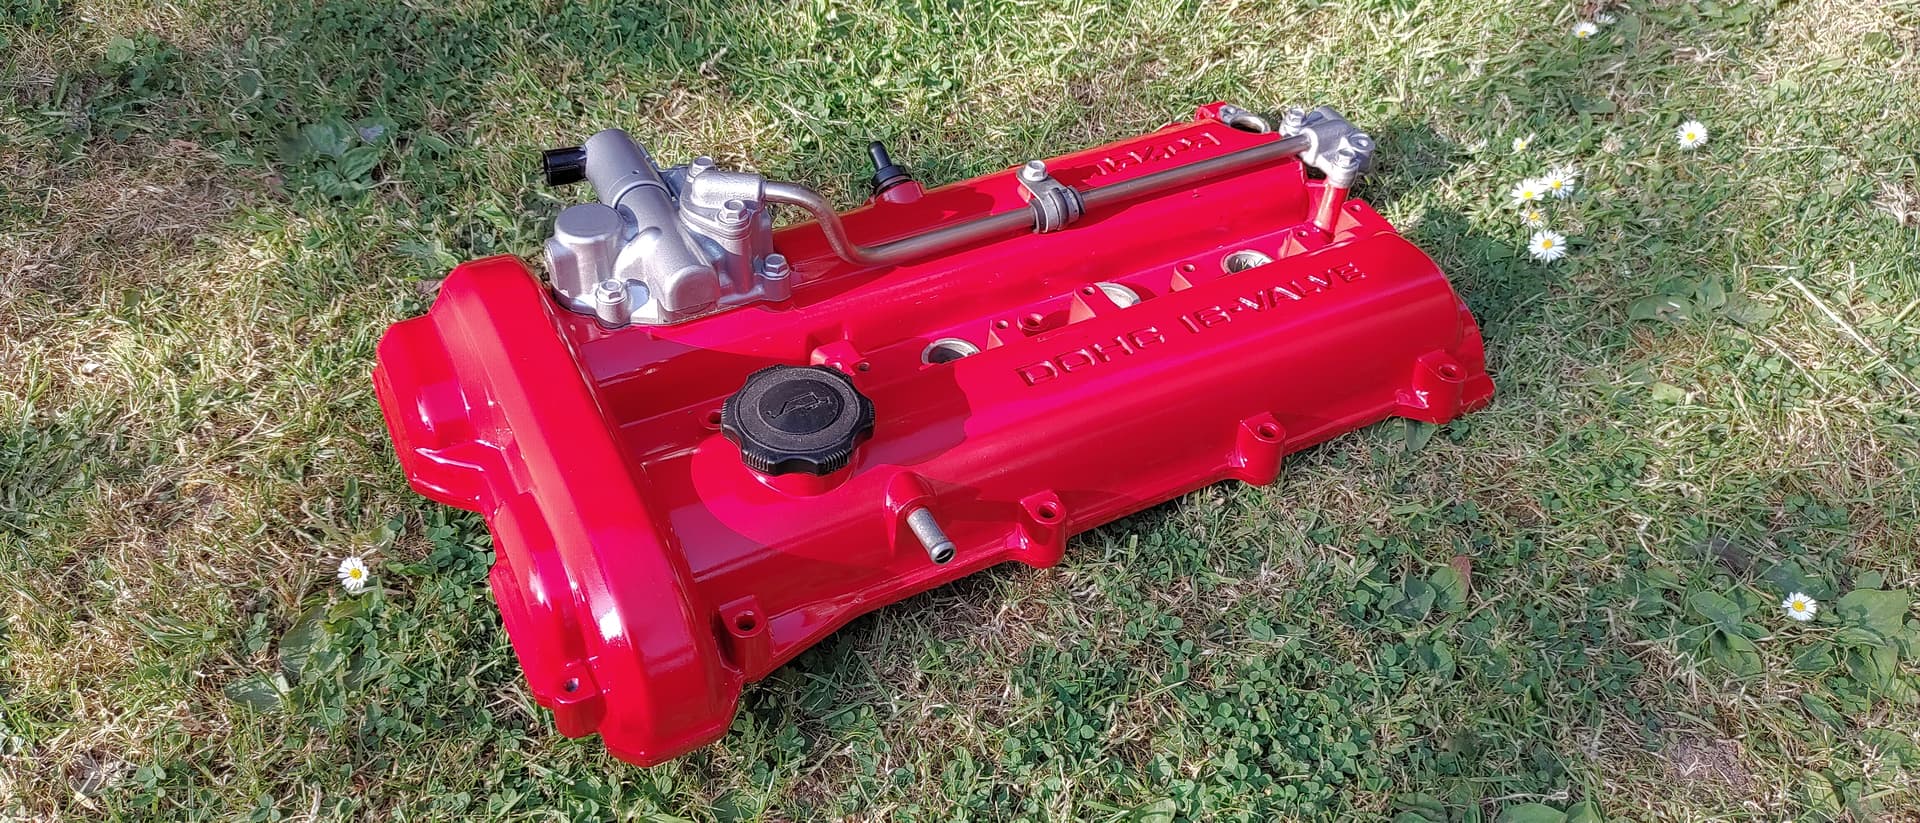
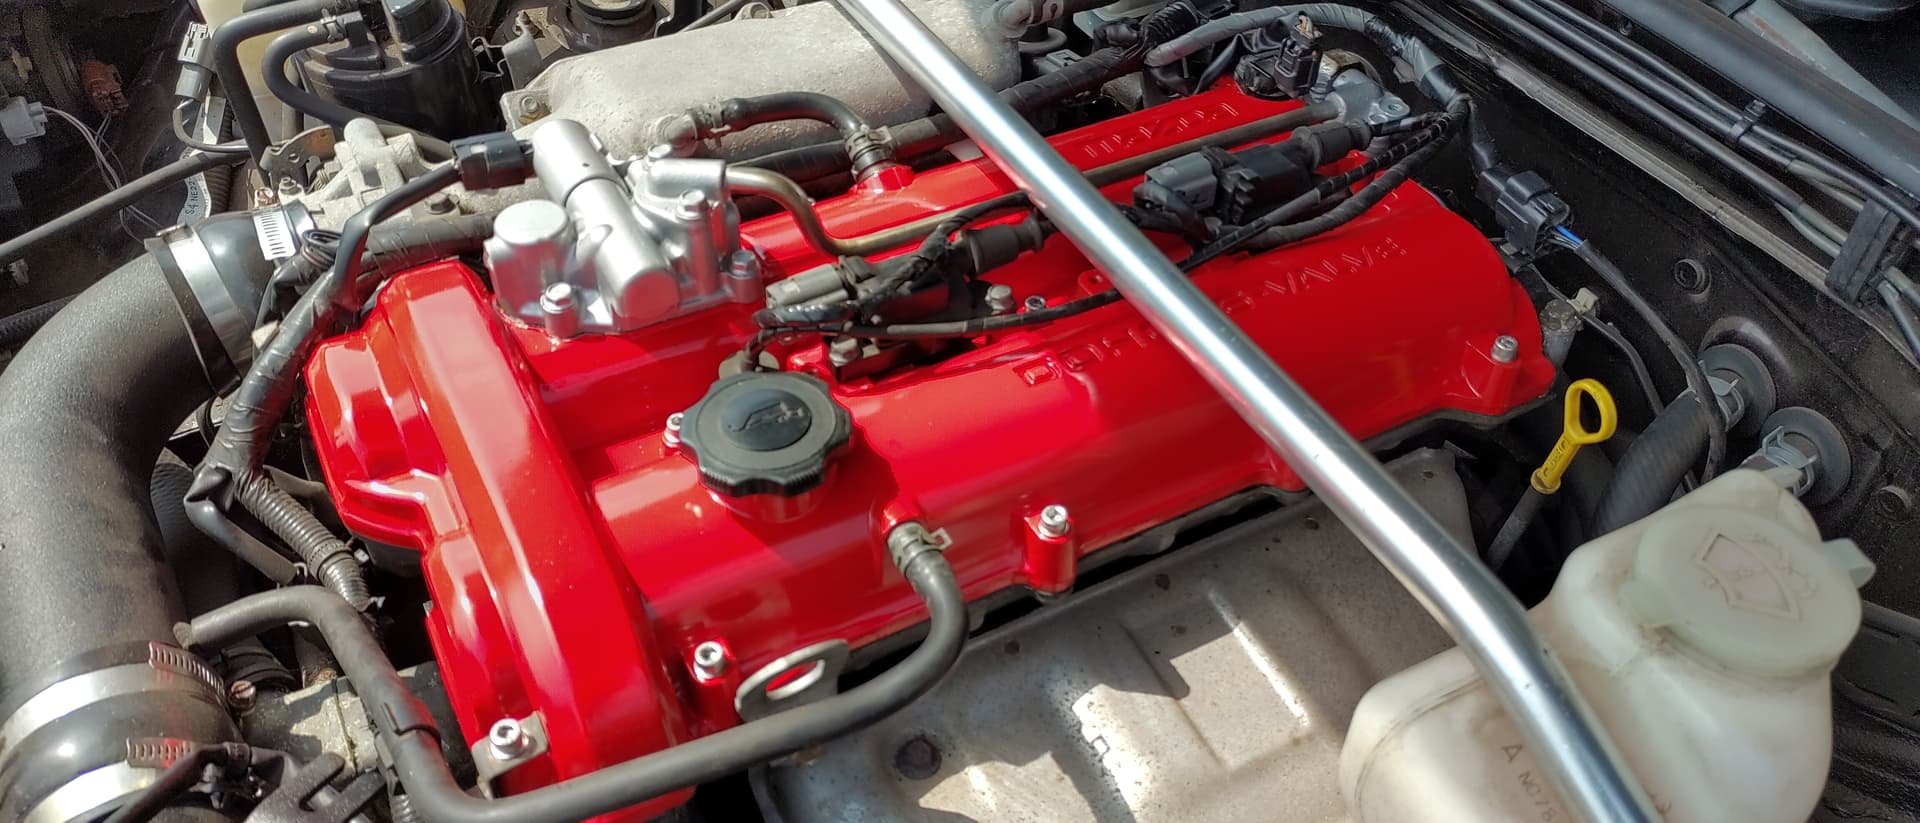
The only other thing i managed last year was to paint the rocker cover and replace the manky bolts with some nice shiny stainless socket caps.
6 Likes
Fast forward to this year an i have turned my attention to something that can be done that isn’t 100% weather dependant - the rear subframe. Bagged a complete unit off eBay for a good price and set about cleaning it up.
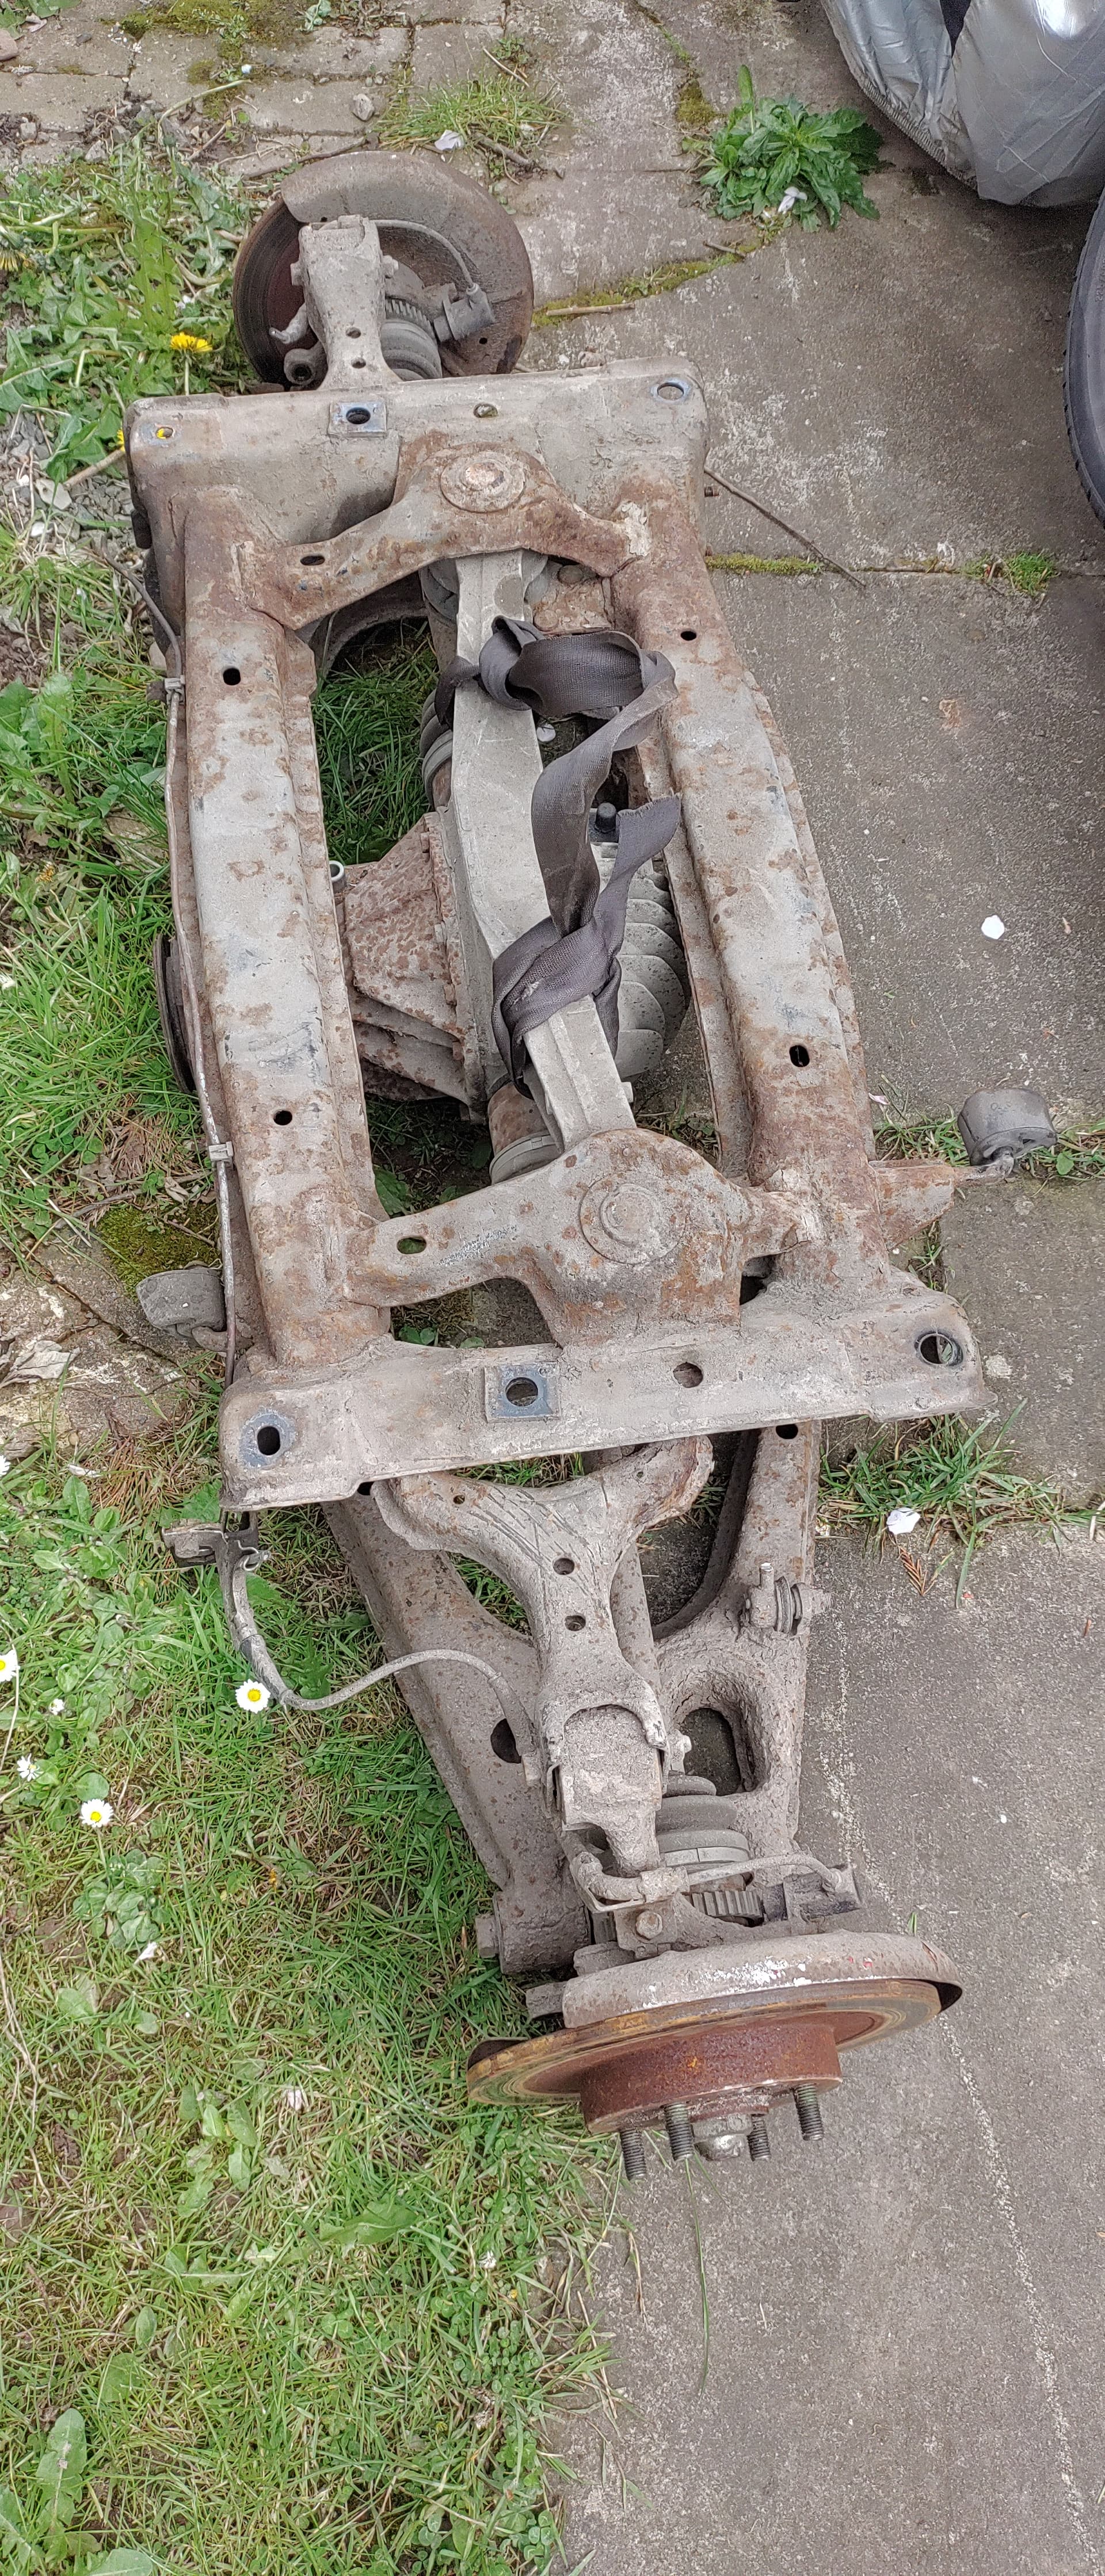
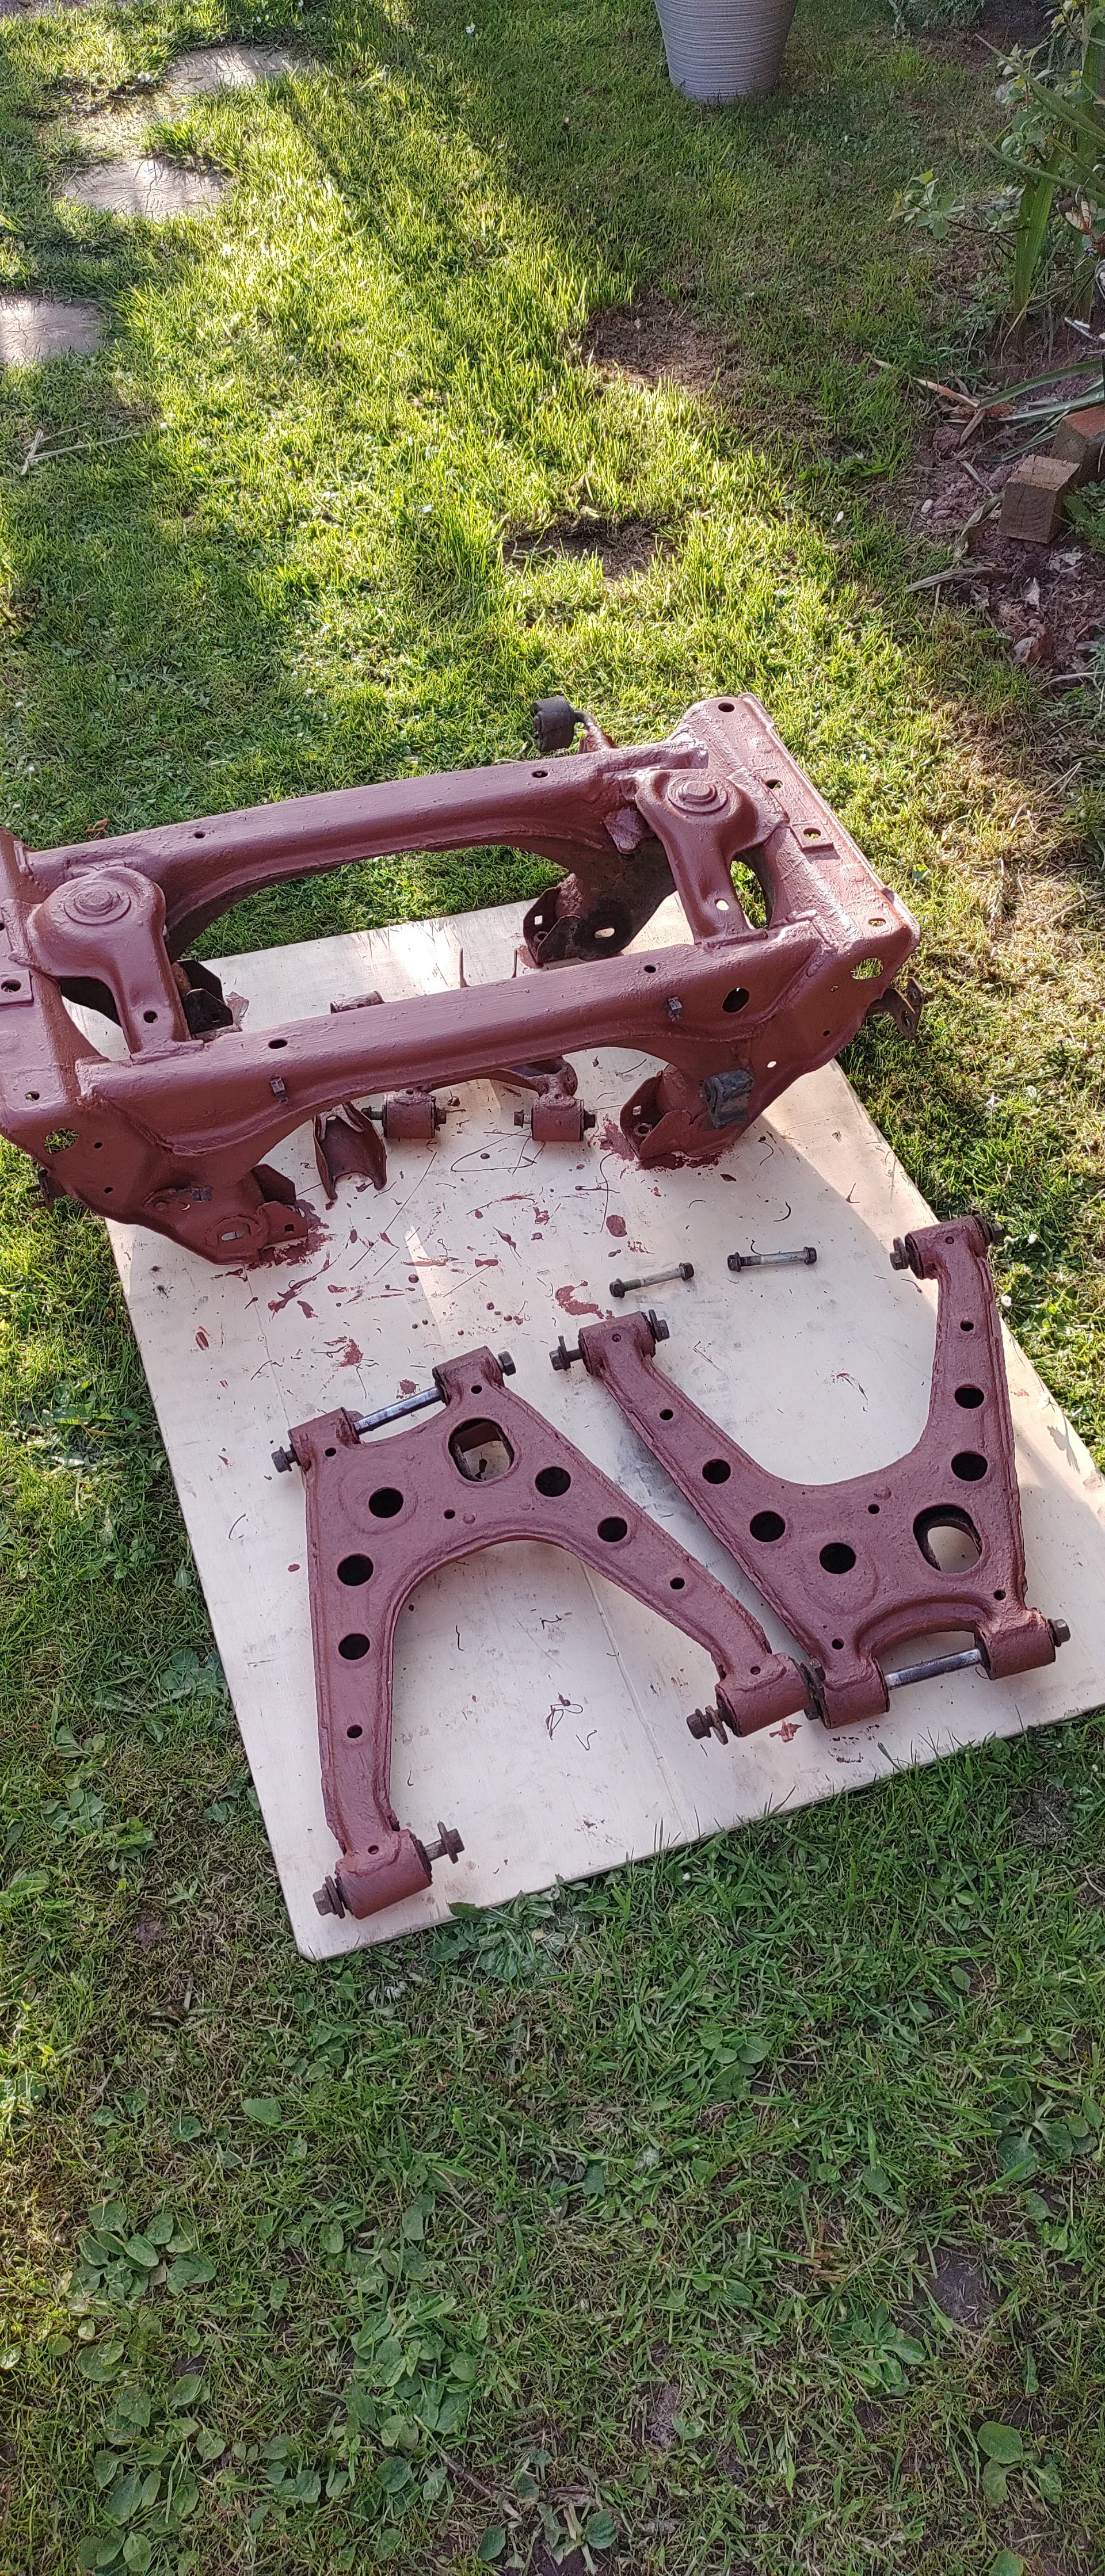
Wire brushed and coated with Buzzweld RE (two coats on frame and all the arms)
2 Likes
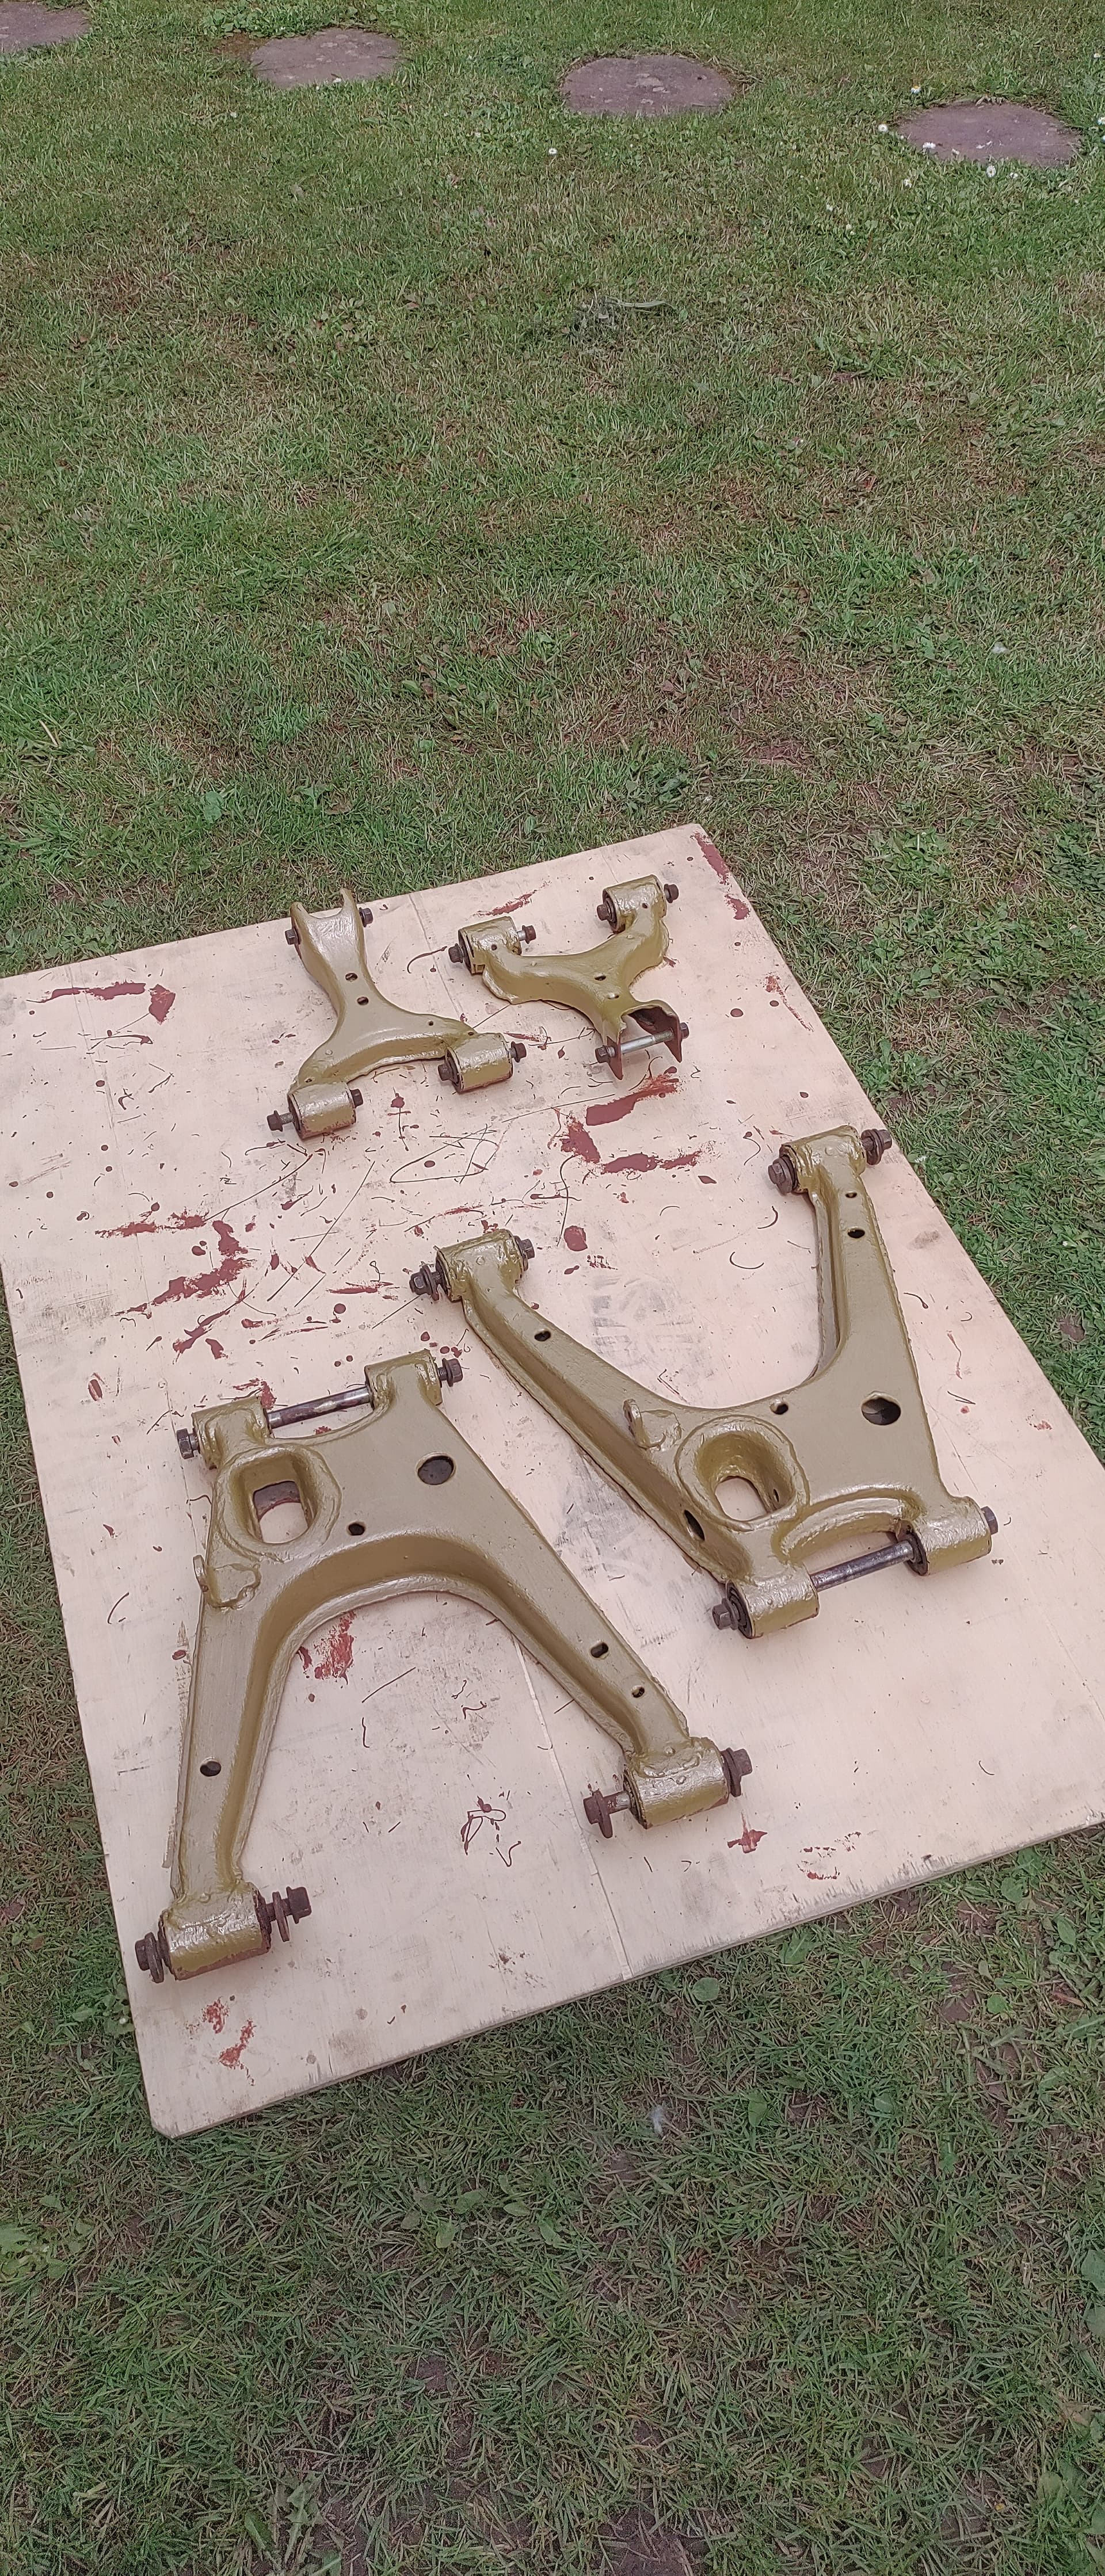
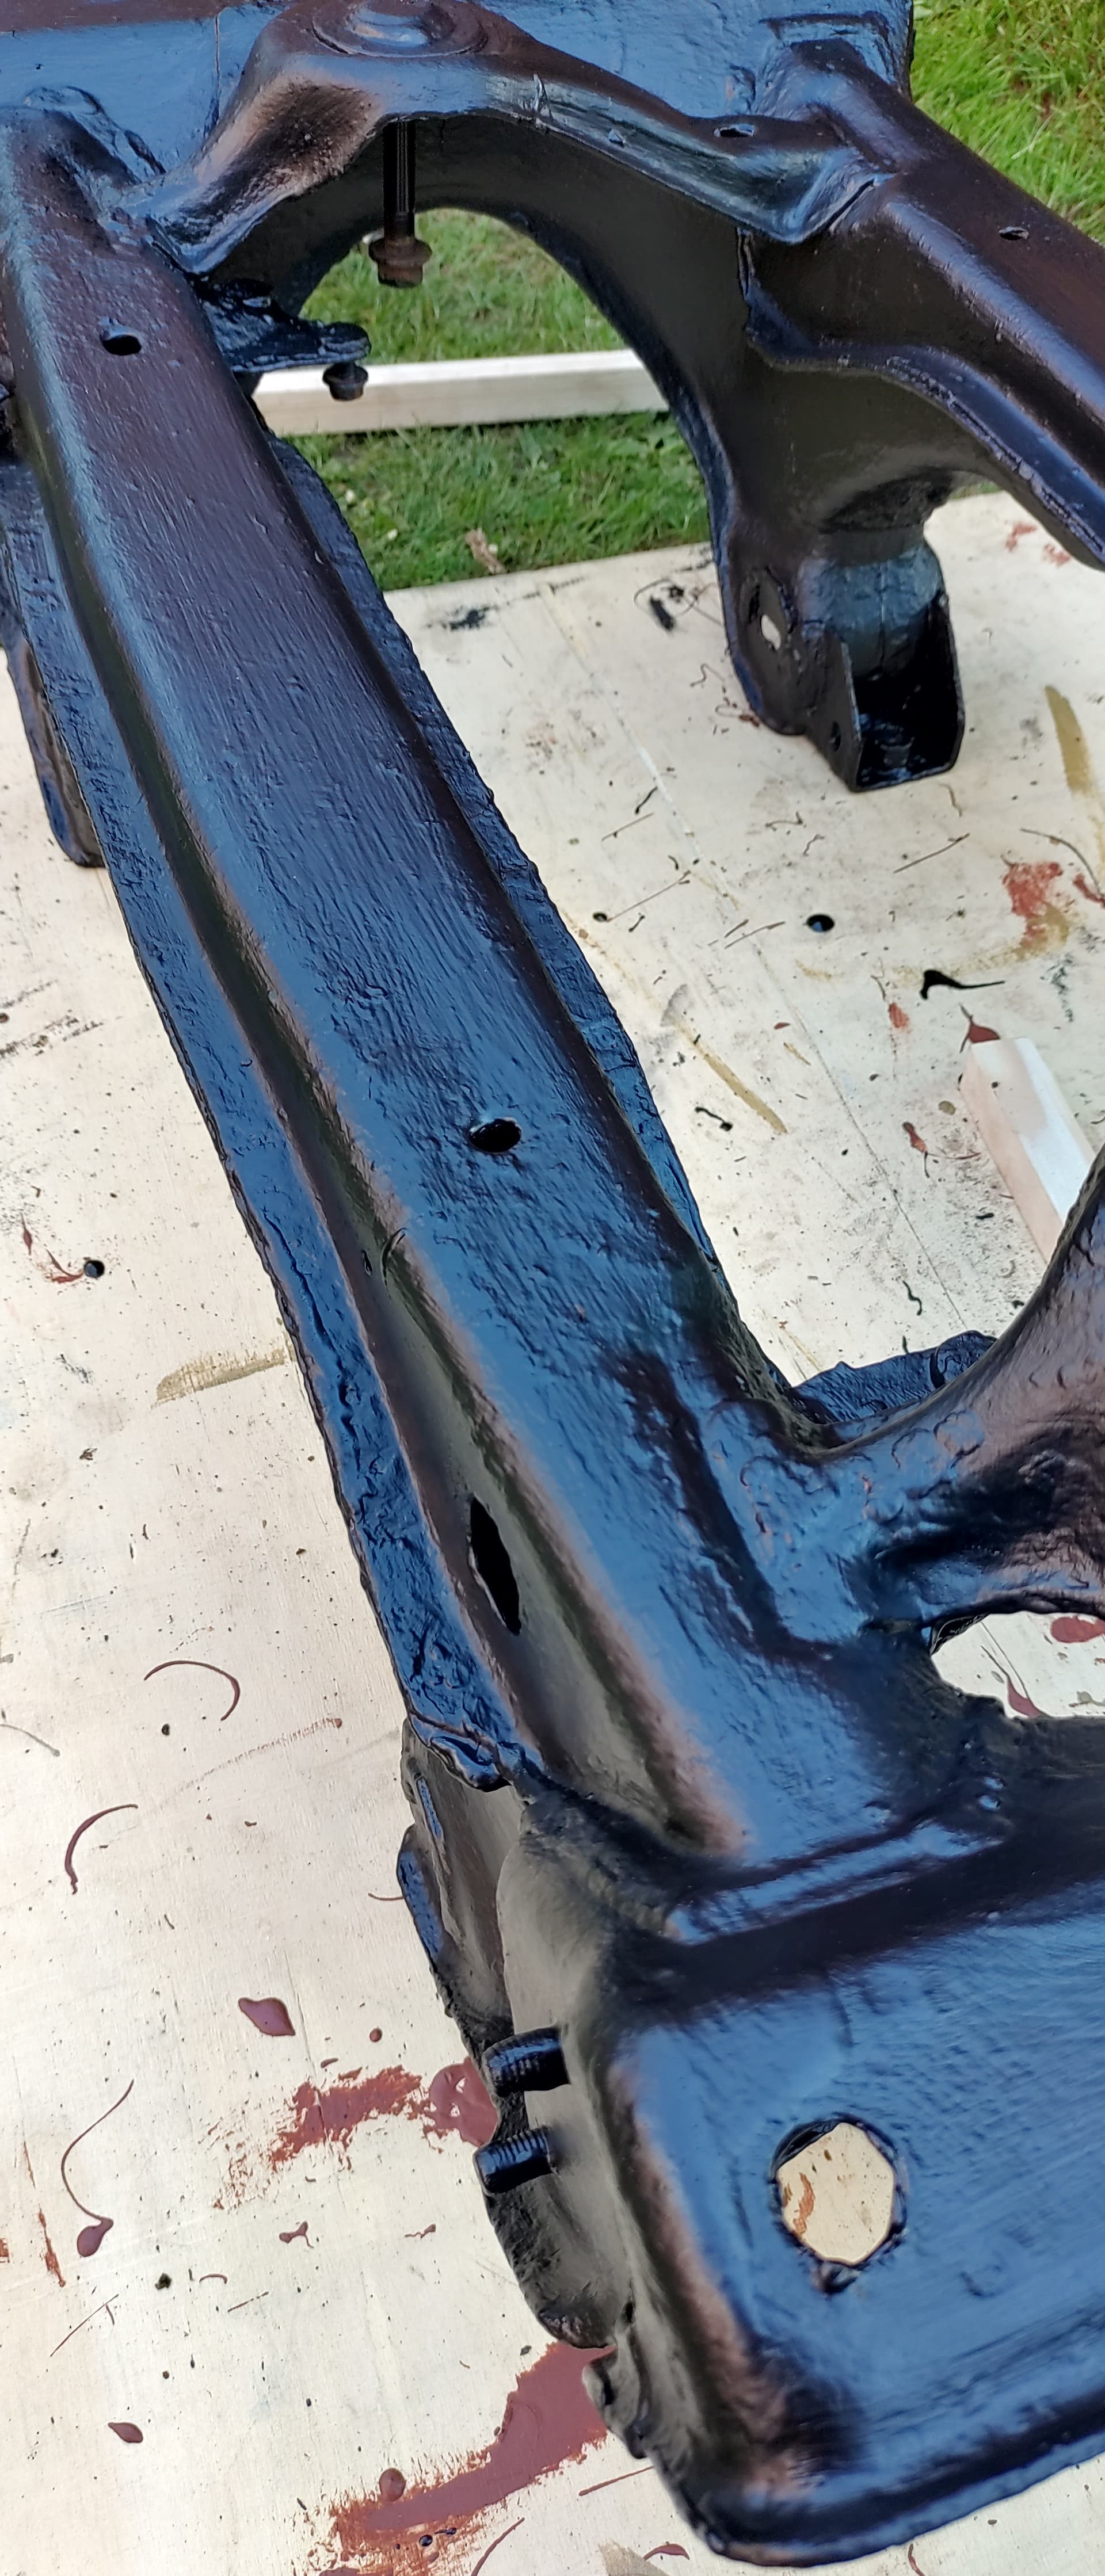
Then top coated with Buzzweld CIO black on the frame and rear uprights and gold for the arms ![]()

Quick mock up
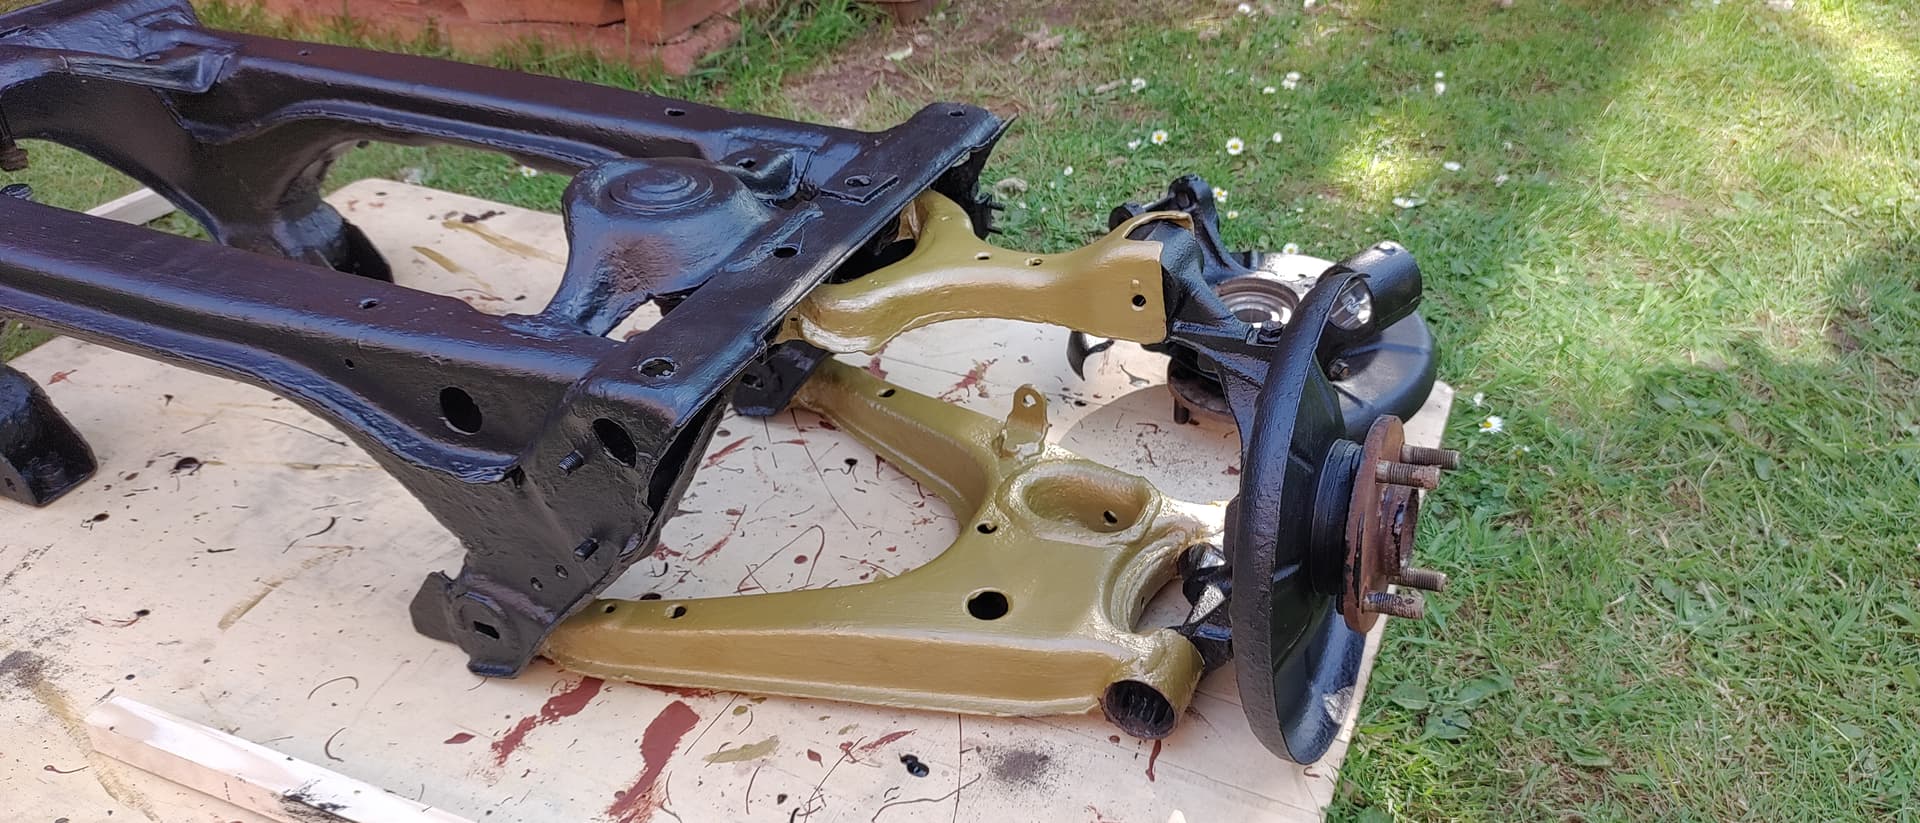
New bushes have also been acquired (poly) and also a set of low mileage OE Bilsteins
All i need to find now is a front subframe and arms to do the same to, rather than have the car off the road too long.
The plan is to do the NS sill etc, then drop the subframe, strip the underside back to bare metal and reprime, paint and underseal it, before moving to the front end and doing the same.
Given the current weather i may have to invest in a gazebo, it’s no fun working outside in the UK sometimes.
7 Likes
What a great job on a great car! I applaud your ingenuity in fabricating the panels too!
I have a 2004 SVT and have gone through a similar process to you, although I had the luxury of a ramp in a friend’s garage and bought new panels for front and rear wheel arches.
I’ve also just replaced all of the arms with cleaned and powder-coated items, new IL Motorsport rubber bushes and new Bilsteins all round. I like the look of the Magnetti Marelli conversion too. I bought a switchback DRL kit to install but yours looks much better.
2 Likes