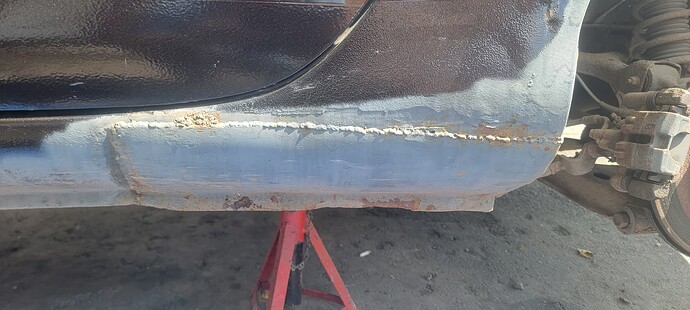
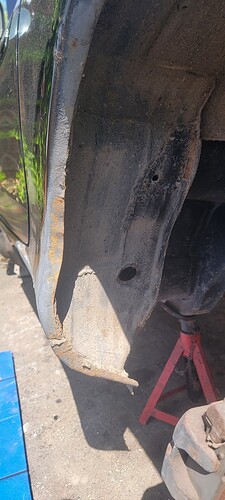
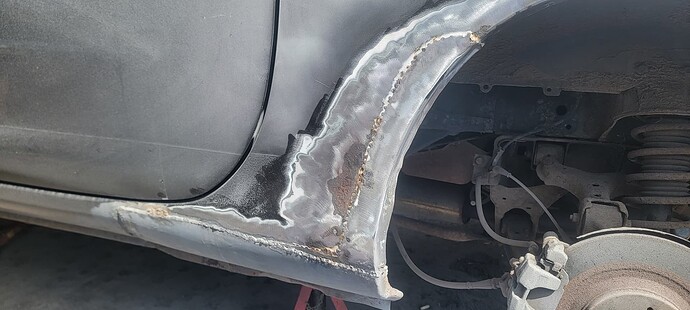
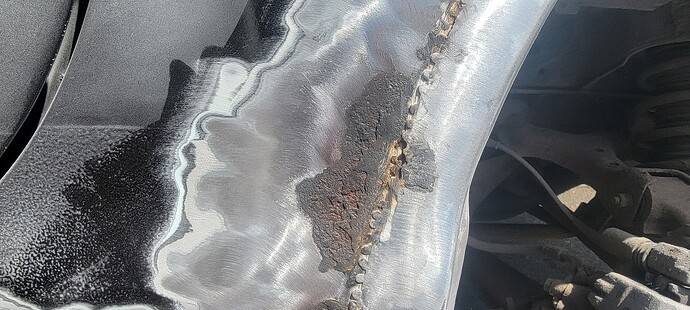
That rear suspension looks swanky. Nice job all round ![]()
Cheers, i learnt a lot from my dad years ago when we used to buy damaged repairable salvage cars (and watching lots of restoration programs and videos - it also helps knowing the Greenhouse family from The Smallest Cog ![]() ).
).
I found the lights after looking for a DRL solution on Youtube. They are a direct fit for the OE units - around £60 for the pair off Amazon, although they do sometimes come up cheaper.
Magneti Marelli 713120117010 LED Daytime Running Light Set Round U Headlight : Amazon.co.uk: Automotive
and the wiring kit
Desenda 5 Sets 2 Pin Way Car Auto Super Sealed Waterproof Electrical Connectors Plug Socket Kit with Wire AWG Gauge Marine: Amazon.co.uk: Automotive
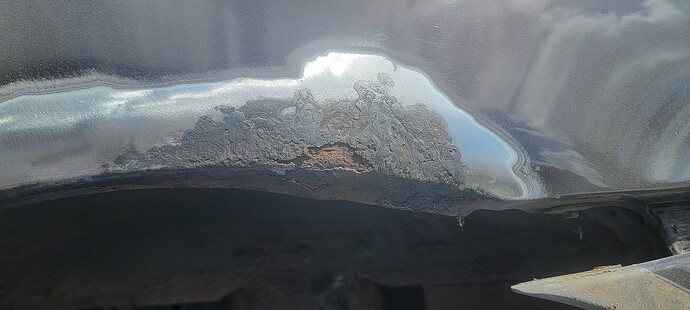
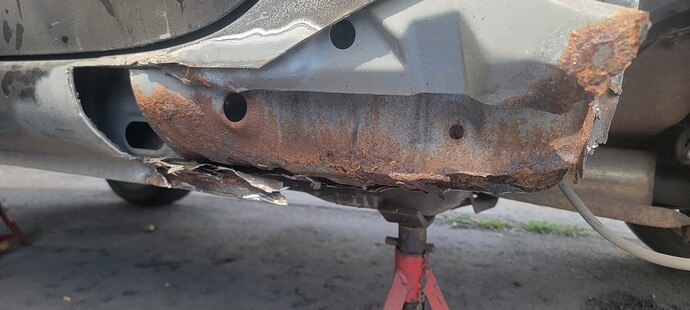
Bit of a shock yesterday. Decided to visit a paint shop to get a rough idea on painting the rear quarters, along the sills and the bottom of the front wings on both sides vs the cost of a full respray.
Both sides - £1600
Full respray - £5000+
![]()
![]()
Wish I had that level of talent, skill and perseverance, I take my hat off to you saving another S-VT, my wallet is considerably lighter for having paid to have most of that done over the last 6 years to mine.
And I’m at the beginning of that journey with yet another '04 S-VT. Doing what I can myself, but will need professional input for the kind of metalwork skills being displayed here. Great job ![]()
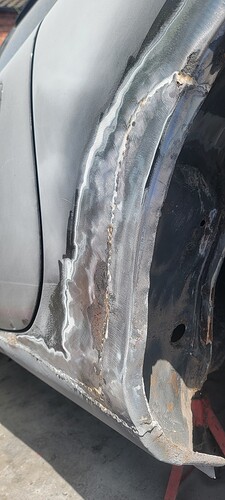
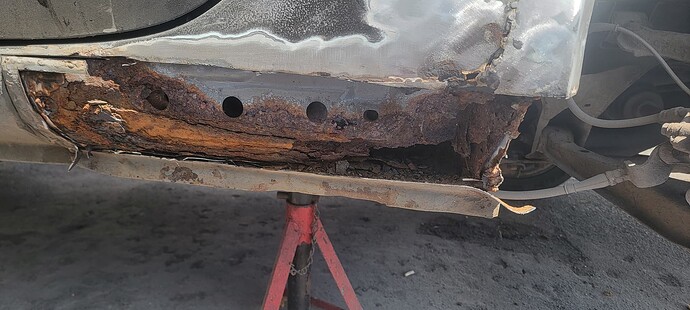
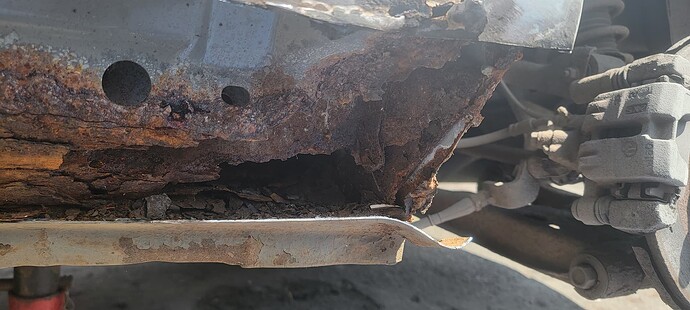
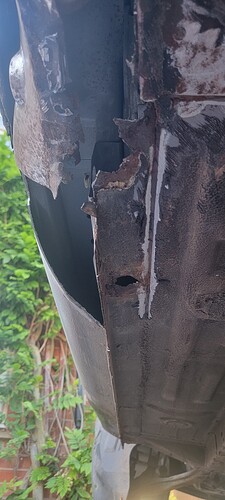
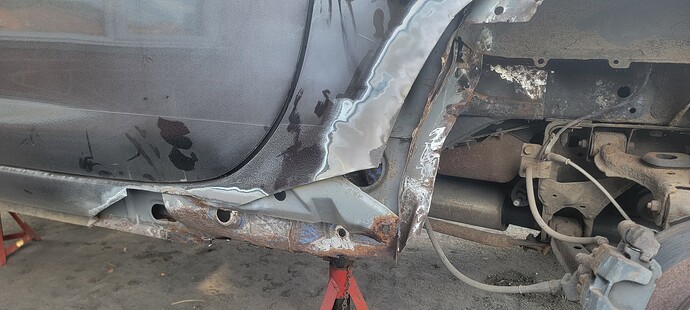
expect some more pics as i progresss (why did i chose the hottest days of the year so far to start this??)
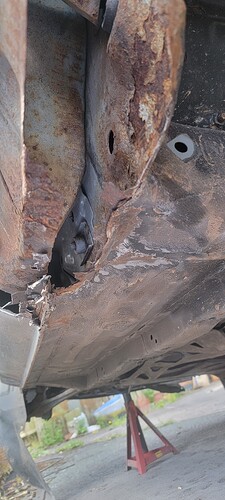
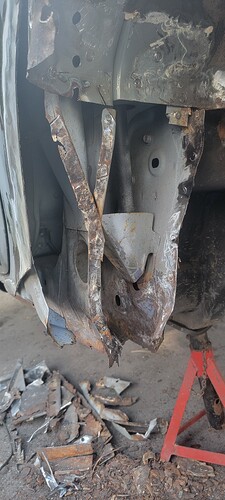
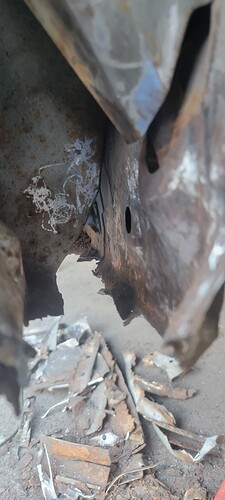
Crumbs.
That looks pretty daunting. ![]()
A bit, lol.
So, onwards and inwards?
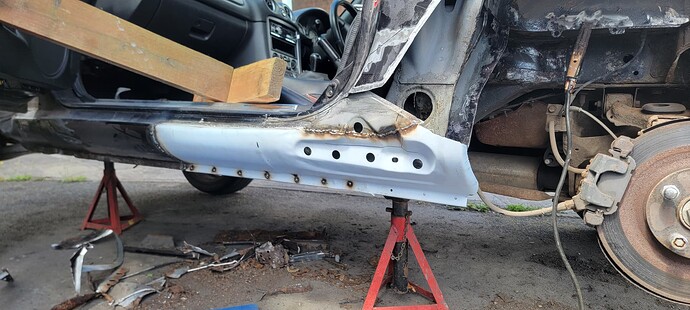
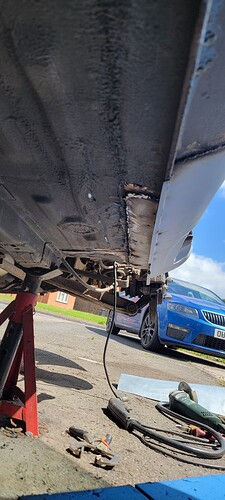
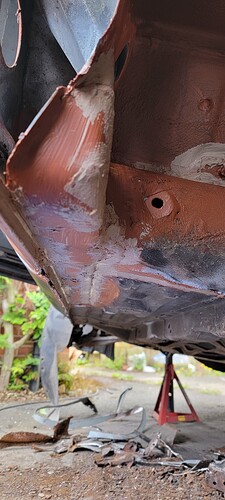
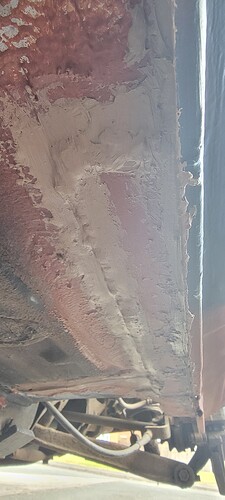
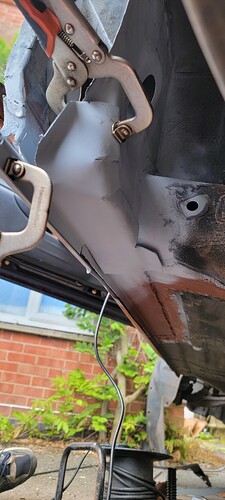
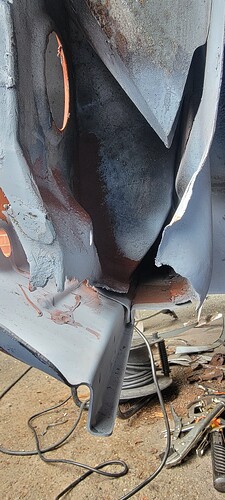
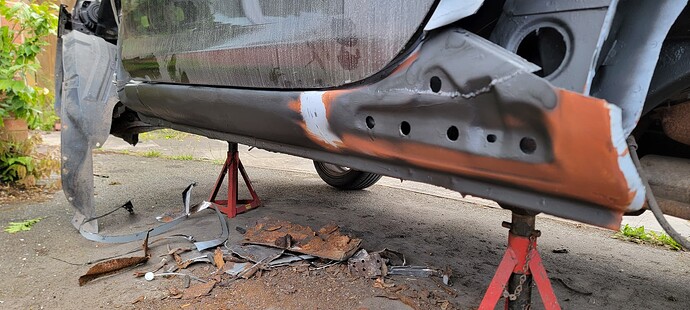
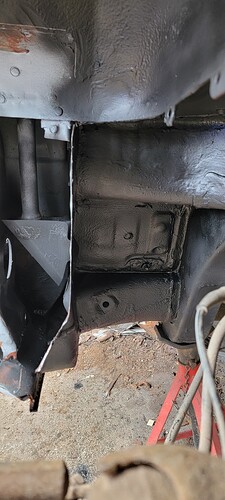
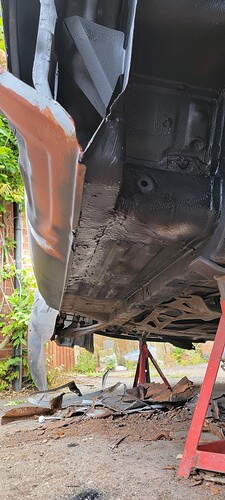
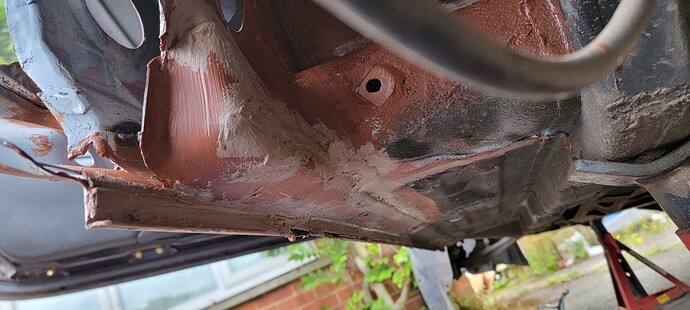
Sill repair section now welded in place, along with the floor to sill section. Plenty of zinc primer used so far, and some buzzweld RE to go over the top, followed by CIO and underseal.
Next up is the rear of the inner sill and the inner arch, followed by the outer panel. Hopefully the weather holds long enough to get the panels all welded up.
What are you planning to protect the inside of the cavities with and how will you apply it please?
I have some buzzweld cavity wax which comes with a lance and a fan jet on the end. Plus i have also used the buzzweld WAR inside as well, using the same lance. Everything painted with zinc primer before being welded into place. Externally buzzweld RE (spotted a pattern yet? ![]()
![]() ), seam sealer mixed with some RE and then promatic stone guard on the top of that.
), seam sealer mixed with some RE and then promatic stone guard on the top of that.
Once the paintwork has been done, i will go at it with some of their clear coat protection as well. I want it to have the best chance of surviving as long as possible.
Sounds thorough.
That ought to last a long time.
Great job
Thanks to our wonderful summer work has stopped - again. It got me thinking though, what have i done so far, and what else have i got to do?
So far:
Chassis legs
Both rear arches and sill ends
Boot rack
DRL’s in place of the fog lights
Rear subframe and arms refurbished and ready to fit
Polished headlights
So, not much really ![]()
![]()
To do:
New calipers all round
New caliper sliders
Poly bush set all round (rears already fitted to subframe)
Bilsteins
New discs all round
Paintwork (once welding finished)
Swap out rear subframe
Refurbish front subframe and arms to match rear
Braided brake lines
New hard lines
New brake/clutch fluid
Powder coat wheels (finish to be revealed)
Paint new calipers
Paint underside and reseal it all
Paint under braces
Thinks thats all of it ![]()
![]()
![]()
What are you going to do next week? ![]()
Joking aside I’m interested to hear what braided brake hoses you go for and how well they fit.
Keep up the good work ![]()
Not sure ![]()
![]()
Brake lines are HEL from Freaky Parts. Came out at £88 delivered, so about £30 cheaper than ebay. Went for the carbon fibre finish, standard brakes are cheaper (these are longer for the svt)
