Hello All,
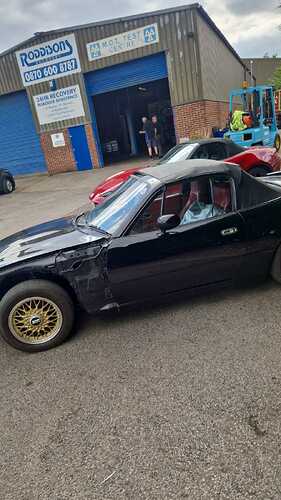
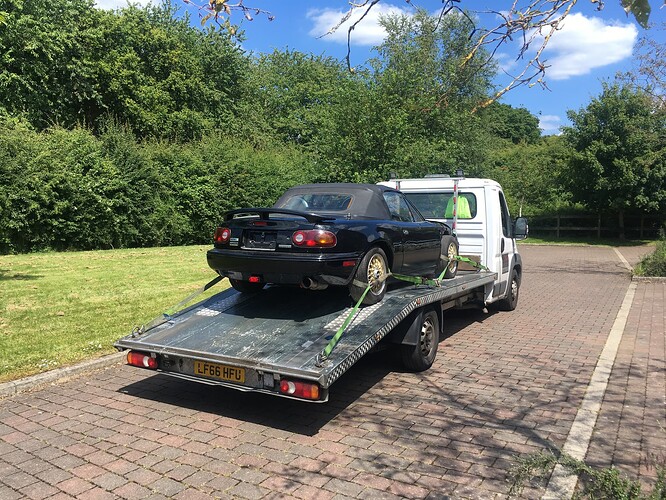
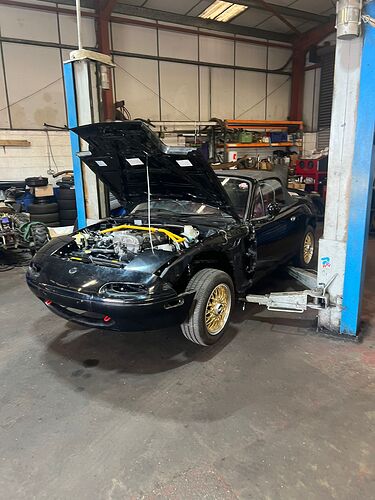
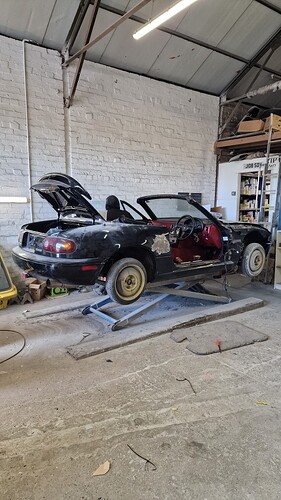
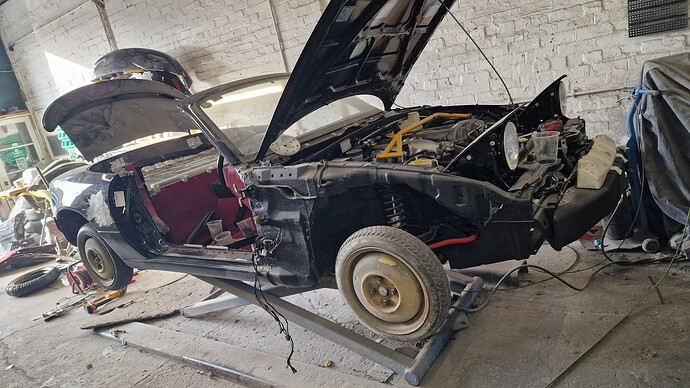
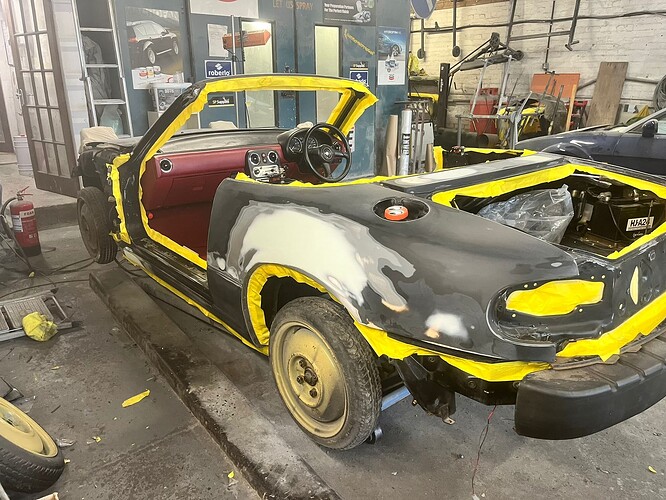
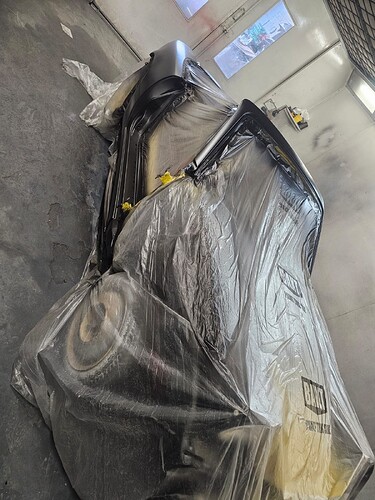
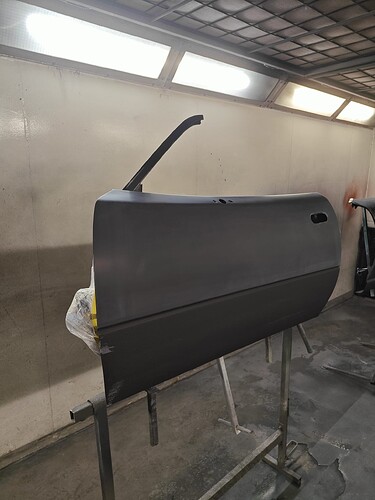
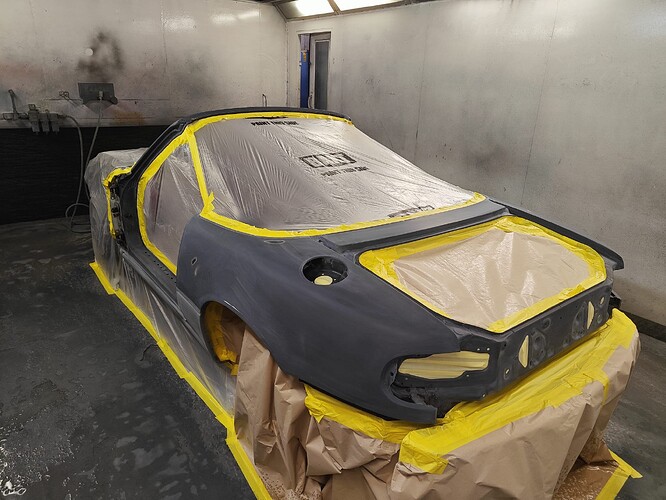
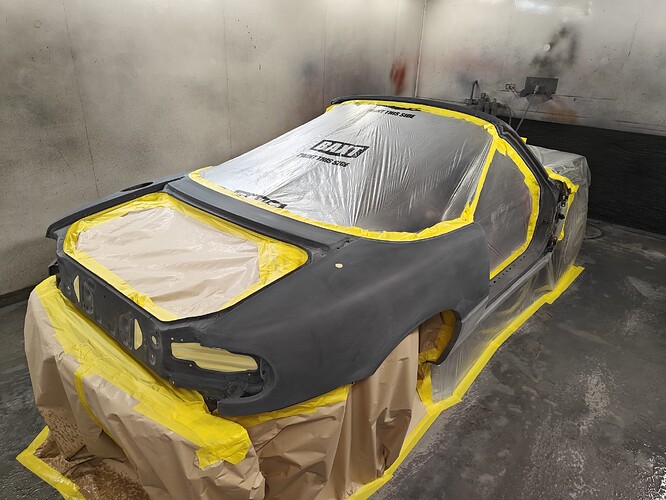
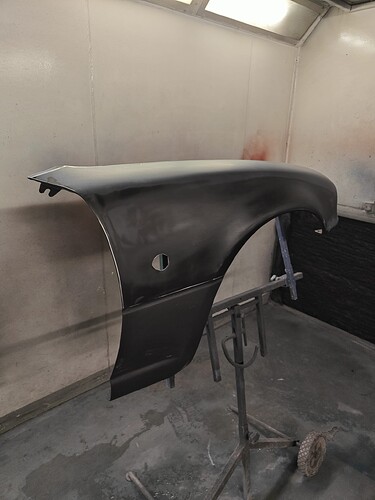
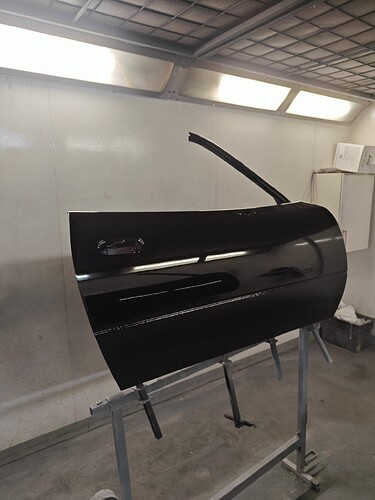
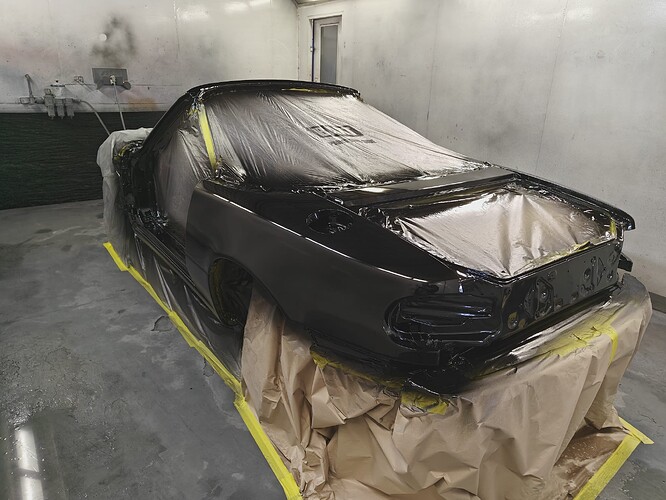
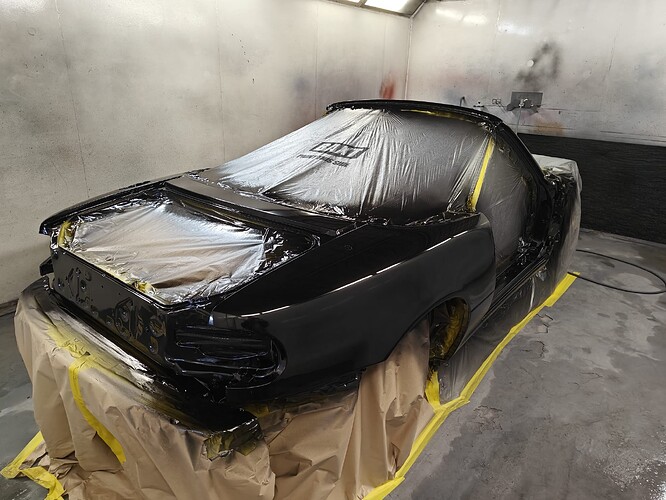
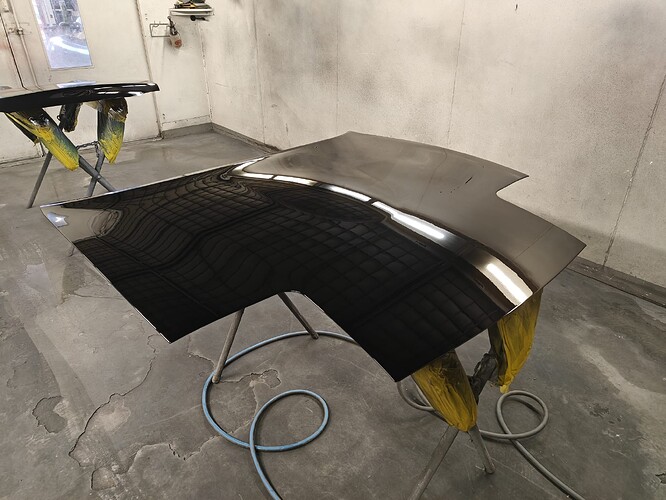
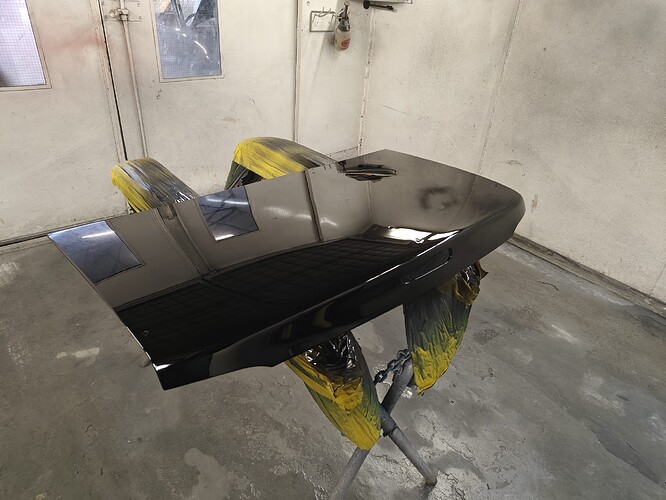
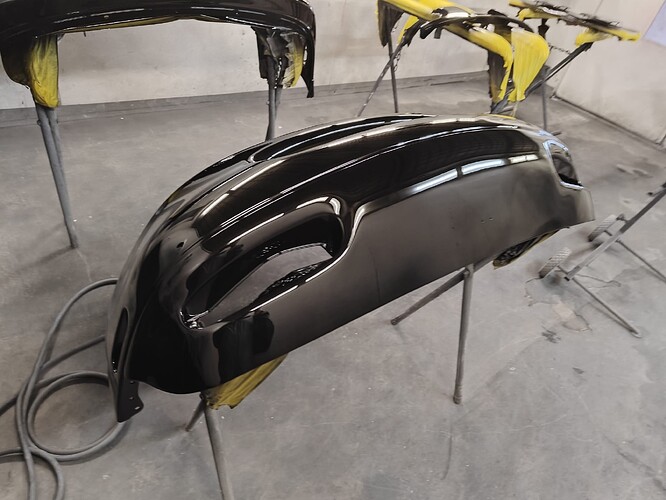
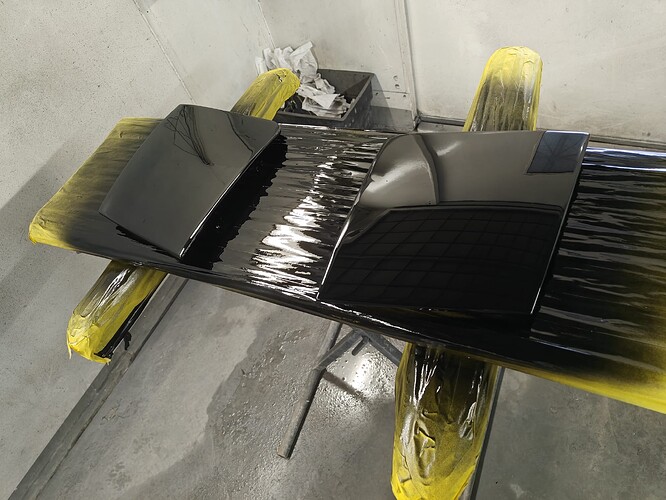
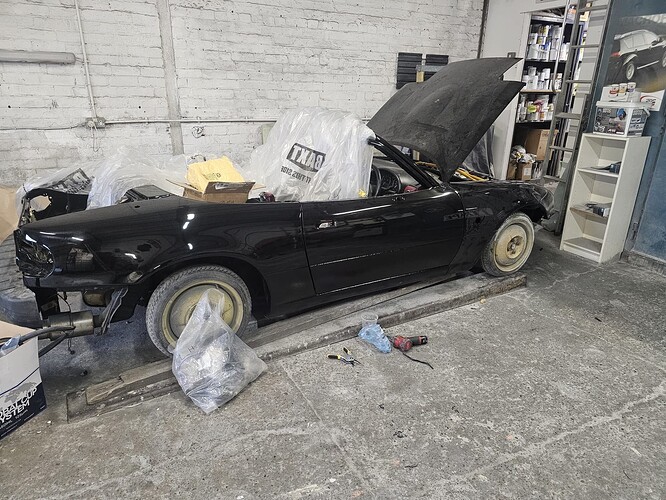
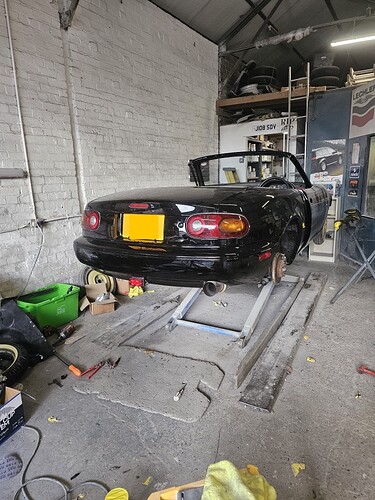
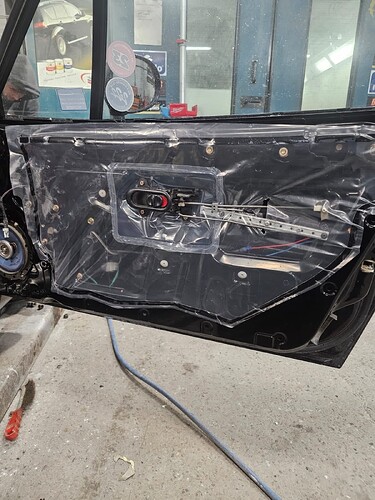
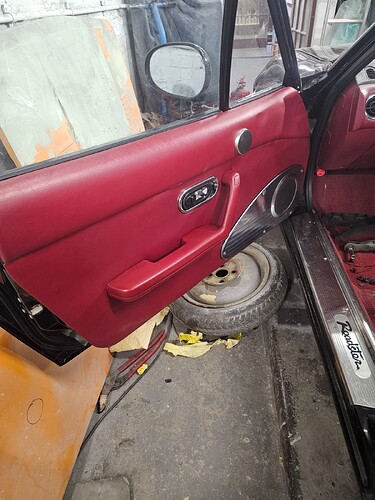
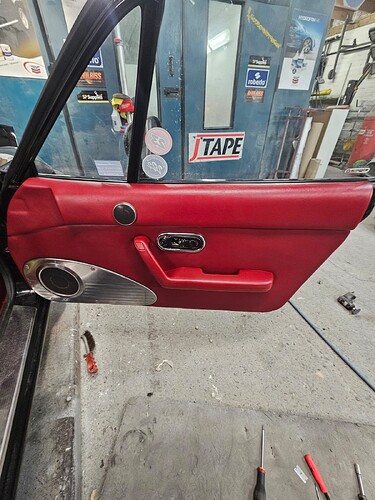
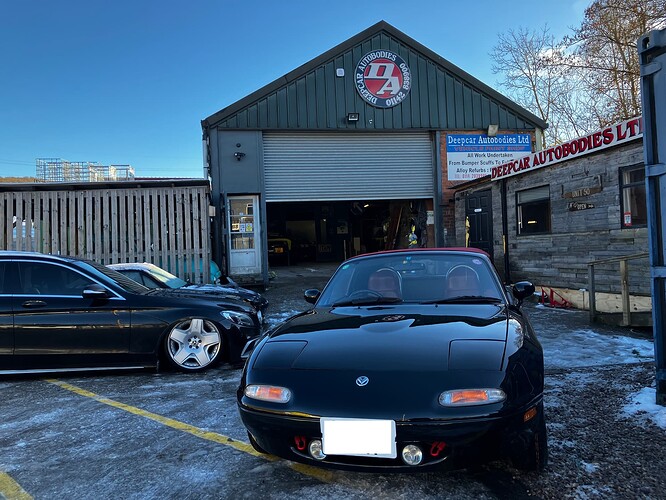
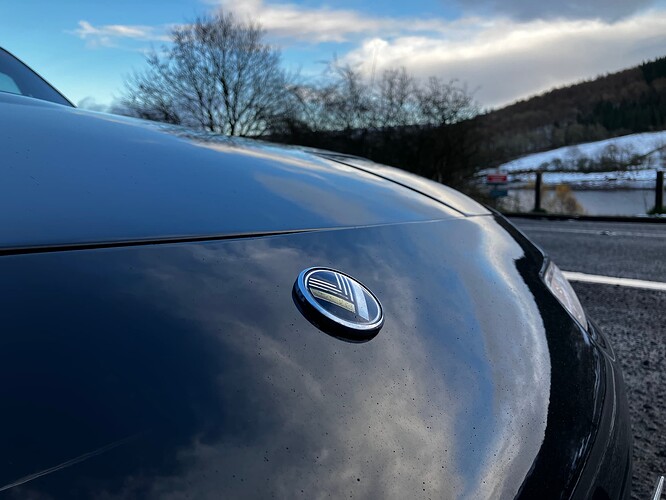
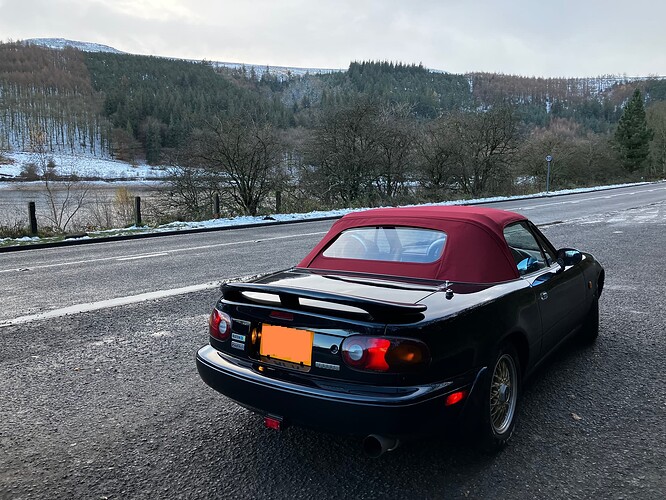
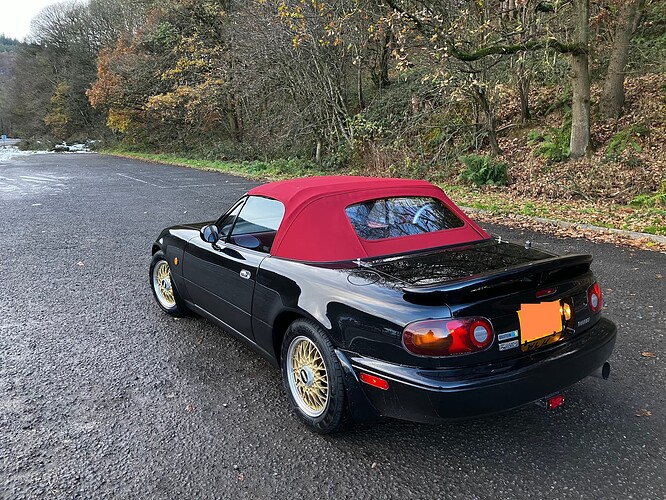
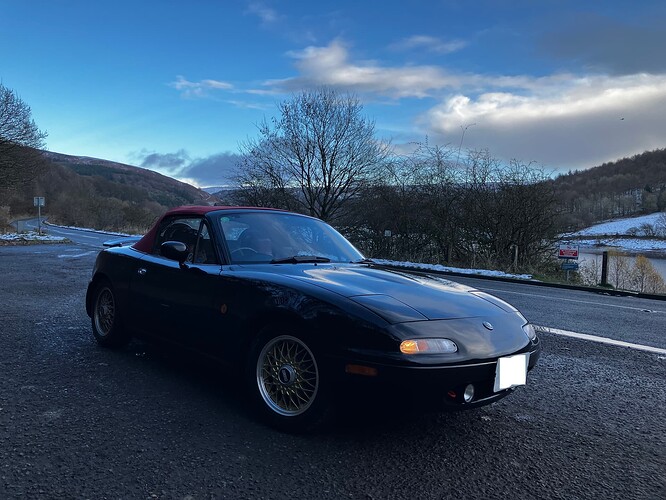
This is my Eunos, arriving at Rodders’ garage only a few hours ago in preparation for some suspension work and an inspection that will be carried out over the next couple of days.
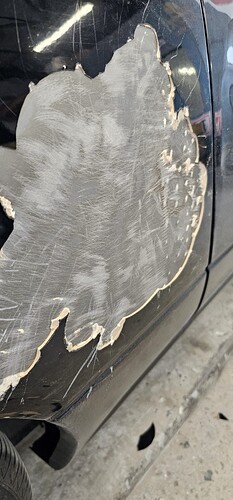
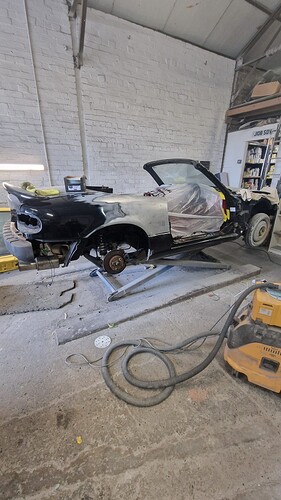
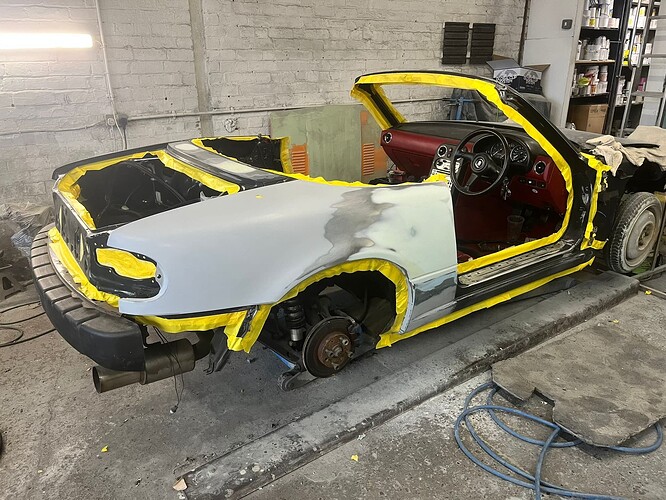
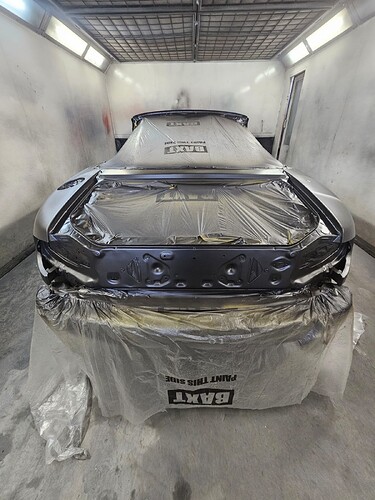
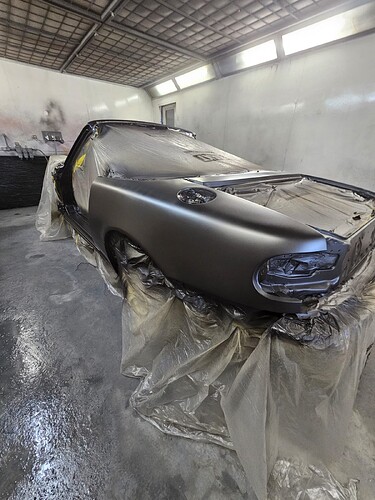
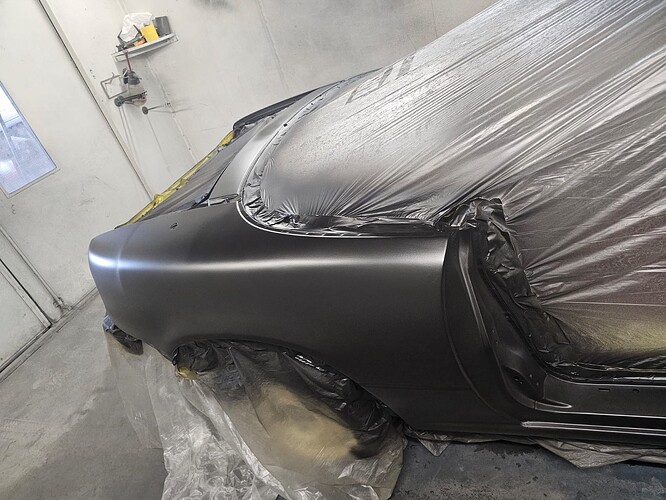
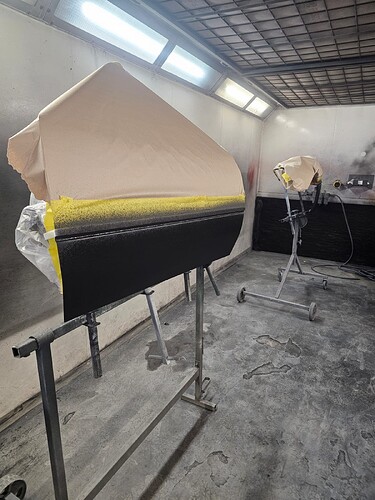
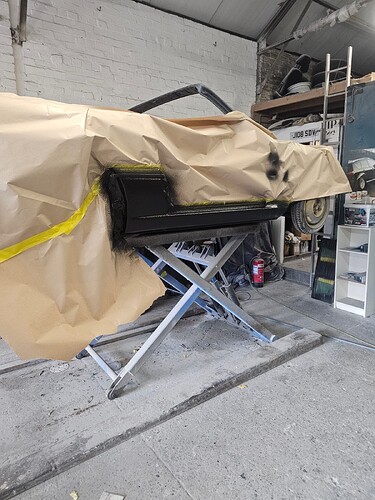
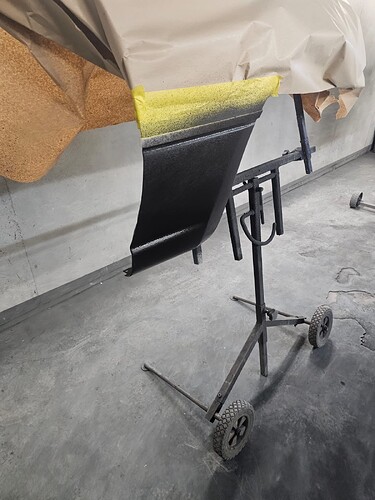
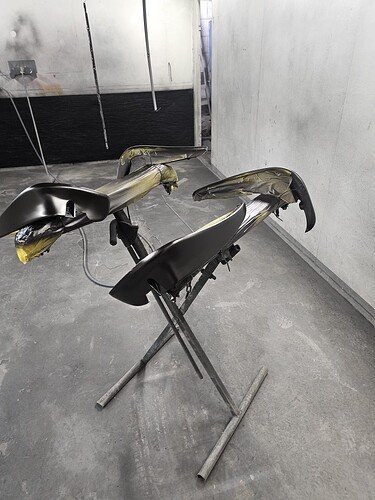
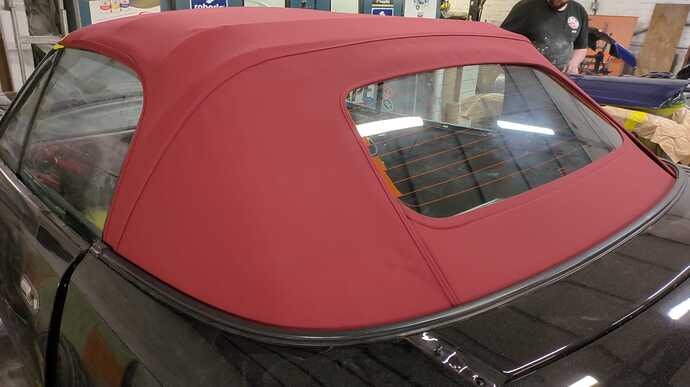
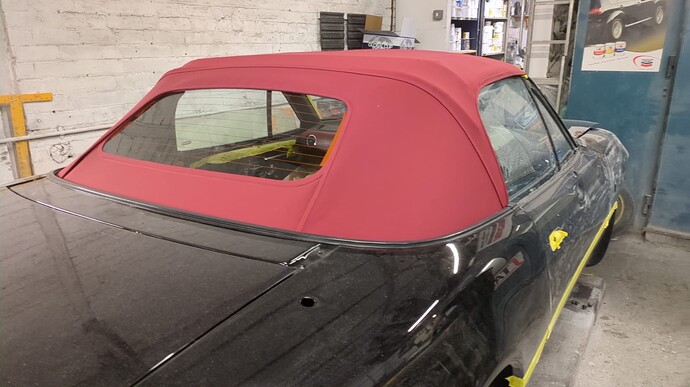
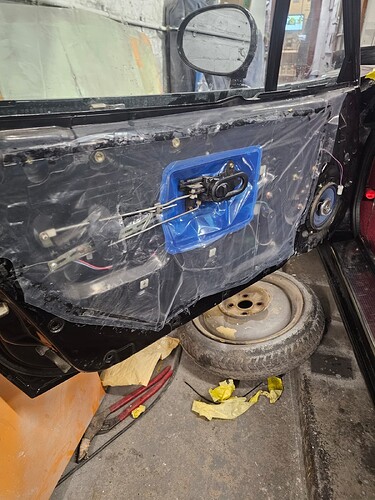
Soon thereafter, it will head into the bodyshop where work will begin to get it ready to hit the road again, reaching the culmination of a long journey to get it running and road worthy once more after a very fateful day.
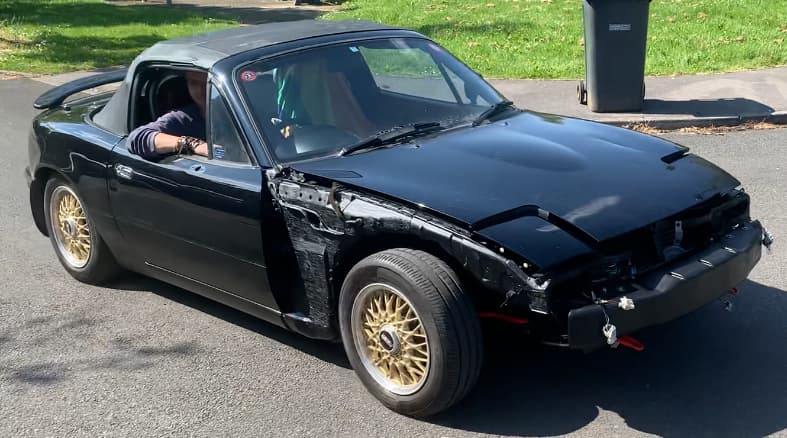
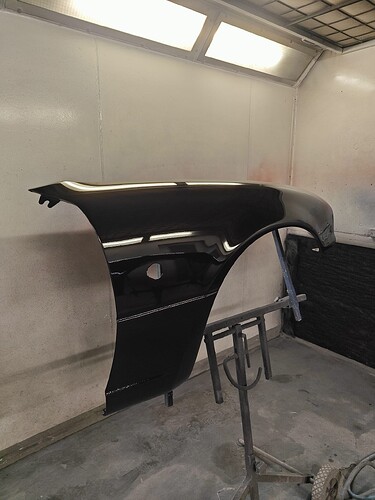
But I’ve no doubt that you’ll have many questions, such as why is the front wing missing, or why has it gone over to Rodders’ ?
Well let’s start right at the very beginning.
A post-lockdown dream
I never took MX-5’s that seriously initially. Falling for the same old adage thinking it was nothing more than a hairdresser’s car. That was until I was offered a ride in a 2005 NBFL, and it changed everything.
The top down experience coupled with a free-revving engine sold me on the car instantly, and from that moment on I realised that one day I had to get one of these cars.
It was the Covid lockdowns during the pandemic years that made me realise life was too short, and with an ever increasing focus on emissions and the environment I decided that now was the right time to take the plunge and get the MX-5 I always wanted.
And so in April 2021, after spending months checking the market and looking for the right car, I managed to acquire this 1993 Eunos Roadster S-Limited, 1 of 1000 Japanese import special edition from an ex-club member who had decided to part ways with the car due to decreasing mobility and lack of use.
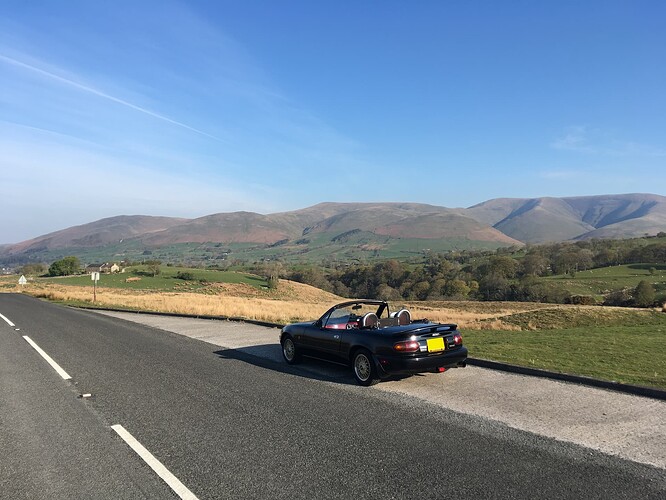
The car instantly became my pride and joy. I took it to the father’s day 2021 world record attempt at Elvington, and many different car shows around northern England in an attempt to really get involved with the classic car and MX-5 community.
The high point were roadtrips around the Lake District and Wales in 2022 that I planned and organised myself, visiting some of the most beautiful parts of the UK along some incredible routes like the Hardknott pass, Honister pass, Pen Y pass, Mach loop and various great roads around the Brecon Beacons.
The NC500
After exploring various national parks in northern England and Wales, I knew that the next destination for me was Scotland. The infamous NC500 was on my mind ever since I got my Eunos. It’s known as one of the best roadtrips you can go on in the whole of the UK, and the Grand Tour special in Scotland had completely sold me on it. So after two succesfull roadtrips, I began planning and organising my trip up to Scotland.
Over the summer of 2023 I had carefully curated the route, starting on the Isle of Arran, slowly working all the way up to Durness via different ferries around the Hebrides and points of interest on the west coast of Scotland like Glencoe & Ben Nevis. Then over to John O’Groats and back down to Edinburgh with a few stops in the Cairngorms and Loch Lomond along the way to see the best of Scotland all in one trip.
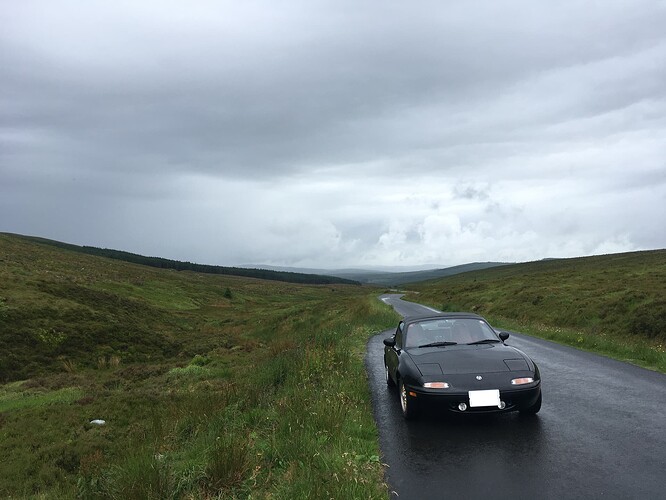
And so in early July, on a very typical wet British summer day I set off on my trip to Scotland.
Disaster
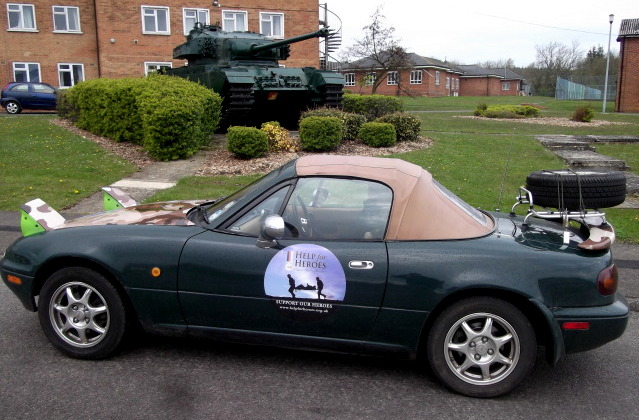
The picture you’ve just seen was quite literally taken sheer minutes before one of the most pivotal moments of my life. I had just made my way through Galloway Forest, en route to a ferry in Ayr that would take me over to the Isle of Arran which was the first destination of my road trip.
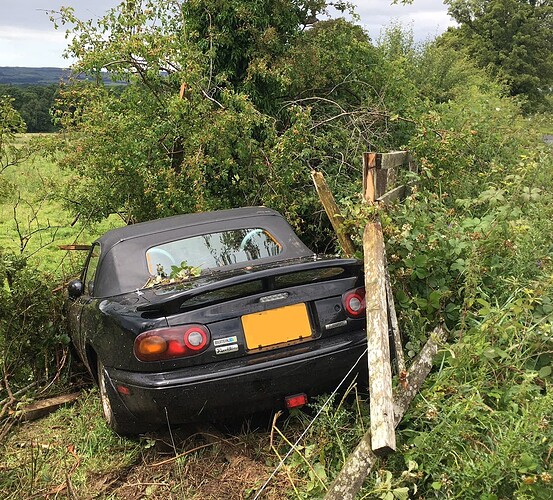
Unfortunately along the way to Ayr, I had completely lost control of the car going round a bend on a soaking wet Scottish back road, which resulted in me ending up in the middle of a road side ditch. The whole event must have taken no more than 10 seconds, but even today I can still picture it vividly in my head, and how my survival instinct told me to brace and prepare for impact.
And this is how I quite literally went from a 100 to 0 in a matter of seconds. Hero to zero. Living my best life to complete and utter disbelief. I actually pinched myself and closed my eyes just to double check this wasn’t some sort of a nightmare.
I’ll spare everyone the complete details, but the next 24 hours of my life were completely manic and revolved around how I was going to unpick this mess and get myself and the car back home in one piece.
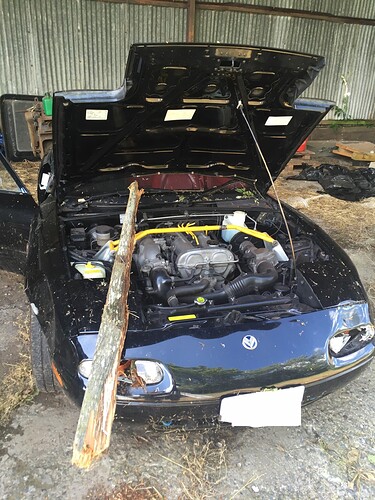
Thanks to the help of the local community, I managed to get the car pulled out of the hedge and stored in a nearby barn overnight. After we pulled it out, we found this very plank of wood which had gone through the indicator housing in the bumper, and had wedged itself inside the intake manifold.
That piece of wood had gotten jammed in there with so much force, it had to be pulled out with a winch as nothing else would move it. Hell it was that bad we could have even towed the car with it.
But it was this moment that made me realise just how lucky and fortunate I had been to walk away from this without a scratch. Had that plank of wood been placed just a little bit higher, it could have gone straight through the windscreen and impaled me in a similar fashion to how athletes throw javelins in the olympics.
The lovely gentleman that had helped to recover the car and get me home the following day had said something that stuck with me: “The car did it’s job. It protected you”.
That’s very true, the car did it’s job. But I felt like I hadn’t done mine. It was thanks to my lapse of judgement that my once pride and joy was now nothing more than a car shaped paper weight, and I had decided in this moment that I had to put this right and restore this car to it’s former glory. I could not envisage seeing it going to a scrapyard. Not on my watch.
And so began the long journey to getting this car back to roadworthy condition.
A driveway mechanic
That’s how I described myself to my friends and colleagues when they’d ask what I was doing. It felt like a very approrpriate description, considering the fact that I didn’t have access to any proper facilities or a workshop, and all I had was a trolley jack, axle stands and a socket spanner set from Halfords.
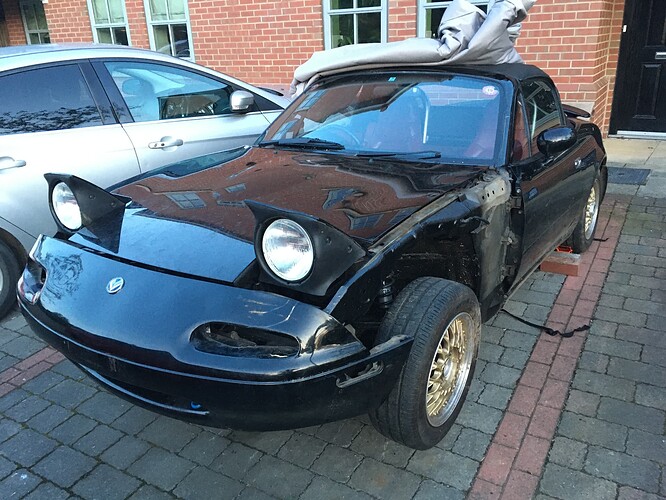
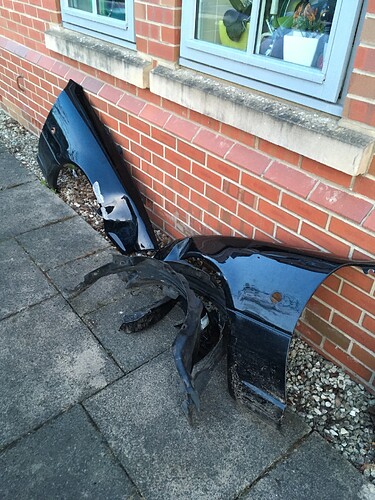
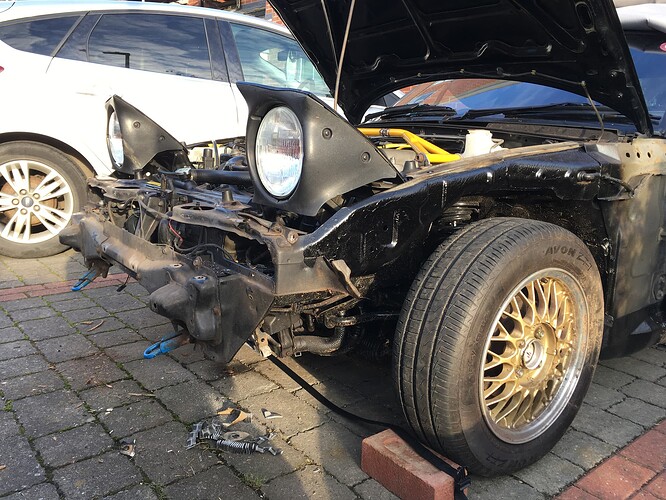
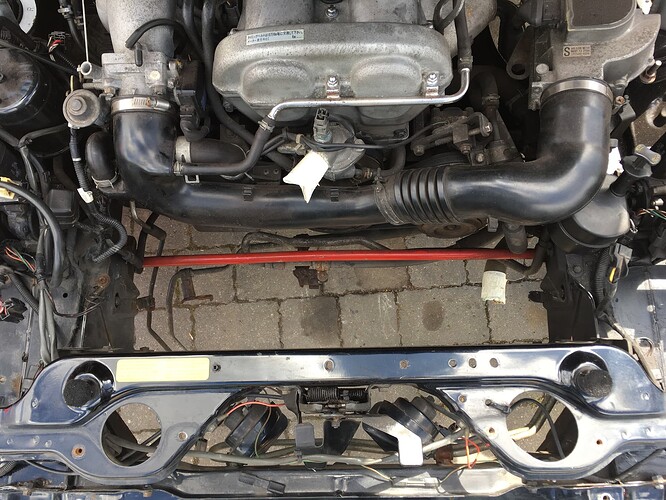
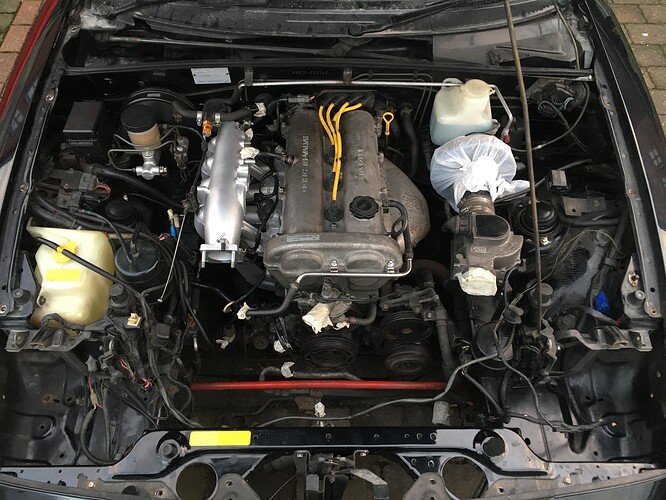
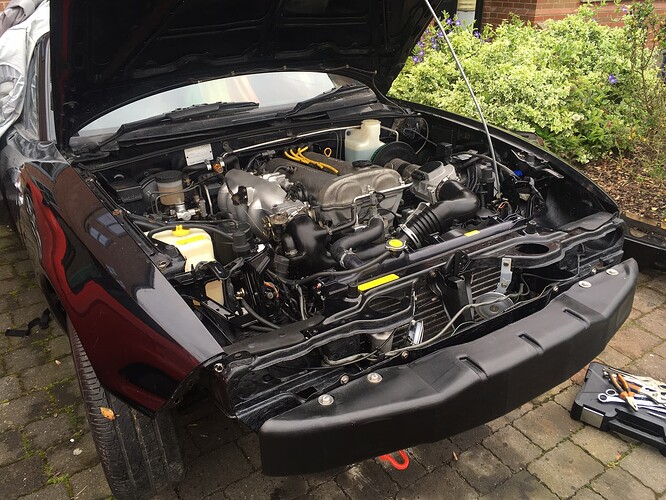
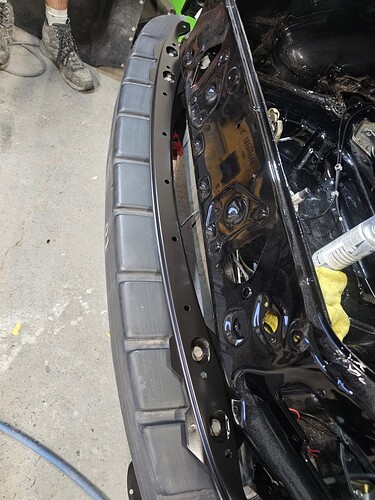
Once I managed to get both myself and the car back home, I began the arduous task of stripping down the whole front end to assess just how bad the damage from the impact was, and whether or not the car would be salvageable.
Now for a little bit of context, prior to this point the only work I had ever carried out on this car was basic routine servicing like an oil change, spark plugs and air filter. My day to day job is as a software engineer and I had no experience whatsoever carrying out major work on a car. Truth be told I was always too scared of doing something wrong and breaking it. But I found myself in this particular situation, and my attitude was that the car was already in a bit of a poor state (Thanks to me), so I couldn’t exactly do any additional damage. I could as well use this situation to gain some more experience working on cars and learn a thing or two.
And so what I said to myself was that if there was no real damage to the chassis or engine block, the car would be a keeper and I’d persevere with it.
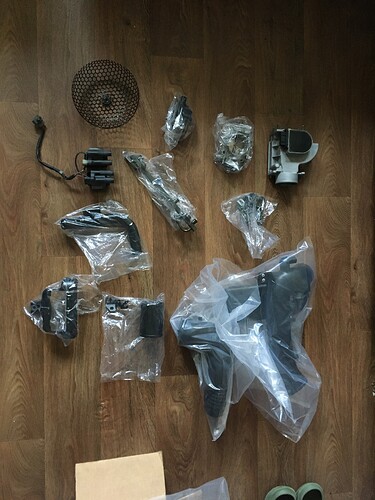
With that I spent the weekends and evenings of the next several weeks slowly taking the car apart bit by bit, taking reference pictures of everything, making an inventory of all the parts that I had removed, and a list of parts which were broken and would need replacing.
Once I had stripped the front end of it right down to the shell, the next steps were to begin assessing damage inside the engine bay.
Both the coolant and A\C radiators were quite literally “punched” by a plank of wood, so they would need to be taken out and replaced. The front ARB had gotten bent. All of the P\S pipes around the rack had gotten completely bent and out of shape, although miraculously the rack itself was unscathed. The ISC valve had shattered in the impact as it took the brunt of the force from the plank of wood that had entered the engine bay
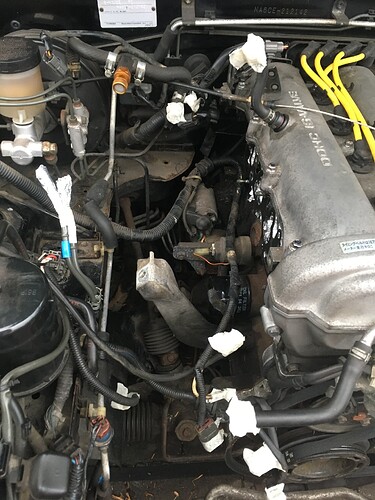
And so one component at a time, I removed parts from the engine bay working my way around anything that seemed damaged or out of place.
Having had seen that plank of wood wedge itself inside the intake manifold, I knew that even if I couldn’t see any damage to the manifold or fuel rail in position, I would have to take them out to assess and check them properly as I didn’t want to take any chances or to rush this job and potentially cause more damage in the process.
So after about two months of working on this in the background on weekends and late summer evenings, I managed to get to the turning point which was the day I lifted the intake manifold out the car
With that out of the way, I could now come to a full conclusion on what to do next, and figure out whether the car could be saved.
The Eunos Restorer
I think I was more foolish rather than brave, thinking that like a jigsaw it was simply a case of putting things back together the way there were before, replacing any broken parts, or refurbishing those that could be reused. If only then I had known what I was getting myself into !
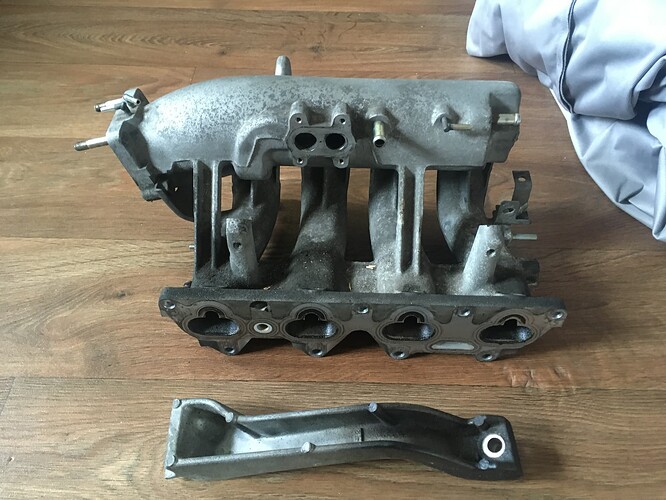
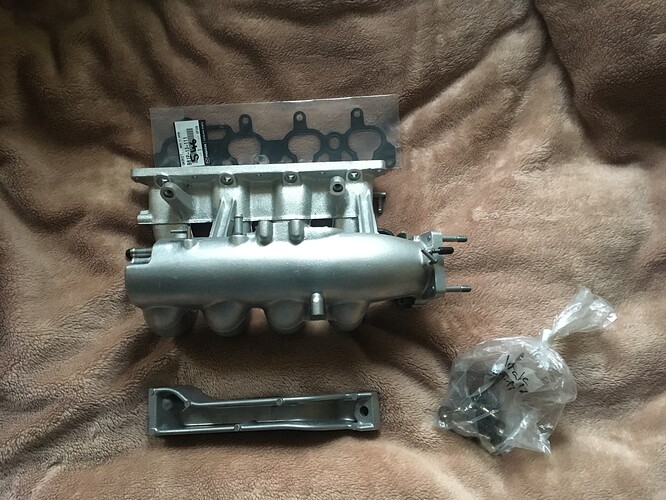
Since the intake manifold was absolutely sound and hadn’t sustained any damage, I began by reaching out to a local engineering company to have it fully cleaned and blasted.
Before:
After:
And so began the next stage of this “restoration”, which was a continous loop of refurbishing or replacing a part, re-fitting it and then moving onto the next one, bit by bit, part by part gradually re-building each key component of the engine.
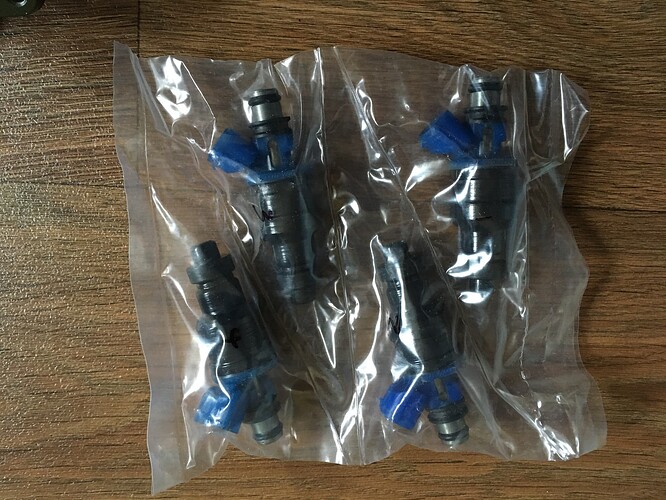
Whilst the intake manifold was being refurbished and cleaned up, I sent the fuel injectors off to be serviced by a reputable, well known company. My ethos and thinking throughout this whole period was to put things back in a better state than I had left them. “Let’s be honest” I thought, once this car is put back together again, I won’t be tearing it down any time soon so I might as well use this opportunity to carry out some preventative maintenace, and get it into really good shape.
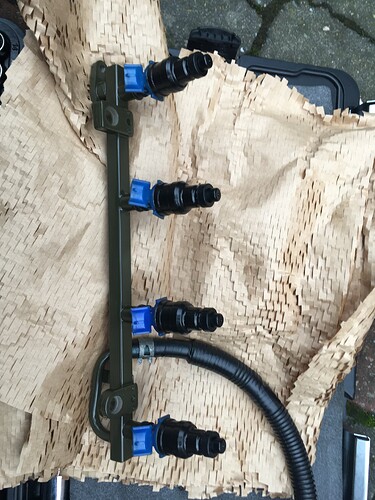
With the fuel injectors and intake manifold all refurbished and serviced, It was now time to finally turn a corner and start putting things back onto the car. I got the intake manifold all ready to go back on with a new gasket. The fuel injectors went back into a shiny, newly painted fuel rail with brand new Gates fuel hoses, ready to complete the fuel system.
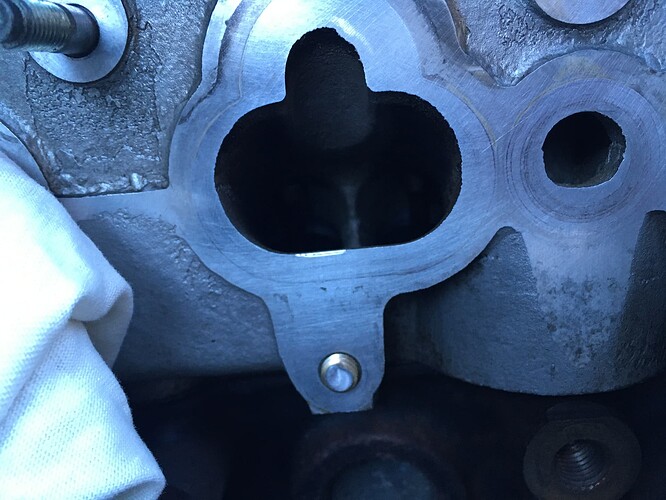
It’s a big day, I’m really excited by the fact that it feels like I’m finally starting to turn a corner and inching closer to getting this car running once more. I put the intake manifold gasket on the block, get the manifold support bracket in place, line up the manifold and start doing up the bolts one by one. All of the bolts are in the head, the manifold is all lined up and looking fantastic.
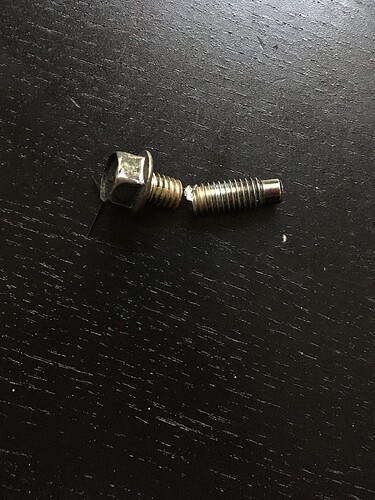
“Let me just go and nip up these bolts, make sure they’re nice and snug” I think to myself. So I go through them all again with my spanner, making sure they’re nice and tight. I get to the last bolt, begin turning and suddenly it just spins. Oh $#!t. Please don’t tell me what I think has happened has actually just happened.
Yes, it was exactly that. And this is how I learned the hard way why people use torque wrenches instead of torquing by hand. So everything I had just fitted had to come right back out again. Amazing.
Luckily there was just enough purchase on the thread of that snapped bolt to turn it with a pair of mole grips, and get it out the block. Whoooh ! Crisis averted. Never again.
It was much smoother sailing from here on out luckily. After I recovered from the panic of having a snapped bolt in the engine block, I re-fitted the intake manifold properly without snapping any more bolts, and this time round managed to fit the fuel rail too !
And so I kept on going like this for the next 6 months. Working on each part of the engine individually, bit by bit making sure it was all complete and up to my own standard before moving onto the next. I got into a habit of going round to the engineering shop every other Friday or so, picking up the next batch of nice shiny refurbished parts to re-fit to the Eunos
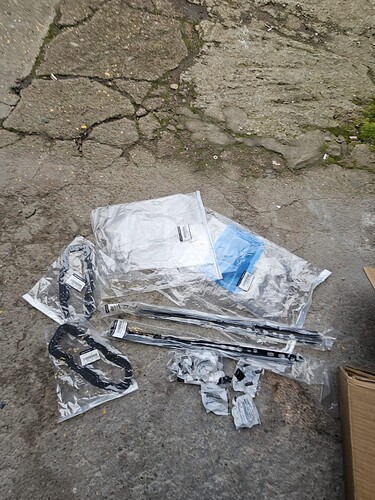
And if I wasn’t busy enough with the refurbishment of good parts that were being re-used, I was working on replacing consumables and service items. “Well I’m here now, might as well do the job properly” I thought, so I did a full coolant hose refresh. The original factory hoses were now 30 years old and had served their purpose well, but let’s be honest they weren’t going to last much longer so I thought “I might as well get ahead of the game here”.
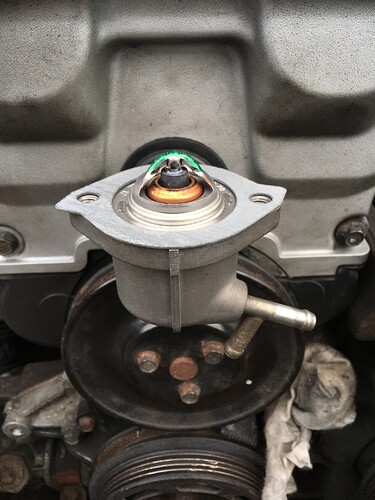
It was at this same time that I fitted a new thermostat, and cleaned up the thermostat body with a wire brush. Oh how nice it is to work with aluminium components !
So week by week, things were finally starting to come together and the car was looking more like a car and less like a paper weight. The winter of 2024 was an especially tough time, as I would end the working week, and begin my “weekend job” of working on the car pretty much non-stop until Sunday evening. The progress I was seeing, as well as the goal of eventually seeing this car running and driving it down the road again are what kept me motivated.
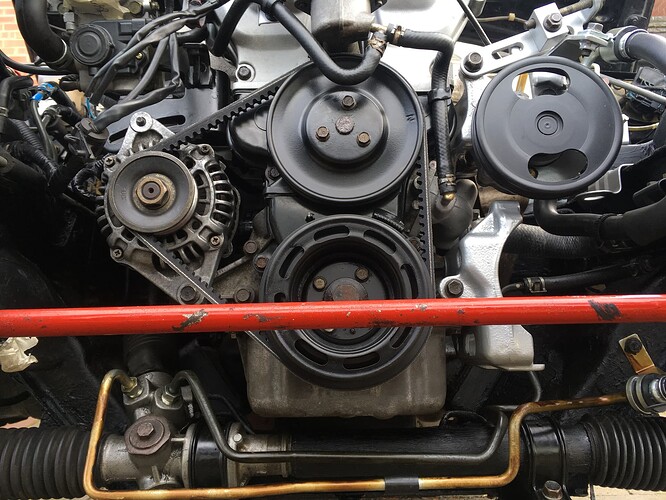
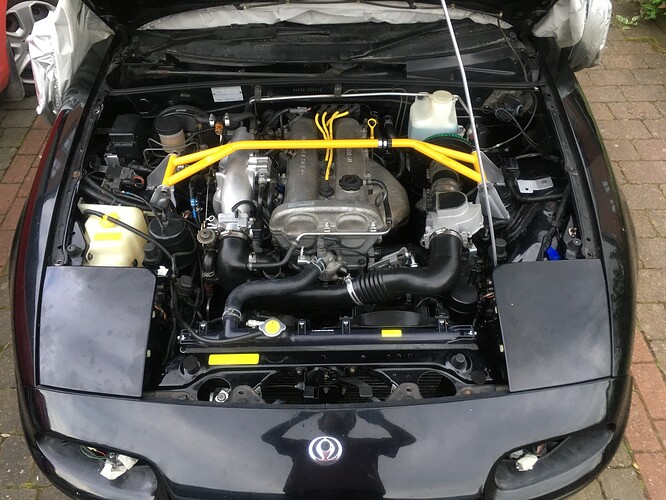
Things were looking up. I had finally completed the full hose refresh. A new radiator was ordered and fitted. All of the A\C hoses went back in alongside the compressor, and a used radiator I pulled off a donor car. The fuel injection system was in place ready to deliver fuel once more. The throttle body, ISC and air valves were all replaced, fitted and ready to go. And the P\S system had gotten a complete overhaul with new hoses and pipes all round, since a job is only worth doing if it’s done well.
Oh and the wings and bumper you can see in some of these pictures are parts I managed to pull off a donor car too, held on by one or two bolts each for easy access at any time.
And so after all of this work, the end was finally in sight. The light at the end of the tunnel felt like it was finally in reach. It was my very own “Victory” day, A.K.A the day I would see this car running again.
New spark plugs went in. All the filters were replaced, and the old oil drained and replaced with some fresh 10w40. There was only a few litres of fuel left in from last year, as I was actually on the way to fill up before the incident, so I thought I’d get away with putting in some fresh fuel and dilluting whatever was left in there. Not a problem.
So the big day comes round. I followed all of the procedures in Rod’s workshop manual (Which had been like a bible to me !) for re-pressurising the fuel system, and getting oil pressure up before attempting to fire the engine up.
Fuel is pressurised. I’m getting oil pressure. Starter motor is cranking and there’s no weird noises coming from the engine. Here it is then, now or never. The big moment I’ve been waiting for. It’s been nearly a year since I last saw this car running.
I take a seat behind the wheel, once more. Depress the clutch. Transmission in neutral. Key in the ignition. I turn it over once to disengage the steering wheel lock. I turned it over again to check there was power. At this point I double checked that the electronics were working, so I tested the fans, horn and windows. All is well, no issues here.
Right, this is the moment, no point delaying any further. I take hold of the key and turn it over to start the engine for the first time in nearly a year. The engine cranks but nothing. Worrying I might flood it I stop. A few minutes later I turn the key and the same thing happens. “What now” is what I’m thinking, what on earth is not right with this thing ?
I turn the key again, but this time with my foot hovering above the throttle. After a few seconds I press down the throttle, and the engine kicks into life. “Oh god it actually runs !” is the first thought that pops into my head. It runs alright, but it has a very erratic idle, and nearly dies when I let my foot off the throttle. Must be something with the fuel/air mixture is what I thought. It’s alright, just another setback on the way, These things are sent to challenge us. It won’t stop me now though, I’ve come too far to give up now.
No point messing around, so the next thing I decided to do was to drain the fuel tank completely, and re-fill it with some fresh fuel. Did I mention before how much I appreciate the simplistic engineering of these cars ? The fact you can do this job by simply removing the plug out of the bottom of the tank is a complete god send. Out with the old, in with the new.
Along the way I noticed one of the fuel injectors was leaking too, so I replaced the seals again, thinking I must have done something wrong when I re-fit them a few months back.
And so that takes us all the way to yesterday, which was the day I tried starting the car up again for second time. Lo and behold, with the fresh fuel and tight seals, it started right on the dot and ran as sweet as a nut.
I put it into gear and drove the car off the spot it was parked in close to a year ago, feeling absolutely elated at what I just achieved, reminiscing about the ups and downs of the journey brought me here.
But this is not the end, not quite yet. Now you know what brought me here, and why the car is now over at Rodders’.
Finishing Touches
And so earlier today I had the car collected so that it could be dropped off with Rodders to carry out his magic on the suspension and give it a proper once over to ensure I haven’t missed anything. After that it will be going over to Deepcar to receive Painter Dave’s finest treatement to get it looking as good as the day it left the factory.
And then hopefully, in around September/October time, it will finally be back on the road full time. Getting taken out with the top down for more smiles per miles, as the MX-5 was always intended.
A friendly face
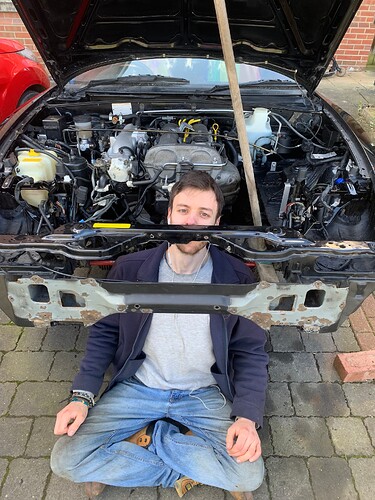
I guess after all of that, it would be nice to put a face to this whole tale, right ?
Here goes nothing:
This is a picture I had taken in the midst of all this madness ![]()
Using a broom stick to prop the bonnet open whilst I was working on the P\S system.
A little favour…
If you’ve read this far, I hope you’ll have the time to read a little further.
I am very fortunate to have been selected to go on an expedition with the British Exploring Society to Georgia later this summer. The British Exploring Society is a youth development charity, and as such it relies on contributions and donations from generous patrons like yourself in order to keep on providing these opportunities to young people like me.
If you have enjoyed reading this story, and seeing the journey that I have gone on with my Eunos, I strongly encourage you to consider making a donation to my fundraising campaign, so that young people from different backgrounds and communities across the UK have access to the same opportunities as I have done.
You can find out more about the fundraising campaign, what I am doing and the British Exploring Society on my GoFundMe page: https://www.gofundme.com/f/the-british-exploring-societys-future-expeditions
Thank you for taking the time to read all of this, if you have any questions or thoughts… please feel free to add them in the comments below !
