My new precious is a 25th Anniversary - part 2

The Precious left home gleaming, sparkling, and happily sailed up the M40 looking for the quietest bits of road surface so we could enjoy the “hi-fi” with Kirsty McColl, Frank Sinatra, Samara Joy, et al.

By the time we parked it was covered in dust, better than mud, but still a let down after all my effort, so I left it dusty rather than try to brush it off. The M40 going home would do most of that and a rainwater rinse from the water-tanks would do the rest. So my 25AE photos were of a small sample of the many others looking clean and beautiful.

And the Grampians had the good grace to be correctly dressed.

The Precious is in the distance hiding in its dust a good hundred metres behind the tree in the centre of this picture. By now quite a few had already left!

Only one photo of the house and assorted stands between it and the lake, there were a whole lot more hidden around to the left behind the trees and the house.

4 Likes

After going to the rally yesterday the varying road surface brought home where the final tyre noises were coming into the car.

A quiet surface and there was no tyre noise, exhaust at a steady 70 and almost no throttle was very quiet, and almost no wind noise from the previously noisy PRHT seals.

My clever assistant fiddled around with the stethoscope again and was certain it was coming from behind and beside our seats mostly at floor level.

I had a more careful look underneath this morning and finally noticed the oval blanking plugs for the shipping tie-down holes are missing. Also there is not much evidence of Dinitrol in there, odd, maybe I probably paid too much attention to getting it at the usual rotting end of the sills. So after this photo I gave it a top-up.

When the Dinitrol has stabilised I’ll put some gaffer tape over the hole.
I had forgotten about the 10mm drain holes in the webs below the plastic drain pipes.

I plugged the 10mm holes with loose-fitting rubber grommets (9.5mm actual grommet) left over from doing the Niseko ten years ago, so the water will still weep out, but as far as sound is concerned not much will get through.

Now I need to find some of the proper 32mm x 17mm oval tie-down plugs. But a couple of hours wasted this morning on the general web in the usual sources revealed nothing immediately available. Maybe they have a special name?
I guess the dealer will have to supply some when it goes in for the BIG annual service (all fluids except screenwash) and MOT in July.

1 Like

Thinking about it, the box sections of the sill carry on open up towards the top of the rear wheel arch and it’s open at the top in the boot.

It is a sound-pipe for any noise picked up by the oval hole.

Thanks to specialist help from a generous fellow member I’ve now managed to connect the “Direct” camera and produce pictures on the Alpine.

A Multicomp Pro shell for the short lead to an RCA socket fits beautifully into this little 5-pin Direct Camera socket in the particular adaptor harness used in the 25AE between its Alpine head unit and the Mazda NC standard wiring connector.

Picture of test fit of the new shell in and out of the socket before I assembled the contacts needed onto a stub of coax with an RCA socket on the other end.

This phone pic is while the reversing camera I plan to use is still being hand-held inside the car while wrestling with the Alpine software to make it believe there really was a camera connected! Up to this point I was almost ready to give up on using the Alpine screen for a reversing camera.

And by the way, those 2mm contacts are just a bit fffiddly if you don’t have the tiny correct crimp tool.

3 Likes

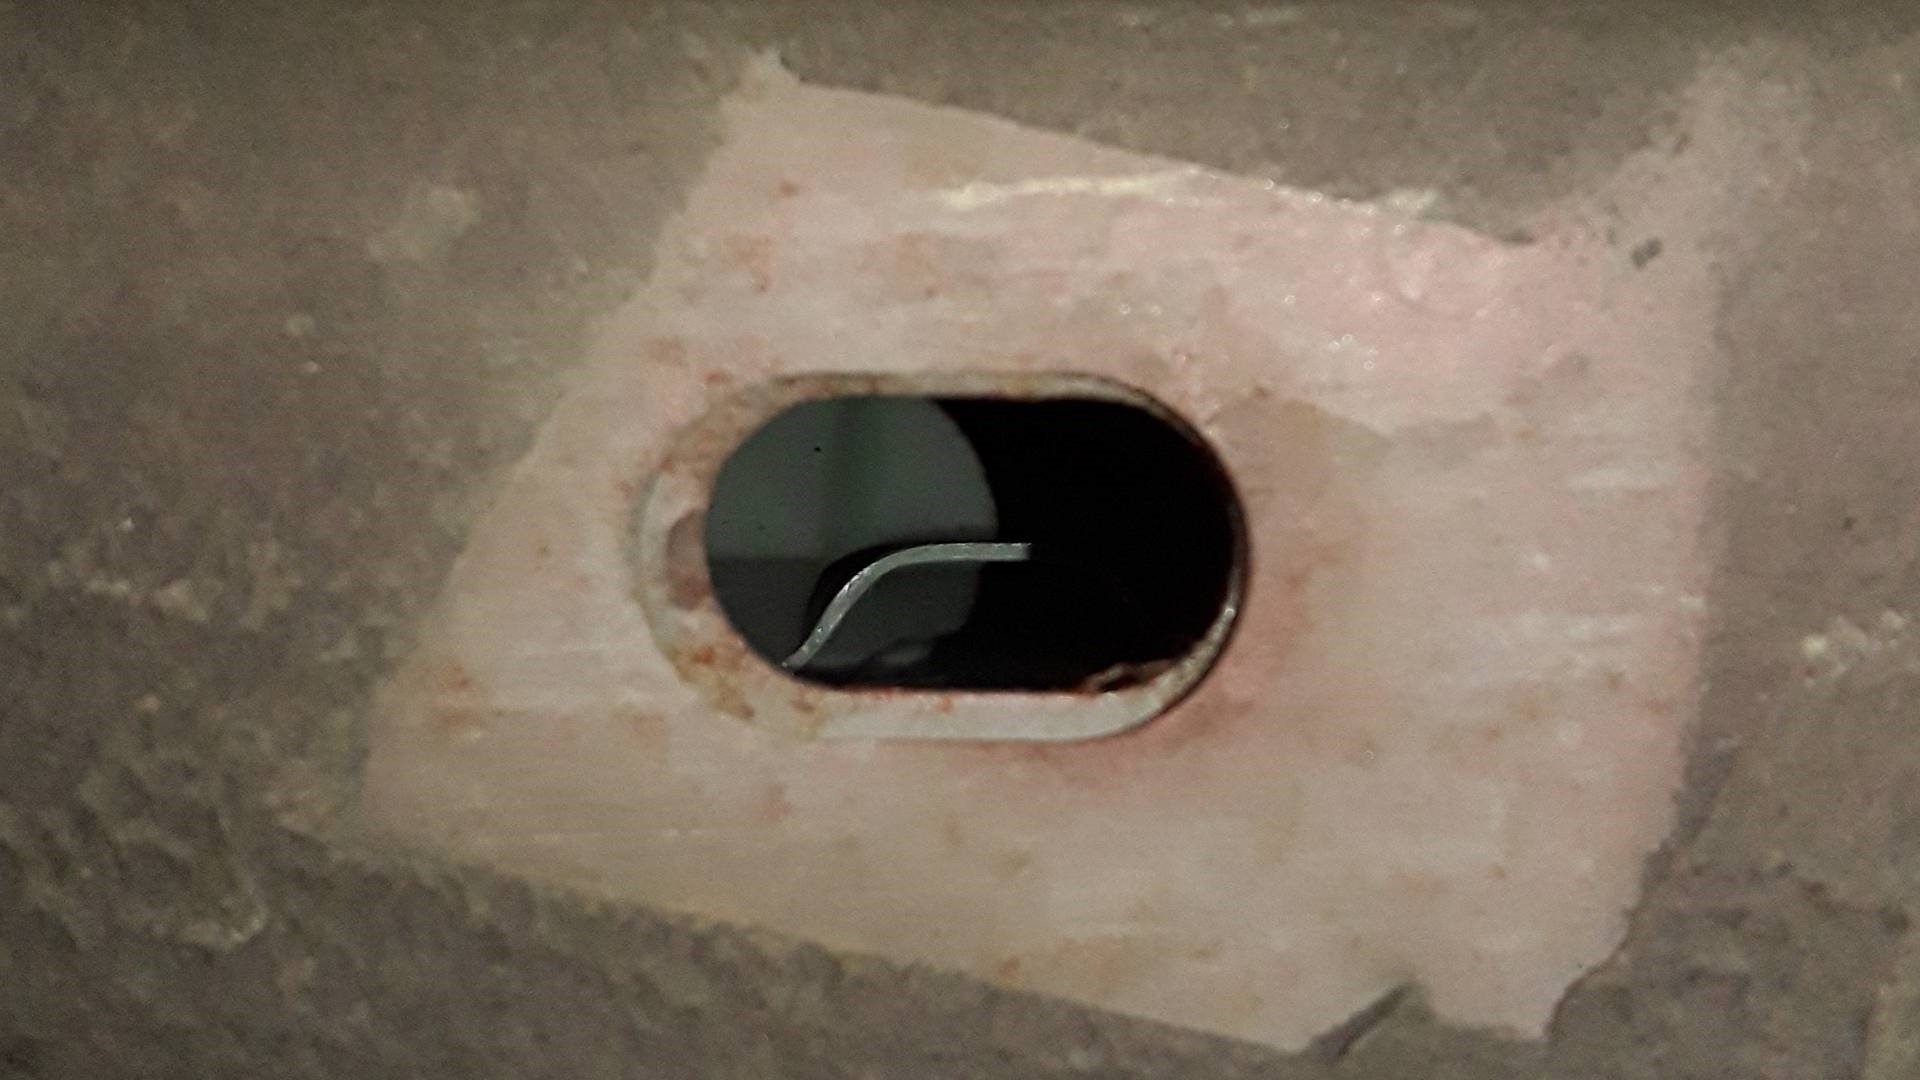
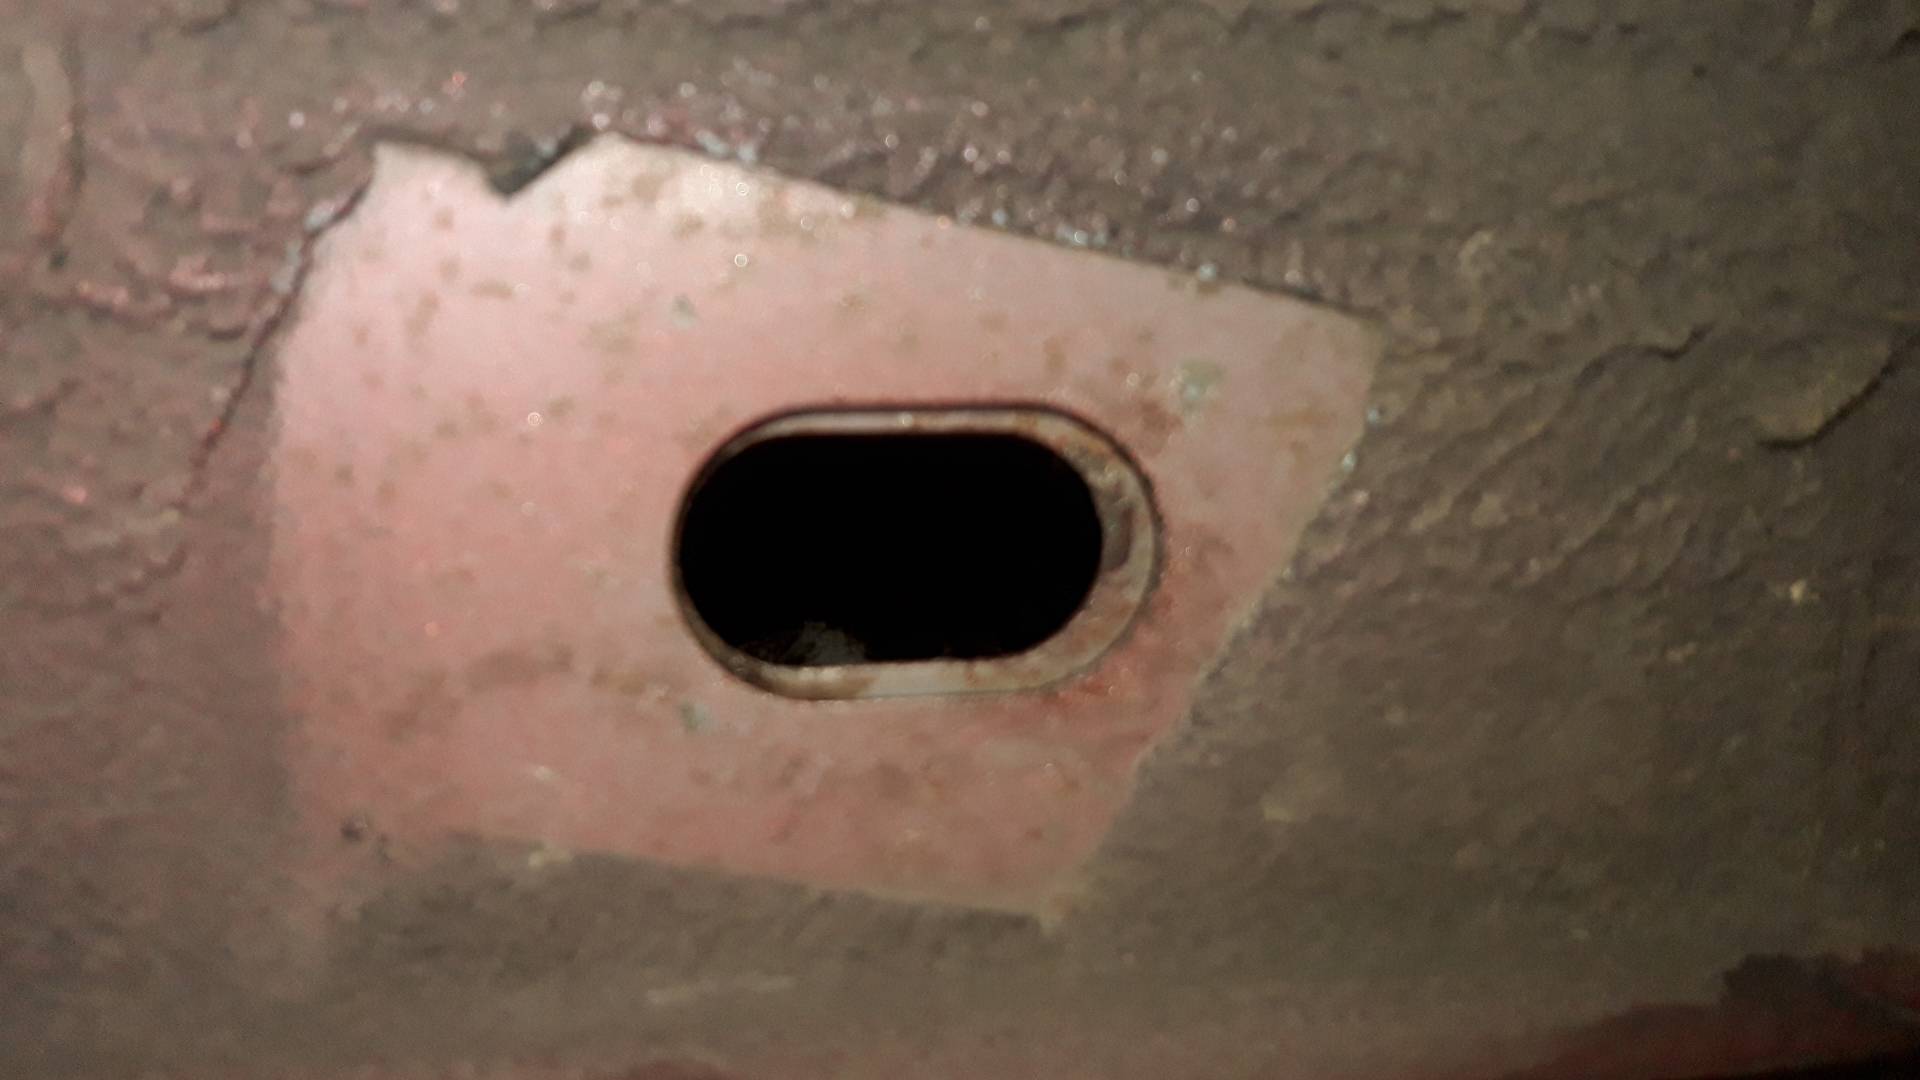
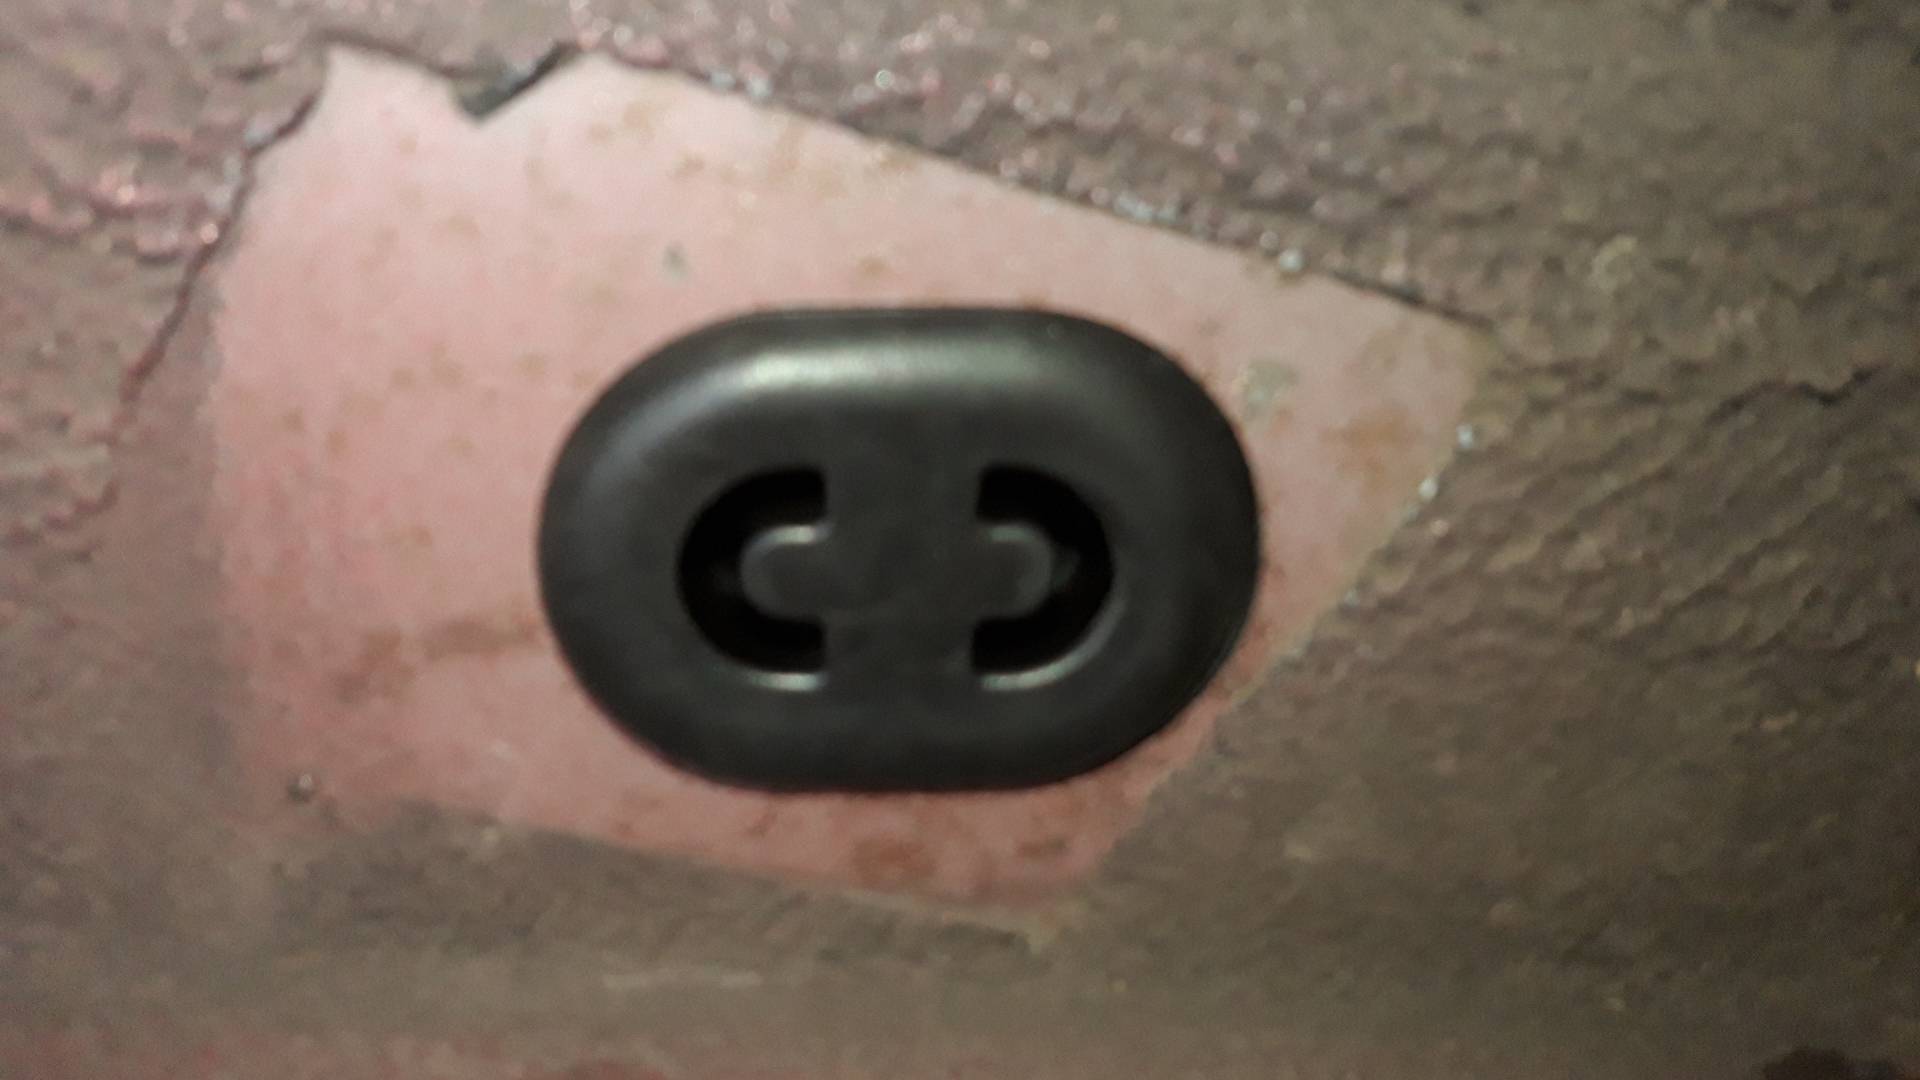
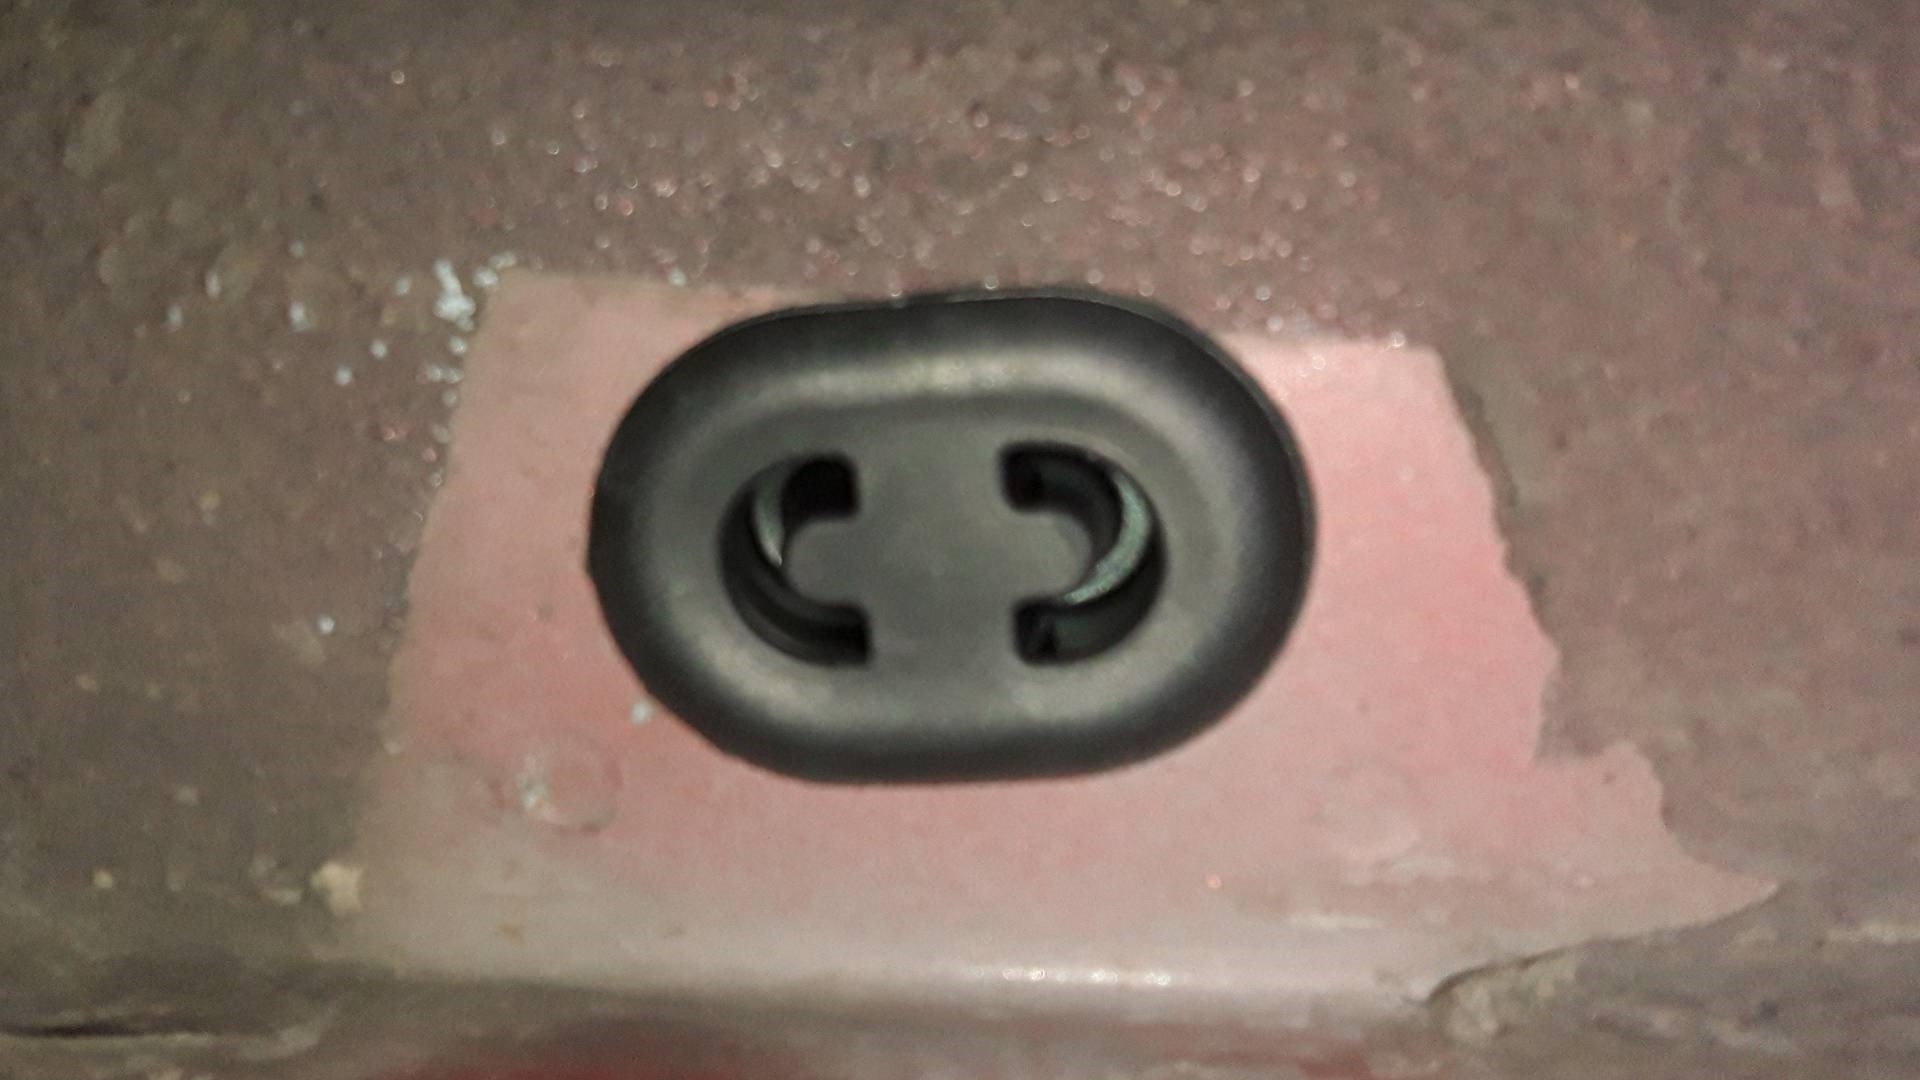
The Oval tie-down hole plugging gave me a small improvement when I took it round the M25 for skiing at Hemel Snowdome, but it isn’t the final solution, other sound pipes are available.

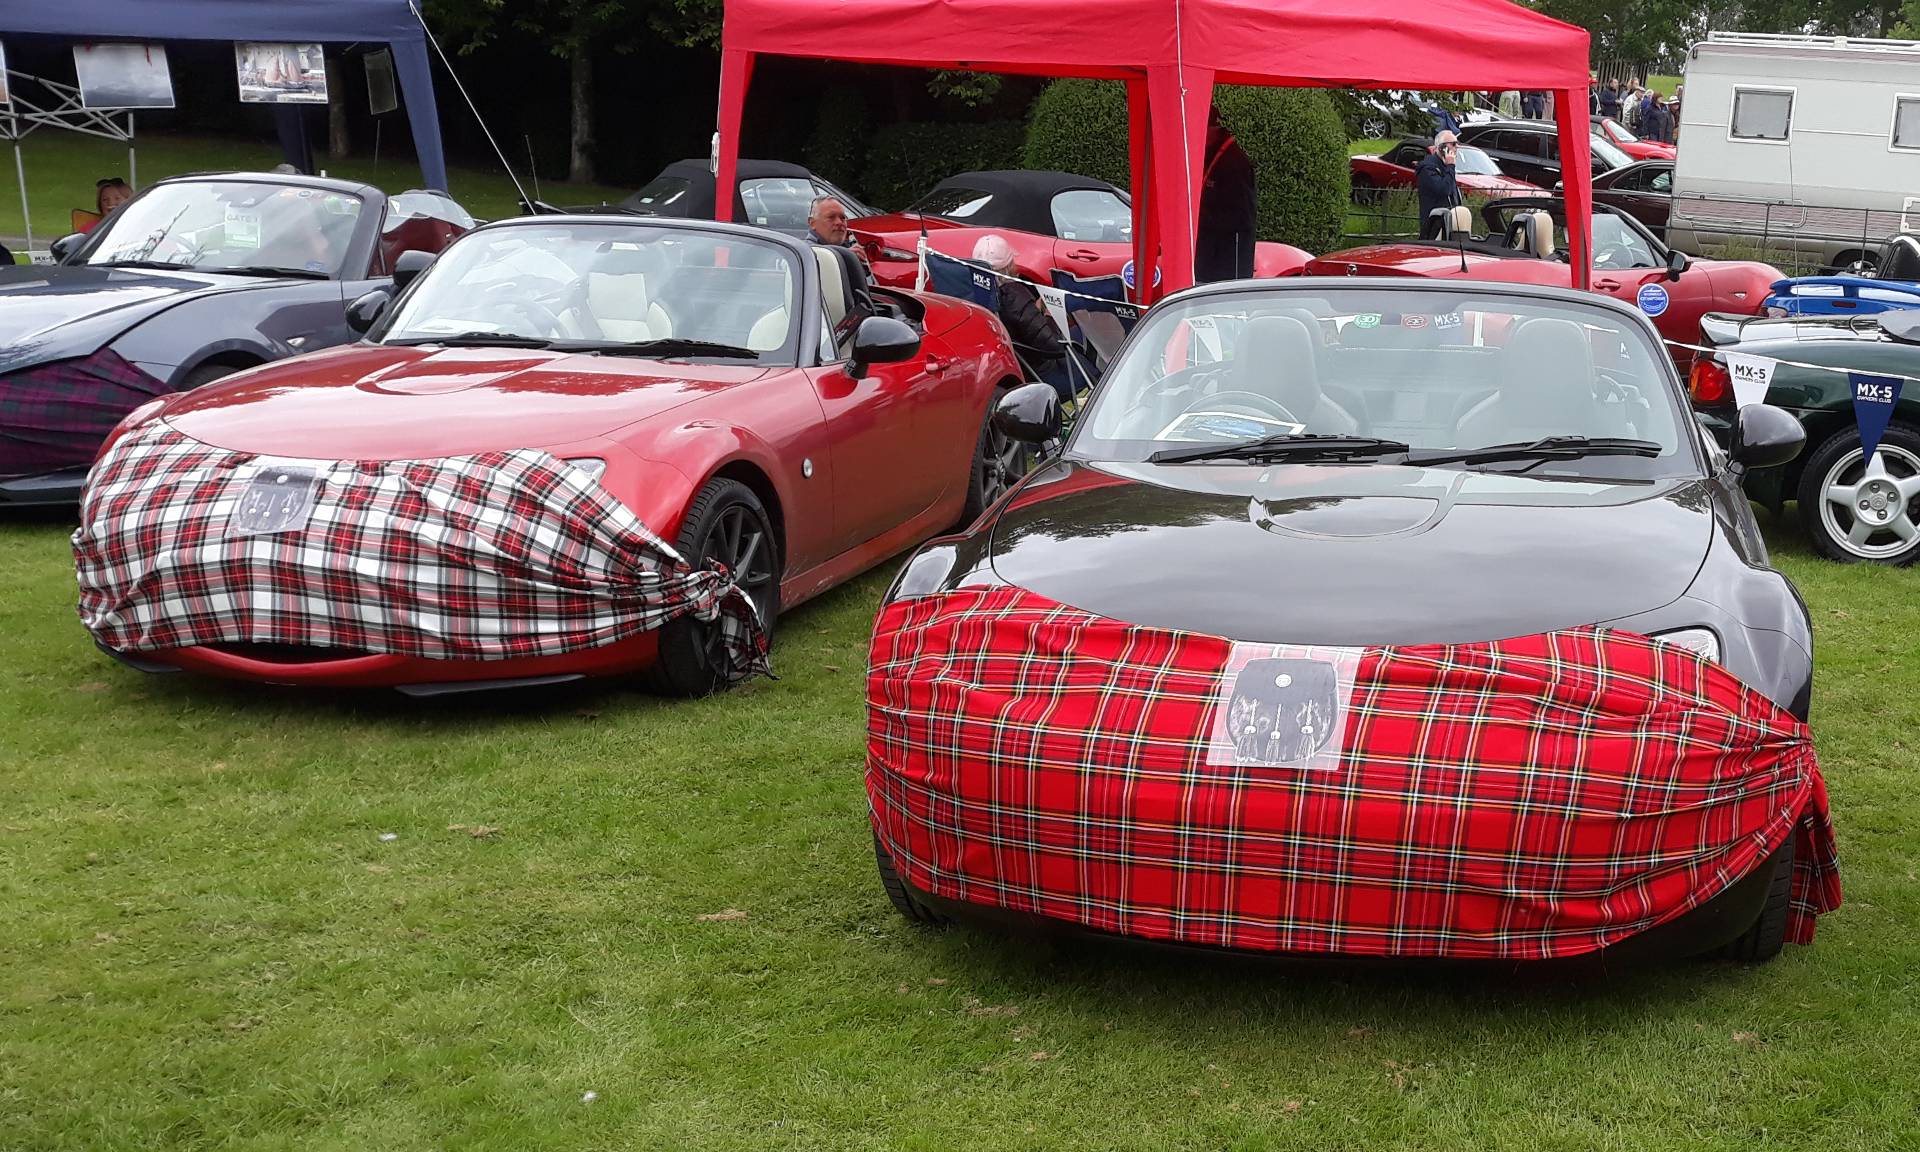
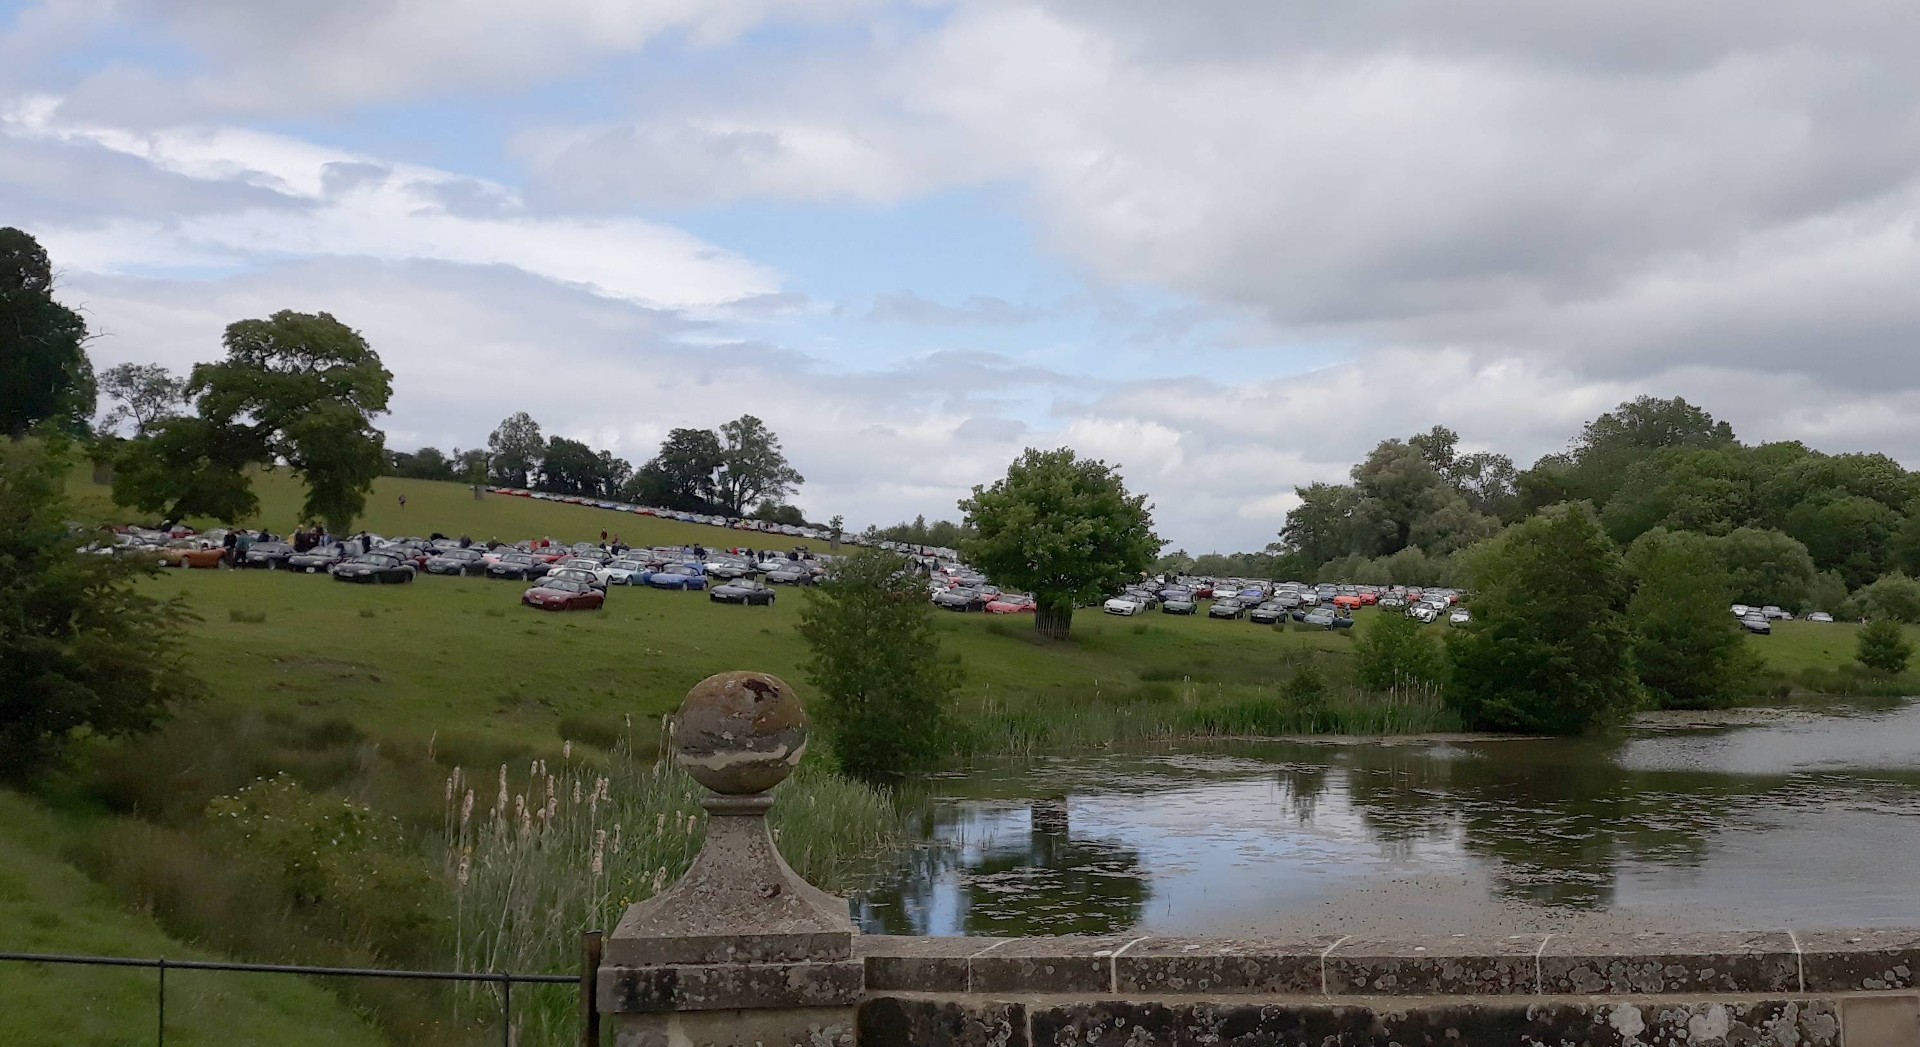
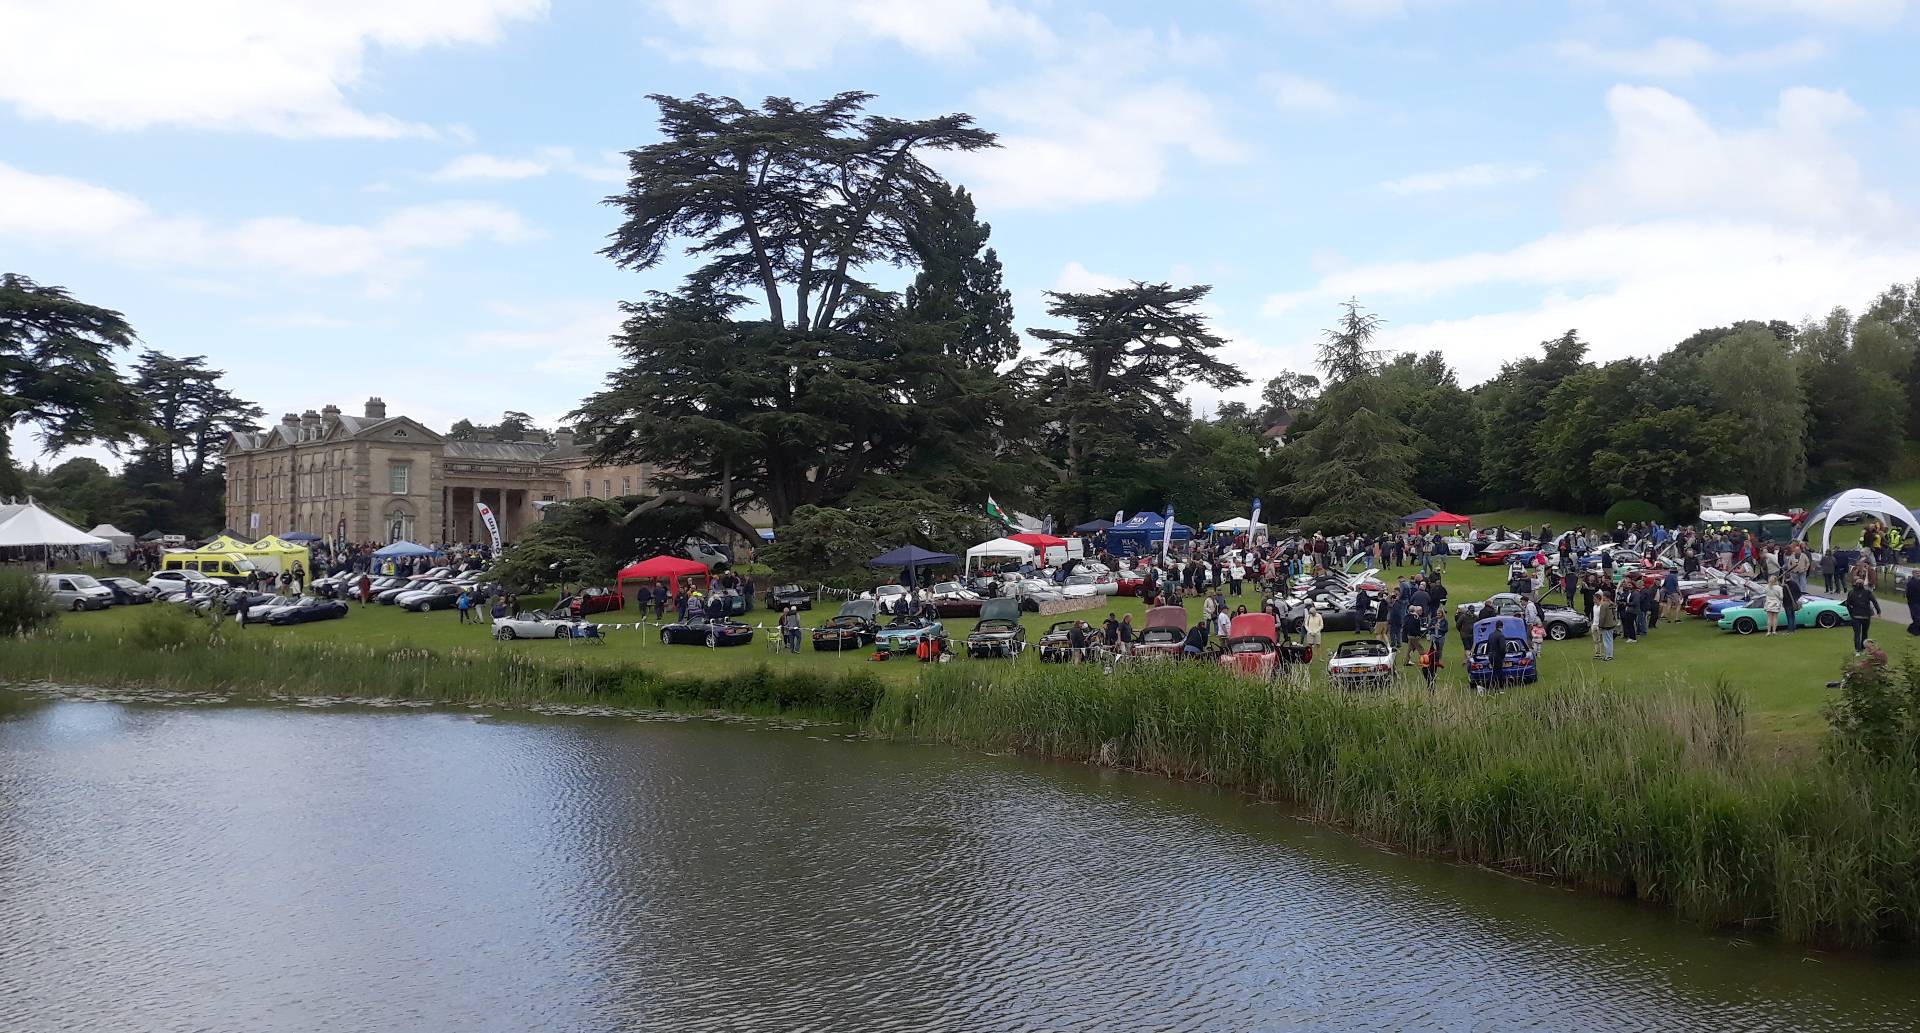
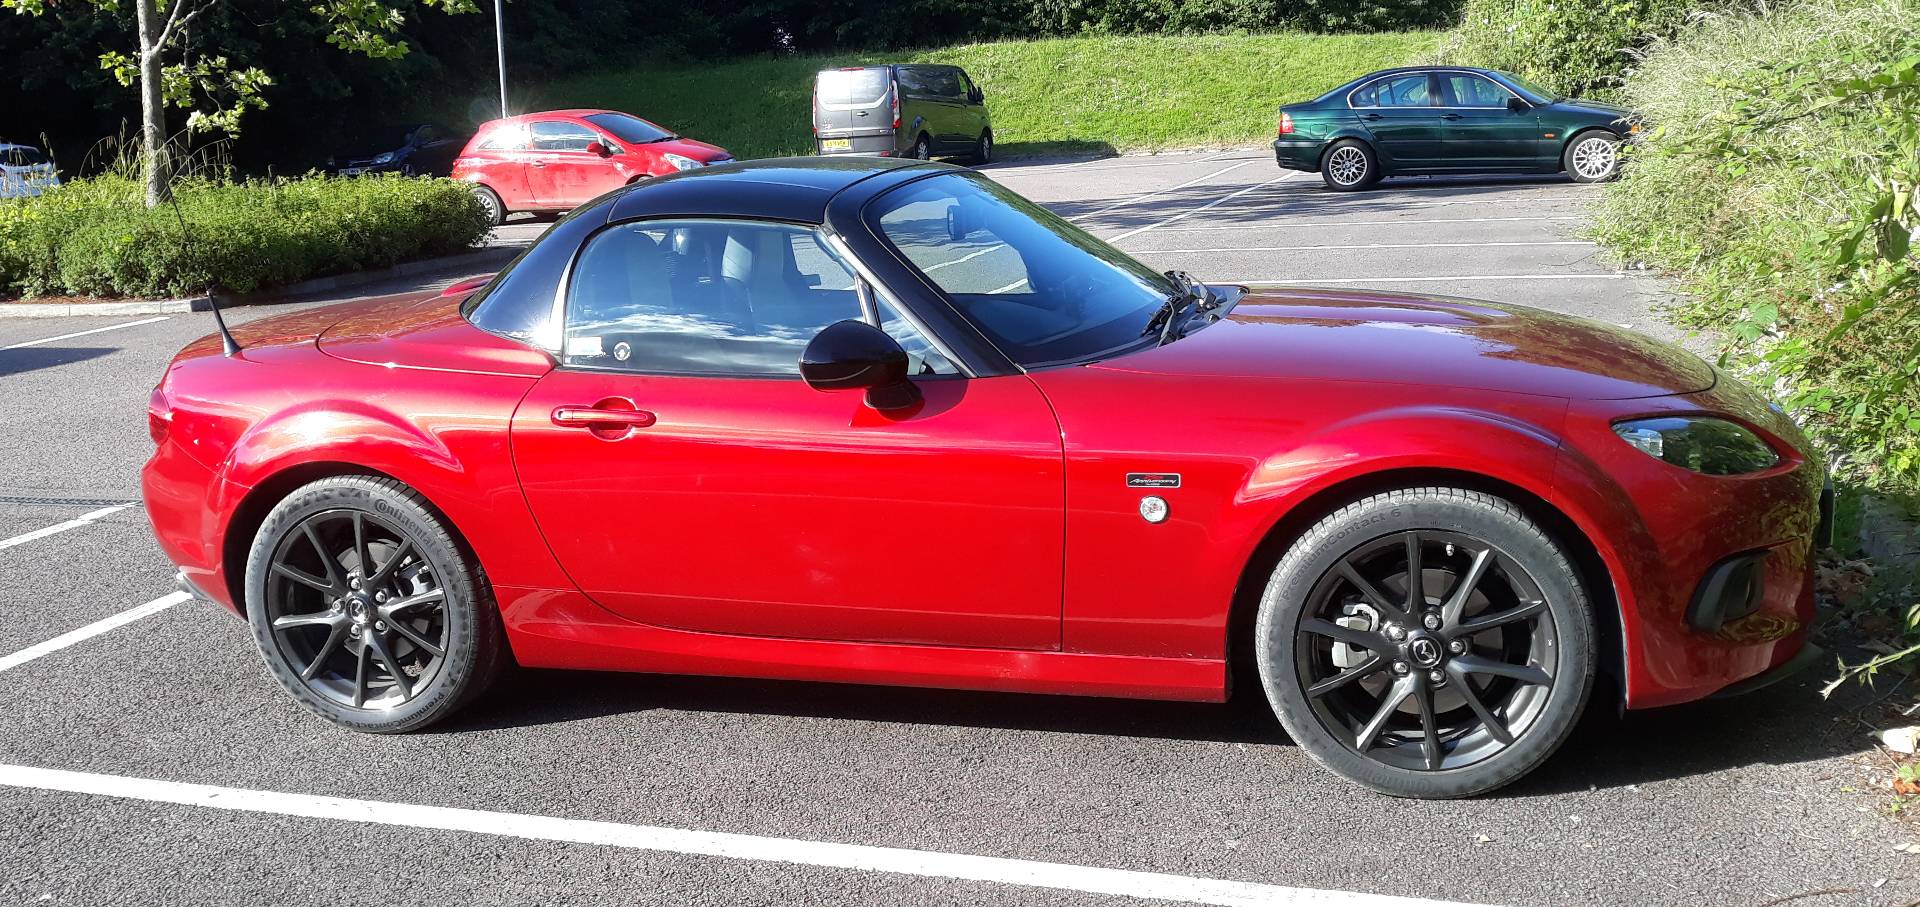
Ride height looks spot on for my preferences; standard 25AE suspension but with 215/45 tyres filling the wheel arches symmetrically centred and not looking slammed or 4x4. Alas it’s still not properly cleaned after dusty Compton Verney.

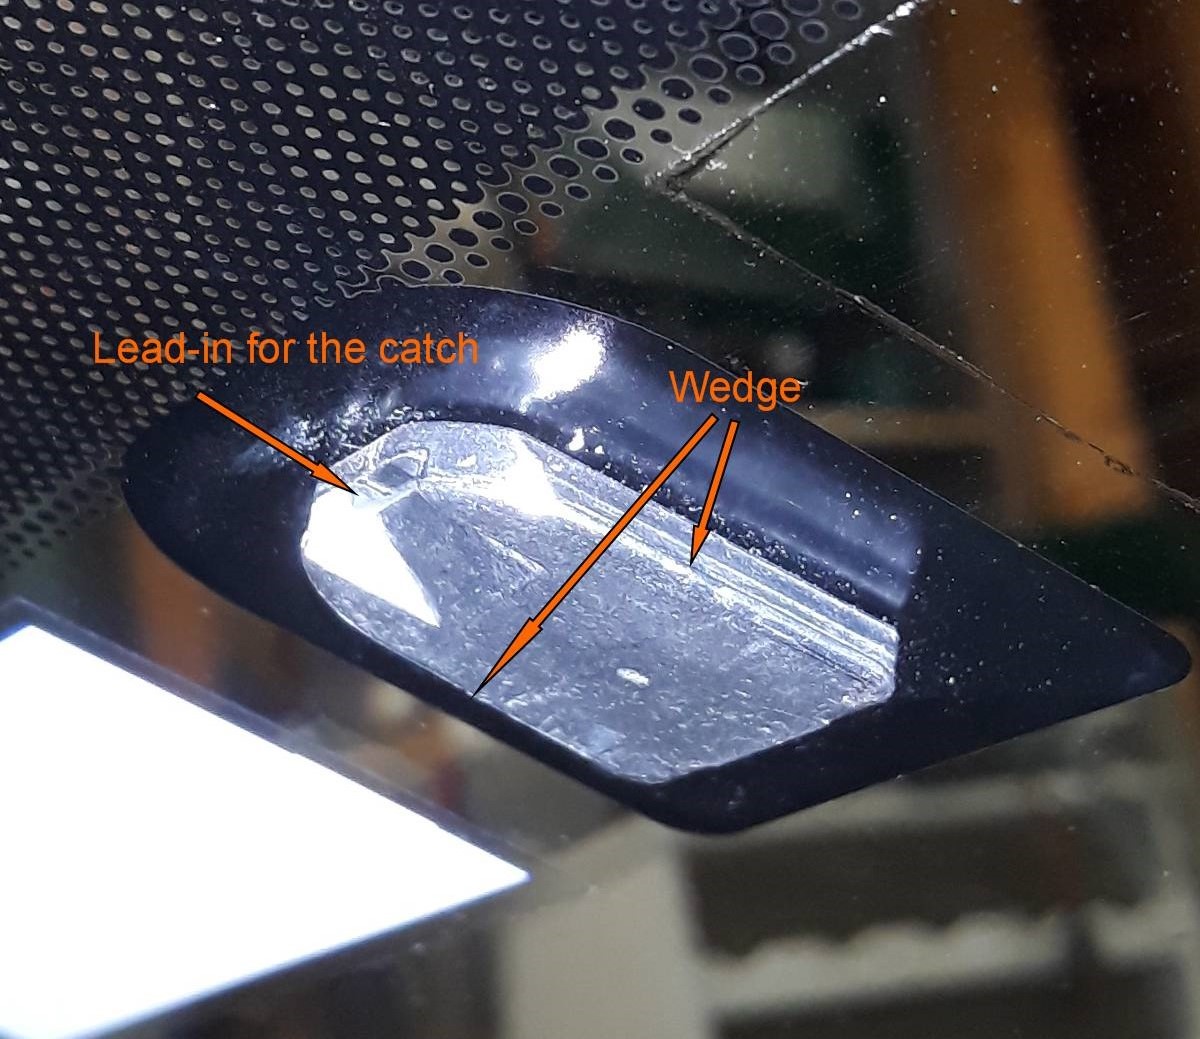
Today I did some minor fettling to improve the road-surface noise reduction; depending on type of surface it varies from totally inaudible to loud enough to require turning up the hifi. Most of it is now coming through the drains and from the shock absorber top mounts.

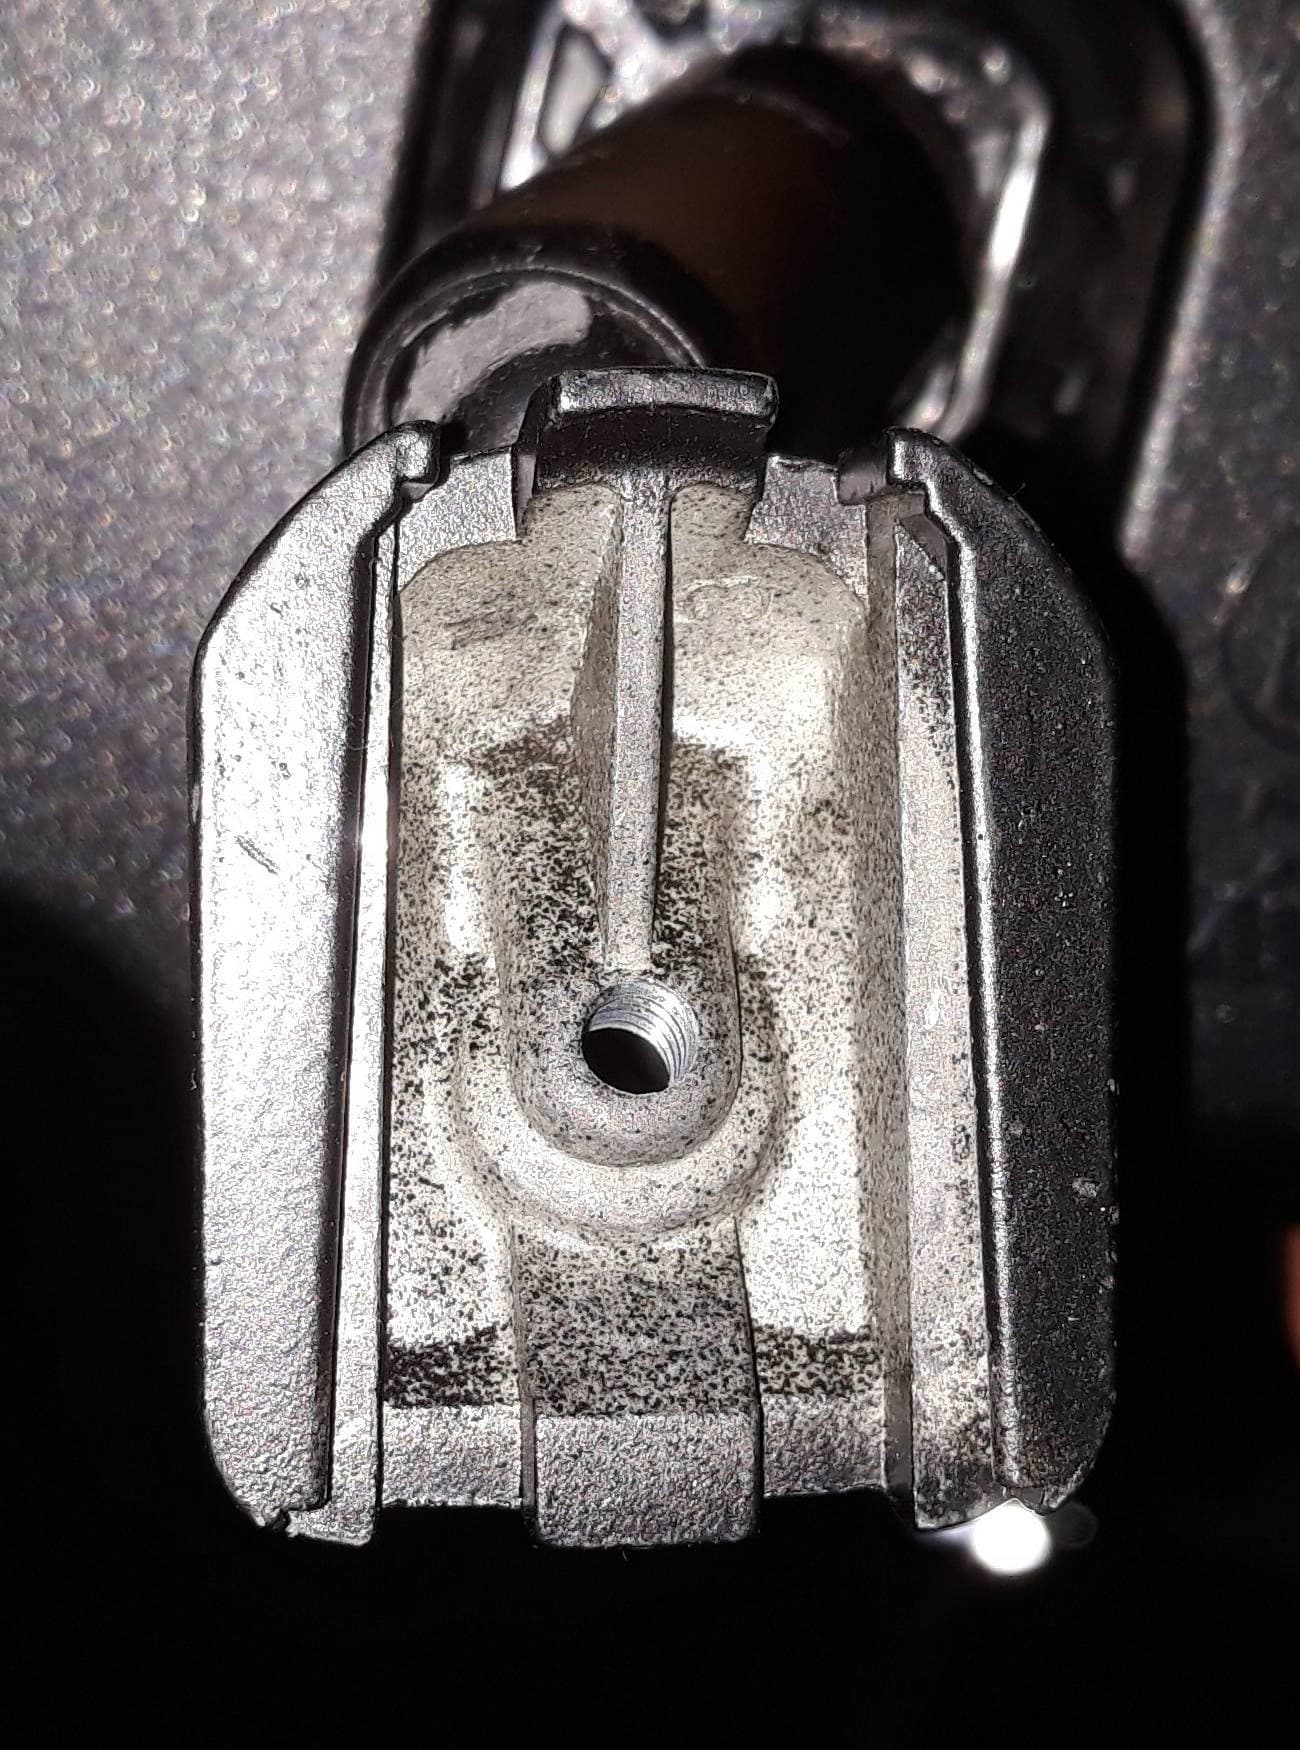
Curiously this was not the case with the Niseko; the underneath ends of these drains feel different with the lower flap valve a bit further inboard, and of course these shocks are the yellow jobs.

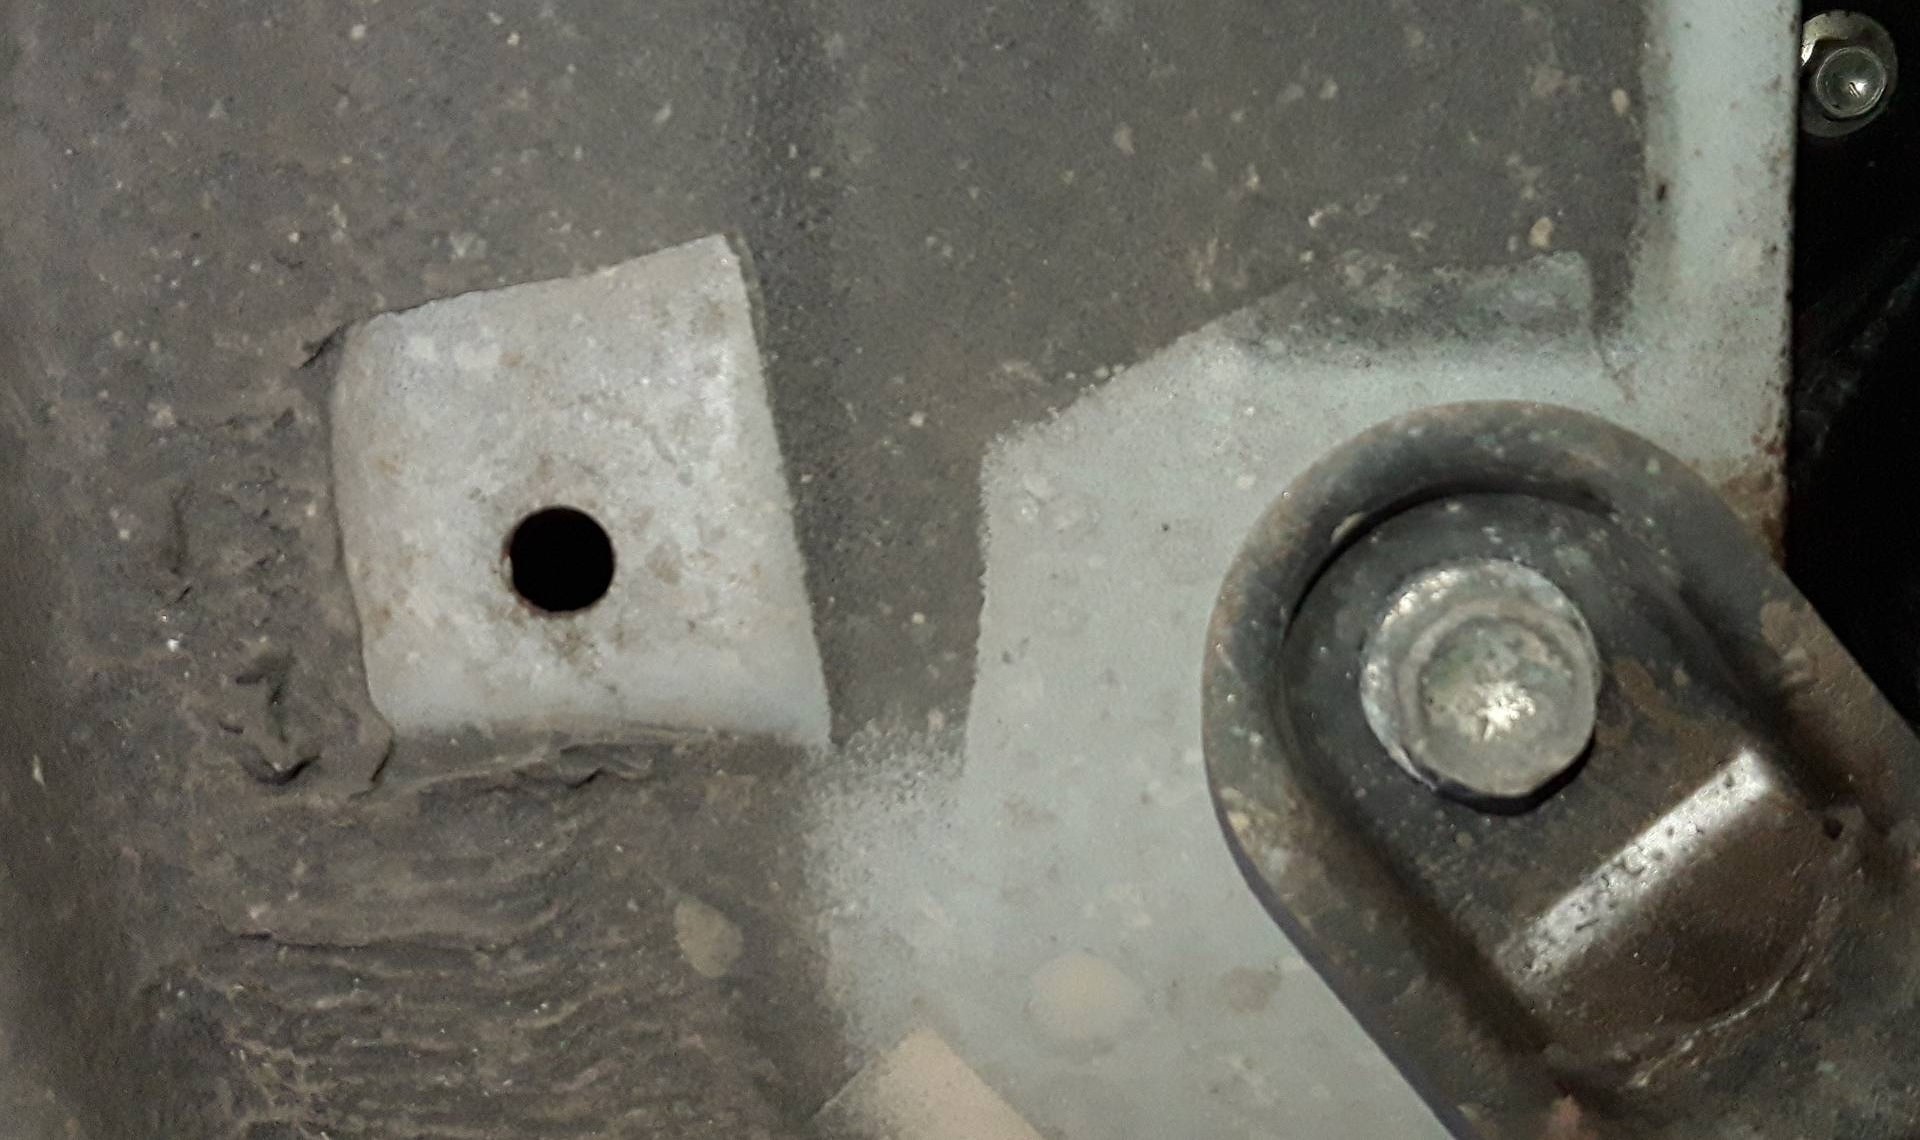
Fish-pond filter holey foam is now added to each drain outlet.

Some more Silentcoat deadening added, now around the conical metal of each top mount and on a couple more nearby flat body bits that might be ting-tinging a bit like the sounds we were hearing. Also some more of the absorber went on parts of the bulkhead and adjacent liner, not much room in there. But on a quick local loop these few odd bits seemed to have helped. No motorway test yet though.

While the boot liners were off I topped up the Dinitrol above the wheel arches. The long wand is only just long enough to reach if one uses a hole hidden behind the jack for driver’s side and the cut-out for the fuel filler for passenger side. Ideally it needs to have another 30cms.

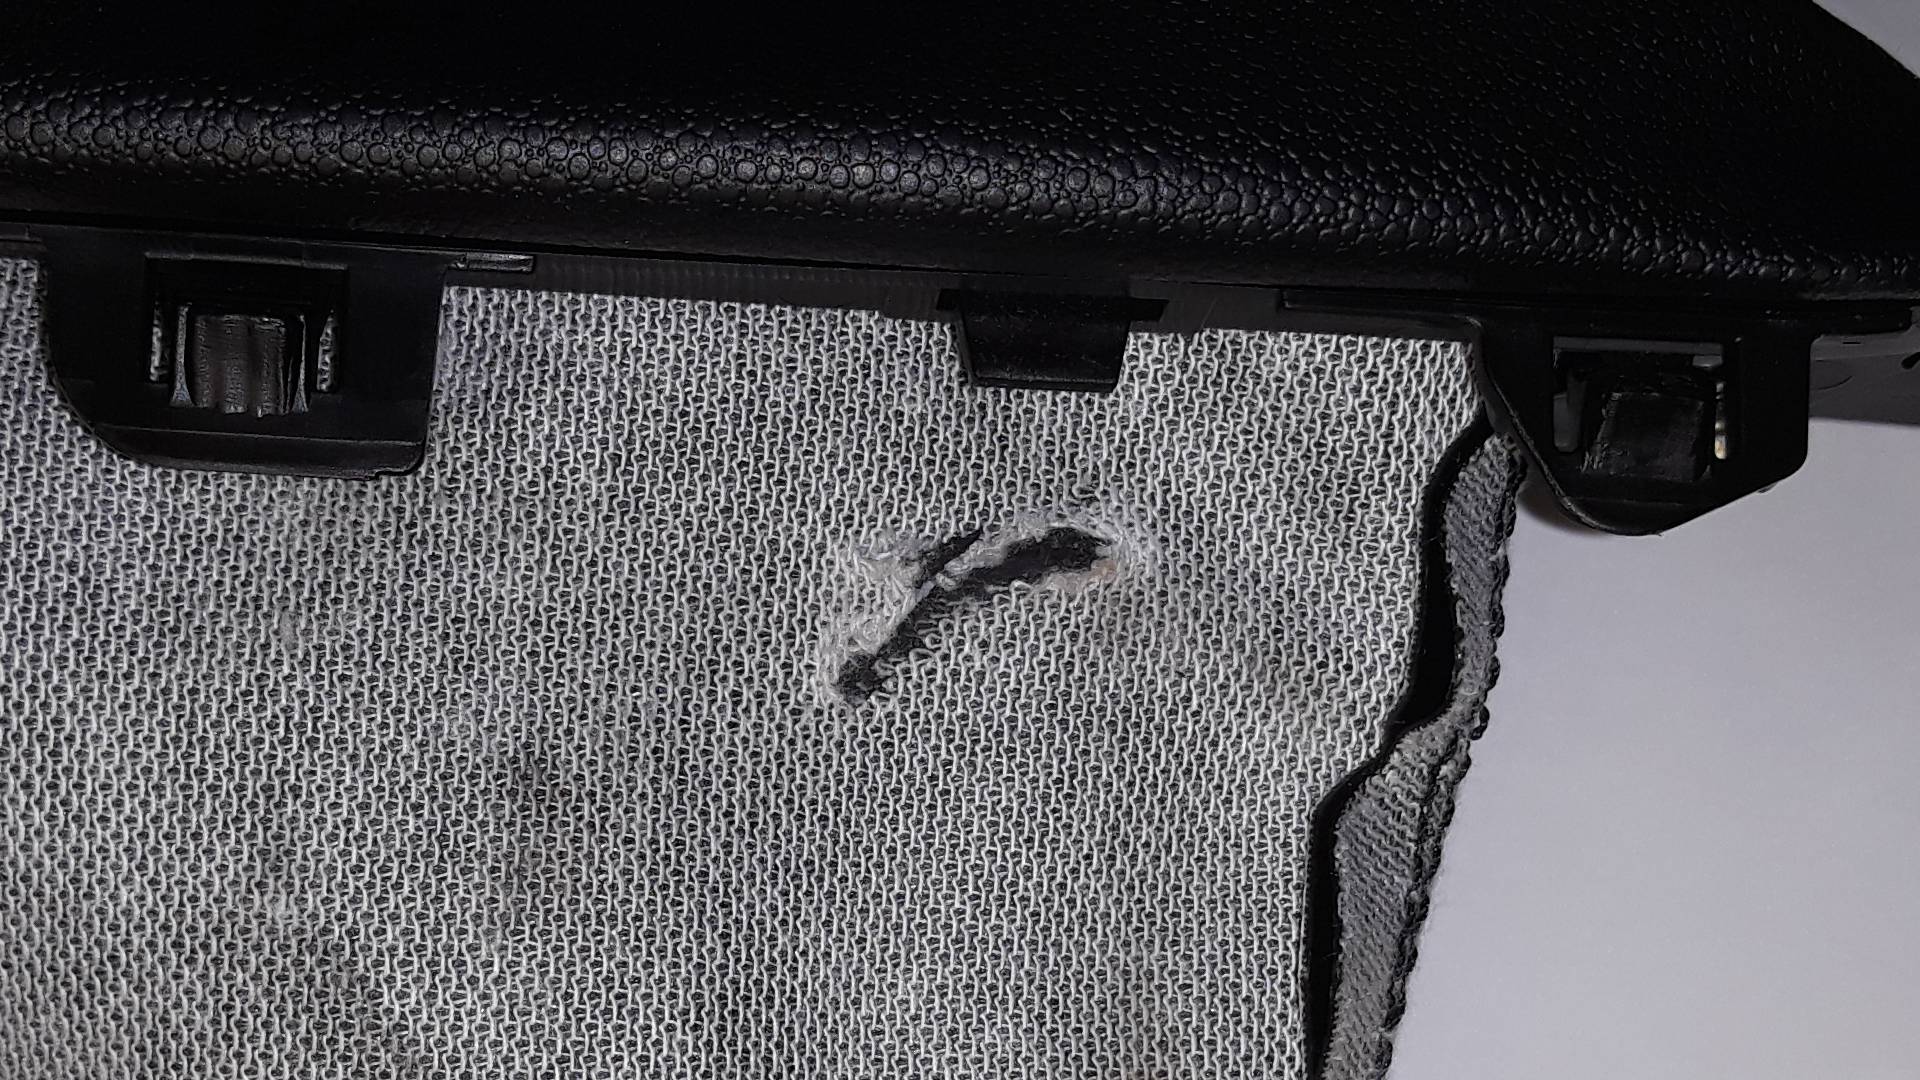
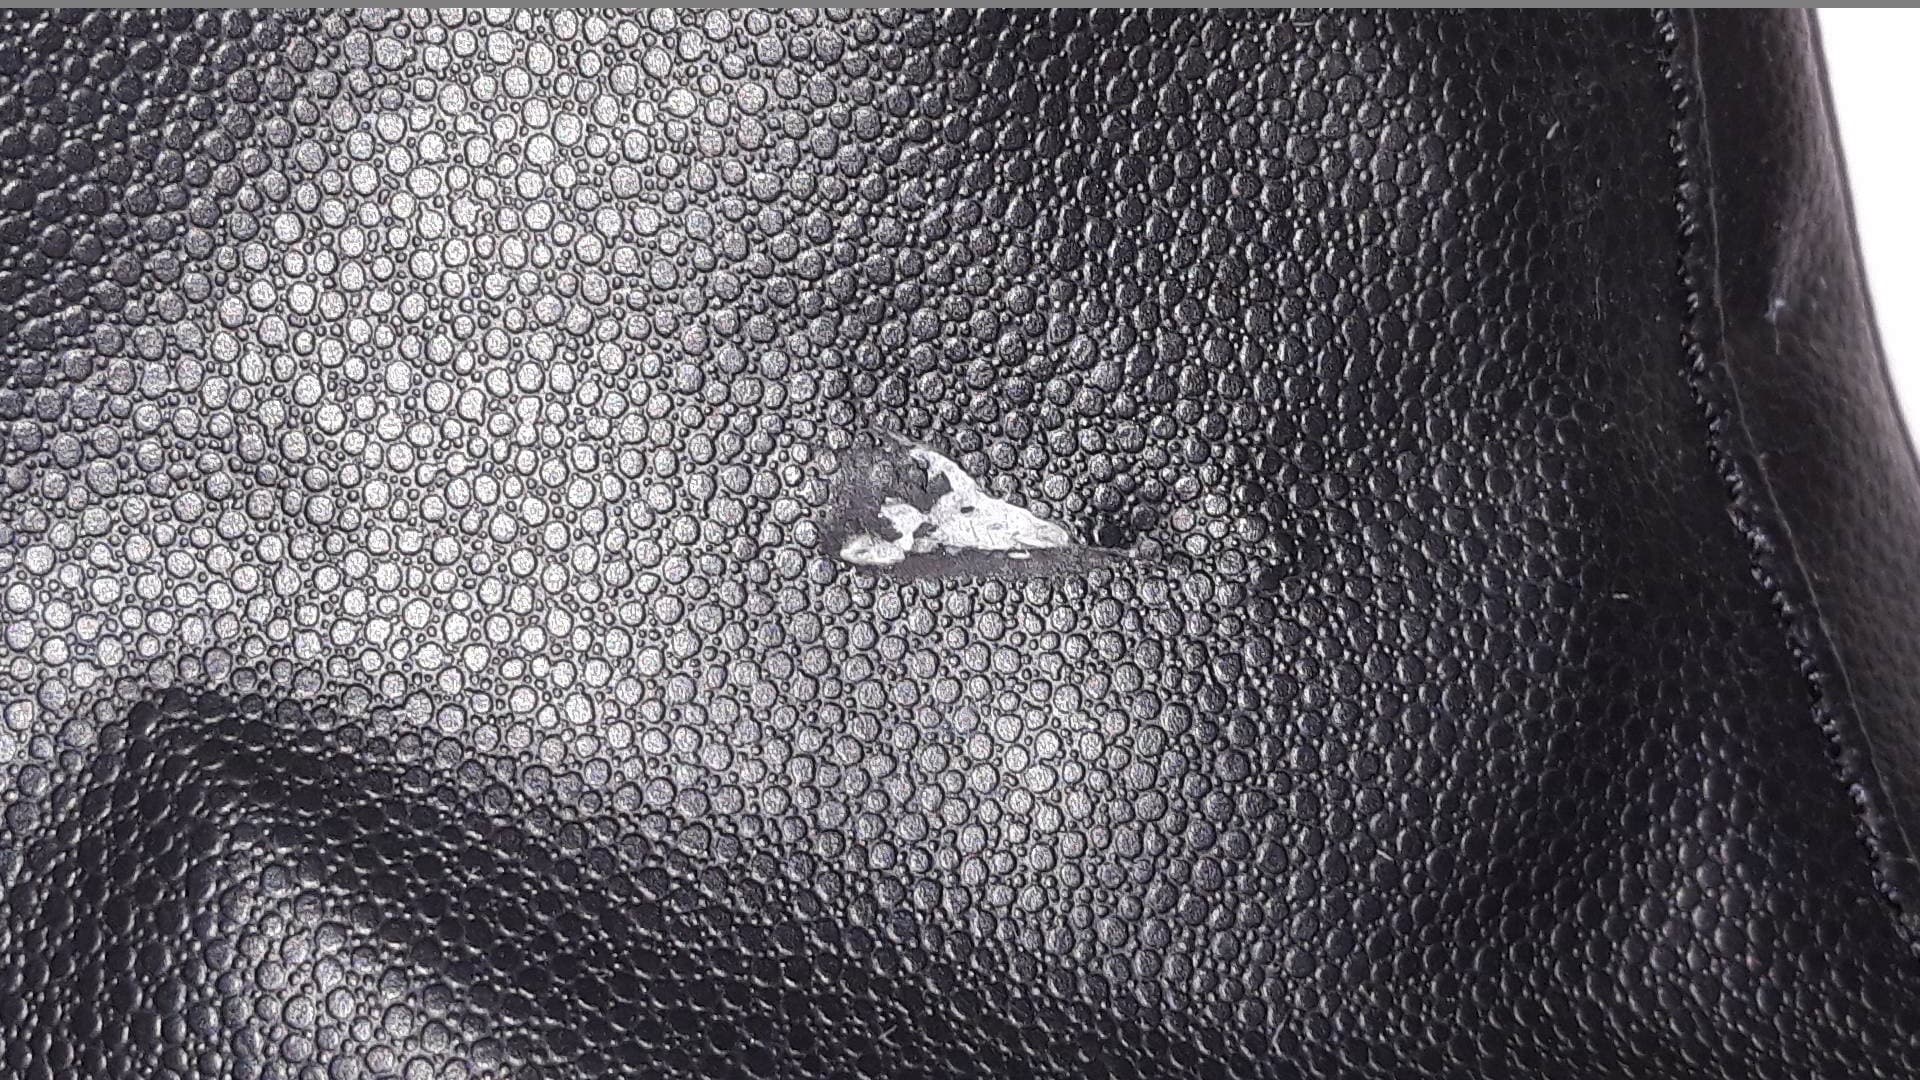
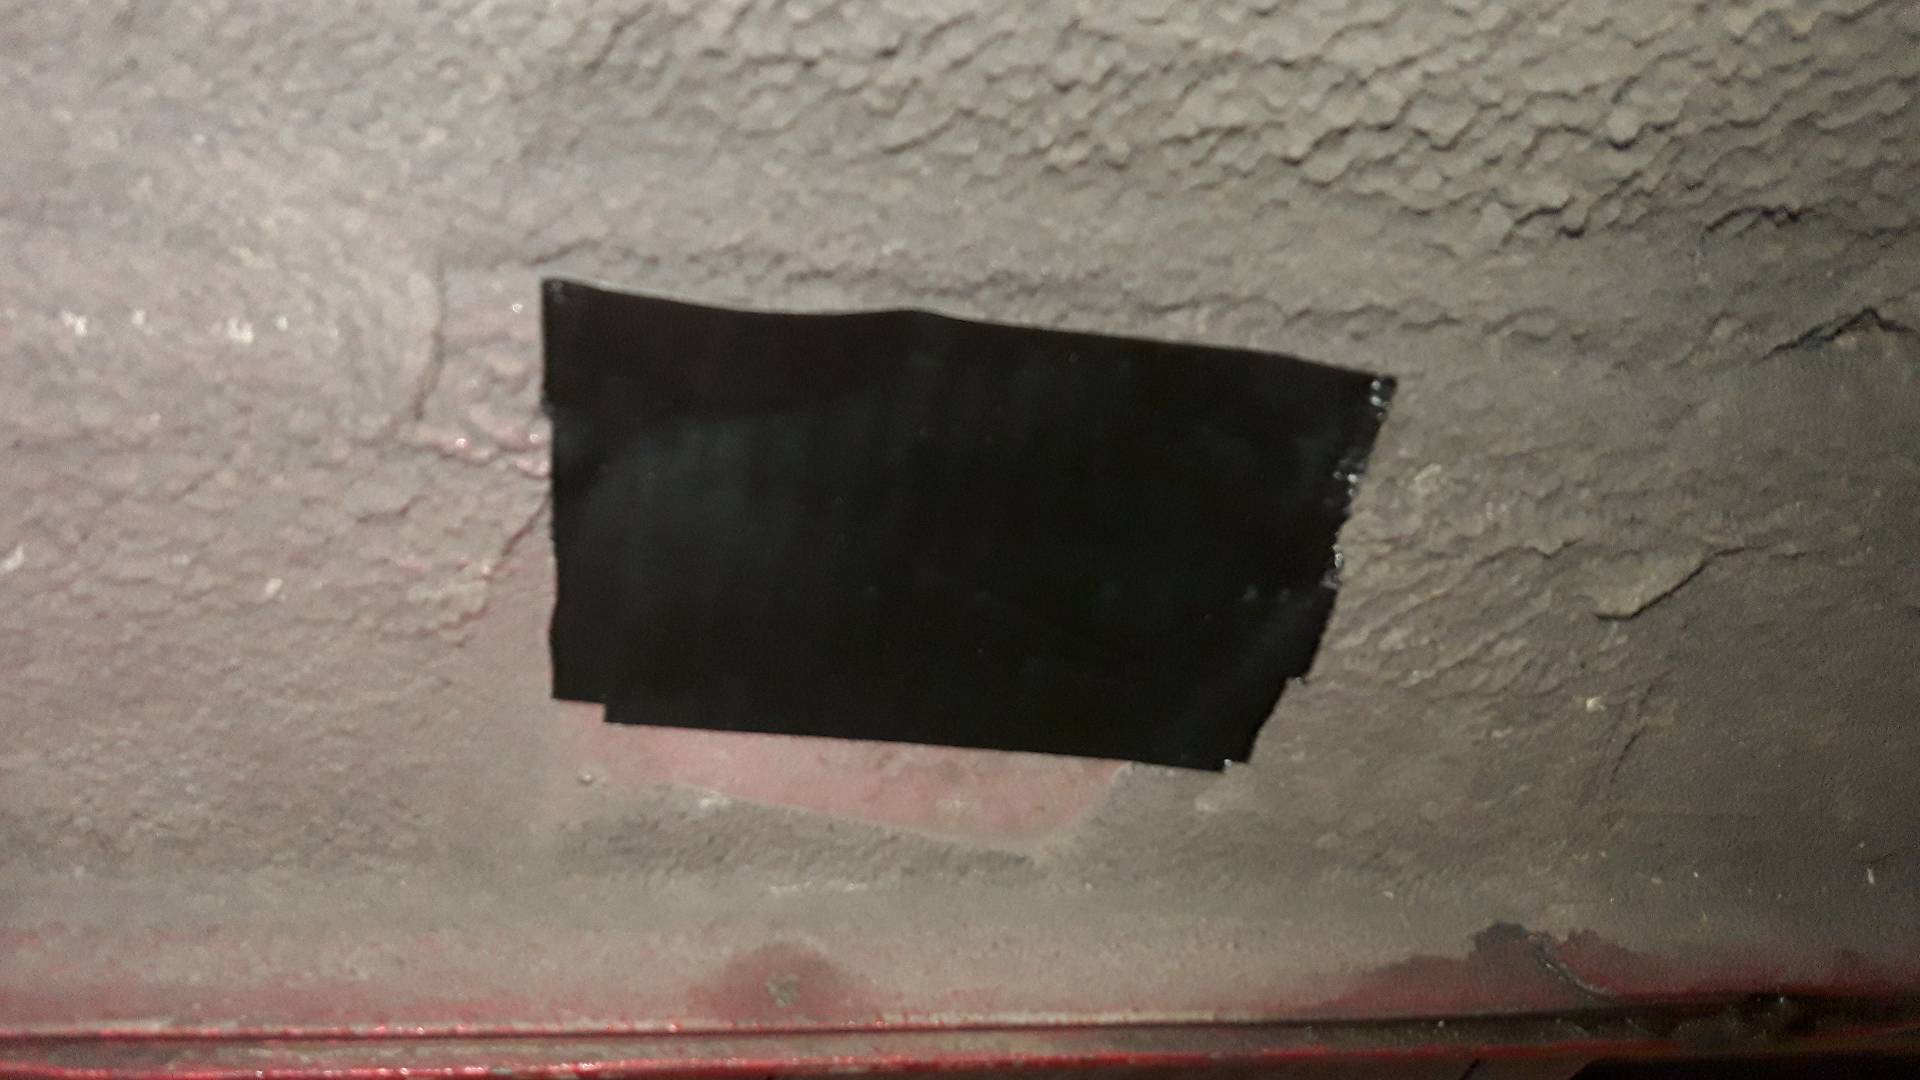
The last bit done today is repairing the handbrake gaiter, otherwise immaculate it seems to have gained a stab wound or tear. The inside is seen here, edges already held in place by some gaffer tape on the outside.

I’ve applied a denim patch inside secured with trusty old Copydex. I’ll leave it to cure overnight before removing the gaffer tape and dressing the slit on the outside with some Vinyl-weld and a toothpick-brush.
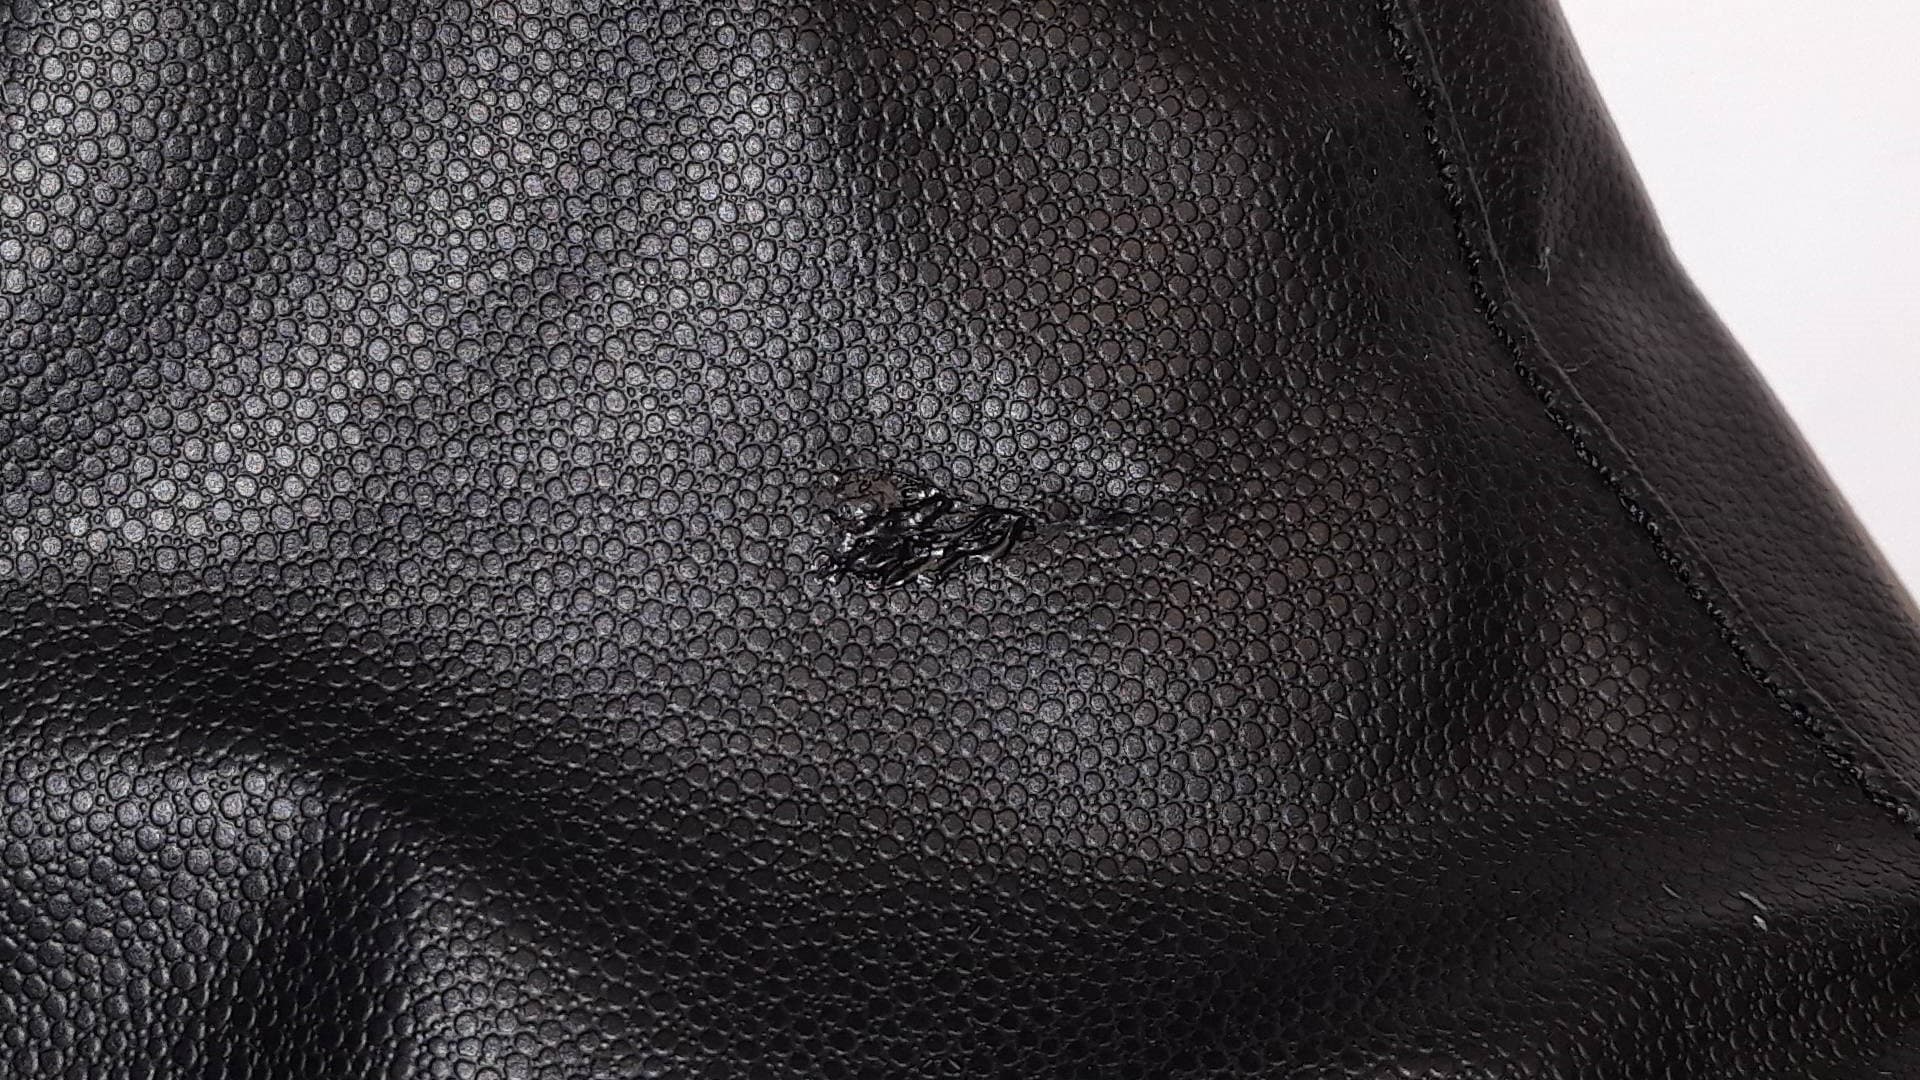
Edit.

Gaffer tape removed to show the remaining scar

and my Vinyl-weld had gone orf so some black acrylic paint is just as good for something that will be hidden in a dark fold.

2 Likes

I might have figured out how the gaiter was damaged. The handbrake lever has some razor-sharp edges right next to where the gaiter folds against it. The shaved off fibres are most concentrated above this long edge. The flash photo makes it more obvious, and they are easily missed by the naked eye in a dark car interior.

So I’ve added some protective edging, improvised with the off-cut outer sleeve from some small two core cable.

And this is how it looks now. The denim patch is also holding it slightly less sharply folded.

1 Like

Today the Precious was treated to a “seven year” service and MOT at Milcars.

Engine oil and filter
Gearbox oil
Diff oil
FL22 change
Brake and clutch fluid
MOT pass with flying colours

Clutch release/bite is much more predictable and now in the right zone.
Gears feel a bit better but synchromesh on any gear (6 speeds) is still nothing like as good as the Niseko (5 speeds) was or the Mazda3 (6 speeds) is.

With any luck the gearchange might settle down :crossed_fingers:
But if not I might try DuratecNC’s magic potion. :pray:
Or if that doesn’t work maybe the synchro is trashed. :sob:

The oval tie-down bungs are about £7.50 each, UK stock but none at Milcars. I forgot to call them last week to order some in.

Service and MOT for the Mazda3 at Milcars yesterday and I picked up the bungs I ordered for the 25AE a fortnight ago.

Gaffer tape was protecting the innards of the sills until just now.

Driver’s side, some Dinitrol showing

Add a bung

And the passenger side

Even for the aged it’s only a five minute job each side if no fettling required: two minutes to carefully lie down on the floor; less than a minute to squeeze in the supple rubber and hear the faint clicks as it locates fully home, so satisfying; a bit more than two minutes to creak up to ones feet again.
Photos take much longer.

3 Likes

Mine has this too. Probably common.

1 Like

Remove them and apply underseal, you notice they haven’t put any around that area.

1 Like

Took it to Silverstone Festival today, and the rain washed it again for me, so it positively sparkled in the sunshine later.

But, alas, two problems cropped up on the way home during the two hour (!) stoppage on the M40 between Stokenchurch and High Wycombe: the Auto dipping mirror no longer dips (no power) and the Aircon stopped cooling (probably no gas).

Fortunately it’s a convertible, so for quite a long time during the slow crawl, in the dark, in thankfully dry weather, the top was down! And I re-aimed the mirror to reflect back at the SUV half a metre behind us instead of blinding me.

5 Likes

It seems the Auto-Dim Mirror is at fault.

The five pin connector from the car has the following
pin1 BLK/YEL (Meter fuse?) (maybe BLK/L-GRN ?) has 12V when ignition ON otherwise 0V
pin 2 BLK is always 0V
pin 3 BLK/VIO (?) is 12V only when Reverse is selected (and of course IGN ON), otherwise 0V

These correspond to what one might expect.

So I assume the mirror is not responding. The indicator does not light when the little push-button switch is toggled, and the dim function does nothing regardless of covering the ambient light sensor or not.

I bet the little switch is broken or a wire fallen off.

Removal turns out easy after taking a photo looking up at it; a Torx 15 screw locks the bracket to this wedge on the screen,

mirror bracket then slides up and off it.

Question 2. remains
How to take it apart without actually breaking it further?

Oh well, I gave up before I might break the glass.

I found it seems to be only clipped together, the two halves are moveable a few millimetres apart all around it, but I would need quite a lot of force to fully separate the (seemingly) clam shells from their clippy-in latches .

So I refitted it to the car with a routine tiny dribble of Servisol on the plug+socket contacts.

Surprisingly, now its power light can be switched On/Off, but the dimmer still does not work even if I turn off the garage lights and cover the daylight sensor, and operate switch as if doing it manually.

New mirror is needed, £121 from MX5parts! I guess at least it would be new and good for another ten years.

I would have preferred to fit a manual one instead, nothing to go wrong… But the manual screen mount wedge looks subtly different.

The metal wedge is stuck on as had to have a new windscreen a few years ago.
Strong dental floss or cheese wire should do the job. :thinking::man_shrugging:

1 Like

Taxed the Precious again!

£335. 00

Ouch.

But it’s worth it…

Ouch indeed.
My 320d is only £35.00

2 Likes

As is my Mazda3.

Joke isn’t it. My 5.0 mustang was only 140 a year.

What???

40 mpg is shocking for a two litre diesel but it does have twin turbos and goes like stink from a bit over 1500 revs :slight_smile: if it handled like the mx it would be game over.
Tax? What tax? I have to tax it every year for £0. I could be fined for not paying nothing :slight_smile: