Now for the Dashcam.
I rescued the camera from the old Niseko, but the hardwired power supply was a bit too fiddly to remove without possibly damaging it, especially considering there is a damaged windscreen right next to all of it. The procedure is much the same as when I fitted it to the NC1 Niseko.
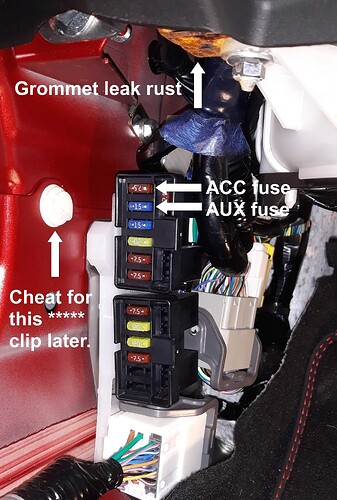
However there are some niggly differences for the NC3, seemingly designed to make it more awkward and significantly less room around the little fuse box.
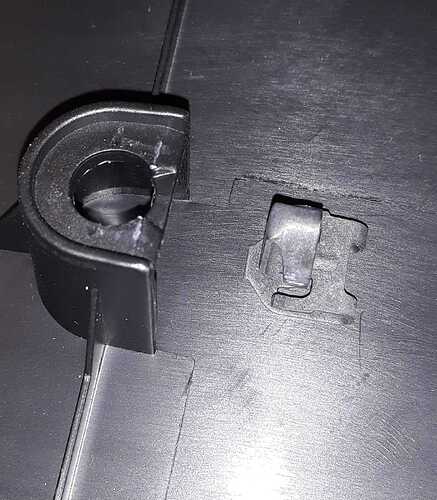
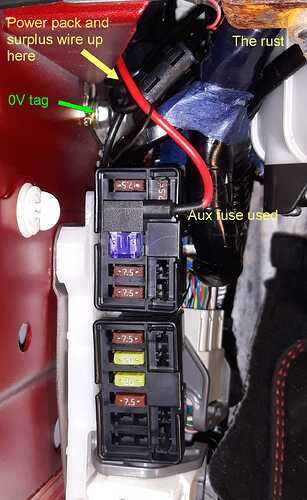
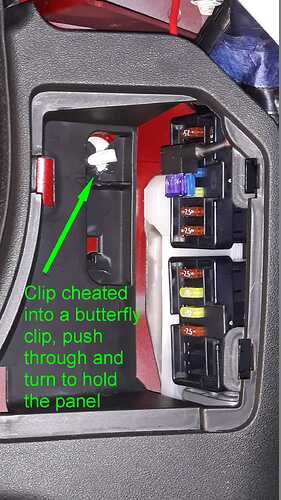
All the panels etc come off easily as before, except the surround of the fusebox where the white clip cannot be removed and the panel has to be slid down off it after having pulled a locating peg clear of the body and lifted clear a bit hooked over the fat loom going to the rear. A pain simply to reach this stage.
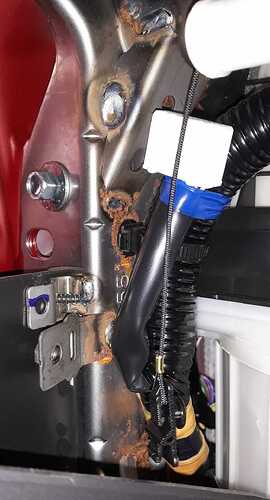
There is a fair bit of surface rust showing for such a low mileage car, definitely a grommet leak although the NC3 scuttle design is quite different from NC1.
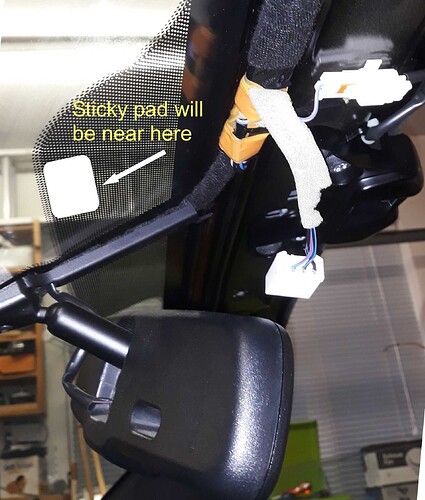
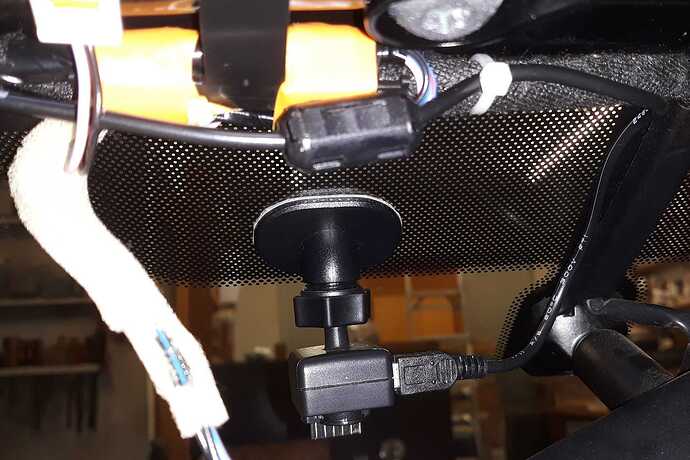
The headliner comes off easily and the interior-light plug comes out with the usual thumbnail squeeze. I planned to put the camera closer to the centre so the passenger sun-visor will not bash it.
However having now done it where marked, it only just misses the mirror and the sticky pad should be just creeping off the shaded bit for another ten mm clearance! The sticky is fake 3M so I expect it will fall off in a couple of months and let me reposition it.
Two of the spring clips stretched their bend so dropped off the heading. I needed to restore their confidence to grip the heading, a gentle squeeze with the Vise-grip and all’s well.
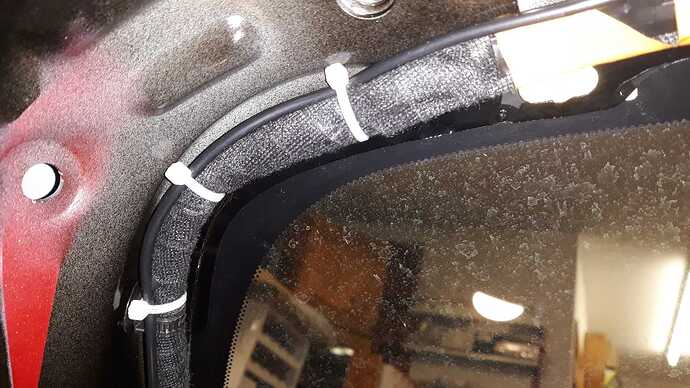
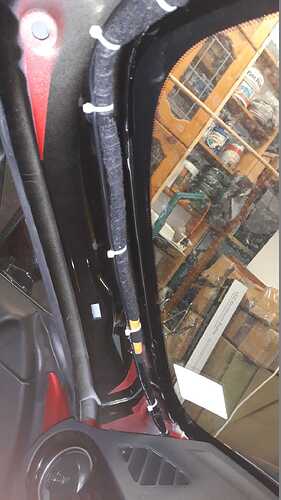
Some cable routing from the freshly fixed mount. Extra ferrites were added at any end of a cable going to a bit of electronics, this to keep radio happy and cameras happy.
All wiring was cable tied to make sure it’s not pinched and doesn’t rattle.
There is so little room for the power block, half the size of the original Nextbase one, that simply stuffing it into the tight space above the fuse box guarantees no rattle or falling out. I used the same earth tag as before, except it is even less accessible, and a 10mm fine-ratchet ring is the only spanner that can get in there. I piggybacked the Aux fuse and not the Acc fuse, because the top of the fuse-block surround-panel might foul the add-on fitting, no difference really, they feed off the same busbar.
The white clip would not come out, but I noticed that my final effort with the trusty Vise-grip had lifted the circle into butterfly wings, and the panel cover would now simply pass over them, and then I could twist it 90 and it would hold the panel again.
All the rest went back as usual, but for one moment of panic. The interior light no longer worked!
Test meter showed volts getting to it, and the bulb was open-circuit. I used the old tywrap trick to extract the bulb and saw the filament is perfect, just a bad connection in an end cap. Another 30mm festoon bulb is on its way, all my old stock is too long. The bulb from the boot fits and works.
