Fitted the parking sensors.
The 25AE is subtly different from the NC1 Niseko in where stuff is, but the old instructions almost worked and I followed the same routine as when I fitted the sensors on that.
First of all I tested the new system out of the car.
Potentially this saves a lot of wasted time if it might have been faulty. All was joy and the distances for noises were about right so I didn’t need to play with the little slide switch which might, or might not, do something useful. It wasn’t broke so I didn’t fix it.
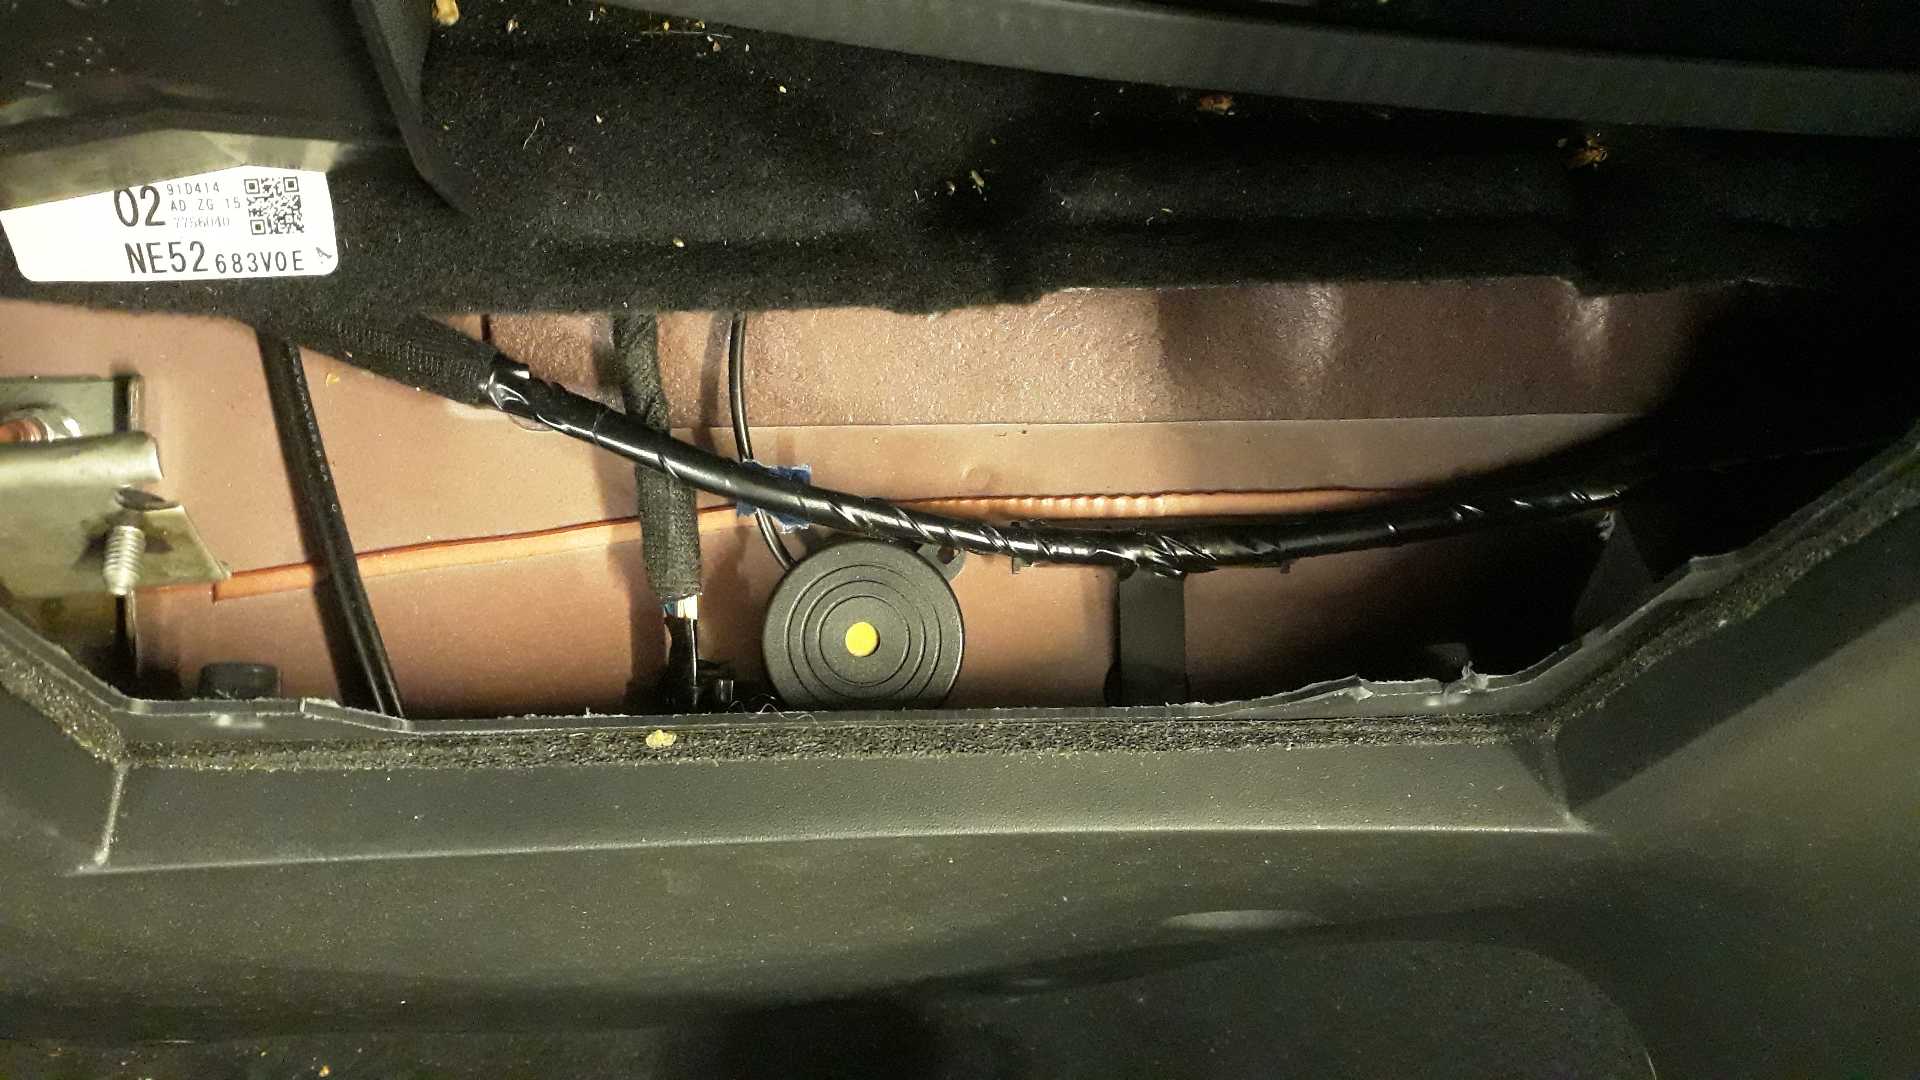
Installing the beeper was easy as I followed the same route as with the Niseko. Here behind the driver’s seat again.
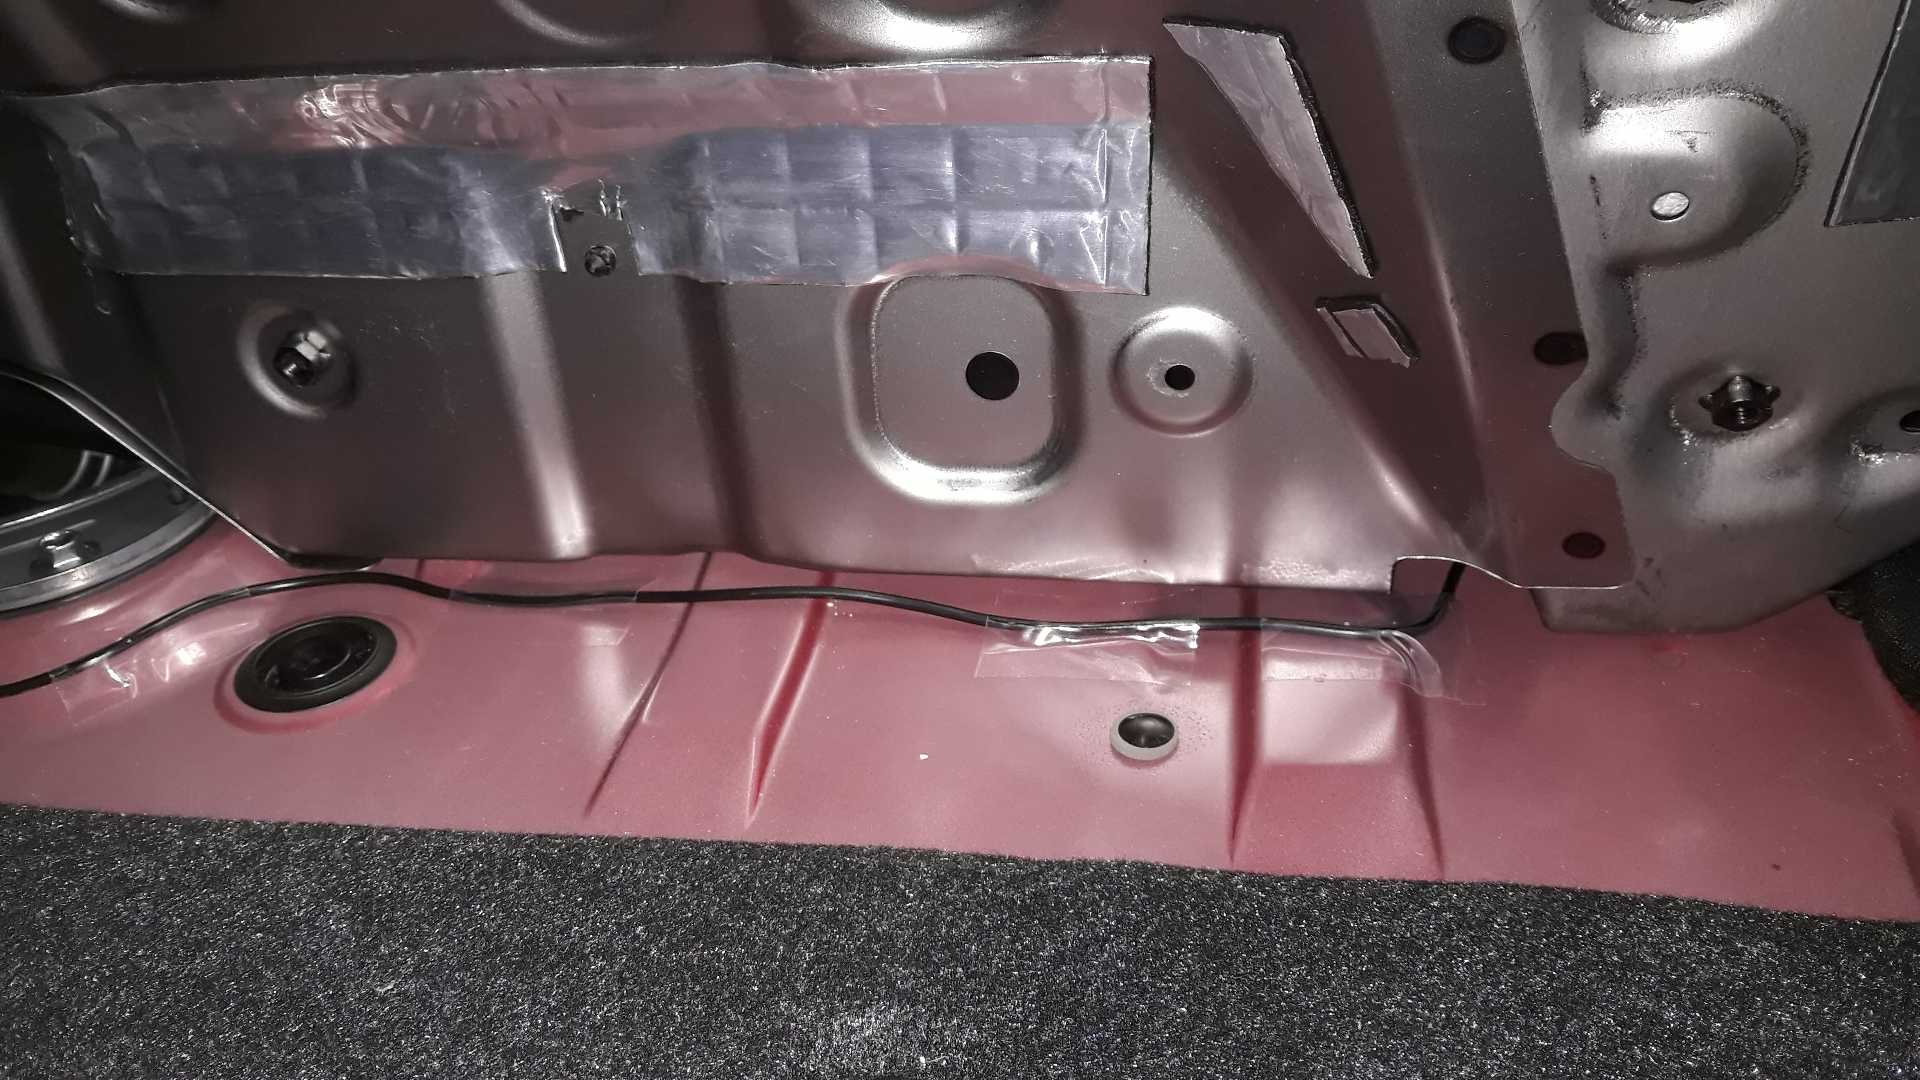
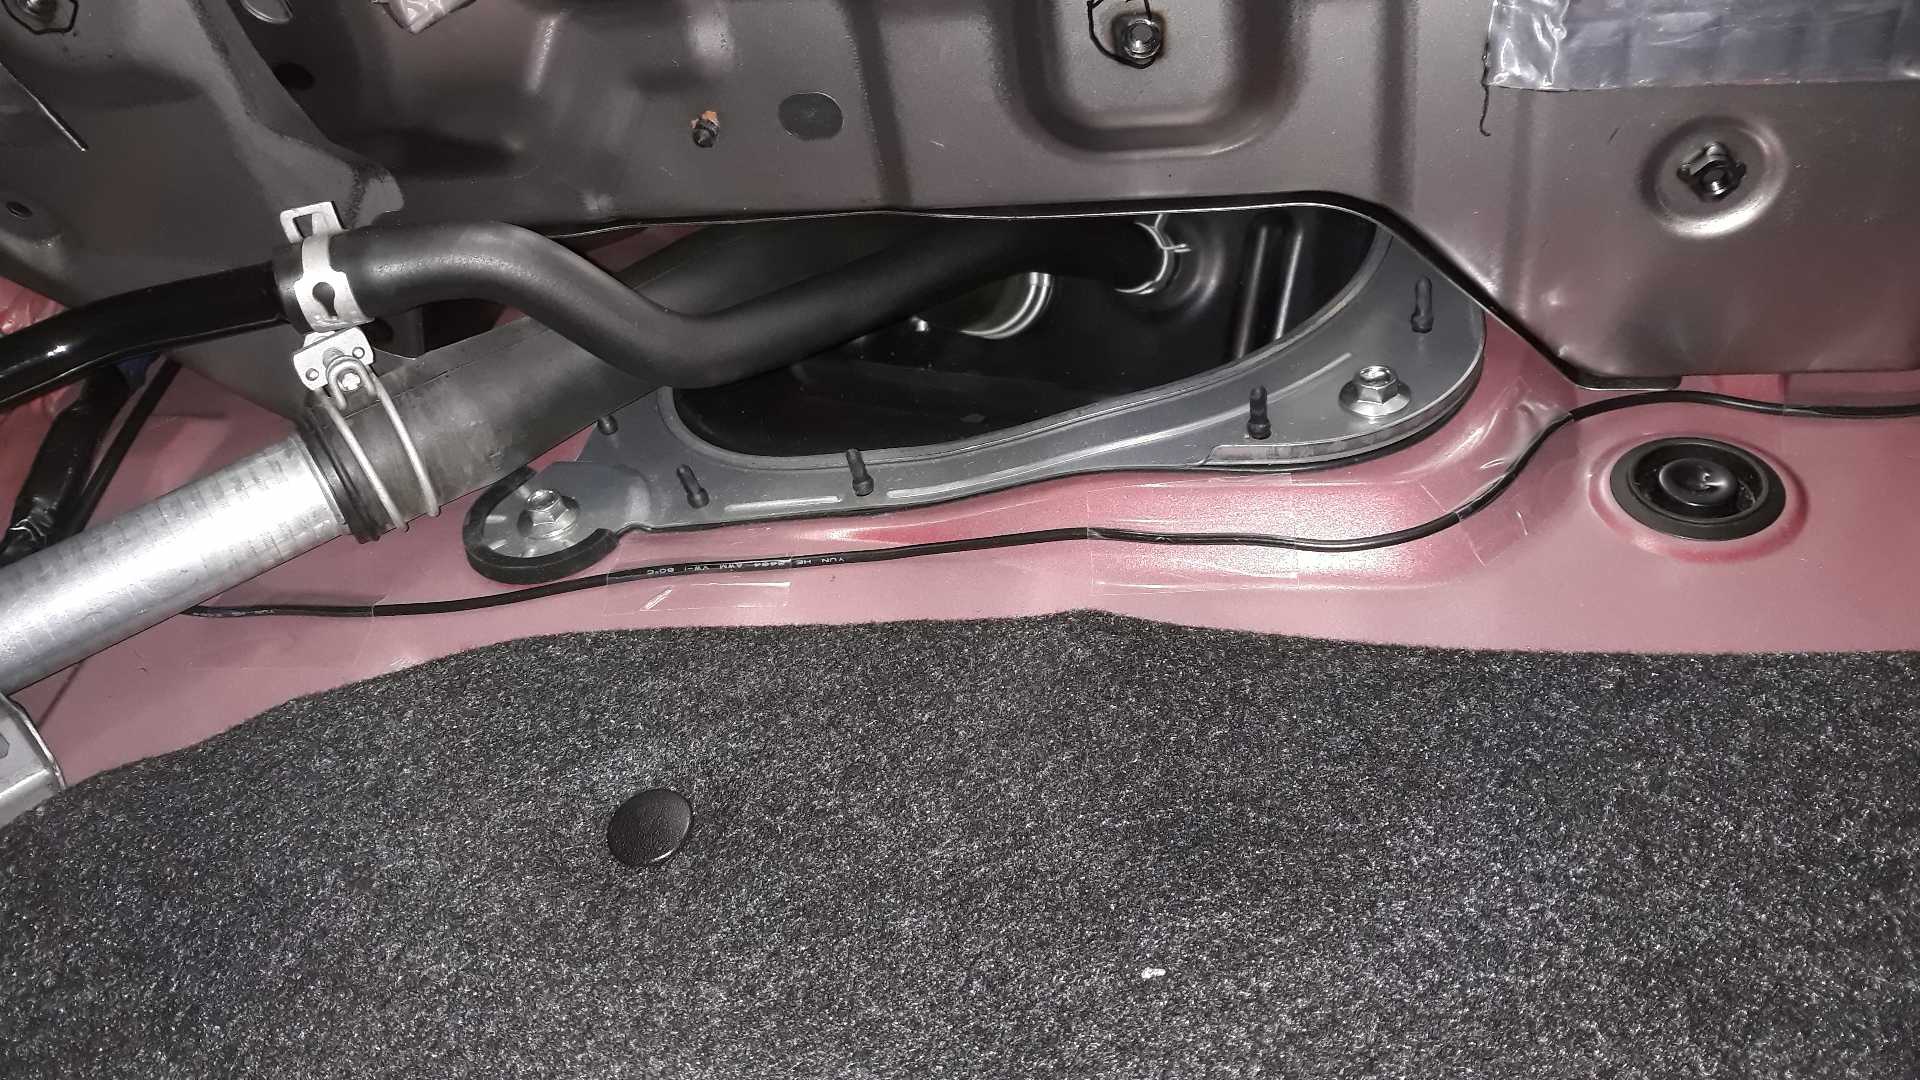
I used some clear all-weather tape to hold the wires in place in the boot.
And tucked the control box in the Mazda preferred spot, not yet powered though.

No wires out to the bumper yet, but otherwise finished inside the boot.
And the first layer of base coat on the black sensors after washing them with isopropanol, obviously they will need more layers from the standard soul-red touch-up kit. It’s fiddly getting an even coverage with the brushes.
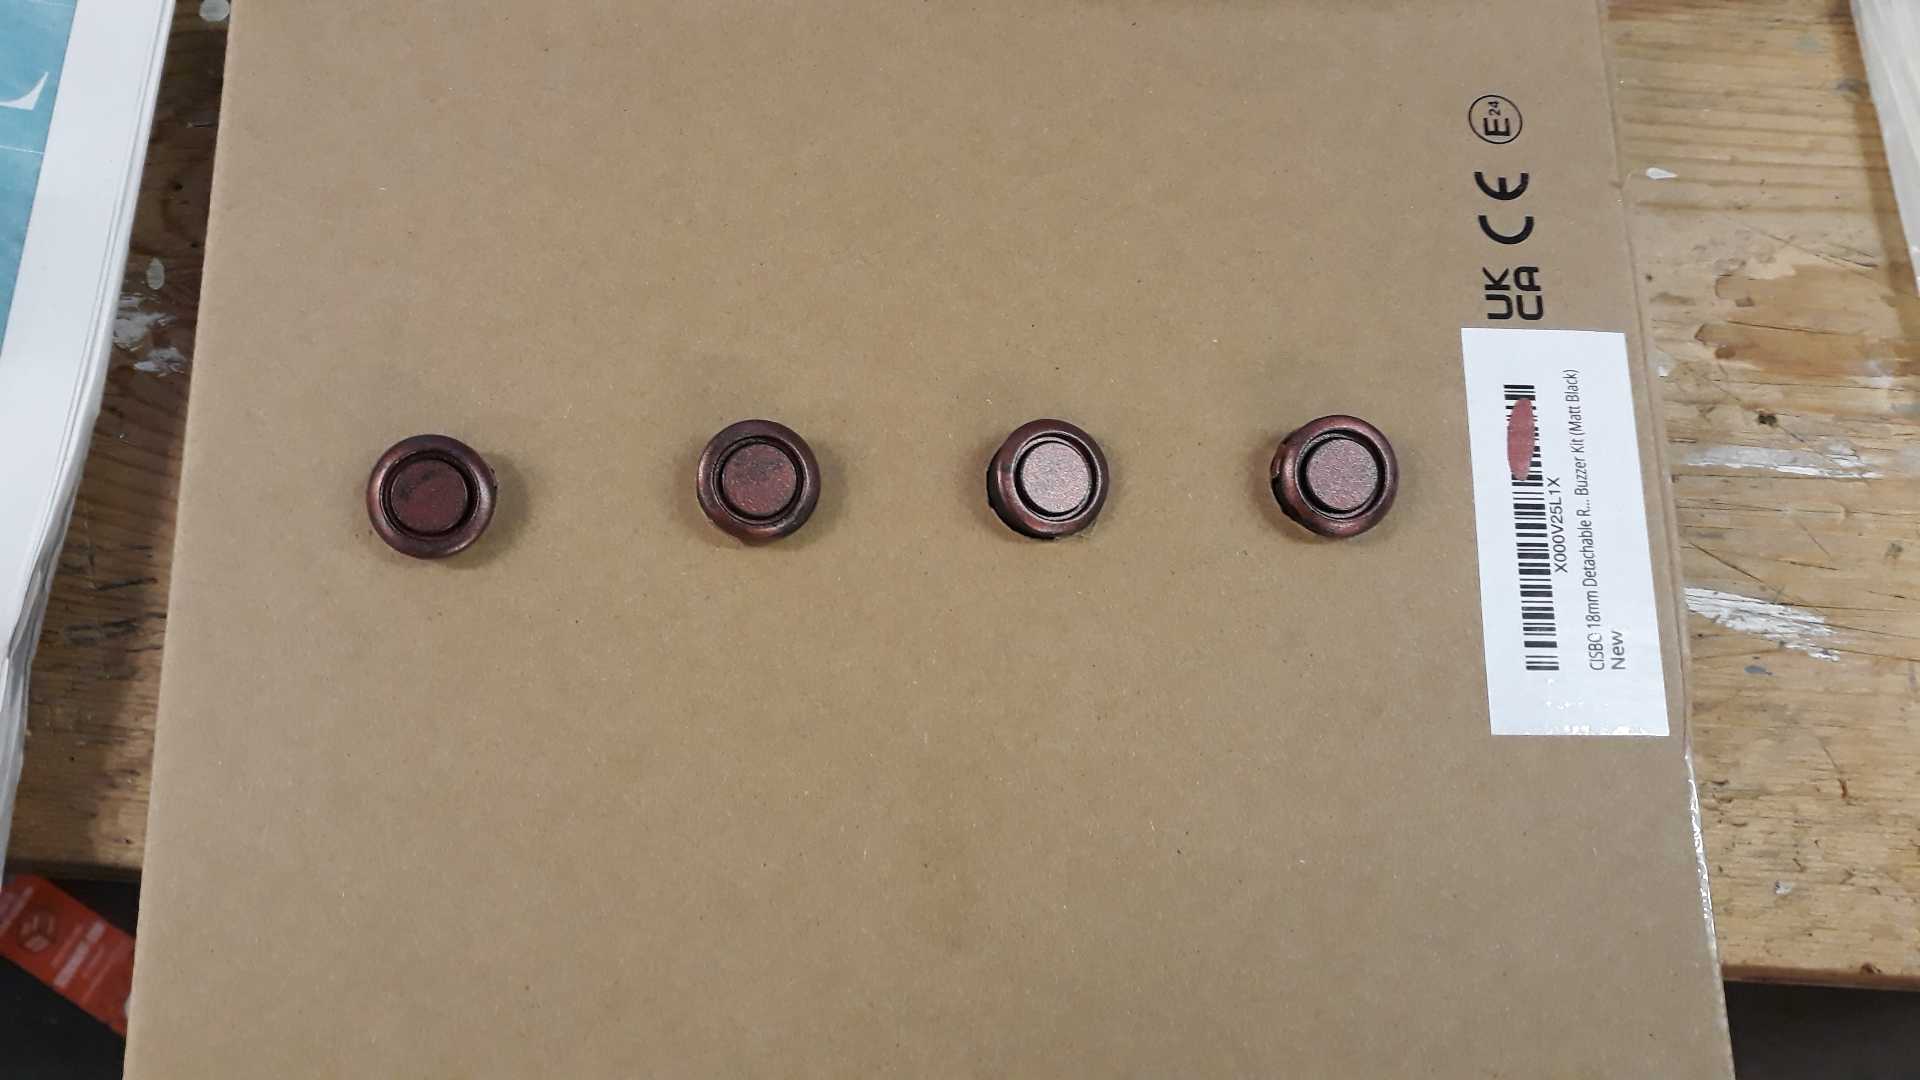
That was where I had reached on Sunday. A few more layers on the sensors overnight and yesterday for this result this morning, pic taken with it sitting on the bonnet, but fluorescent lighting. Four layers of quite dark base and three of the tinted “clear” to make it red enough.
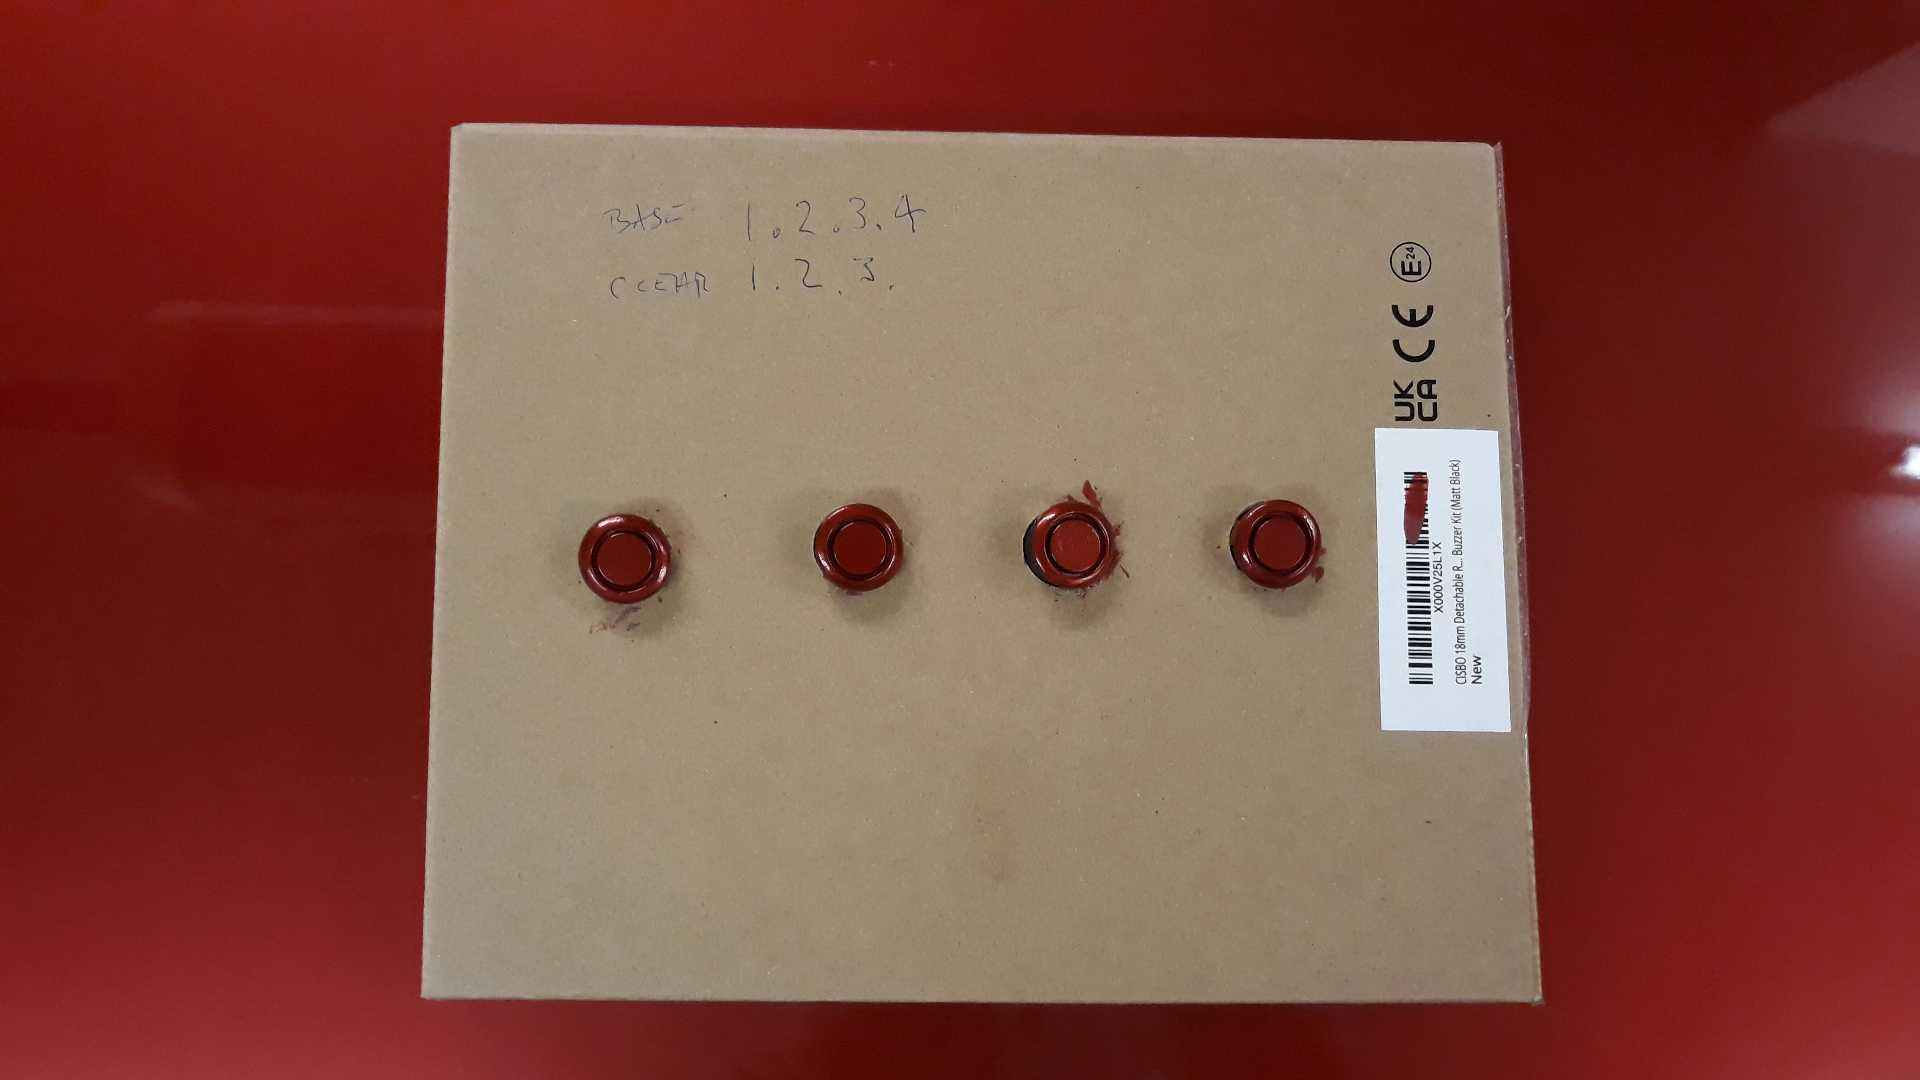
Today it was bumper off and mark up as before.
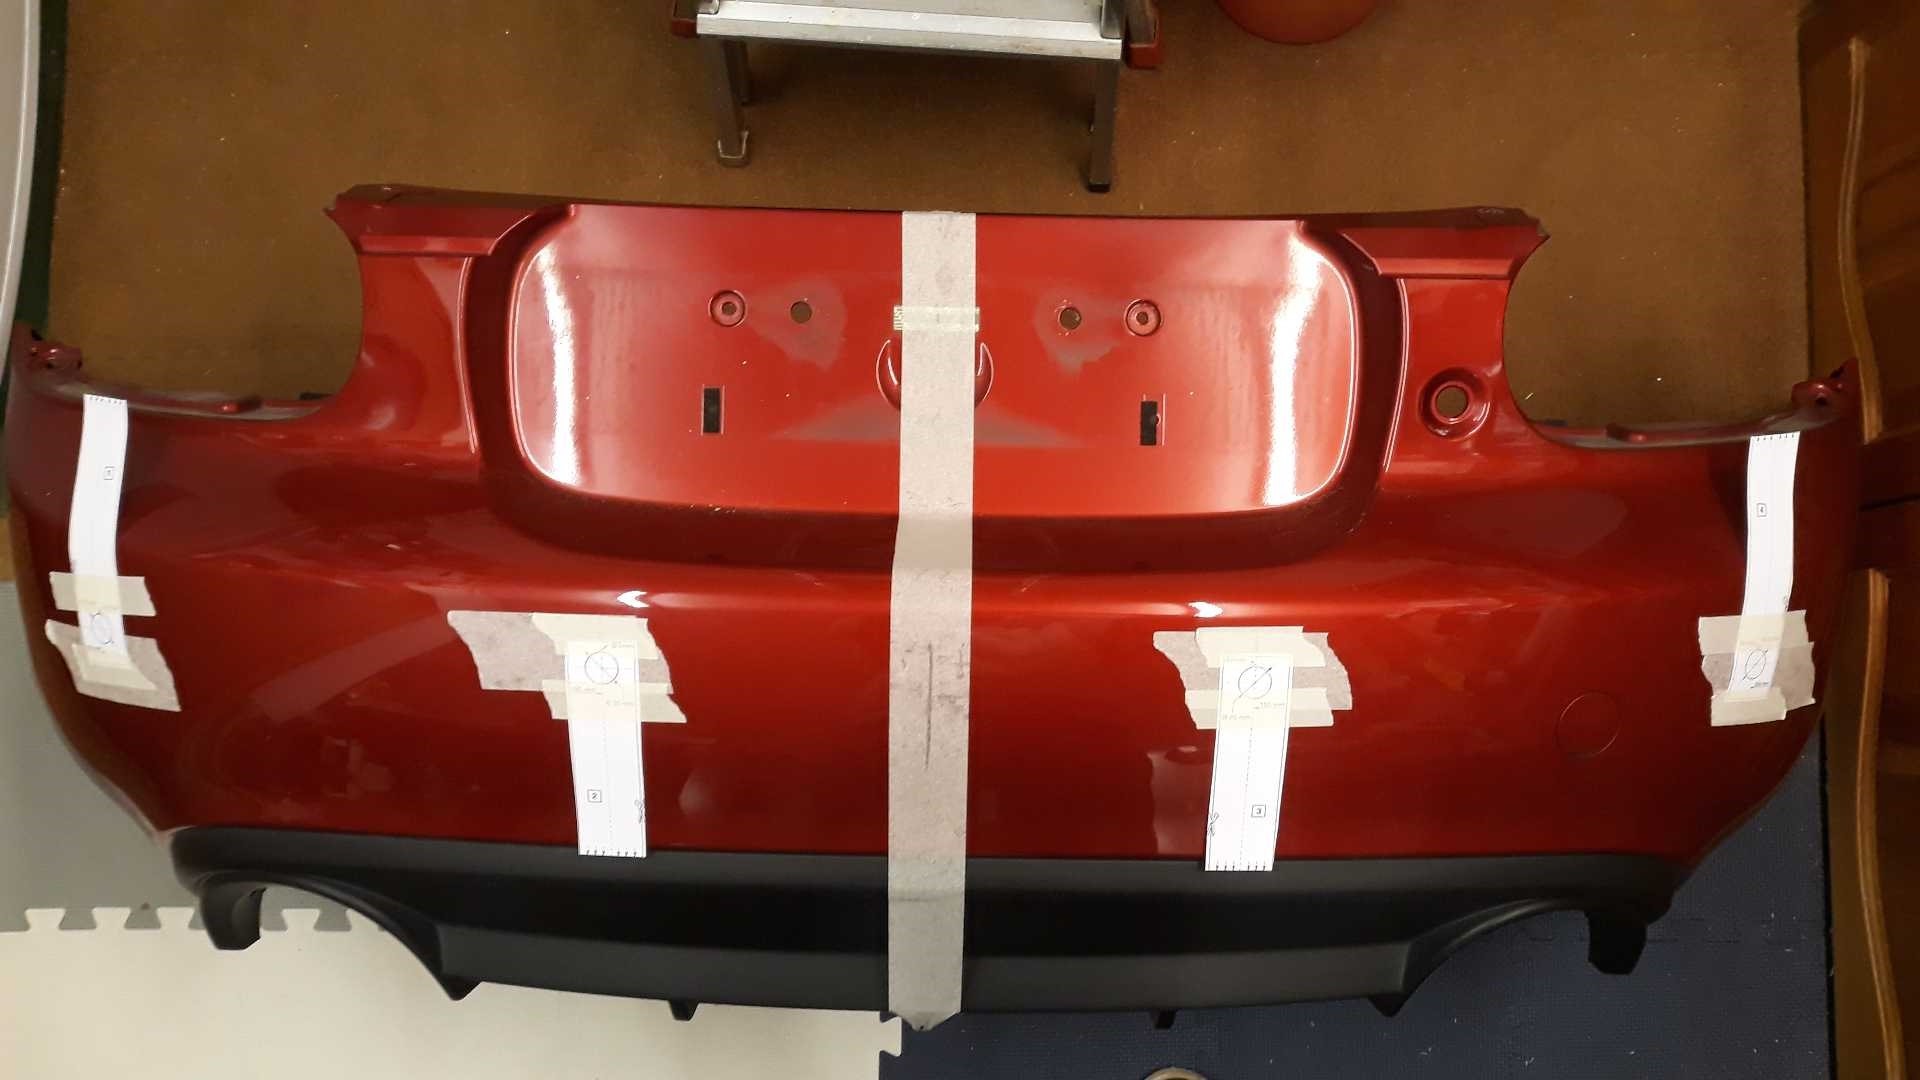
This 3.75 bumper does NOT have any guide marks inside for sensors, and it also has a different sub-structure, with some frames just edging onto the two inner sensor locations.
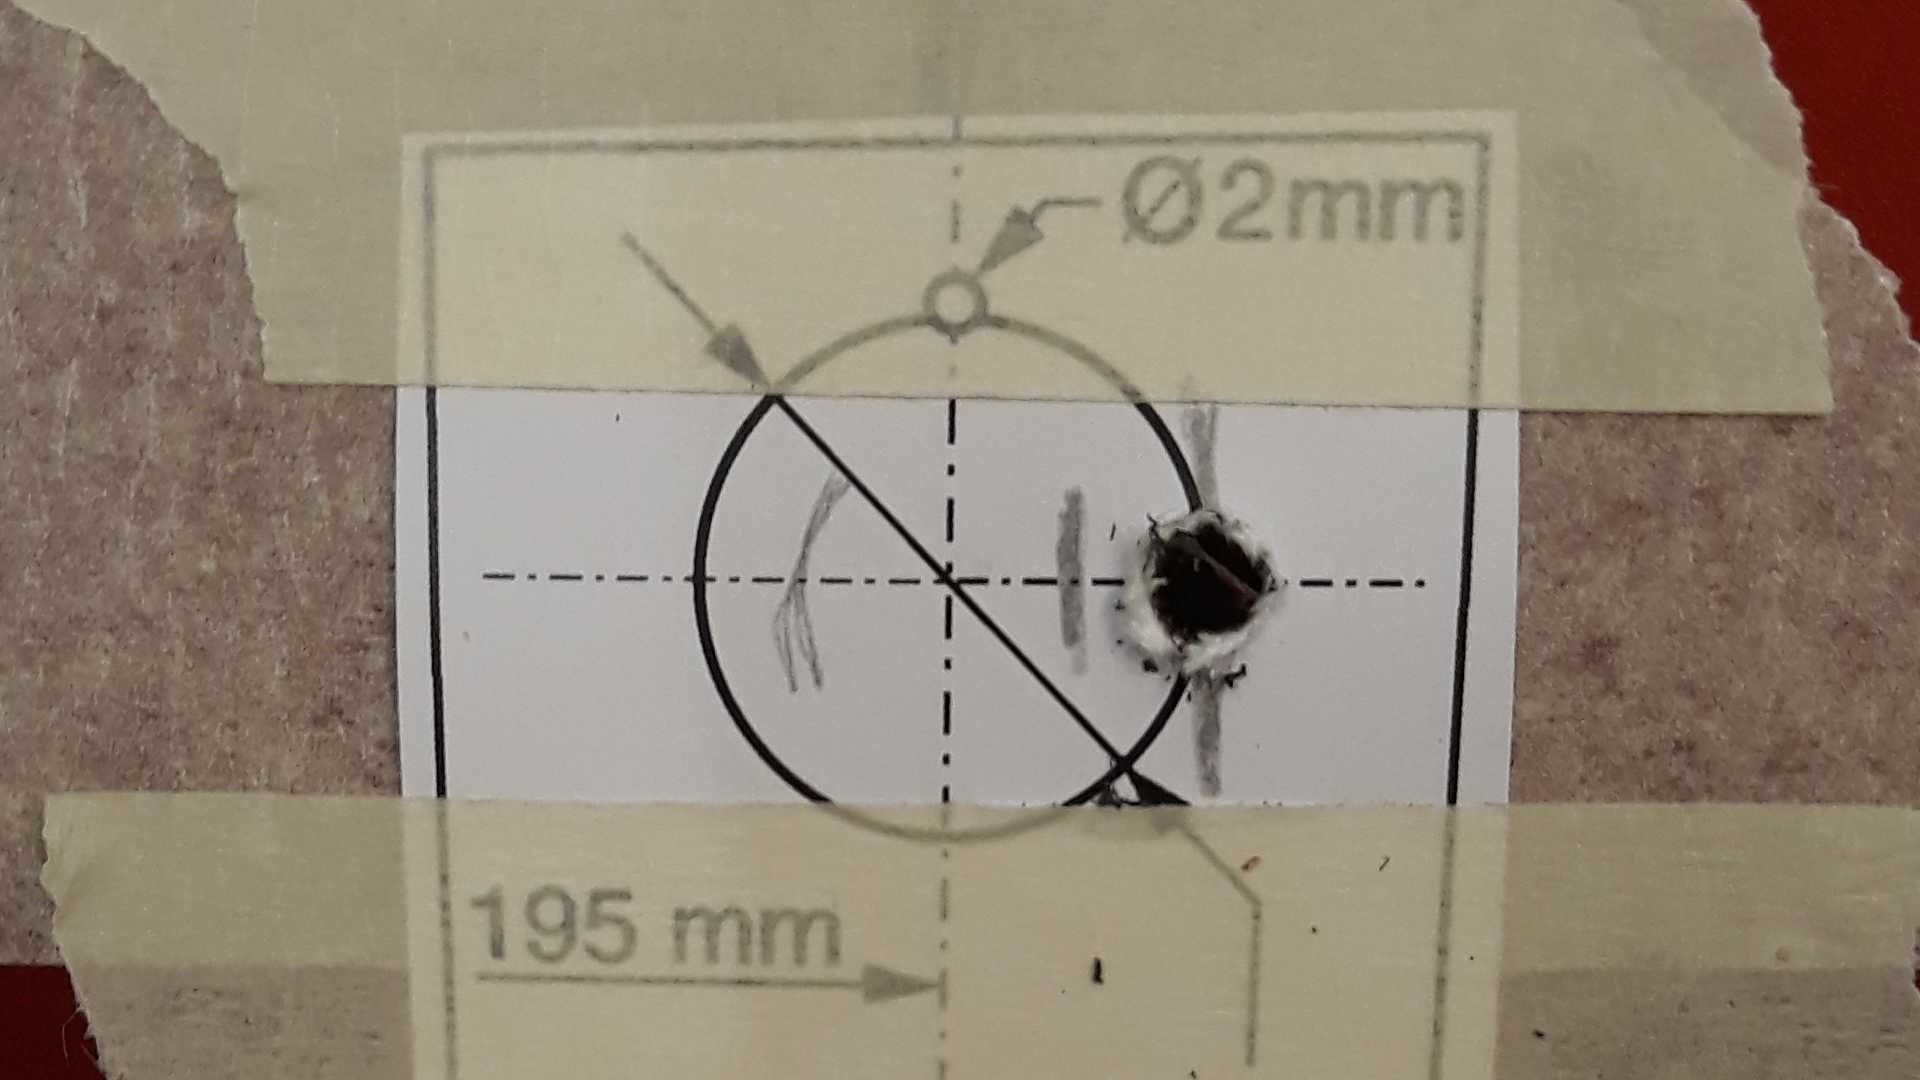
So I drilled the inner pair of holes each 10mm towards the middle (5mm was not quite enough) to be 185mm from the centre line instead of 195mm.
Also the guide strips will be slightly wrong lengths because of the lights and rear diffuser datums not being the same as before.
So I simply started with the Mazda strips then stood the bumper upright on the floor and measured each sensor to make them same height.
The markings are convenient.
Sensors with this kit are 18mm, and fortunately I have an exact 18mm cutter. I noticed the kit-supplied cutter is 18.3mm because the holes I cut in the box with that for a painting holder were too loose for the sensors.
End result is like this. The sensors are on short leads with connectors at the bumper end. I chose these because they make it easy to take off the bumper in the future. They also have an Up arrow marked for installation. Press on the rims only, not the centre!
Surplus wires bundled up under the light cluster and entry grommet sealed with silicone. I was very surprised the nuts holding the rear light clusters were barely finger tight- no spanner needed, but the rubber seals were well stuck to the body. I cleaned the surfaces and fastened the nuts again firm finger tight.

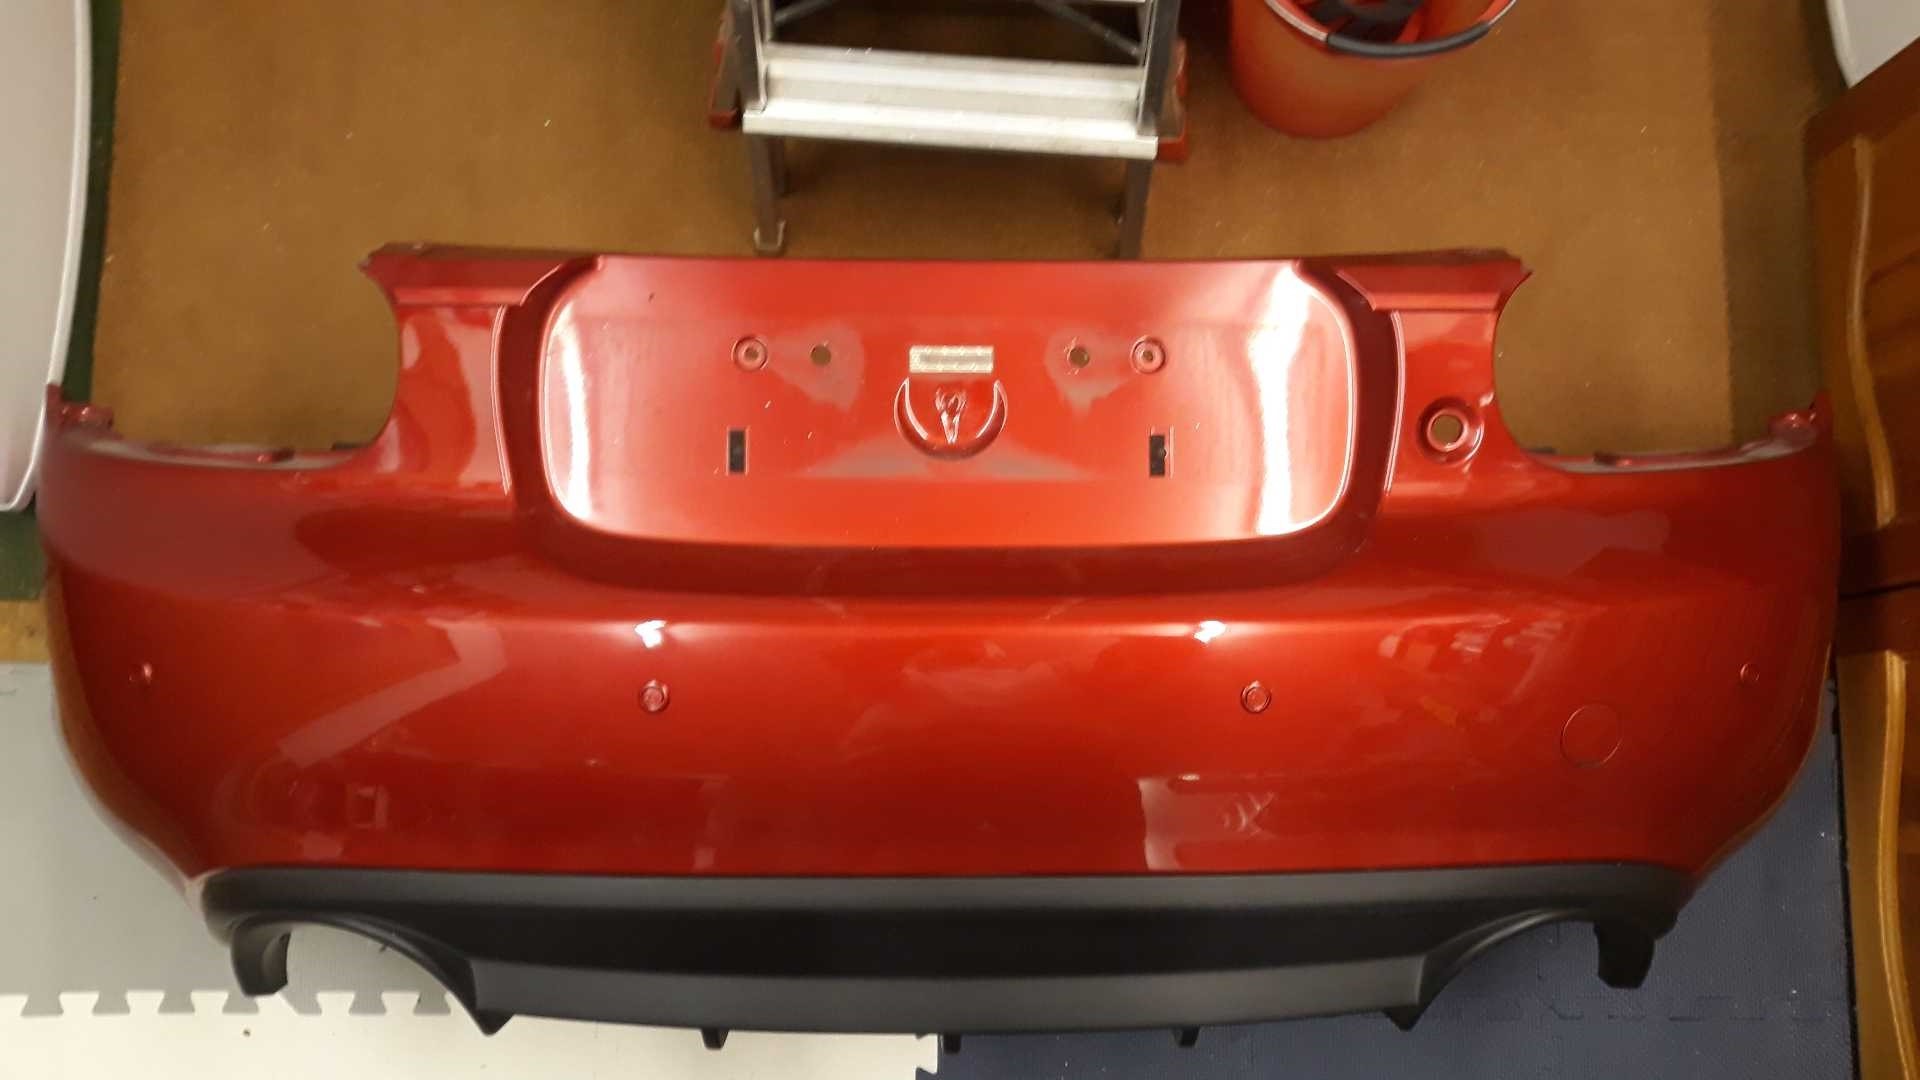
And a final pic of the bumper installed again.
