NC mods Part 2 - ARBs

  1. My model of MX-5 is: NC
  2. I’m based near: Essex

Well after a years worth of prep, part 1 was completed and a great day had a Brands Hatch :grin:

NC mods Part 1 - Roll bar and coilovers - Technical Area / Motorsport & Trackday Preparation - MX-5 Owners Club Forum (mx5oc.co.uk)

The car handled way better than expected. But, still so much to do! I truly have the bug :rofl:
TBH I enjoy working on the car as much as I do driving around a track!

Next track day booked for Aug 30th at Brands Hatch again so time to get some mods in ASAP.

Sold a kidney and treated myself to the following:

SuperPro Front 27mm Adjustable Anti Roll Bar for Mazda MX-5 NC & RX-8 | BOFI Racing

SuperPro Rear 16mm Adjustable Anti Roll Bar Kit for Mazda MX-5 NA NB | BOFI Racing

SuperPro Adjustable Anti Roll Bar Link Kit for Mazda MX-5 NB NC ND | BOFI Racing

Cybul Front Strut Brace for Mazda MX-5 NC | BOFI Racing

Will update once fitted!

2 Likes

Good call on the goods inwards…
Have you won the pools ?? :rofl: :joy: :+1:

Well that was a massive ball ache of a job! By far the hardest job done on the car so far.

The top brace wasn’t too bad to fit but the front ARB was hell! Took me 8 hours to replace the front ARB.
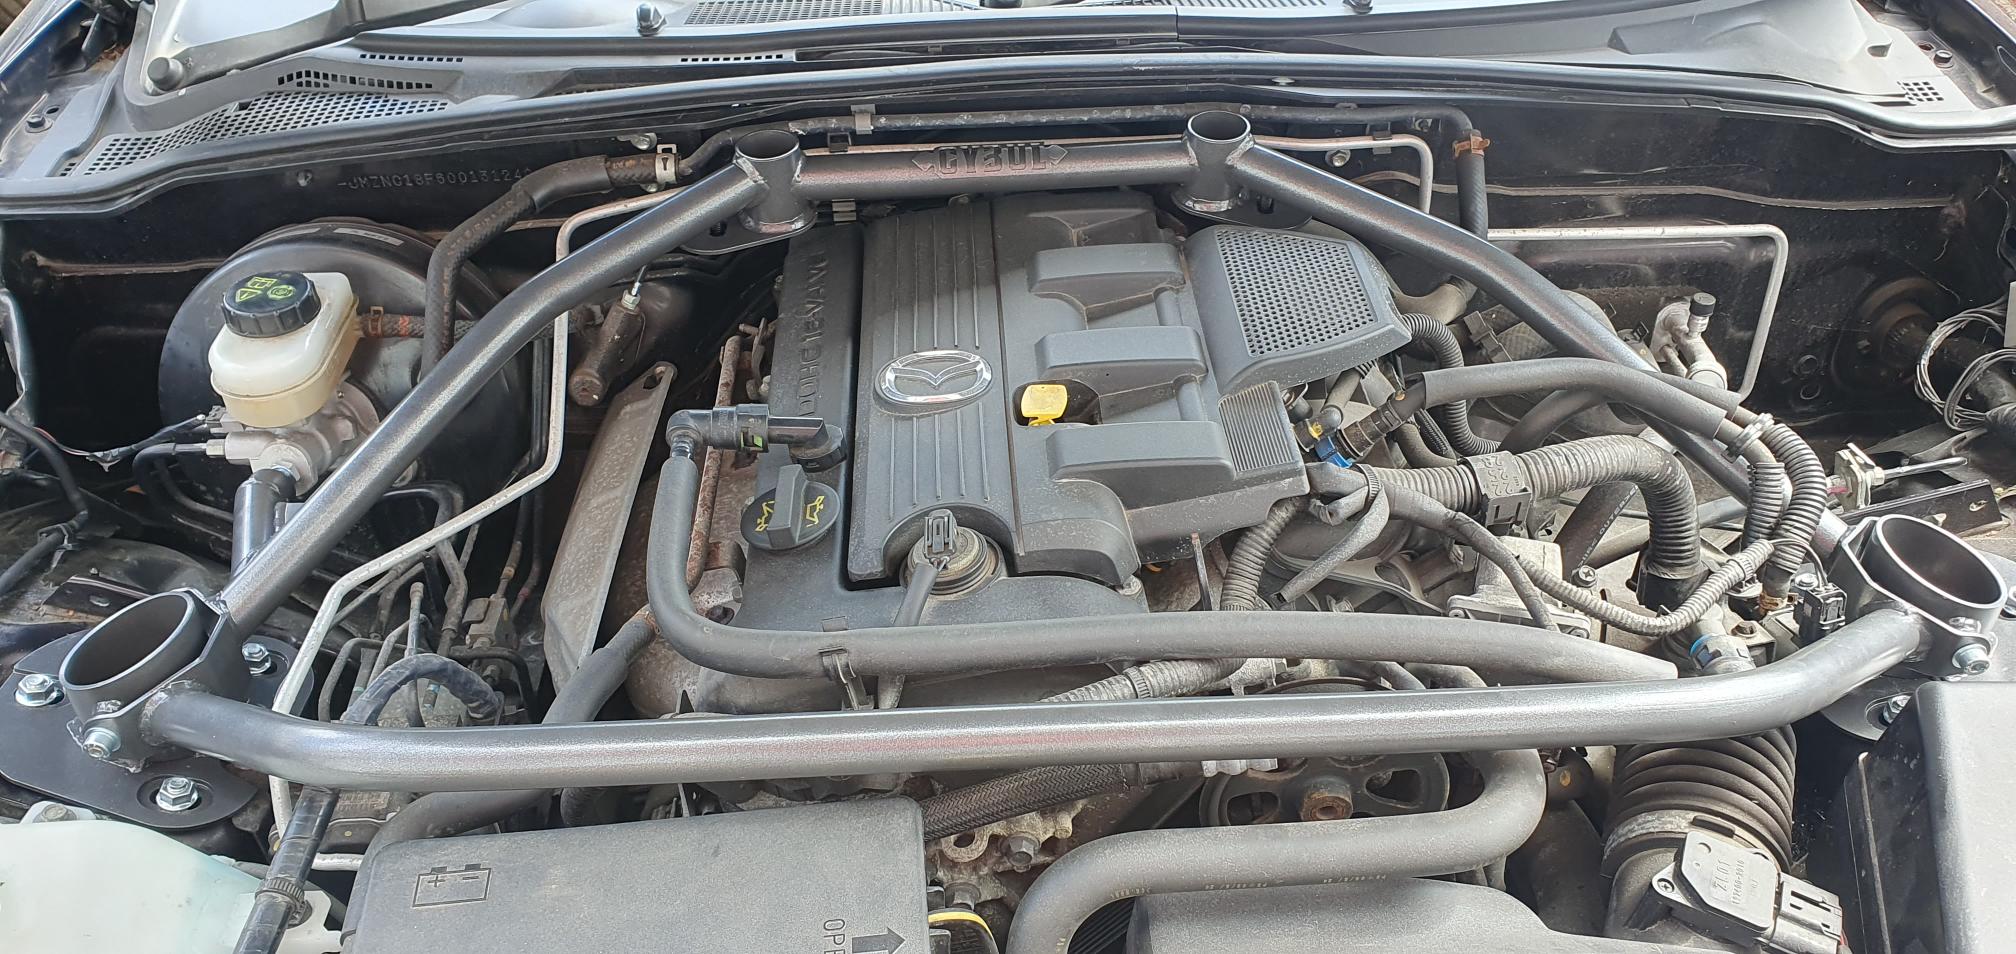
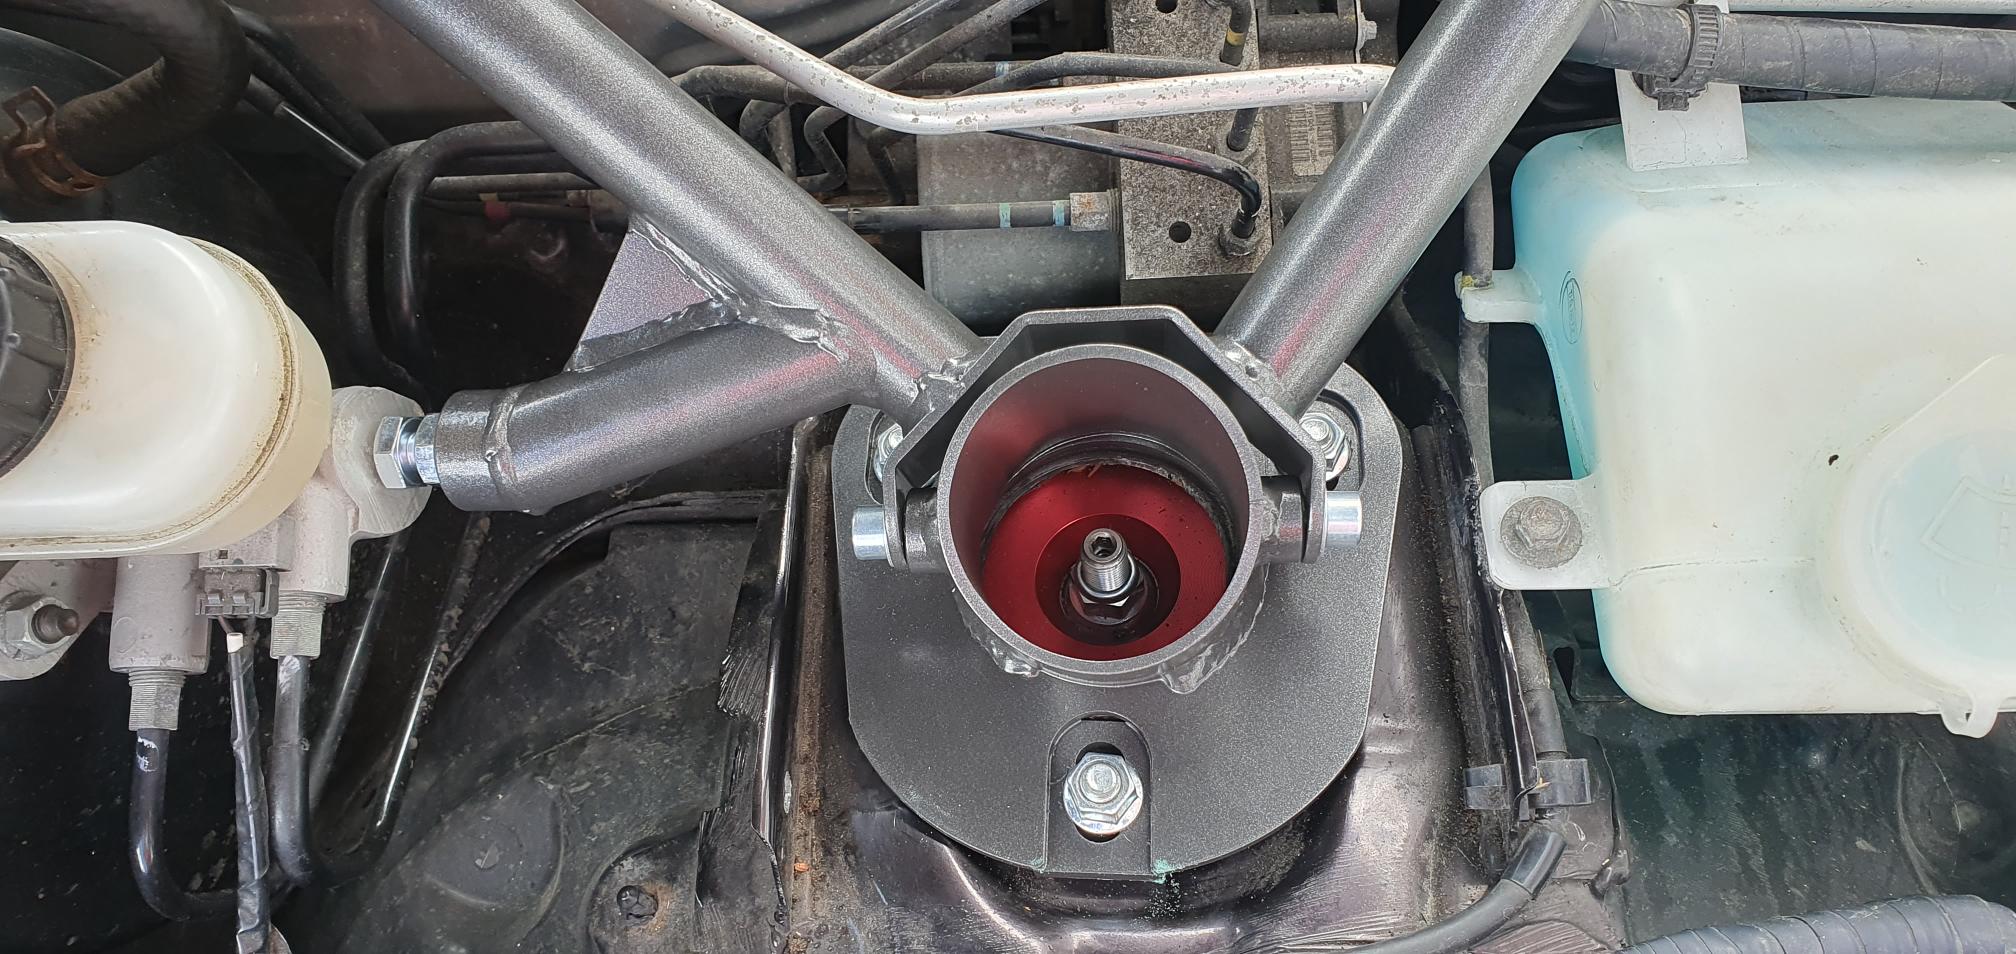
TOP BRACE INSTALL
Fairly straight forward but needed a bit of leverage to get all 4 bolts in. If you attach the brace to the mounts before installing it you then don’t have access to the 2 rear coilover bolts to torque them up. Took a bit of fettling but got there in the end.

TOP BRACE VERDICT
Took car for a spin and can’t say I really noticed any difference on the road. I’m sure it will on the track.

FRONT ARB
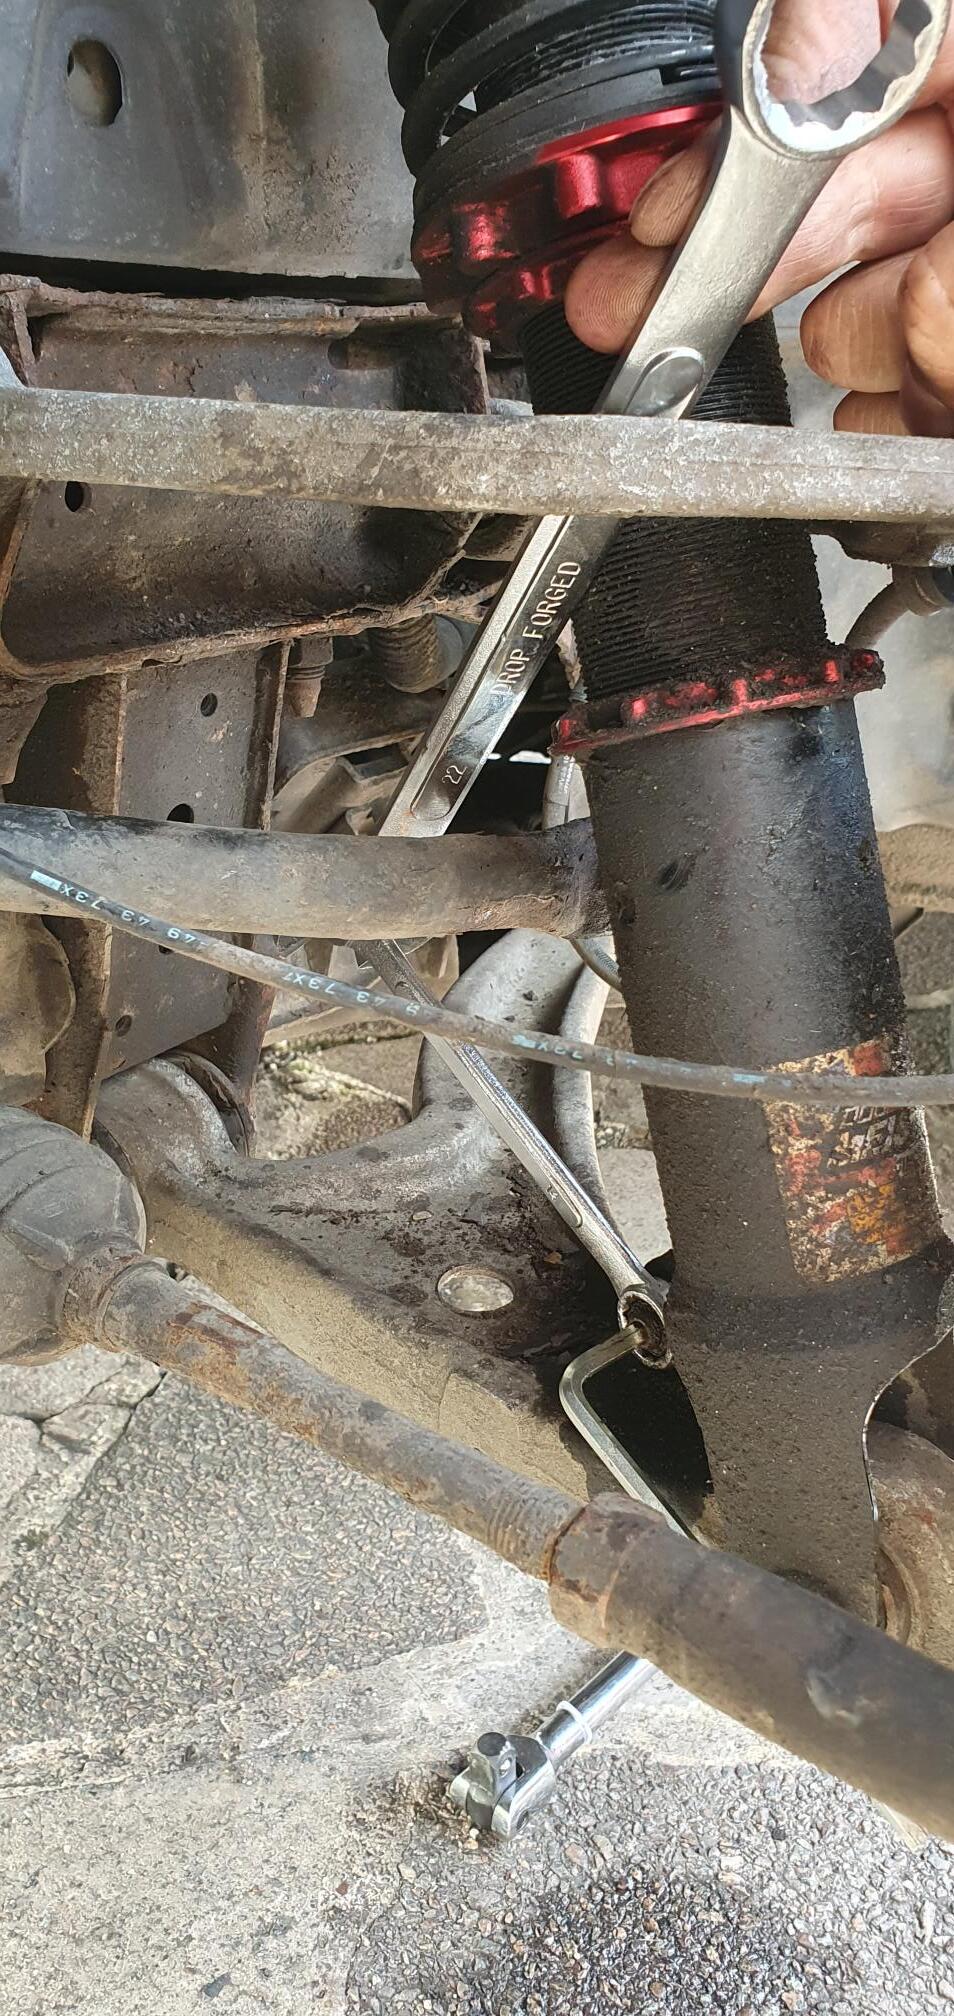
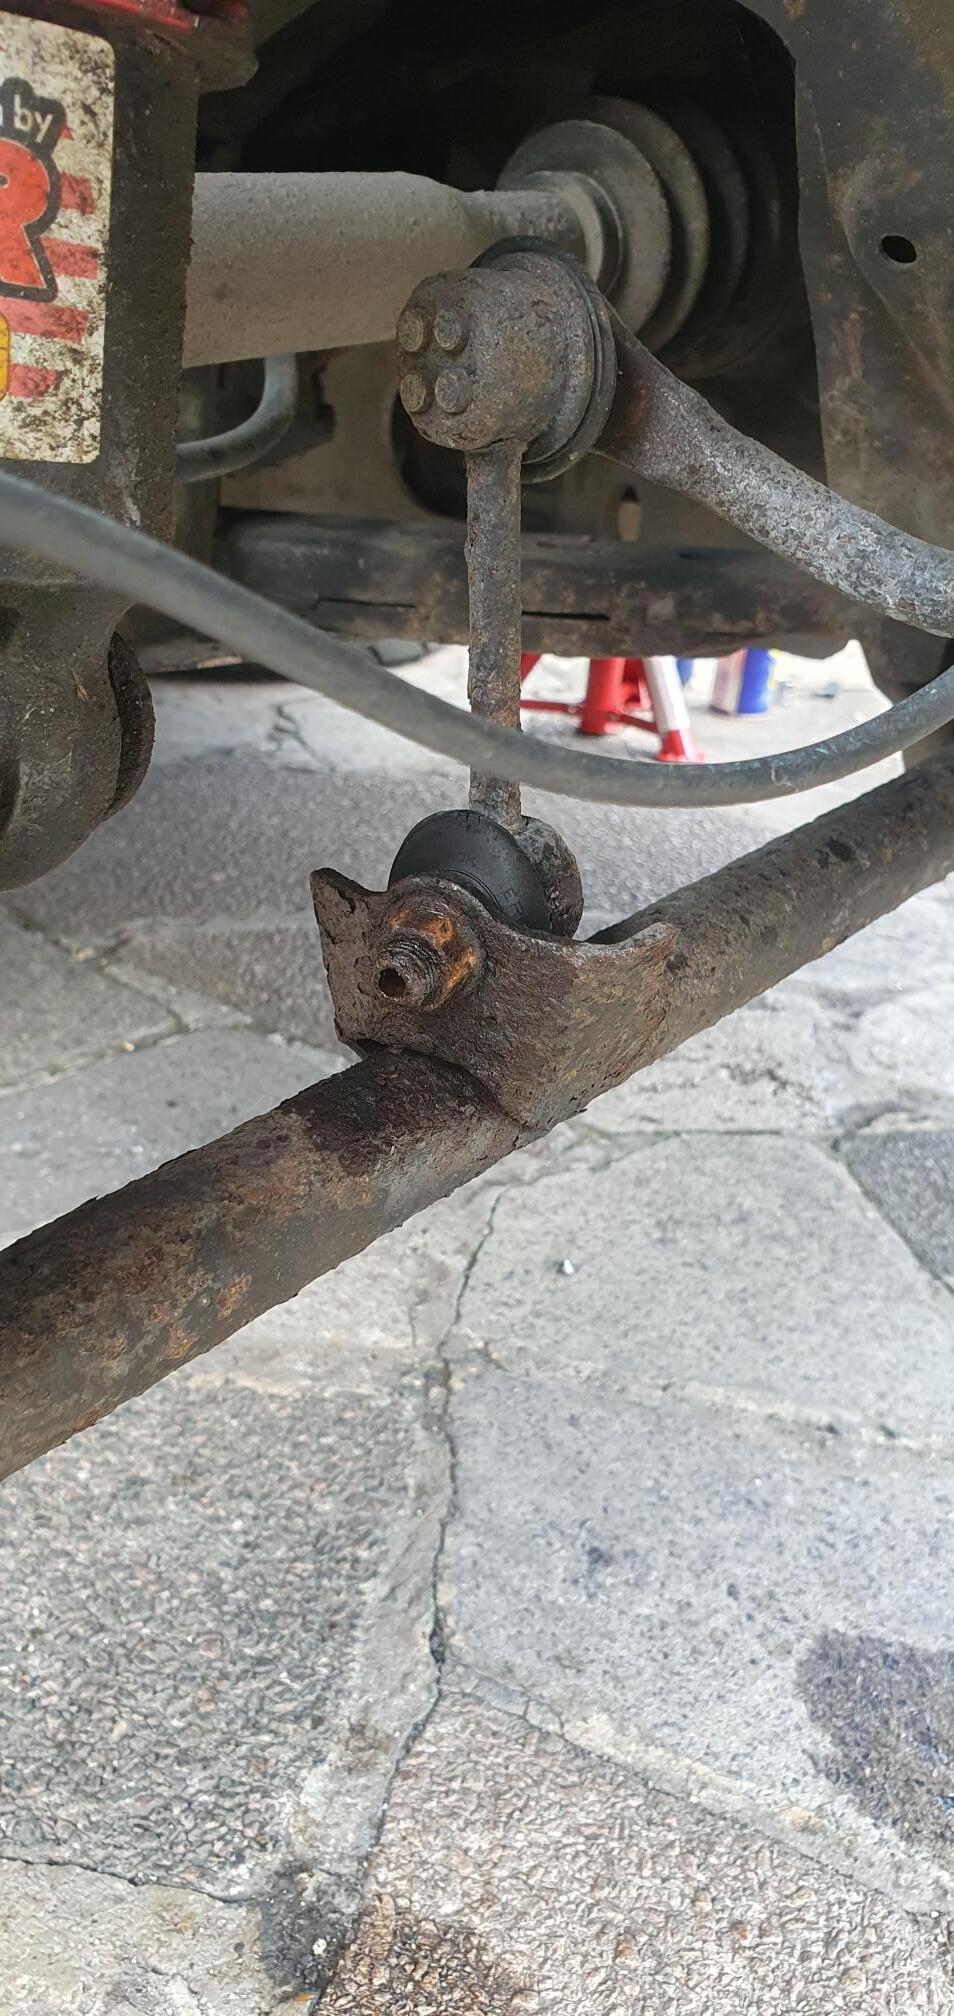
What a bloody horrible job that was! 16 years of rust meant there was no way I was getting those drop-links off in one piece.

Here’s my attempt at bracing the Allen key against the bottom of the suspension and then using 2 spanners and a hammer to hit the top spanner to free up the nut. Got the nut about half way off before rounding out the inside of the Allen head. Only option left was to cut it off with an angle grinder.

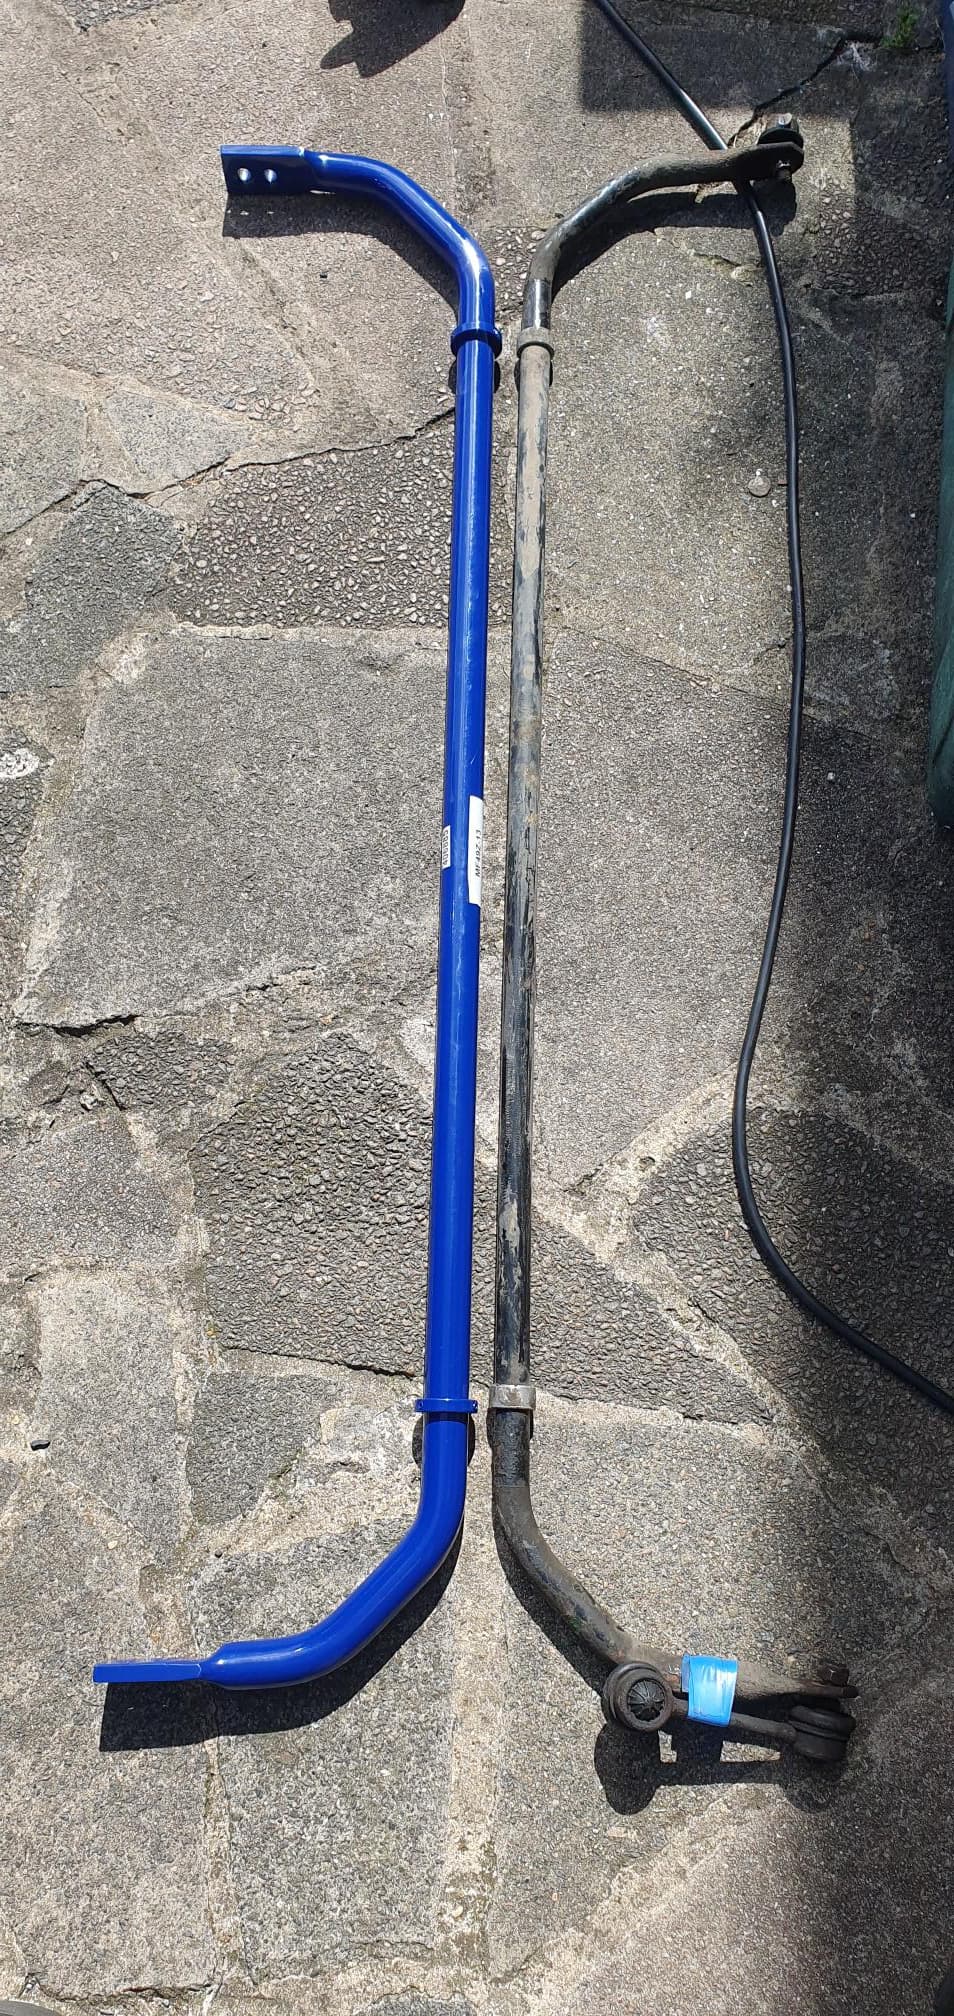
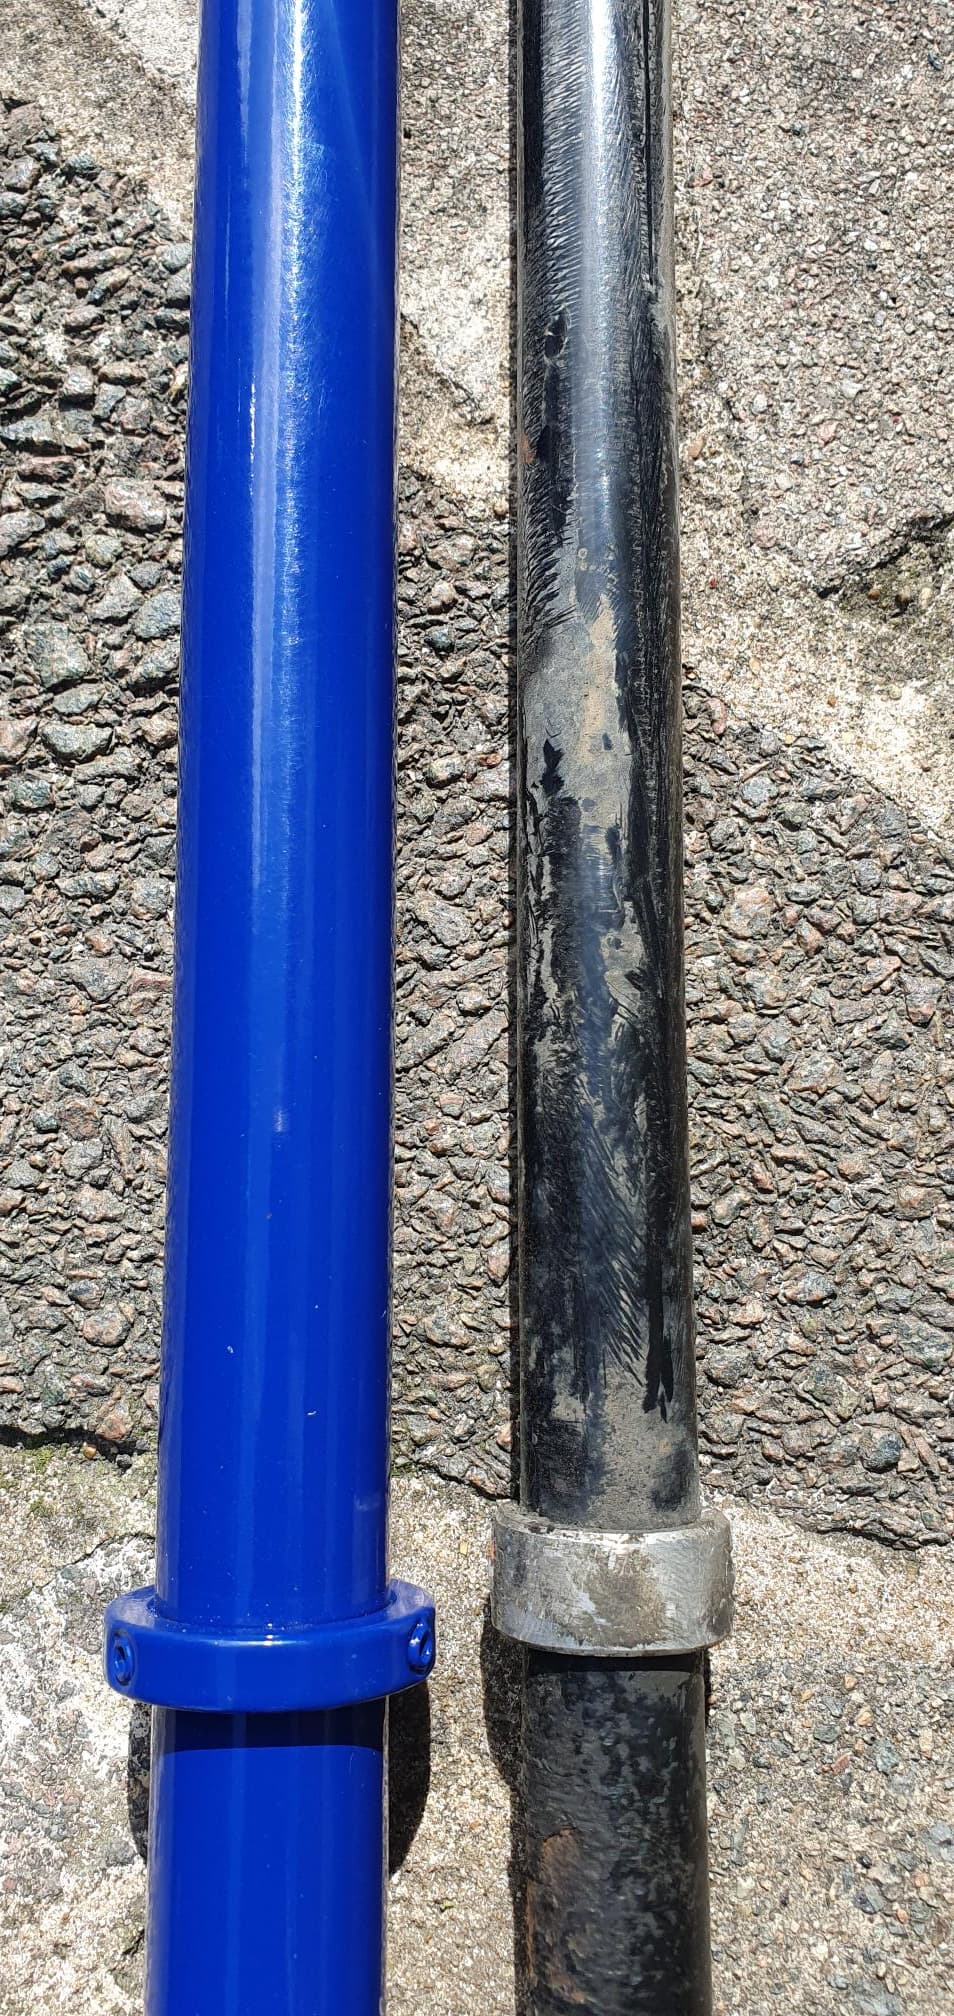
You watch all these YouTube videos and they remove and replace the ARB without removing any of the plastic cowling under the car. Not a chance!! Drove myself mad trying to get the ARB out and gave up in the end and removed all the plastic that was in the way. If you read the Haynes manual it tells you to not only remove the plastic but also remove the bottom mounts to the radiators which then drop back an inch to give you more room. I had to do that as well in the end in order to get the new bigger ARB in. As you can see, the new one is quite a bit bigger. It also weighs about 3x as much which doesn’t help when trying to feed it through the chassis on your own.

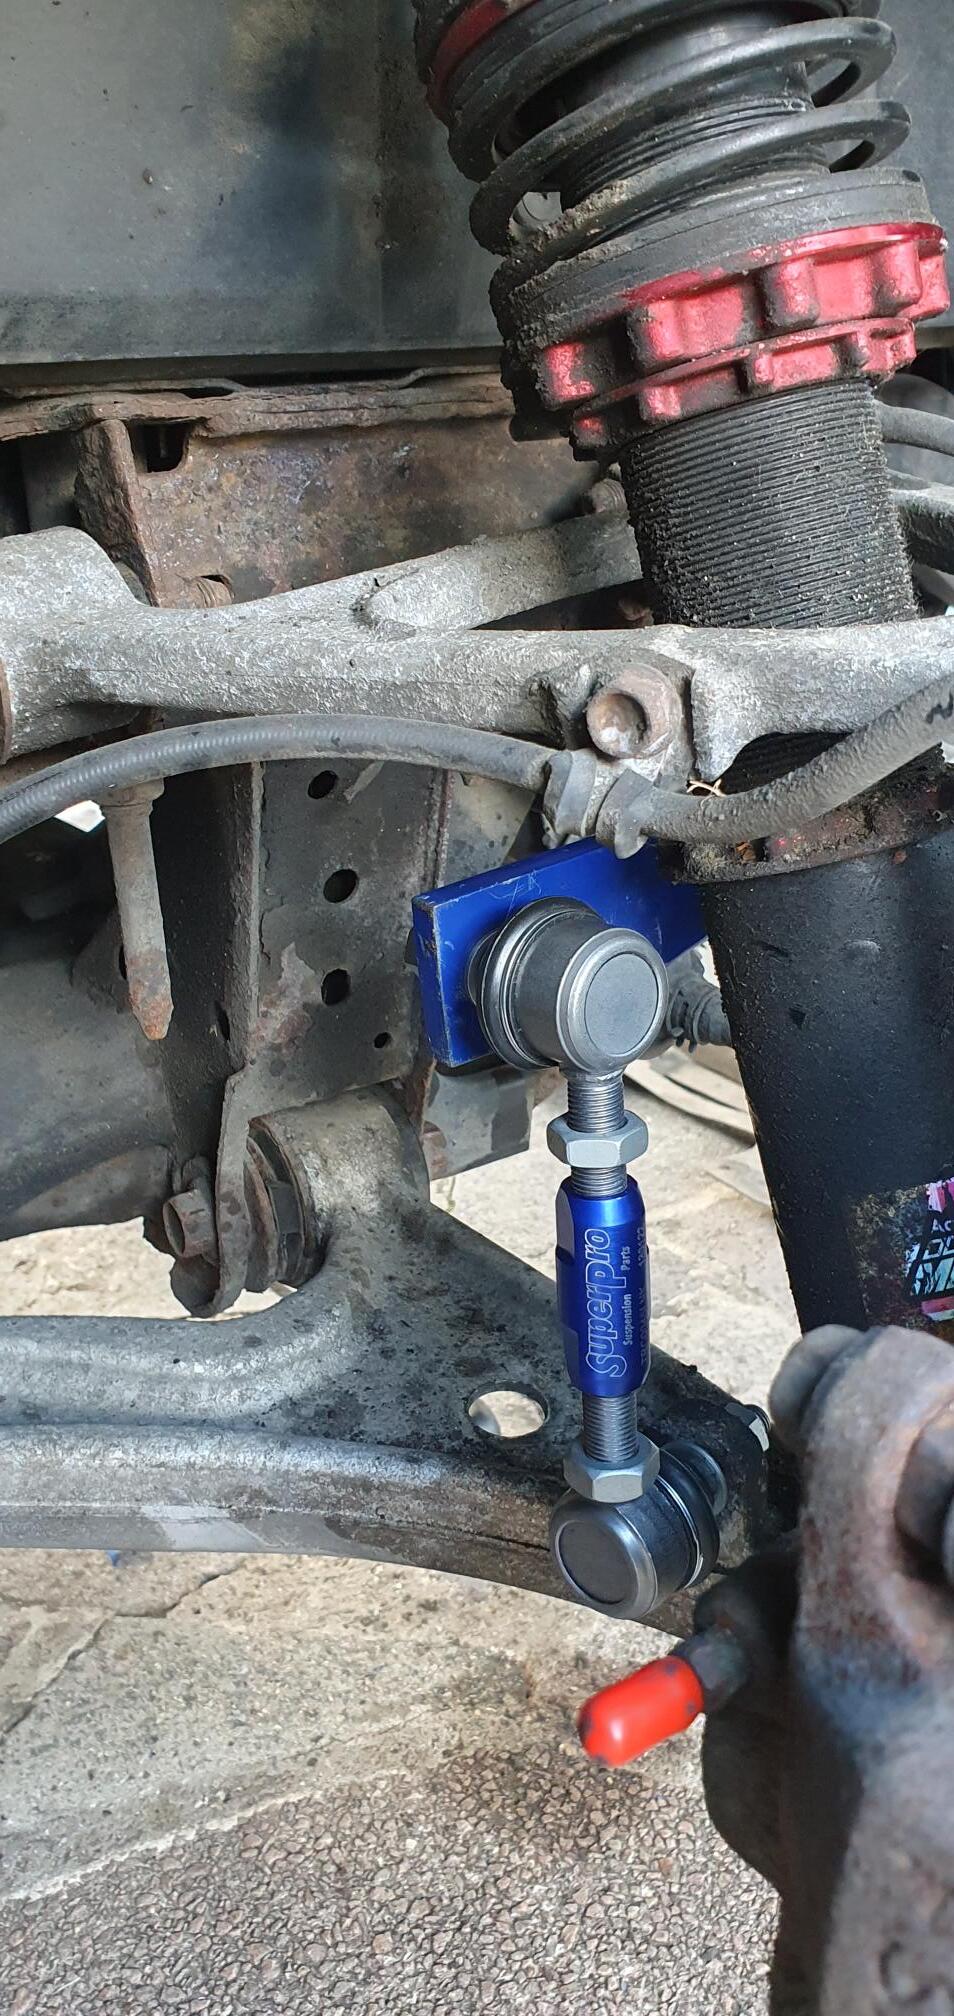
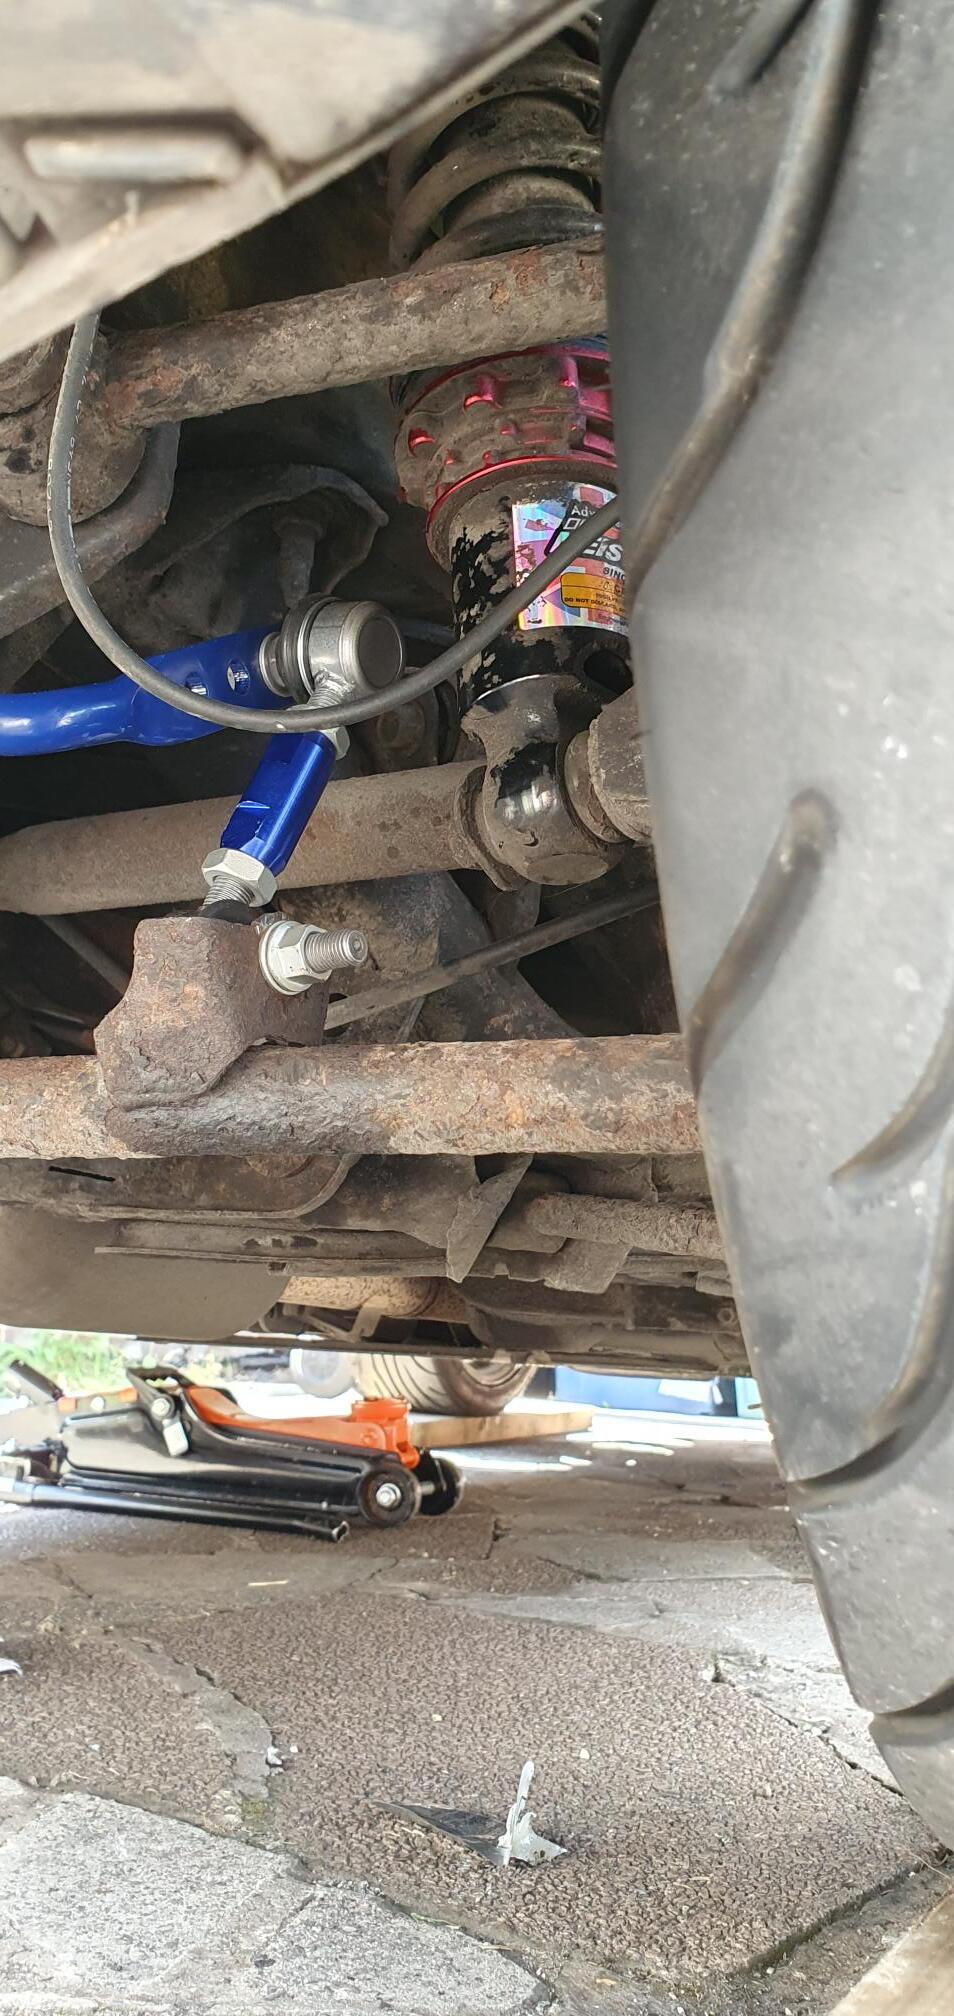
Trying to pre-load the links with the car on the ground wasn’t too tricky. Drop the car on to a couple of 6x4 bits of timber gave me the clearance needed to get under the car and adjust the pre-loads.

Several cuts, bruises later and overall, very happy with the result: (yes I know its not locked in the photo :wink: )

FRONT ARB VERDICT
Wow! Now THAT made a massive difference :grin:
Steering feels so much more direct especially when cornering hard around 30-40mph Steering actually feels lighter too. No understeer so far but not really pushed it that hard on the road. Even so, there is a noticeable improvement over the stock ARB. Not as big an improvement as going from stock shocks to coilovers, but a definite improvement. Very happy with this mod and can’t wait to see how it performs on track.

REAR ARB
Another ball ache of a job. Had to cut both drop-links off with an angle grinder. Totally rusted up:

Always expected the rear to be an easier job due to access and it only took a couple of hours.

REAR ARB VERDICT
The front one made SUCH a difference that it’s hard to tell how much of an affect the new rear one have over the old ones. Again, time on the track should tell.

OVERALL VERDICT
Right now both the front and rear are set on the softest settings. I had a chat with the guys at Bofi Racing and that was their recommendation. The front ARB is such a big upgrade that they reckon you don’t need to go any harder than the softest setting on the front. Go too hard on the front and the car can become skittish when cornering. Rear setting - lets wait and see how balanced the car is on track. I like a well balanced car over a front or rear biased setting so will see how they perform.

Track day on Aug 30th so very excited now to get out there and give it a good test!

3 Likes

I think EVERYBODY who removes mangy old drop links uses an an angle grinder from the off.
Well done on the sweat and toil though :+1:

Just done my rear drop links, not too bad only had to cut through one bolt, the other nuts came off with spanner/allen key.
I found it easier to remove the rear ARB (mines the 16mm upgrade) to remove the top bolts on the links on the bench.

The fronts drop links (one done so far) it was easy ish to remove the bottom nut with spanner/allen key but I found as before it was easier to smash the top link cup off the ball on the ARB. Then just get a pair of stilsons to grip the ball to hold and the nut came undone with a spanner. Copious amounts of easing oil and a few words.

Part 2 for me tomorrow, the other side drop link plus new hub and brake dust shield.

Posted by not sure how :face_with_peeking_eye::man_shrugging::man_shrugging::man_shrugging::man_shrugging:

For anyone else looking to change the ARB’s and I’m not sure if the thicker ARB’s make a difference, I found that for the fronts at least the following link worked with no problems
Revised NC sway bar installation instructions - MX-5 Miata Forum

For the drop links it’s not worth wasting any time if they don’t come off at the first attempt. Just give up and either cut them off leaving the upper link on the ARB or smash the joints off in situ. Gallons of releasing fluid or whatever is usually a waste of time and effort. Just but a complete new set before you start.

Those steps are pretty much what I did. Look at the age of the post though - 2007! Add 16 years of British weather and 50,000 miles in to the mix and then I’d like to see him make such light work of it.

And another left hand drive car - like every YouTube video I watched. Maybe (and just speculating here) the location of the steering rack on right hand drive cars makes it harder to remove the ARB? I certainly found the rack kept getting in the way more than the rad hoses that others complained about in their videos…

I had no problem with removing the front ARB around the rack on RHD,. It helps to rotate the steering wheel as advised and frankly the fact that its an old post makes no difference other that the potential / real problem of the drop links. After all the Haynes Manual will be of similiar vintage, they don’t update it every year…It also helps to have an assistant to hold / manipulate the other end of the bar as it’s a big chunk of metal.The other trick is illumination from below and above so you can see where everyting is.