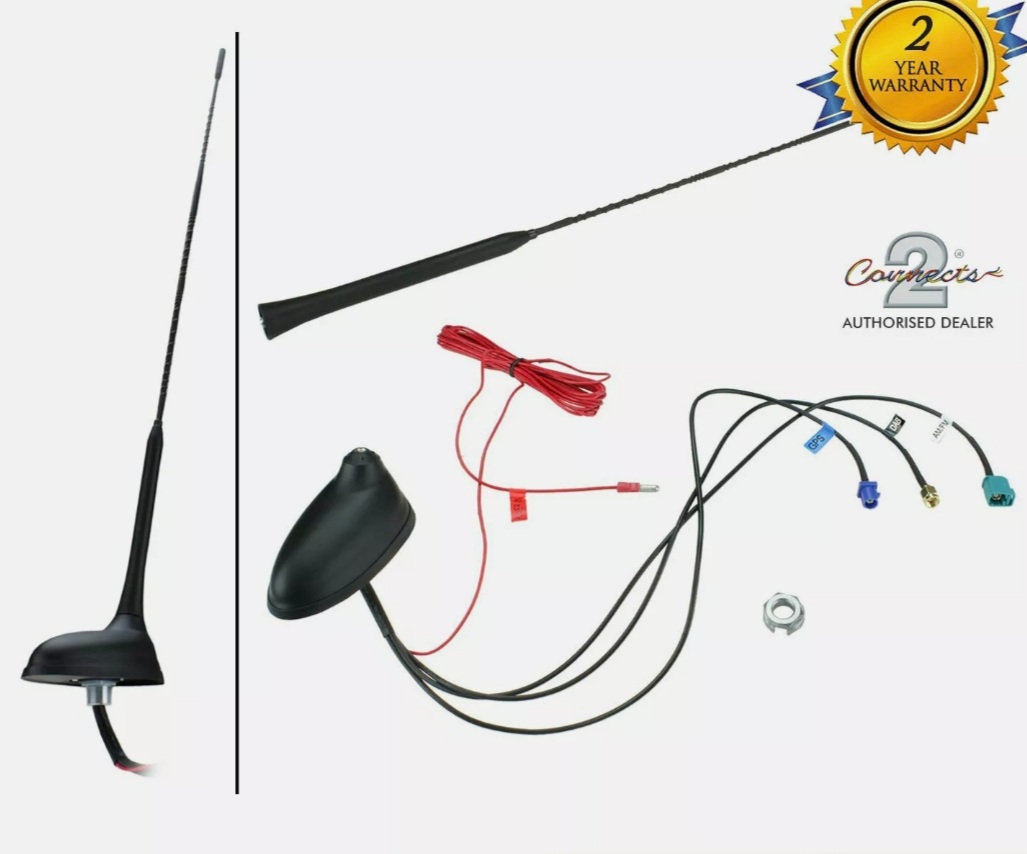
As subject. I am intending to fit a new Radio Aerial, it will be an active DAB/FM one with built in amplifier. Mostly due to poor DAB reception using a window antenna.
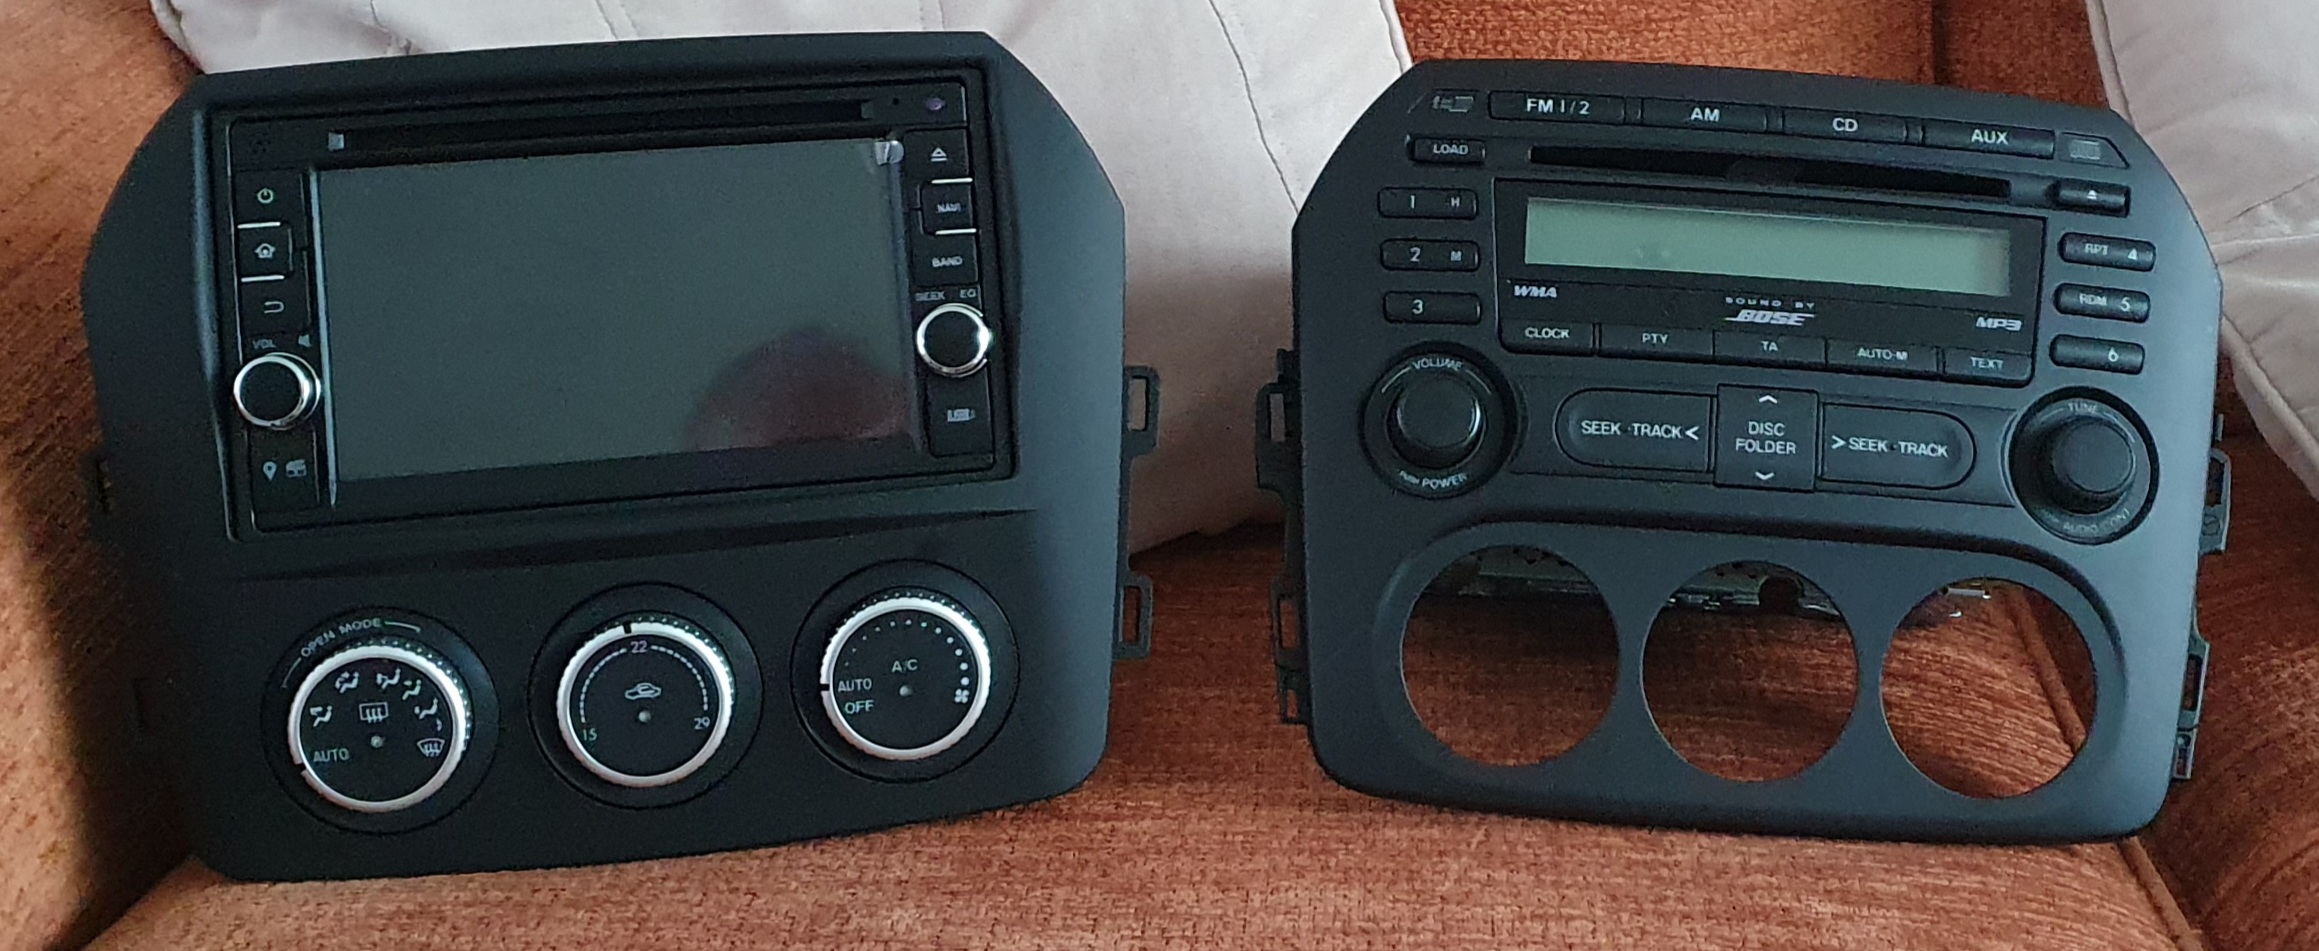
Access to the rear wing mounted OEM Aerial looks pretty straightforward, I have already changed the Radio from the OEM fitted unit to a Kenwood single DIN.
Does anybody know how the Aerial cable is routed from the front to the rear of the car ?
This is a job I have recently done on mine. It’s a soft top though so there might be a little difference. I left the Mazda wiring in place.
Get yourself a net curtain wire, it will make things easier, about a metre should do the trick. I didn’t have a curtain wire so used a coat hanger but you could use a trombone cleaner at a push.
Remove the kick plate from the drivers door (pull upwards), the panel that goes over the seat belt (a clip at the front in the door frame and gently pull around the edges) and the one in the door shut (some clips and it hinges forward then pull up). Take off the front of the drivers roll hoop (pull, it’s just clipped on) and pull off the wind deflector (a sharp tug upwards). Take the clips out from the panel behind the drivers seat (some of these will already be missing from removing the door shut panel). Now this is out it should allow the panel behind the seat to move forward enough to see whats back there (the top of the panel is loosely clipped at the top, should separate with a gentle tug). Now remove the boot interior panels (just clips). Poke the curtain wire through the gap you can see at the front of the boot, a bit of trial and error will see the end come out somewhere behind the panel behind the seats. Tape the aerial wire to the rear end of the curtain wire and pull it though. Now you have a wire from the boot into the cabin. Route the wire along under the drivers door and up behind the bonnet release. The wire can then be easily routed and secured over the steering column (the panel under the steering wheel pulls out from the top and is hinged at the bottom) and into the void behind the radio. Tape up and areas where the wire may rub and then replace the panels in the reverse order. Once you get used to undoing the clips all this should not take more than an hour
Just an additional. I used a roof mounting aerial from Dabonwheels. The hole in the wing in no way matches the hole required for the aerial (and it sits at a slightly jaunty angle) but these aerials are fab. I used a large penny washer with the middle hole enlarged to secure it to the wing and a large dollop of Sikaflex 521 to seal it up. Probably the most watertight part of the car now to be honest. I also used the Sikaflex to seal the washers under the front scuttle and the middle hole under the deck plates which looked to be sealed with over spray at the factory
I have also purchased my Aerial from Dabonwheels. I went for the Kinetic DRA-6003 stubby.
I have used one of their Active Aerials on a previous car and it work great, but mounted on the roof.
The Kenwood Radio & Windscreen antenna combination that I currently have worked great in my last car, not so good on the MX-5, Not sure whether it is the car, the radio or the aerial…? ( The windscreen aerial was NOS and unused. )
I figured that I would get a decent Aerial in place and if this doesn’t improve the reception then the radio might be past its use by date…
You will need some sealant for that penny washer. I tried it with just a load of grease and it seeped under the hose test. The sikaflex worked wonders though.
I have just gotten round to fitting my DAB Antenna.
I made a Washer adaptor plate from thin steel, primed, painted and sealed in place using RTV 157 ( Aerospace Grade and surplus to requirements at work as it was Timex on our shelf life - so i disposed of it !).
I made a lug on my plate and attached an earthing strap the other end is attached to the support hole for the removed OEM antenna.
I am also fitting a reversing camera that was supplied with the new Stereo, so doing 2 jobs at the same time, whilst the internal boot trims are stripped out.
Using you post as a reference for cable routing… thanks again…
The Kinetic DRA-6003 stubby aerial has been a total success, in more ways than one.
It looks like it belongs. It performs brilliantly. I am picking up stations now that I never thought i would listen to again on my daily commute. My Other car; a 2017 Suzuki Vitara has a roof mounted OEM aerial and I can now get stations on the little MX-5 that the Vitara can’t find.
My Car stereo also now rejects the noise generated from my retro fit LED Daylight Running lights, so i have reconnected them. A total result and a very happy bunny.
Just need to remove the windscreen antenna and sticky residue it will leave behind.
Any suggestions as to what to connect red wire to? I have 2 thoughts - connect it to the antenna/amp wire (dark blue…) from the head unit. Or to the acc (switched) power cable of the head unit (usually yellow?). Thoughts?
Hi,
CONNECTS2 CT27UV56 by the look of it.
I would suggest being RED that it will go to a live 12V feed, (or as you say a switched Yellow feed).
Basically so you can use the system without having the ignition switched on.
What does the label on the wire say as can’t read it from the picture?
Connects2 do have a technical department which can advise best for the product.
You can feed all the cables/wires from the rear up through and under the centre console route too, (simple removal) and into the head unit.
Just upgraded mine including reverse camera so cables from rear.
Yes it is connects2 aerial … I find that their products are well supported & they are not “scared off” by chimese ddin units…
Reply from their technical (very prompt response too…):
“The Red wire on the CT27UV56 will connect to either the ‘Antenna Remote’ on the radio or to an Accessory / switched feed on the vehicle.”
At the moment I will connect it to this (dark blue wire), also part of a connects2 adaptor loom for the NC2 with BOSE amp. Just a bit concerned that this wire provides a continuous supply or not?
Do you think the connects2 aerial will provide better GPS & DAB signal than the magnetic GPS receiver & windscreen mounted DAB aerial that came with the headunit?
Just go for it.
From memory the blue wire you are talking about is switched anyway from the ACC side.
If you have a test meter see what is what and best for you.
I just went for the windscreen antenna and works for me.
I fitted the Kenwood DMX8019DABS which seems to have gone up rather a lot!
Well pleased with it all to be honest.