It’ll be interesting to see if it does the trick.
1 Like
Fitted the new plate and also the bush. Very quick and easy.
There is a marked difference in selecting 1st & 2nd - back to accurate rifle bolt action. All feels very positive and the play on the gear lever has gone. I’m very pleased and cost very little for plate and brass bush.
There was significant wear on the old plate and plastic swarf lying in the top above the turret.
Still plenty of oil in the turret from when I topped it up 3 years ago.

4 Likes
Going to hopefully have a go at this, this weekend.
Copied from an earlier post from Robbie here are the turret oil quantities required:
Quantities of oil that are required to be added to the extension housing from empty. A smear of grease should also be applied to the ‘ball’ at the bottom of the gear lever.
NA (MKI) and NB (MKII) 5 speed (M15M-D) - 90 ml
NB (MKII) 6 speed (Y16M-D) - The extension housing (turret) on a 6 speed gearbox does not need to be filled from above in the same way the 5 speed box is. The change mechanism is splash fed from the main gearbox oil.
NC (MKIII) 5 speed (M15M-D) - 290-330 ml
NC (MKIII) 6 speed (P66M-D) - 80-230 ml
ND (MKIV) 6 Speed (M66M-D) - 270-310 ml
1 Like

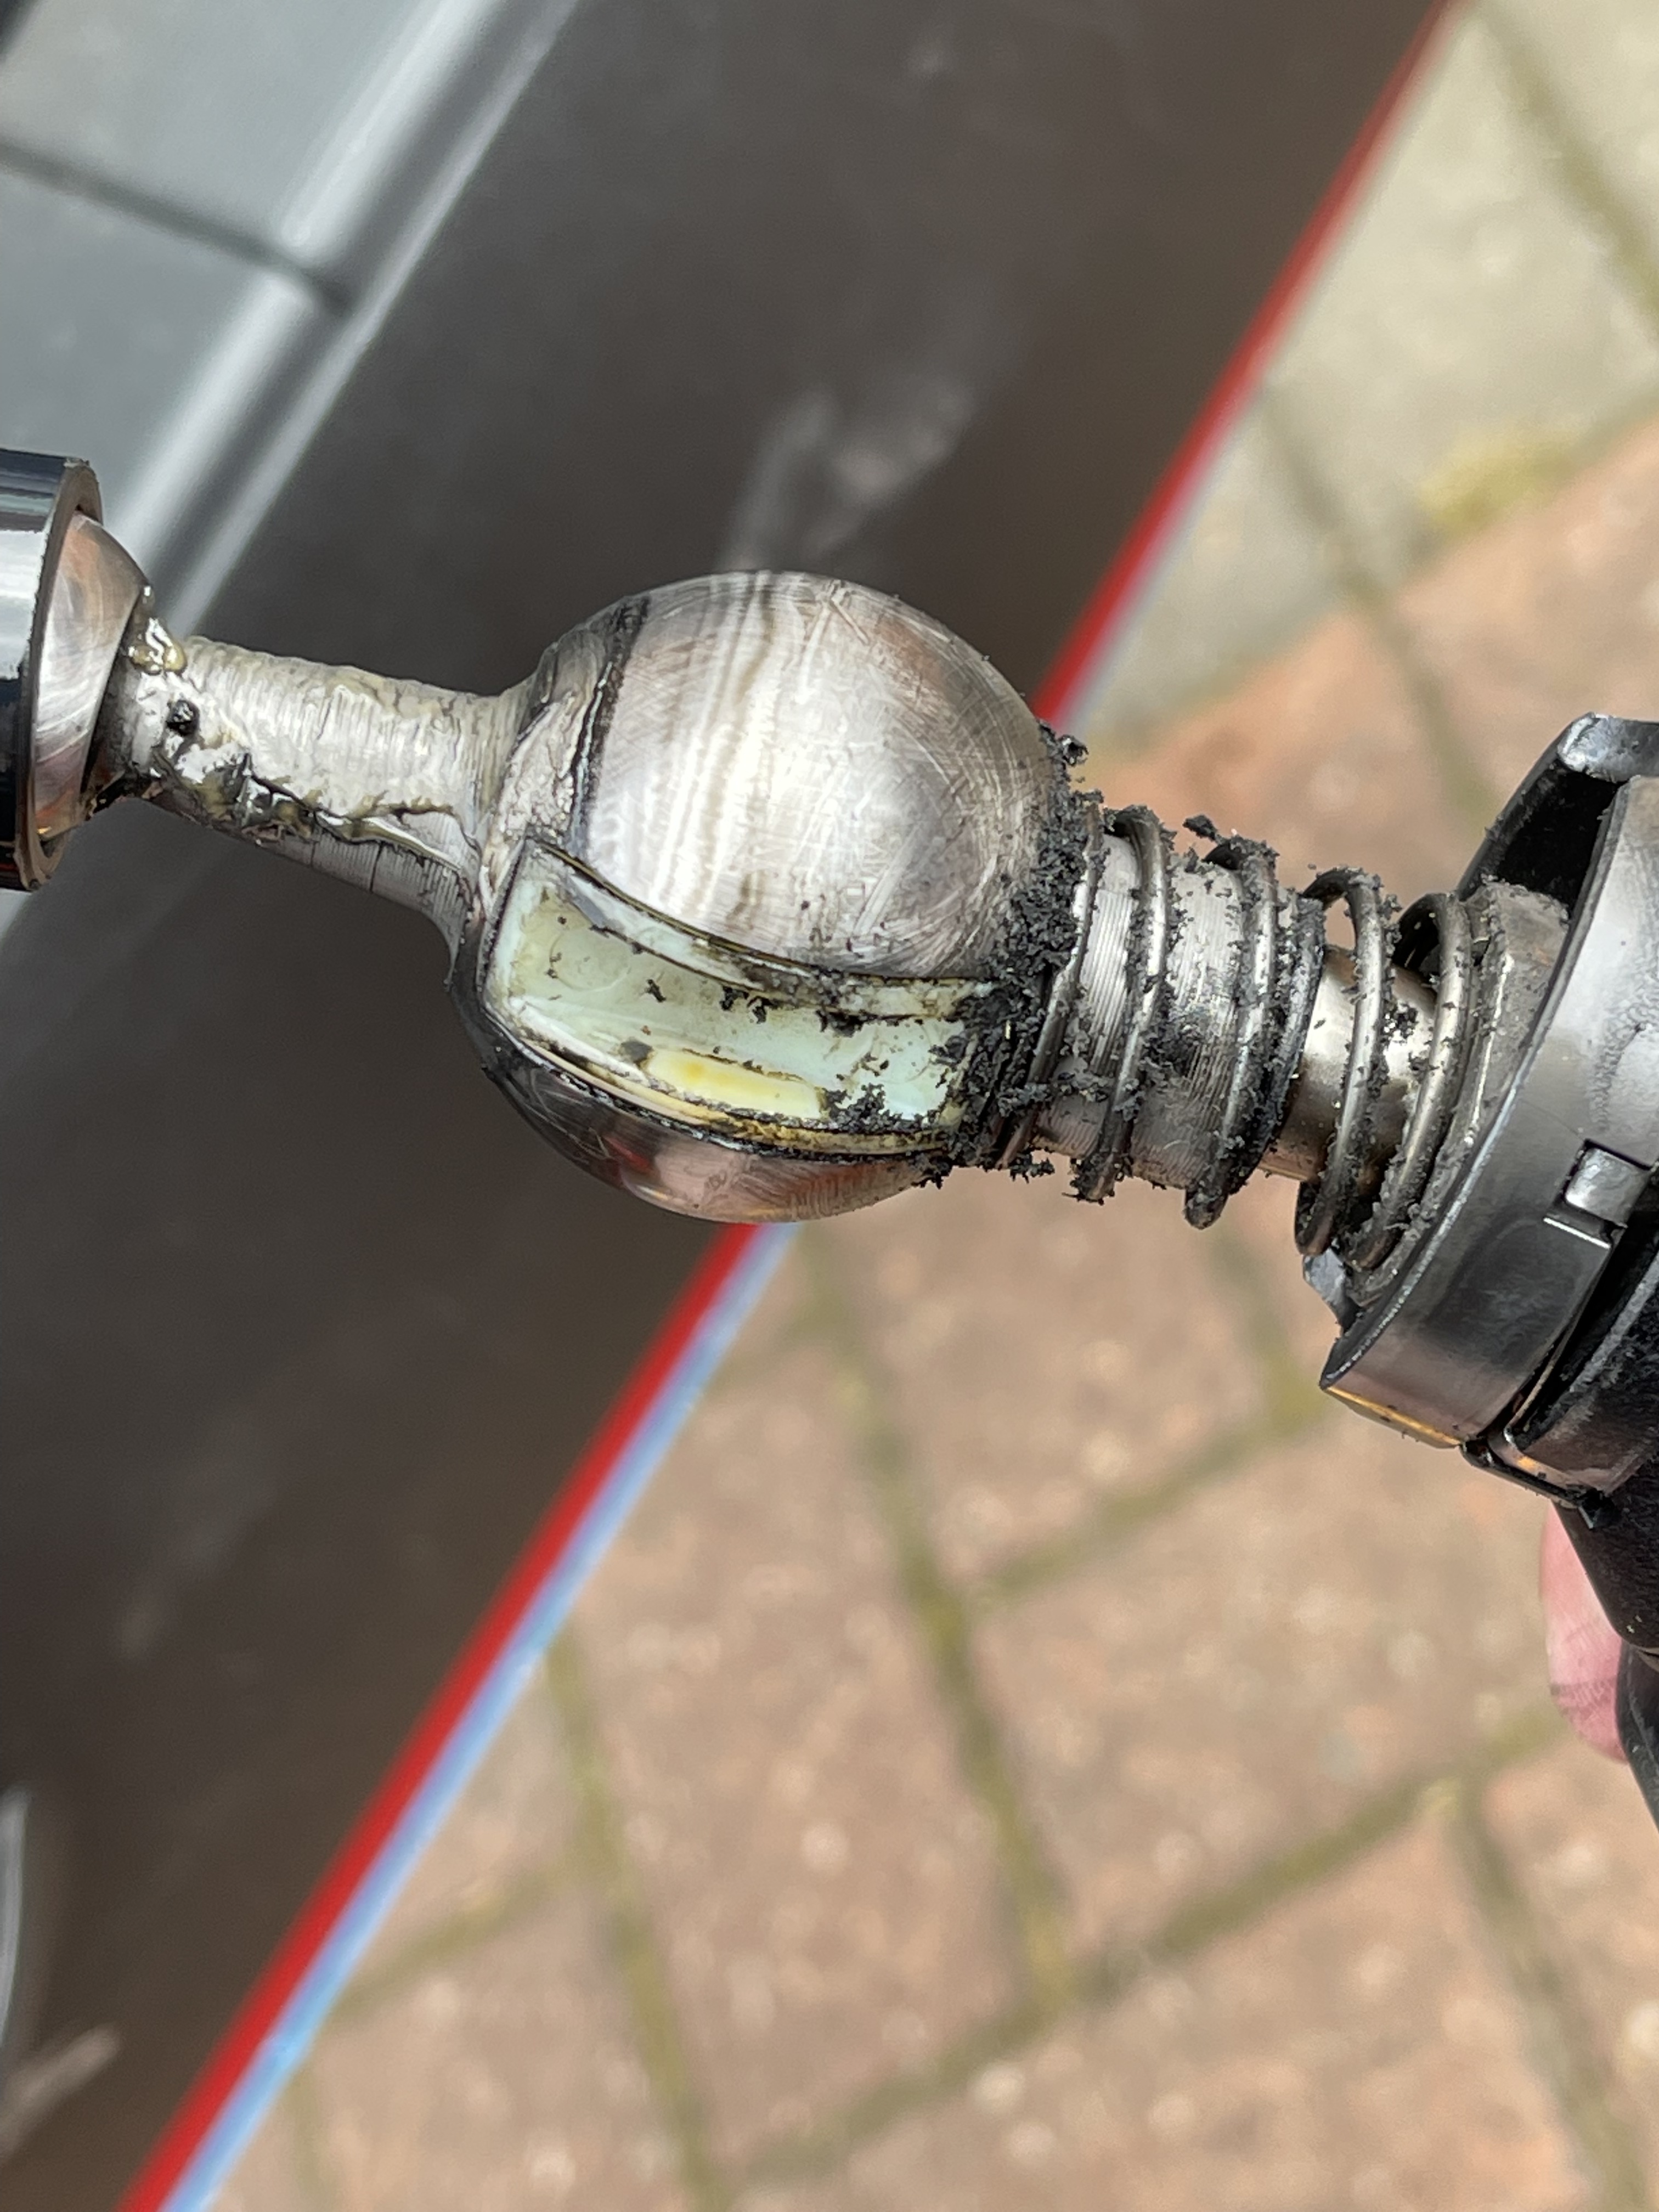
This is what it looked like before I cleaned it and replaced the bits, I also had a copper bush for the bottom, feels great afterwards.
1 Like
Mine was similar, Well worth cleaning huh!
1 Like
Yep 
Thanks for the great write up and photos. I got the part and the oil and grease, but I chickened out at removing the window connector. I was afraid if I got it off, I would never get it back on again! However, I see that you can put the cable tidy on after the plug is connected, so I might have another go.
The other reason for my post is that my console is slightly different. I have the NC 3.75 (25AE). The two rear screws need to come out (not the silver one nearby), and the one under the centre cubby. The front two screws have been replaced by clips that are underneath, so just remove the 3 screws mentioned and gently lift the front end upwards.
1st to 2nd has been clunky when cold since I bought the car 3 months ago. I recently had it undersealed, so I got the gearbox oil changed at the same time and the gear change is now much worse!
1 Like
How is your clutch bite point?
If it’s somewhere in the carpet, that is likely to be a major part of your problem, as you will be suffering from clutch drag, whereby the clutch plates never fully separate.
The cure is to adjust the clutch pedal, which would be a very simple job if it weren’t in the footwell high up behind the dash and steering wheel
1 Like
I will have a look at that as well, but the bite point seems to be OK. I used my phone to look up there, but I just couldn’t see the adjuster. I will have to stick my head in there.
Good call, the phone is much easier than trying to put your head in there! Take a few more pics and it will become clear.
Here is how I managed (eventually) to find the easy way to do the adjustment, with pictures of the offending adjustment.
1 Like
I used pics to enable me to visualise the system and then did most of it by feel with one hand (left hand and I’m right-handed…)
I’m not claiming I found it easy though…
2 Likes
Agreed.
In this instance patience is a virtue; avoid rushing such an awkward job. Fortunately it is also simple.
But, it’s never easy working by feel! Even worse with both hands reaching above your head.
However, I’ve been spannering since I could crawl, so it doesn’t matter which hand I use.
My left thumb is weaker only because of a badly set skiing injury from ages ago, otherwise either hand works equally well.
1 Like
My bones ache just thinking about getting under there.
1 Like
Really helpful, McTrucky! Did the job on my NC 2.0 Sport Tech and the gear change is hugely improved. Some minor differences to you job - no screws at the front of the console, and the window switches connector would not budge at all but the switches pop out of the console quite easily - still connected to the wiring. The cable retainer was the trickiest bit - required two screwdrivers and some violence to get it off the bolt thread.
Just got to sort the v low clutch bite point now…air possibly??
1 Like
Possibly benefit from a clutch fluid change/bleed especially and when you have the brake fluid done, same reservoir 
Also twiddle the rod adjuster at the pedal a full turn, brings the bite point of the clutch off the floor a tad.
2 Likes
Thanks MickAP x bleeding was my first step. Did not know about the rod adjustment (myHaynes manual does not mention it) so I’ll try that too.
Cheers
I wound mine until I could feel it make contact, then wound it out a couple of turns.
Not sure I understand, 999to5 - mine has almost no slack before the linkage pushes the rod which moves the piston. I managed to move the rod nut about quarter of a turn (its a pig to get at). I am worried that if I wind it too much, the thrust bearing will be in contact with the pressure plate all the time.
Pumping the pedal raises the bite point slightly - an indication of air in the system.
Even so, the bite point is pretty much at carpet level so something is not right.
1 Like
Once you have released the locknut, the rod should rotate very freely with your fingers, freely enough that you can feel the point at which slack is removed and direct contact is made with no pressure on the clutch pedal.
As you say you don’t want a situation where you have no play at all or the thrust bearing will quickly succumb, so it is important to wind the adjuster back a turn or so.
On my car it took quite a few turns to remove the slack and the bite point was then moved well out of the carpet.
I don’t really understand how yours can be making contact after a quarter of a turn but with the bite point still in the carpet.
I can only imagine you must have lots of air in the fluid.
1 Like