Great stuff. Looking forward to following with interest👍
Absolute hero for doing this and sharing in such detail! Glad you’re over the virus and good luck with the build, following with interest 
Kit looks good, excited to see it all mounted
A dunno about that 20 quid turbo blanket though, that seems far too cheap
Funk Motorsport do good ones and I’m sure they have videos on cheap Vs expensive
Fair point on the blanket - but one of the points of this build is ‘budget’ - I could chuck a load more money at various components…but to start with I want to see what can be achieved without deeper pockets…
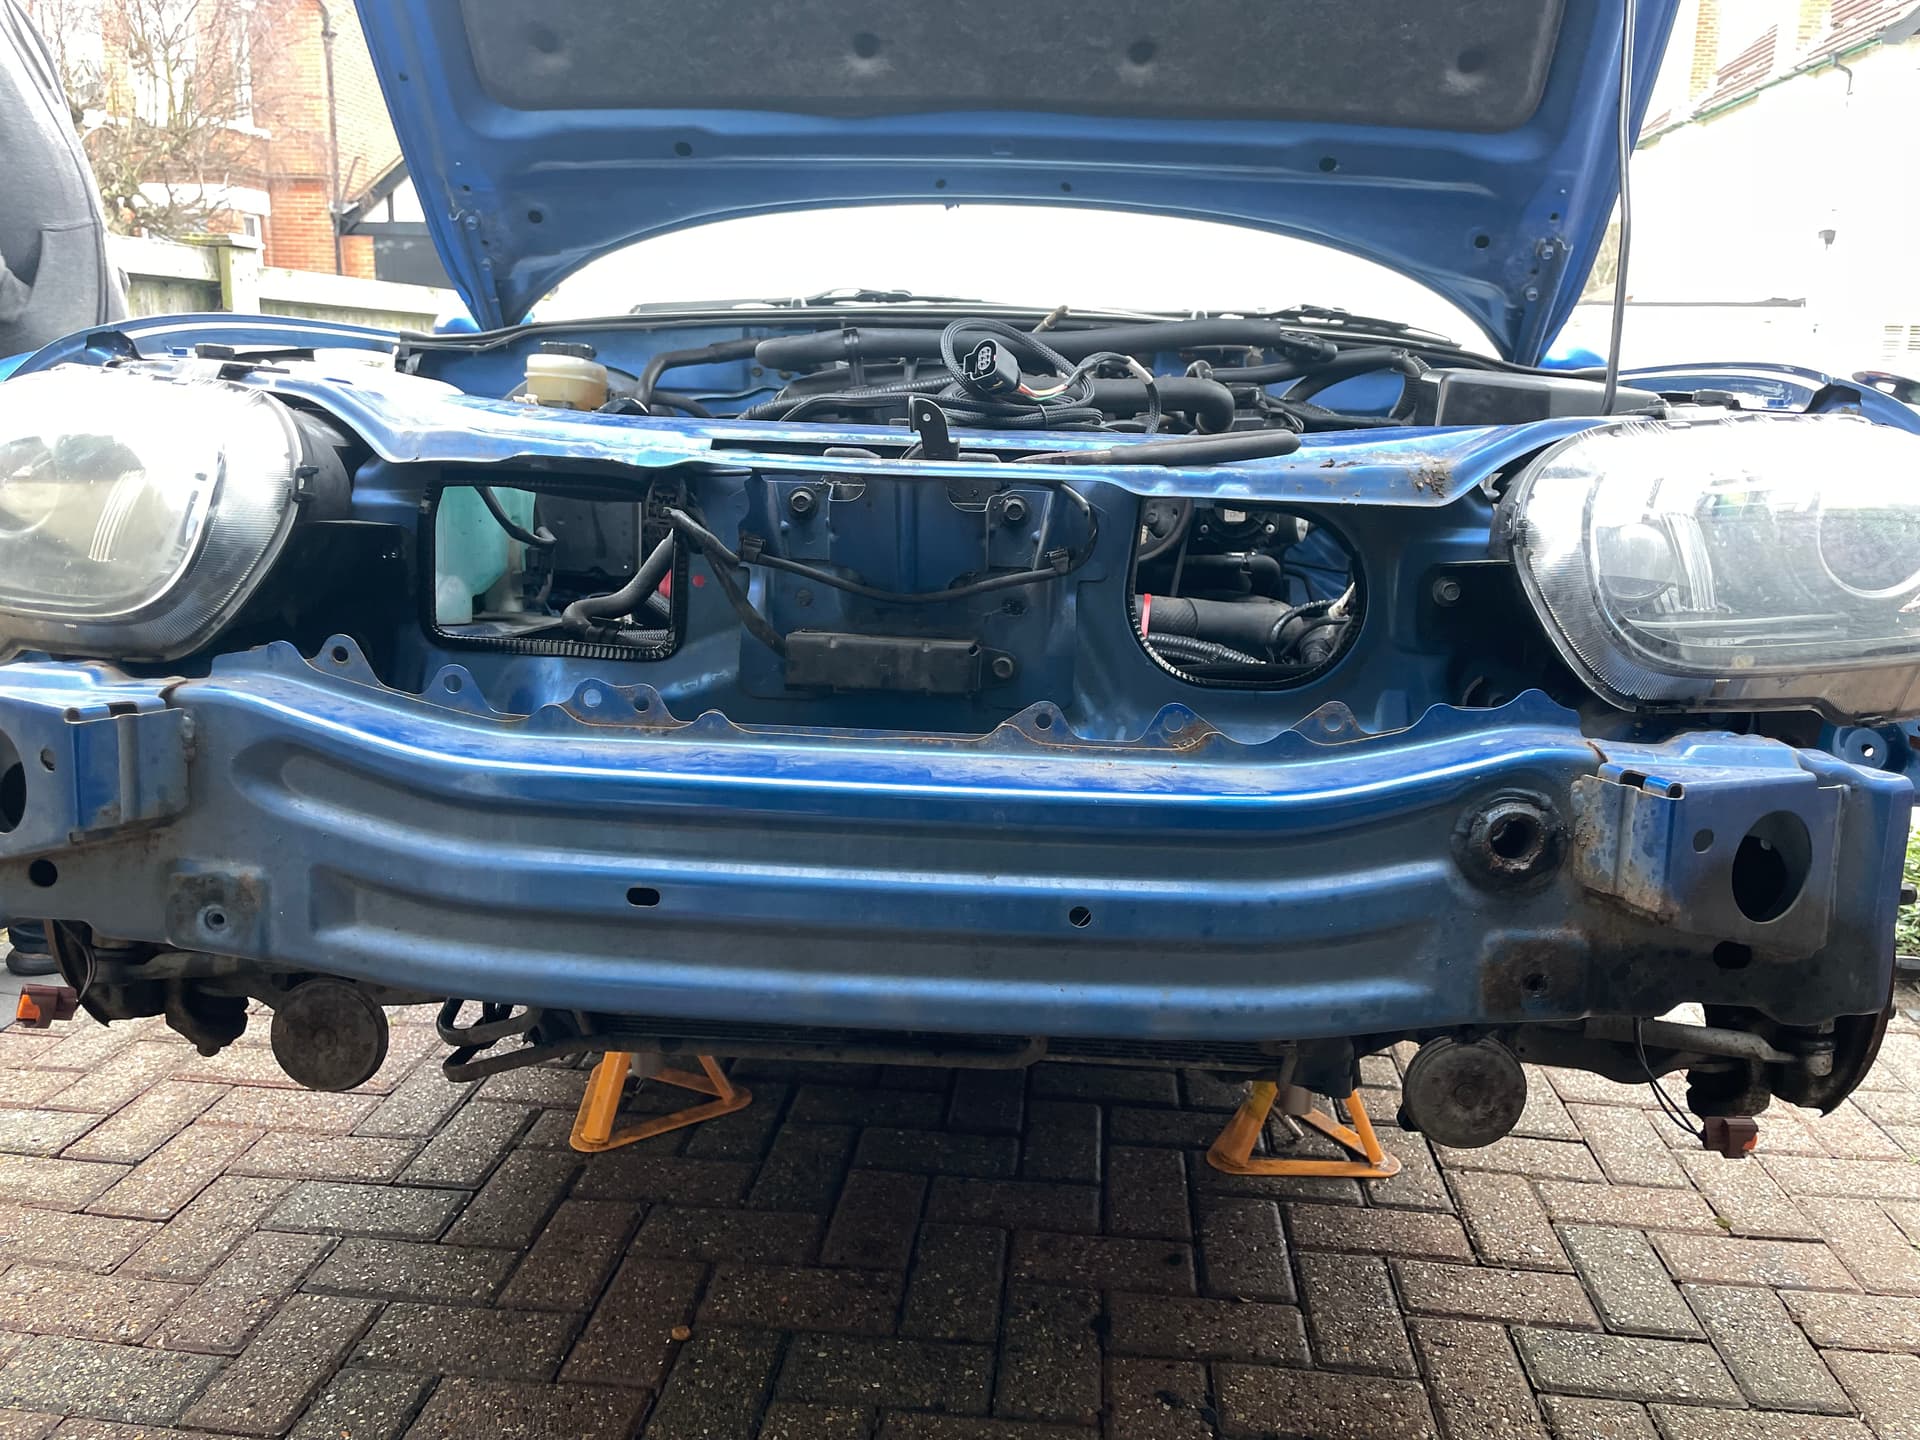
I did add tyres under the sills for working on it this morning, spent another 2 hours and did this stuff:
- Took a gizzillion plastic screws out of the arch liners.
- Took a bunch of 10mm out of the undertray that connect it to the front bumper
- Removed the arch liners and undid the 1 bolt and 2 nuts either side.
- Removed the hidden plastic covers in the NC1 bumpers grill to remove the 2 x 10mm holding the bumper on
- Pulled bumper off
- Undid drivers side light (to make clearance for hole cutting)
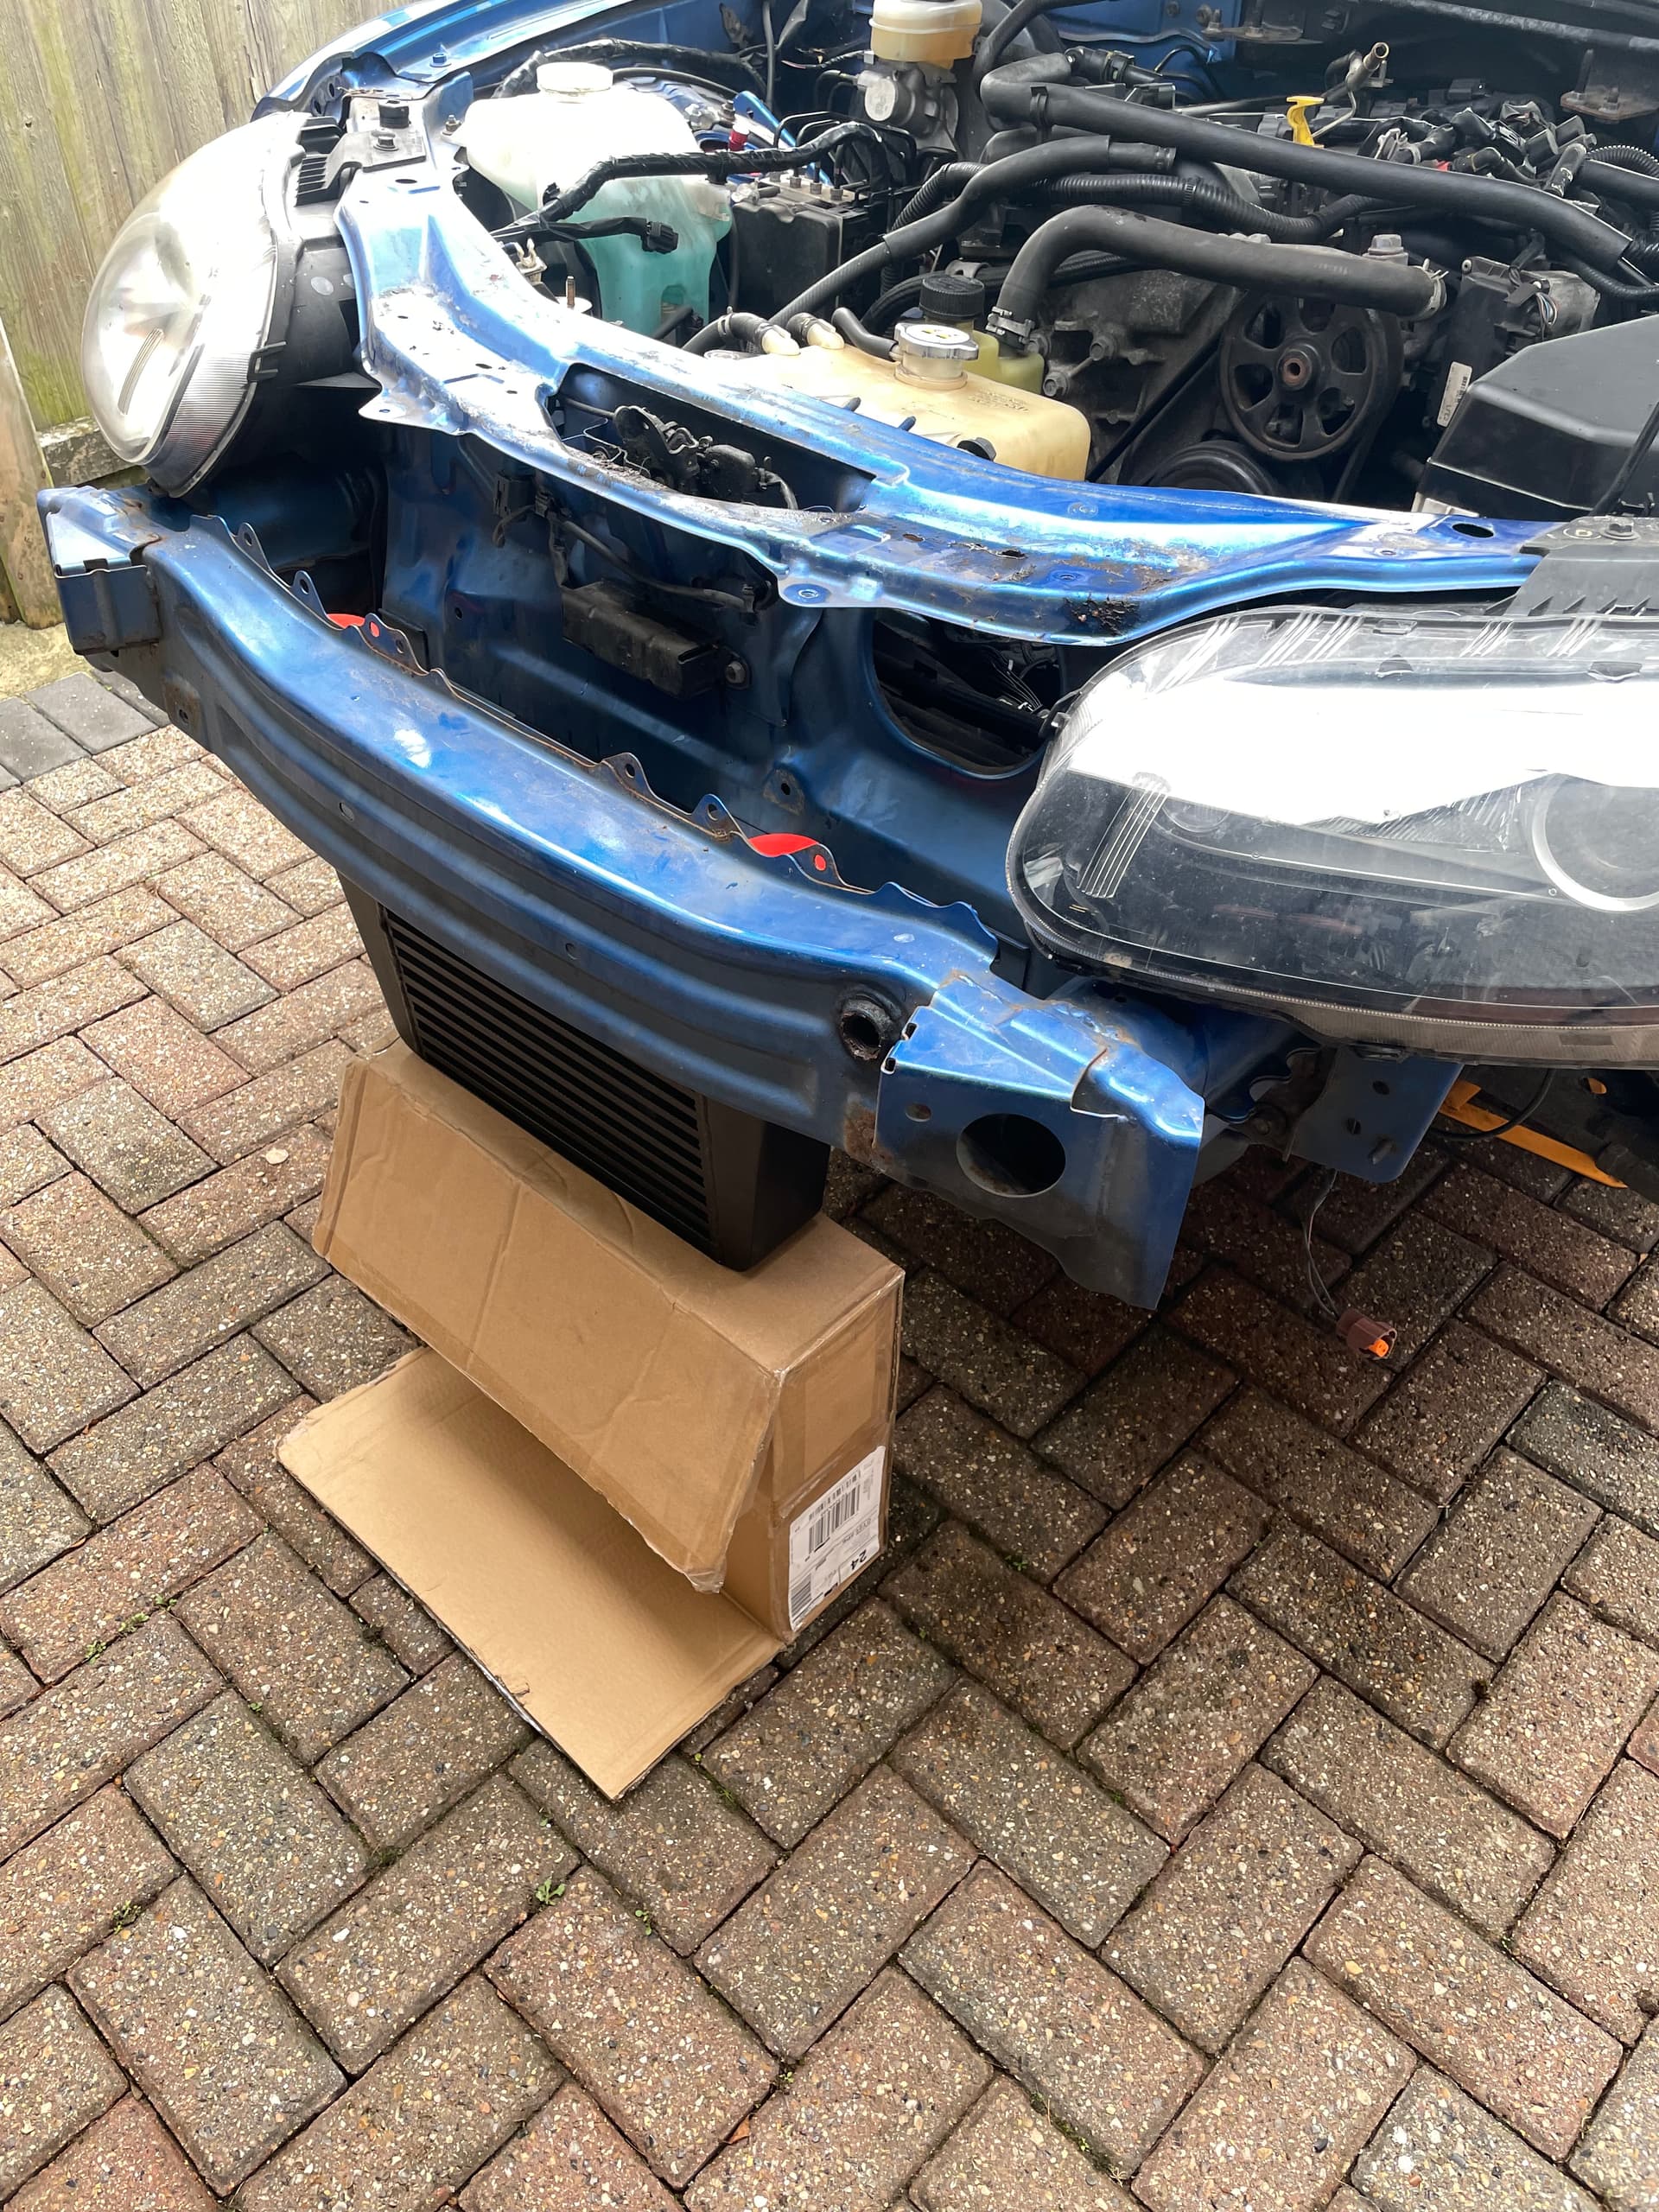
- Unboxed intercooler and offered it up - hurrah looks ok to me.
- Mocked up to brackets using the universal kit I bought.
- Test mounted it - will need to get better brackets for sure but these will get it started and mapped I think.
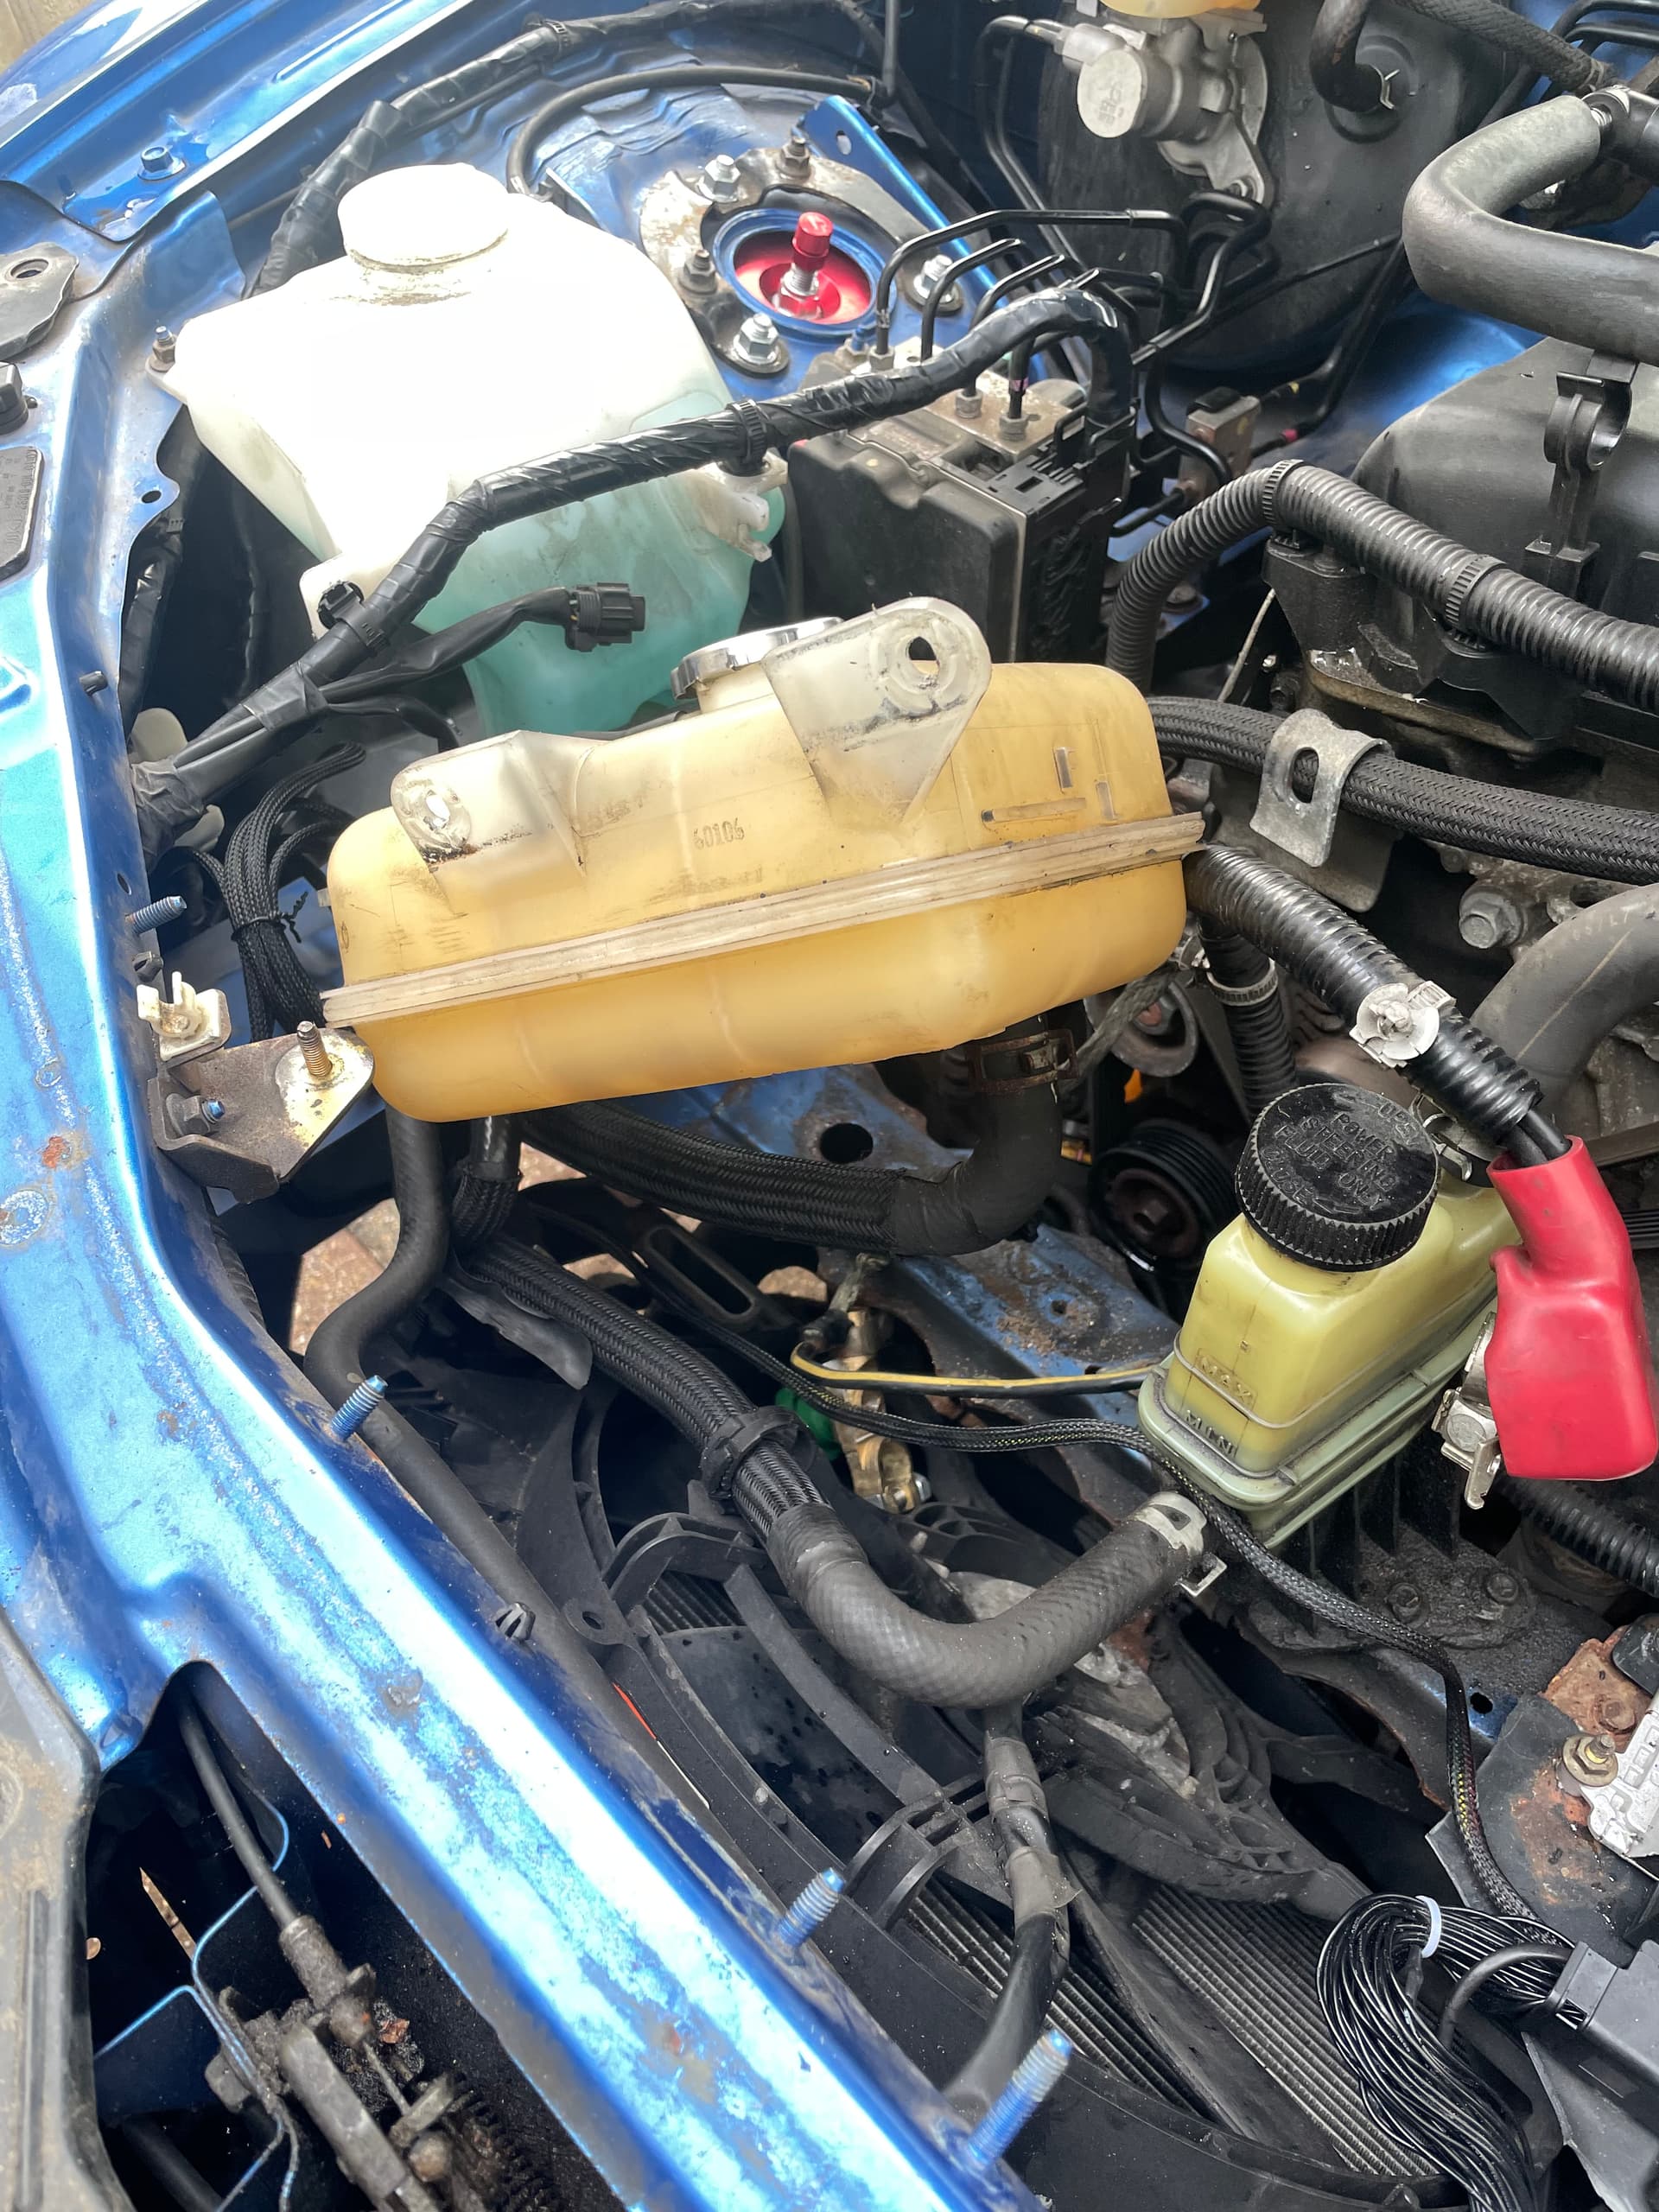
- Relocated the cooling expansion tank.
Things I learnt are that this thing has many many nuts/bolts and plastic clips.
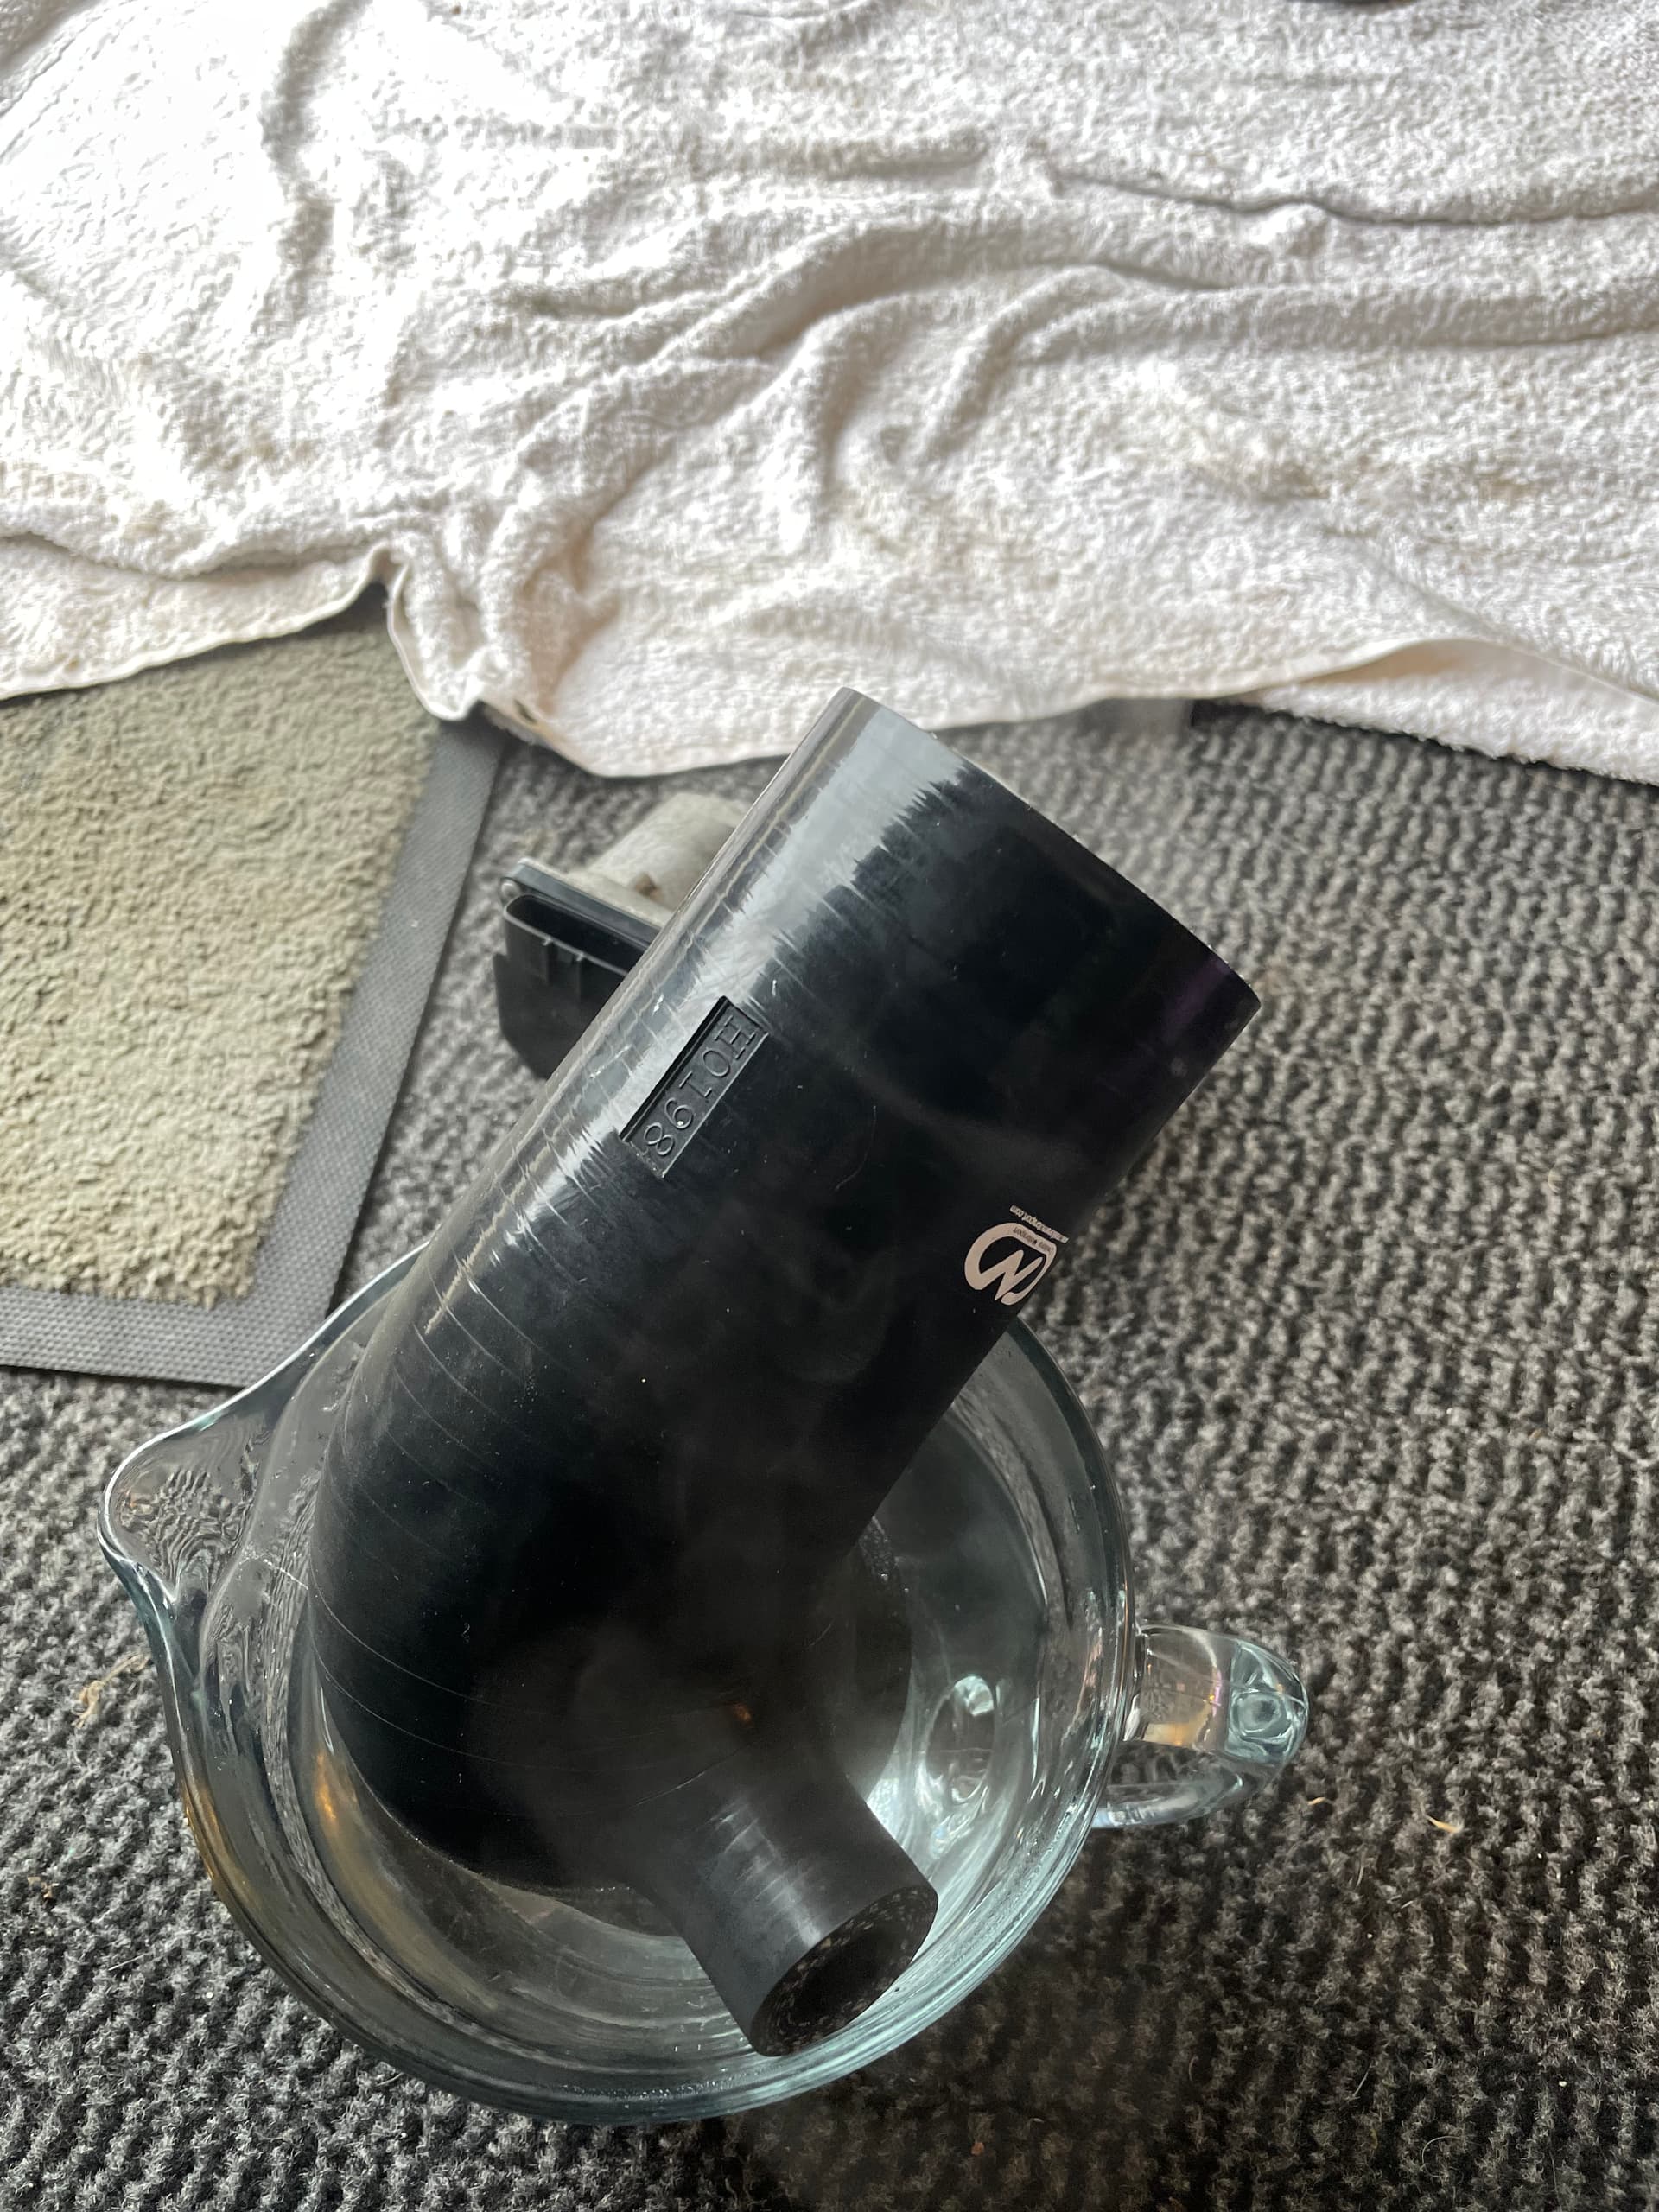
The radiator to expansion tank hose is not long enough to reach the new expansion tank position.
IMPORTANT - there are 3 bolt holding the catalyst in place - 2 on the catalyst and 1 holding that bracket to the block. They all need to come out and currently I have one of them stuck and near to rounding off.

So another 2 hours done and the old cat and manifold are now out, and the hole is cut in the front drivers side for the intercooler piping.
A friend popped over with his grinder.

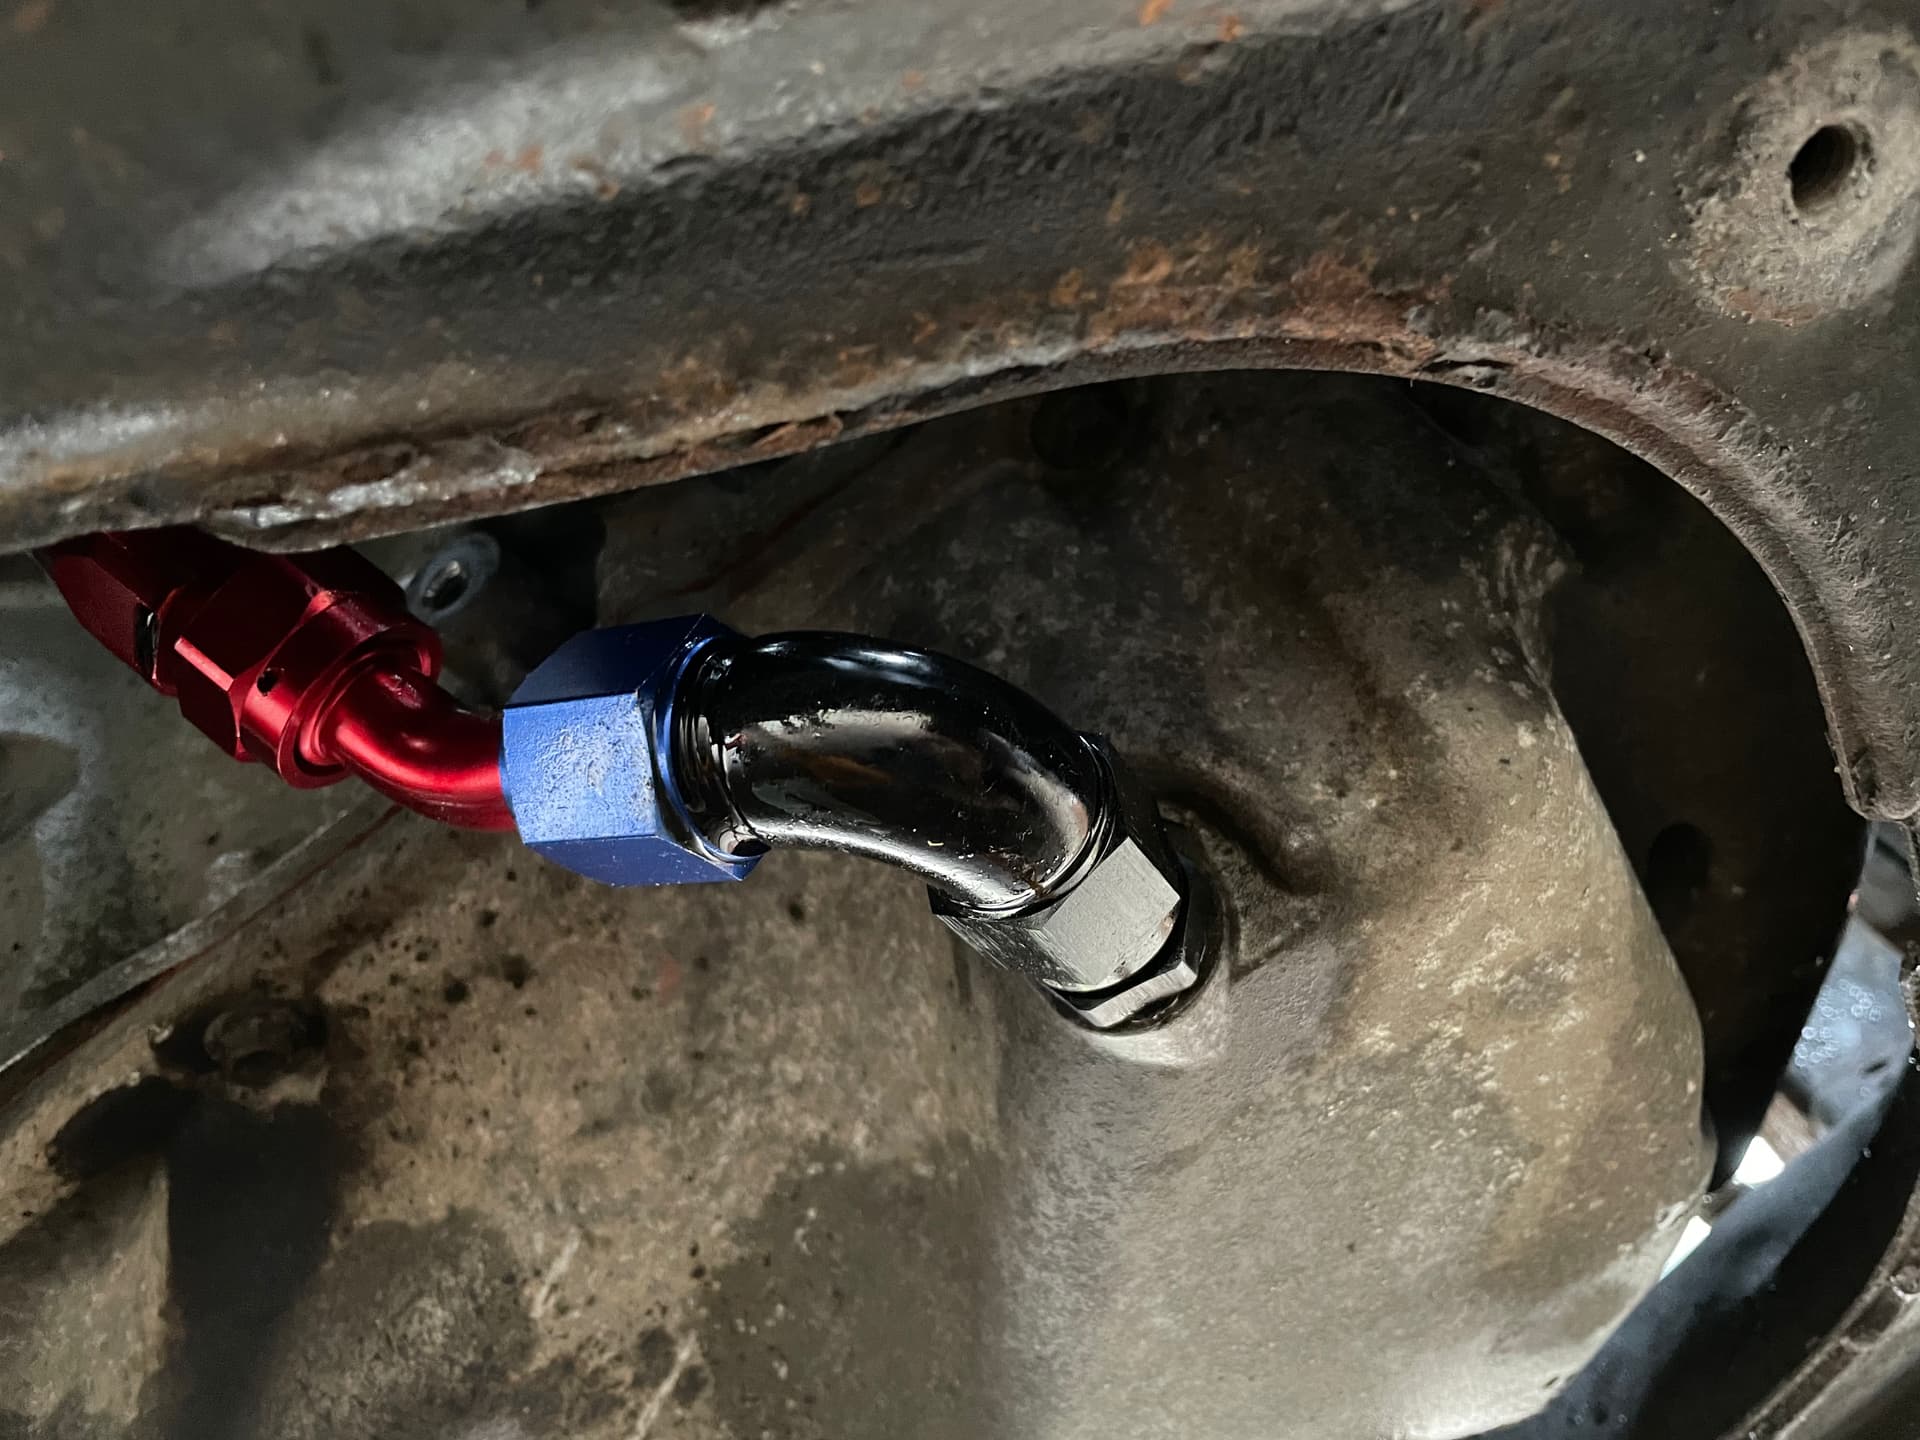
And a shot of the oil drain fitting
Awesome info so far, can’t wait to see the rest of this, my project is on hold as I now also have COVID!
Glad your better and started this 
Looking forward to what your doing. Good luck
So this afternoon before we cut out the hole for the intercooler pipe work I also unbolted the drivers side headlight to help make more room and avoid damaging it if we slipped with the grinder. This was 4 x10mm bolts and 1 plastic clip.
We also had to unbolt the plate that runs under the engine across to the swing arm pickup points to get access to remove the final nut holding the cat bracket onto the cat. Even then I had to put the impact gun on it to get it off (14mm nuts)
Other things of note is that the old manifold and cat came out of the top of the engine and it was really tight to the steering column but passed with some wiggling.
So another 2 hours done and very very little progress. The simple jobs are now becoming hard 
Fitting the posh silicon hose to the throttle body is near impossible, tried lube, warmed it and still no joy 
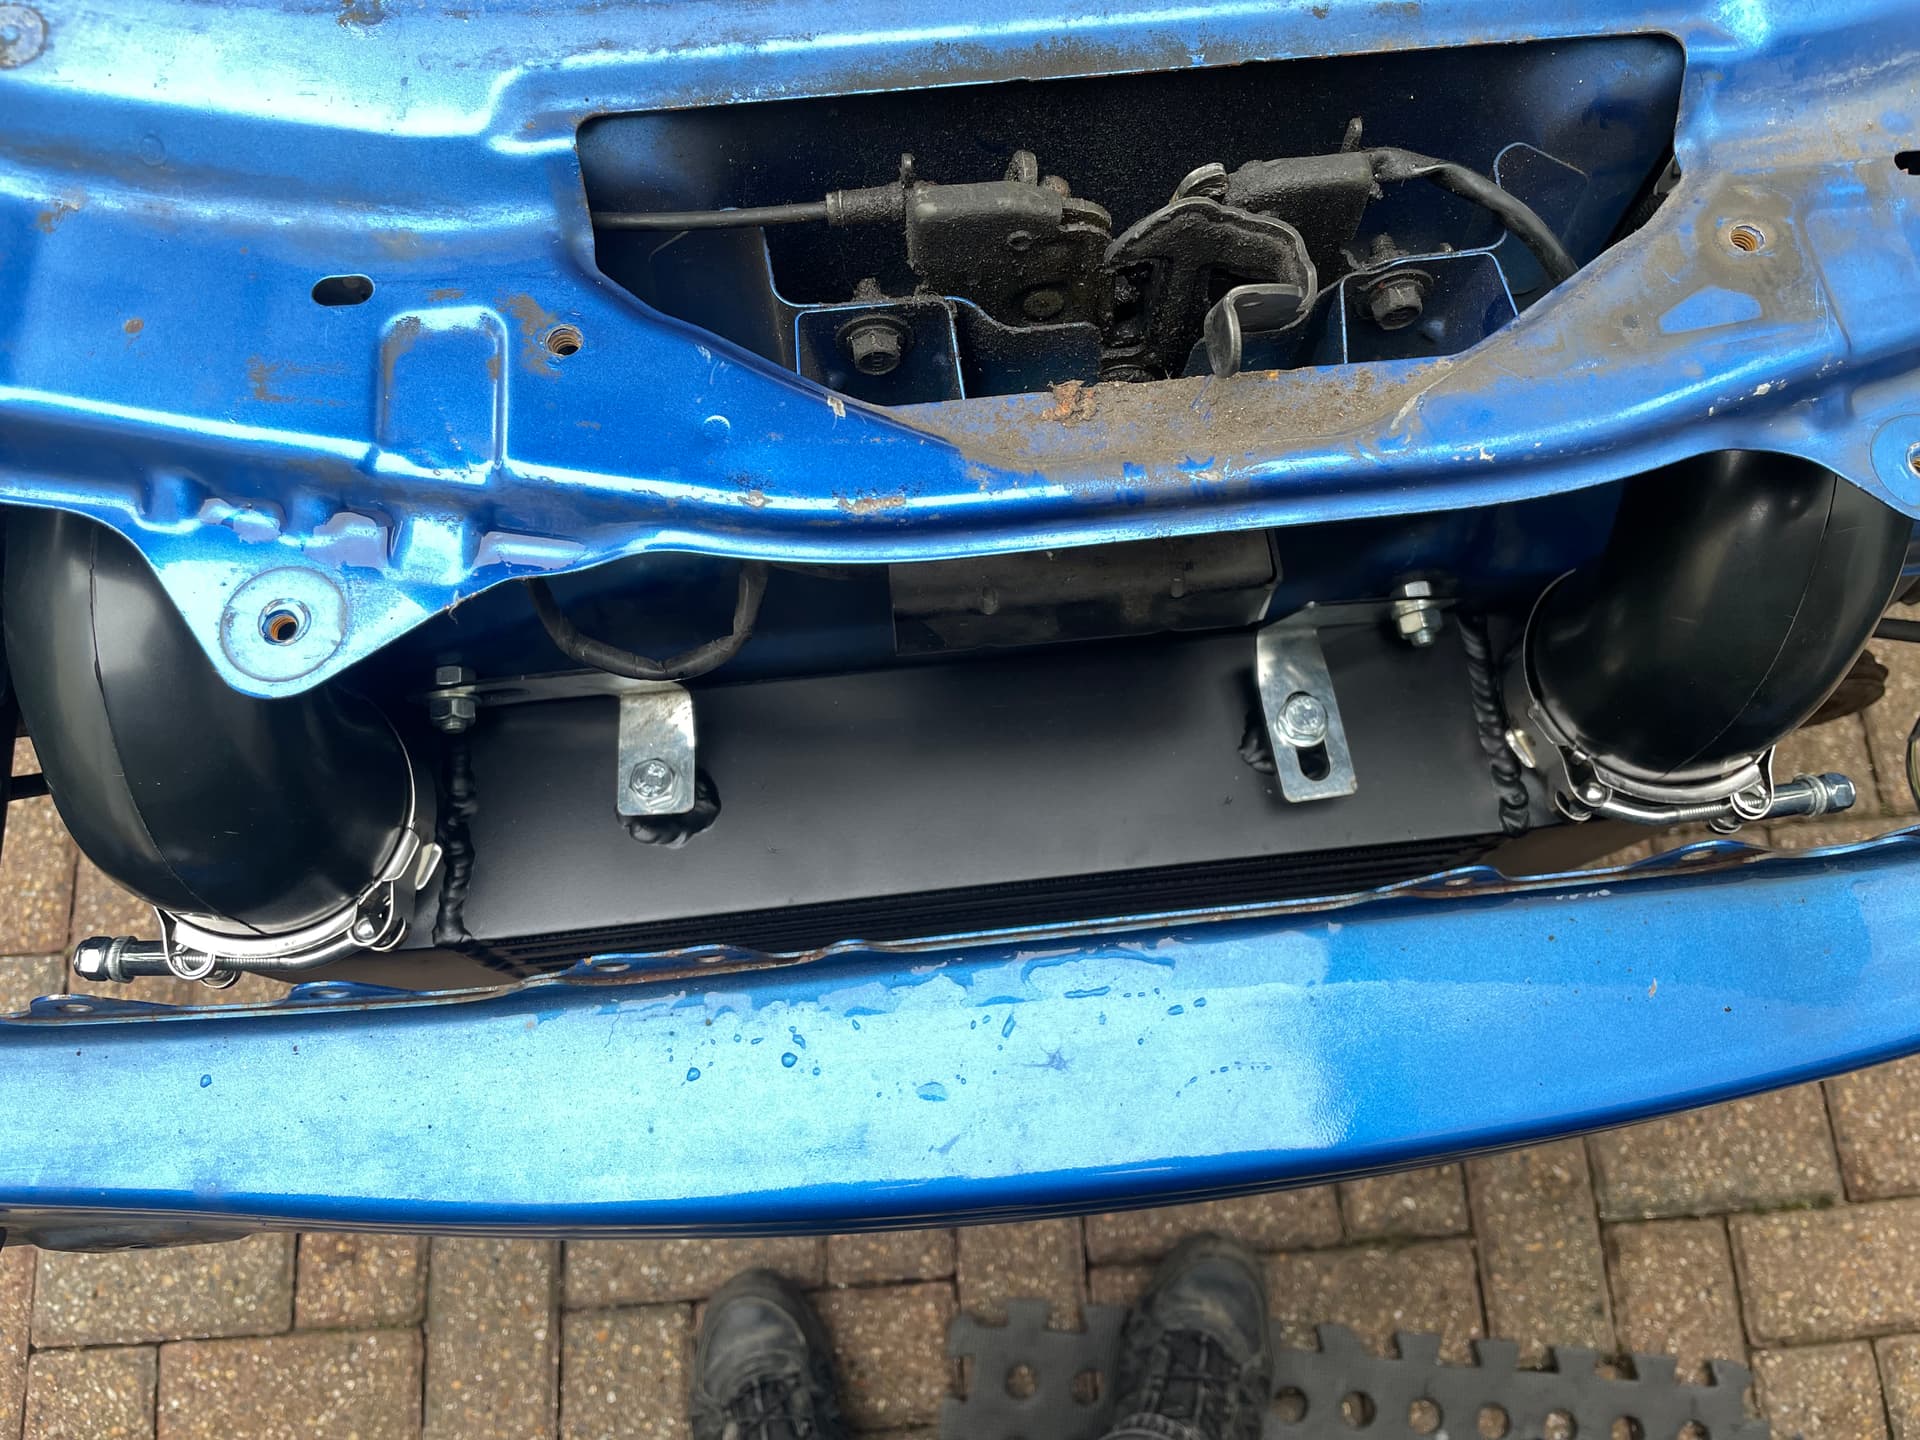
Will change the brackets for steel ones later - but the intercooler was a touch low for the silicon 90degs to point through the body nicely. Fixed by bending stuff
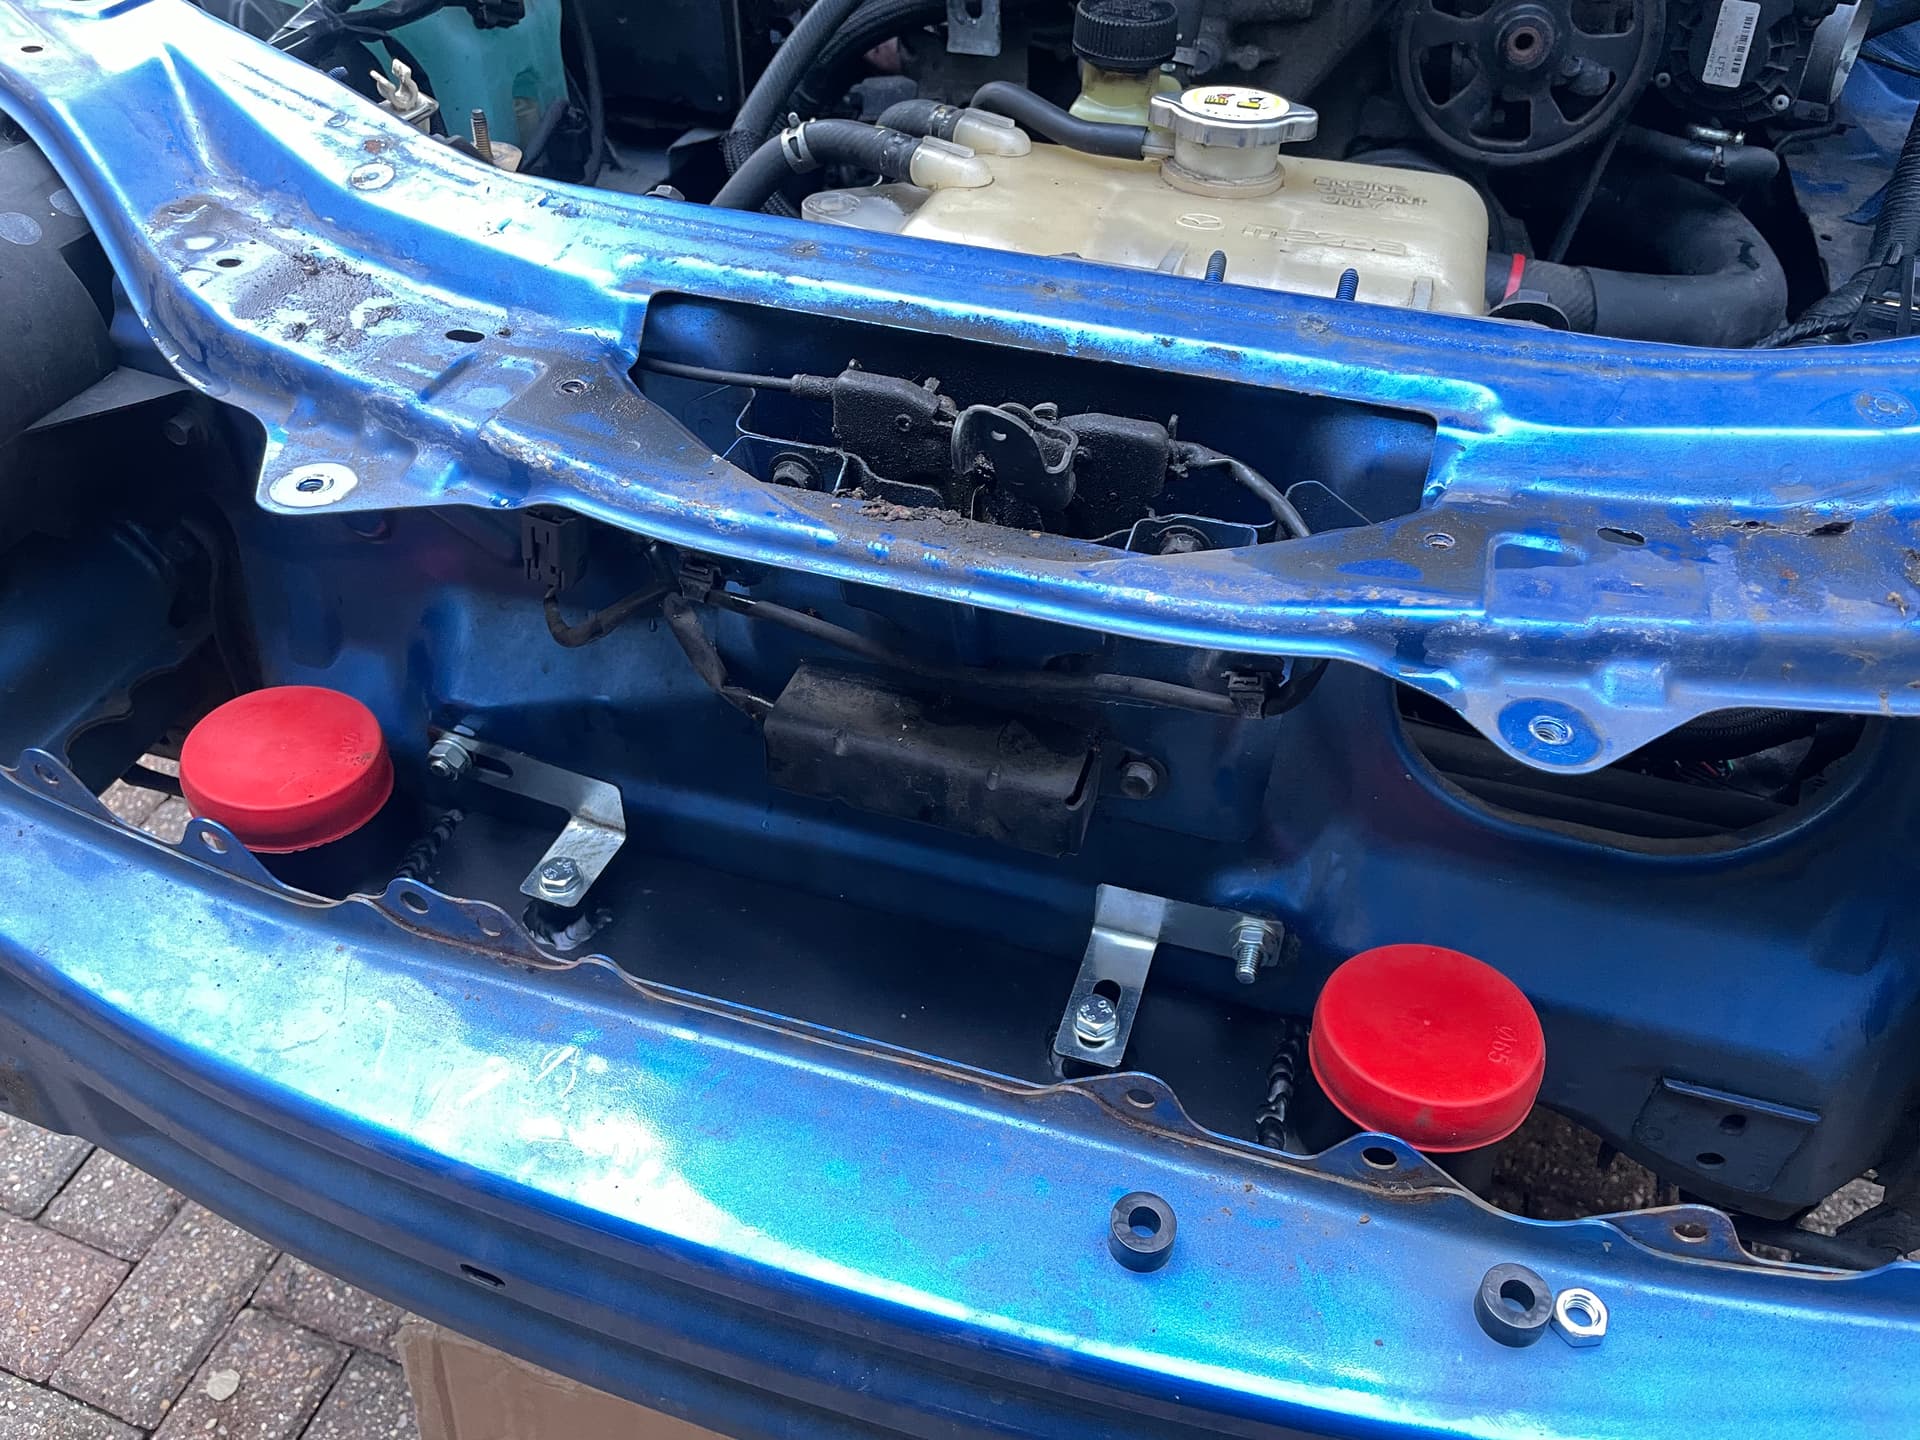
Test fit of bumper worked without modifications.

And to finish off that session I dropped the turbo into the hole to see what I need to clearance.
The answer is the lip immediately below the clutch master cylinder… which had to come off to get the manifold on.

So another hour done and I am knackered!
Achieved
-
Turbo downpipe in/out clearance issue solved by trimming a lip with the grinder and then painting it to stop rust.
-
Oil drain pipe finalised - for those that are interested using the kraken top mount manifold the length of the drain is approx 60cm or 24inches when using the sump plug adapter and a 90degree fitting at the bottom and a 45degree fitting at the top.
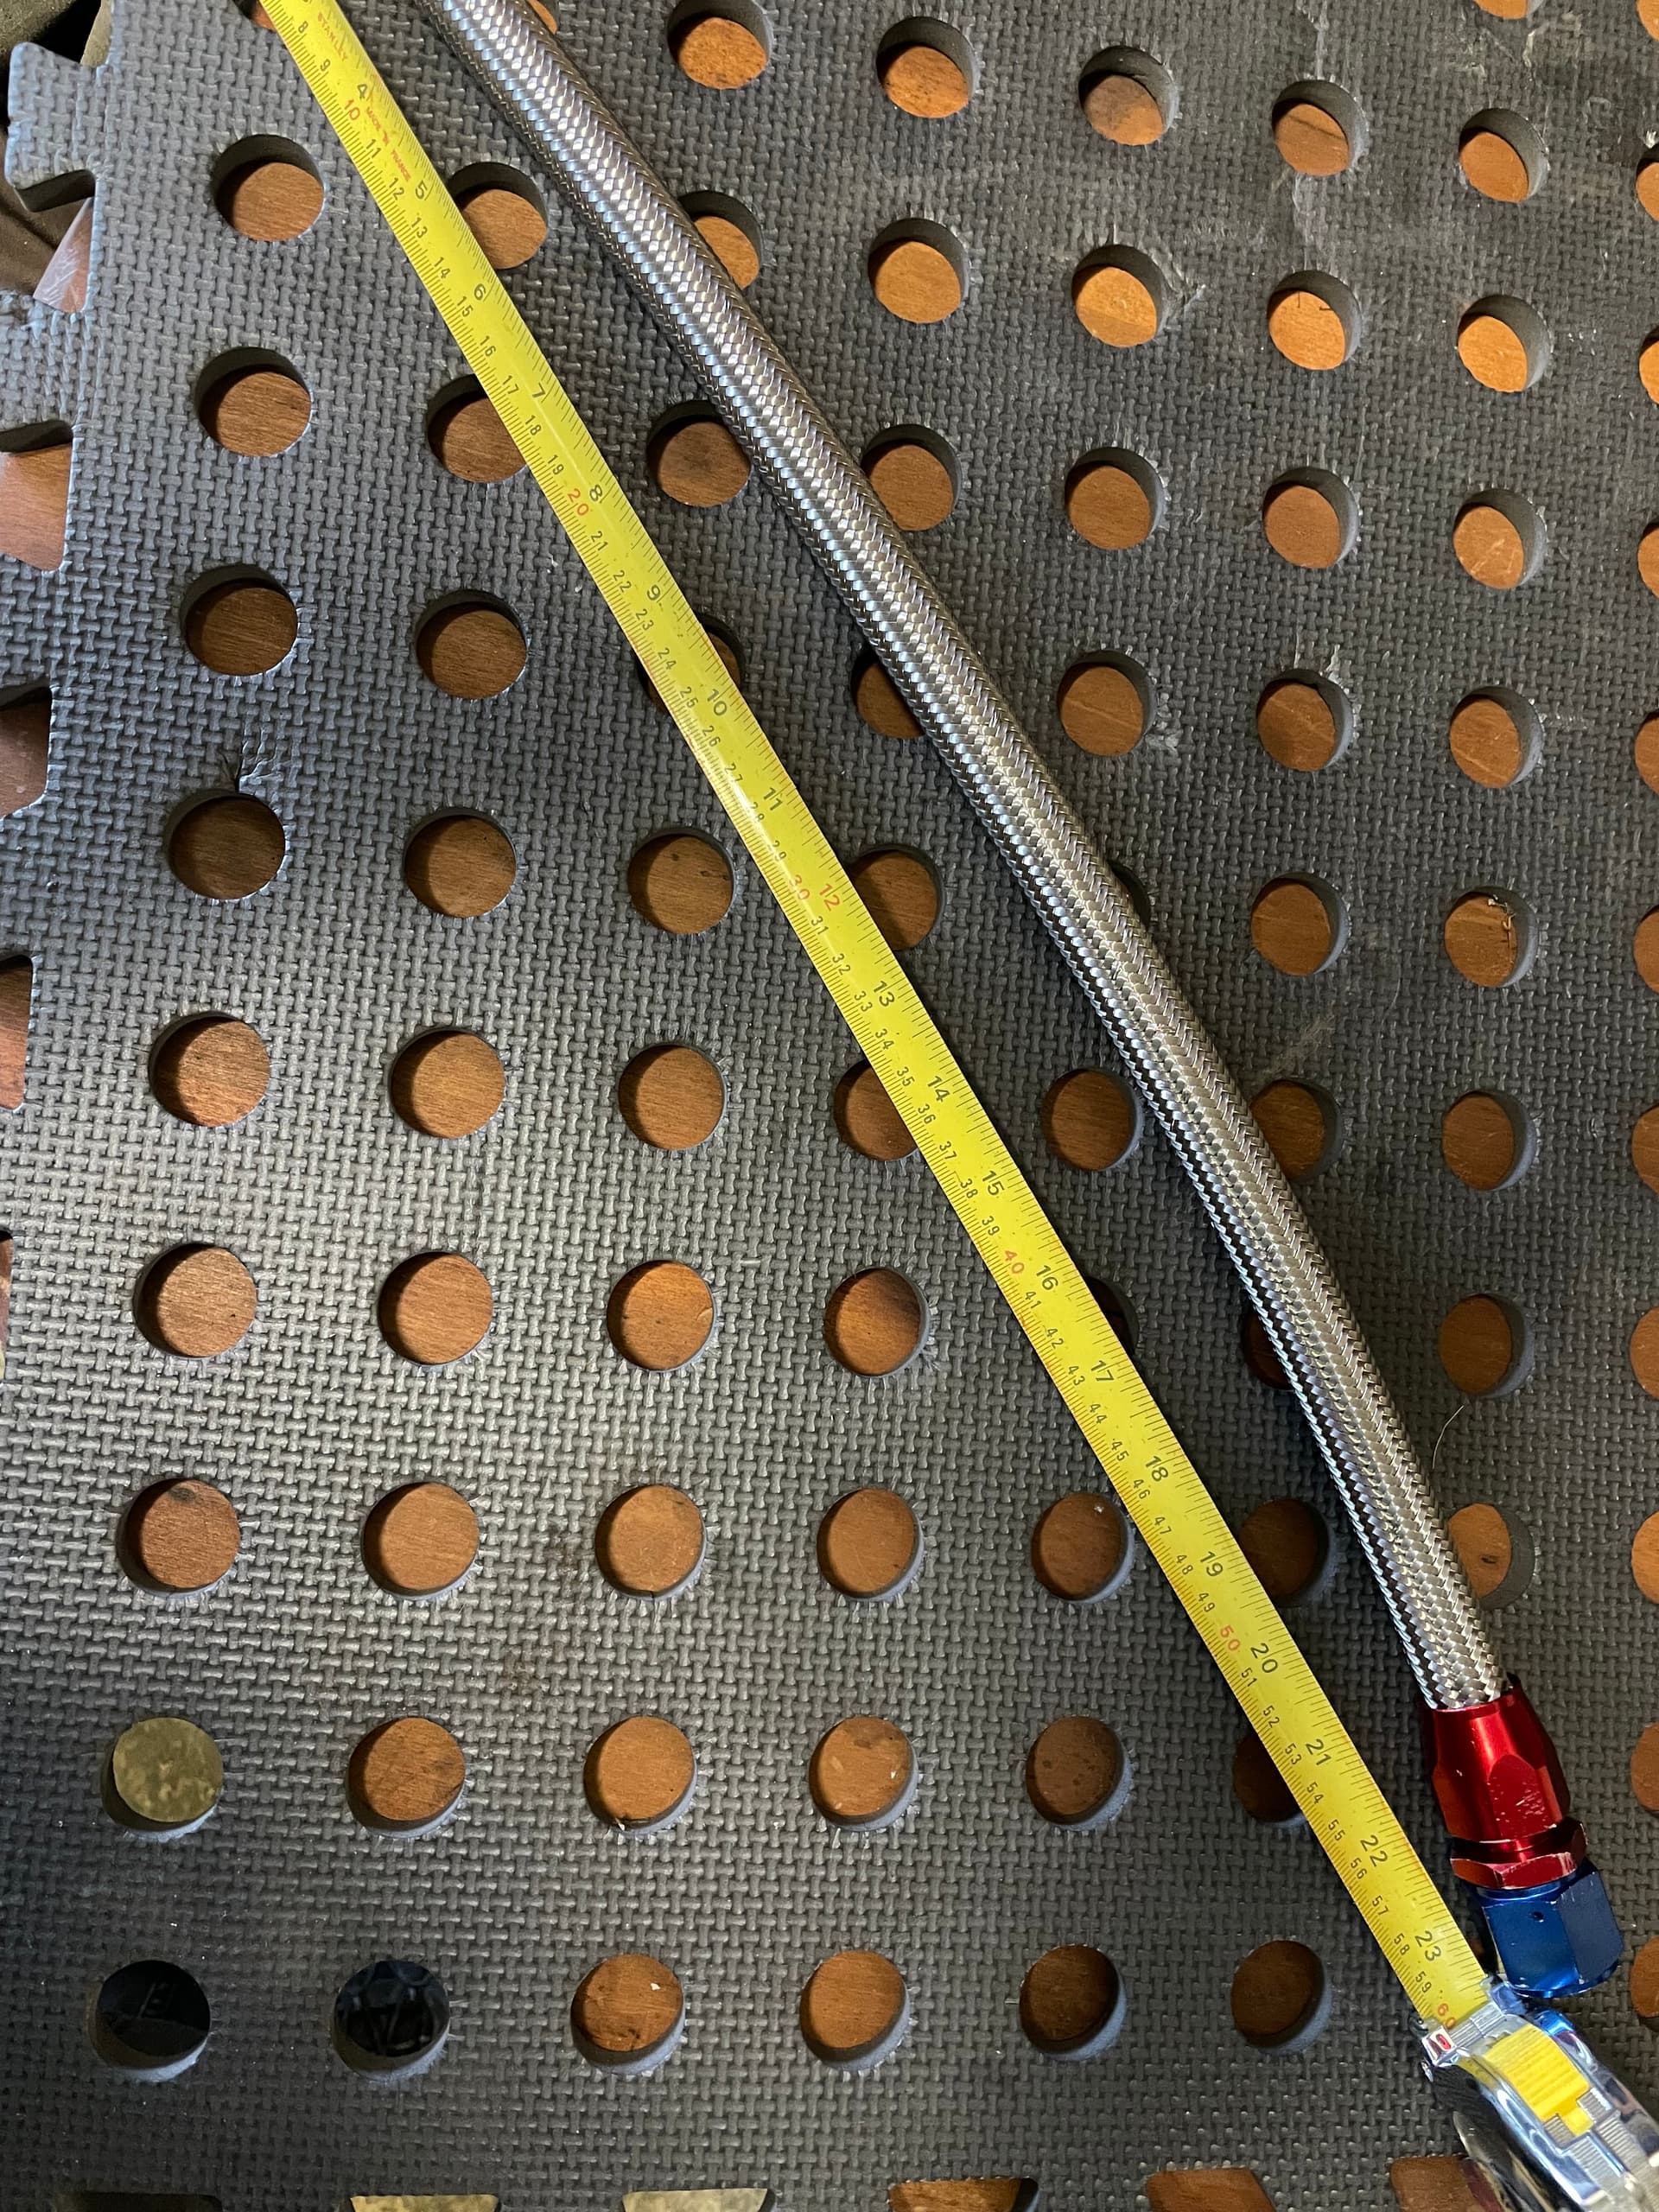
actually when I fitted the hose in its final version I had to cut it down again -so it ended up approx 50cm plus fittings not 60 I first created as the 60 was too loopy. There is a pic later in this thread.
Another test fit of the turbo to work out some line directions:

You can see the clocking of the turbo is wrong in the pic above. To get it all to work the turbo outlet had to be pointed down towards the alternator and a 90deg silcon used to point it directly at the front mount.
Now having one of these and calling it quits for today. Back at work tomorrow and so will drop by Halfords in way home tomorrow to see if I can get a longer radiator to expansion tank hose.

I also realised that the turbo water feeds do have a push fitting as the ends but they are too thick for the throttle coolant feed/drain hoses to push over the end. Will figure something out!
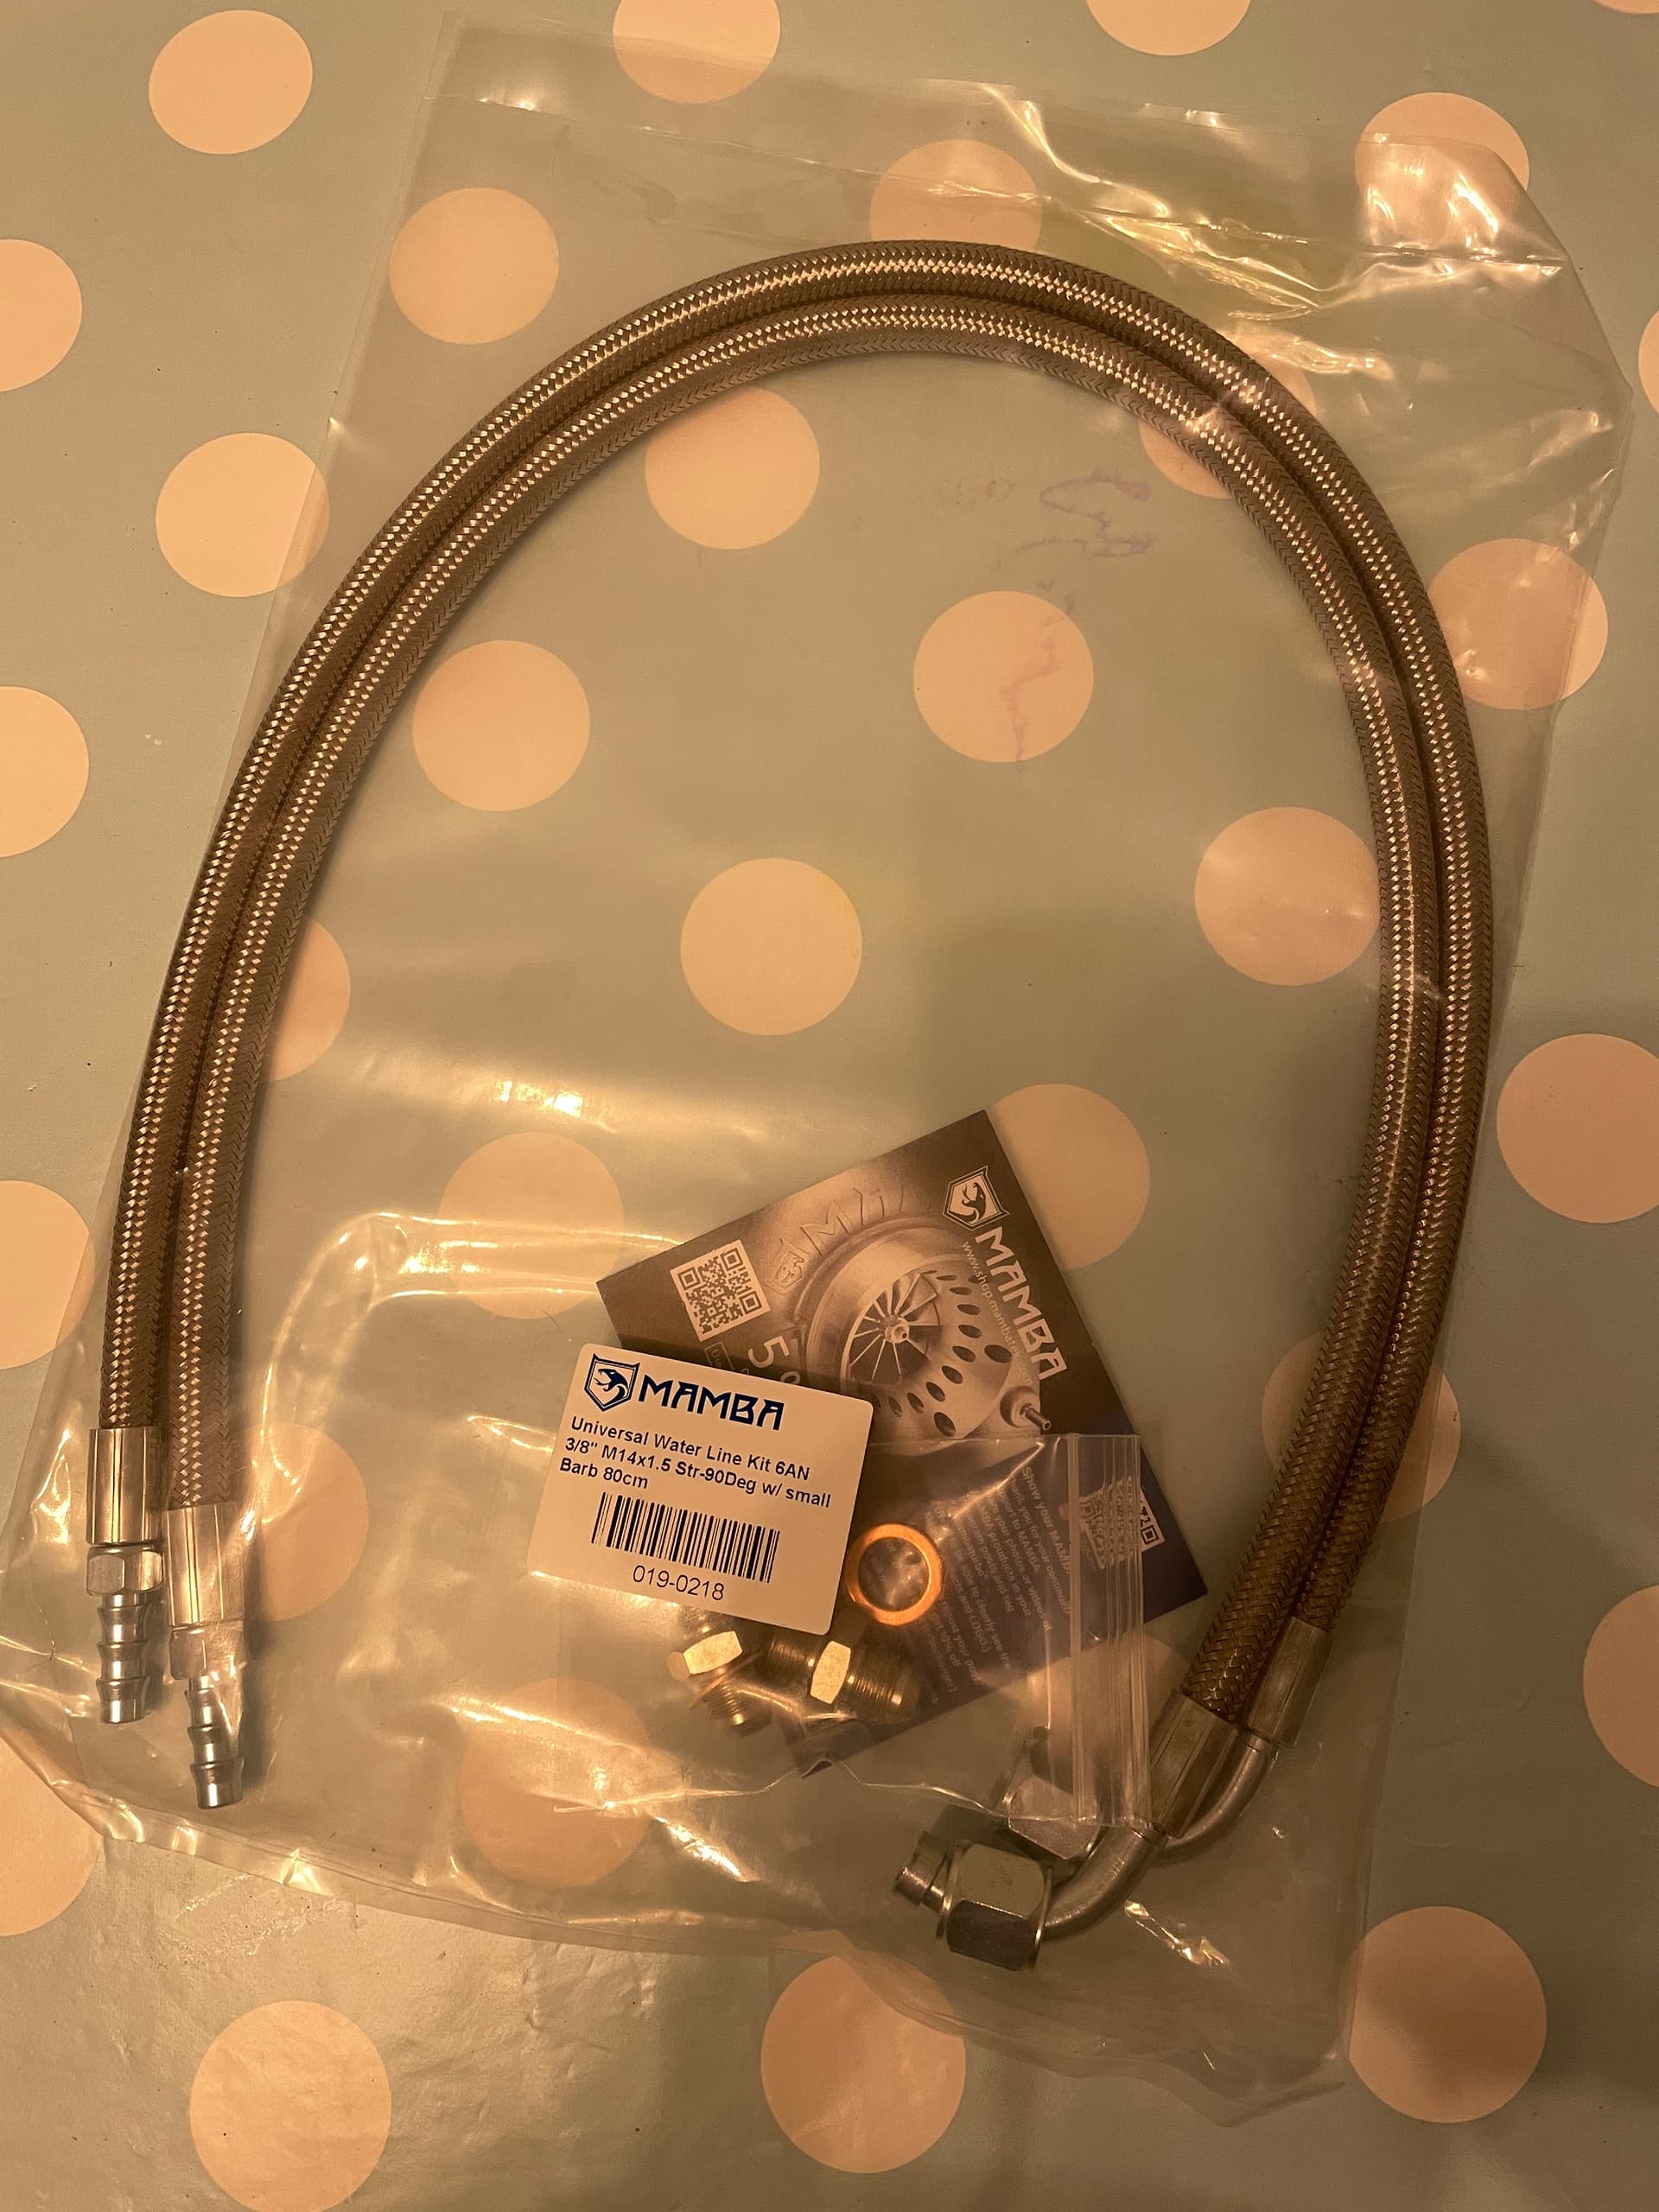
I just ordered the same hoses but a bit longer and with a smaller barb 3/8.
Based on the learnings so far I have made some additional purchases:
-
2x turbo water feed/drain hoses - this time I have gone longer at 80cm instead of 70 and also gone down from 1/2 bar to 3/8 barb. - lesson learnt.
-
1 x 25mm 1m coolant hose - this is to allow me to complete the relocation of the expansion tank making room for intercooler pipework.
-
1 x 13mm 1m coolant hose - this is to re-route and replace the metal pipe that was connected immediately above the standard manifold taking water from the back of the engine to the expansion tank.
-
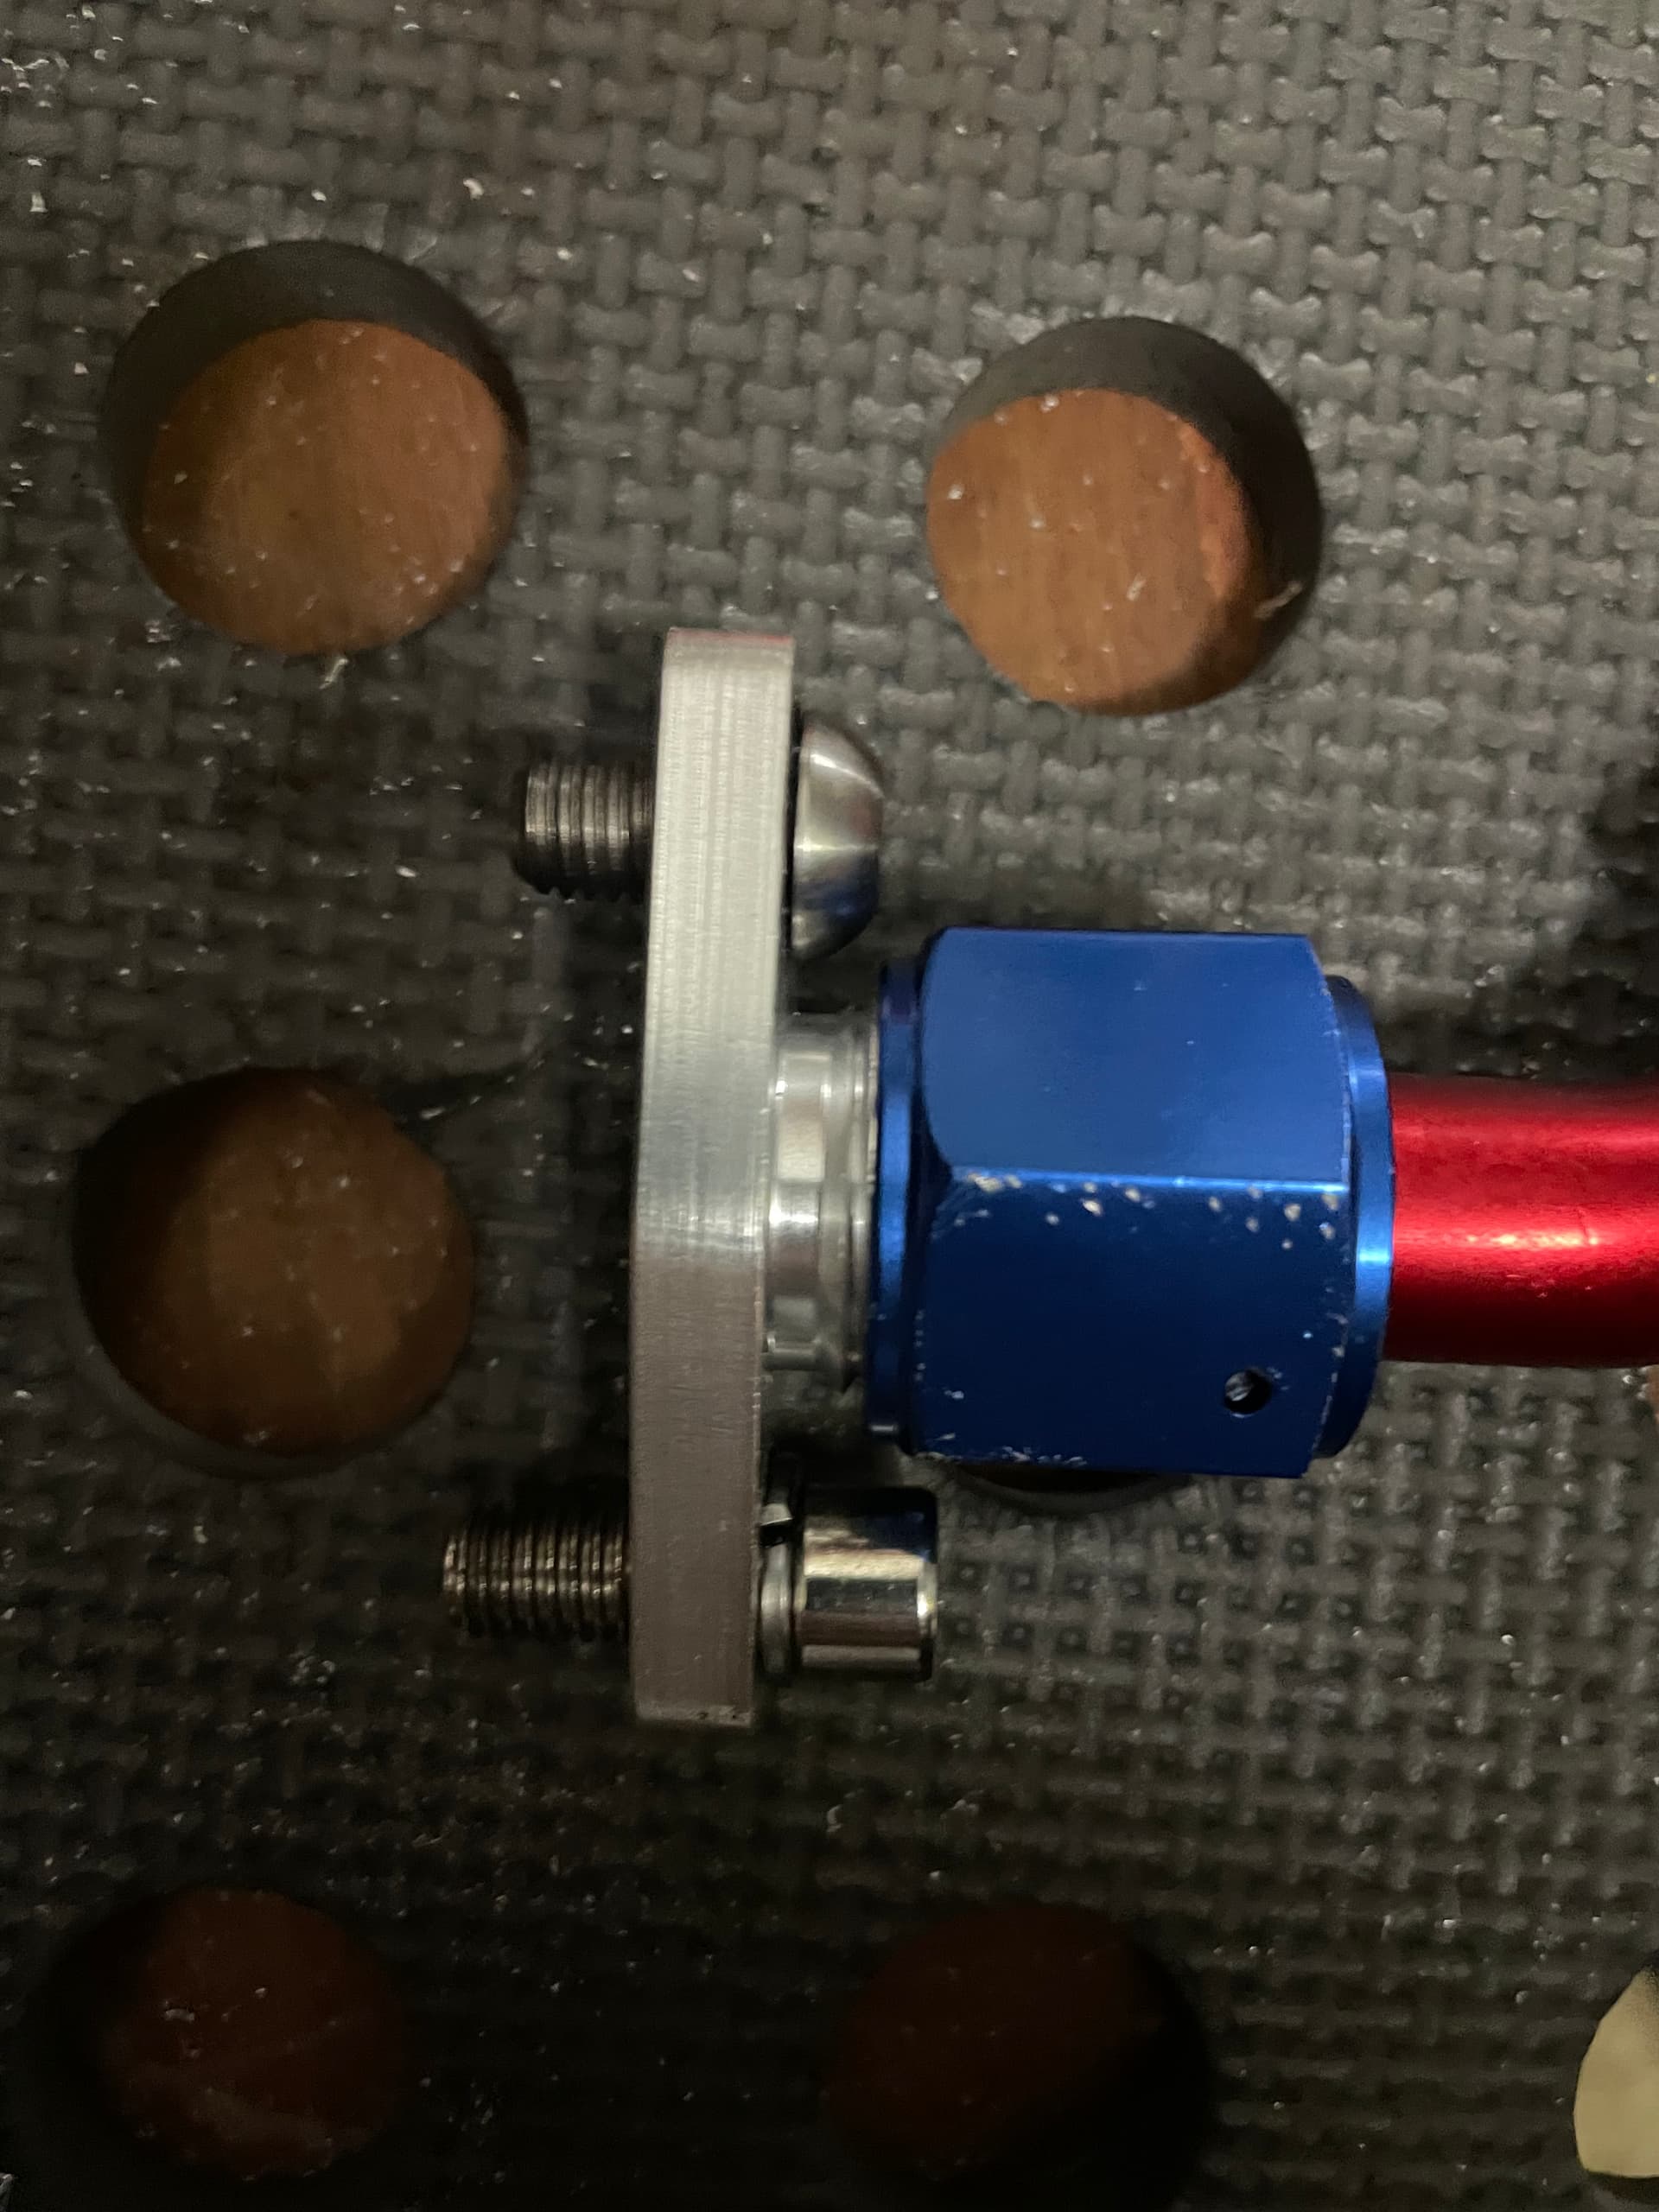
2 x M8x1.5 low profile headed bolts. These are to hold the billet AN drain fitting to the turbo. I was finding that using the supplied bolts I could not screw down the AN fitting as the corners of the hex element kept hitting the heads of the bolts. For test fitting purposes I put the AN fitting on the adapter first - then bolted it to the turbo but that isn’t going to work if I need to take the hose off/on in the future - so I have ordered some low profile bolts that should finish under the lip of the blue AN fitting.
Thoroughly enjoying this. Keep it up
At work today so no progress but I discovered that if you get one of these:
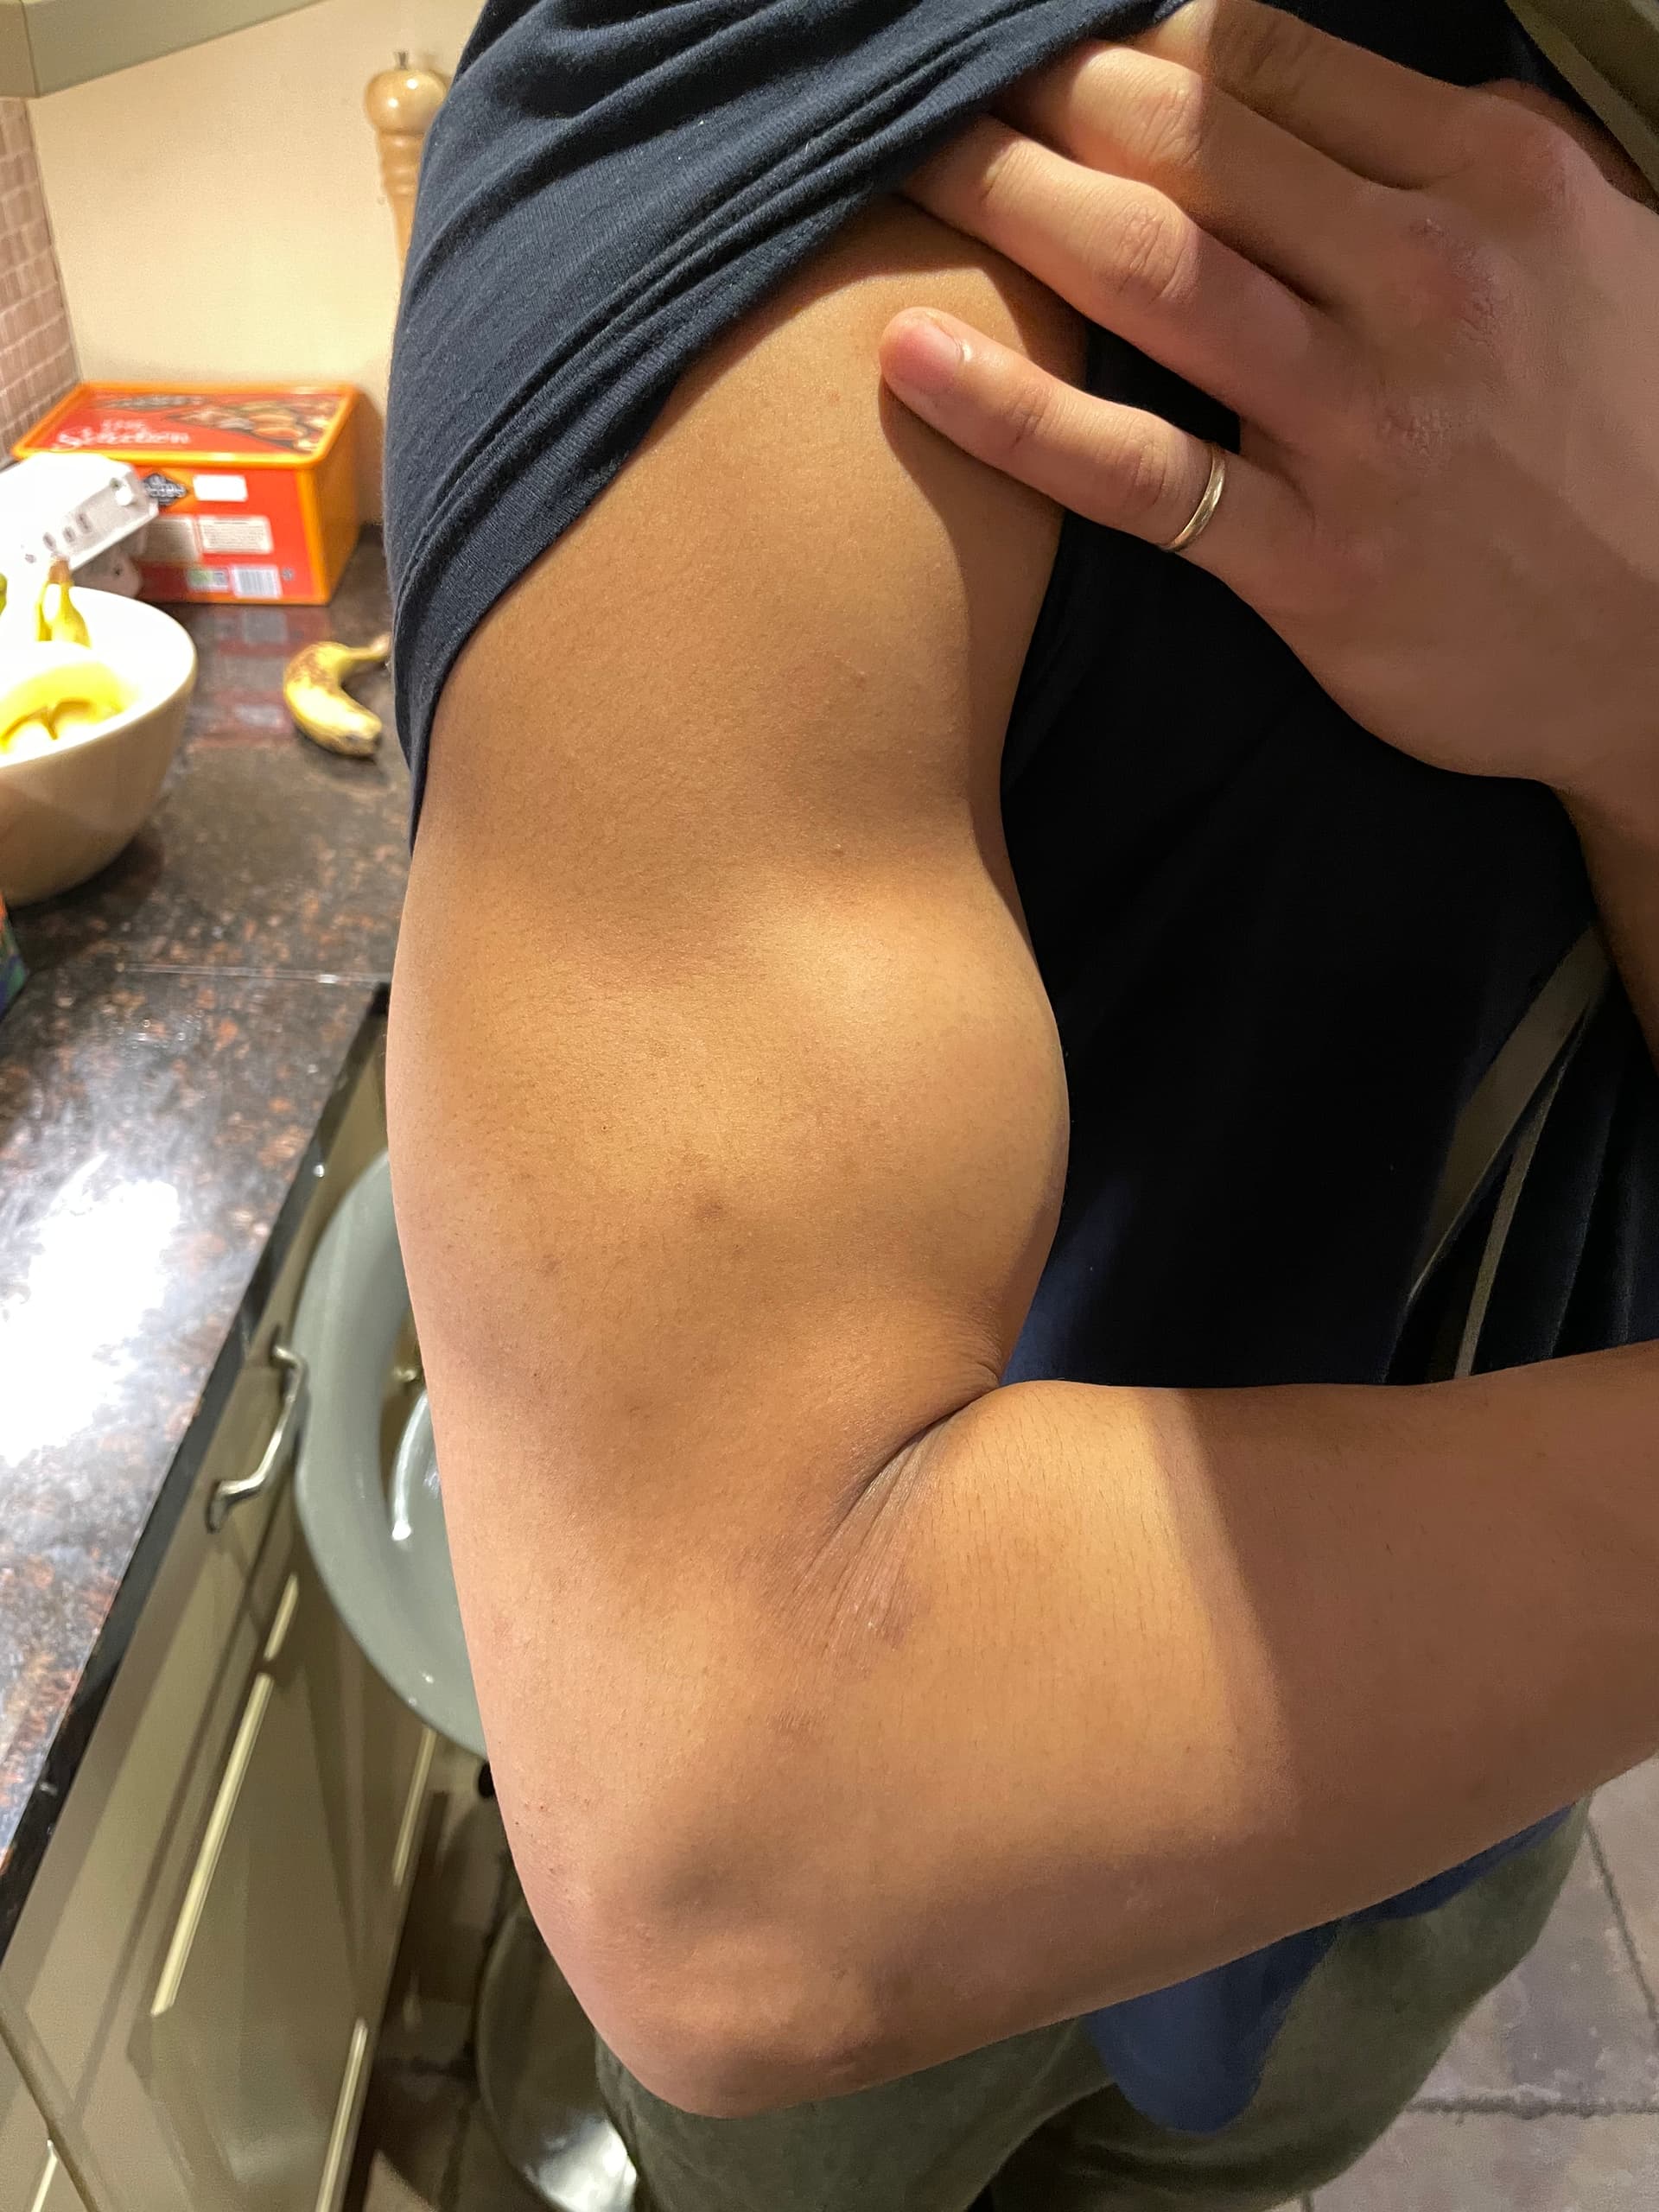
Then the end result can be this:

Solov (owner of borrowed tool above) is one of my sons friends and has a fitness YouTube channel so I set him the challenge that many of us had already failed and he managed to get it on after only a few minutes.
OK so what you cannot see in the pic is that the 4 bolts that hold the throttle body to the intake were not already in place - they were still screwed into the intake for safe keeping. The problem was I couldn’t get them in past the silicon… so it came off and on again.


So another hour on the car today - made use of my lunch hour as it wasn’t raining, just cold.
The intake side is now pretty much done as you can see in the pics. I have managed to reuse the standard breather system just by turning it backwards at both ends basically.
Will paint the silver pipe (air temp sensor goes here) black later but I needed it fitted to measure the right length of 63mm straight pipe to feed between it and the intercooler 90deg hose.
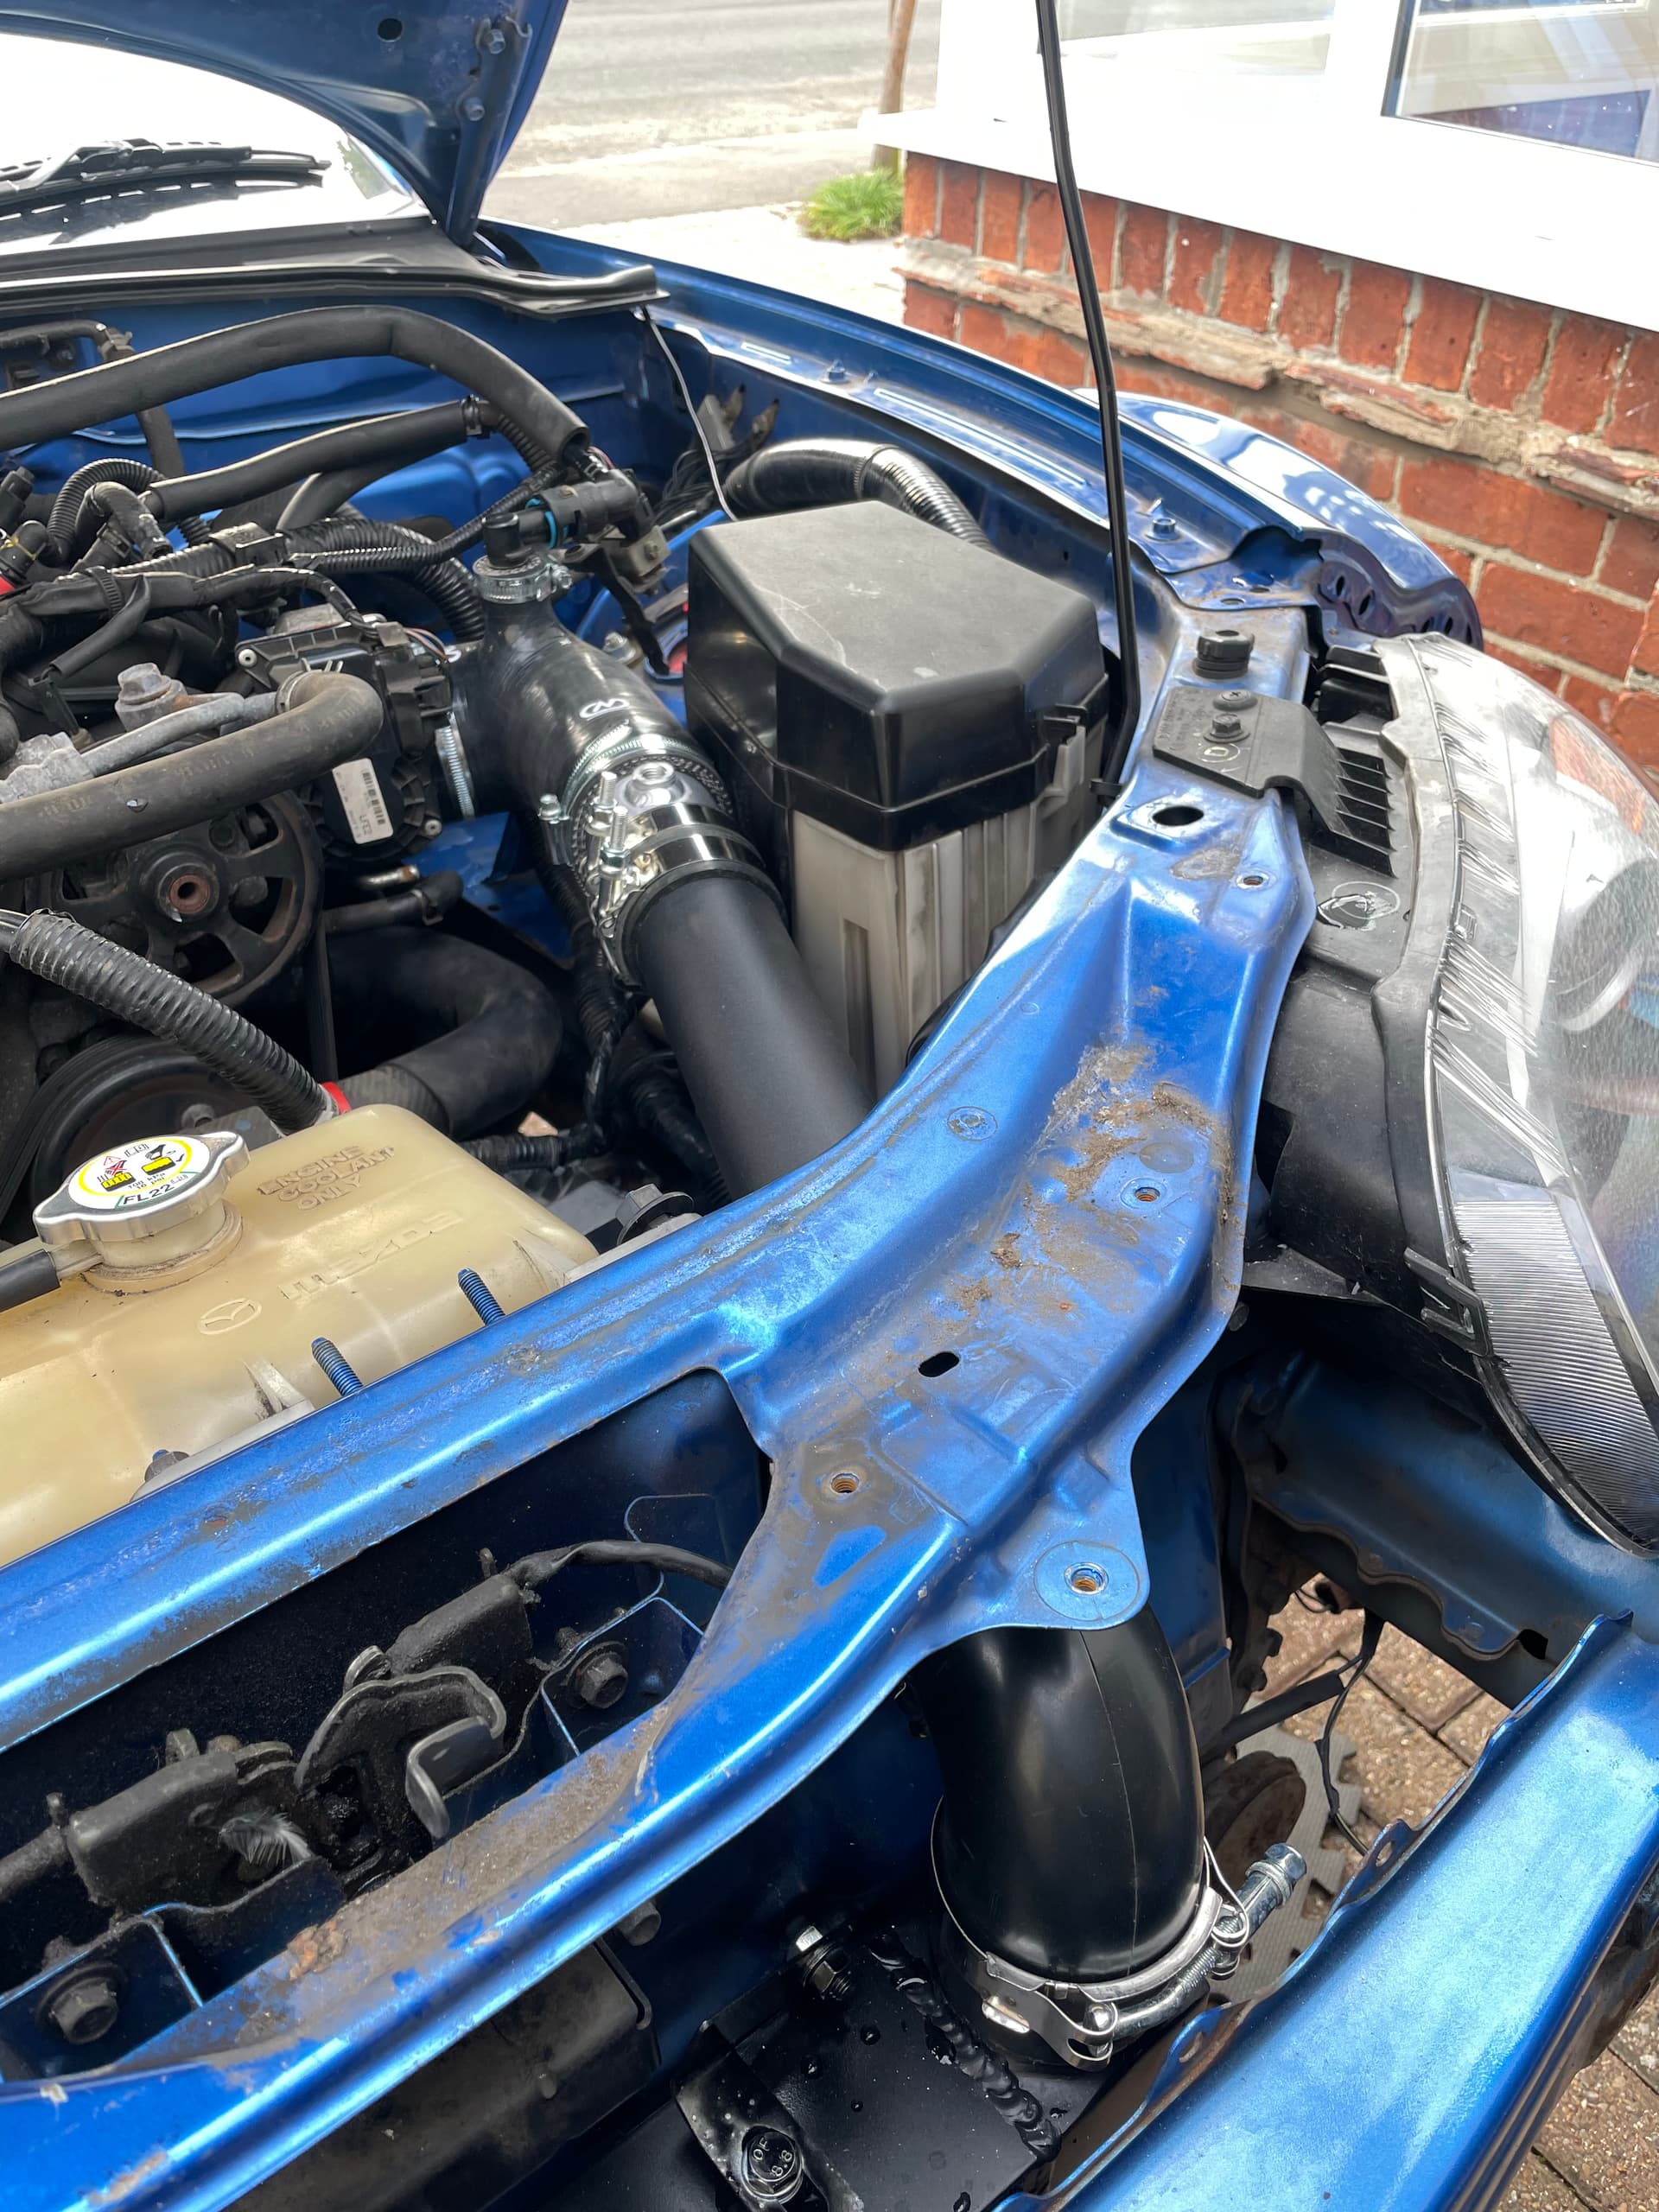
A by-product of this is that the intercooler mounting now is as solid as a rock and the thing doesn’t move at all.
This arrived, wow that was fast!
Just waiting for 2 low profile bolts and the turbo can on for maybe the final time….
Being friends with someone who works at Apex must be nice! Have you been over for a taxi lap at the Ring?
Ah - I have been over a couple of times and stayed at the hotel & rented some of the cars. It’s one of my fav places to go but has been difficult last 2 years. Maybe this year I will get some more laps in………one can but hope.
I bought the hoody on one trip but I managed to grow out of it (round) so gave it to my friend.