Keep up the good work
How much does it look like the whole turbo diy project is going to cost, have you any ballpark figures yet?
I keep post 1 updated with costs. It’s £2300 in parts and I expect to be finished at £2350 (as I forgot to buy new oil).
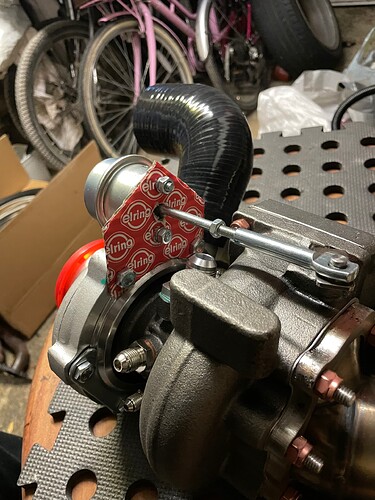
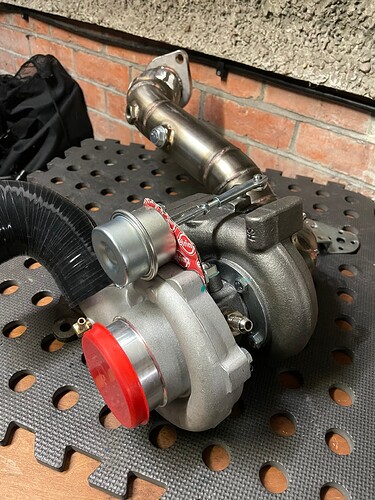
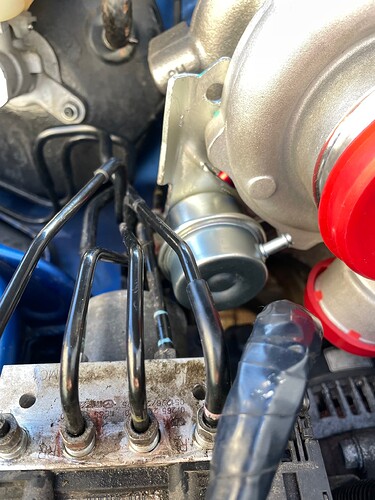
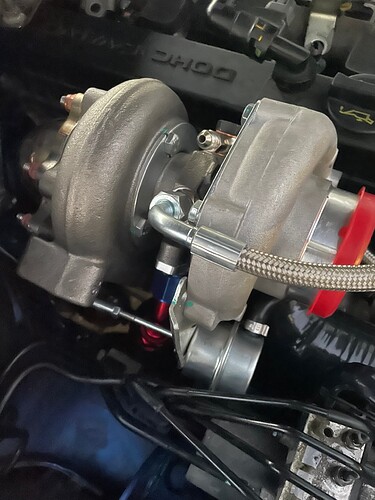
Ok so I spent another 30mins in the garage this evening testing the best location for the wastegate actuator for the internal gate.
So I did some CAD work ………… Cardboard Aided Design
Tight to the intake housing and it should clear the ABS unit - will test fit tomorrow night.
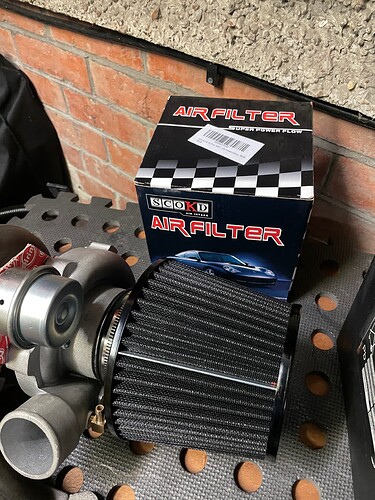
I had forgotten to get an Air Filter so I corrected that oversight via Amazon! it has the 76mm opening so a perfect fit for the turbo.
Will probably be replaced later on with a more thought out intake/filter combo but will get me started.
H
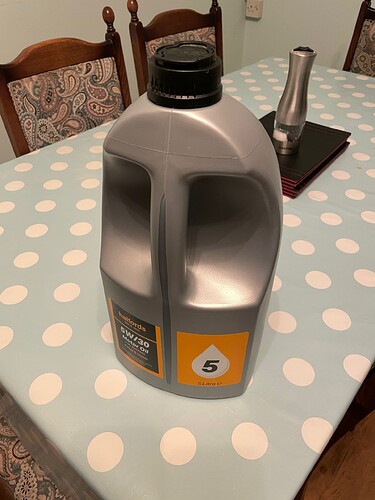
So trying to keep this thread honest about what you need and the real costs involved. Come on who forgot about putting some fresh oil back in the engine before we try and pump some oil into the turbo before we fire up the engine….
It’s a cost so it’s been added to the list.
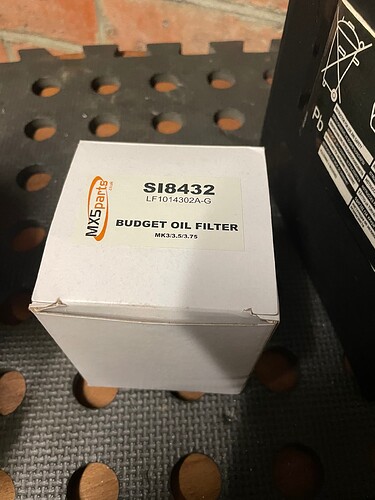
Some of Halfords finest (budget remember and oil is easily flushed) - and I already had an MX5 Parts Oil Filter in the garage waiting to go on luckily…
Another 4 hours this afternoon:
- Wastegate bracket finalised 2hrs alone)
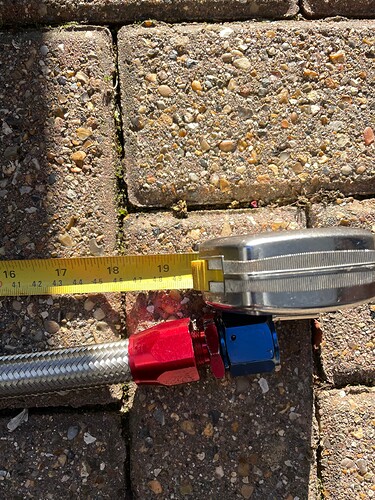
- Oil Drain pipe shortened as it was too long
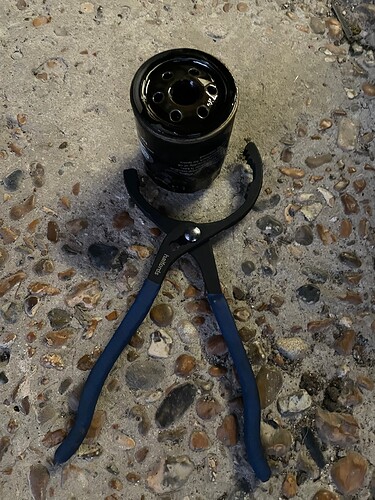
- Oil filter removed with immense brute force.
- Manifold bolted on for maybe the final time
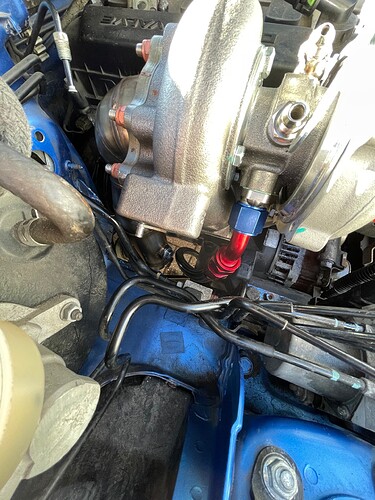
- oil drain fitted at both ends
- Wastegate fitted
- ABS pipes re-connected.
- Clutch master cylinder refitted.
- Turbo to intercooler pipe fitted.
- Water feed pipe fitted
- Water drain pipe fitted
- Downpipe connected to mid-section of exhaust.
Some things I learnt along the way……
The oil drain was too long and I shortened it 50cm of hose plus fittings
Now it’s a smooth run avoiding the downpipe and the steering rack column
The wastegate bracket is spot on.
The wastegate actuator bar has clearance to the oil drain as well and full range of movement. I think this actuator is 7psi.
Hercules fits oil filters apparently….had to drop the subframe support cross member to get access properly - which is fine as I need to get to the oil pressure switch anyway - which seems to need a 24mm spanner……
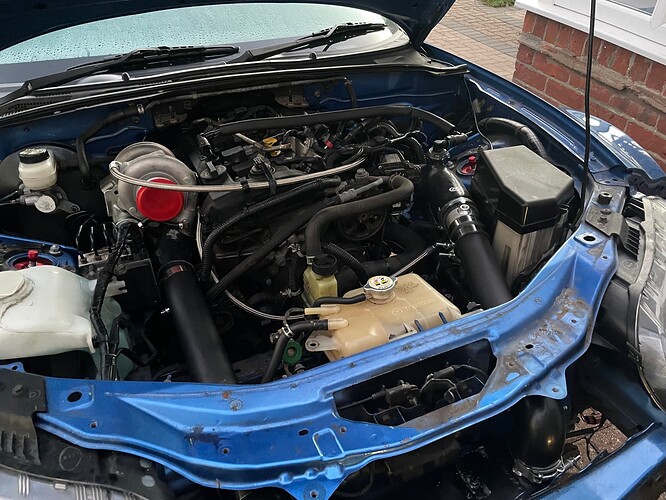
Coming together now….
And for the curious the black pipe from the turbo to the intercooler is 59cm long and 63mm diameter and just came straight out of the universal kit I bought. So from that kit I have used just 2 bits of pipe both dead straight!
update it will make life a lot easier for you if you take 2cm of the long pipe and make it 57cm instead….
Today was another 4hrs.
- New socket set from Halfords as I needed a 24mm and a 22 and a 27. At £10 each instead I bought a 8mm to 32mm full spanner set for £50.
- 24mm in hand I removed the oil pressure switch.
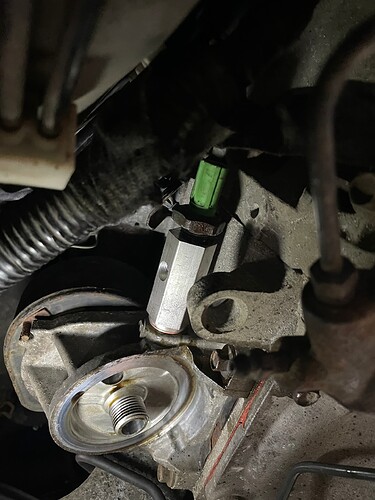
- I fitted the oil pressure switch into the adapter I had bought that has the 1/8 NPT thread in it, then screwed it all back in, trying to make sure it was as tight as possible but still give me the NPT port point in an area I could get the oil feed pipe into it.
- Tested the oil feed hose routing and decided to use the 3 way adapter to put the hose in a better position.
- Threaded the hose from top down and with 1 person at the bottom and 1 person holding the hose in line with the adapter it can be screwed in.
- Re plugged in the standard oil switch wire after stripping back to plastic to give it a bit more ‘give’.
- Filled the oil filter with fresh oil and refitted it it hand tight but firm.
- Started going around the car tightening bolts clamps and adapters.
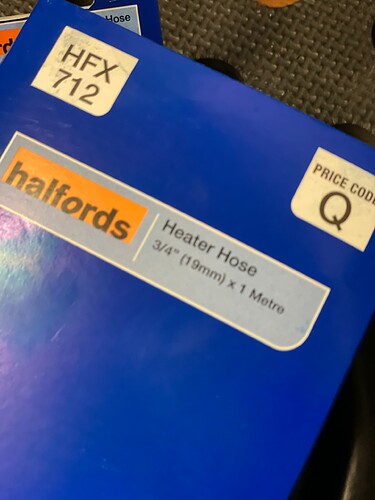
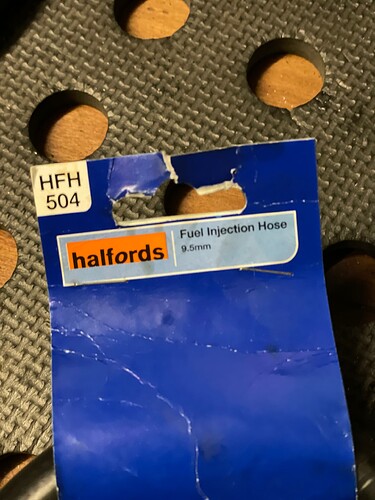
- Realised I hadn’t fitted the hose to the expansion tank. Wasn’t happy with the hose sizes I had bought as they were too big. Went to Halfords again and bought the correct hoses.
- Fitted those hoses.
- Refitted front bumper
- Refitted undertray
- Refitted wheel arch liners
Some pics
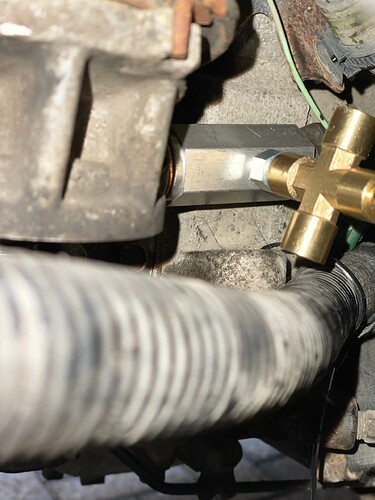
Oil adapter into standard oil pressure switch location.
And with the t-piece and the oil feed hose heading up towards the top of the engine.
I replaced this setup with an AN4 to AN4 hose and used an AN4 to 1/8NPT adapter straight into the side of the Oil Pressure switch adapter. - less to leak!
The 2 water hoses I should have bought right the first time around….
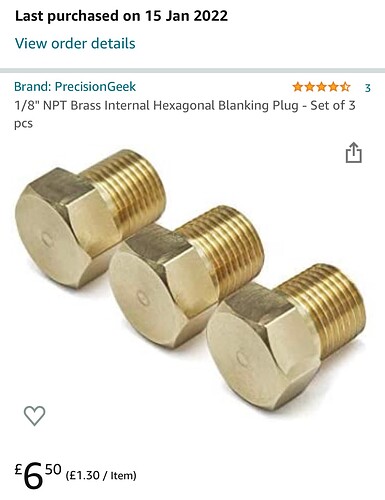
One thing I did not even think about was that the t-piece adapter for the oil pressure switch has multiple ports in it so that 1 can go to the turbo (I am using that) and there are 2 other spare ports for things light oil pressure gauges etc - but no blanking screws for those holes came with it.
I went to Halfords, Wickes, Homebase and Screwfix…… no joy as it’s an 1/8 NPT thread. Lucky we have Amazon prime then:
Depending on when they arrive tomorrow I will refill it with Oil and Coolant. Then hopefully pump some oil up to the turbo before plugging the coil packs back in.
I changed the way the oil feed to the turbo is done and no longer use a T piece adapter so these bungs aren’t used. The reason for this is I don’t plan to run an external oil pressure gauge and wanted less opportunity for leaks.
Not much I can do while waiting for those blanking bolts - so started a nut/bolt tightness check on everything I have had apart.
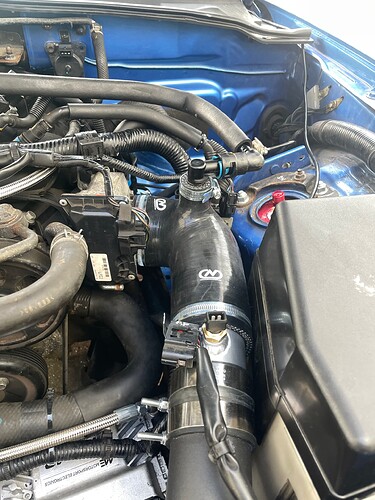
Also mounted the new Cosworth Style 3 bar MAP sensor to an existing hole on the bulkhead and screwed in the Inlet Air Temp sensor to the intake pipe of the intercooler pipework.
You should be able to see both in the pic below:
I also refitted the front bumper, undertray and the wheel arch liners. Nothing exciting to show just a bunch of screws and clips.
I spent another 2hrs on it this afternoon.
- The water coolant pipe that comes up from the back of the engine into the expansion tank is not budging after getting all the access and leverage I could.
So I improvised - cut the metal pipe and joined the new hose to that.
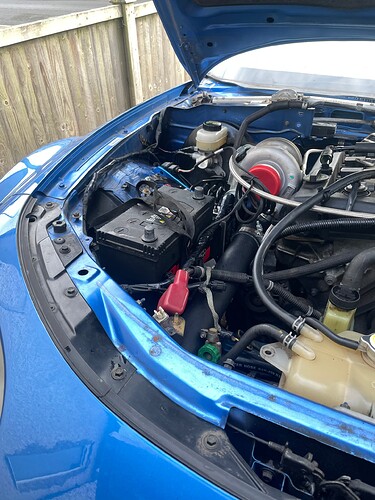
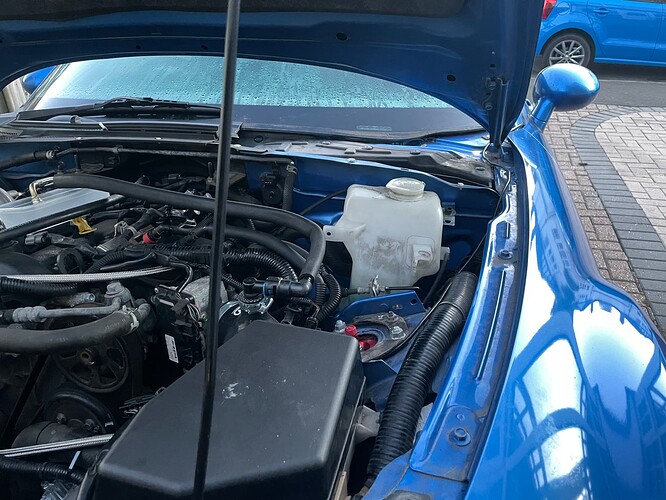
- I looked at the battery location - which will go where the windscreen washer bottle is normally.
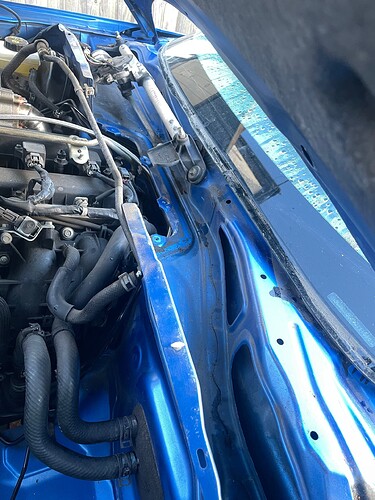
- While I had the scuttle covers off I used the remnants of the universal intercooler brackets to make some simple mounts for the windscreen washer bottle up by the heater inlets.
The 1/8 NPT adapters arrived but it’s too dark to fit them today  - and the battery is flat.
I will probably buy a new battery that is a better size for its new location but aim to find one with similar performance.
One change for this upcoming week is I will be re-routing the pipe from the cam cover breather to either the intake pipe between the air filter and the turbo, or more likely into a vented catch can.
this change is directly as a result of helpful feedback from this forum. As Robbie Williams once said ‘ I will talk and Hollywood will listen’ - albeit in reverse in this case
Loving the ‘CAD’, something that should have been done when my turbo was fitted but wasn’t which is why there is a small upward dent in my bonnet to make space for the top of the turbo. 
I am seriously looking at the kraken manifold myself, though there might be some complications that I am trying to work out.
Now you have fitted the manifold PDQ, I was wondering if you could give an estimate to the distance between the manifold to turbo flange and the bonnet? (Max height of the turbo that could be fitted)
I will put a light under the bonnet, then place my phone inside the engine bay where it can see the top of the turbo and see if we can video the clearance when the bonnet is shut 
I still have the sound deadening pad - but I planned to remove that anyone as it’s bound to catch fire at some point.
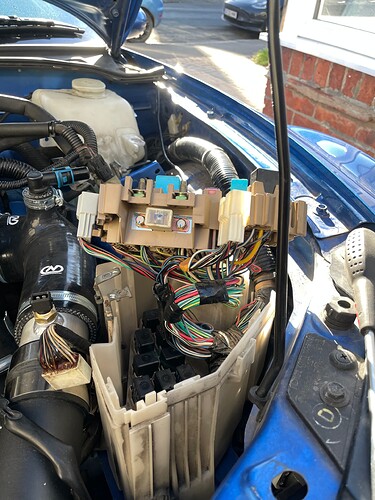
Today I spent 20mins on the car - and 30mins dicking around with the fuse box.
Productive time:
- Turned over engine to build up oil pressure with fuelling and spark turned off. Oil now flowing up to the turbo nicely.
Unproductive time:
To turn the engine over I placed my battery on the ground and connected it to the positive and negative cables from the car. I was being lazy.
However I slipped and shorted the cables and thought I had blown the main fuse. When unbolting the main fuse to look at it - the non captive nuts that are embedded in the fuse box, fell out into the bottom of the fuse box. 30mins later I managed to see them sitting right at the bottom under the lower fuse panel, so picked them up with a magnetic screwdriver and put everything back together as the fuse was fine!
Ordered a new battery (Part No, 444770381) from EuroCar Parts: Lion 038 Car Battery - 3 Year Guarantee | Euro Car Parts
If I have measured right then it will just fit in the new location and be low enough to clear the bonnet. There is a small sacrifice in CCA (cold cranking amps - present battery is 390 and now one is 330).
- Height 200mm - this fits from chassis leg up to the bonnet
- Length 239mm - this fits from abs pump to the front cross member
- Width 133mm - this fits between wheel arch to the new Intercooler pipework
Yes it fits fine.
Thanks, it doesn’t need to necessarily be the bonnet, I just need a point to measure where the turbo flange finally sits, so if the top of the bonnet is too difficult, a measurement to any relevant point that I could measure from on the mk3 and I can do the final math to give the distance.
With that said, I did just watch a video of a guy fitting this manifold with the fab9 gt kit and he has a heatshield above the turbo - which is good news for me
The reason behind the question is I swapped out an engine from a 2.3 turbo cx7 and for the kraken manifold I would need to make an adapter to go from the t25 turbo mount to the k04 turbo mount and just looking at what space there is to do that in.
I do have a question, basing your build on budget, I know some turbo mx5’s move the battery to the boot, did you consider this instead of buying a new battery, just running a live wire back to the front and making a new negative connection around the back, getting the battery tray and bolting it into the boot?
The thinking behind the battery location was:
-
The standard power cable reaches the new location fine. The standard earth lead just has to be unbolted from the cross support and re-bolted to the wing in an existing bolt location I just cleaned up with a wire brush. Zero cost and minutes to do compared with running cables through the bulkhead, under the carpets, through the rear bulkhead to a new battery box.
-
The mx5 boot is tiny enough as it is so I didn’t want to sacrifice any boot space. I want a space saver wheel in there soon.
-
I do have to extend the standard washer pump feed wires so they reach the windscreen washer tanks new location. However thats 2 small wires around the engine bay - not intruding on the cabin or anything tricky.
In terms of cost the battery was £50 from EuroCarParts as they have a sale on, with a 3 year warranty. The battery I had did actually physically fit, but it was too close to the bonnet for my liking.
I do need to cut a plate to sit under it, that I will bolt to the chassis leg. This is a simple, flat plate that just allows the standard battery securing clamp to be reused. MOT friendly also.
I was able to re-use the standard battery tray, by trimming it to fit and then bolted that to the chassis leg.
Will hopefully get the clearance video/measurements tomorrow for you.
tell me about the boot space huh… trying to do shopping in it is a pain at times. makes perfect sense you didnt want to eat up any more space there!
