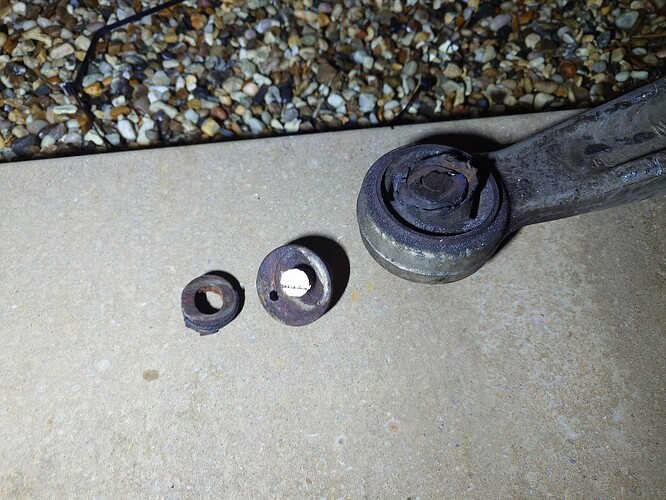
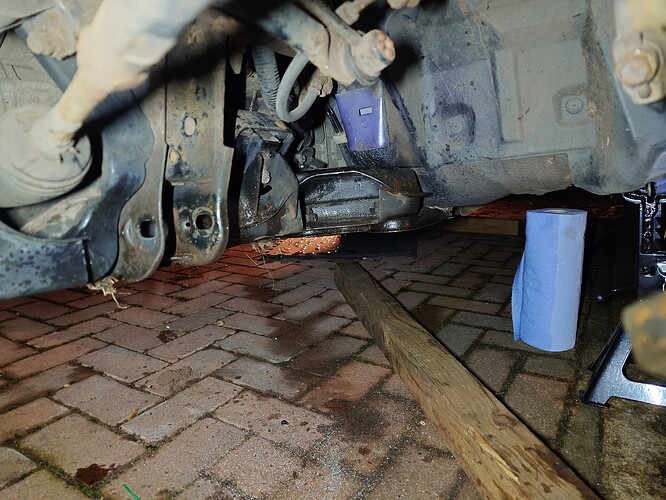
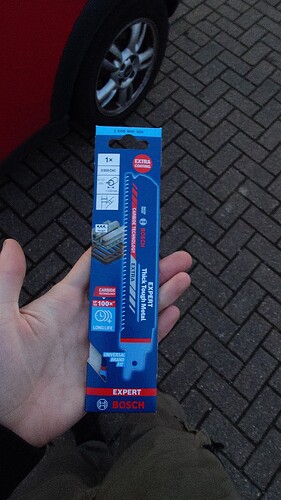
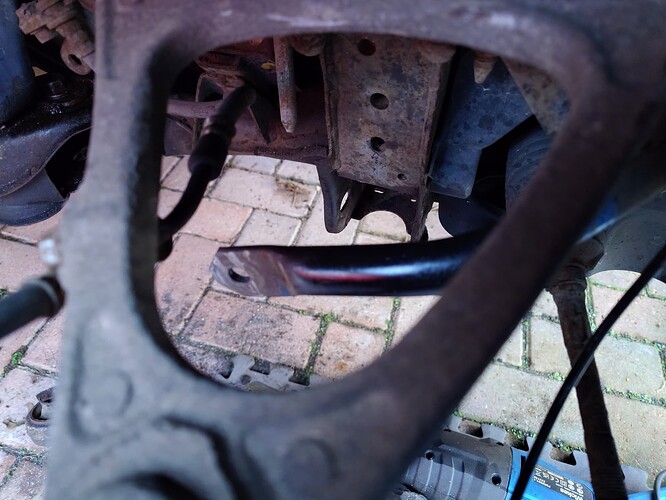
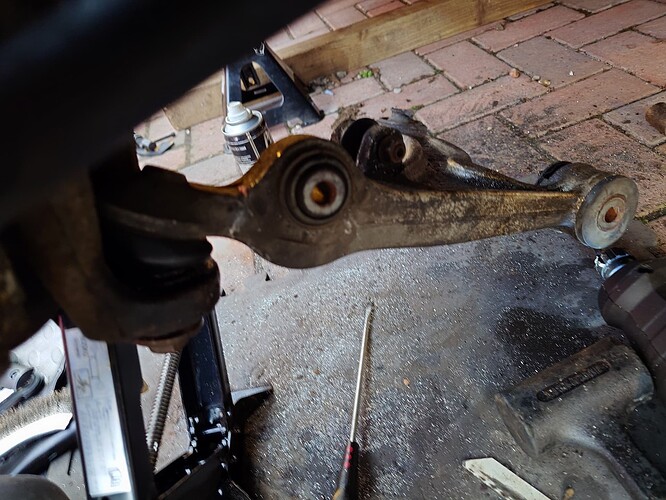
ITS OUT! Had to buy a saw but it’s finally free! New bolts have not yet arrived, so I am going to start removing the other side tomorrow.
For anyone still following this never-ending thread of me making poor decisions - the FL lower arm is fully removed and I am waiting on new bolts. I spent quite a bit of time over the weekend trying to wire-brush my existing bolts (that I didn’t have to cut) in case the new ones don’t arrive.
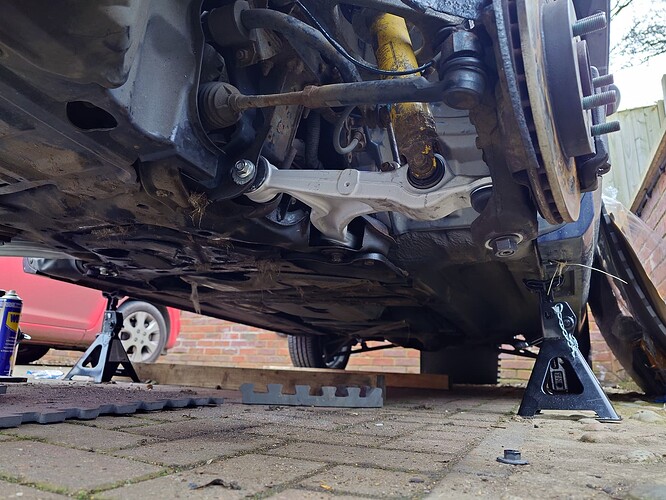
Sunday I started removing the FR lower arm. Using my new-found knowledge, progress was much quicker, and all that is left to do today is removing the ball joint bolt and cutting out the vertical bolt. I tried to do this yesterday, but it started raining a bit.
One caveat, the right end link bolt instantly stripped when I tried to remove it, so I just cut it and ordered a new one.
Tuesday I have an appointment booked (originally to have these installed) which, assuming all goes well, I will amend to be just an alignment.
Thanks everyone for their help! I will make another progress post either tonight or tomorrow.
Quick end of day update
None of my bolts arrived, meaning tomorrow will be hectic to say the least.
I was able to cut the vertical lower control arm bolt free (although the top remains) and cut/twist the last bit of my end link off.
The only thing still putting up a fight is the balljoint. Ive tried hitting it, dropping it on a jack stand, throwing it on a jack stand, threatening to cut it with the sawzall and pleading with it, but none worked. Tomorrow I’m going to buy some tuning prong things or whatever the place nearby will sell me.
I also got some black anti-rust spray paint to hopefully help prevent too much more rust (although I have my doubts it will do much.
Thank you for coming to my Ted talk.
Enjoyed your Ted talk hope you get the bolts soon, the sense of achievement when you finish will no doubt be off the scale, I doff my hat sir !
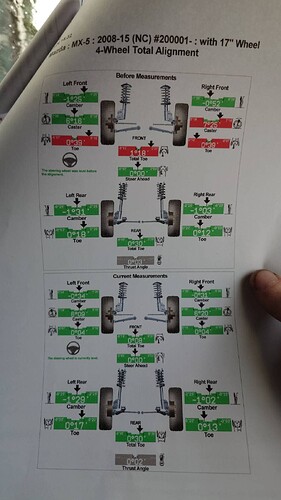
ITS DONE. Alignment will be done first thing tomorrow, and I will also have them check my work.
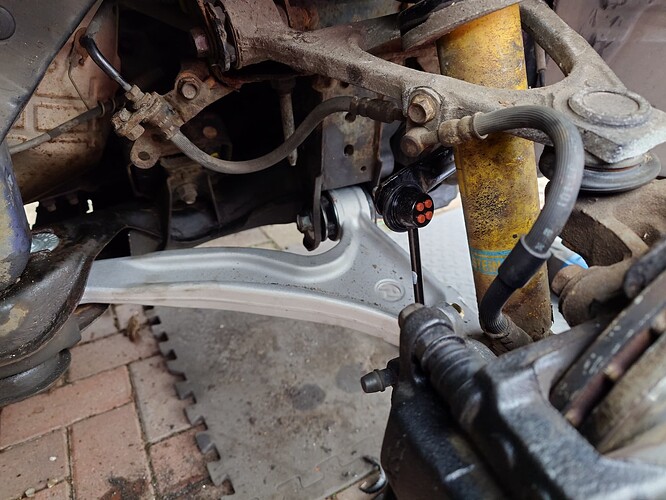
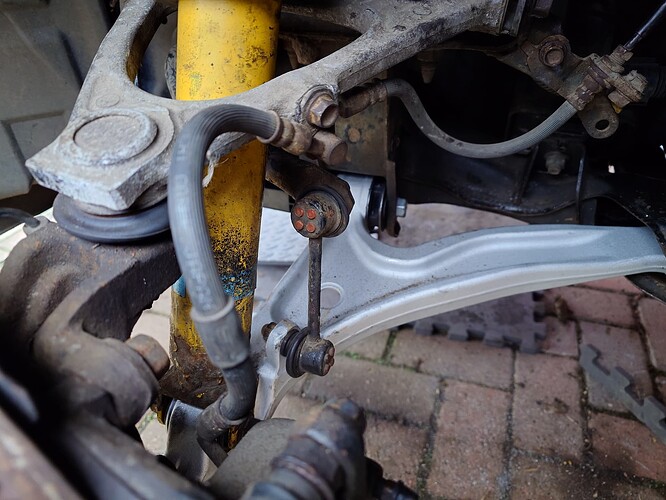
I put alot of copper ease on all the bolts as I put them in. The only issue was that one of my new arms did not come with a nut for the balljoint, but luckily one of the others worked (although not the one that was on the old balljoint. I don’t love that, so I am looking for the correct one to order.
Some photos below, I waited until both tires were on the ground to tighten everything, and took it for a 20 min test drive to the MK meet. Only 1 scary clunk when parking!
Don’t forget to clock all the bushings (meaning tightening all bolts with the suspension loaded up) ![]()
Yep, made sure that the car was fully loaded before tightening everything!
Its in the shop today getting final sign off or maybe a “how did you manage to ■■■■ this up so badly”. Will know this evening.
Car is officially aligned!
The only flag they had was that the FL caliper is seized (which I already knew)
I am not sure I’d necessarily recommend this as a DIY project, but reading that would not have stopped me before. Instead, here is what I would recommend if you are going to do this.
- Buy all the bolts and nuts! I naively figured I would be able to reused mine, so had to panic order them on eBay halfway through.
- If you do not already own one, get a reciprocating saw (sawzal) and a CARBIDE blade. I used 7 “metal” cutting blades and didn’t even get through half a bolt. The carbide one ate right through everything without an issue. I got a wired saw from Wickes for £45, and it worked totally fine.
- If your shocks start expanding even with the lower control arm all the way down, remove the upper control arm and take the shocks out entirely.
- Give yourself way more time than you think you need. In total, this project took me 7 days, working an average of 4 hours a day after finishing my job.
- Having a ball joint popper, splitter, etc was extremely helpful for one of mine which just would not release itself.
- Put the car back on the ground (both sides) before tightening everything up.
Below is a mostly complete list of the tools and supplies I used.
- Breaker bar (duh)
- Sockets from 10mm - 19mm (assorted drive sizes)
- 3 different size ratchets
- An adjustable pipe wrench
- Wrenches from 10mm - 19mm
- WD40, Copper Ease, and Fast Release
- 2x Jackstands
- The jack that comes in the car (Wouldn’t recommend this as it takes forever to get it up and down)
- Assorted screwdrivers for prying
- Hex key set (I think sizes 4, 5, and 6?)
- Wheel chalks (I used 4x4 beams I had)
- Rubber mallet
- Reciprocating saw (AND CARBIDE BLADE, I CANT STRESS THE CARBIDE BIT ENOUGH)
- Wire brush
- Lots and lots of paper towels and latex gloves
And finally, here are the videos and guides I found helpful
https://www.youtube.com/watch?v=XSmahsTd5Js - Removing upper control arm
https://www.youtube.com/watch?v=y-GxmcQ4nbA - Replacing Lower Control Arms (where he says get a saw, which I promptly ignored and regretted)
That second video is a really good one ![]()
Sorry to be that guy, but some of your side to side figures on the alignment are not close enough. The front camber and caster are way out. I would take it back and ask them to do it again.
Thanks for sharing this. I’m doing a full suspension change including bushes and found this thread useful.
I’ve bought replacement castor alignment bolts as my alignment guy advised one of them has seized, but I’ve not bought any other replacement bolts which, having read your thread, might be a tad optimistic.
Didn’t get an email notification for this for some reason! Which ones should I be asking them to redo, and roughly to what measurement?
My bad mate. The device i was viewing the picture on didnt show it all, I only saw the top part ![]()
You are looking good, bet it feels a lot better ![]()
Haha! That makes a lot more sense. I only drove it about 25 miles on the “before” to make sure everything was secure and it was not very nice. Kind of felt like it was pulling in very direction at once
Depending on how rusty/coroded they look, you might be ok!
I was able to reuse the ones holding my shocks, and the ones in the upper control arm seemed almost new!
I added a new coat of copper ease to everything, so hopefully that helps them for seizing up.
You’ll DEFINITELY want the caster AND camber bolts, nuts and plates. My camber bolts did actually come out, but after spending the better part of an evening trying to clean them up, I gave up and ordered replacements (except caster plate and nut on the left as I wasn’t paying attention when ordering).
They are so much smoother now!
My last recommendation is probably more general, but I found this project extremely frustrating at times and would sometimes start things that later made my life more difficult (purchasing spring compressors, trying to pry some bits off, etc). What I did for the second half of the project was just take a break, or work on another bit.
@FRyan Thanks for your reply. Yes, it’s going to be one of those jobs where the car goes up on stands and stays there until it’s done. My mx 5 is my daily, so I’m just waiting until it gets a bit warmer, and hopefully drier, before starting work. At least then cycling into work will be more enjoyable.
No doubt there will be a few “while I’m there” jobs to do too!
I enjoyed this
Glad you got it done ![]()
![]()
Thanks both!
Can’t say I would be eager to do it again, but I am still glad I did it. Currently procrastinating doing my diff and transmission fluid.
