- My model of MX-5 is: Mk 3 2006 2 litre
- I’m based near: Bristol
I have just finished a suspension job on my Mk3. I had noticed the rusting of the rear suspension struts, and thought I could save any further damage. The bushes were also looking perished around the edges; this proved to be a good call as I found two had rubber detached from the steel. I decide to use Polybush after some online research and a chat with a rep at the Resto Show. I researched as much as I could in general and specific to MX-5, and I gathered that it might be a “difficult job”. So I though it might be good to report a few things I noted as I think it will take me less than 100 hours next time.
Don’t forget this is my experience and you use it at your own risk.
“Highlights” included:
A reciprocating saw is very useful
2 bolts were seized to aluminium rear hub*
2 bolts were seized into steel bushes*
Ball joints were all released by tapping the ends of the studs
I broke an upper wishbone while removing bushes by pushing too hard between the two bush eyes
15 drills were broken or worn out
The rear links looked pretty good in black hammerite
Most rubber bushes can be cut out with a jig saw
Smaller bushes with metal end caps were heated and pushed out with make-shift press
Steel shells were cut and knocked out of aluminium wishbones to allow Polybush to be pushed in
Most Polybushes could be pressed in by “hand” when well lubricated
A bench vice is sufficient for the “bobbin” shaped bushes, or another make-shift press
Watch out for alignment of bushes as there are very few instructions
Upper wishbone ball joint taper must be closed to turn the nut
I replaced some of the cut/drilled bolts with ISO metric 10.9 bolts
There is plenty in the basic Haynes manual to follow generally so my observations here are additional discoveries.
The photo shows the full set of tools I used.
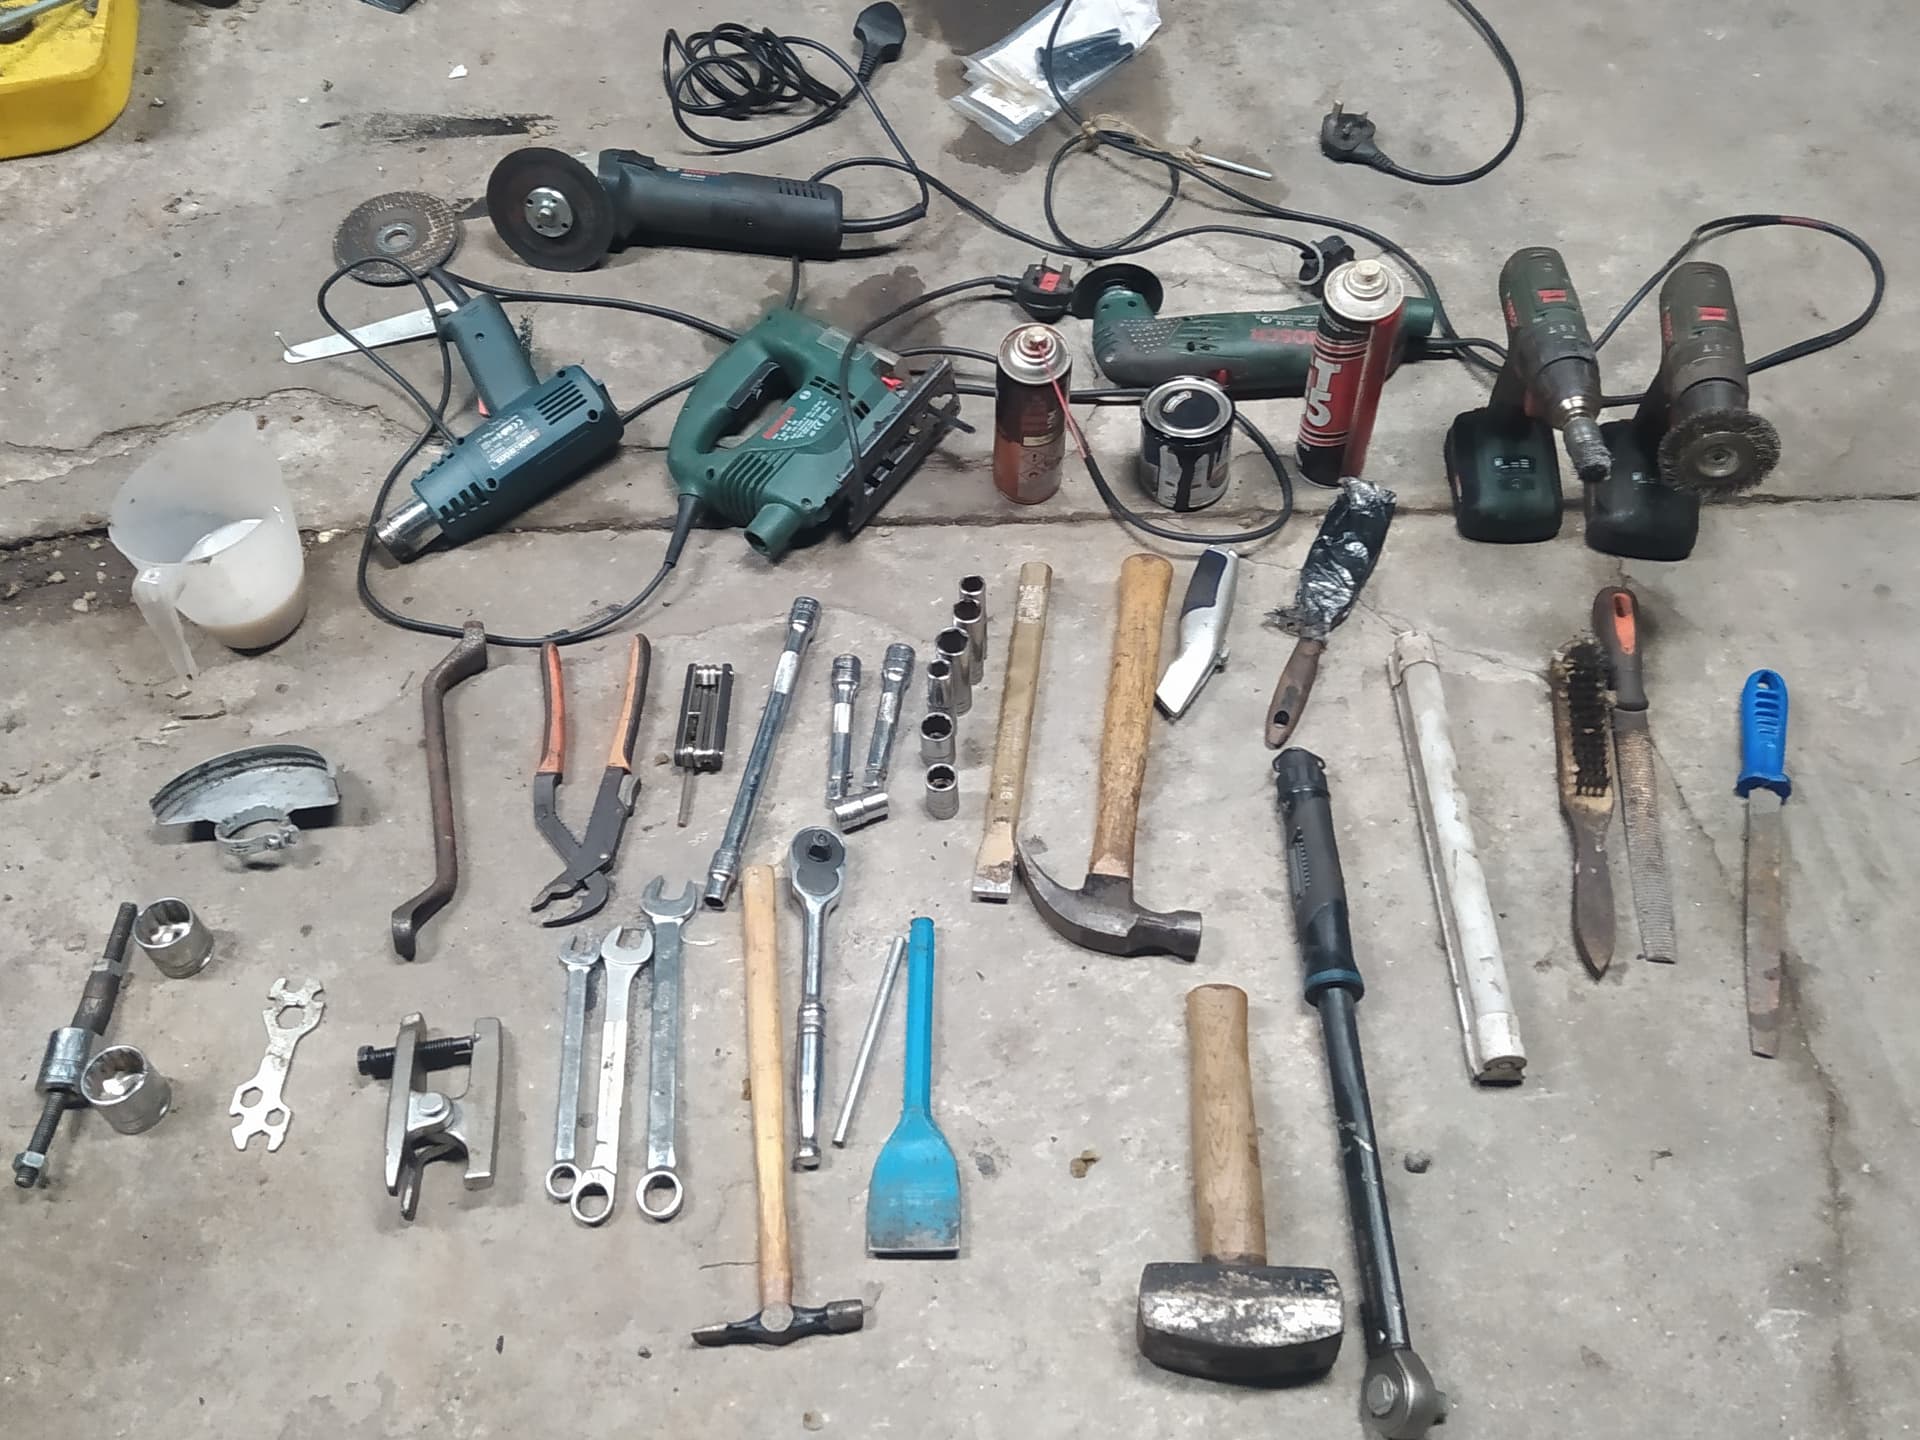
The collection of large sockets, 12mm threaded bar and two old hole saws with the teeth ground off were used to make the make-shift presses and pullers, along with the bench vice.
That is a bicycle spanner; it was very useful to hold some nuts in very awkward positions.*

Note the guard taken off the angle grinder. There was too little space to allow it so PPE and care had to be used instead. However the guard itself was a useful press spacer until I found the old hole saws.
The deep hexagonal sockets were also useful in a number of locations where a standard socket was too short and the usual short extension is too long.*
After earlier efforts, I slackened all nuts/bolts that were going to removed before I actually removed any. This gave a quicker picture of where problems lie, and the need for replacement nuts/bolts/washers. Some nuts also become very difficult to release once the support of the other struts/wishbones was removed. This also applies to releasing the ball joint studs, except for the upper wishbones (see below).
I tried a ball joint splitter unsuccessfully and ultimately all the joints released nicely with “tap” from a hammer. I left the nuts on, and the tap was quite “firm”.
I found that the front spring-damper units had to be removed to enable the rest of the disassembly. Each had to be removed at the same time as the upper wishbone and refitted at the same time.
The front upper wishbone ball joint stud had two issues:
First, the nut is secured with a split pin and rust prevented this from being removed in any normal way, so the ends had to cut and the remains filed away to allow the nut to travel over it.*
Second, the stud spins when you turn the nut unless the taper is pushed home to provide enough friction, so don’t knock the taper out until the nut is nearly off the stud.
Both the pinch bolts holding the ball joint end of the rear toe control link were seized, a typical aluminium-steel problem*. I did not have the reciprocating saw so used a grinder to remove bolt sections, then still had to drill a lot of bolt out before the remainder could be knocked out. I replaced the bolts with 10.9s.**
One rear alignment adjuster bolt was seized into its bush but the layout allowed an angle grinder to be used to cut the bolt inside the chassis mounting at each end. It was replaced with an OEM kit.
Similarly one of the rear inboard non-adjuster bolts was dealt with in the same way but replaced with a 10.9 bolt washer nut package**
The front camber adjusters are vertical in the chassis and positioned deep into the supporting member, with poor access to the top of the package. The nearside came out easily; the offside was seized solid. The bush is much deeper than the wishbone, so a reciprocating saw can be introduced relatively easily, unfortunately I didn’t have one, and tried to drill the bolt away from the bottom, consuming a number of drills, and finally finishing the remaining metal using a hand saw. This was replaced with OEM package.
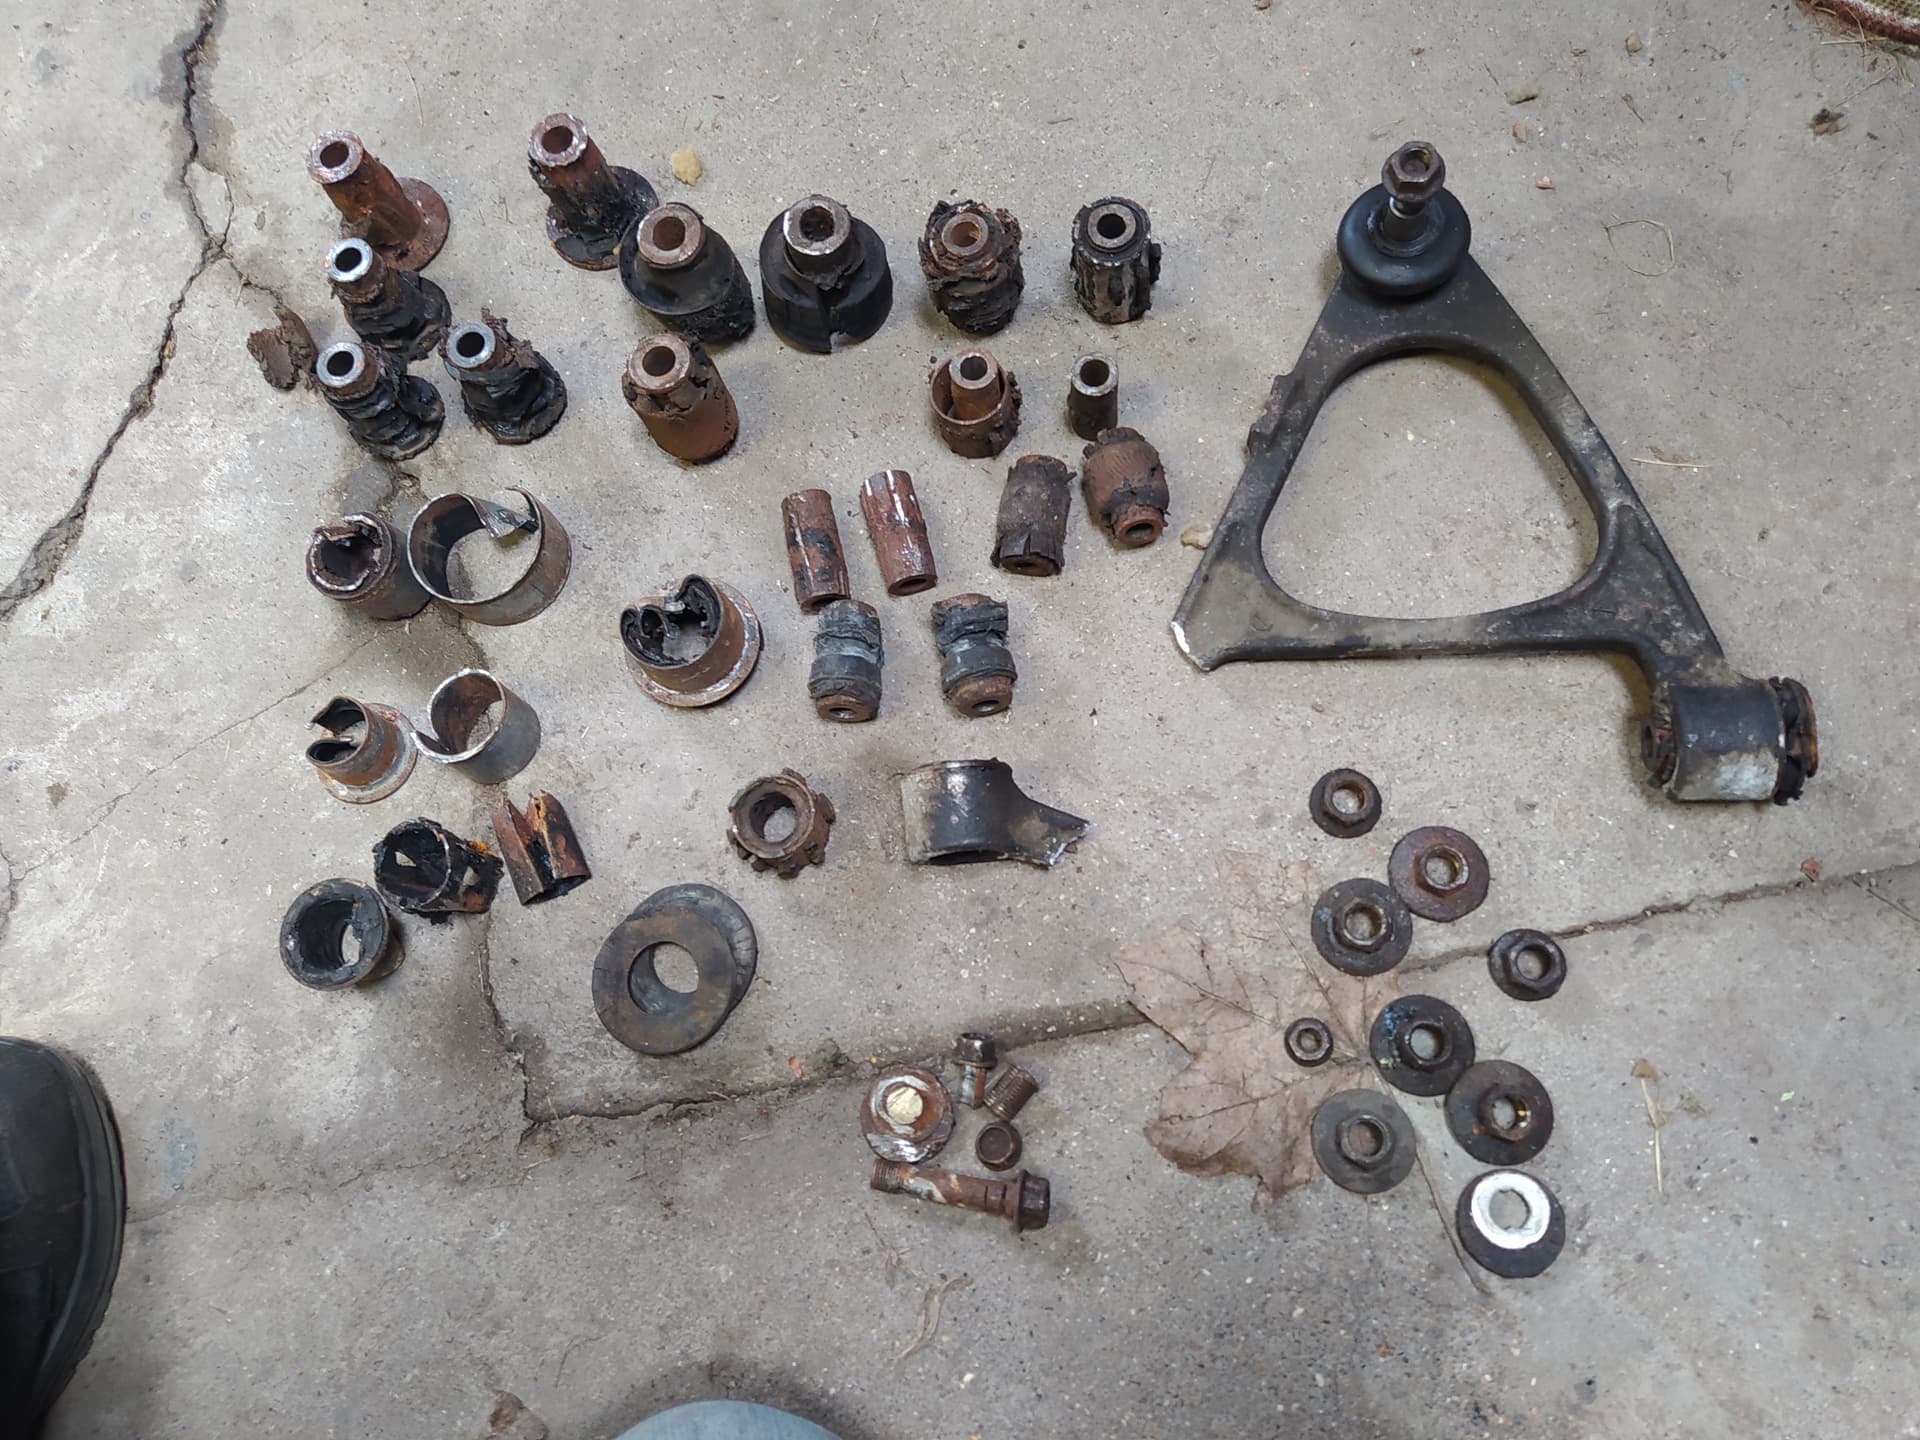
I tried many methods to remove the old bushes. I wish I had known the following when I started.
Most strut bushes and all the lower wishbone bushes were most quickly removed by drilling adjacent holes through the rubber between the steel tubes and the outer shell, so that a jig saw blade can be inserted, then cut around with the jigsaw. I found a 5mm wide coarse tooth blade worked well. The saw jumps around a bit, it overheats and it gets bent, but carries on doing the job. Some may break. I suggest thorough PPE. I think a hot knife might be another alternative; you need something like a thin steak knife.
The upper wish bone bushes, the rear hub mounted bushes and the lower wishbone forward bush were removed by heating to rubber melting point and to expand the aluminium, then pressing out with a threaded stud-spacer and nut arrangement; see photos of my efforts. I got in trouble here,
breaking one of the wishbones. More heat and less pushing was the answer but unfortunately I can’t quantify. Luckily I was able to get a second-hand one, with bushes removed, for £25 and next day delivery!

The 10 wishbone bushes have steel shells against the aluminium. I tried fitting the Polybushes without removing them and they were obviously too tight. So I removed them. I cut through the shells radially adjacent to the thickest aluminium section. I nicked the aluminium almost every time, so I wanted to be in a location with low fatigue stress. I then folded the edges of that cut in with a drift (screwdriver, chisel, etc.), and eventually the shell would start to come out of the hole and could then be tapped through. I dressed out the saw nicks and drift marks (stress raisers), especially at the edges.
The rear links were drill wire brushed and a coarse file was run over them to remove the deeper patches of rust. Then they were immersed in the rust remover EVAPO-RUST for 24 hours though the temperature was too low for full effect. On removal, washing and drying, I still needed to run the wire wheels over each again.
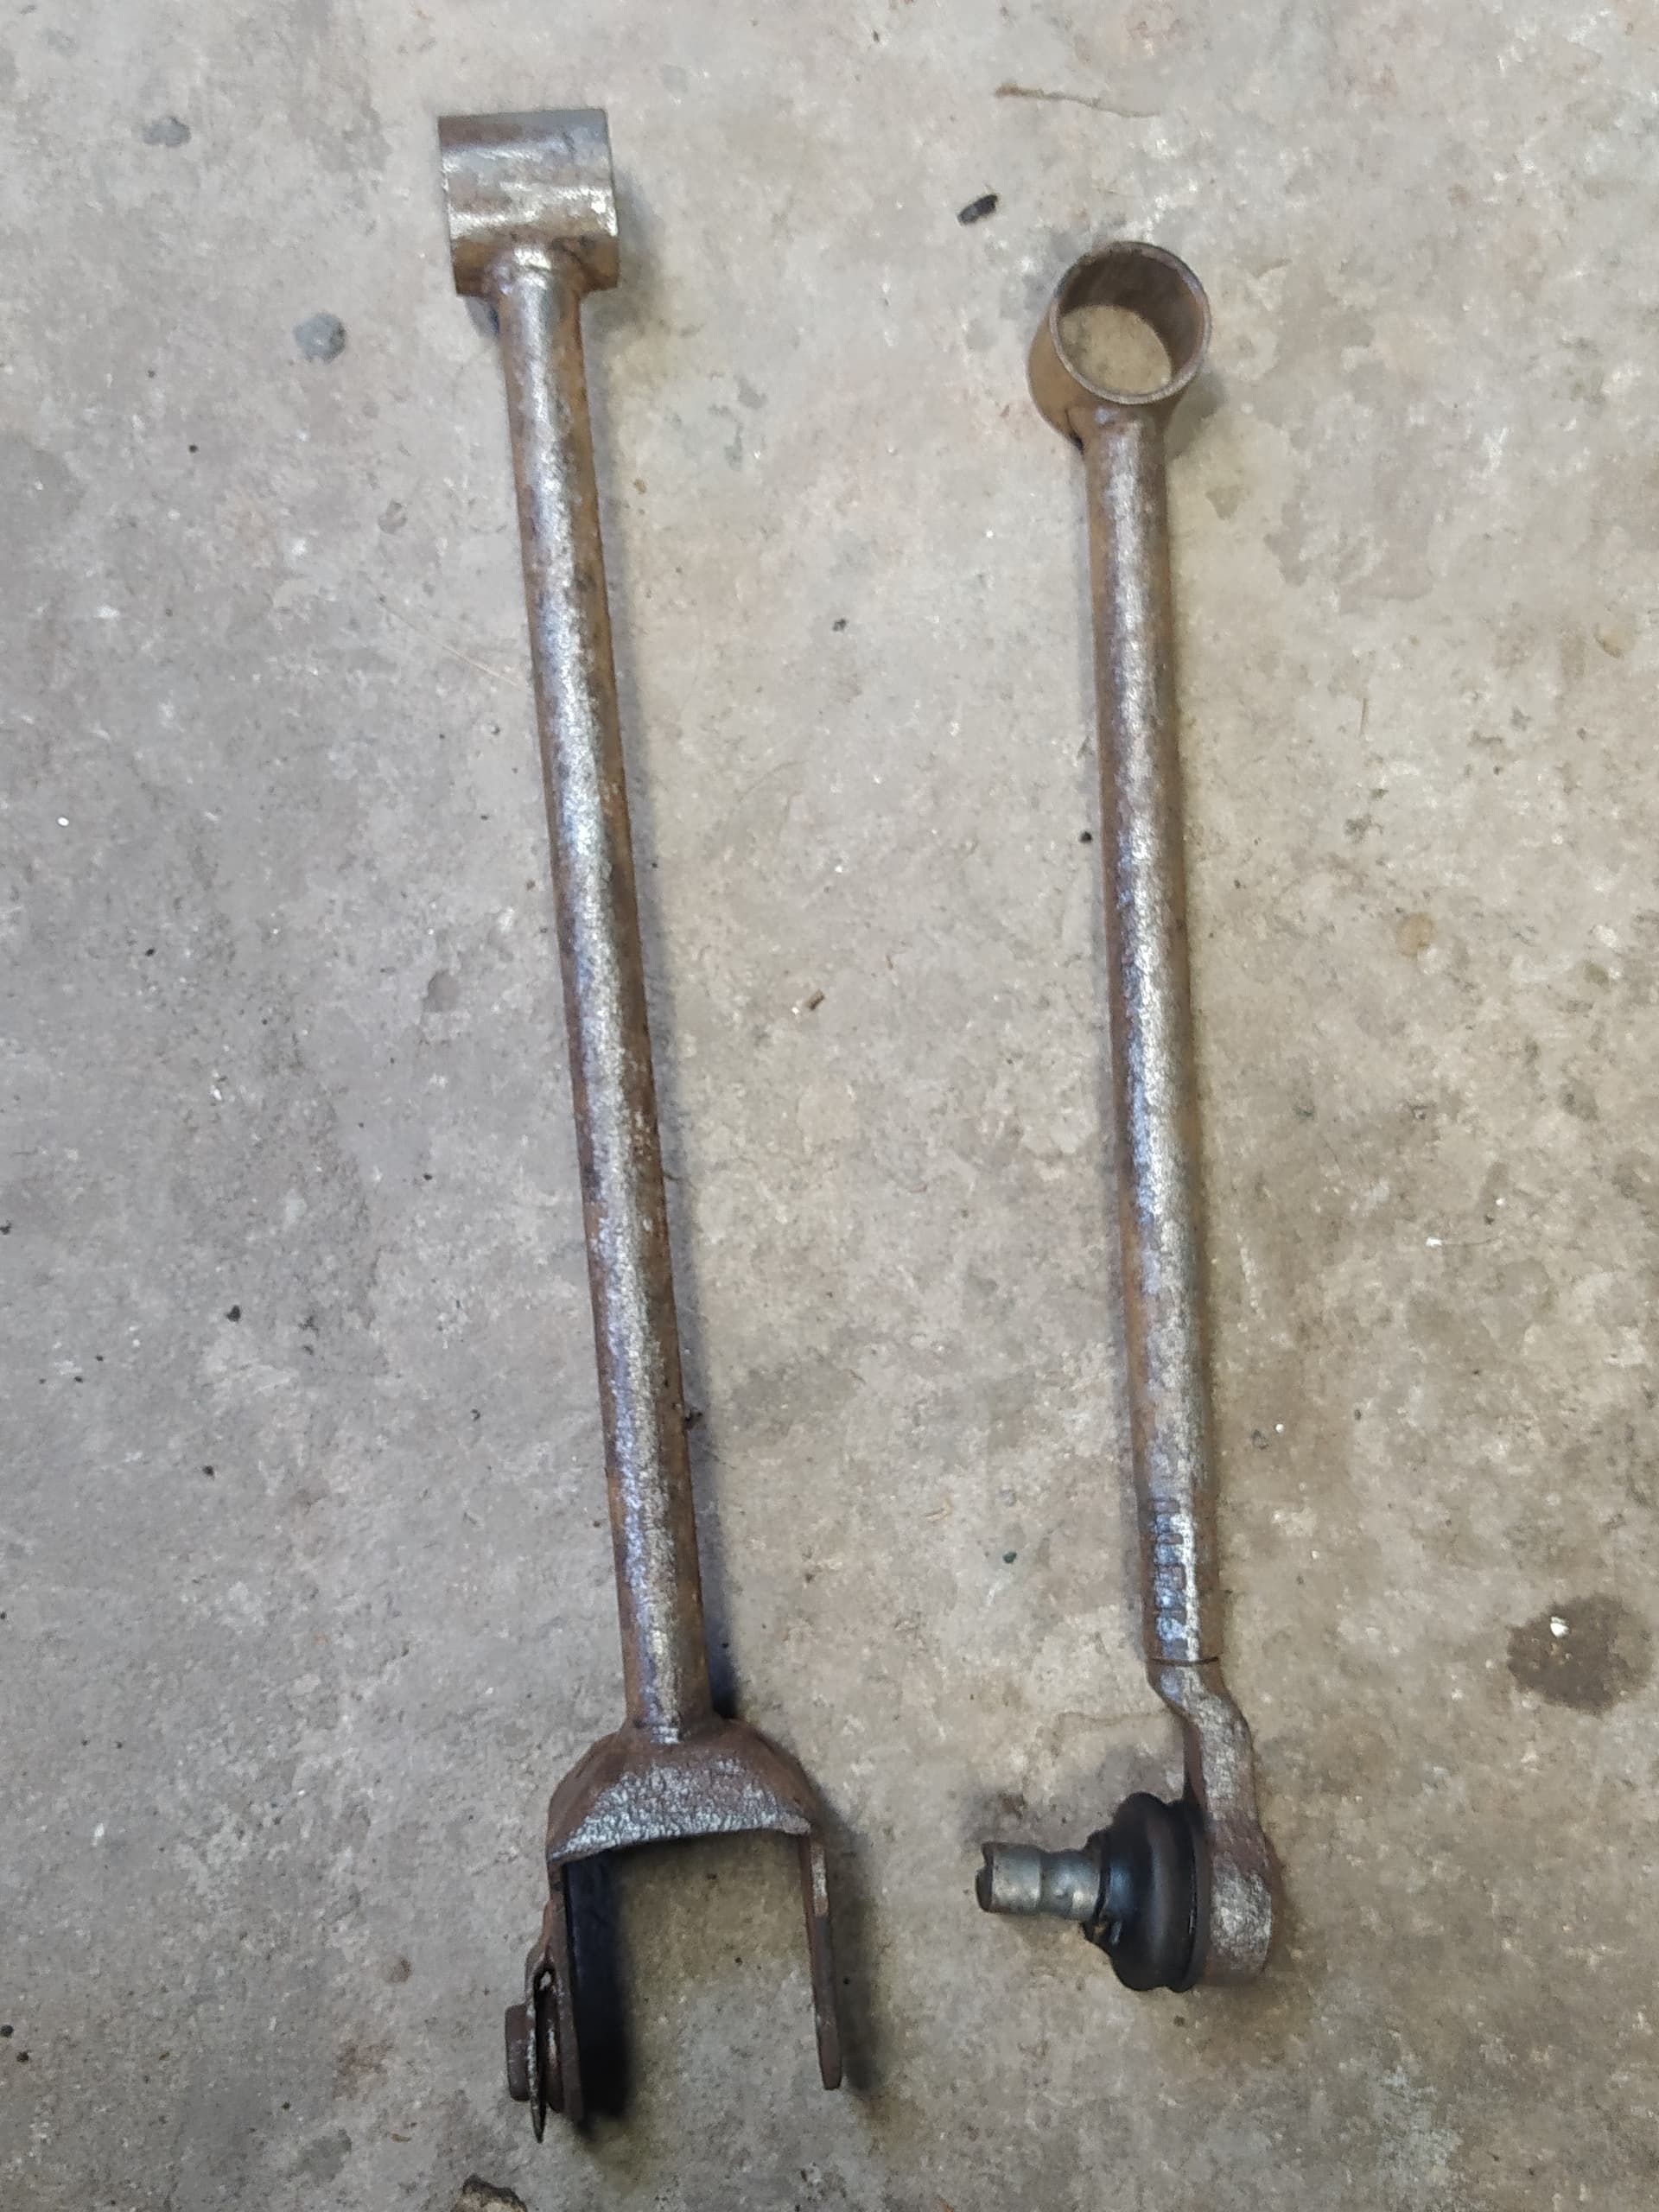
Finally, I applied 3 coats of black hammerite.

I found that I could push most of the Polybushes in by hand if well lubricated, finishing off maybe by standing on them, or using the bench vice with a hollow spacer. I used two worn out hole saws with the teeth ground down for the larger bushes and sockets for the smaller ones. The “bobbin” shaped bushes required the vice or a make-shift press to start them, though Polybushes provided a reasonable taper to lead in. There are alignment issues to watch out for: on the lower wishbone shock absorber mounting, the flanges of the bobbin are contoured and only fit in one orientation, and the rearmost bush must have the text on top with the alignment arrow fore-aft because of the slotted hole in the steel bush. There is an instruction on the Polybush website for this that was not included with the set. In other locations, emulate the arrangement of the OEM bushes.
All bolts were sprayed with copper grease to prevent seizure, though I am thinking that cling film would be a good idea.
I reassembled each suspension system with everything hand tight, then torqued the nut/bolts without Polybushes, then jacked the hub up to the correct ride height. I noted that this can lift the car off the axle stand.
The rear struts could be replaced in any order except that the upper trail link should be replaced before the lateral link, otherwise I couldn’t get the hub end fitted.

I replaced the lower wishbone first without the shock absorber, supporting the hub on a box
For the upper wishbones, I tapped the taper back in place before I started tightening the nut to prevent the stud rotating. I found that one taper would tap back into place and stay there, but the other would jump out as soon as I started to turn. I had to hold the latter in place with a G clamp; see photo.

I then popped down to Lee at FMC in Bristol for alignment, who does a great job and suscinctly tells you about it. Then I put a few miles on the clock before rechecking tightness on all the bolts/nuts.
A job well worth doing; I wish I had known some of the above and I might have finished it in a week!
*There seem to be so many difficult access points and poor choice of adjacent materials that I can only assume that Mazda’s design team missed the “Design for maintenance” courses
**Others may want to stick to OEM fasteners. I am very familiar with fastener selection from my previous career, and where reasonable will replace automotive bolts with metric ISO structural bolts, which are stronger, offer a range of surface treatments, and have bigger heads, and nuts.