Hi all,
Me again! Following on from Tinker Project #1 it’s time to write up project #2!
Behind the seats:
- Replacement seatbelts and pre-tensioners, re-webbed in red.
- Replacement hood drains (original valves broken by previous owner)
The Tools I Needed:
- 10mm, 14mm sockets
- 18 inch breaker bar
- Penetrating oil
- Torque Wrench
- Hex and JIS screwdriver heads
- Trim removal tools
- Long nose pliers
Step by Step
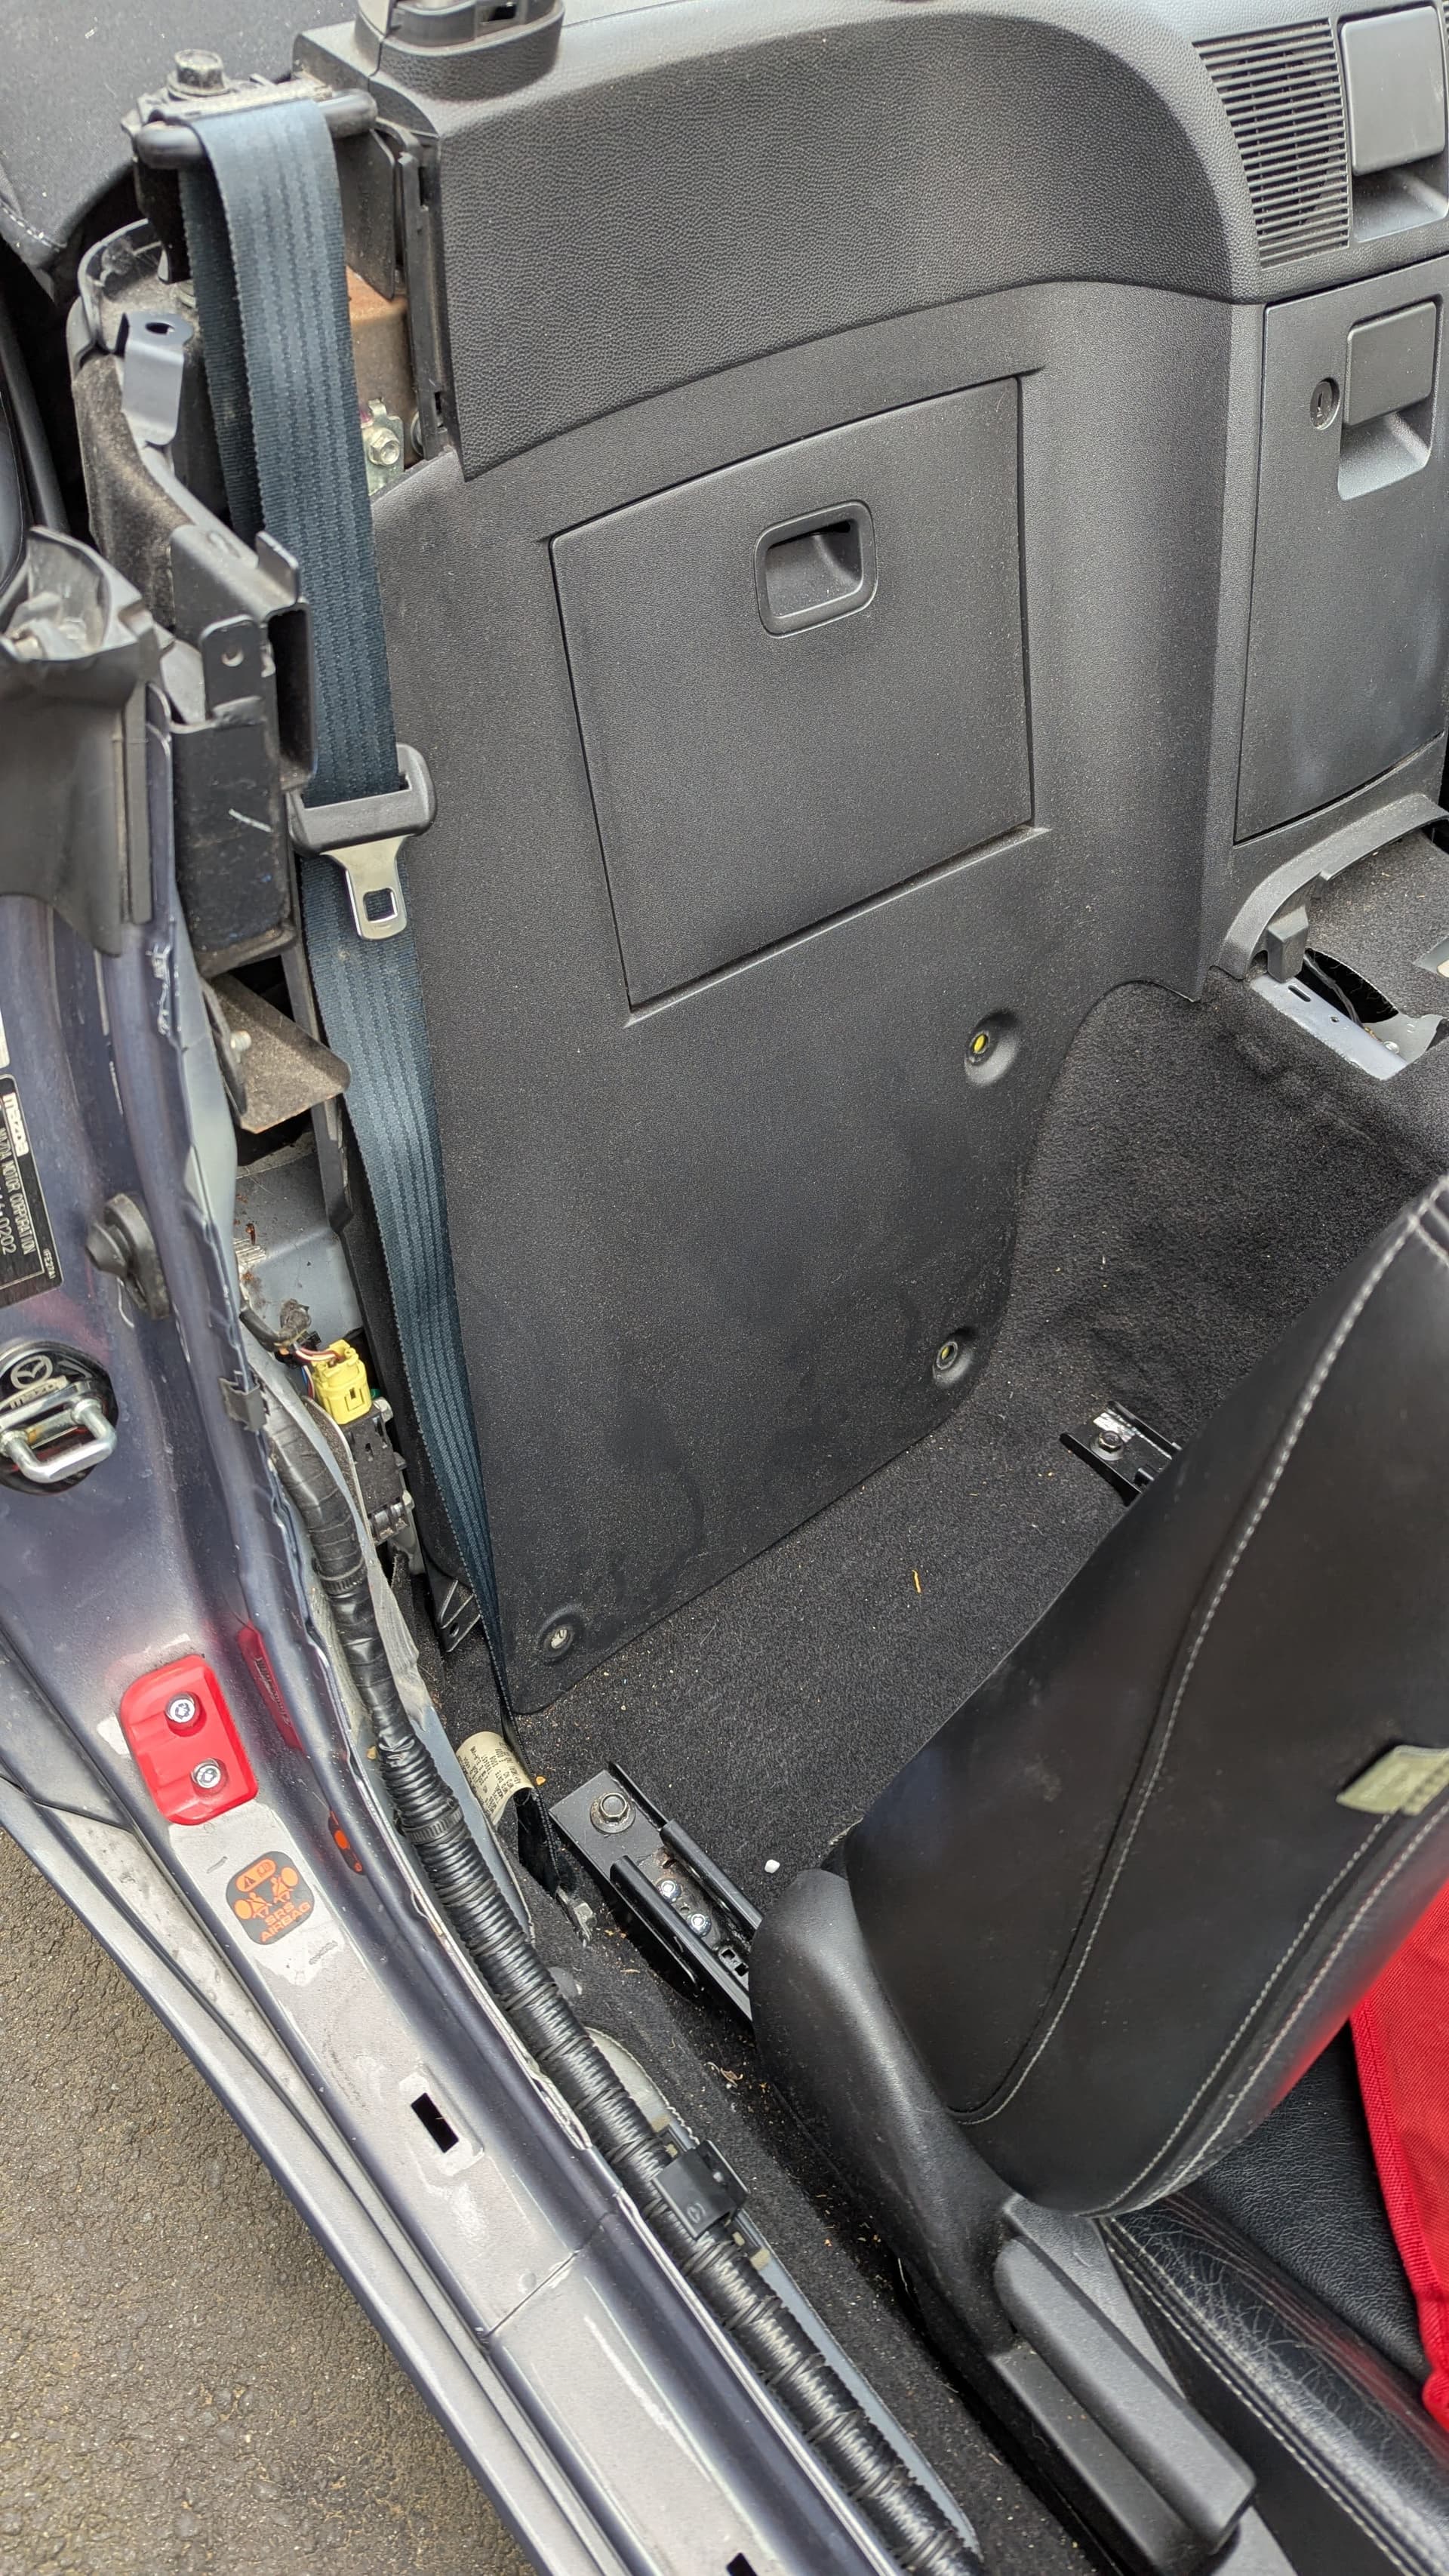
- Removing the plastics
Another term for this would be “getting at the B*****s”. A number of YT videos describe removing the side plastics only to gain access to the pre-tensioners and the drains behind. Like this:
Don’t.
You will shortcut having to remove the back plane of plastic, centre console and the seats. However, you will lose more time faffing with angles and cutting up your hands, than getting the job done. Follow your trusty Haynes Manual instead and go ahead and dig all that out.
Start with the centre console (5 screws, 2 under the coin tray at the front, 2 under the panel at the rear, 1 under the foremost cupholder, then unclip the window switch). This video is handy to show you:

Then, starting with the sill covers on either side, remove the plastics, moving rearwards. Don’t worry too much about the plastics and the clips, just go slowly and gently and they will be fine.
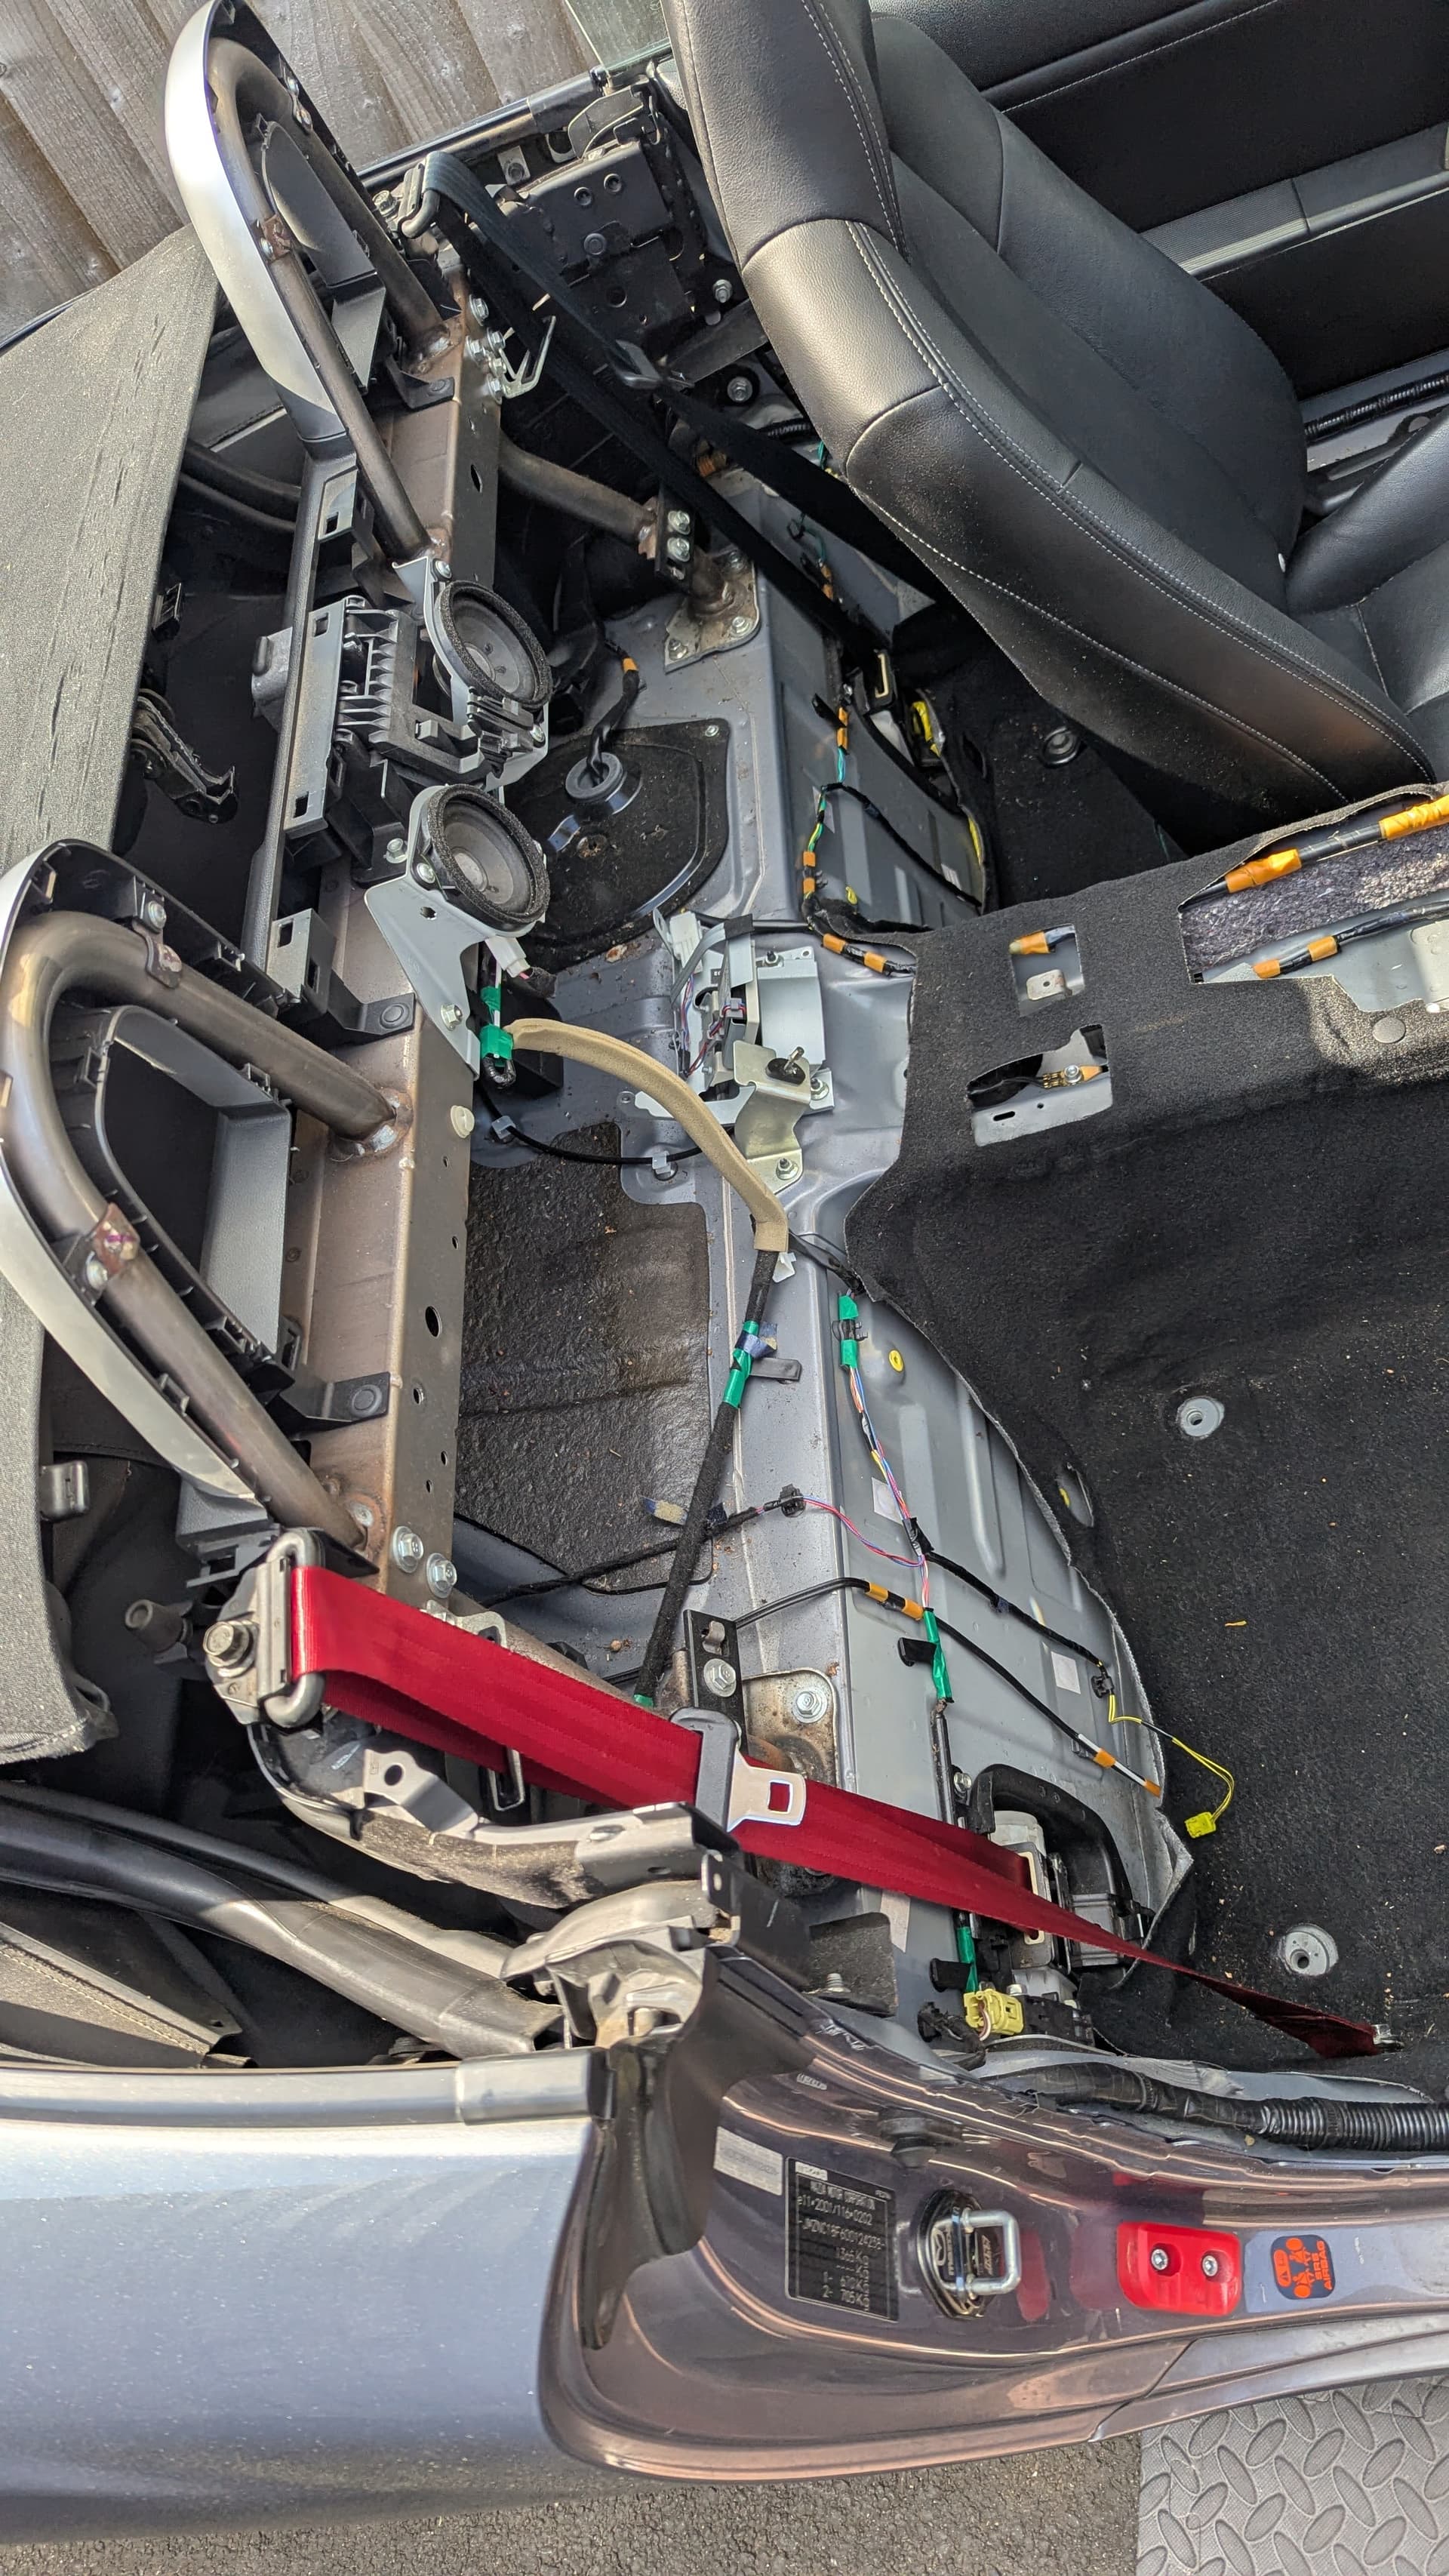
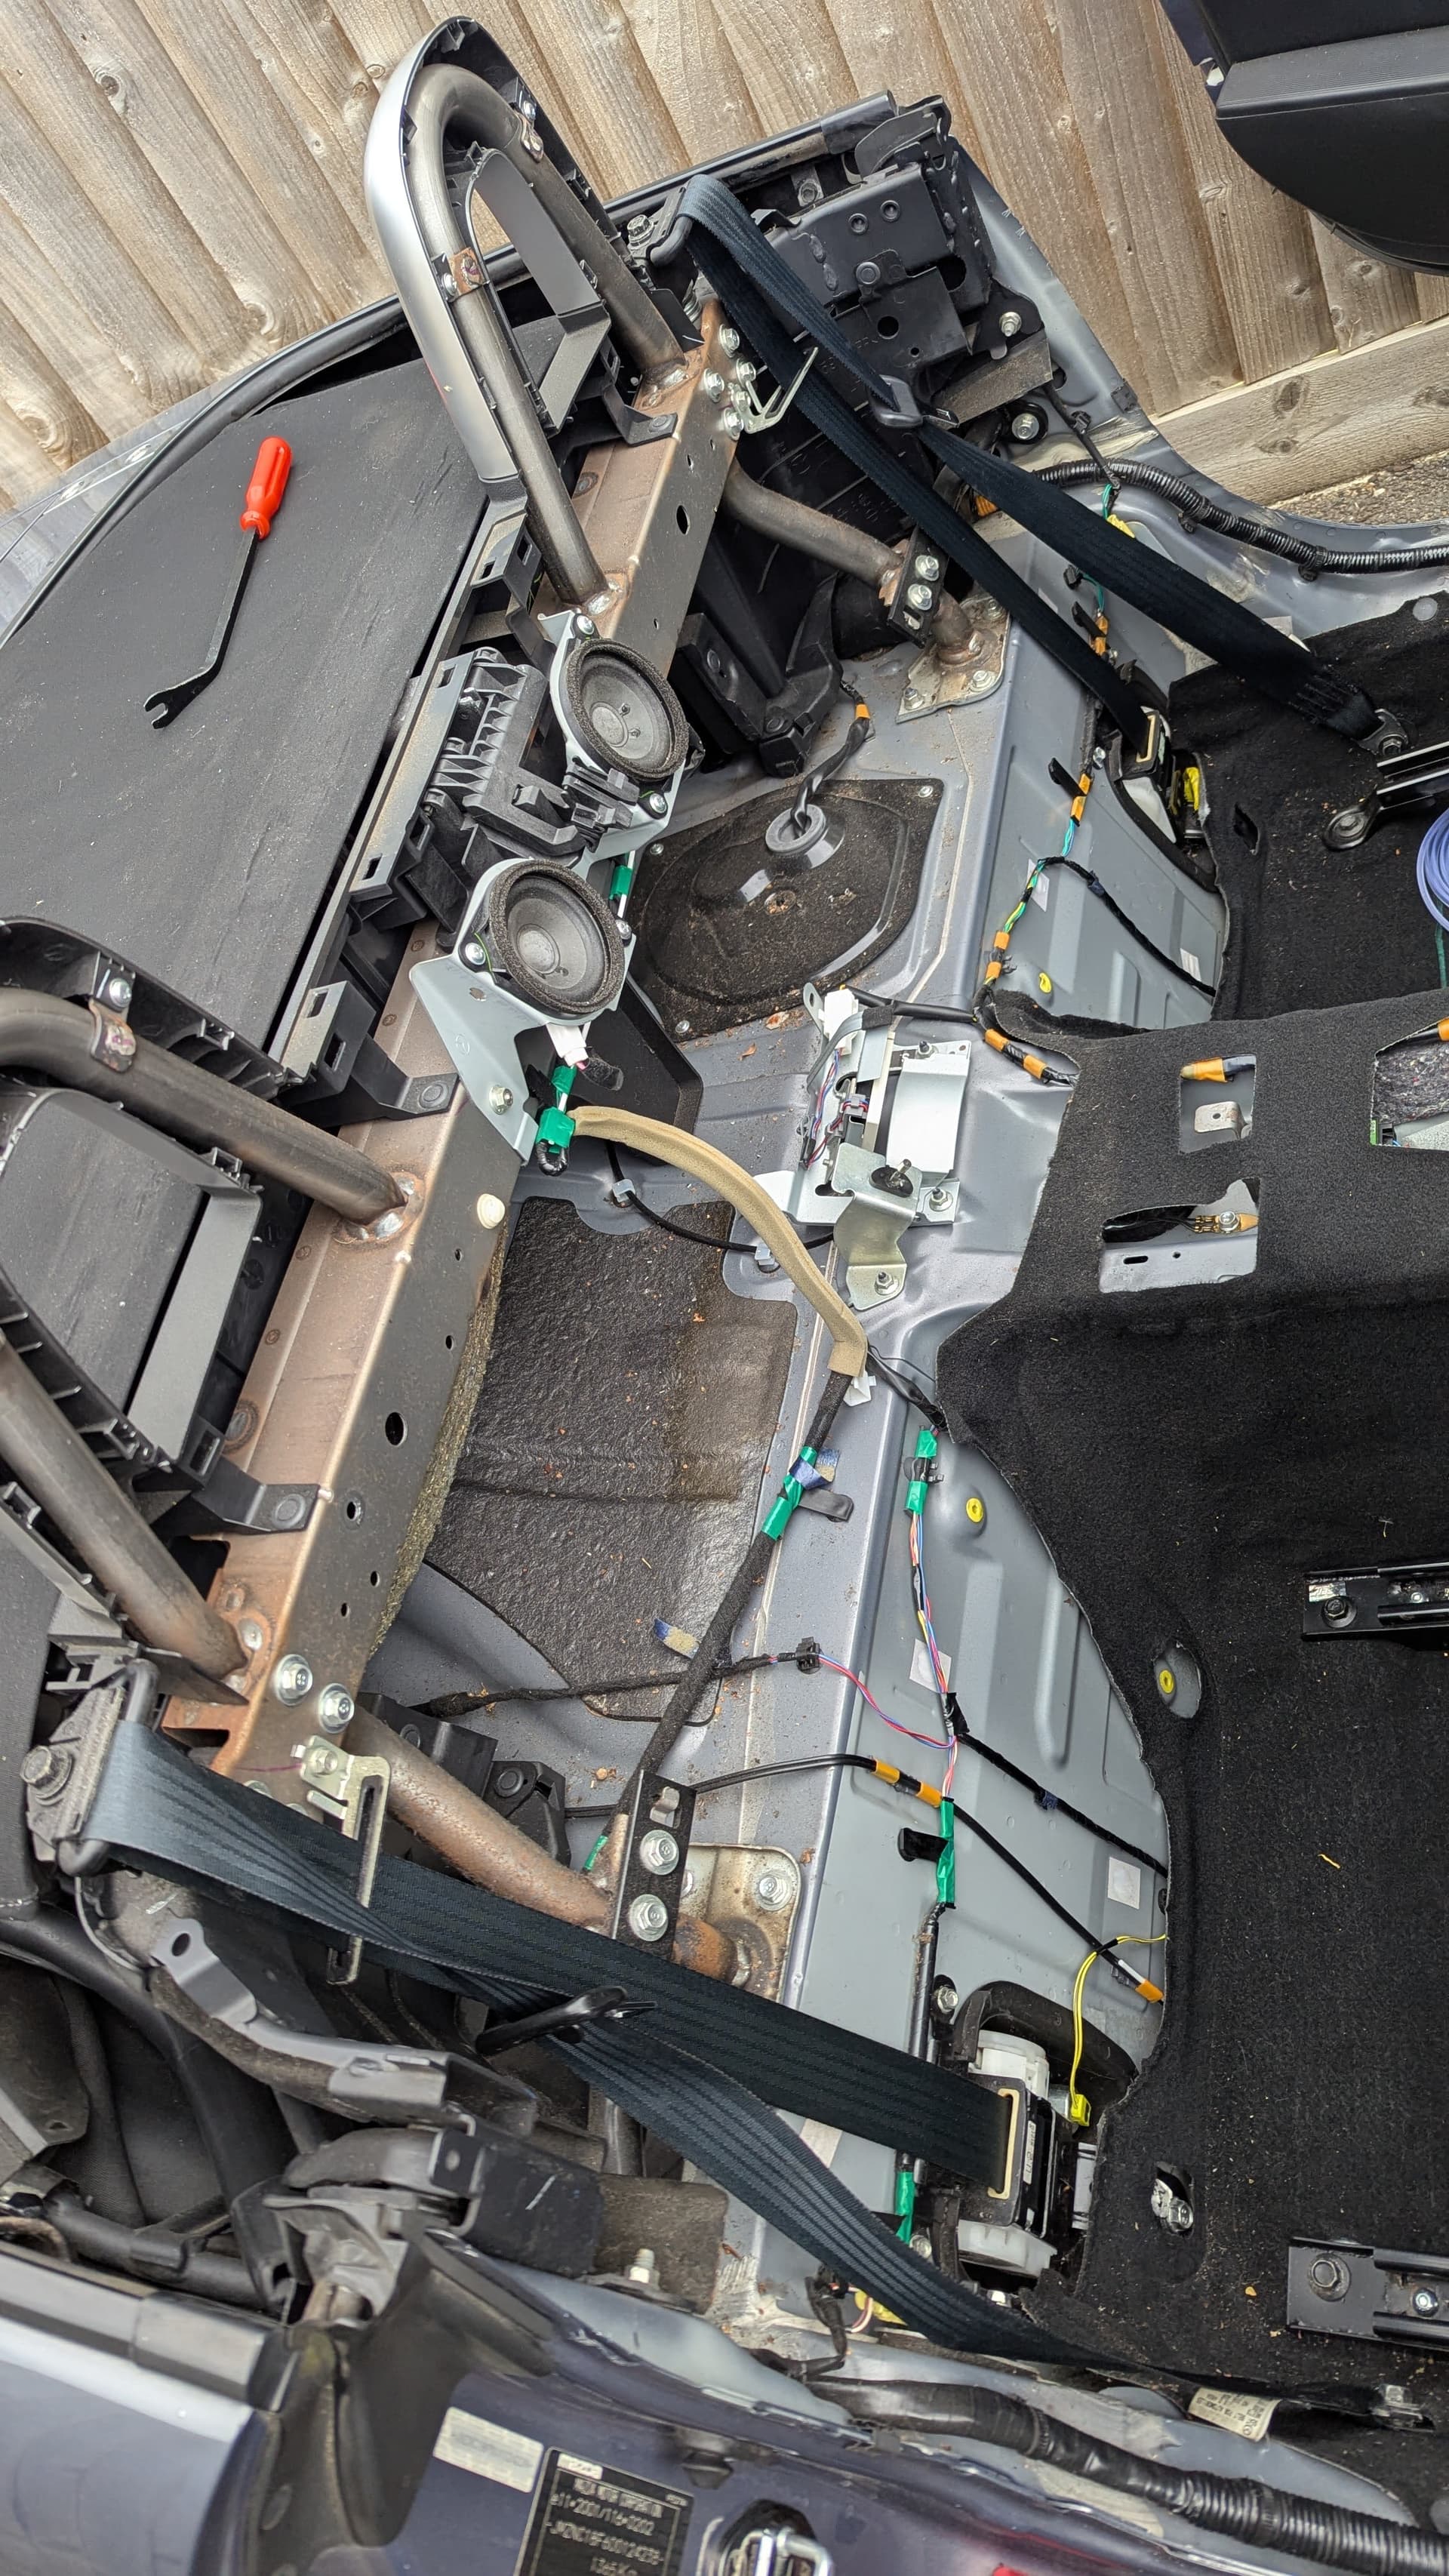
You will need to remove both sides, the wind deflector, and the roll hoop front facias, before removing the back plane itself. It should then look like this:
- Removing the belts
REMEMBER: The seatbelts have a small pyrotechnic device like an airbag. They even have the same type of wiring. Before removing the belts, make sure the battery is disconnected and the car is discharged. Then remove the bright yellow plugs from the right hand side of the pretensioners. Can’t miss them.
I personally removed the anchor point on the side, and then followed the belt to the next fitting as it retracted. This worked very well.
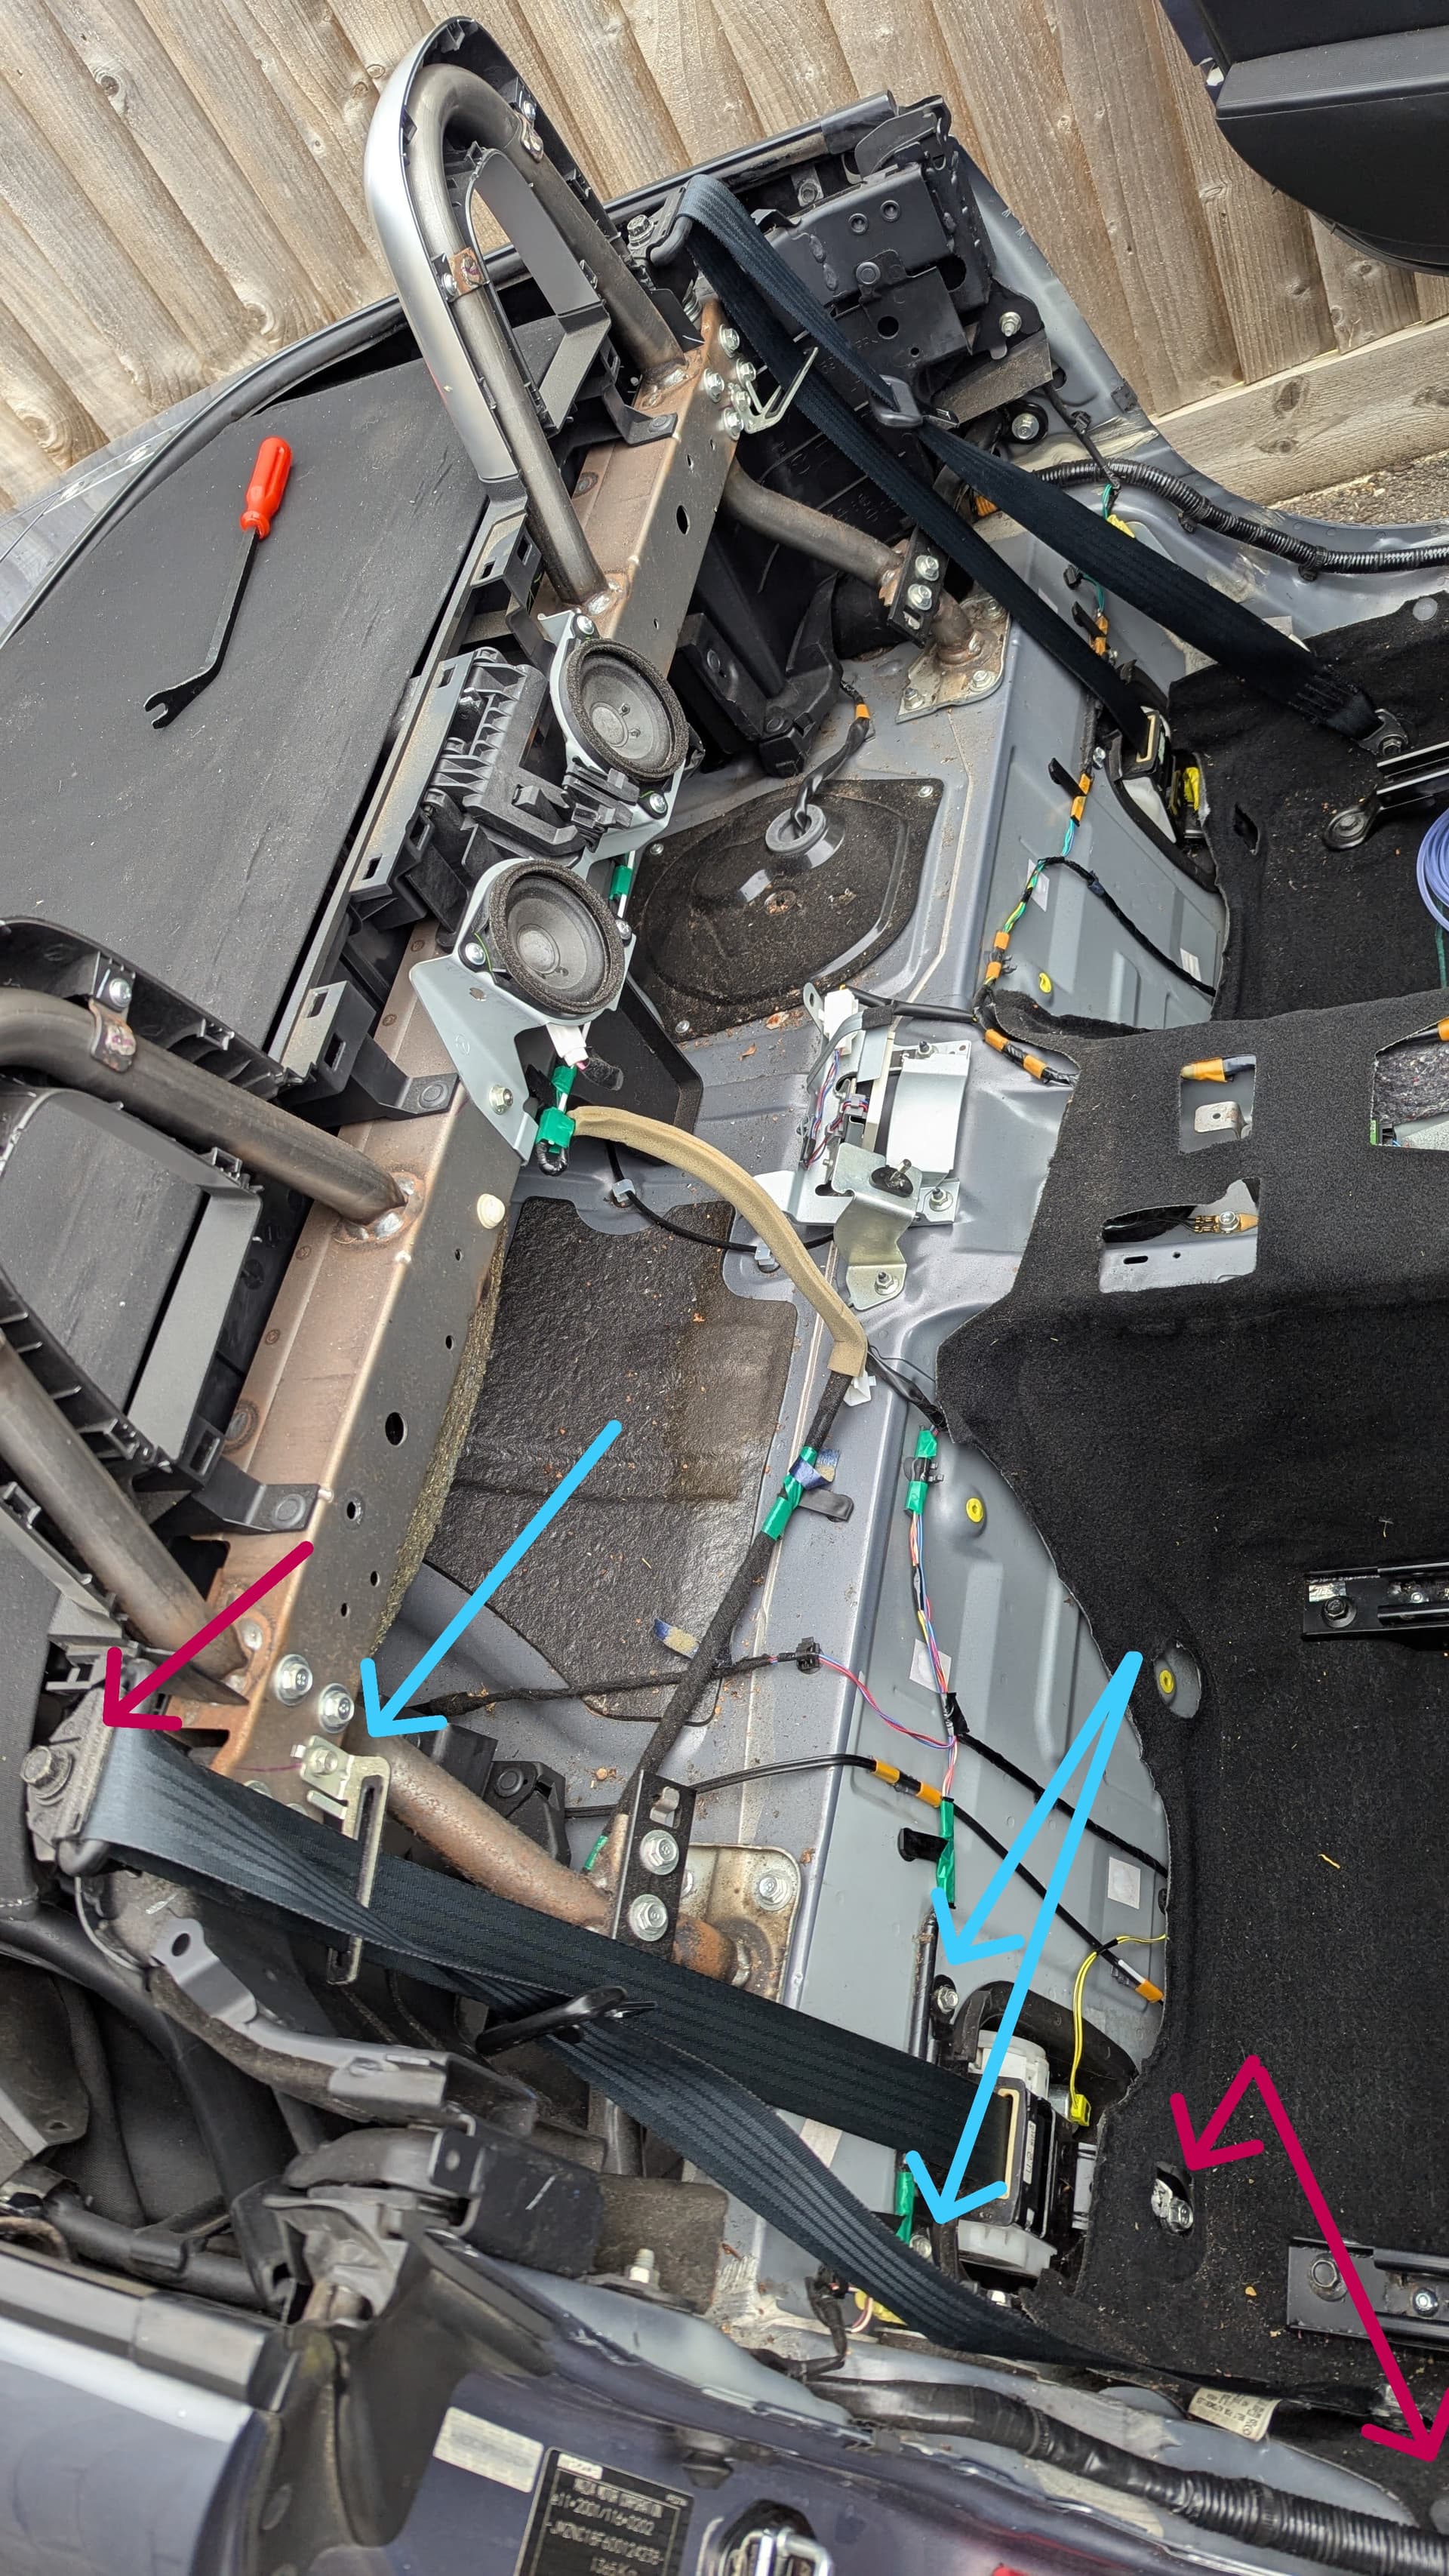
You will see 3x 14mm bolts (red arrows), and 3x 10mm bolts (blue arrows). That 14mm anchor for the pretensioner is tricky. Both sides required a big heft on a breaker bar. They had seized particularly badly. I suspect this is common.
- Removing the hood drains
A handy video, for this part is here:

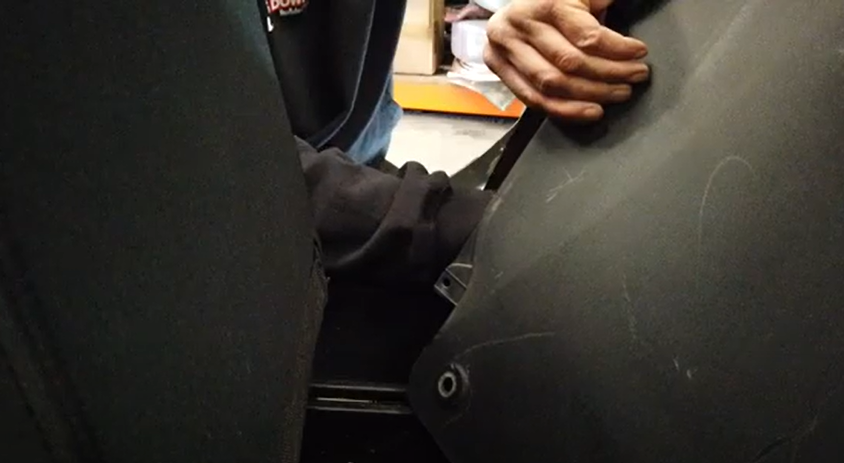
No, he didn’t remove the plastics or the seats, and yes that looks like much more of a faff. However, as you can see, you will be faced with this:
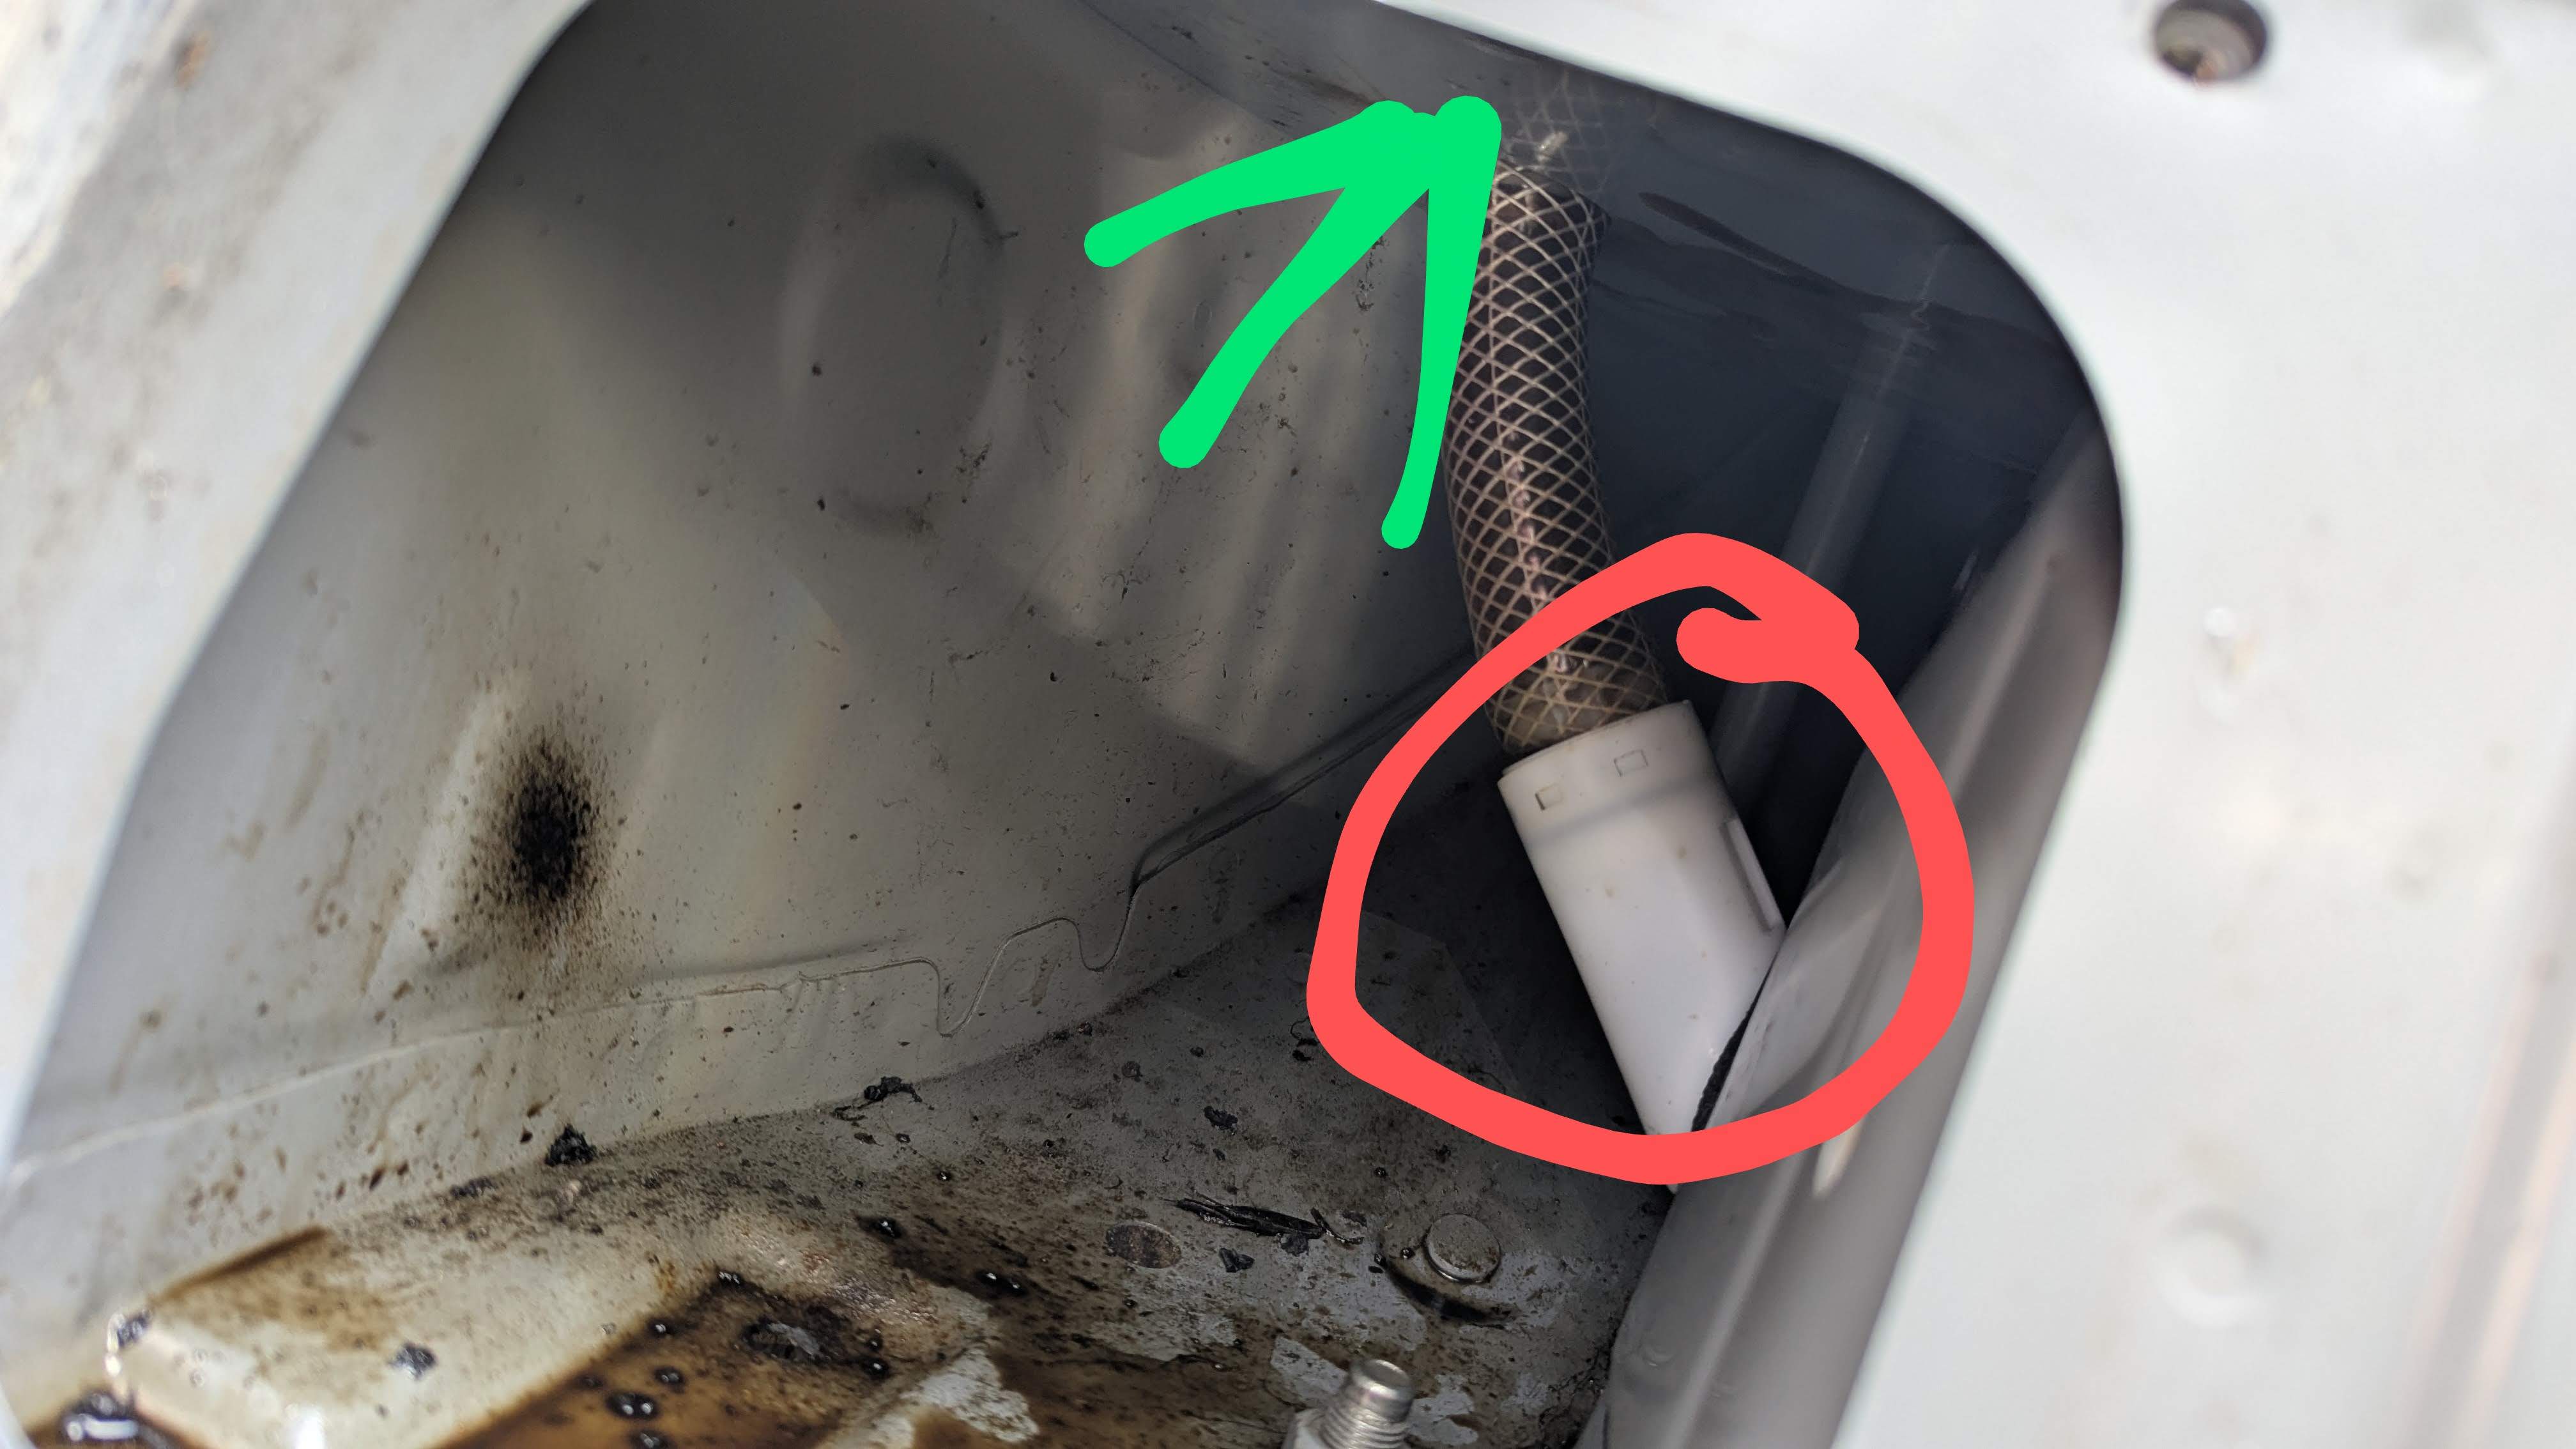
The white part is the lower hood drain valve assembly, the upper is just up behind the metal ceiling to this recess (as arrowed in green). Remove the lower assembly and gently pull the hose down to remove the upper. Make sure to reach up to find the hard plastic of the upper, and then pull. You can then clean the assemblies or replace them.
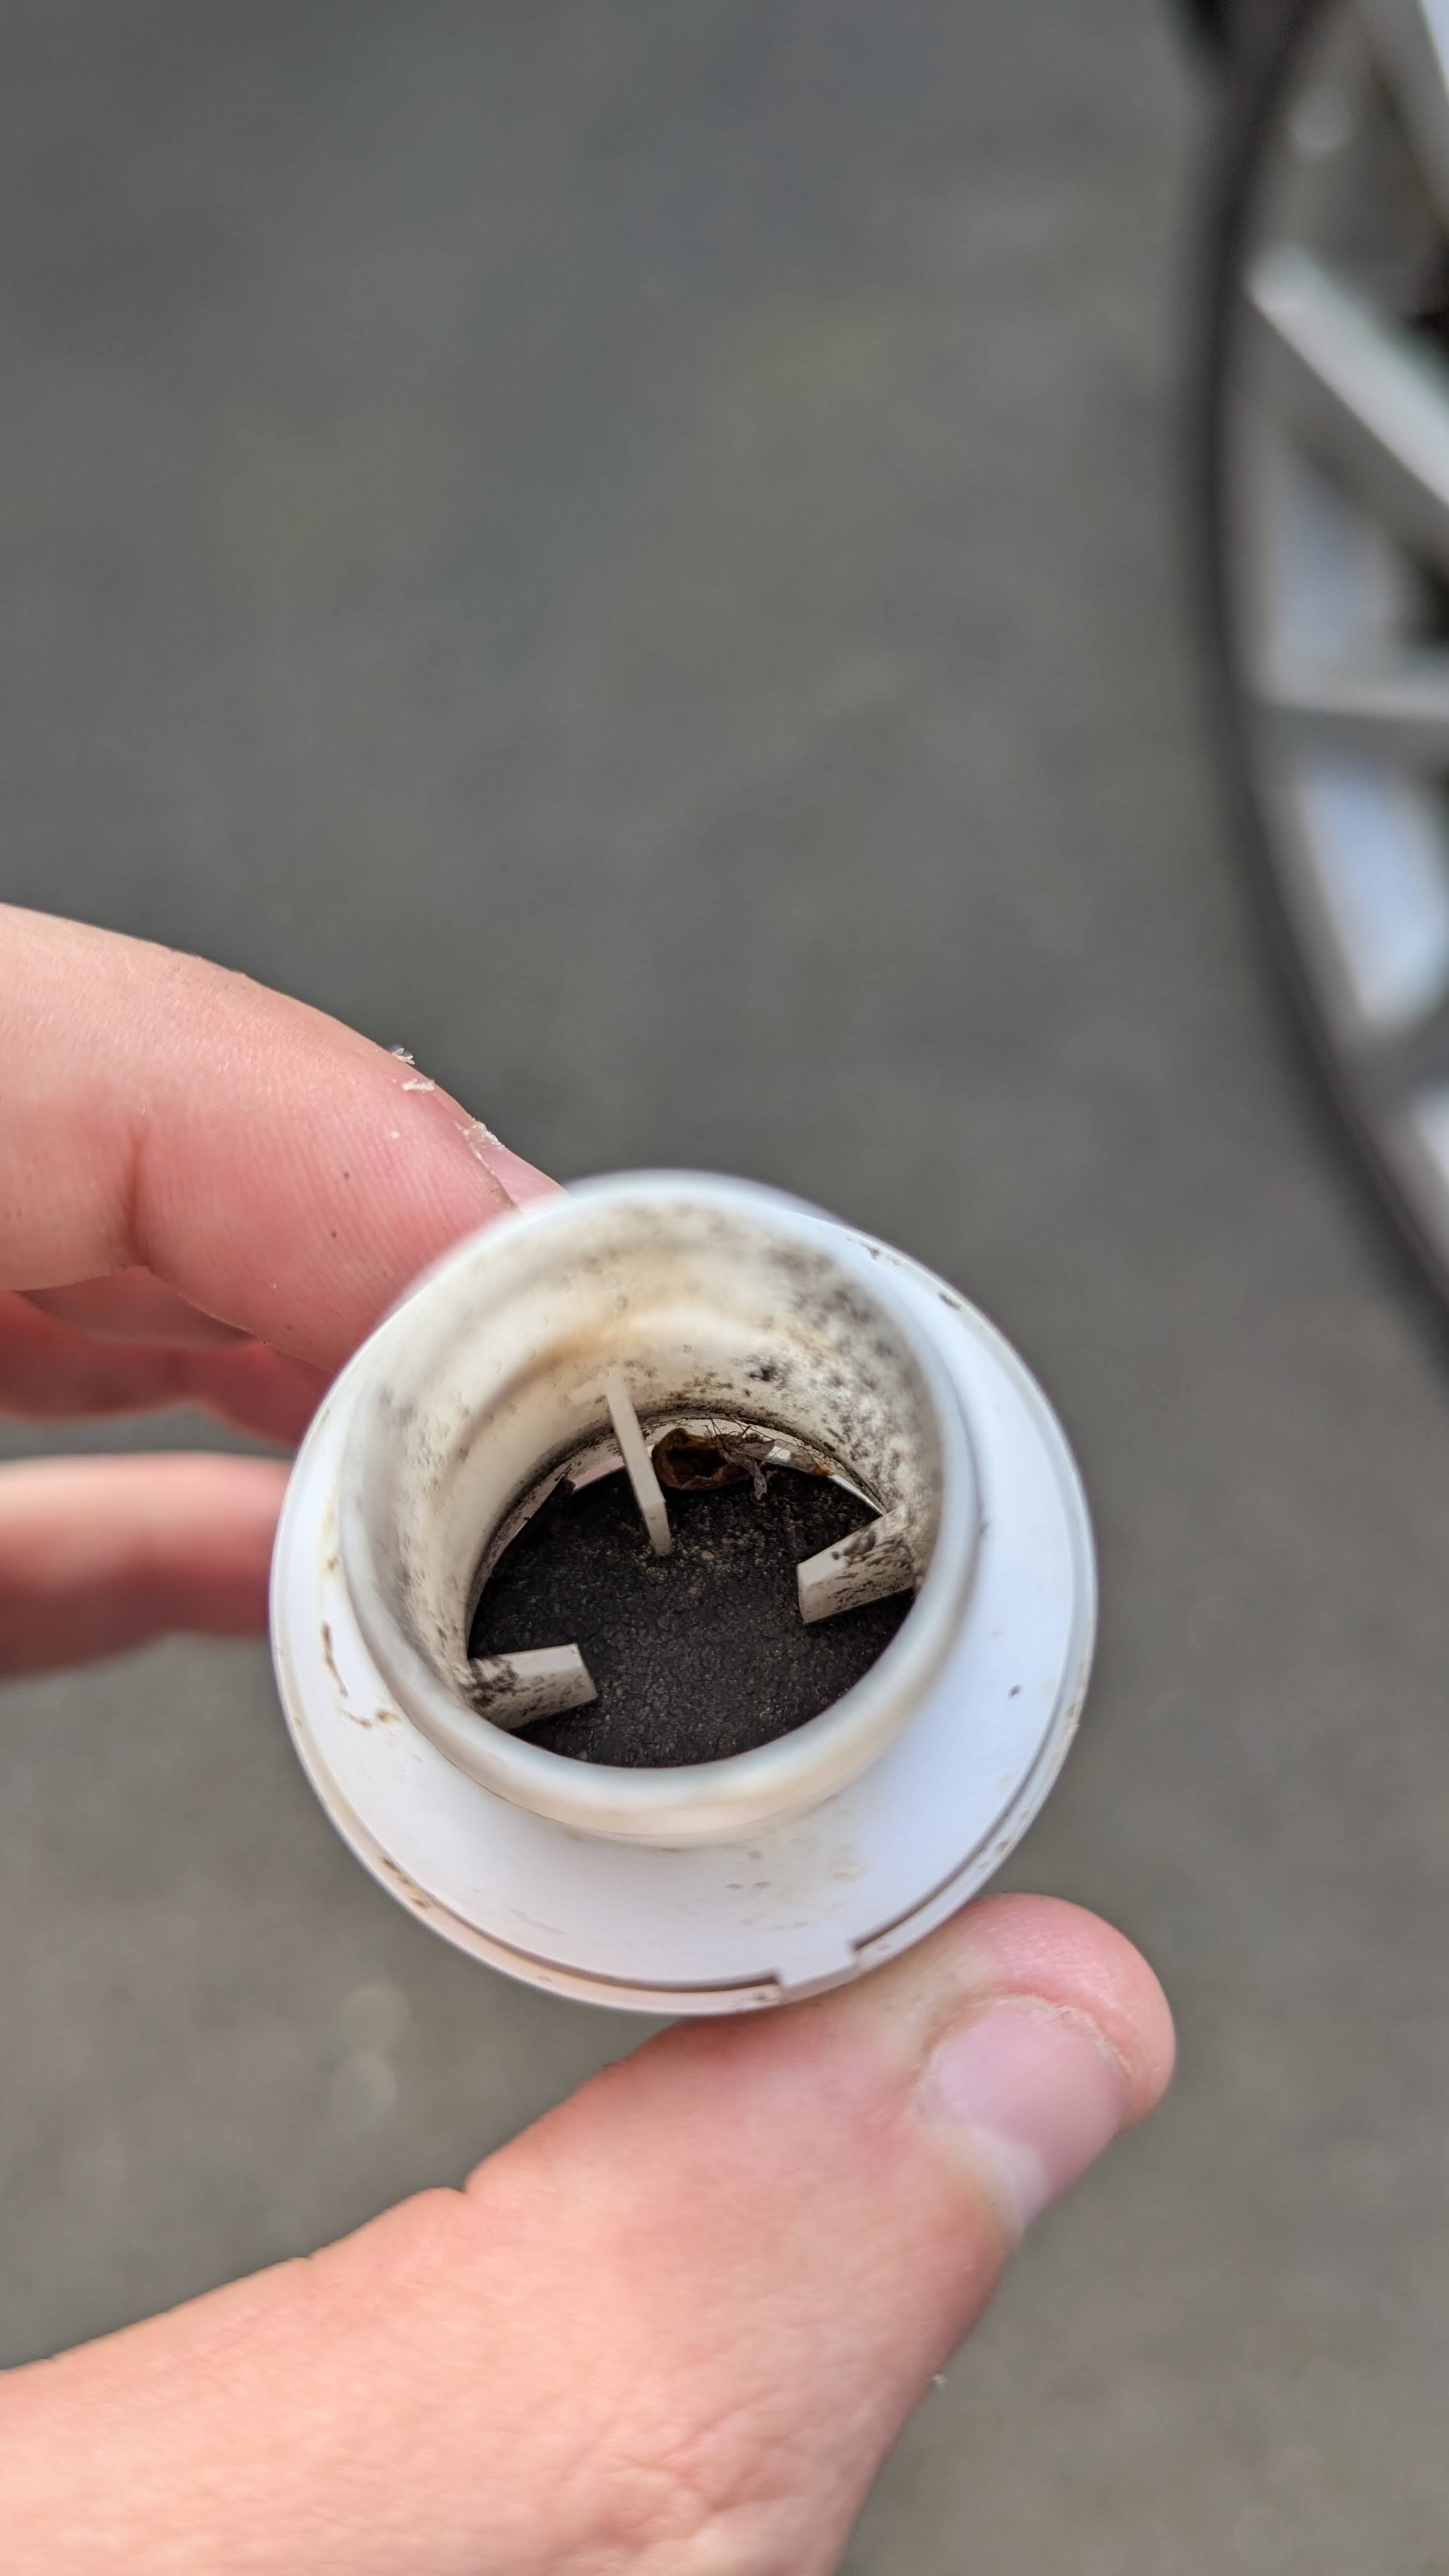

It’s remarkable how little gunk it takes to jam them open…
- Refitting
Reverse everything! The trickiest bit will be placing the upper assembly back into into its hole, but a bit of elbow grease and a lot of grunting will get you there. The Lower assembly simply clicks into place. Then either refit your old pretensioners, or (in my case) fit your new ones! The torque settings for the 14mm retaining bolts should be between 40-50Nm.
Onto the next.