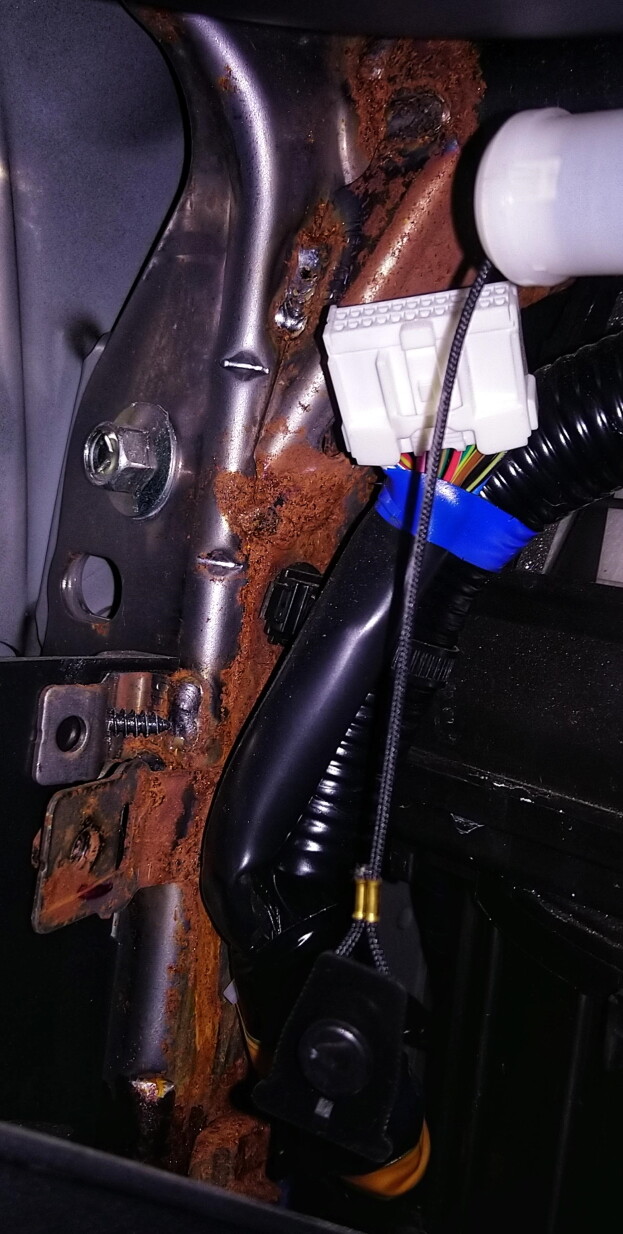
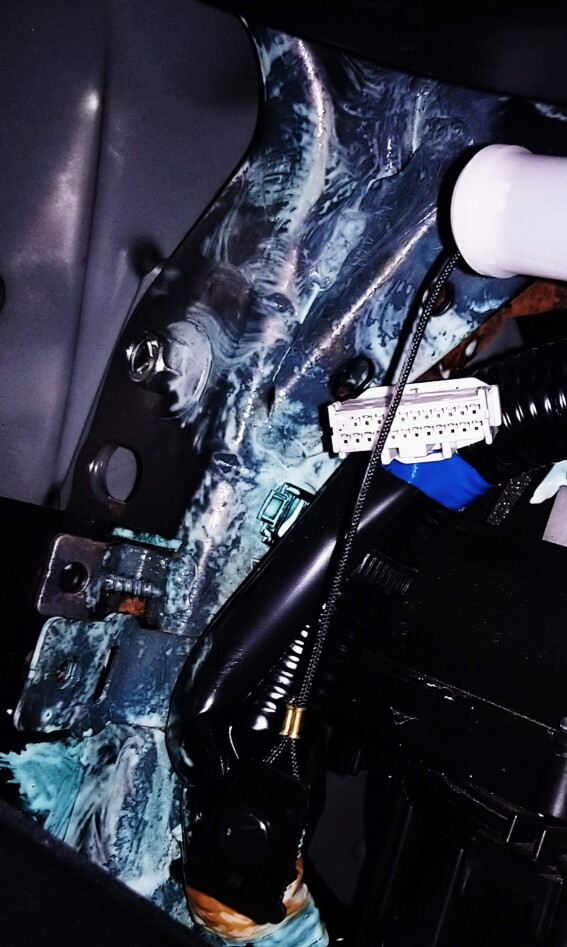
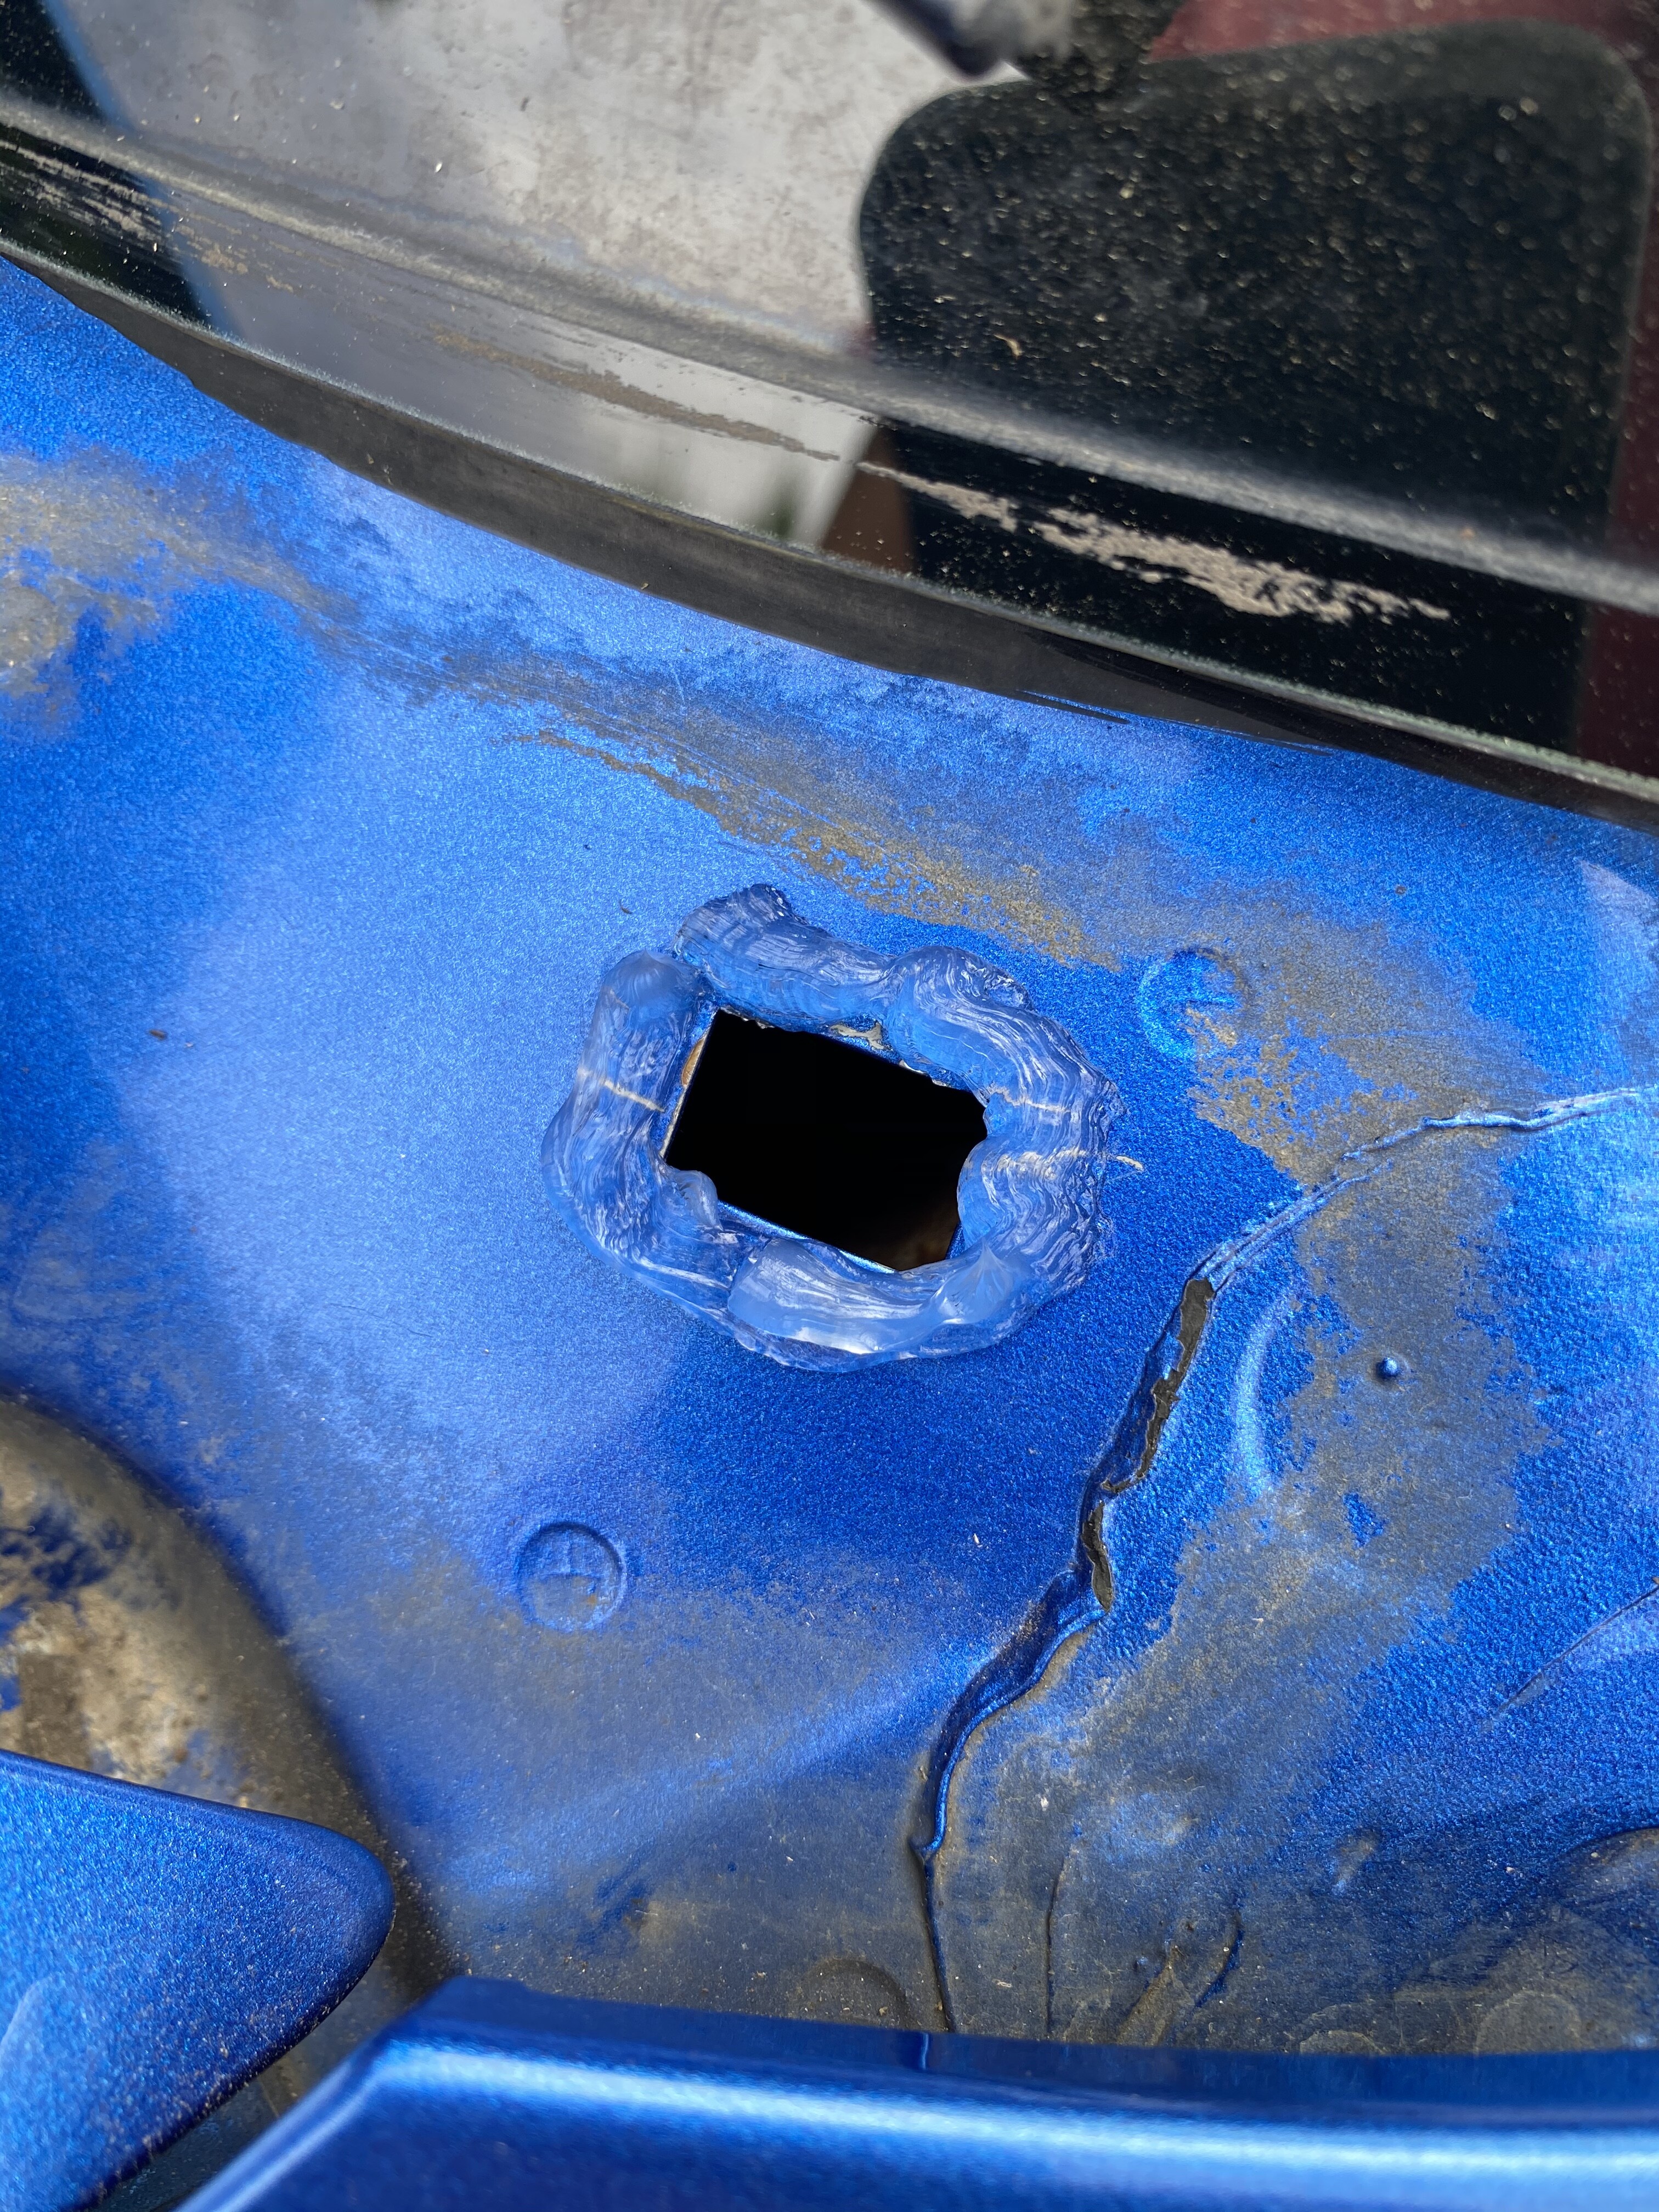
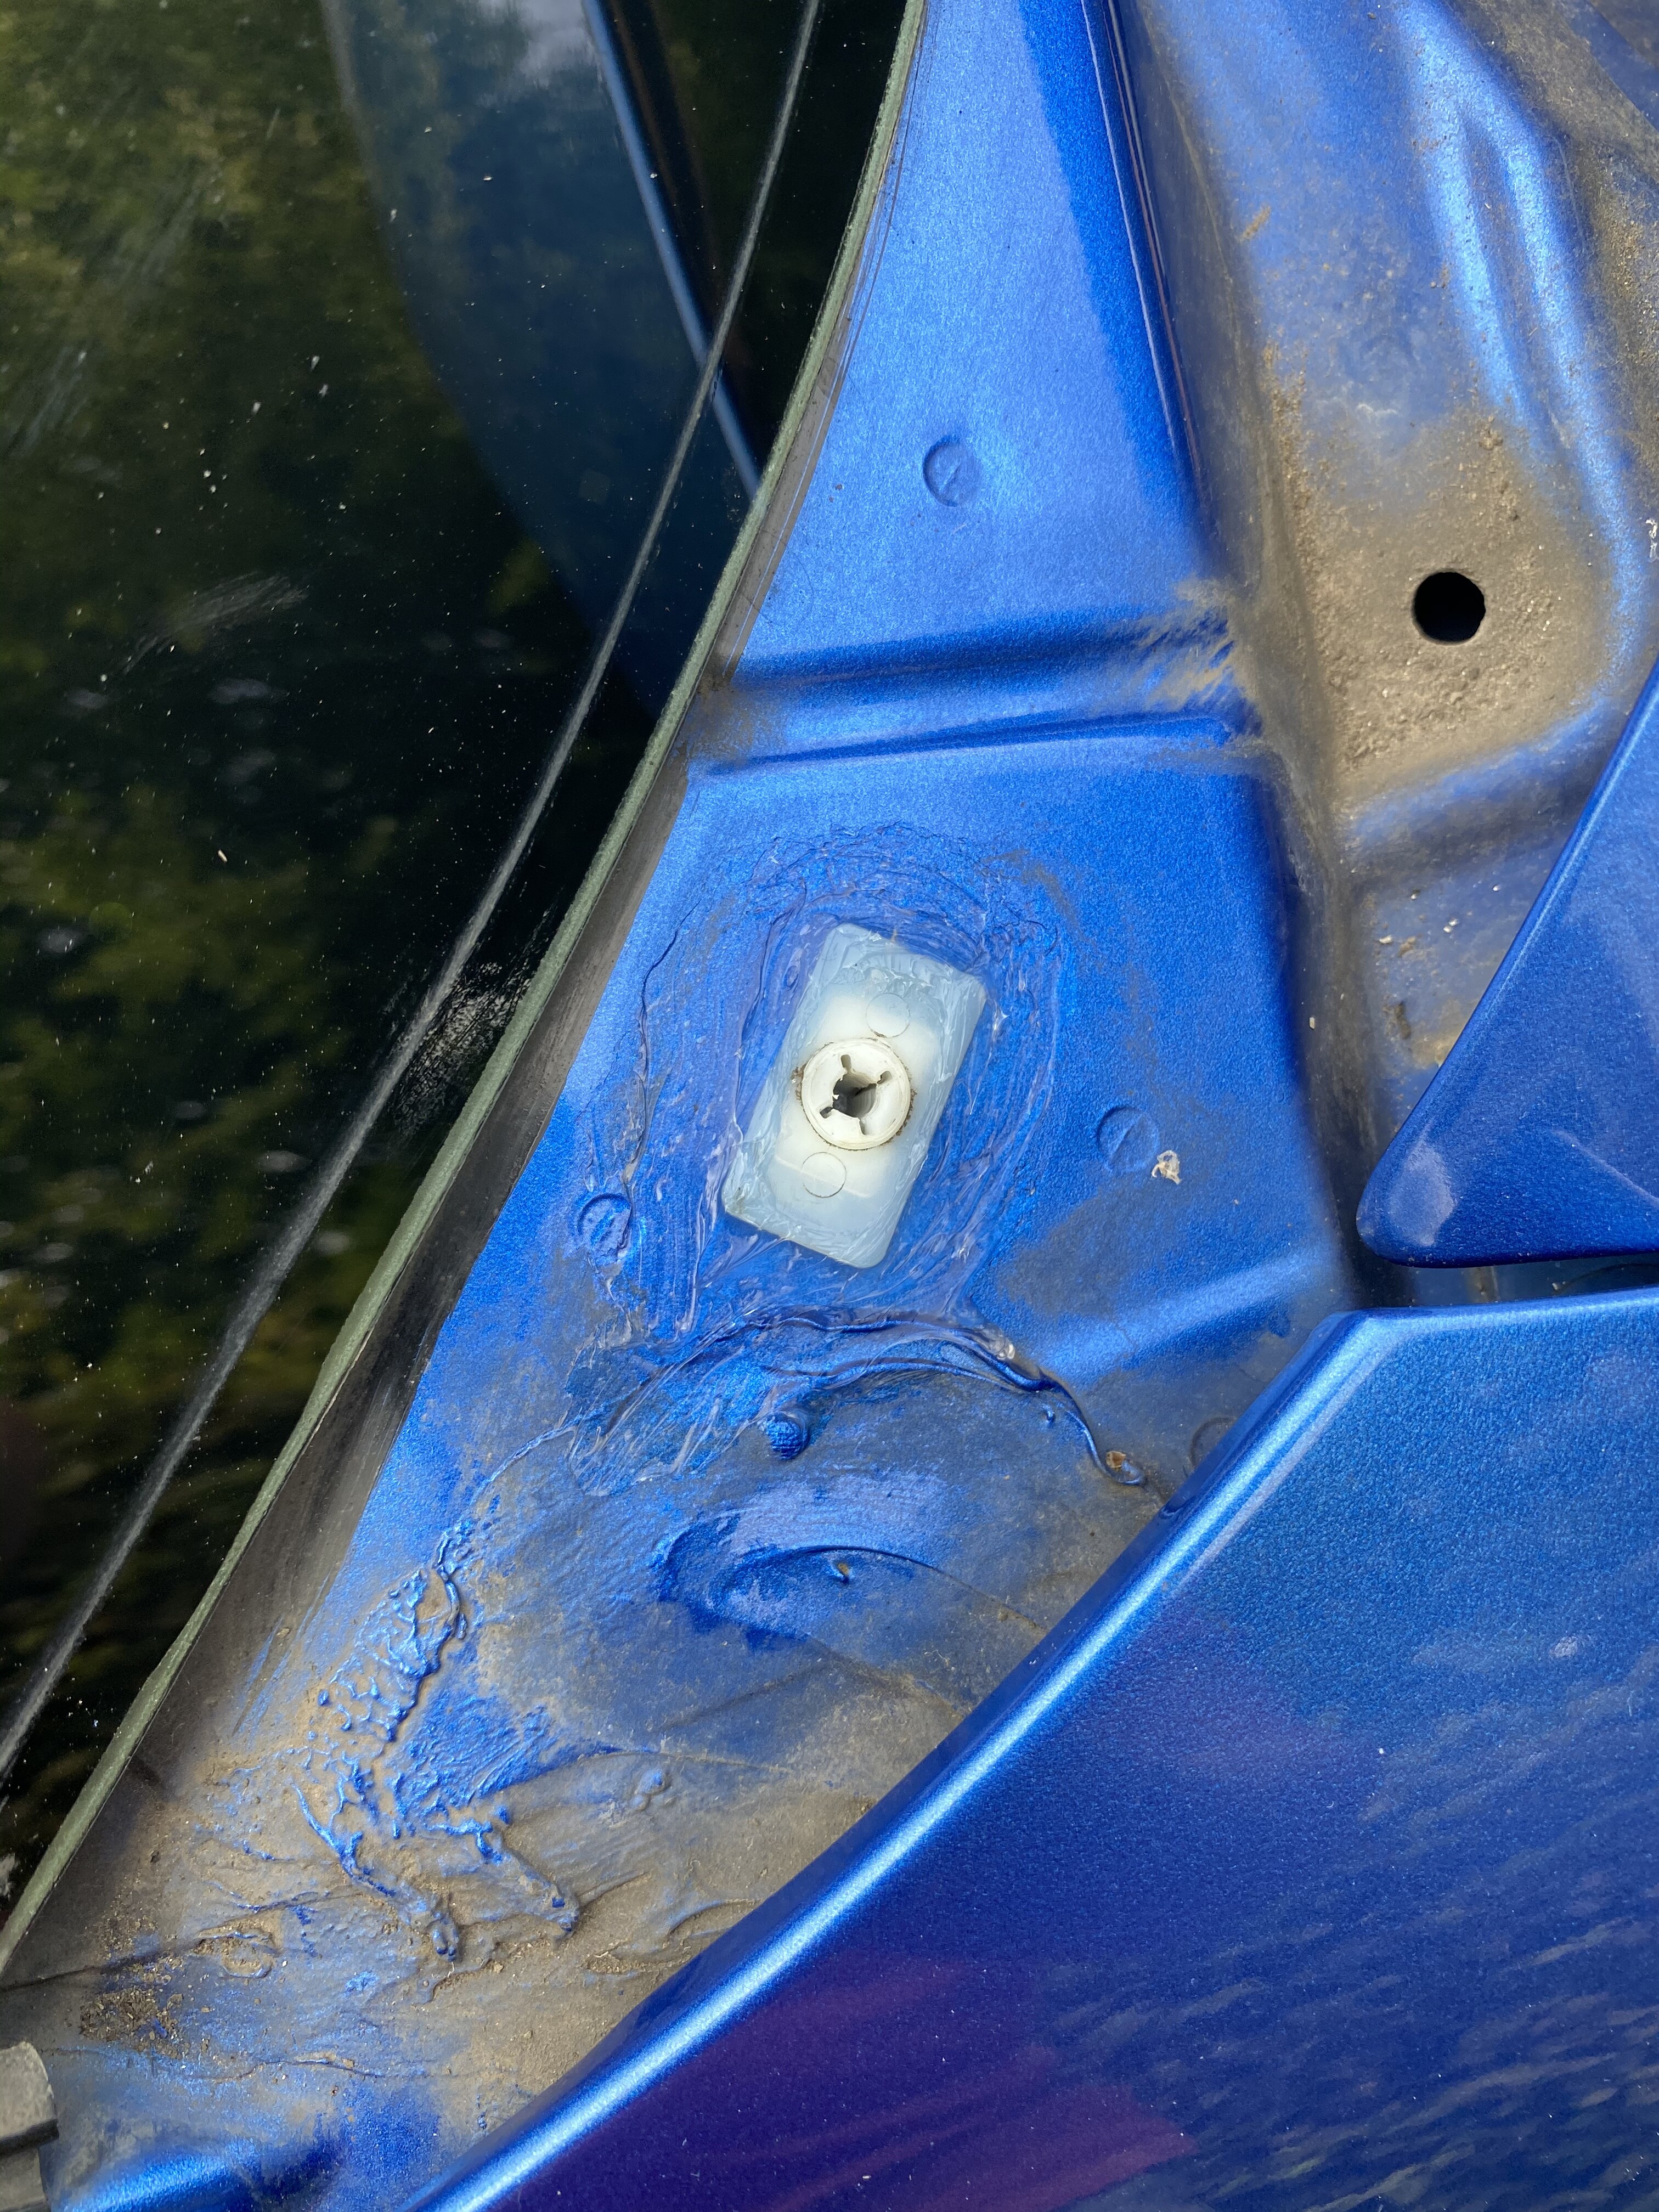
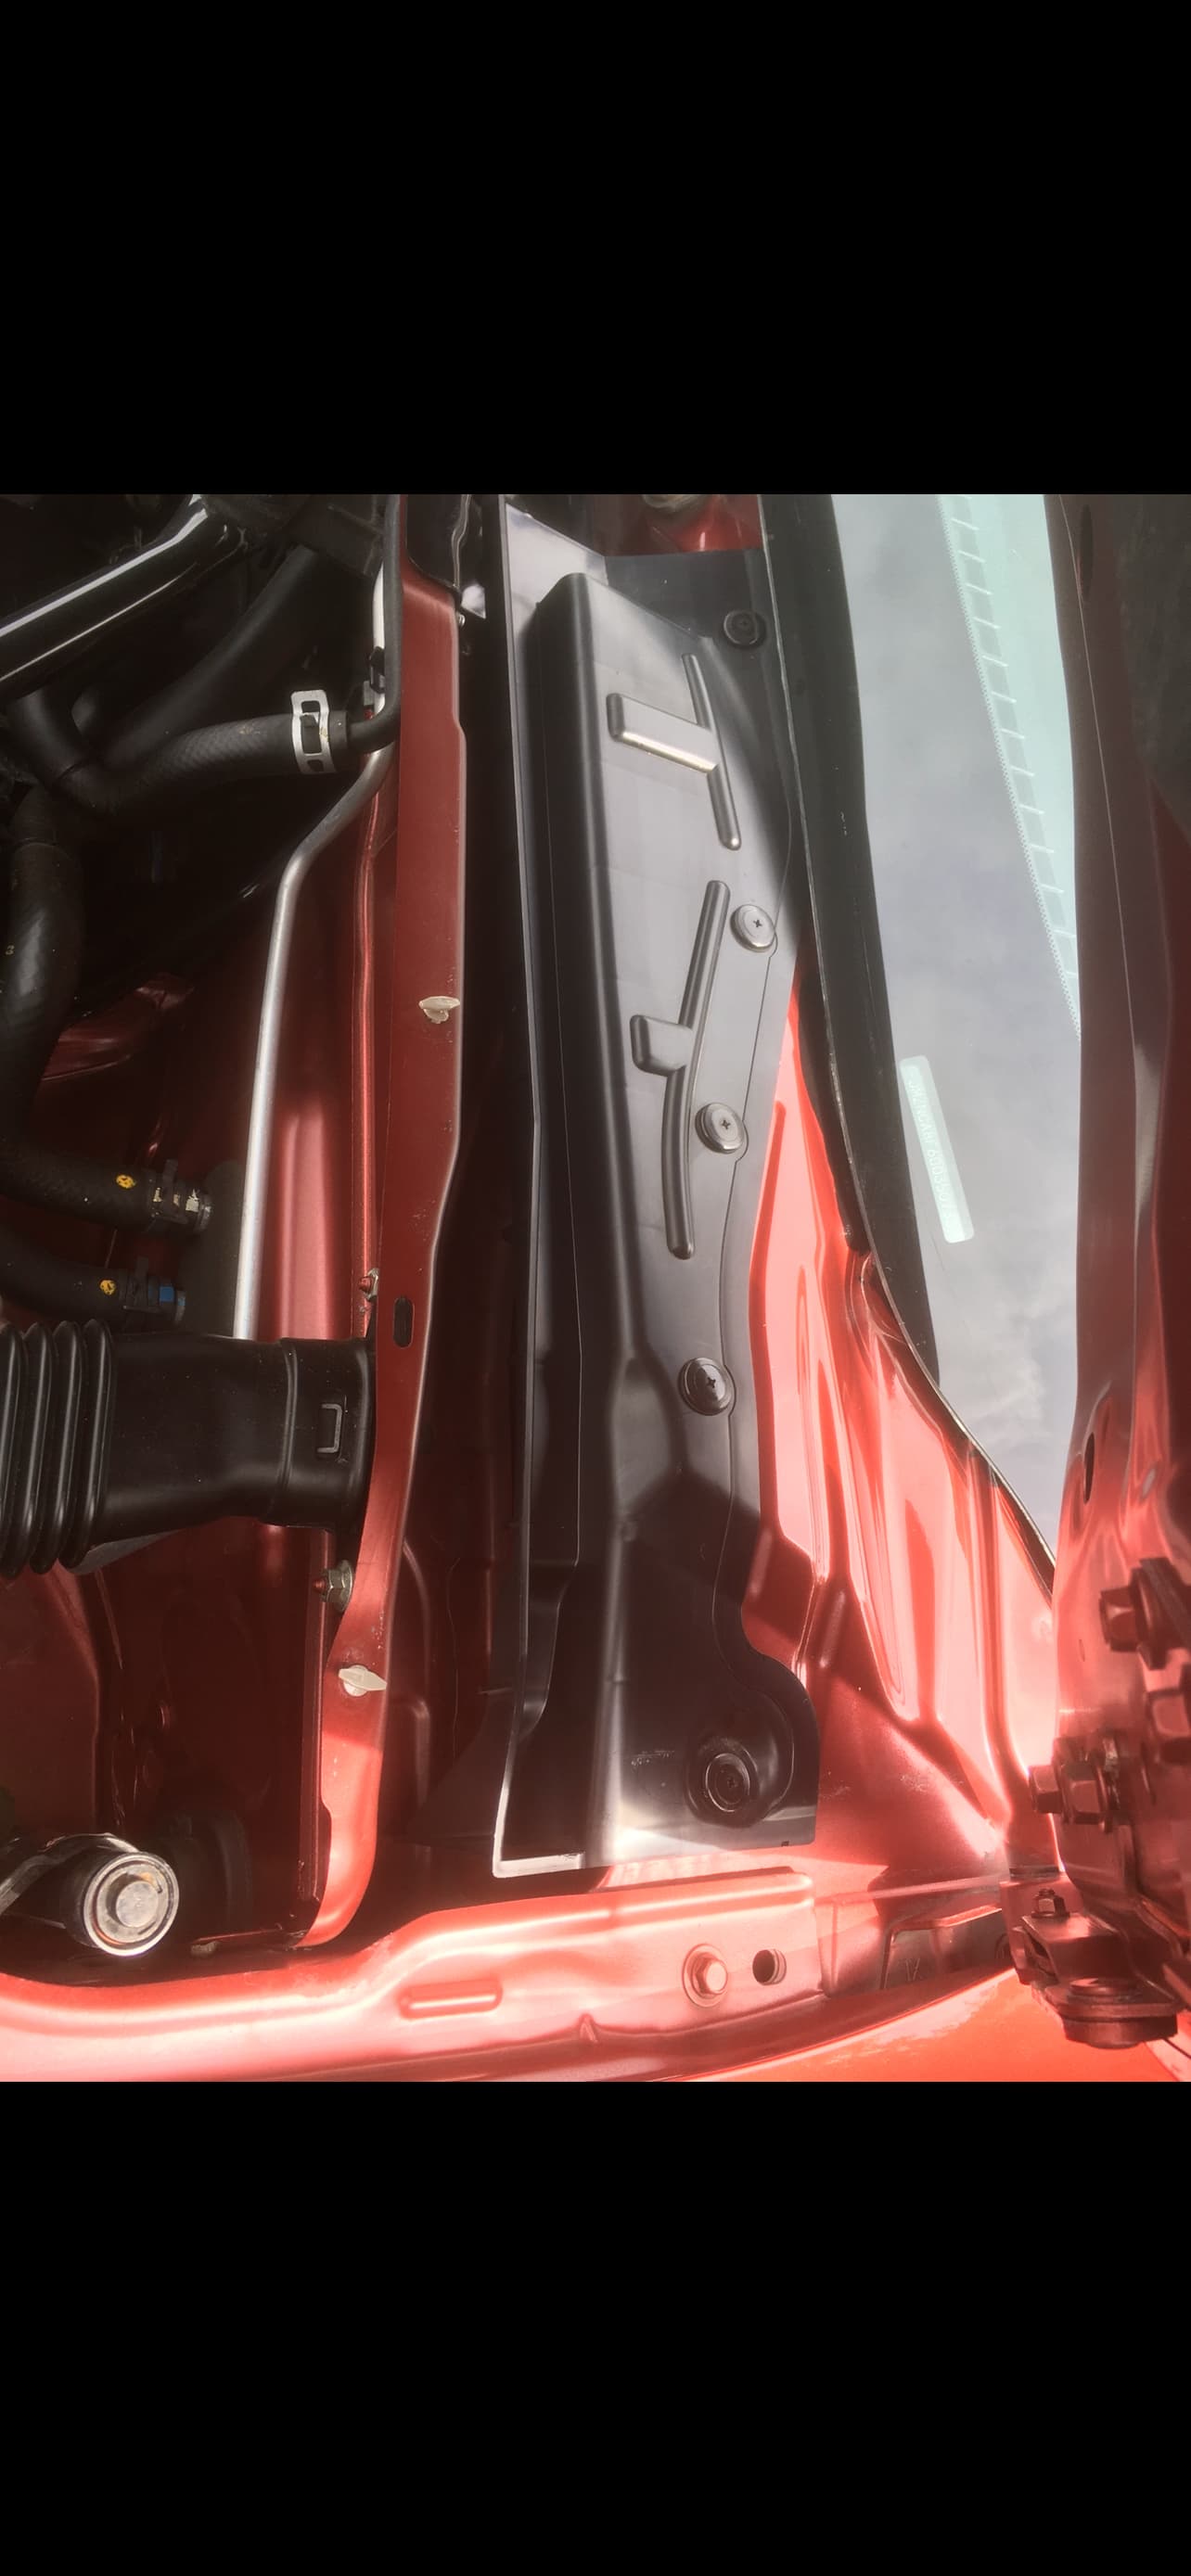
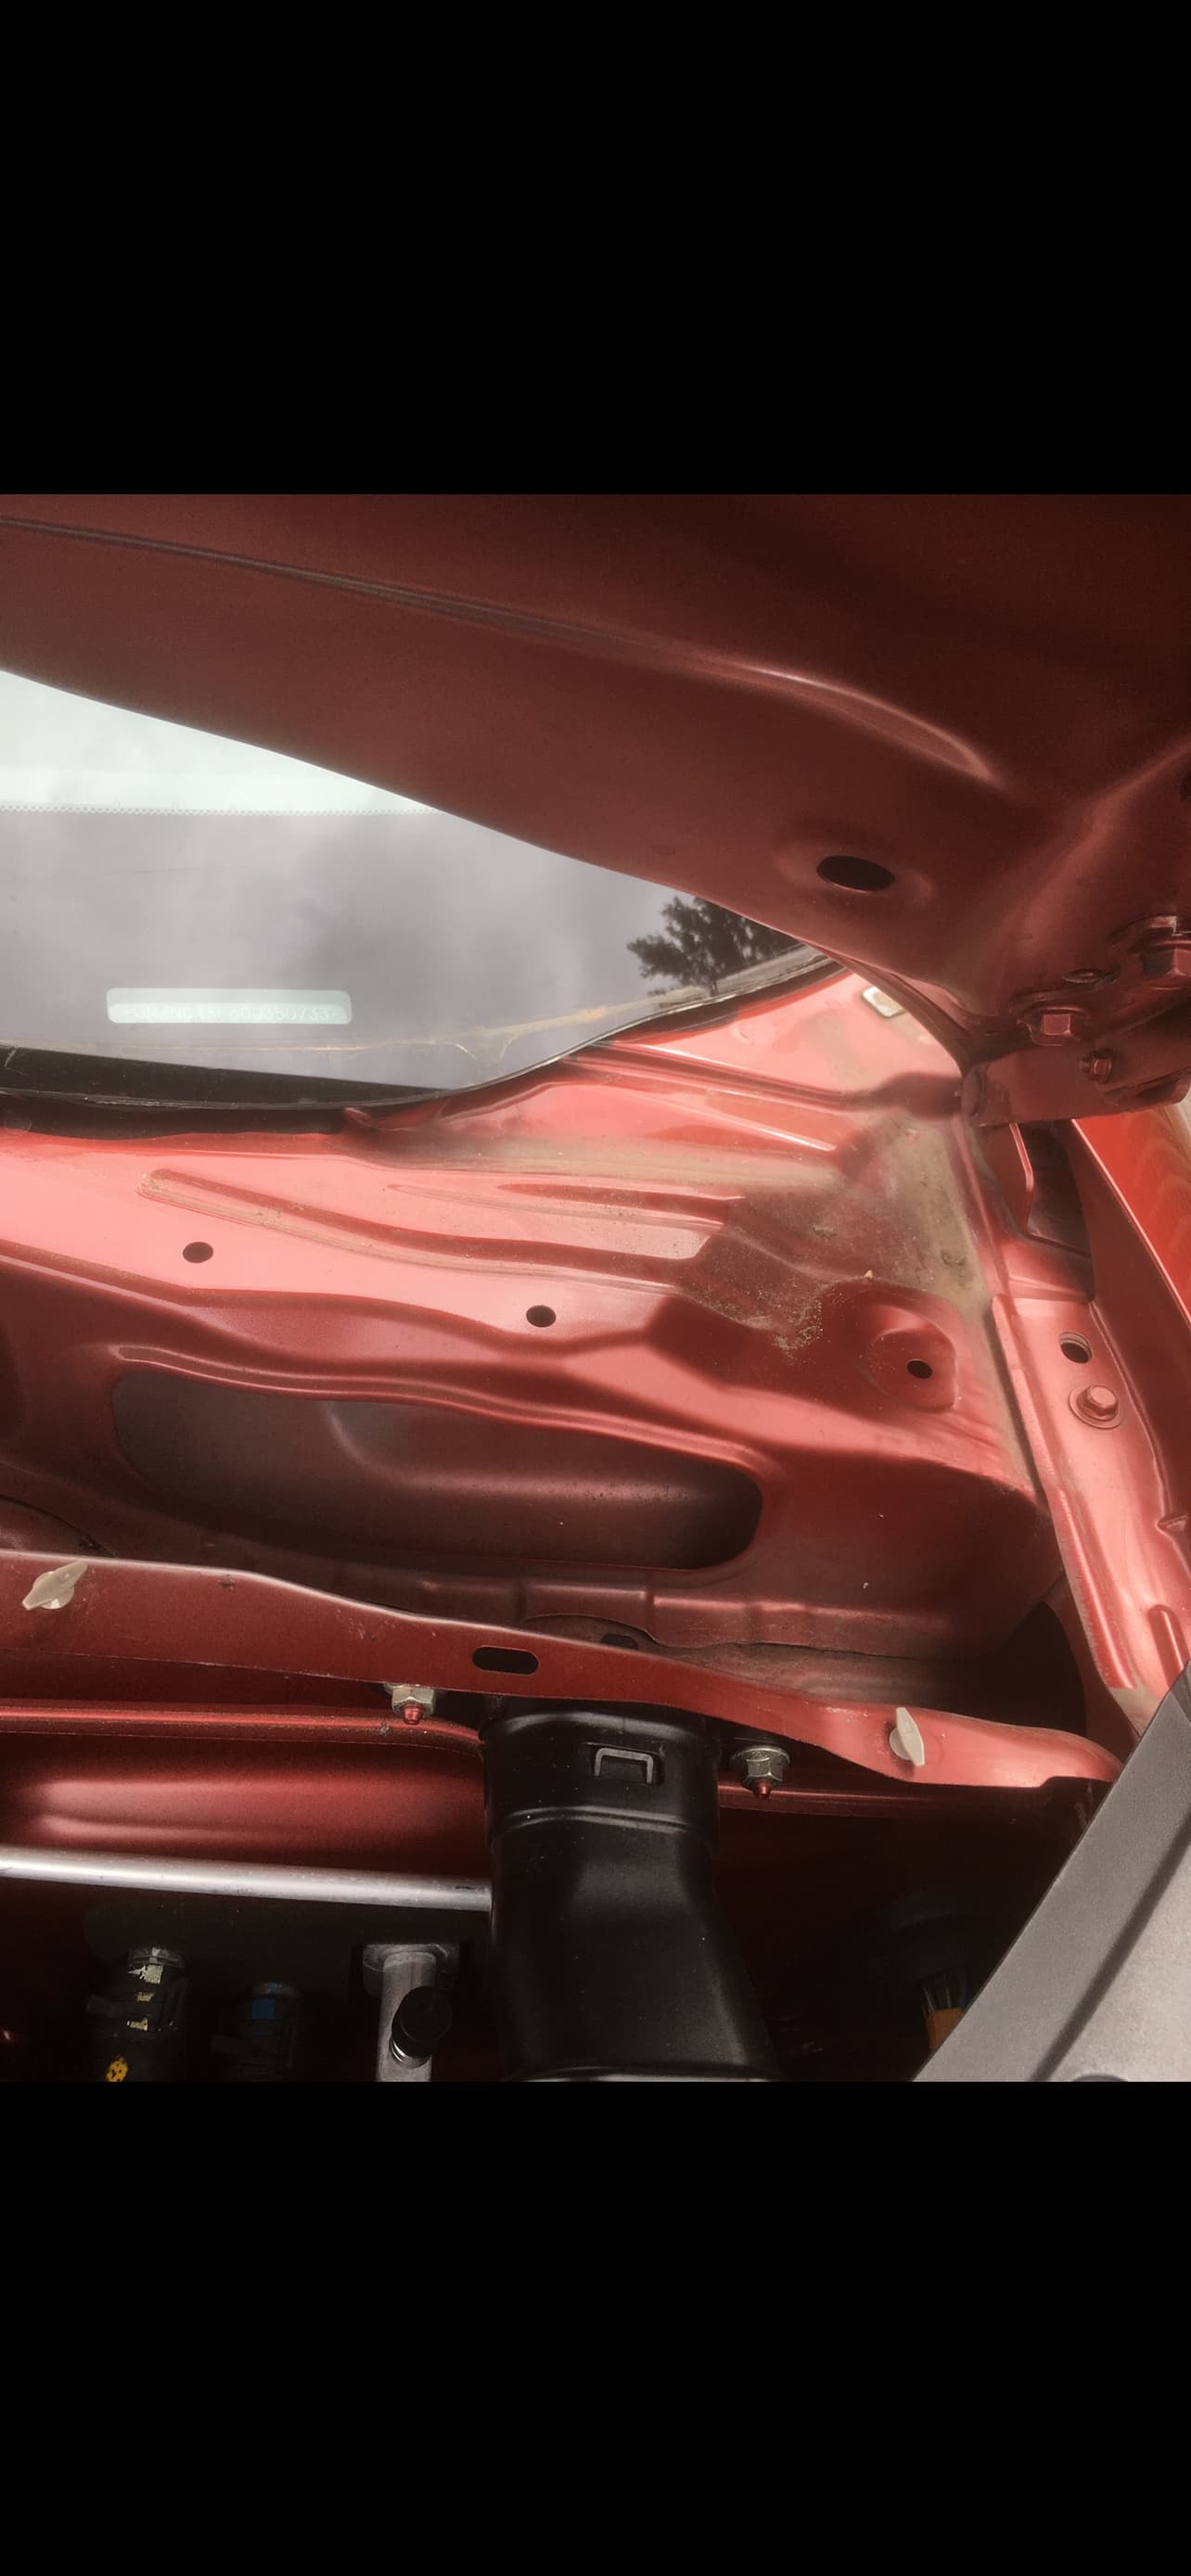
Took the glove box out and peered up into the abyss where the grommet fits into the scuttle panel. Ours had been leaking so I previously used a lot of guttering sealant which was black and to hand to seal the grommet from the top. Looks like a blob of used chewing gum that has been stuck under the desk at school (NOT that I ever did that of course!). Amazing amount of rust from leaks during the previous 13 years our Mk3 has been alive. Coated with Aquasteel rust neutraliser. Yes, I know, that I missed s few bits.
Got some free time? I suggest that you take a look up your abyss.
The next job is to work out how to access the scuttle grommet on the other side - or just to leave it as there aren’t any fuses near on t’other side.
Easiest way to seal the grommets is to remove the wipers then the scuttle to replace or re-seal from the top. An hours work and no scrambling under the dash.
Sealing them from underneath is like trying to stop your house roof from leaking by blathering some stuff on it from inside the loft.
Do it properly, go in from the top.
The op had previously sealed from the top but was checking out the damage caused by the leaking and found lots.
Imho any damage on the driver’s side will be relatively minimal because there is no drain hole regularly soaking the failed biodegradable gasket, as there is on the passenger side.
It’s something which every owner needs to do regardless of age and makes good sense to do it before it leaks, not after. It will happen to every car.
Neither side is at more or less risk and neither causes more or less damage than the other. The O/S one drips onto the OBD connector and corrodes it.
You’d be surprised at the amount of bare metal there is inside the car too. Not only all the bolt in structure behind the dash, but also in front of the foremost boot lining there is a full width of pressed steel which will be brown with rust right now.
Just done mine yesterday morning and siliconed all around for extra sealing. Didn’t put any in the screw but could always do that later, easy to get to.
Having read multiple threads and various instructions (including the only YouTube video I can find) I’m just about to bite the bullet and attempt this myself once the new grommets and covers arrive.
Am I right in thinking that if I remove both wiper arms, I can move the scuttle in one piece to expose both grommets ?
Also, is there a definitive tool for removing the original grommets without bending or scratching the metal panel underneath ? The video guy used a nail puller/pincer but that still seemed brutal.
It’s the gaskets that fail.
The vast majority of us just put a good professional sealant under and on top where the white nylon grommets join the metal body work.
Worked for me too.
Yes once the wipers are off and the two screws removed just tease the whole thing off.
It’s easier to just buy a good sealant and run that round the original grommets, after cleaning up the area.
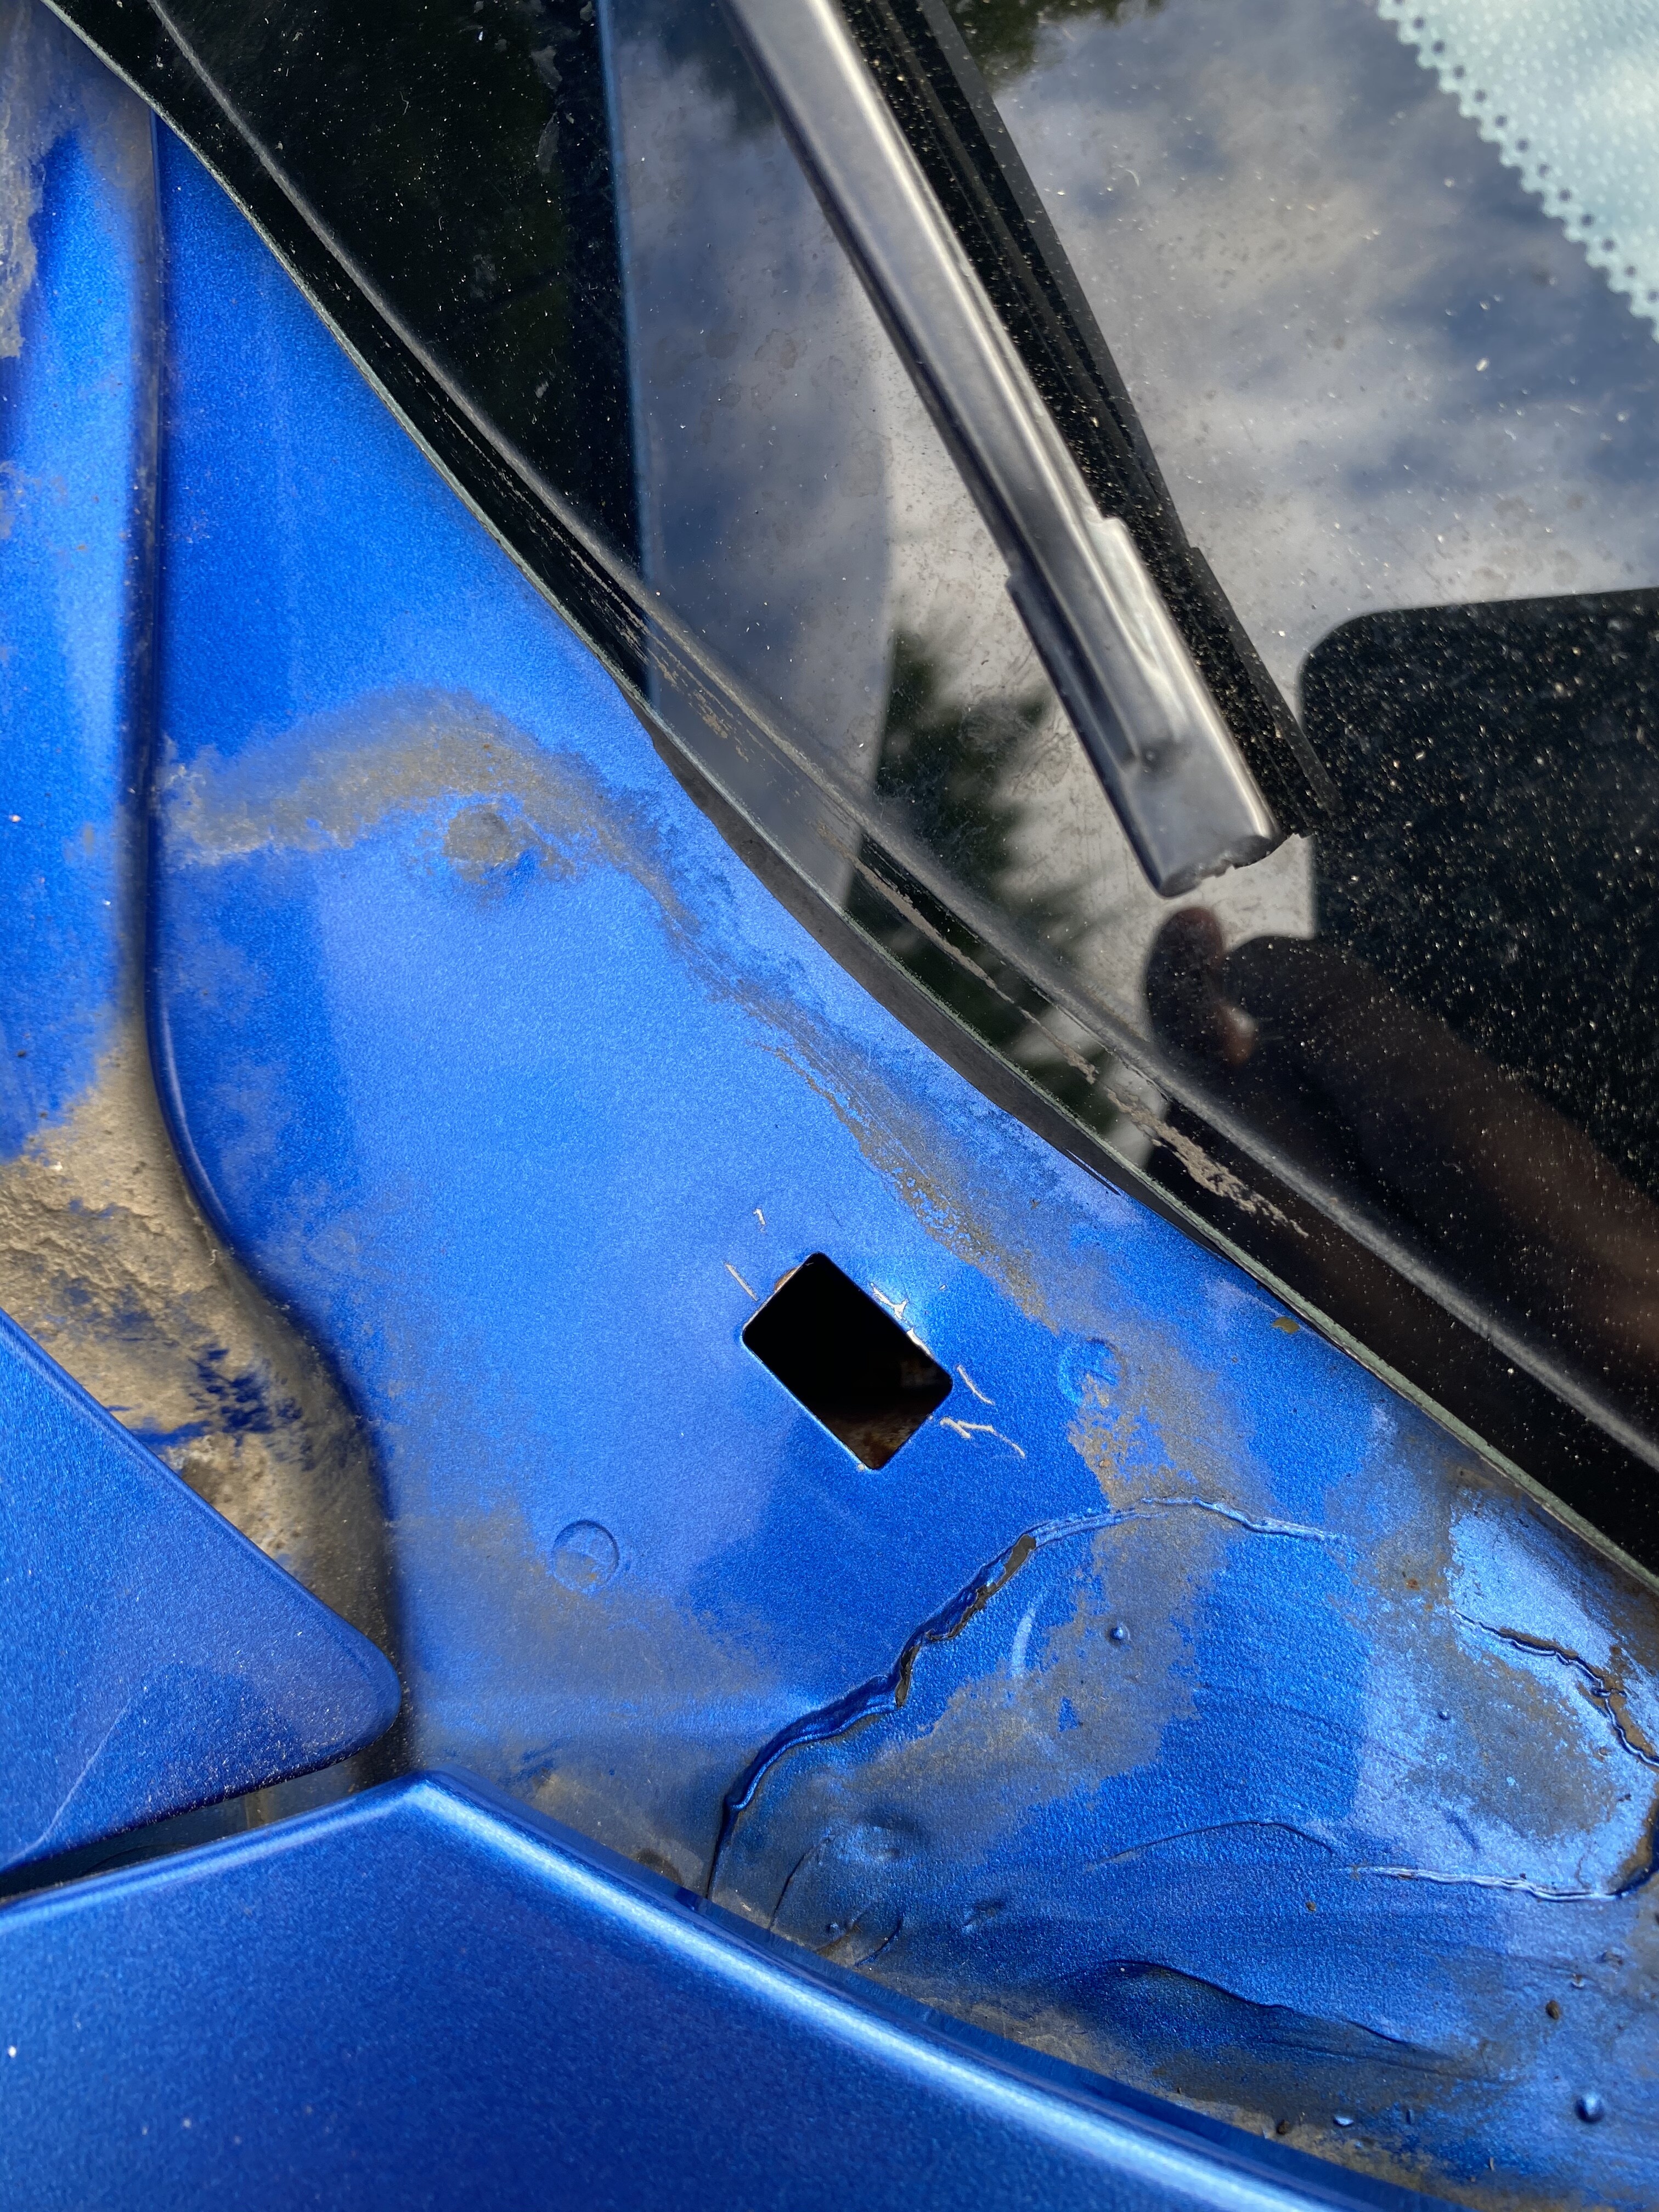
But now you have the mew ones get a thin blade under the old ones and push from one side, they should release. Have read they can be stubborn to get out. Anyways whack some sealant around the new ones before installing.
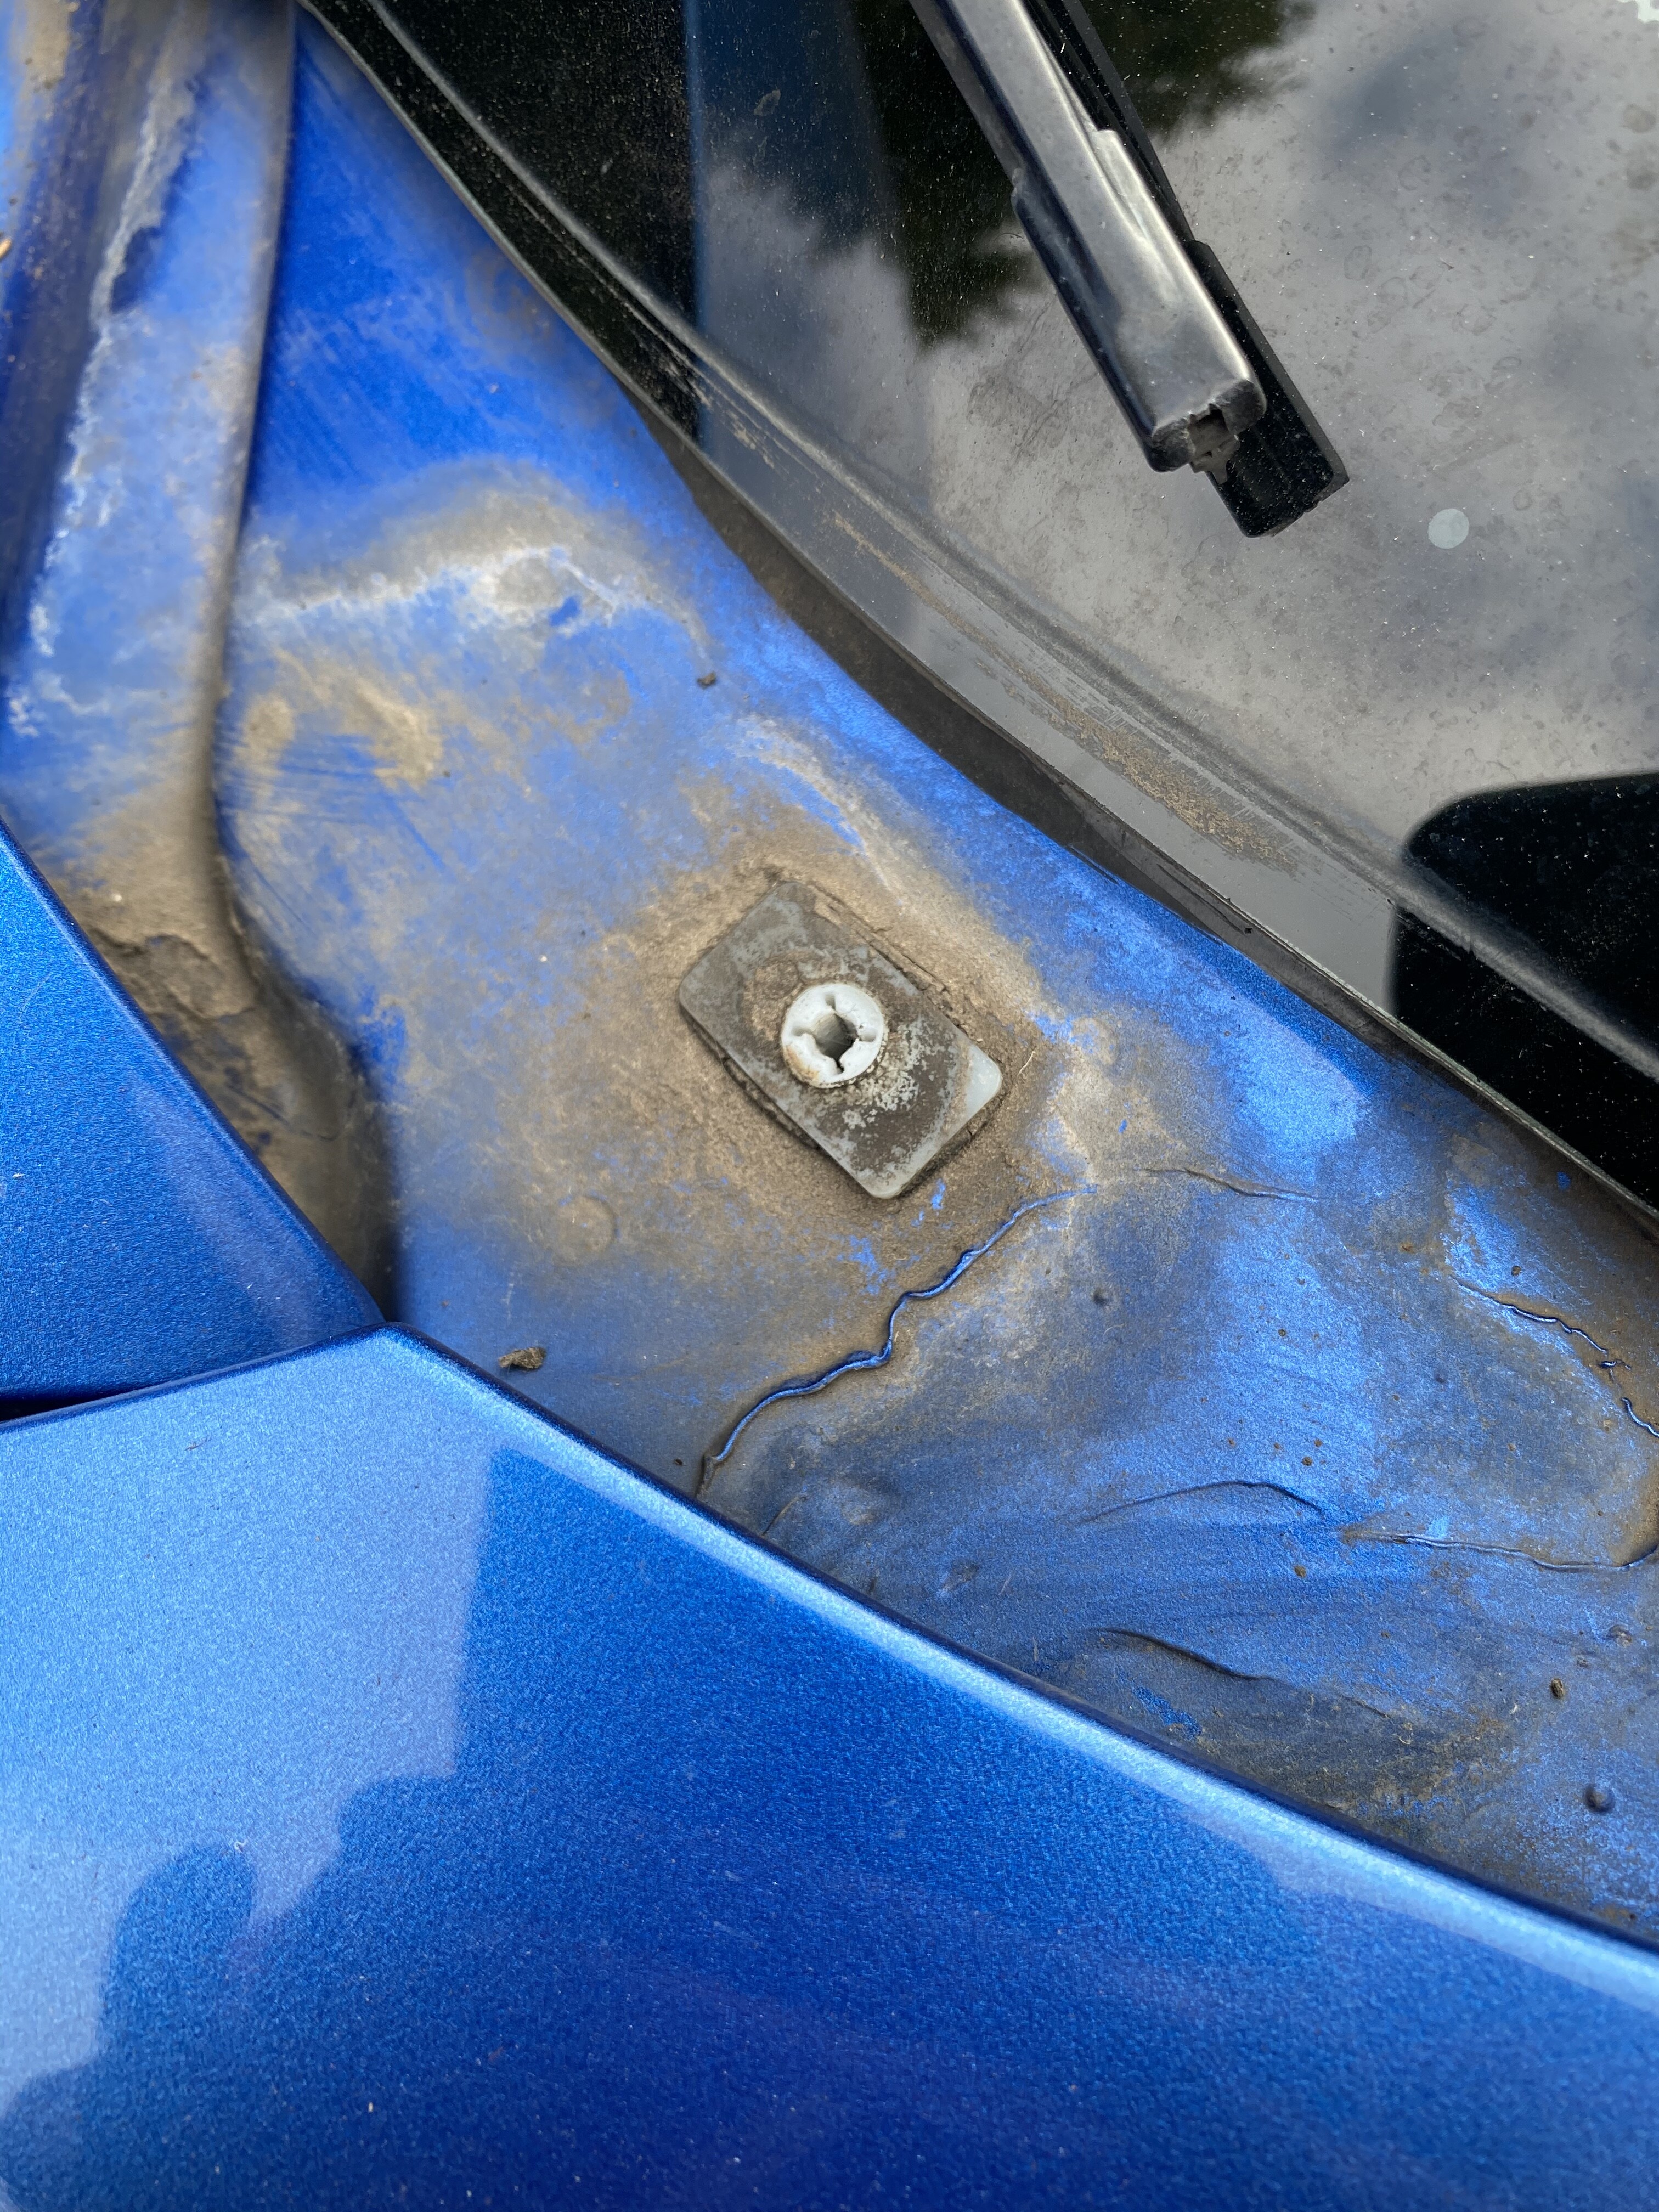
You can actually get to the grommets by just lifting the cover panel once the screws are out but it’s best to get the panel out of the way to work. The panel is in two halves held together once free by the washer tubes, i just pushed it out of the way and left the tubes connected. Wipers come off easier once the nuts are off if you raise them in an upright position then wiggle them on the spline.
As said, best to use the original inserts, clean away the remains of the old gaskets and reseal with good quality sealant.
Just lift the inserts away from the metal and fill the gap between, where rhe gasket was, with a bead of sealant.
Easy peasy.
I’m happy to keep the existing fittings as there’s less chance of damaging the metalwork but I’d read on one of the other threads that reusing the old grommet might not be as successful because it could lift when the panel was screwed back down due to the absence of the infamous foam gasket.
Is Fernox LS-X Leak Sealer still the preferred sealant ? According to the description on one of the DIY sites, it doesn’t fully cure which makes for easier removal I guess.
And let it cure before screwing anything in I guess. Which is partly why I asked about Fernox as it stays elastic.
As an aside, does anybody tidy up the rusty bolt and stay that stabilises the internal blower assembly ? My thoughts are whatever I do it’ll be an obvious repair and leaving it won’t cause any harm since the blower casing is plastic.