Right guys and gals, I know a few have had trouble with the recent Photobox disaster. They’ve really shot themselves in the foot considering there’s a multitude of photo-sharing sites available. I’ve tried a number of them and have found this one to be the easiest, most scaled-down and current favourite of the bunch. I’ll walk you through the steps of getting started, uploading and sharing your photos! This can also easily be done from your phone, and I can chuck up a phone-friendly guide if there’s enough interest though the steps are nigh-on identical!
1. Go to the site
The site is called postimage.org < click on the website name and it’ll take you right there in a new tab. Every little helps getting started!
2. Log-in/sign up!
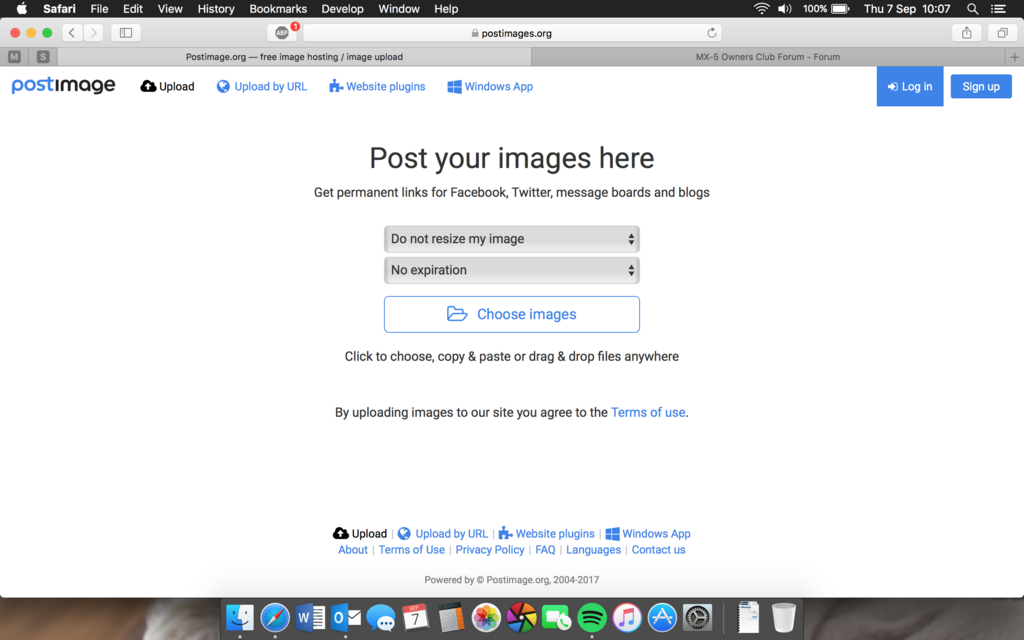
Pretty self-explanatory stuff, if you’ve an account with them you’ll log in, if you don’t you sign up. It’s easy to go through this yourselves and you should get a confirmatory email when you’ve signed up so you know you’re away to go. I’ve already got an account so I’ll be logging in, top right. (Shown in picture #1)
3. Uploading an image.
On the ‘home screen’ there should be an interface with either an upload button in the top-right, or a screen like this;
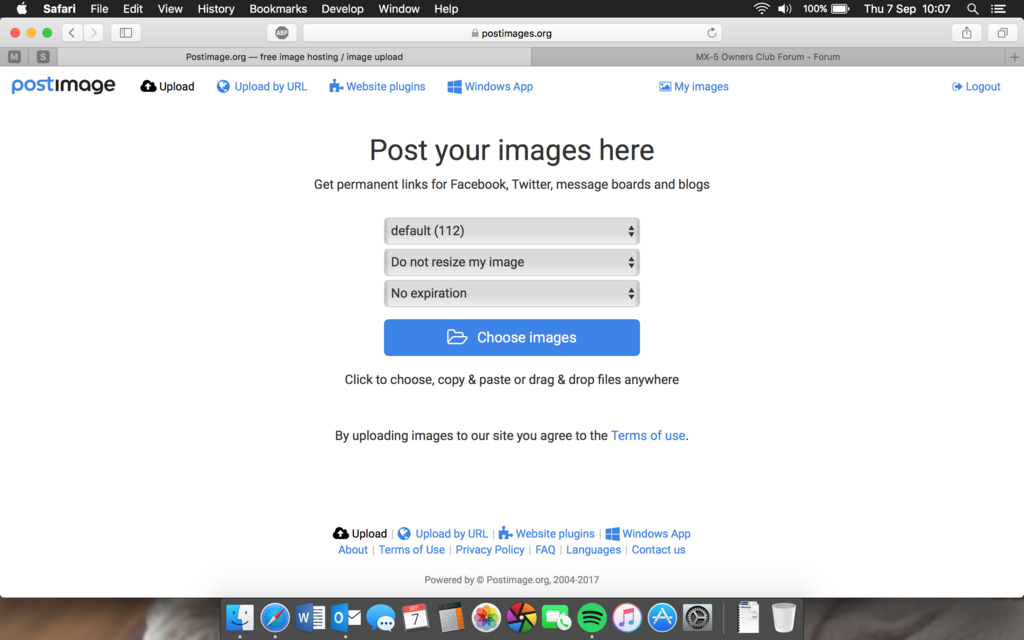
Click ‘choose images’ and you’ll be greeted with the following (on mac). On Windows devices you’ll have your relative file explorer. Both are simple enough to use, I use both regularly. For this example I’ll upload a photo of my dog!
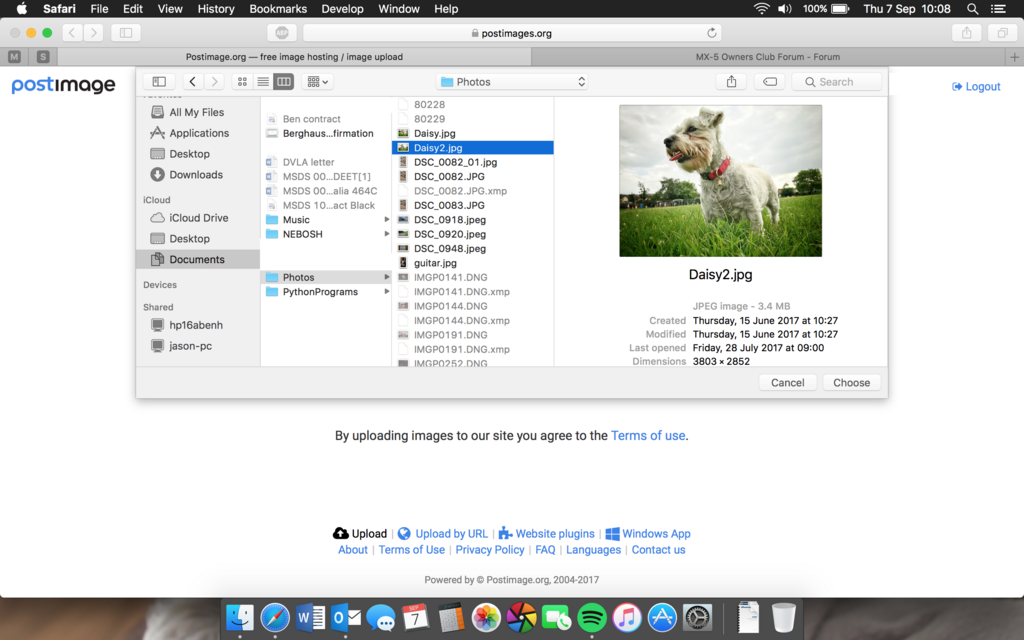
You’ll note that some of the images are in a lighter grey font. For the direct upload via this method it seems to favour .jpg photos. If you open the finder/file explorer and drag-n-drop the photo onto this page it might work. There is an upload limit for file sizes, but I’m not sure what this is at this stage, I’ve never had issues with it.
Once you’ve chosen your photo/photos, you’ll have an uploading screen with progress of upload, as per below;
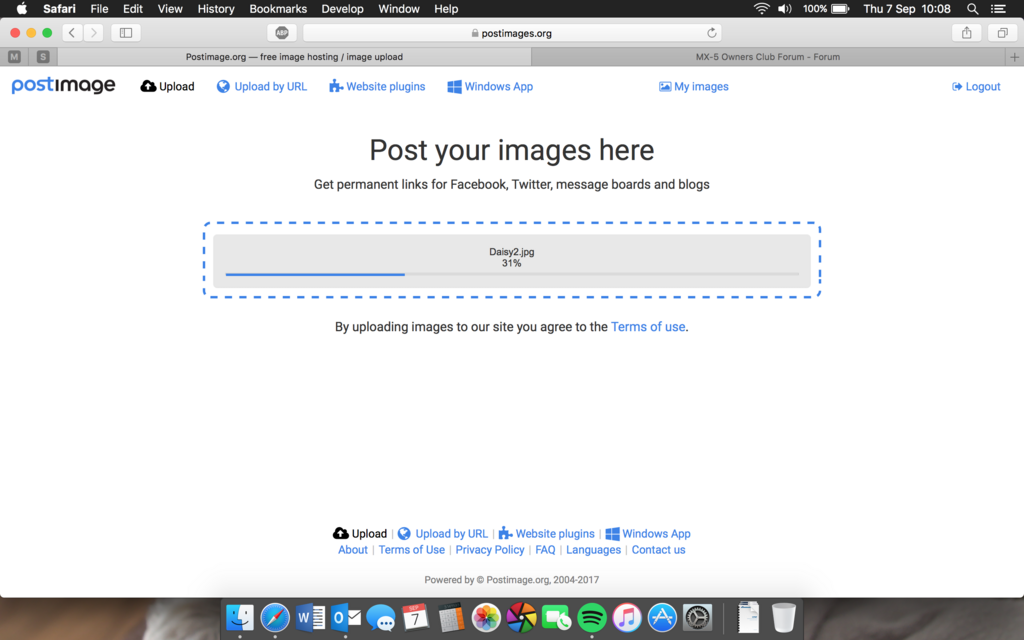
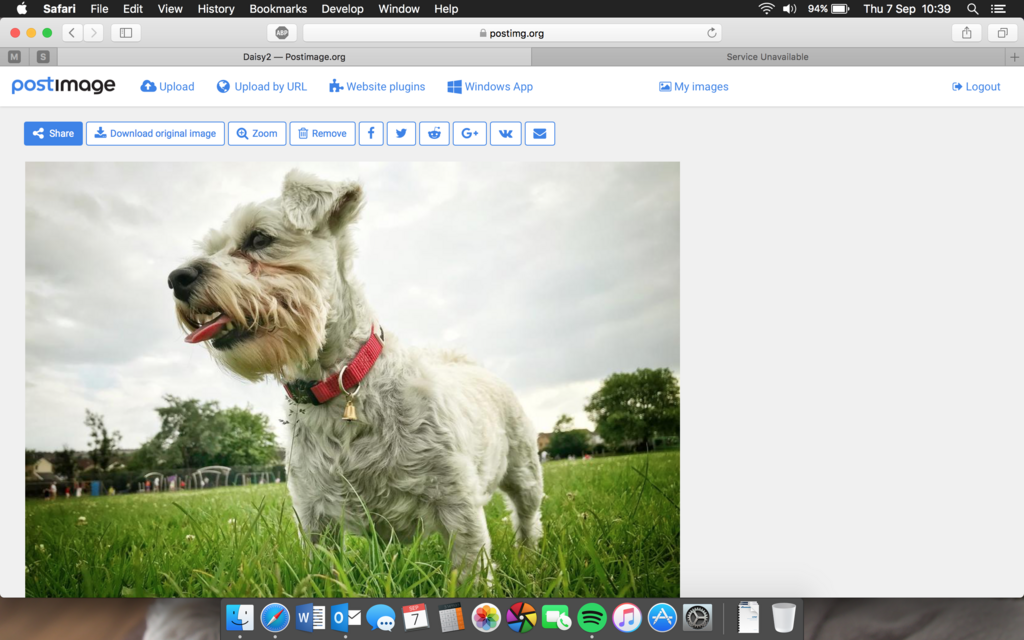
Once it says ‘complete’ it’ll take you to that photo you’ve just uploaded.
4. Sharing a photo
You’ll be looking for a symbol such as this, either below the thumbnail if you’ve not clicked on your image or above the image that you’ve just uploaded, to the left-hand side of the screen;

And here is an example of where it is above the photo;
Once you click on this, you’ll have the following boxes/options;
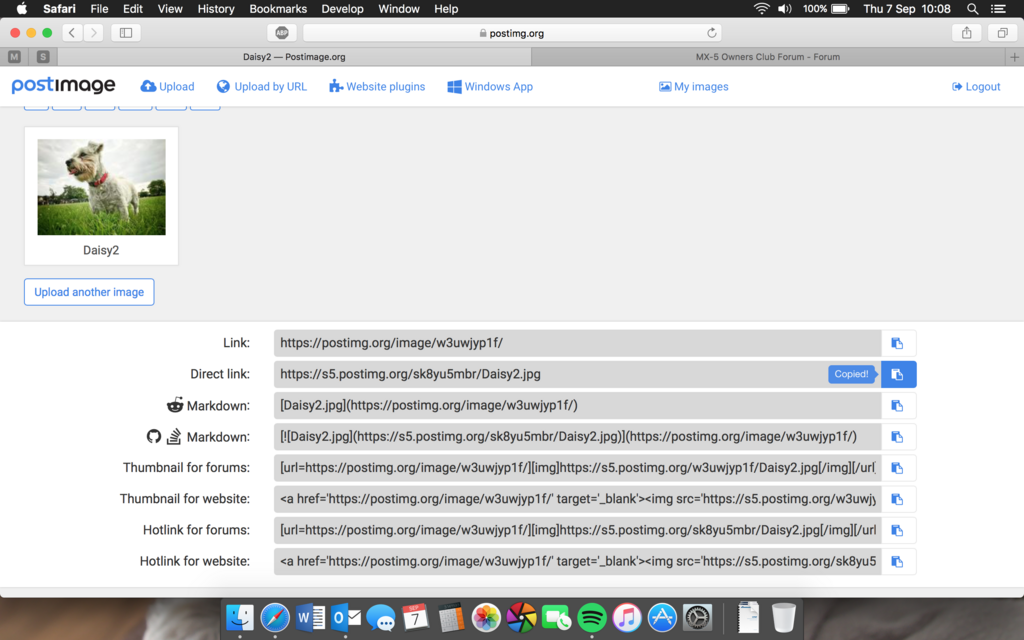
Here the majority of options are self explanatory. I almost always opt for ‘direct link’ as I’ll explain later. If you click the little symbol to the right-hand side of the link, as above, it’ll say it’s copied. Then you just have to paste it to the right place and Bob’s your mum’s brother…
Once it’s copied, head to wherever you’re posting it (I’ll use this site as the obvious example) and, when drafting your message, press the little ‘upload image’ box;
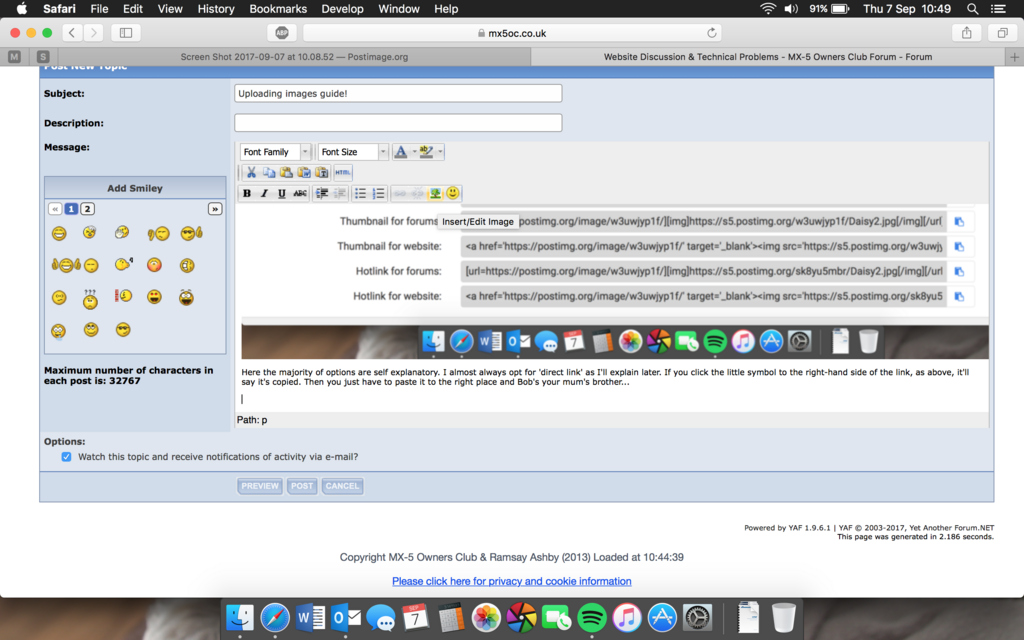
In the above, I’m hovering over the relevant box, see if you can spot where it is! Hint: it’s near the smiley face in the middle!
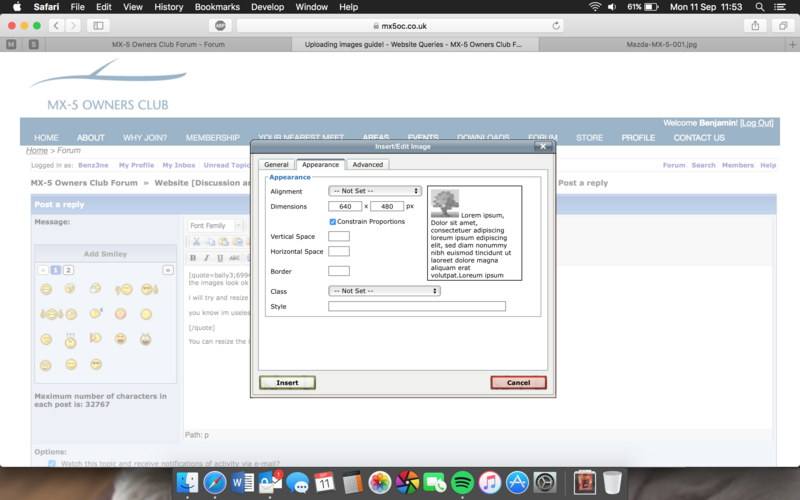
When you click that you get this…
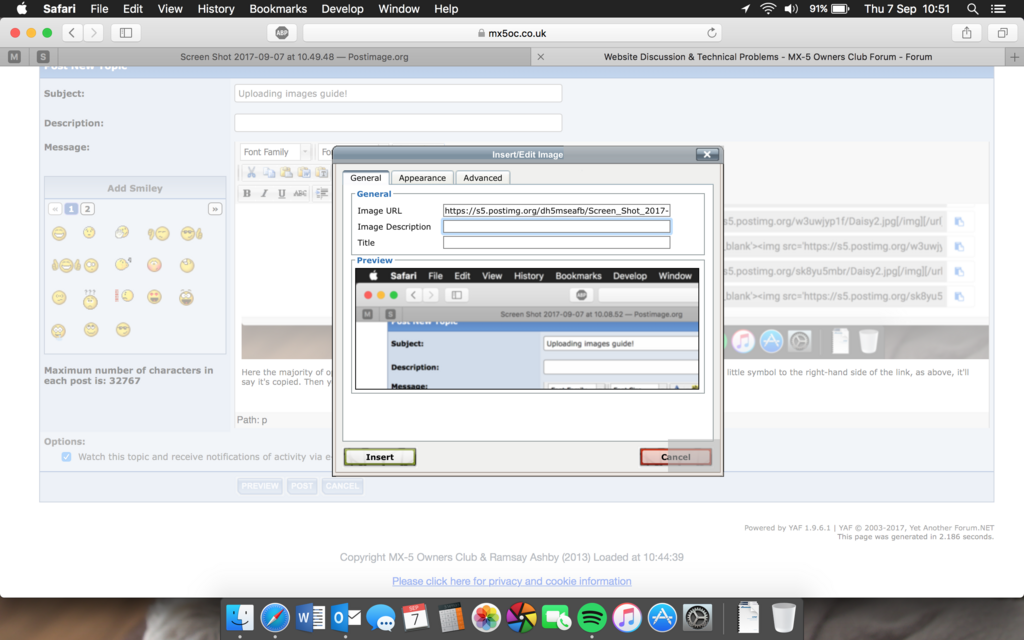
As you can see here, I’ve pasted the link into the box. You can do this by right-clicking and choosing paste after you’ve copied the link as mentioned earlier. On Windows computers you can also press ctrl and ‘v’ together or with Mac it’s command and v.
Press insert and it should show your photo within the draft box, as you can see the image before last. Here, you can change the image size by pressing the ‘appearance’ tab and inputting your size. 800px width seems to work on most devices, but you can go smaller for phones (640px is probably a good ballpark there).
If you’re still with me and followed these steps, you should be able to upload and share your photos with ease! There’s no harm practising, it gets easier with each time you do it! So here goes… say hello to Daisy!
I hope this helps! If you want me to clarify anything just holla and I’ll be happy to go through any questions you might have!
Ben


 [/url]