Venture nc3.75 2.0, from a beginner

I shall be attempting to log my mucking around in and around the car here.

Firstly, I fitted the intermittent wiper stalk. Dead simple, 5 screws total I think.
I bought mine from MX5parts, as I couldn’t find any from an rx8 on ebay.
I timed it beautifully for the run of rain this week, so I managed to test them out, much better than the stock speeds so I was made up!
I followed this video: https://www.youtube.com/watch?v=k5Q03aF0KCg&t=370s

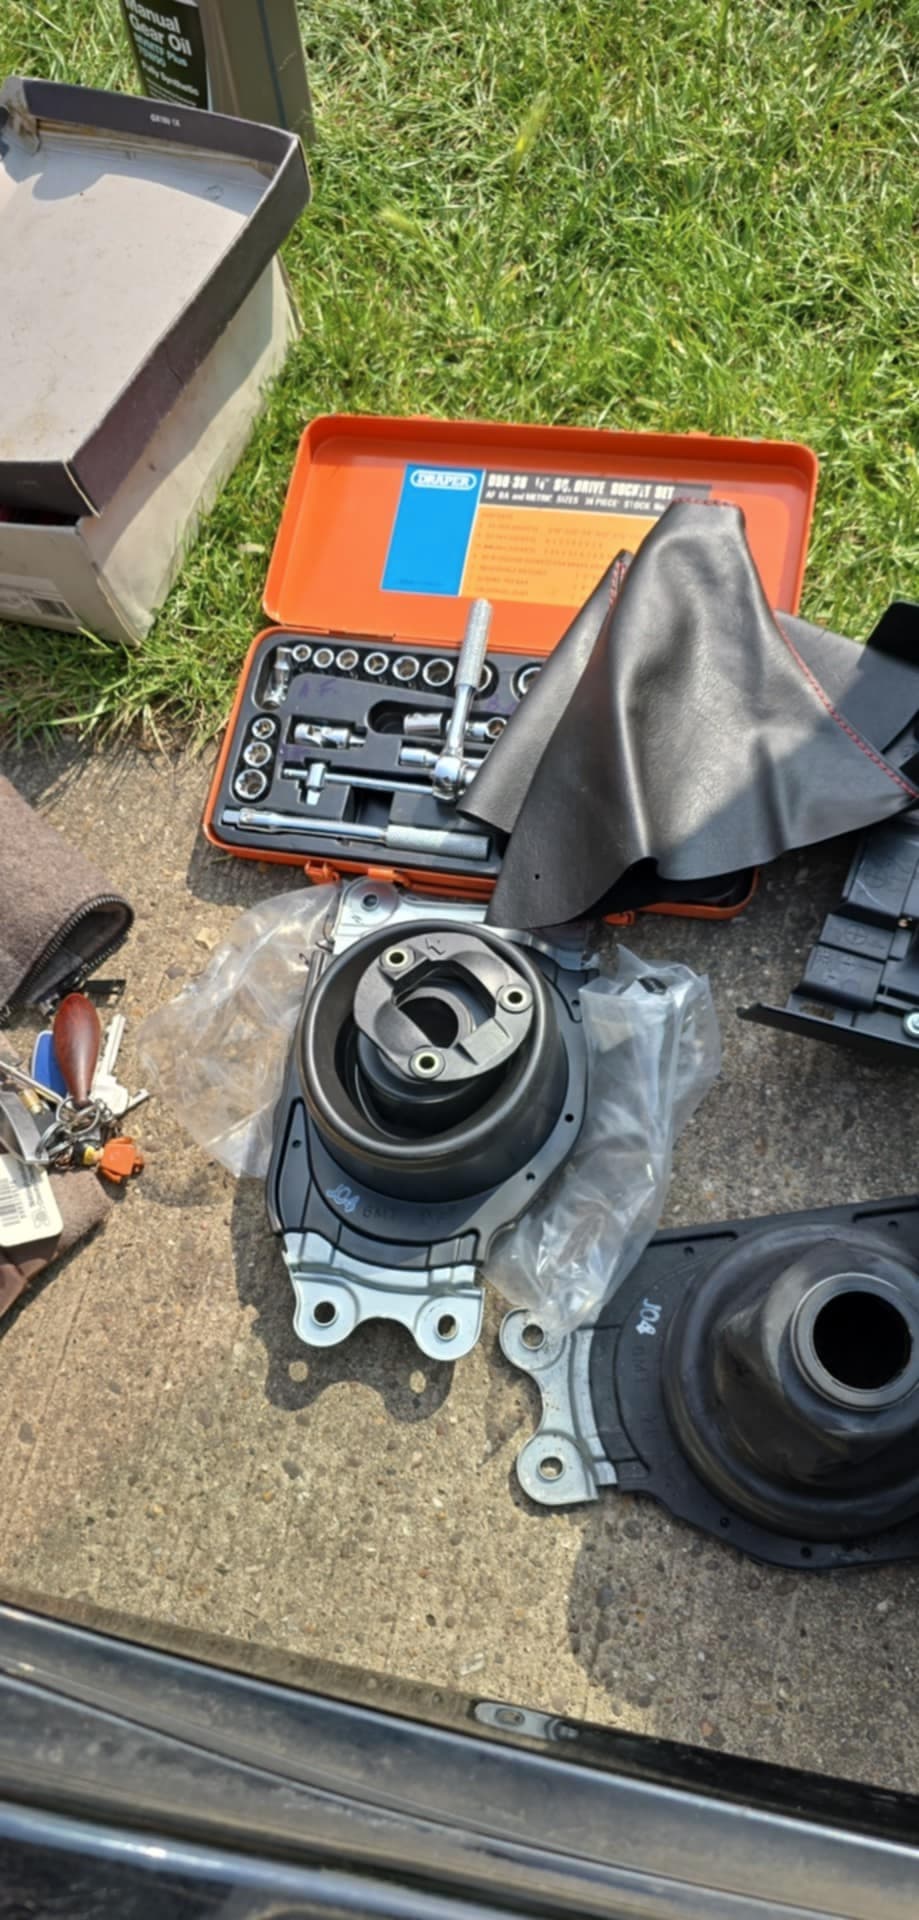
Then the next task I set to was changing the gear selector limiter, again bought from mx5parts Gear Lever Selector Limiter Plate, MX5 Mk3/3.5/3.75 6spd & Mk4 – MX5 Parts

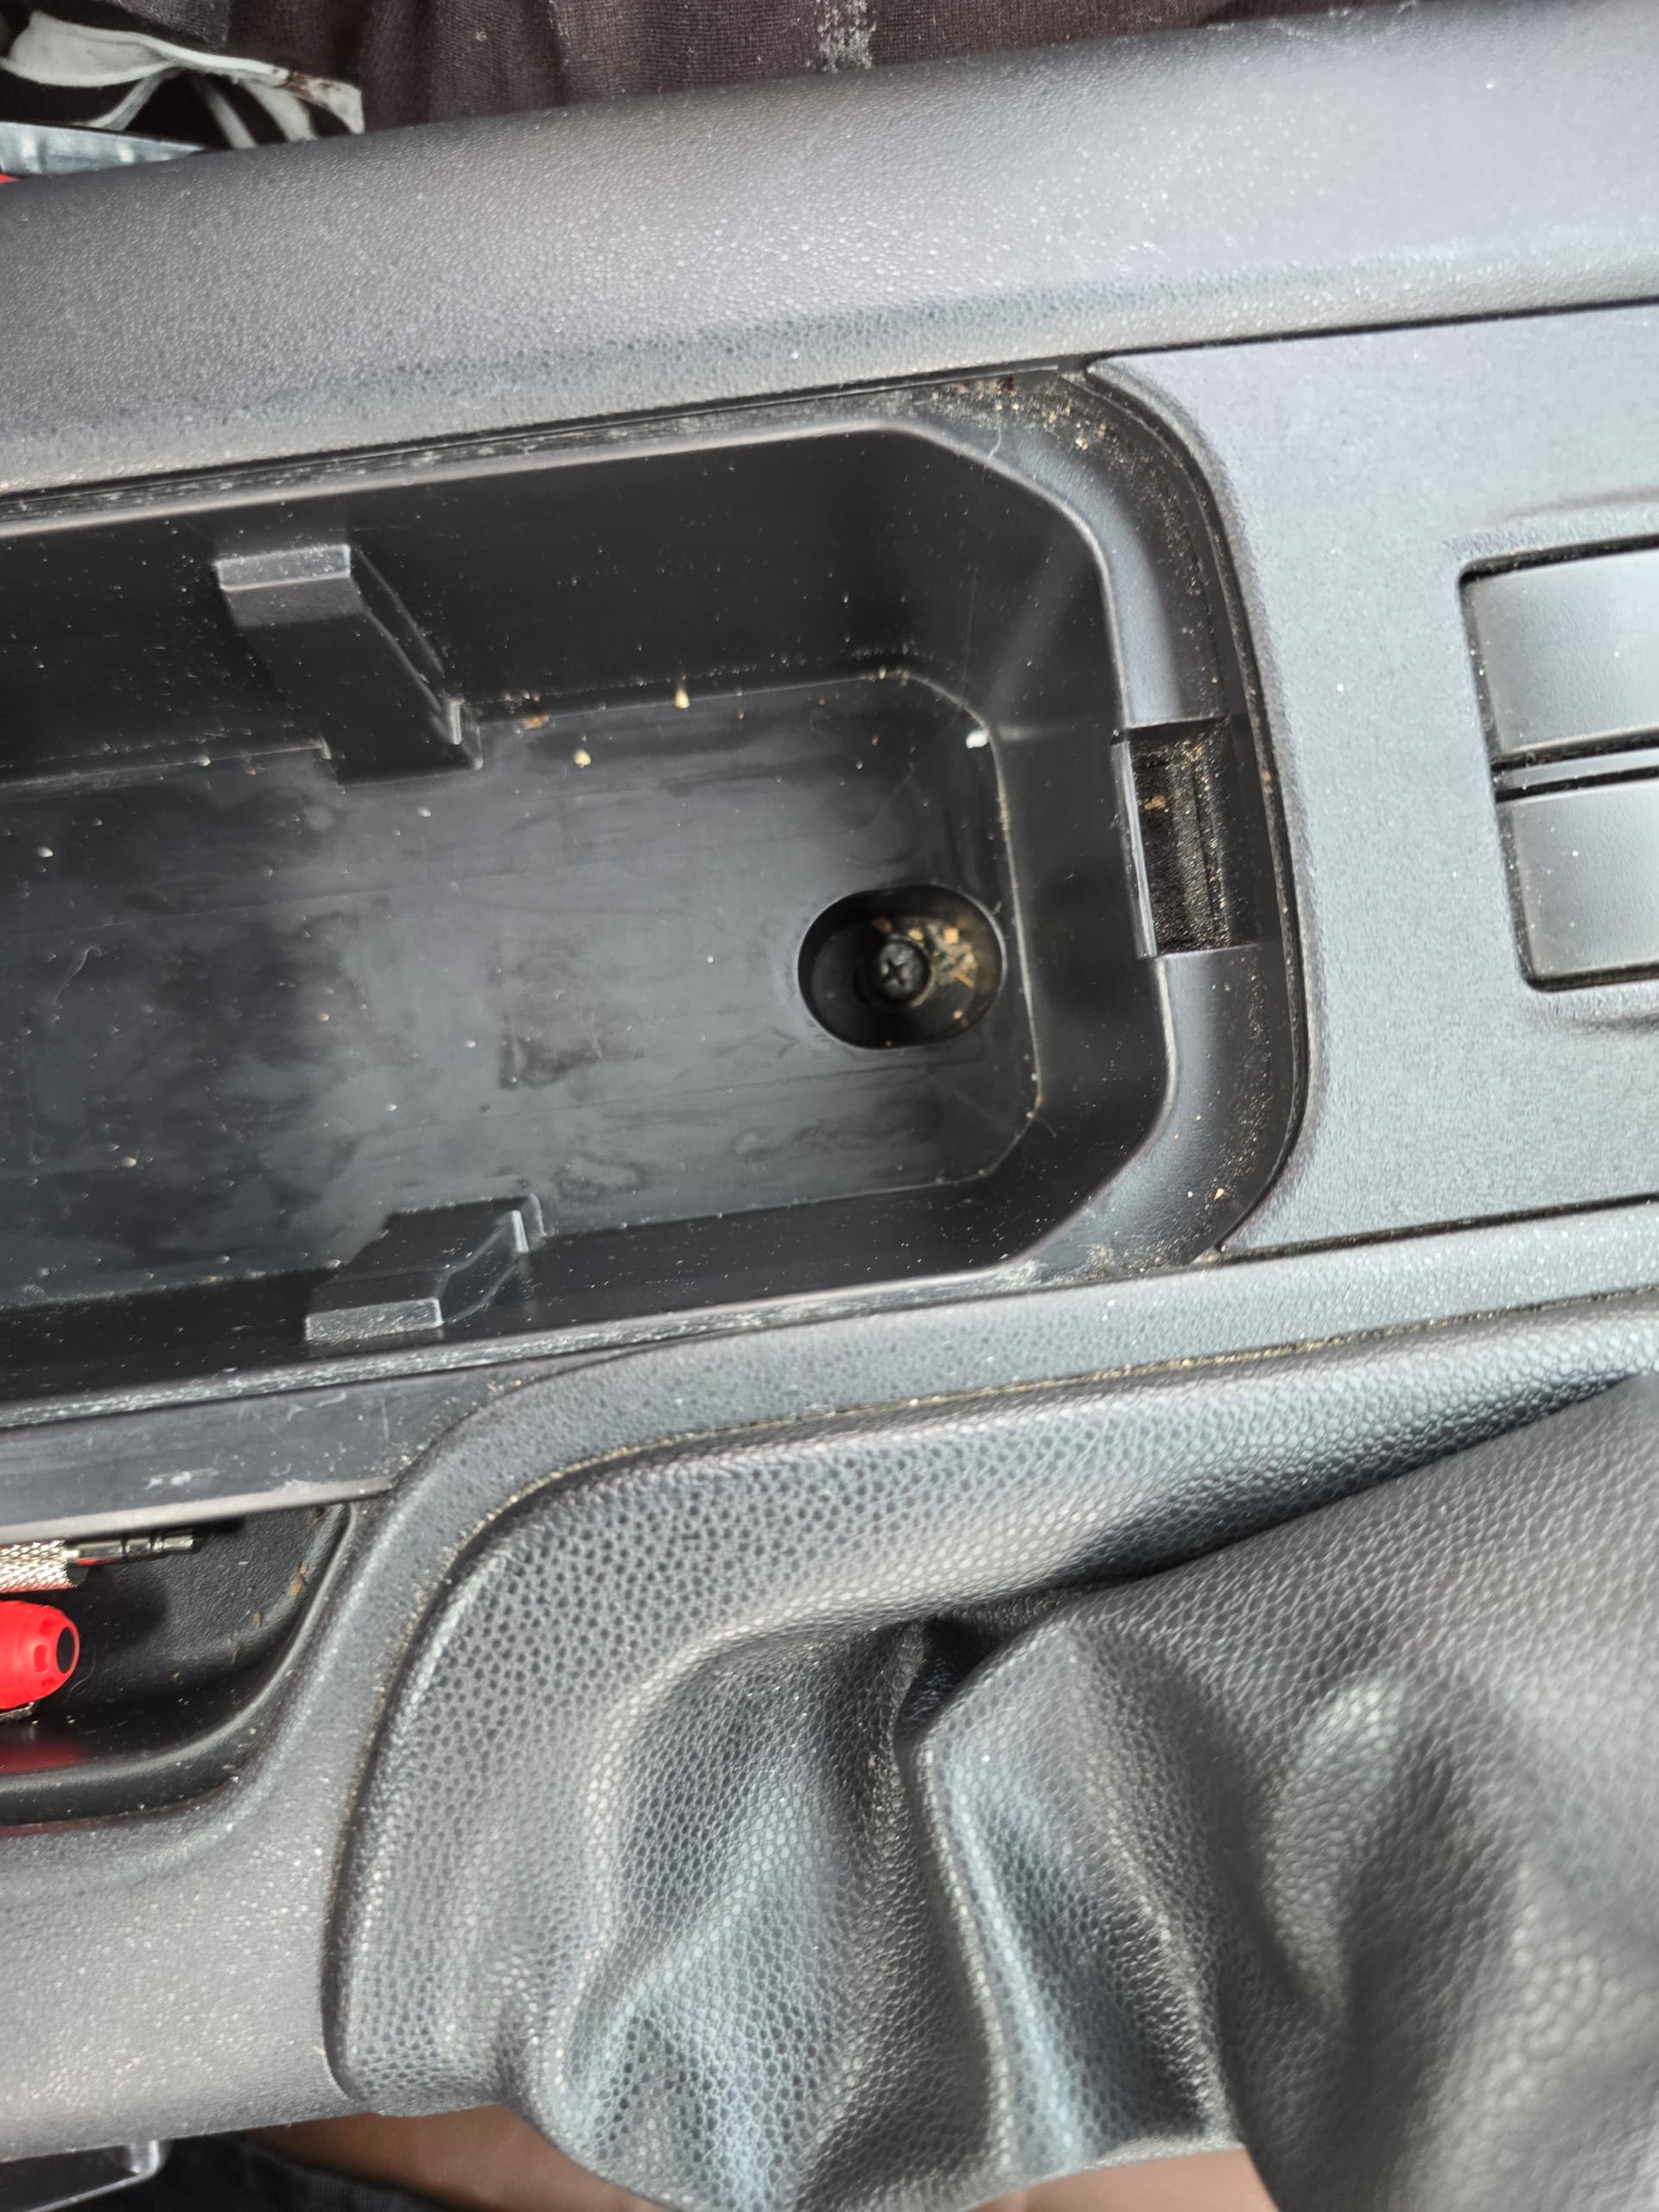
Disassembling the center console was unexpectedly easy with my iFixit toolkit, which I was pleasantly surprised by, as I was expecting to need additional trim tools.


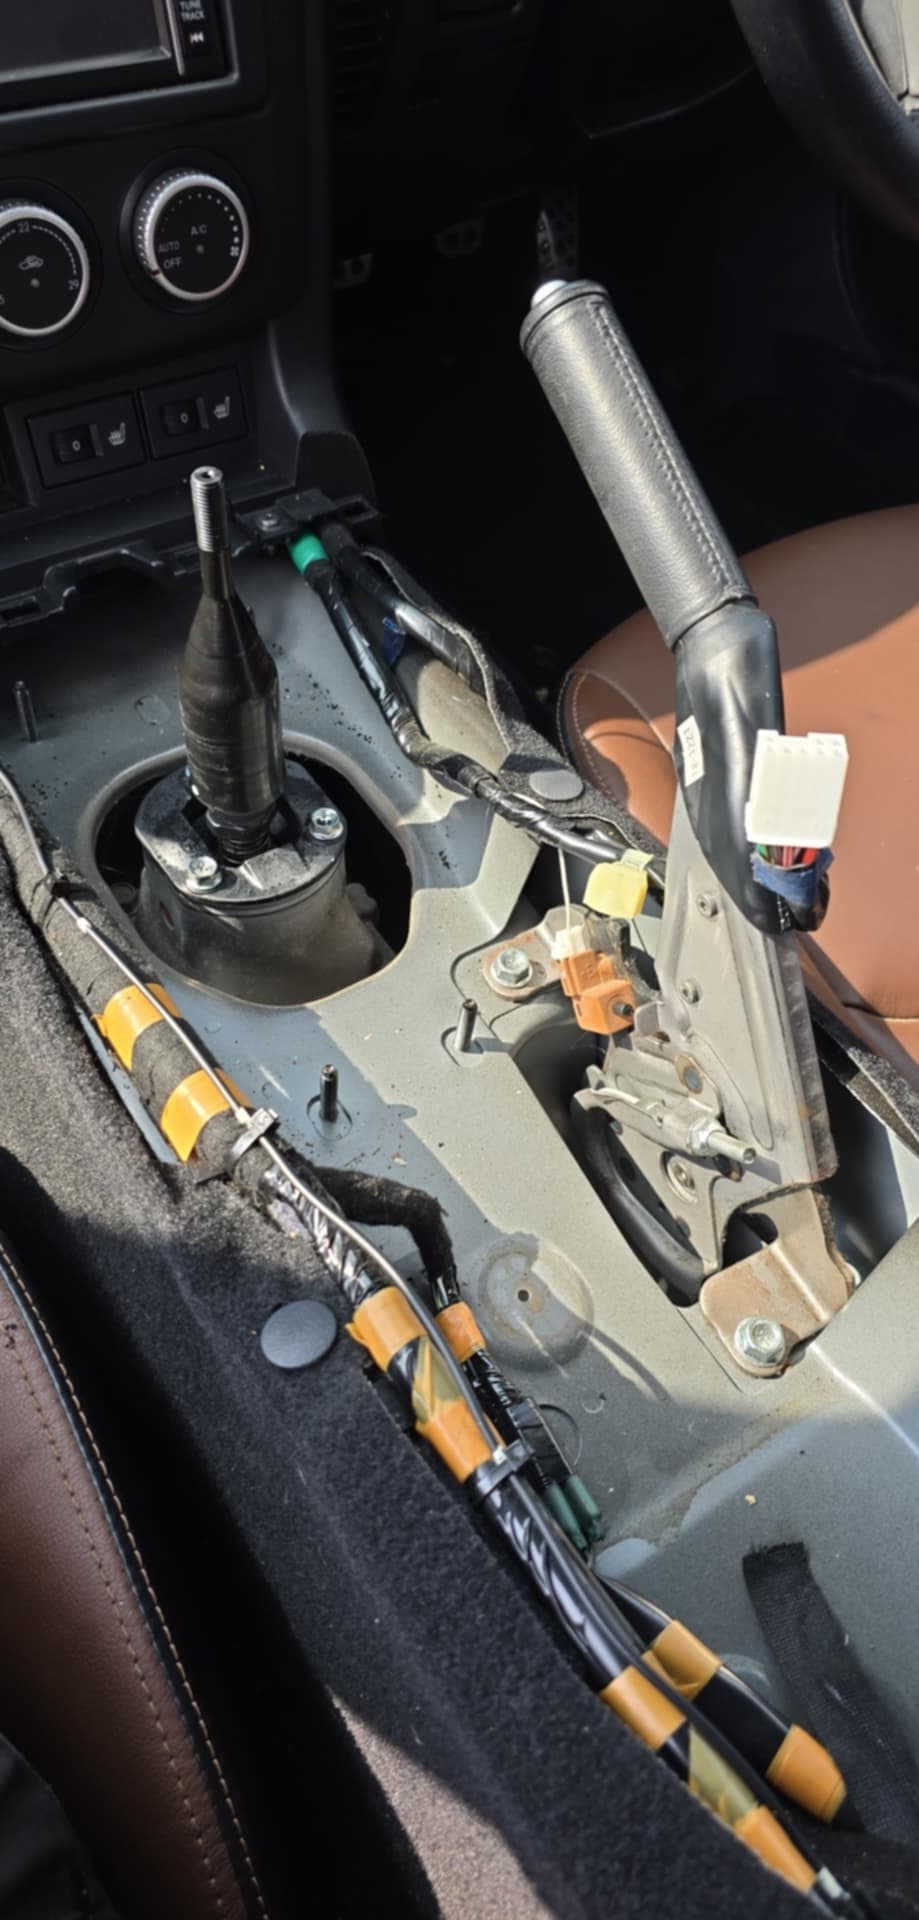
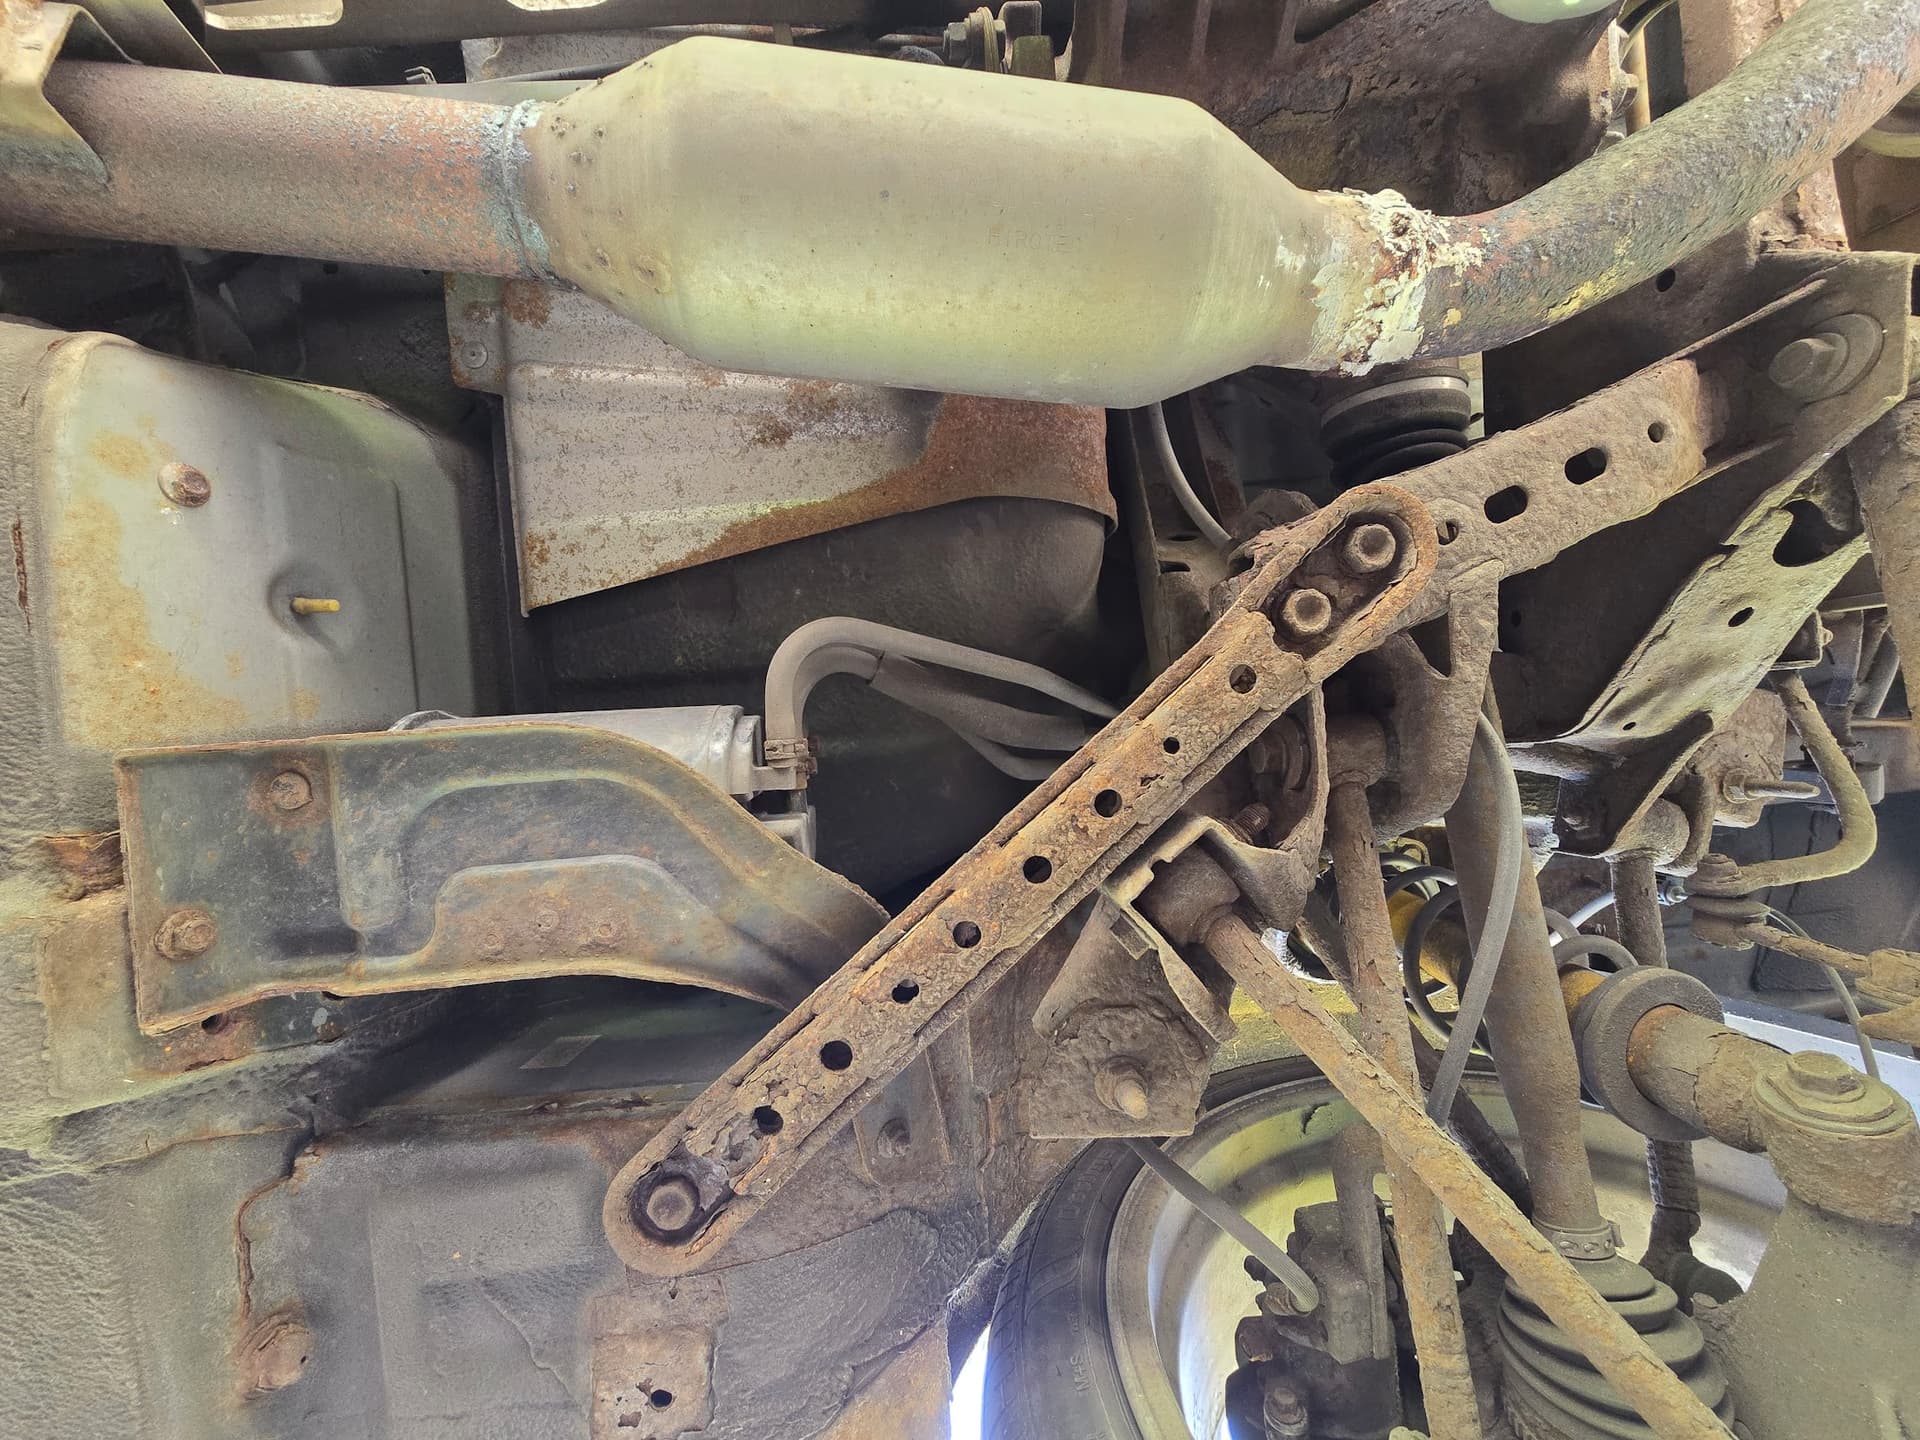
All was quite straightforward to get off, especially following this thread Notchy gear change - selector limit plate wear on NC 6 Speed.
The only note I have is that the shift boot (Genuine Mazda MX5 Mk3 Upper Gear Shift Boot - MX5 Parts) the plastic ring and all slides over the top, I thought that the rubber needed to slide over the ring.

A mostly moot point as it was ripped on either side anyway, so I replaced it, but useful to know.
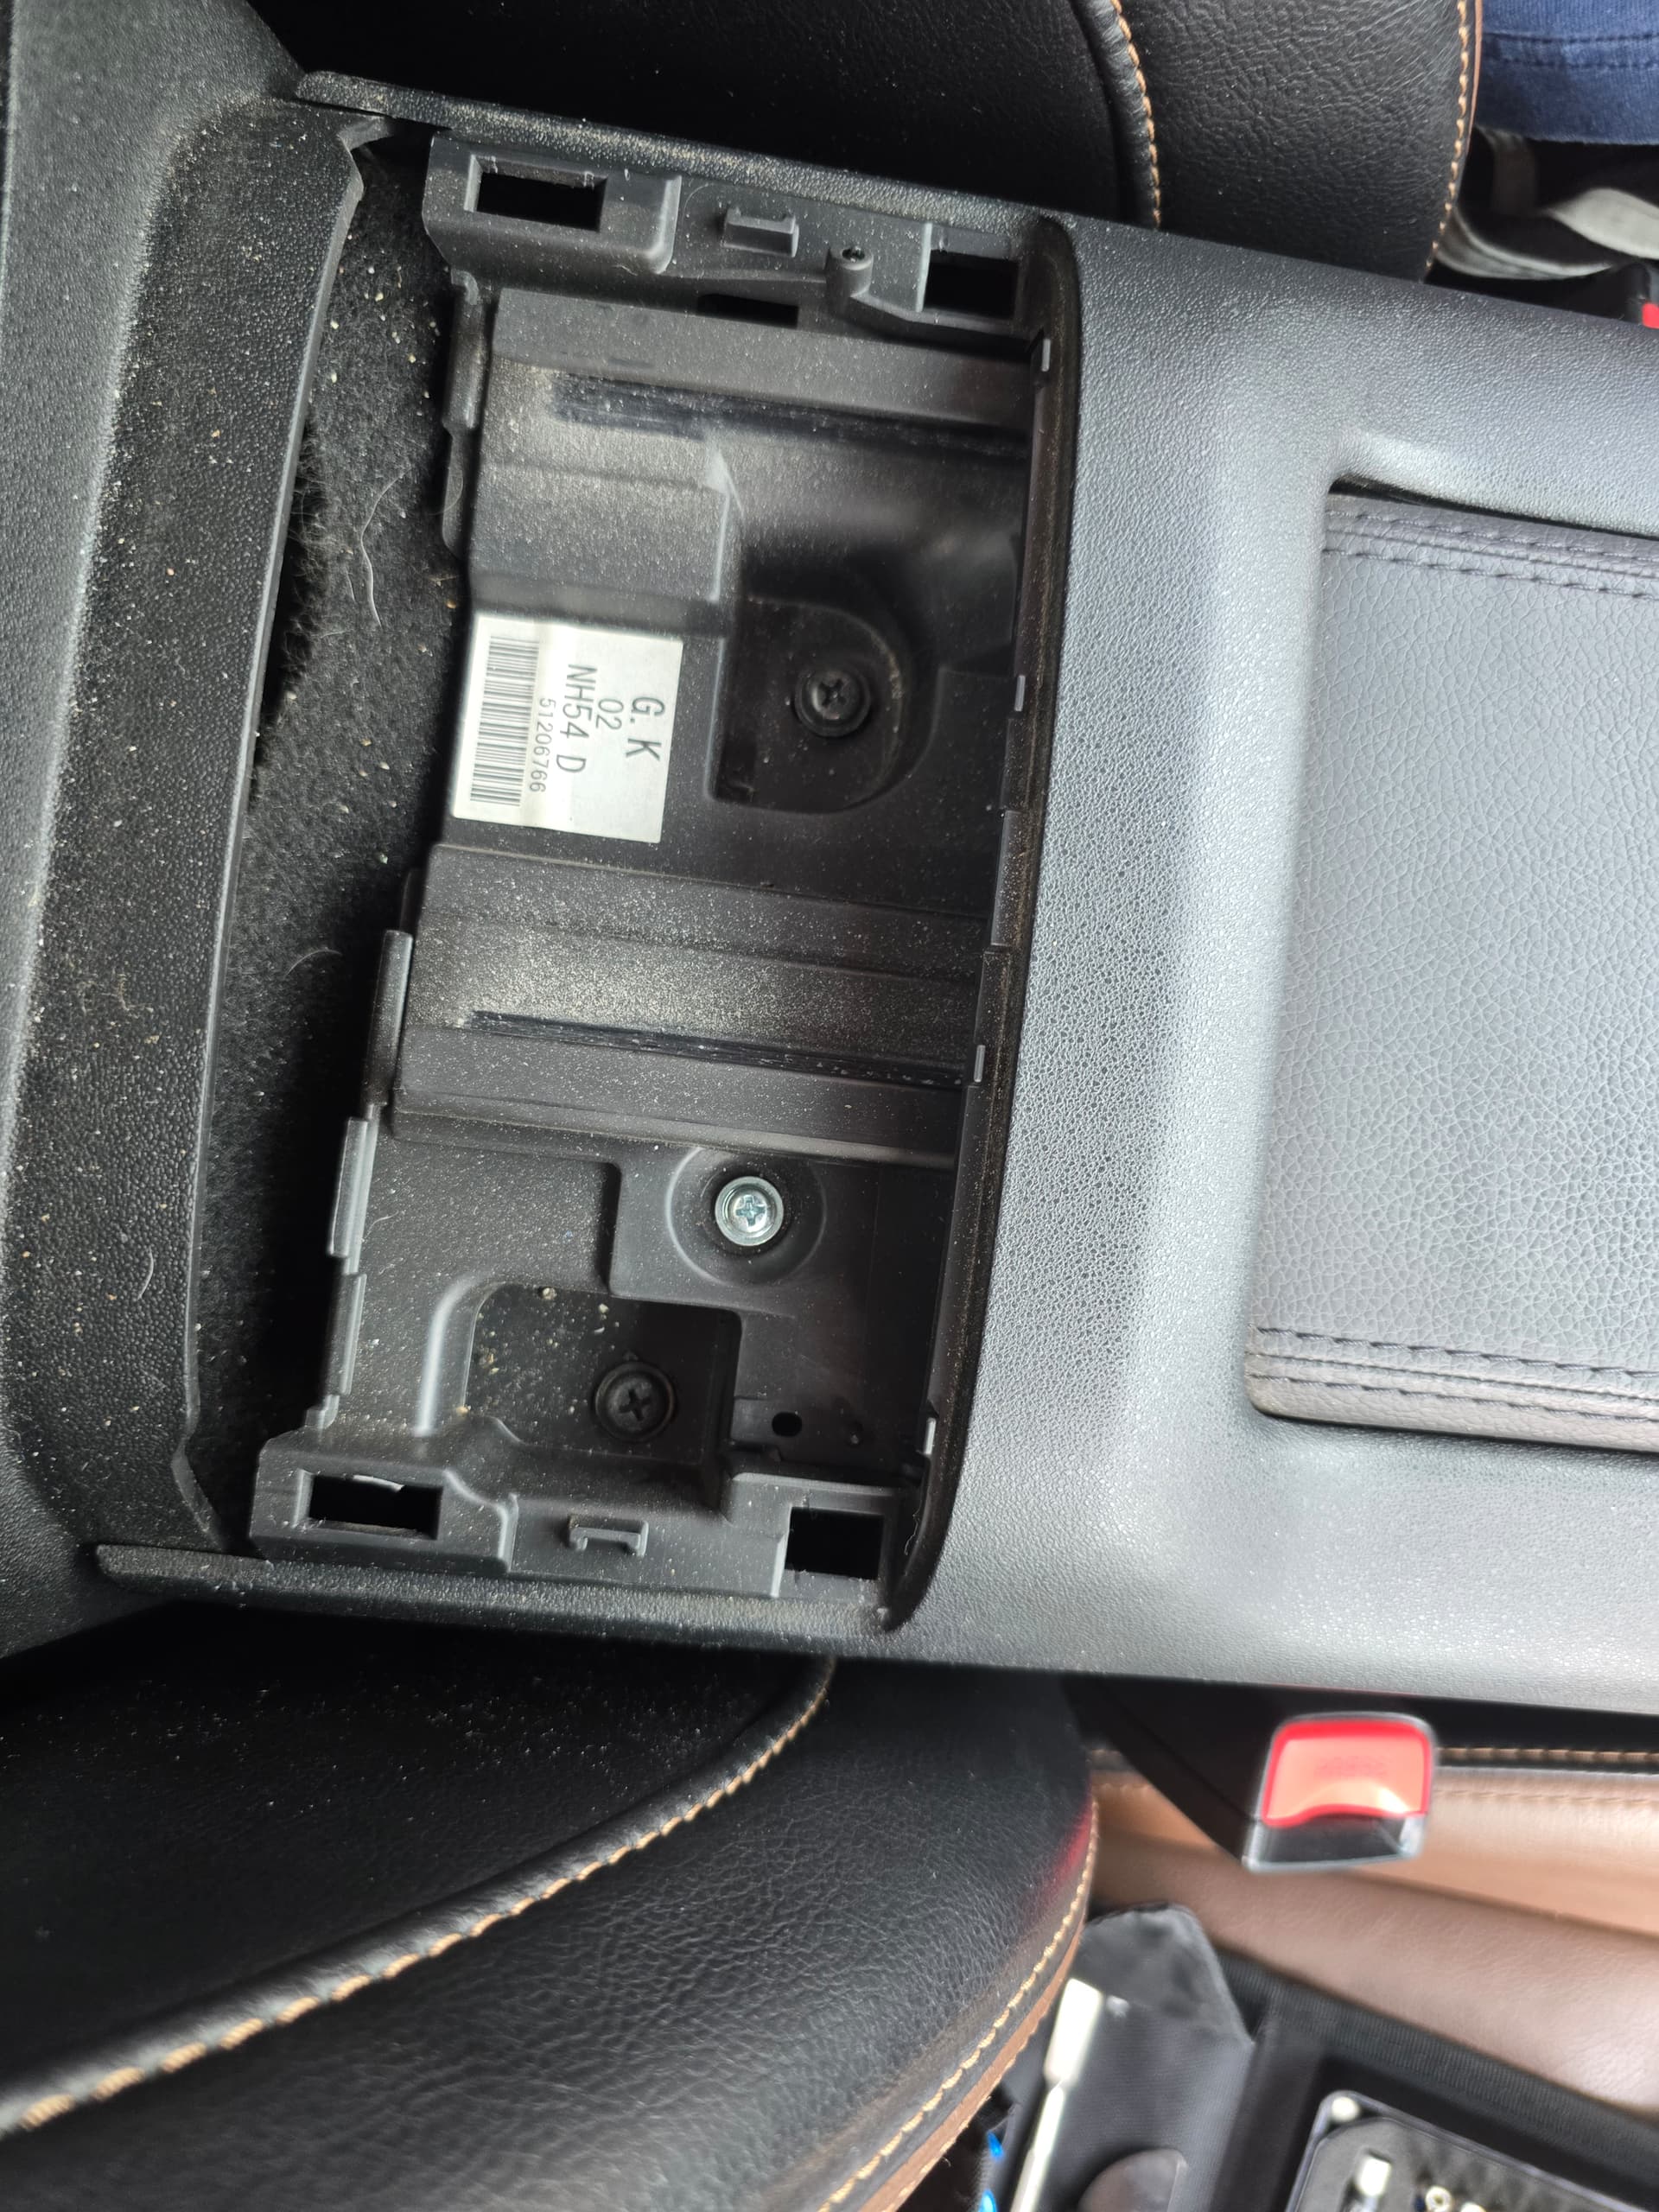
You can see the ring in this photo in the bottom right.

After those are out I pulled the the gear stick out and added some 75w90 gear oil to the cup at the bottom, which I believe is the correct place.
This done the parts were swapped, and replaced, and back in goes the trim. Don’t forget to plug your window switches back in, as I nearly did.

Driving it now, I can feel the difference in finding 1st and 2nd, unfortunately it hasn’t completely cured the gearchanges, cold shifts are… crunchy? notchy too.
With some luck Rodders will cure it with a diff and gearbox oil change at the end of the month.
In the meantime, I have to carefully shift into 2nd so as not to grind the gears.

2 Likes

This week, I also jacked the back of the car up to get a clearer view of the underside, as I’m hoping to get it undersealed before winter.
This is my main worry for the longevity of the car, and also the area that I have absolutely no experience on.
A few photos to illustrate.


I know that the 2 rear control arms are replaceable, which I think I shall attempt to do with the mx5parts chassis brace kit.
It also has a “front lower chassis brace” that I believe replaces the brace in the last photo.
In the meantime, I have emailed JRClassics, as they have been recommended on here before.
I’d appreciate any commentary as to how dire the situ is, or whether I’m overreacting…

1 Like

Have you tried adjusting the clutch pedal? Not sure if it’s an issue on the later NC’s like it was on my 2009.

1 Like

I don’t think you can ever overreact where rust is concerned. It never gets better so you’re as well changing anything that concerns you and getting it smothered in Lanoguard asap.

Get the rear wheel arch liners off and check behind those, especially the lower part of the arch where it meets the sill. Under the sill at that point too, the rear part just rear of the jacking point can catch the rot.
You must have a split in the weld on the mid pipe, it’s got some exhaust gum on it.

1 Like

Yes, I noticed that immediately when we first inspected it, possibly there’s a minor leak which is going to be inspected and fixed at the end of the month

There is a tiny bit of rust on the wheel arch, so I’m expecting a more behind

I haven’t yet, I haven’t quite decided if that would be one of the issues. I shall start revising for doing it though :grinning_face_with_smiling_eyes:

On mine the clutch biting point was right on the floor which is strangely common. This does make for notchy gear changes. There is an adjuster rod on the pedal.

1 Like

I have now adjusted the clutch pedal - Immediate difference in first and second, I only very slightly adjusted it, as I do not have any whiteout or equivalent to mark where I am.
Will further experiment, but certainly a worthwhile adjustment.

This is what I followed, notably needed a stubby 12mm spanner, unsure what the 10mm spanner was needed for in the guide.

https://forum.miata.net/vb/showthread.php?t=240632
This offered a nice explanation of why such issues might occur, to inexperienced drivers such as I.
As well as a list of symptoms to look for.