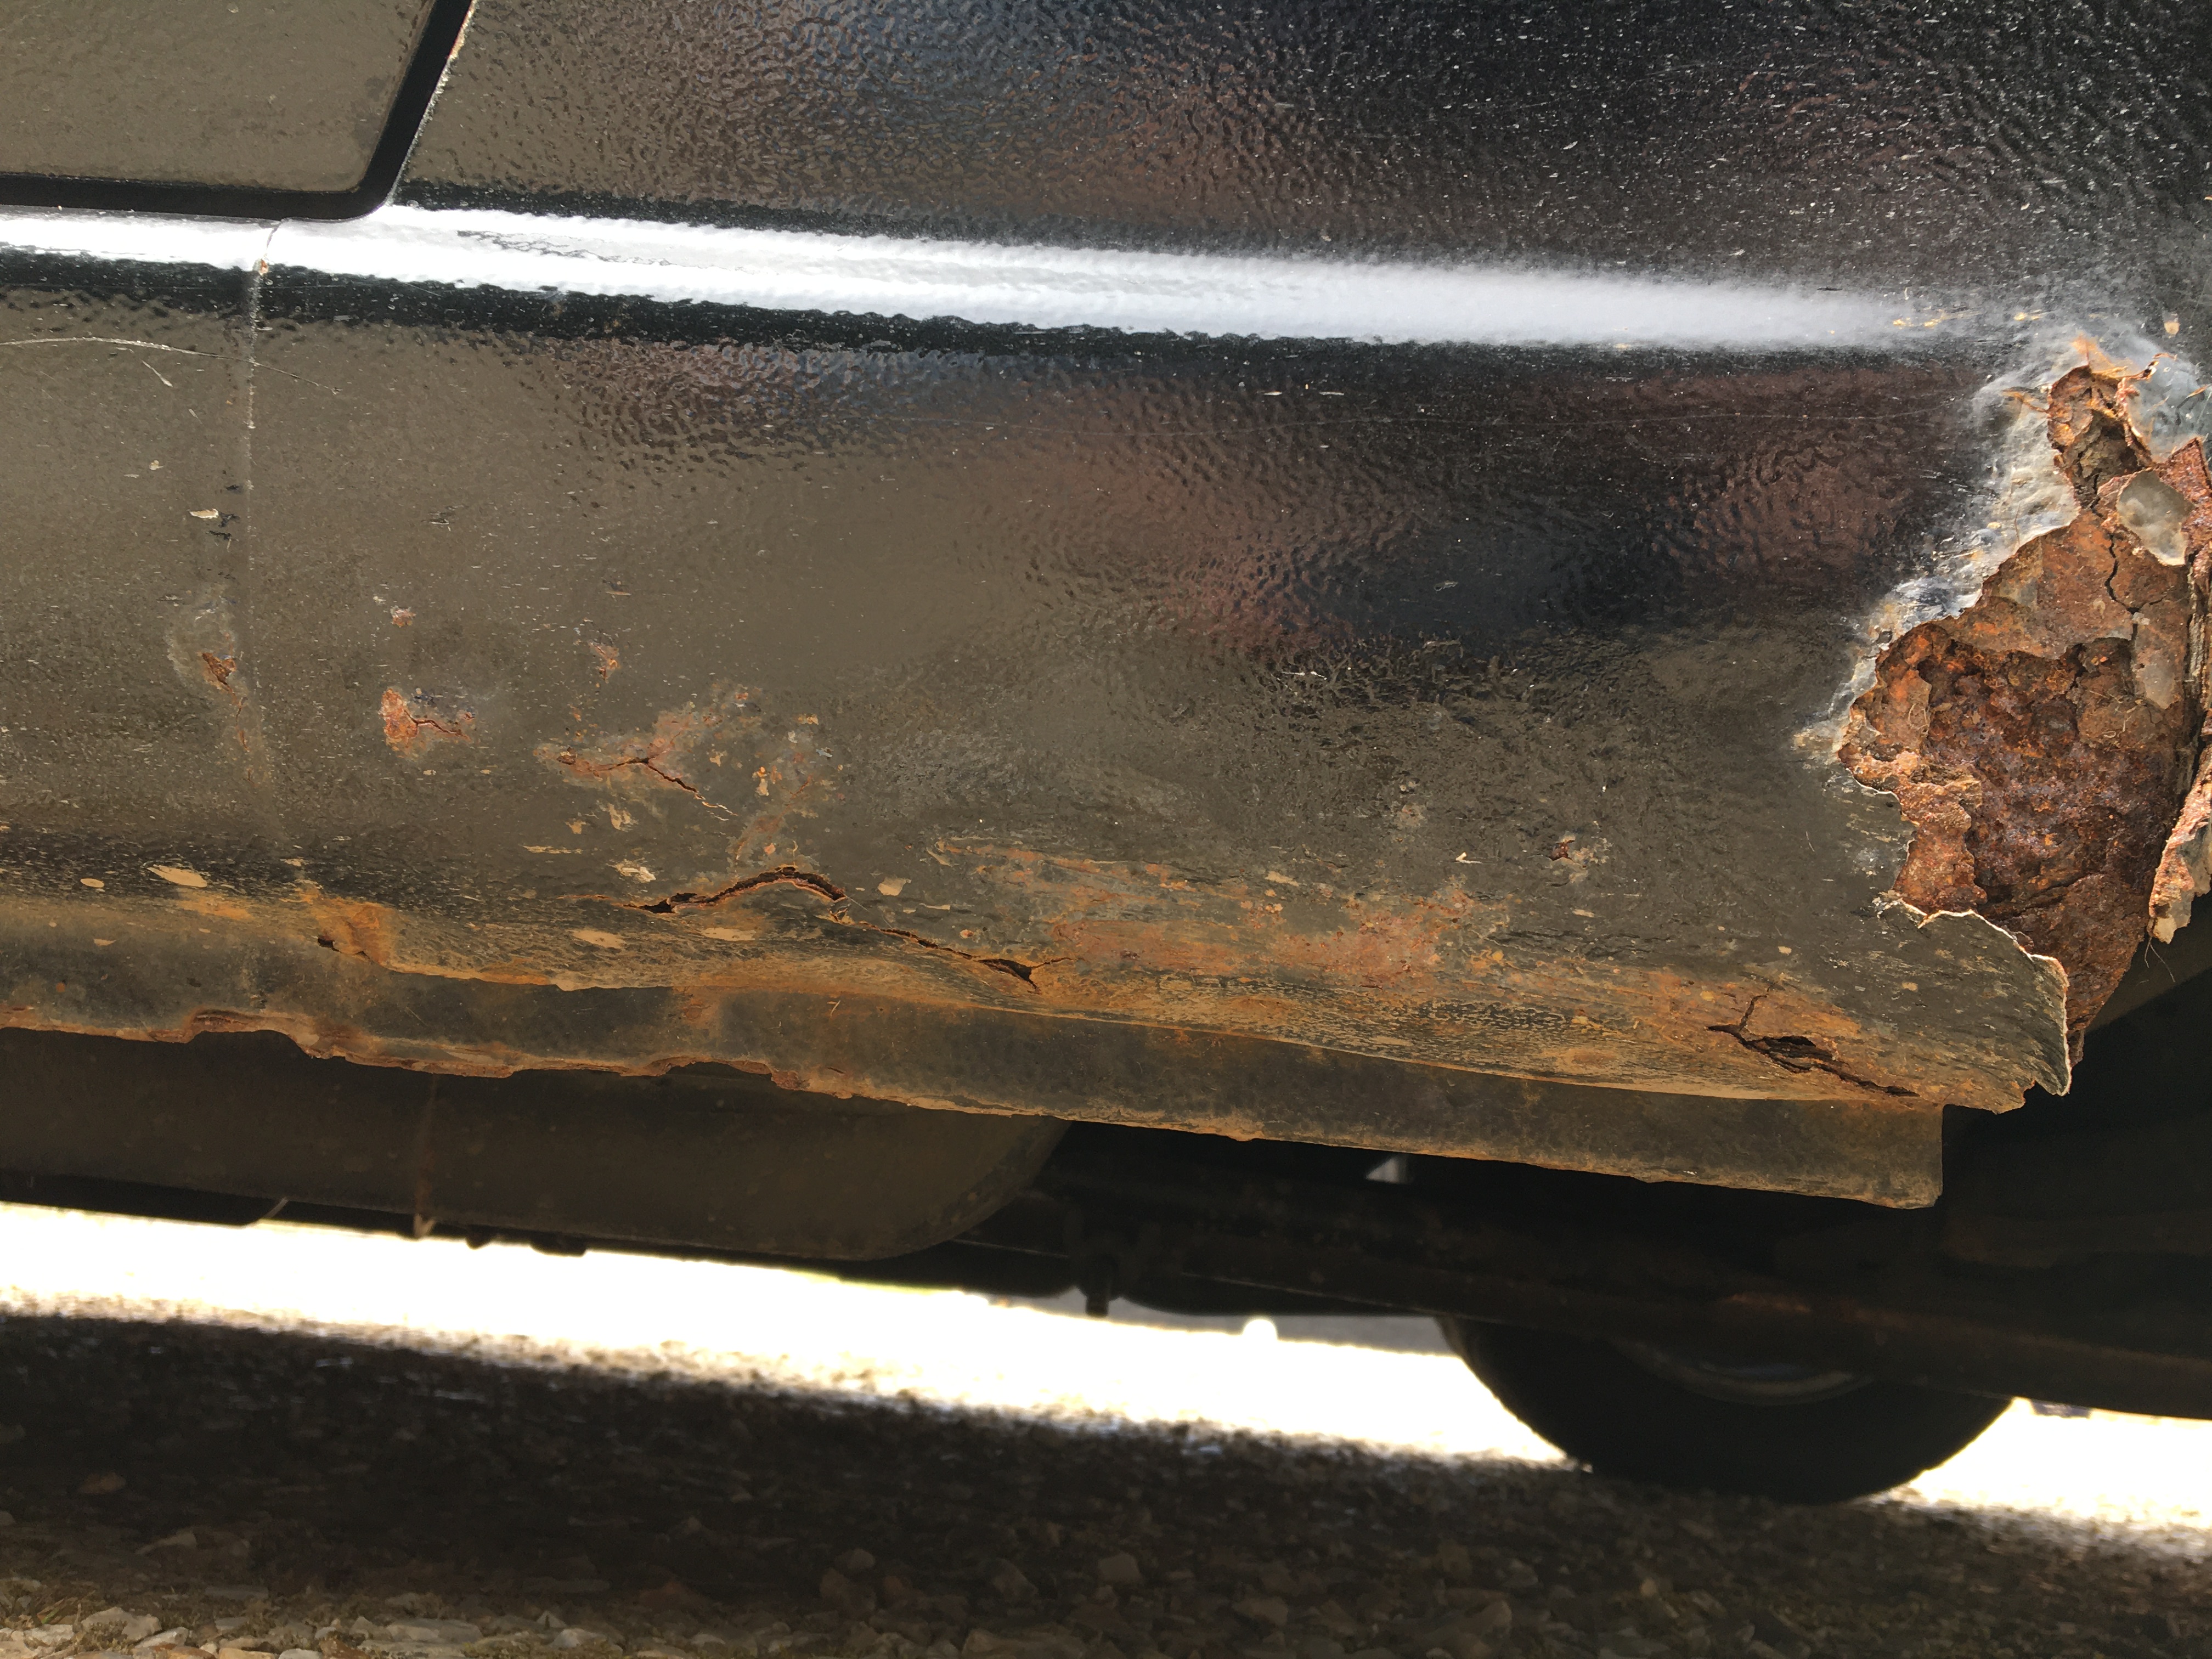
I’m gonna start learning to weld and I’m looking around at equipment for doing this in my garage at home. I’ve seen the Sealey MightyMig100 recommended in a few places and at <£150 it seems a bargain. However, it’s gasless and I’m concerned this means it isn’t going to be suitable.
For context, I’ll be looking at using it for welding bodywork and the underbody, so only ever 1mm steel sheet. Does anyone have any experience with this welder or any general advice on what equipment they’re using at home?
Personally i would use a gas MIG, as gasless doesn’t really give the same results. However, it does have its advantages as you can weld if it is breezy. You can pick up 2nd hand gas migs on market place for a similar price, just make sure you see it working first.
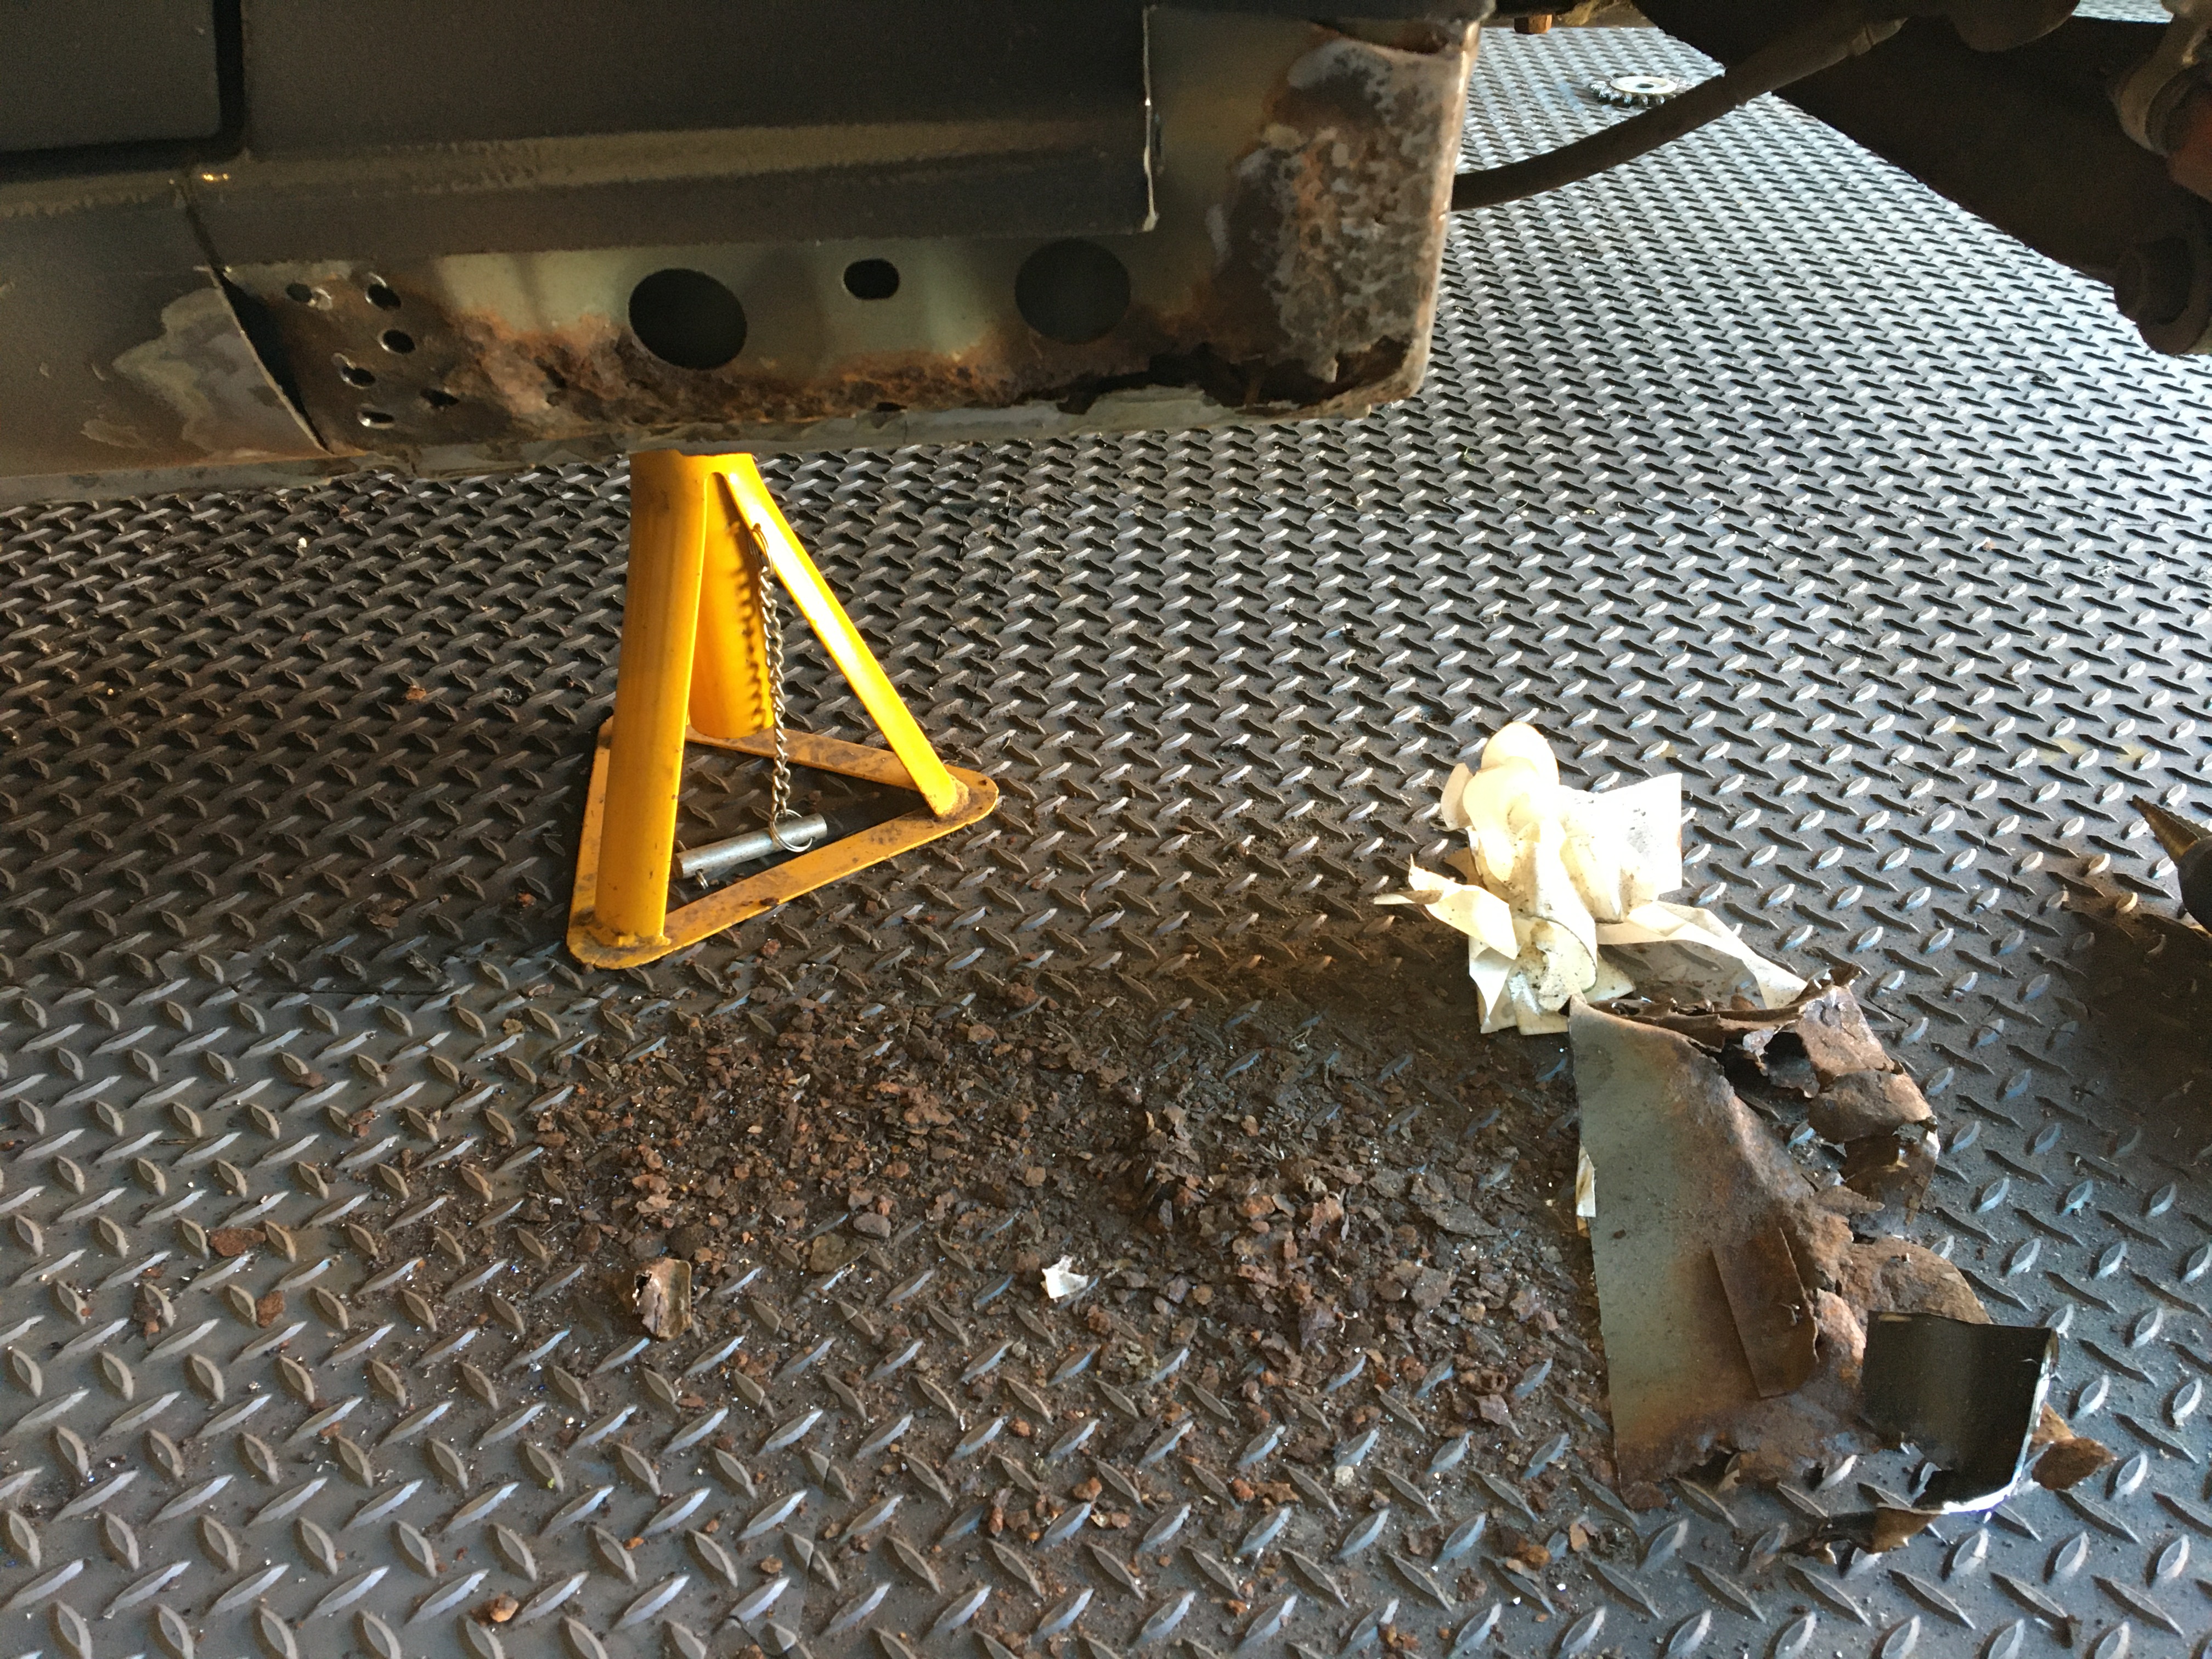
Use 1.6 mm steel as well if you can, much easier to weld than 1 mm stuff. Also be prepared to learn how to fabricate sections as you go, cardboard templates help a lot in this respect. Clean back the rust areas until you find clean steel (essential to weld to clean, grease free metal) then make up your template before transferring it to the metal, it can take time to get it right, however it pays off with a nice fitting panel that looks better than a patch slapped over the top.
Remember to cut the rusty bits out - do not plate over the top - and invest in some cans of weld through zinc rich primer to protect the bare metal. Once you are happy with the repair, prime it with some Buzzweld RE (rust encapsulator) - at least 2 coats, and allow to dry fully. Then seam seal (you can mix the RE in with the seam sealer) before covering with paint, Buzzweld CIO (Chassis in One) is a good one and finally stone chip over the top. Internally use a good cavity wax, Dinitrol or again Buzzweld cavity wax.
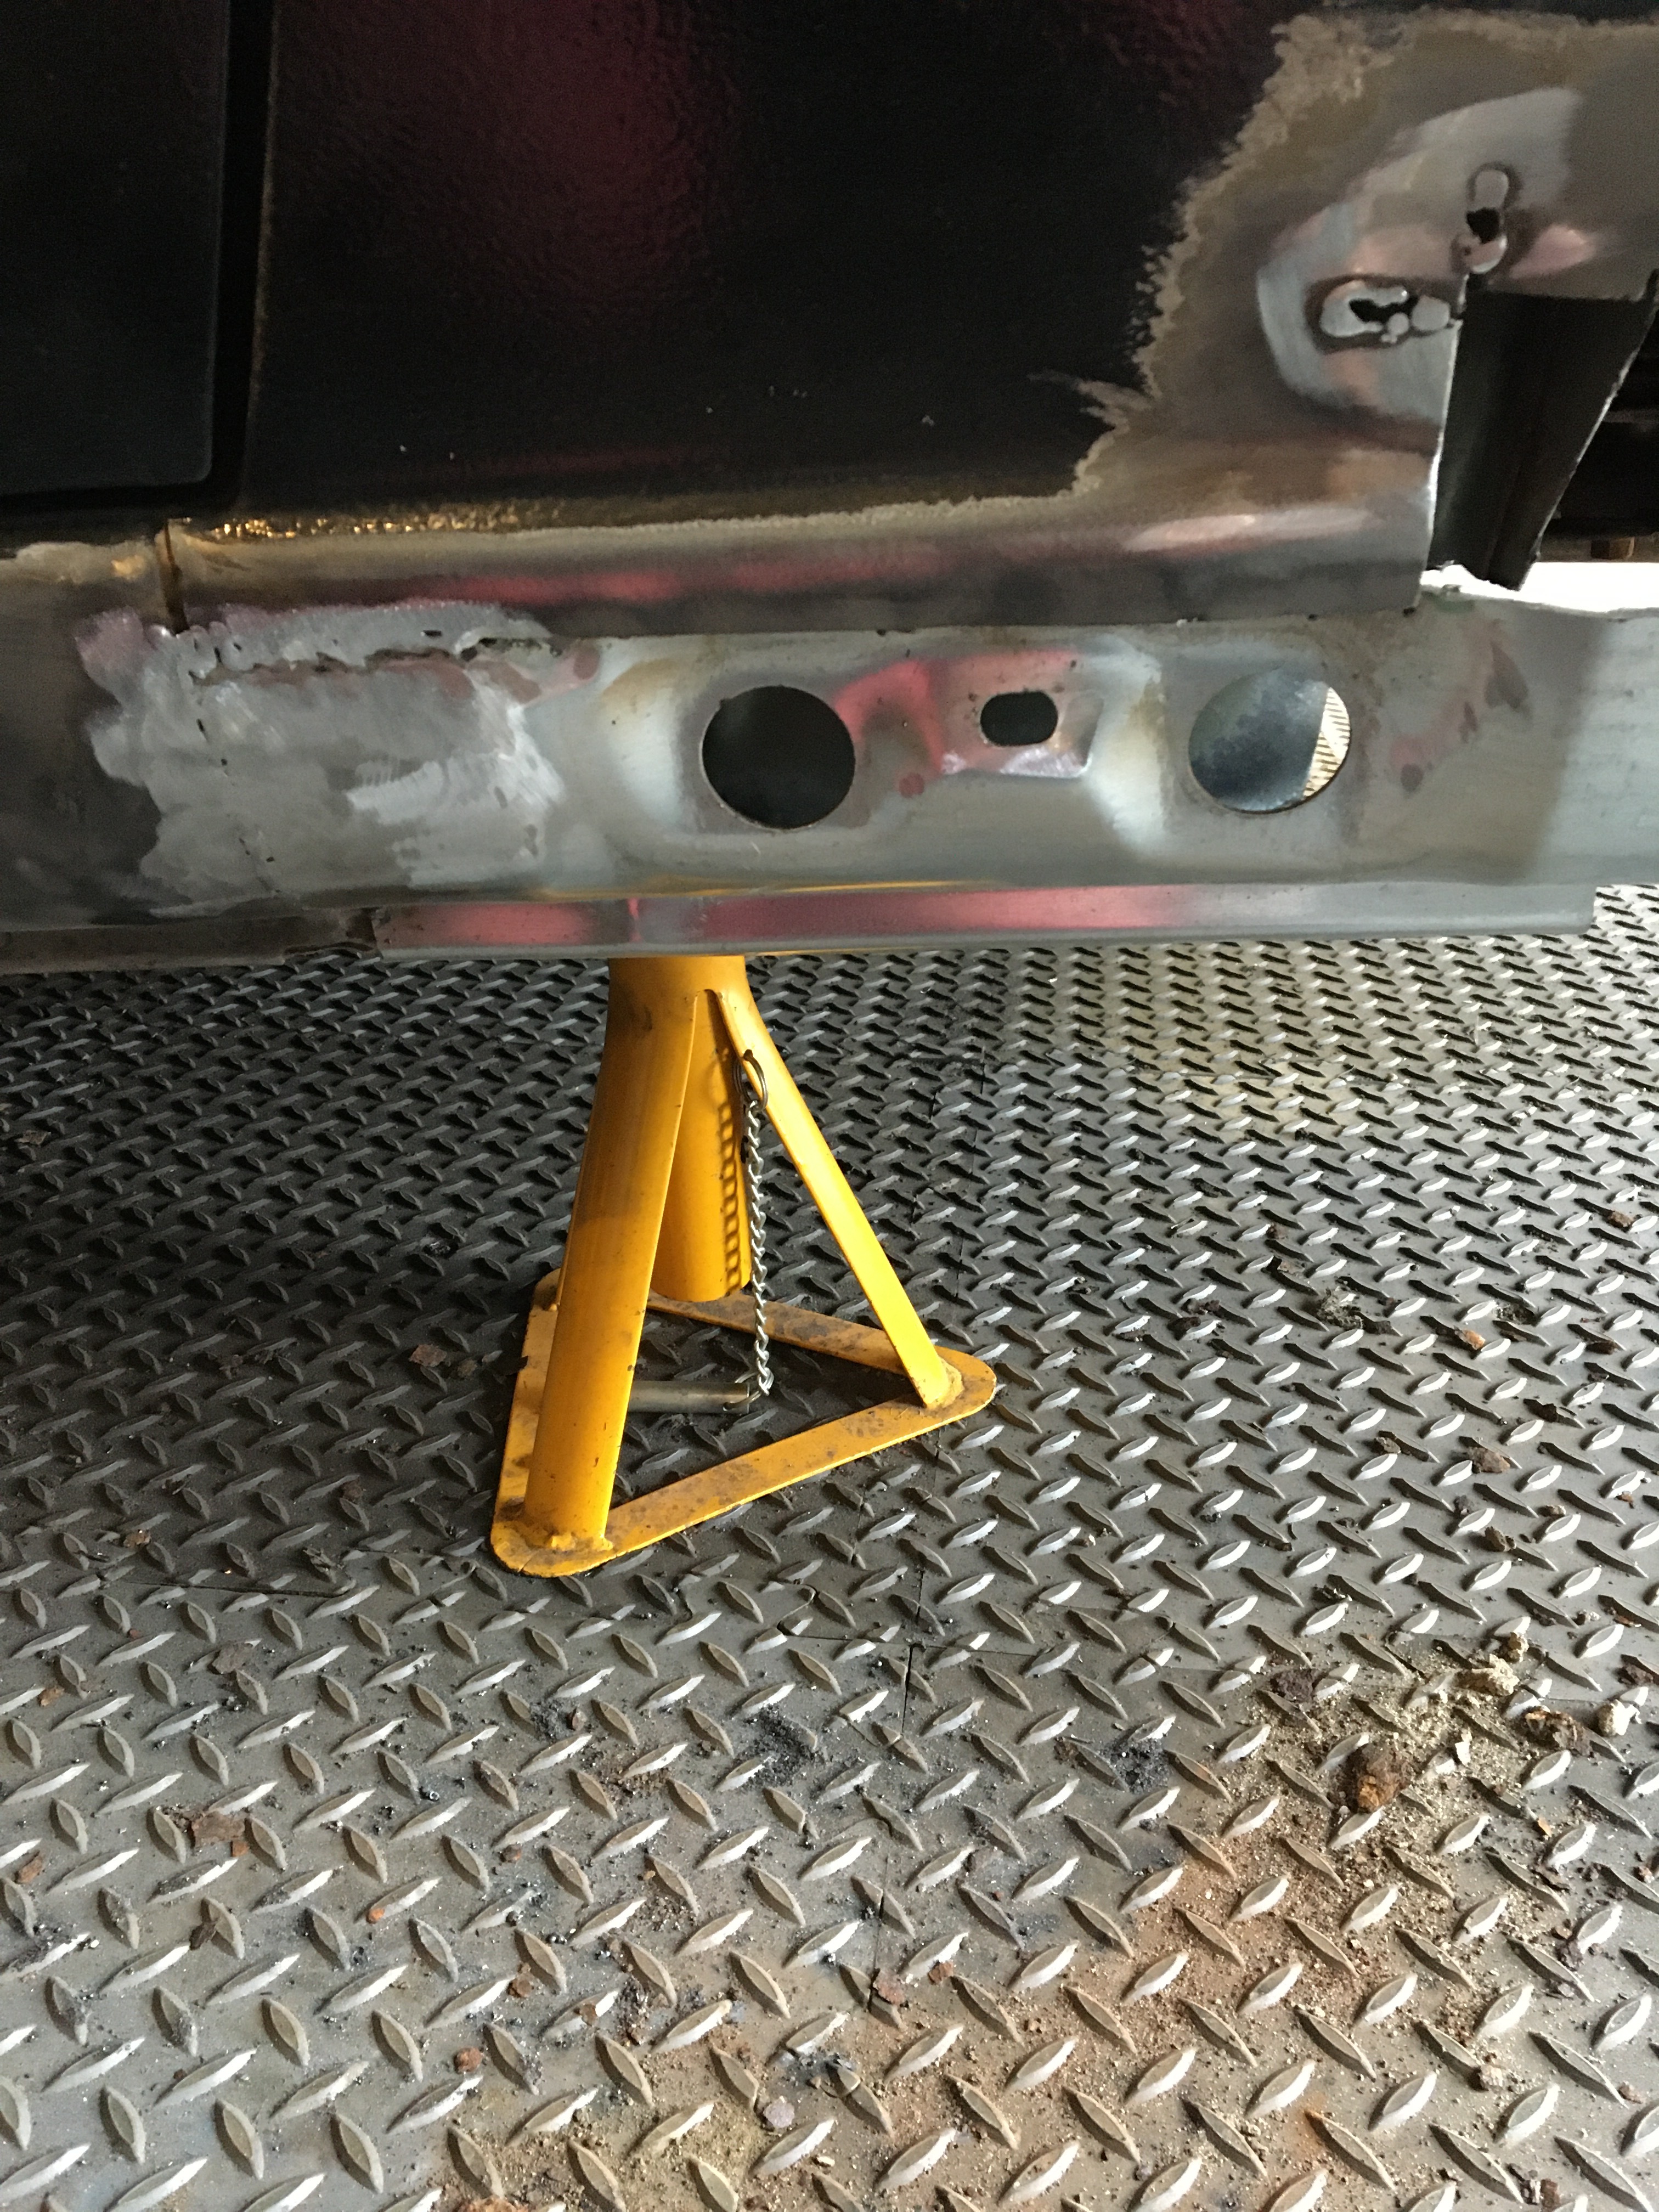
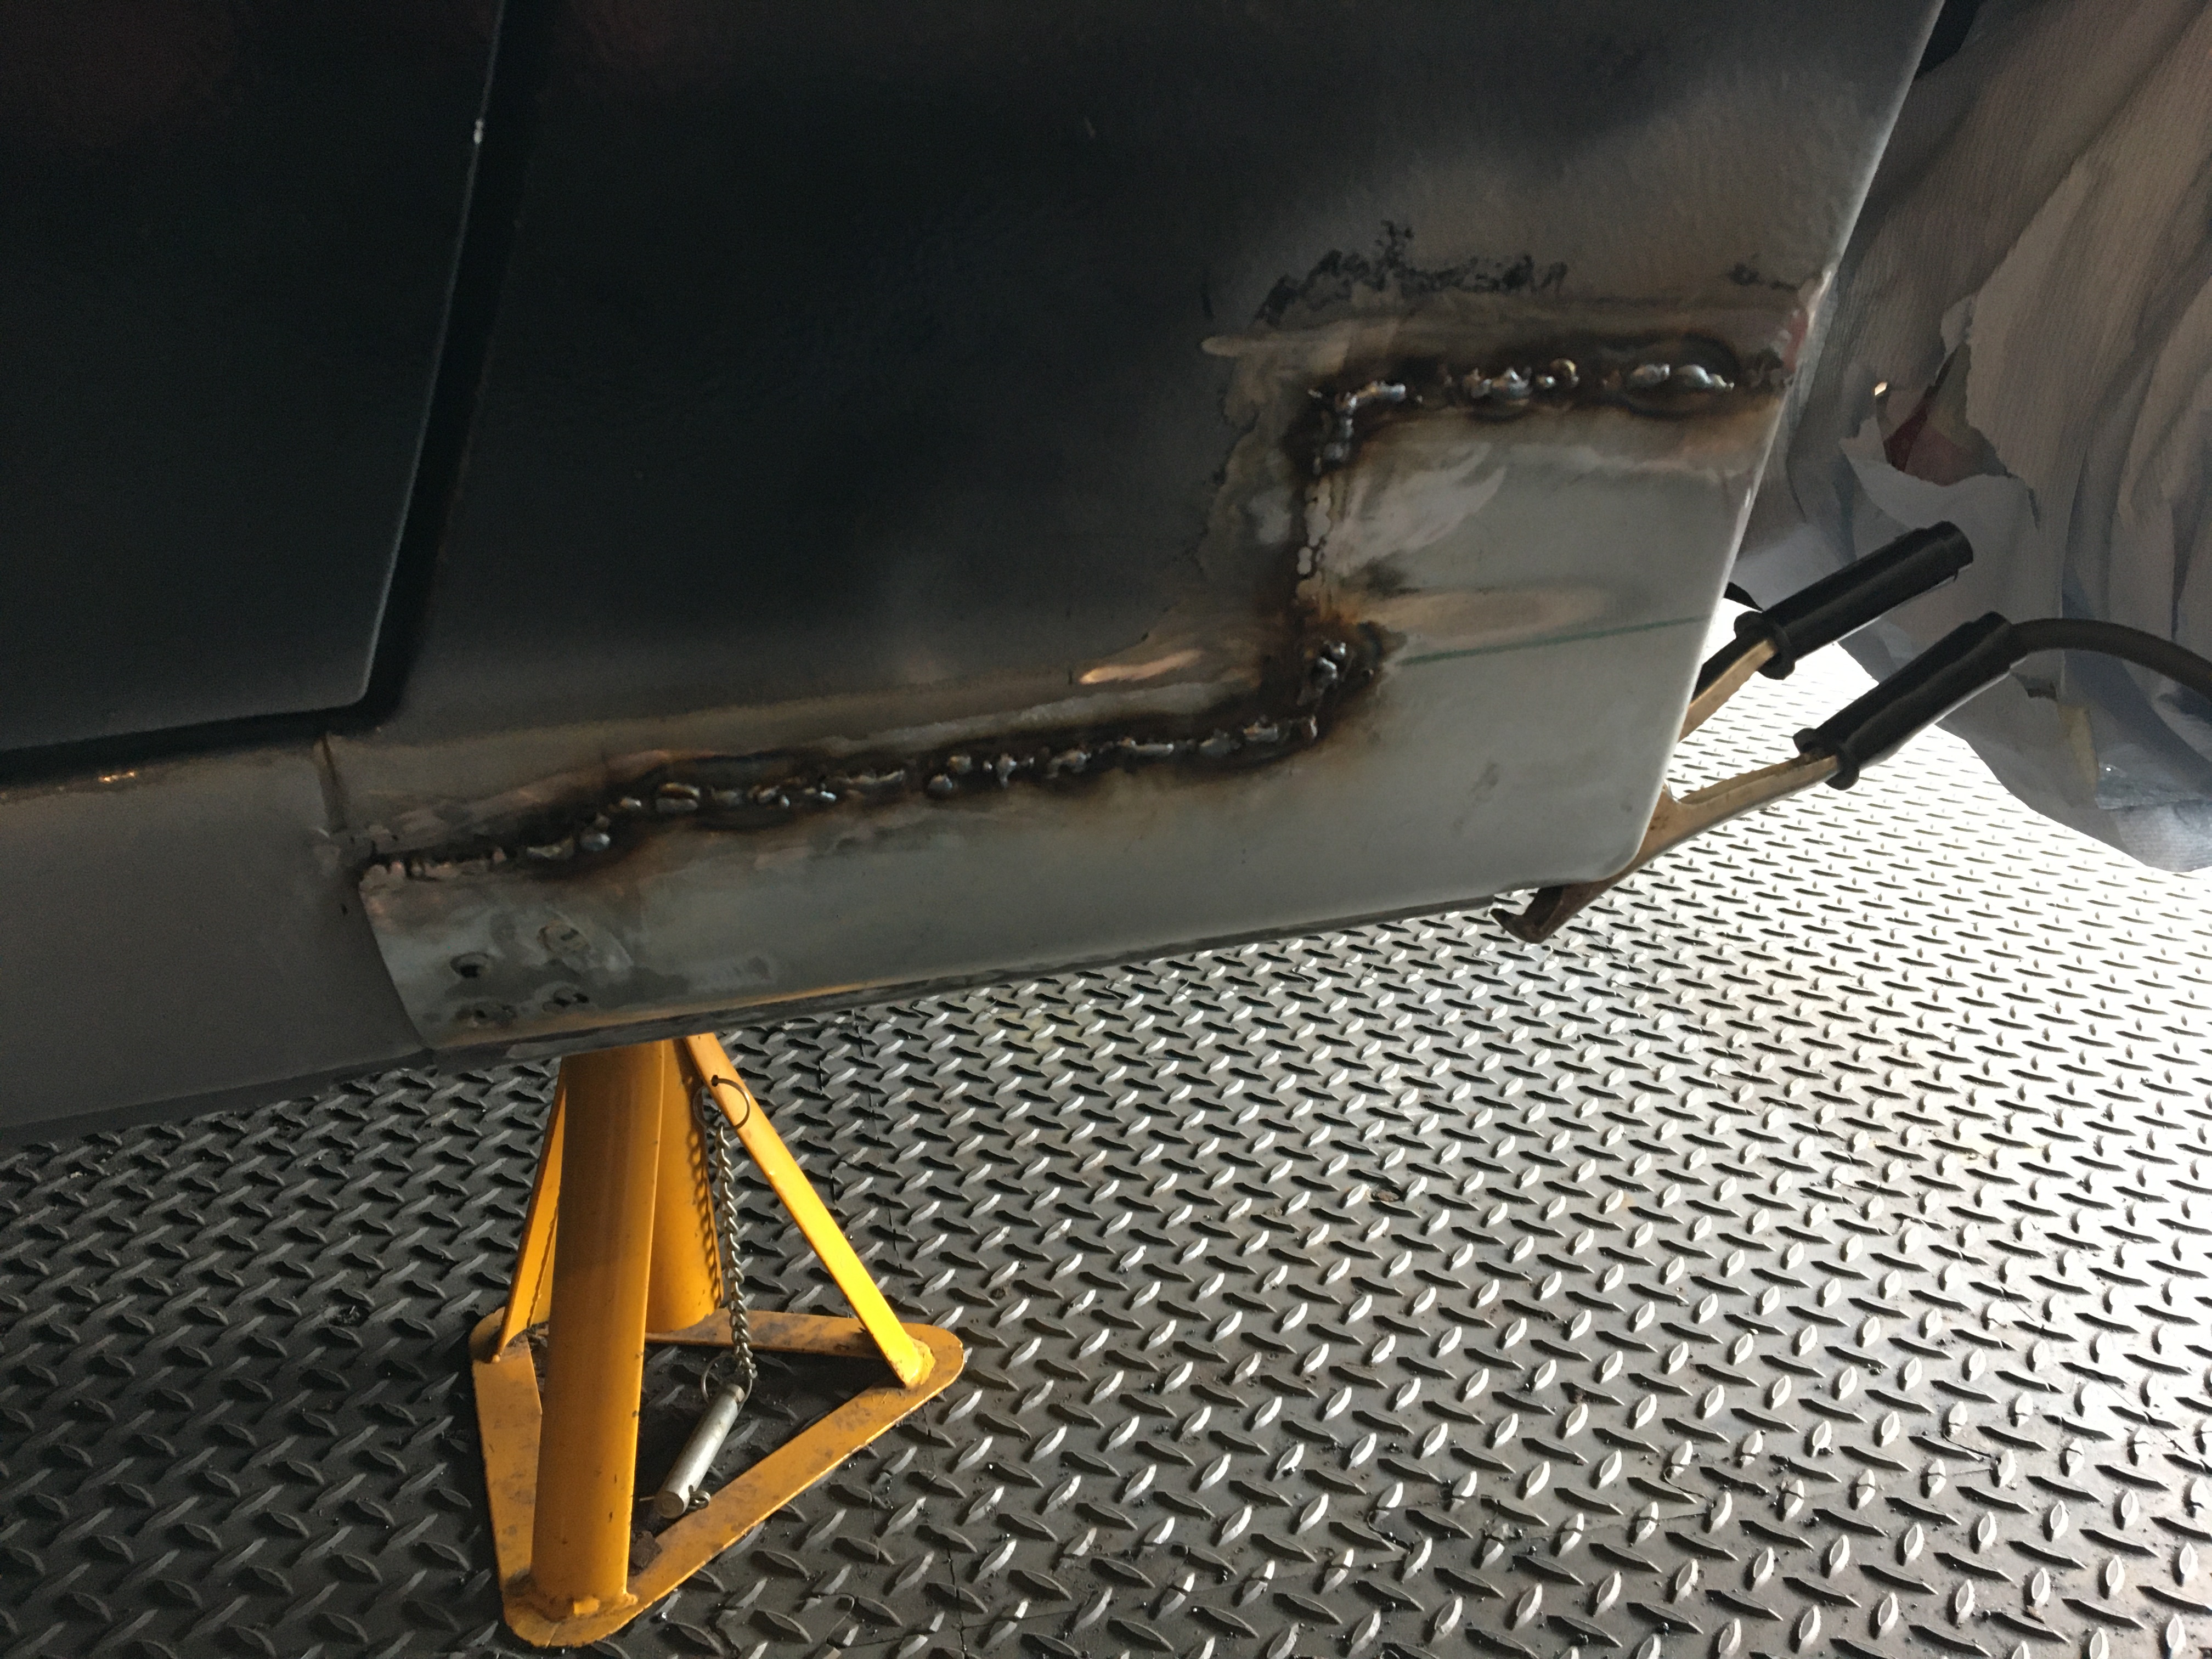
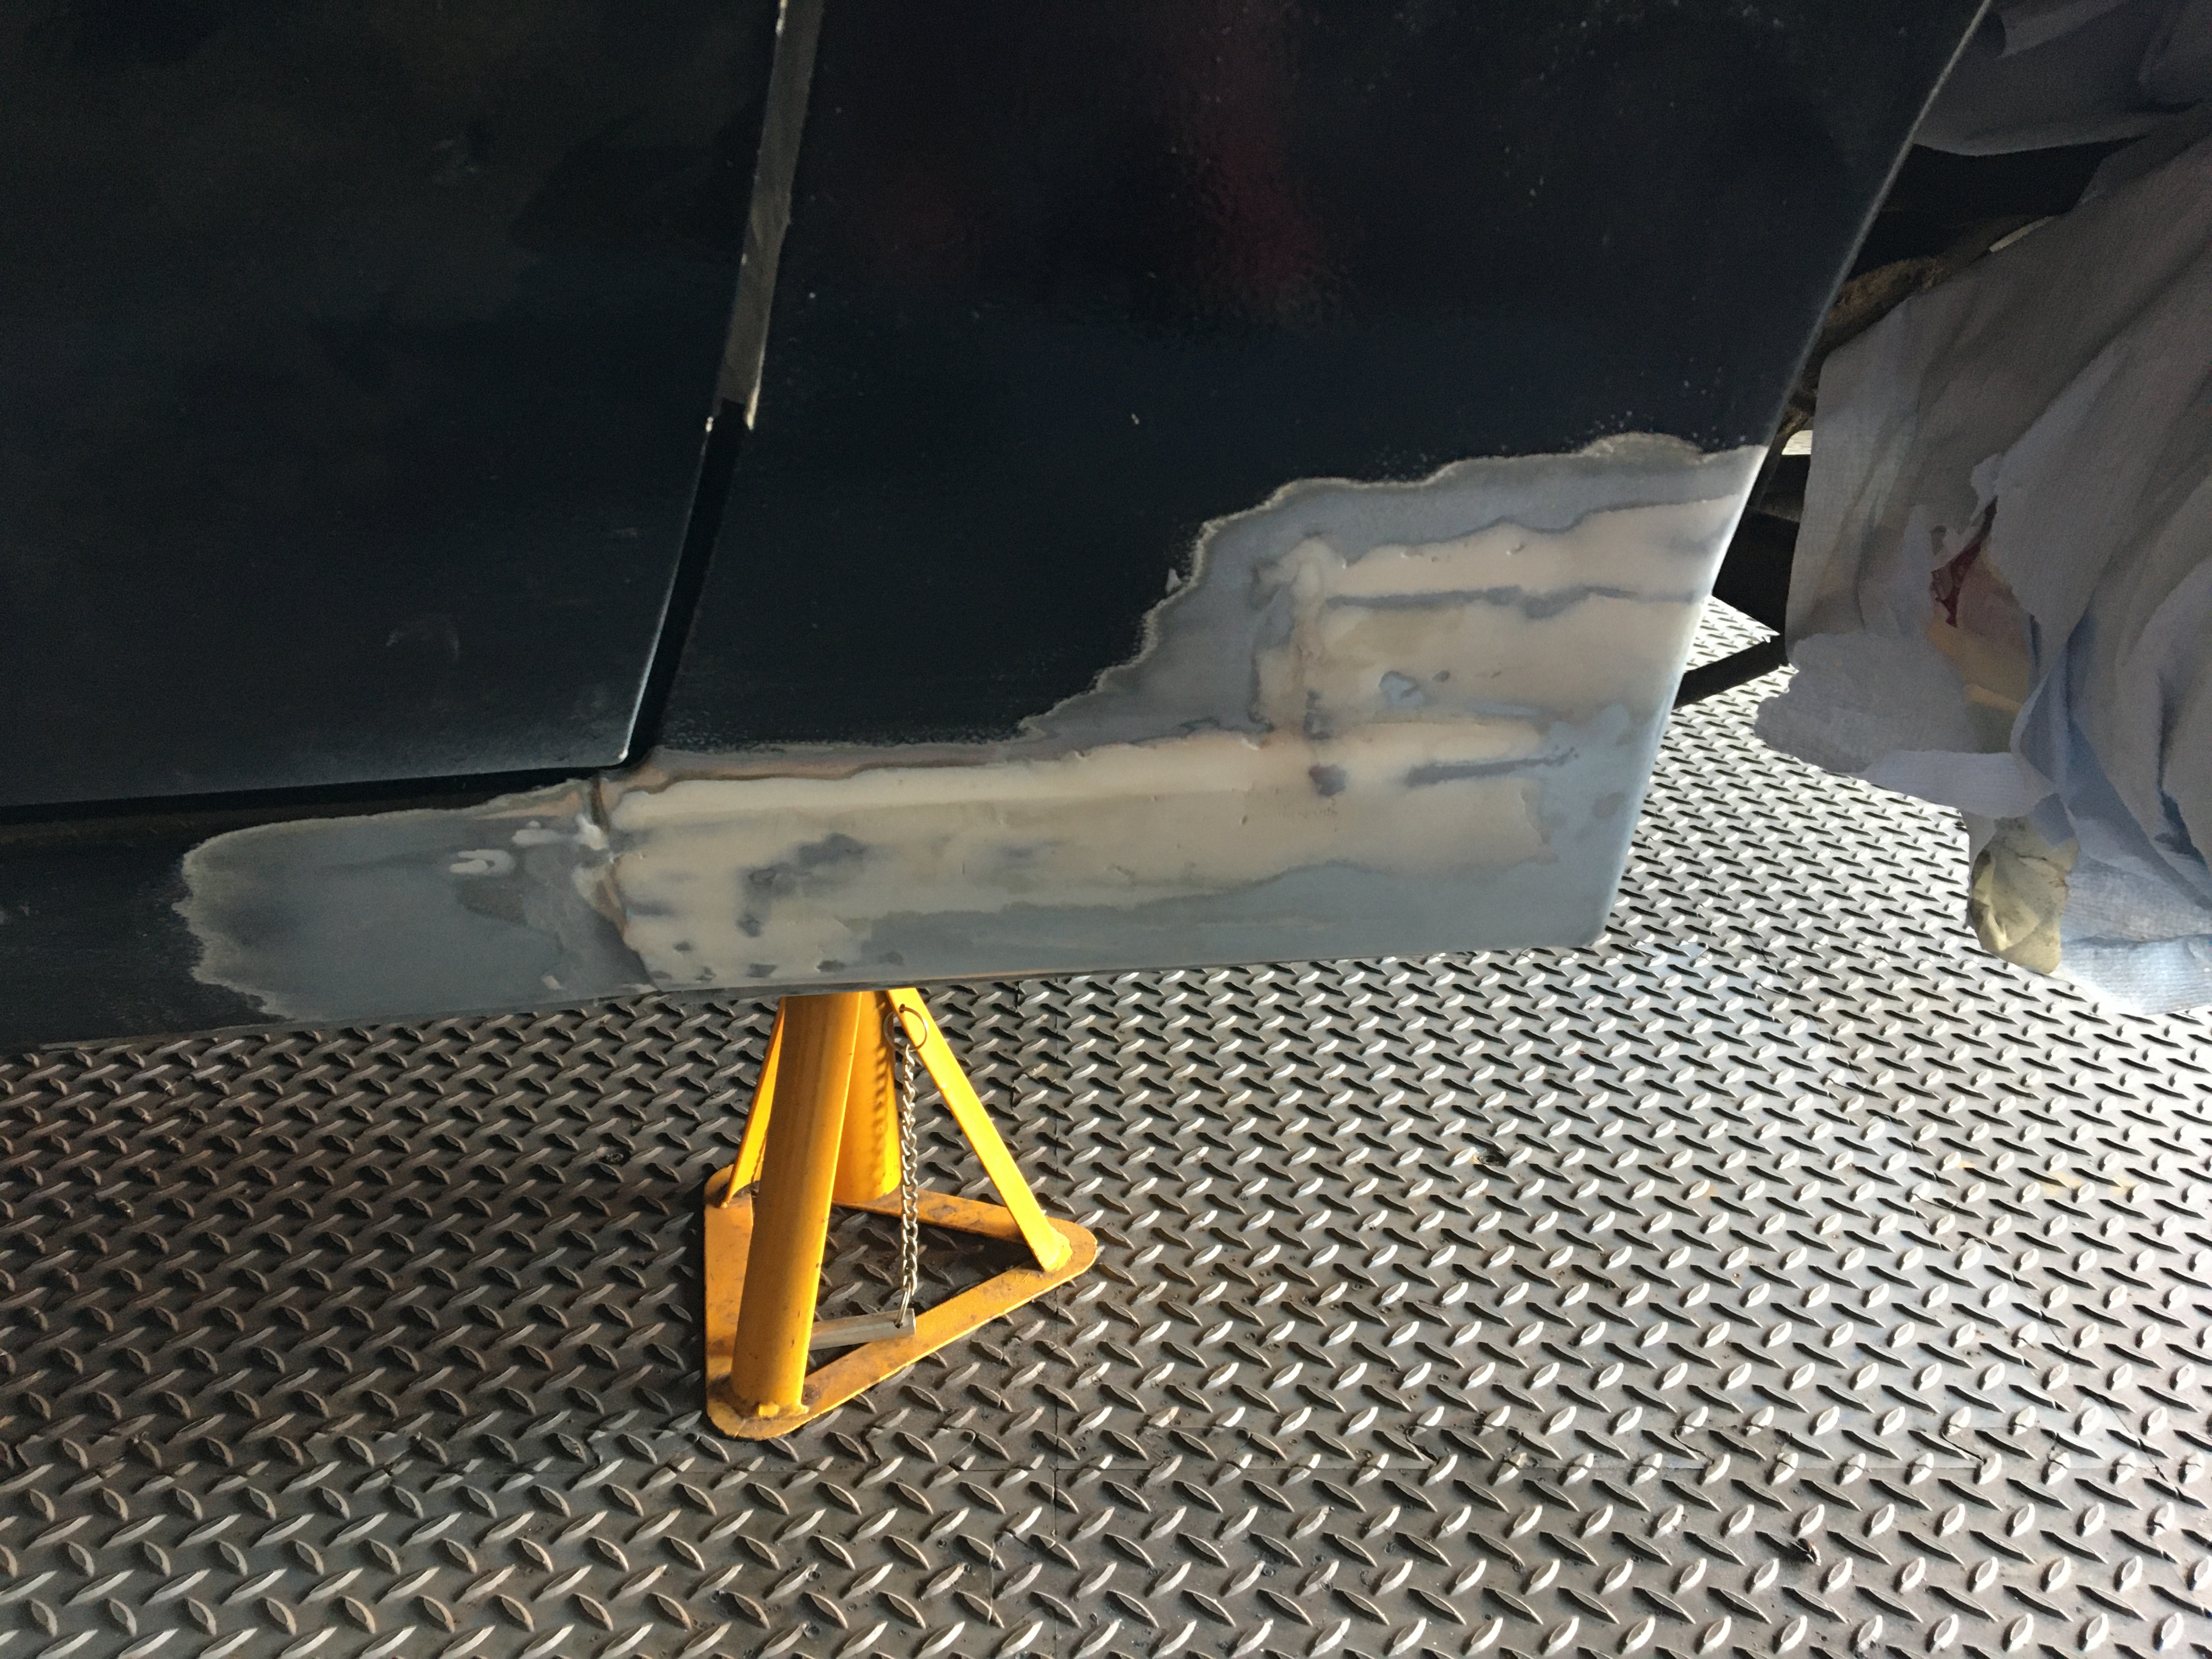
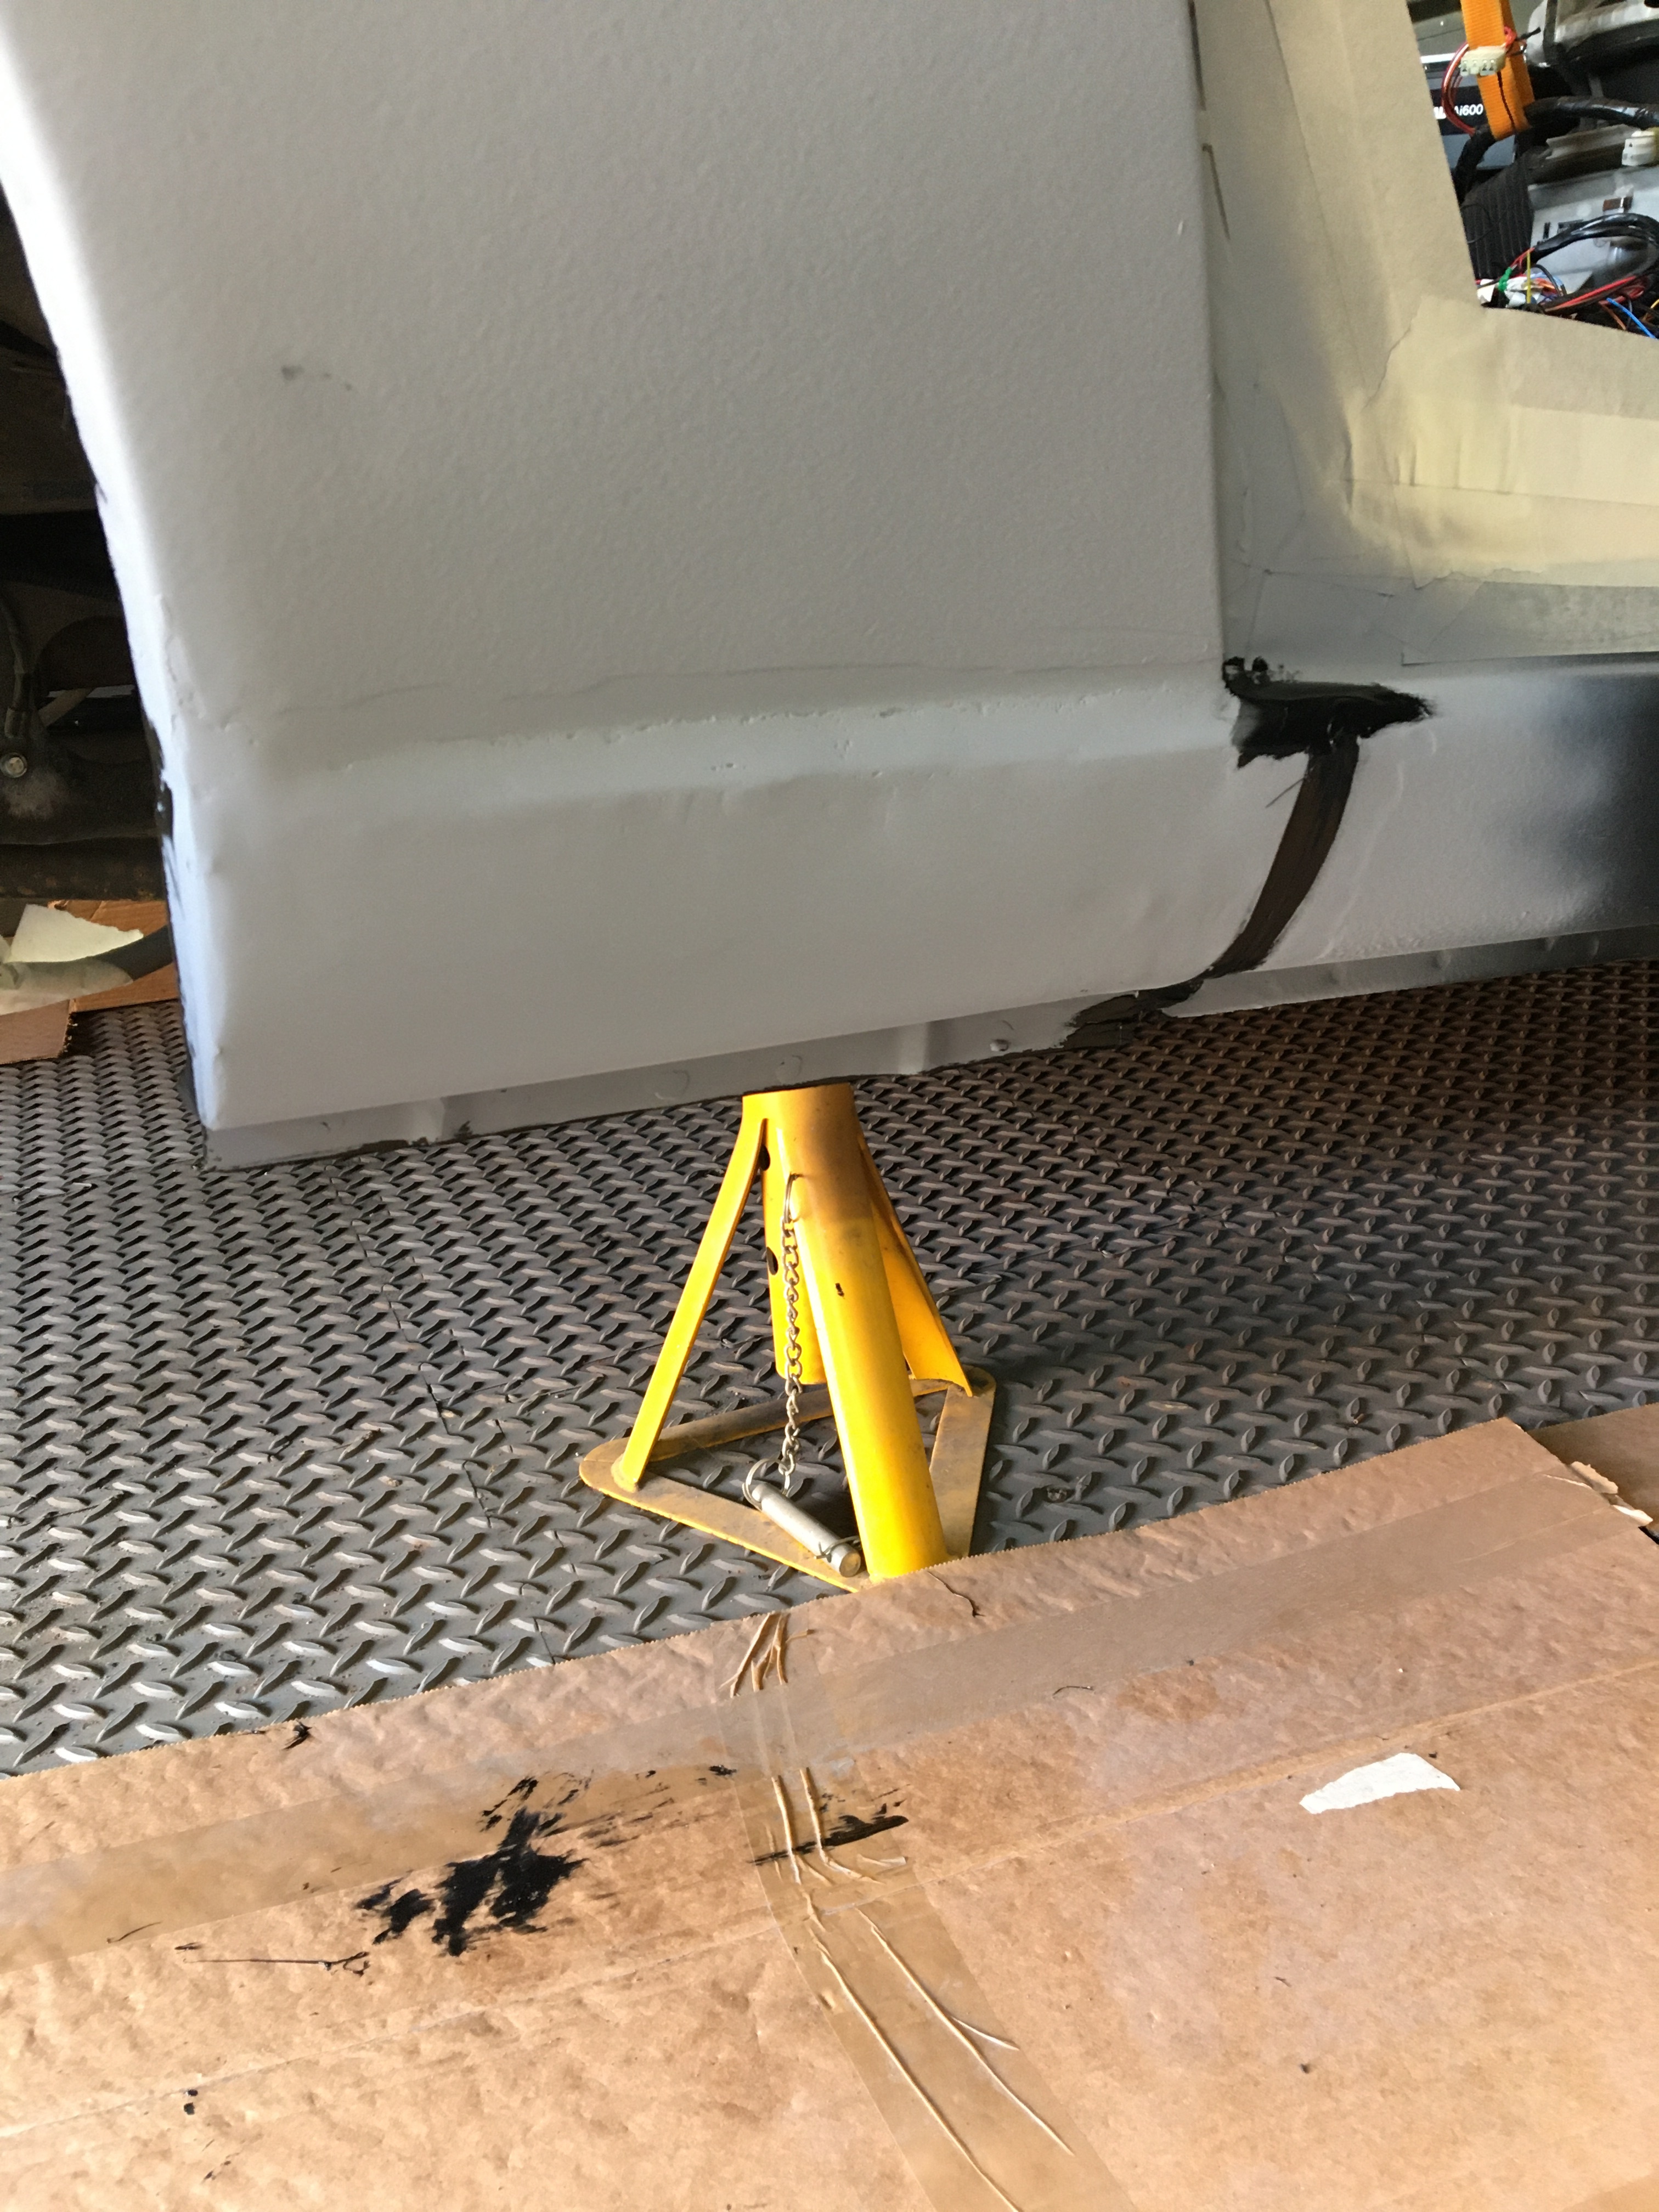
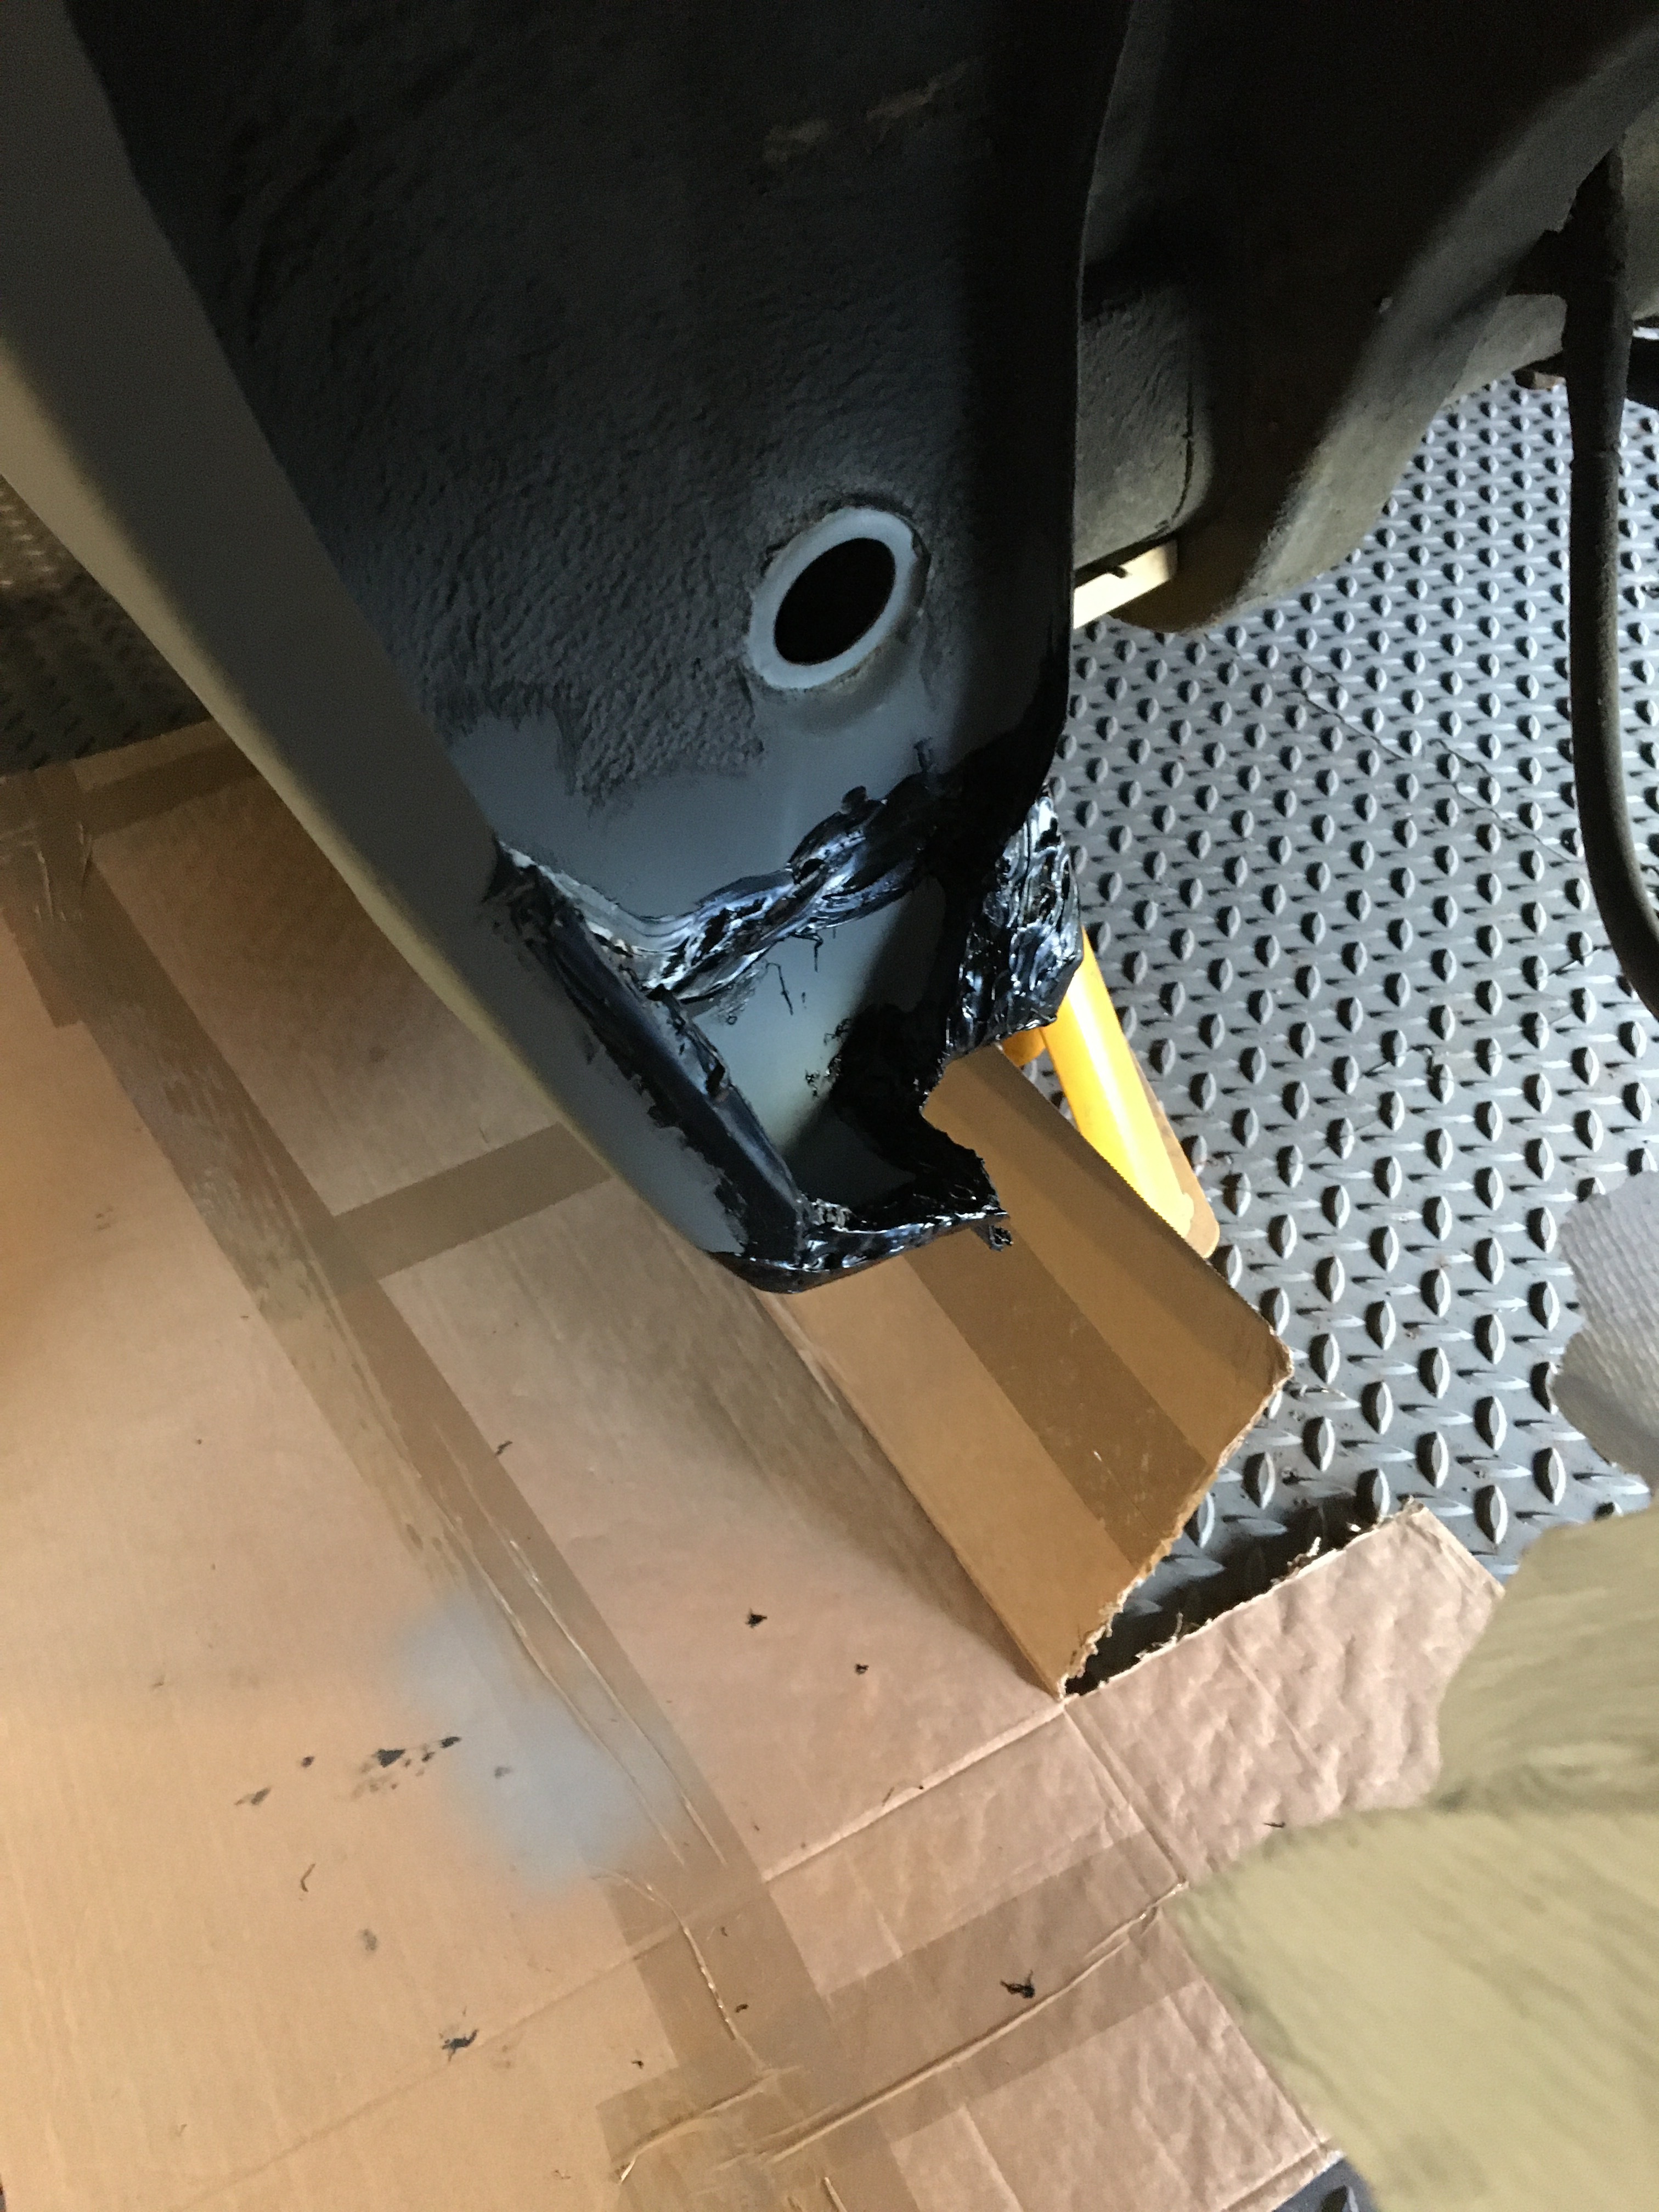
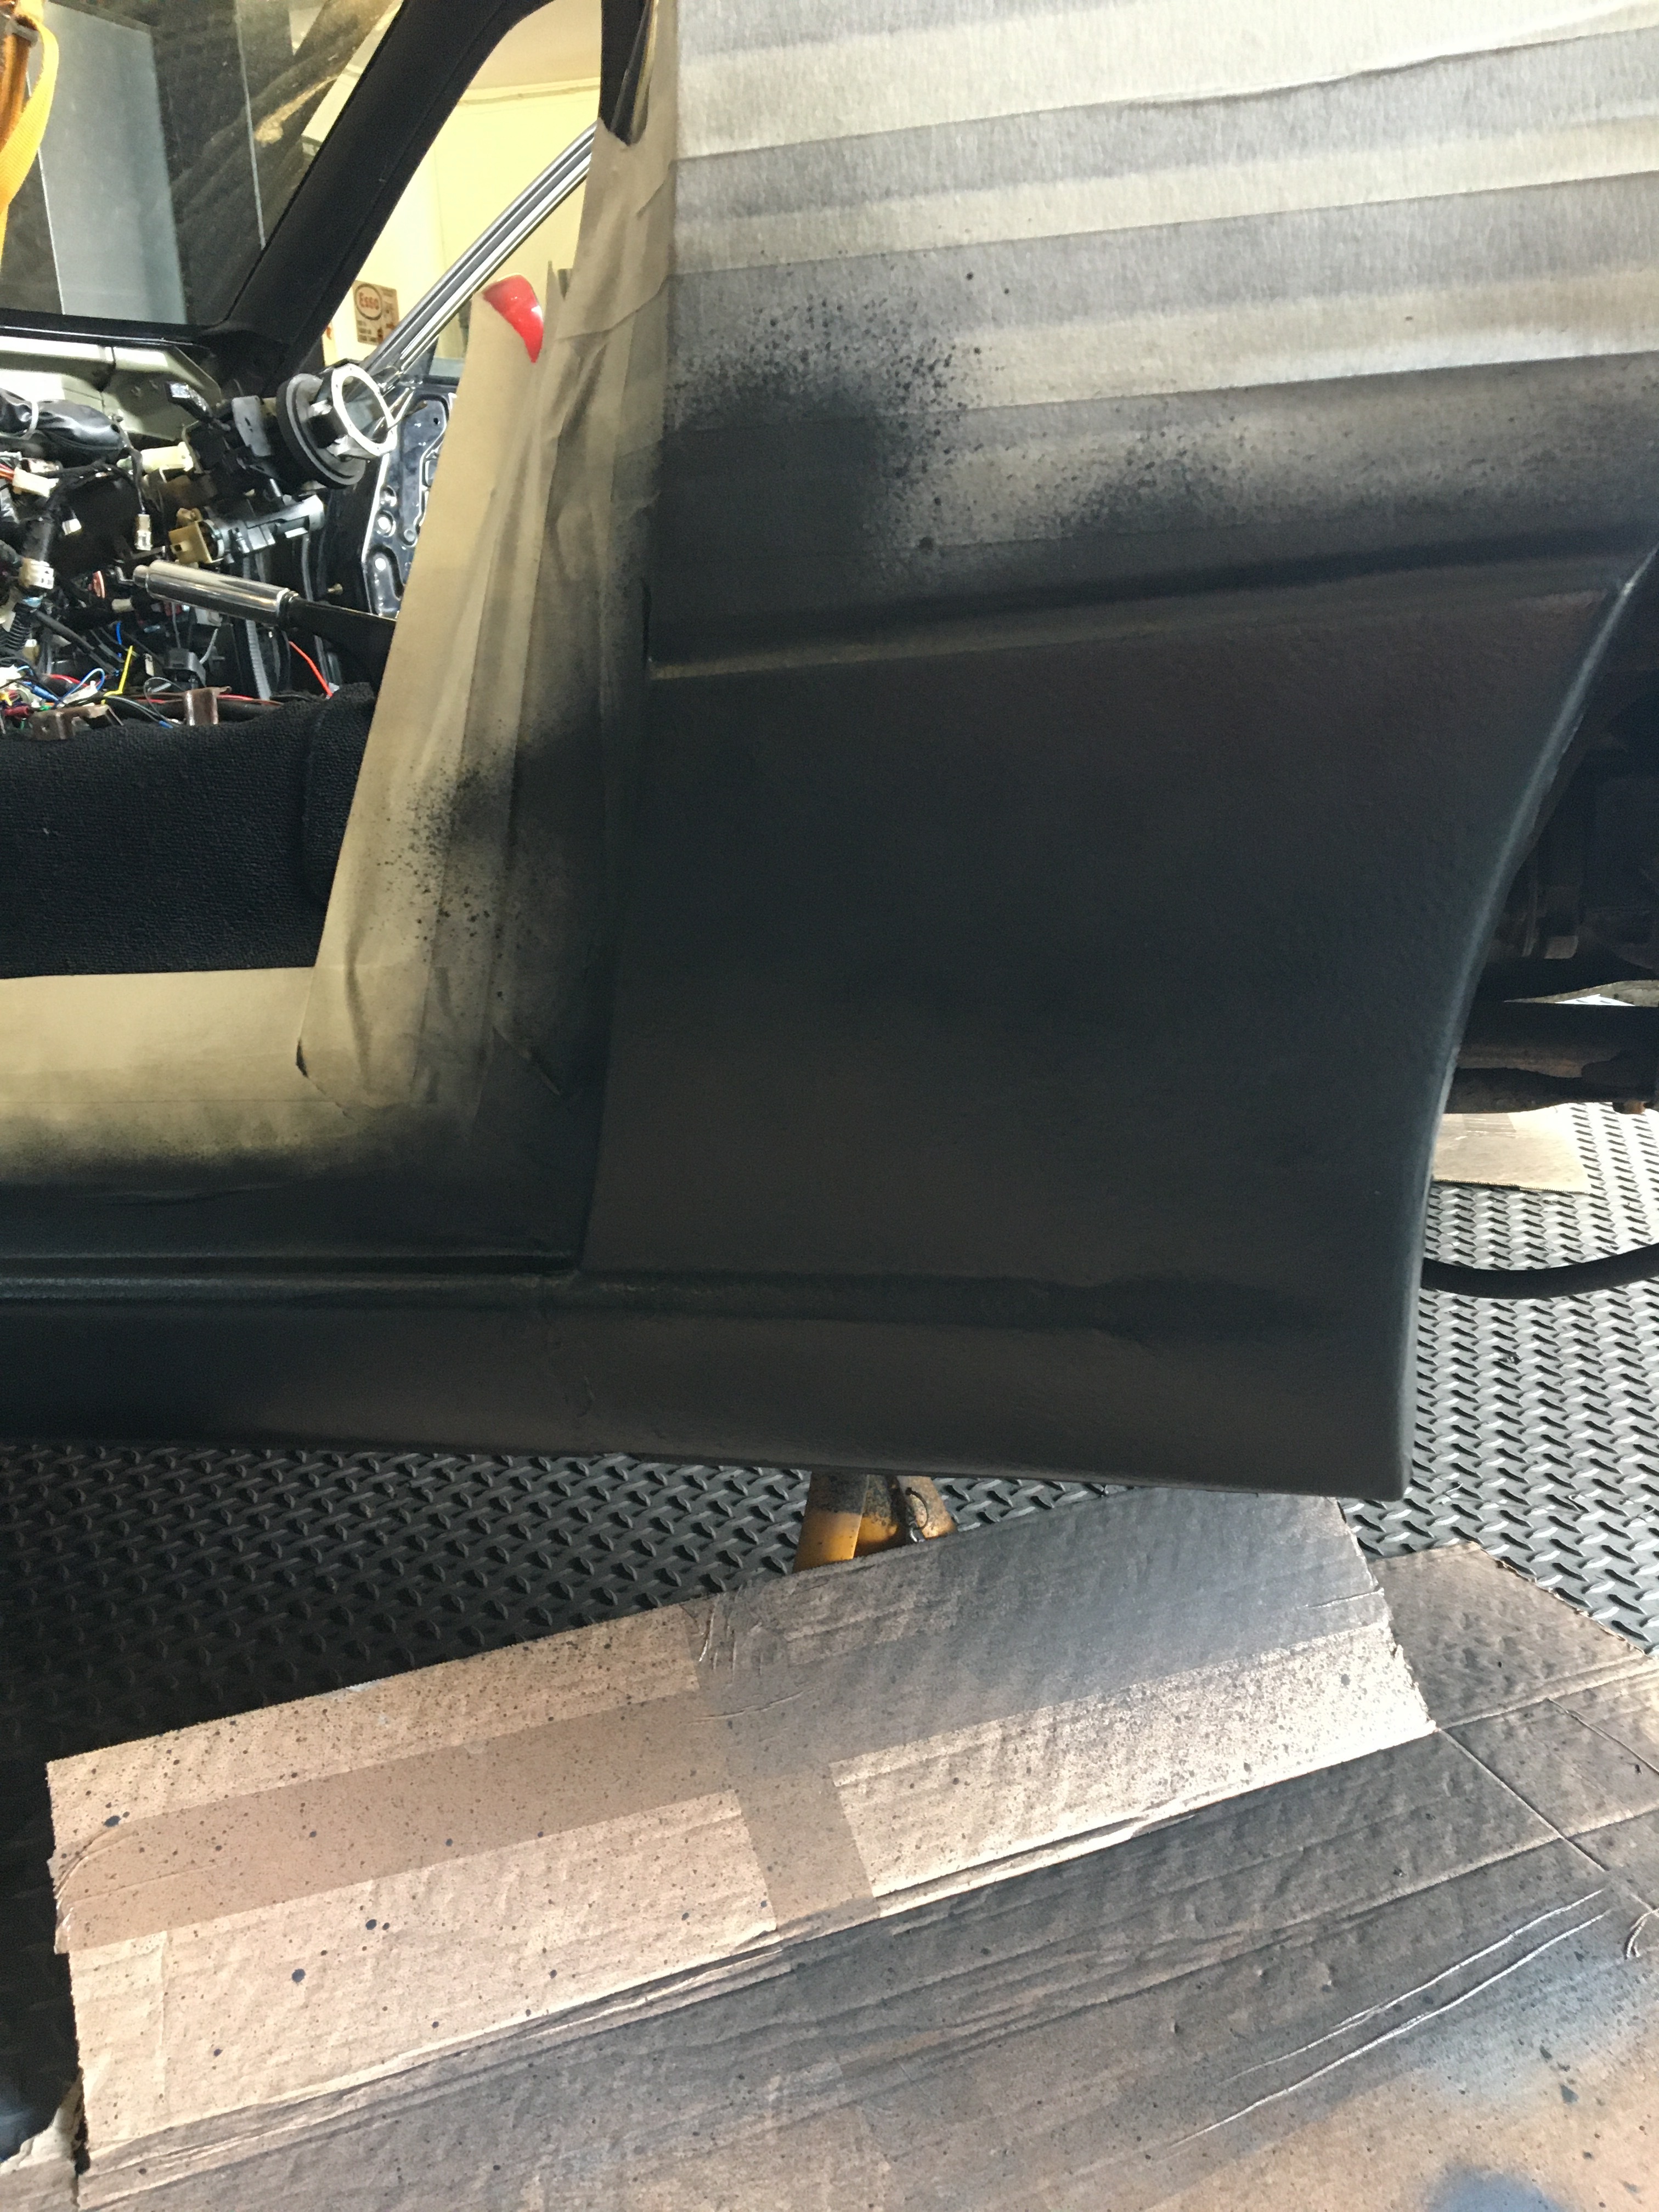
Take a look here for some “inspiration” (my own car)
My 04 SVT - Rolling repairs & rustoration - General Discussion Forums / Readers Rides - MX-5 Owners Club Forum
1 Like
Wow, thanks for that in depth reply! I’ll be saving this to my notes .
One additional question - at what stage would I apply the weld through primer?
Once everything is cleaned up back to bare metal is the time to apply the weld through primer.
I would second getting gas, try looking at Hobyweld for the cylinder Hobbyweld | Home of the Original Rent Free Gas Cylinders It was the most affordable way I could find of getting gas.
Another that would advise using a Gas system. Like you I wanted to learn to weld and purchased a Sealey mightmig 150. It came with 0.6mm wire and was advised to switch to 0.8mm as it helps with welding thinner panels.
I had to make up some of my own bits (fabricate might be a stretch) but it was immensely satisfying.
You will also need a good angle grinder with a variety of sanding, grinding and cutting discs as you cut out rot, fresh panels and fabricate and prep for welding.
Clean…… a dirty weld will contaminate and show quickly.
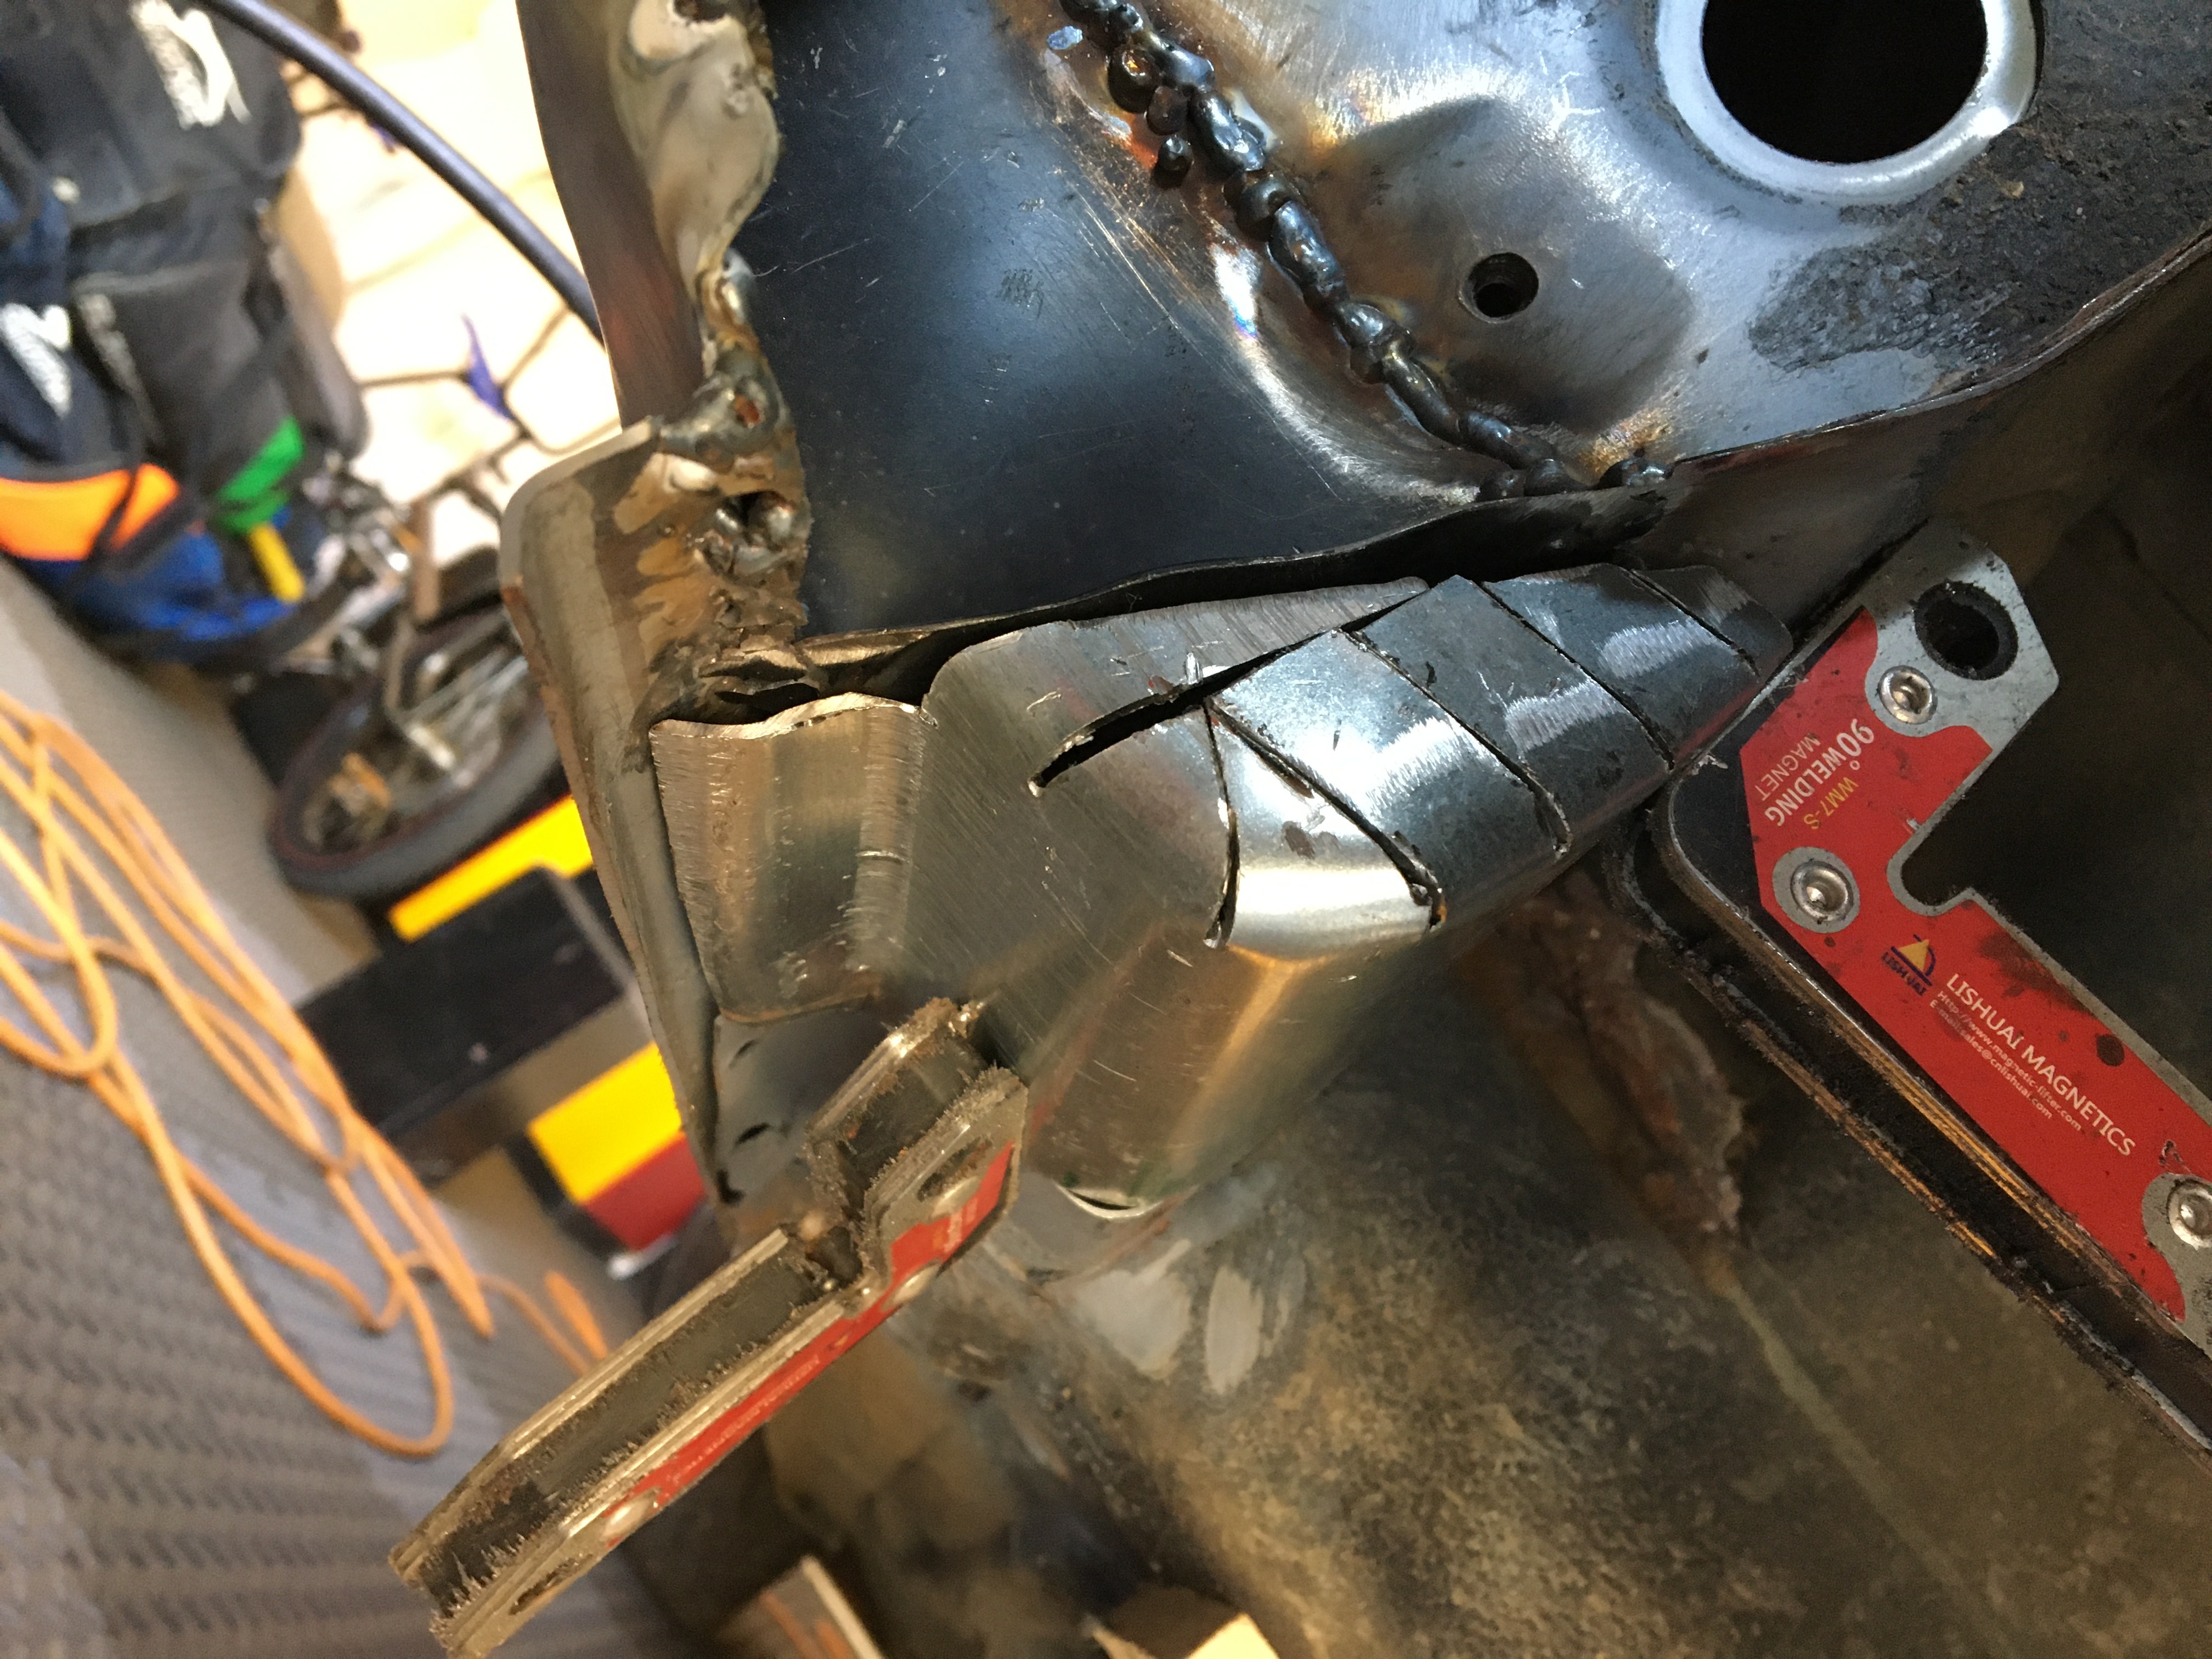
Invest in welding magnets, they hold metal bits together saving you some 8 arm dexterity
Decent trousers and footwear. I had a blob of weld splatter fall off the bench and straight through my “rugged trainers”……it hurts!
Decent gloves for holding the metal are also needed, not just welding gauntlets but while holding the metal and grinding, sparks go everywhere so also safety glasses. Not being a H&S nonce here, just passing on experience that a trip to A&E to have an iron filing removed from your eye is painful. And I was wearing glasses.
When welding on thin body panels, “stitch” them together. By this I mean little 1cm bits at a time and switching places where you weld. Repeating will eventually fill in the gaps and make solid. If you do as a seam on thin panels they will warp, and melt with you blowing holes in to them.
Today I make sculptures, engine tables, but only ever did 1 mx5, mine.
2 Likes
Thanks for the in depth reply Mark. Some nice looking work in those pictures!