What have you done to your MX-5 today? (Part 2)

Amazon but they’re also on eBay, get the amber version as they also do a white LED version.

Search this on Amazon

Black Smoked Lens Side Indicator Amber LED Marker Repeater Light For 1990-2014 MX-5 MK I II III Roadster NA NB NC

Only £20 good value!

Barrie

1 Like

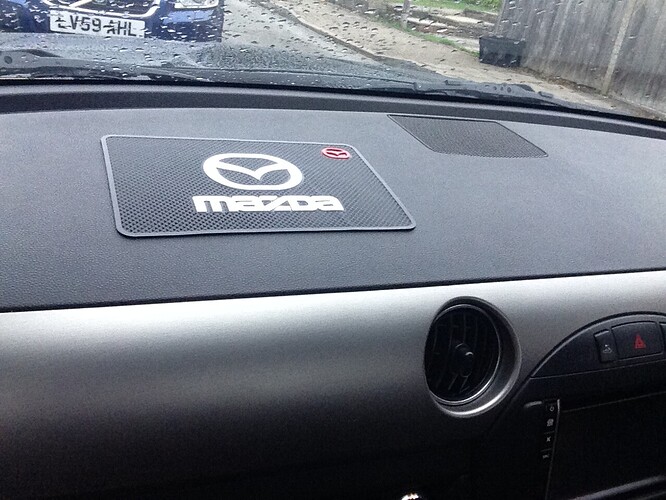
Bought a little non slip mat!

1 Like

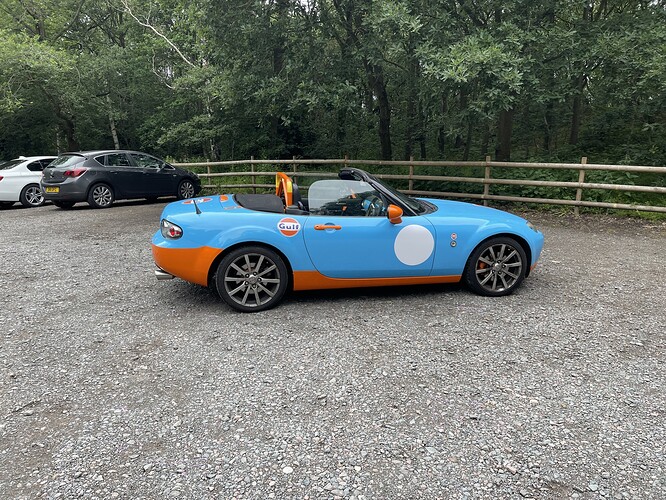
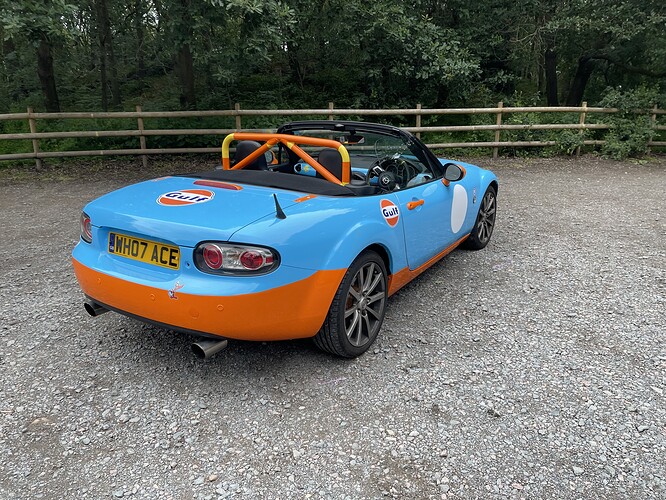
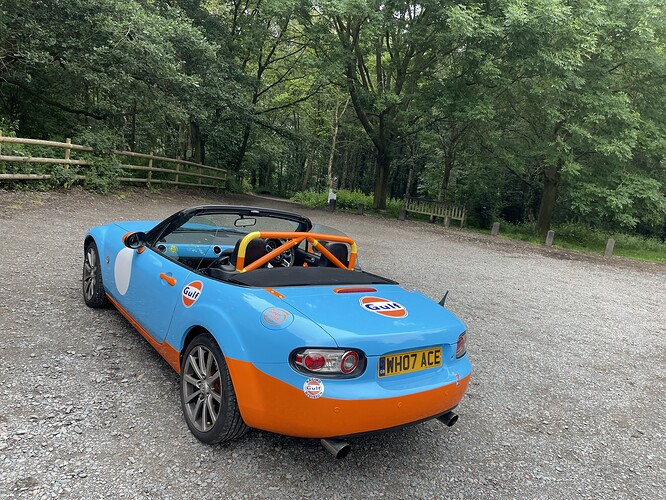
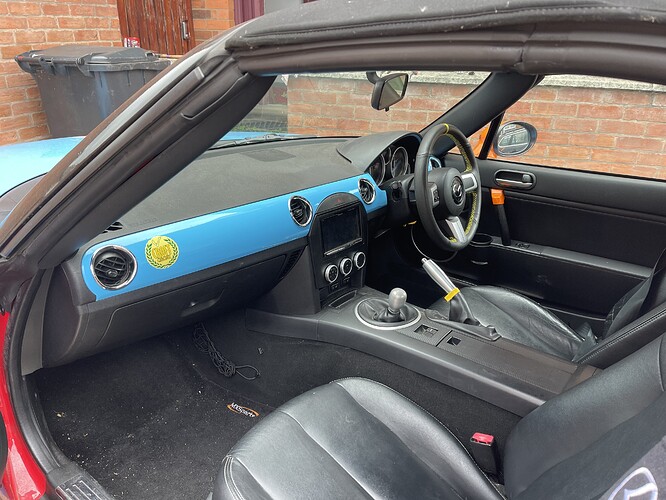
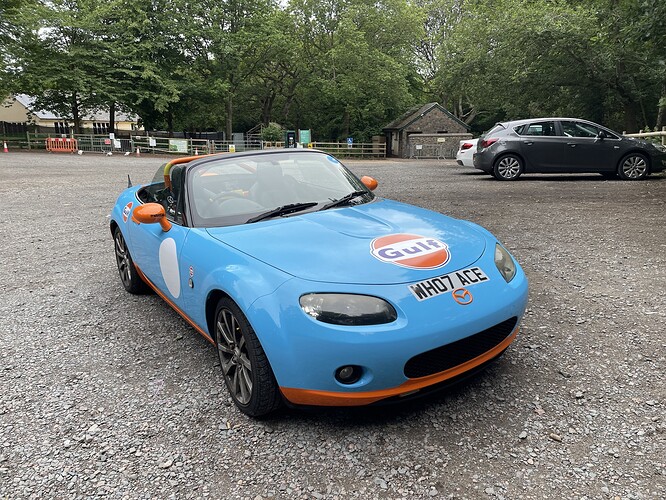
Finished it (well apart from roll bar)


13 Likes

Our NB has hardly been driven over the last two years. It lives on the drive so was looking sorry for itself. My son, who owns his own car detailing products business, cleaned it up for me about a month ago but it had since been covered in dust and a lot of pollen.

It also had developed an infrequent but annoying drip of oil from the rear of the cam cover. It was dripping directly on the exhaust manifold bypass pipe, causing a hot oil smell in the car. There was also some oil weeping down the front face of the block. Fixed all that by fitting a new OE cam cover gasket. The old one was an aftermarket one and didn’t seem quite thick enough. Lesson learned….

I cleaned it again tonight and gave it some polish, followed by quick detailer for an extra gloss. Considering that it’s now over 23 years old and in its original paint (and as yet never needed welding), I’m very pleased with it. All set to get it dirty at Elvington tomorrow!

10 Likes

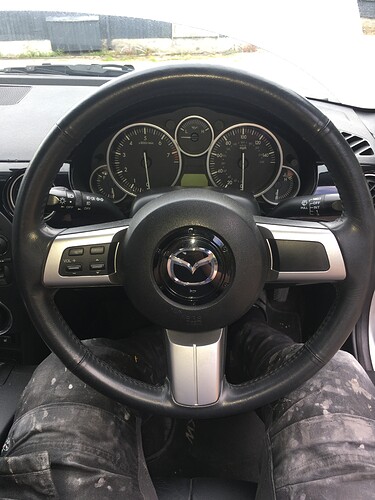
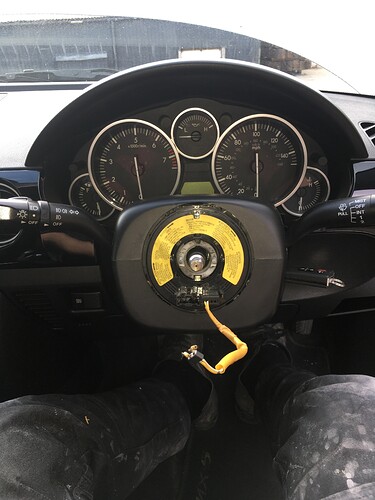
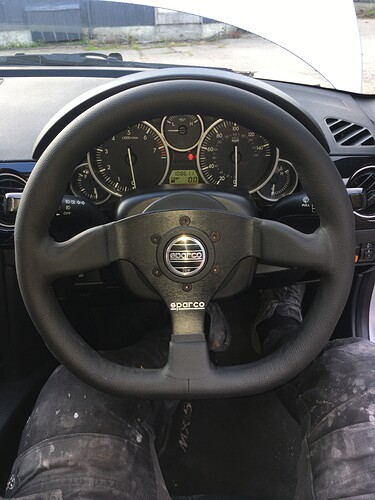
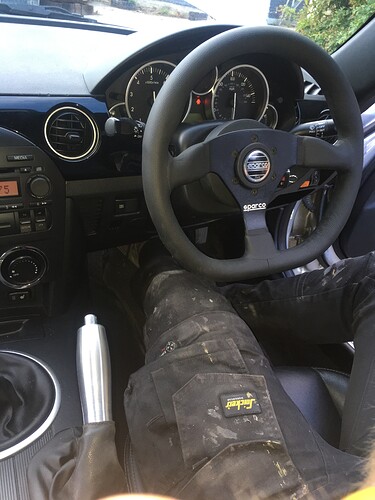
Installed a Sparco L360 leather wheel on my NC1 today. Paired with a short style works bell boss kit i found cheap on ebay. Im 6ft 2 and the larger 360/370 wheel was limiting leg room until now.

I also installed the jass machine handbrake which not only feels awesome but allows leg room too.

Downsides are no airbag but the mx5 is so small Id be dead anyway in a crash. Really adds to the go kart like handling I feel. Well worth it!


7 Likes

Just a little tip, when fitted, mine were slightly ‘loose’ on the wing. A strip of 4mm 3m double sided tape secured them very well into position, perfect!

Barrie

1 Like

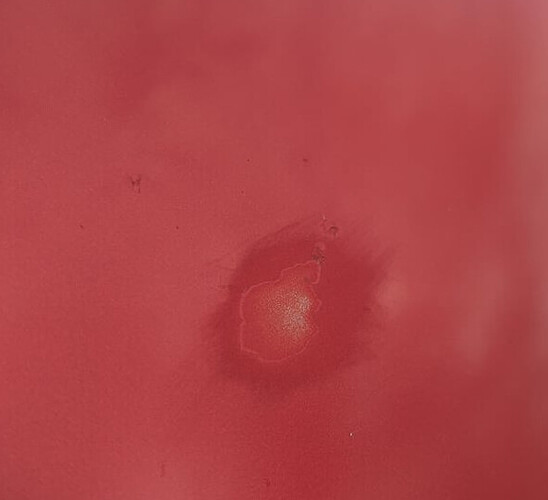
Wet sanded a huge chunk of flaking paint on the nose :scream:

Ooh, pick and flick!

Last week officially but whatever… took my car to a place that specialises in MX5’s for;

  • Top up rust treatment in the cavities (purely to ease my paranoia)
  • Sort my intermittent brake lights
  • Sort an intermittent popping / knocking noise at the rear
  • Wheel alignment

As with every car I’ve ever owned my MX5 doesn’t ever seem to have things break, they just go… dodgy. So the day before I took it in to the garage the brake lights started working again and the 24 mile drive to the garage the back knocked a grand total of once. So it was obviously impossible to diagnose those issues.

Anyway, drive back was in the rain but the car certainly felt better to have all the wheels pointing where they should and I don’t need to worry about the dreaded ‘R’ word any time soon.

What was best of all was hearing from someone who deals with a lot of MX5s that my little NA is a good example and that I should make sure to look after it :slight_smile:

2 Likes

Discussed with my garage the many and varied ways the tin worms have been eating my car. He didn’t start the MOT process as it was clear enough to the trained eye and the pointed, metal stick, that there was rust enough to warrant pointing me to a welder first and then return for inspection.
In reality, that’s entirely what I expected, since it’s been SORN for three years, but good to find that it’s no worse than I thought. :man_shrugging:t2:

Bonus is that this means it won’t have any condemning digital history, as that verdict was given verbally.

I’ve previously had one rear sill fully sorted, so it’s the other one this time, and the n/s chassis rail has succumbed. Ah, well. Good job I recently got £800 for my cat, which is set aside for the repair work. :+1:t3:

2 Likes

Think I would have to sell my Dog to sort mine

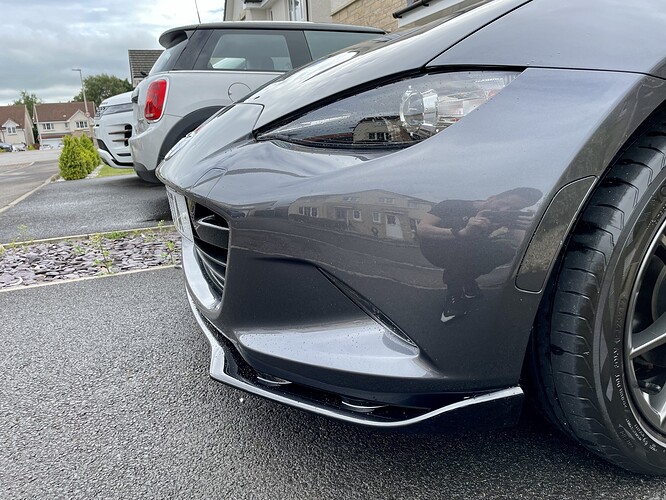
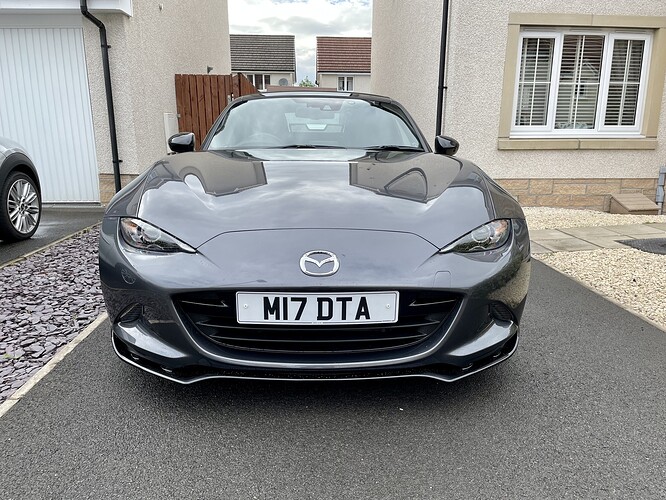
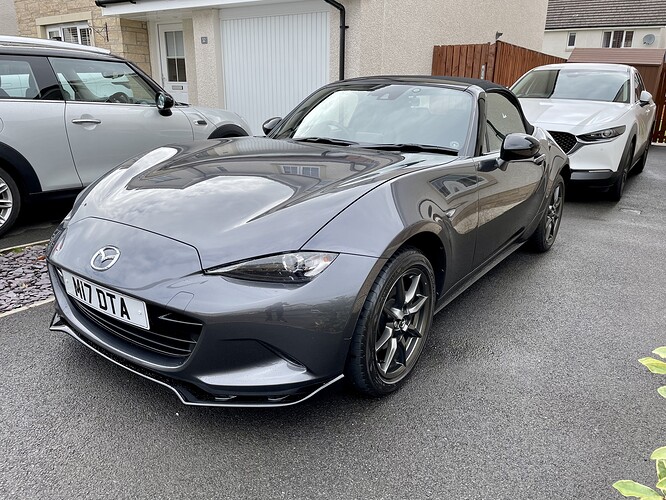
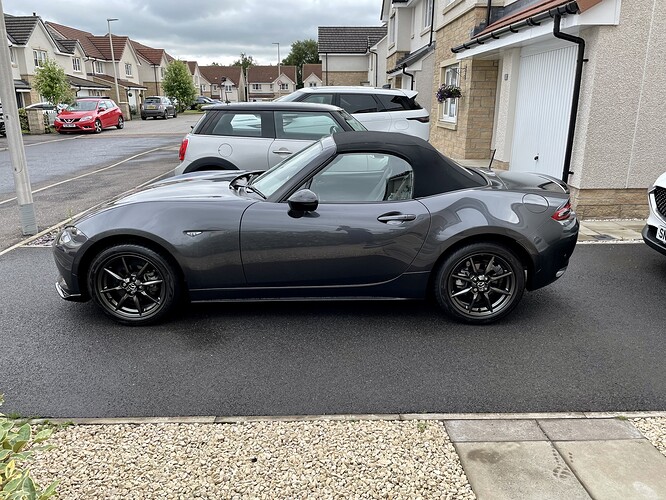
Had the dealer fit the front air dam to match the rear spoiler. Turned out great!


15 Likes

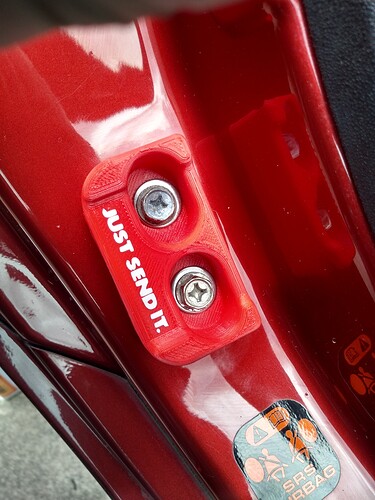
The usual door bushings, not tried driving the car but pretty skeptical about them doing anything on a PRHT.

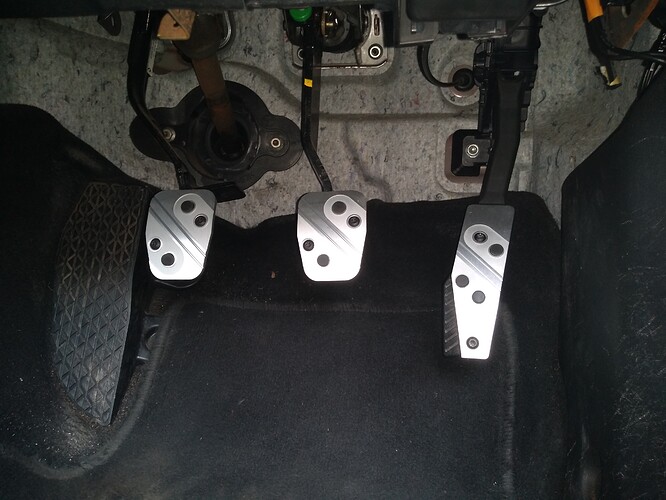
Fitted some Mazda pedals. Easy job but the steel pedal is not flat so you need some good drill bits to get the hole exactly where you need them.

3 Likes

I too was sceptical about door bushings but these 3d printed ones were cheap enough to be worth a try.
I was amazed to find they were as effective as claimed and soon bought some better quality versions that are machined from Delrin.
Subjectively, the car feels stiffer and taughter, it turns in more eagerly, tracks better and rides better.
Win/win/win!

3 Likes

Where did you by the delrin ones? I see some on ebay for £25. (they are sold by moss europe)

The problem of the send it ones, don’t overtighten sticker on the rear but it never states a torque setting.

Today I dismantled an old PC CD-ROM drive that had failed and was waiting to be disposed of (admittedly I’d already had the internals out to see if I could fix it previously so it was just the fascia and metal cage).

This cage I then hacksawed to create a small flat rectangle of metal.

I then went under the car to remove the two battery clamp holder captive nuts, one of which had bent down in being drilled out during the last time I worked on the car (taking part of the underside U-bracket with it). This came off by wrenching and twisting with vise-grips.

The second was much more of a pain (my skinned hand can testify to this). In the end it was a mix of socket set, hacksaw and vise-grips to twist, break, tear and shred it from the car. It came away in various twisted pieces, however the center of the U-bracket appears not to have rusted like the rest and refused to come away.

So it was on to using an electric drill with a wire wool attachment to get rid of the small jagged lumps that made up the twisted edges of this center piece. It didn’t work so tried a grinding stone attachment which did nothing, then discovered the drill was at lowest setting and it wasn’t just nearly out of battery - then things went better with the wire wool, stone etc. till it was a bit smoother but still too lumpy for the new bracket to sit over it.

A 4 pound lump hammer :slight_smile: was then applied which did a much better job of getting things smooth enough for a new bracket to go in place, and hammerite applied to the whole area.

And the current space limitations, this was all done with the wheels on and the car on the ground which makes for fun crawling.

I then used the battery clamp to mark on the new bracket where to drill the holes and drilled them out, mid way through the battery on the drill ran out and I knew the other battery had failed. Turned out it hadn’t failed, the earth contact had rusted! on the battery (which was stored in the house :expressionless: ) so emery cloth got it going - very well in fact and the holes are now drilled.

Then it was painting time, so I tied it up from the clothes line and proceeded to paint it with a supermarket plastic fruit bag (I had done this for painting the underside too). This would have gone well if not for it suddenly spinning and my foolishly steadying it with my non-bagged hand, and of course not on the not-yet-painted bit (just to add, hammerite killed the only brush I had the last time I used it by wrecking the bristles, hence the painting with a plastic bag - also finding your normal painting gloves full of water and woodlice kinda makes you look elsewhere…).

Result, at least an hour trying to get hammerite off my hand.

Although the bracket (currently line-drying) is flat, I’m hoping that since it’s of thicker metal than the U-bracket that its replacing and slightly longer, in addition to washers will make it as sturdy for keeping the battery in place. I did intend on tapping the edges in to convert it into a U-bracket, but I have nothing to hold it in place properly, and while I did try I just couldn’t hold it and hit it with enough force to do it properly.
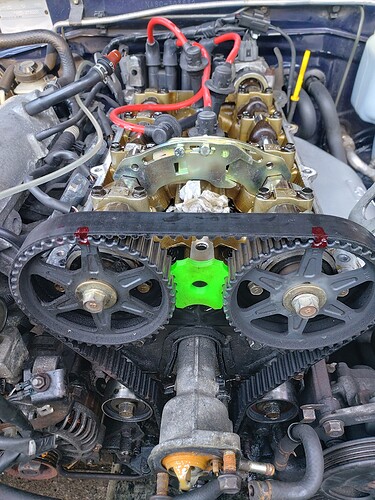
Started out as a minor service but you know how it is, you take one bit off and suddenly te job gets a whole lot bigger.

8 Likes

I got them from a guy called Rob Bate.
The price is rhe same £25.00 but he includes postage.
Moss want £8.00 postage, which is s joke for such a small light package.
Quality is excellent and stainless flanged bolts are included.

robbate1@hotmail.co.uk

2 Likes

Added some 25mm Direnza hub centric spacers.

1 Like

Changed the CAS. Car wouldn’t start. Realised I hadn’t plugged the CAS back into the wiring loom. Car started. Rejoiced. Drive the car 5 miles. Engine warning light returned. Swore loudly and returned home to work out what else the issue might be…