Hows it going Barrie, hope your illness has gone. To quote a old football song Here we go, Here we go, Here we go you’ll be getting a Red MK1 next but if it keeps you off the streets and out the pub very good, going to a local car show today but cut off age for cars is 1990 blast one year out, the Golf MK1 GTI is 1988 but its going for the MOT on Tuesday no sleep on Monday night will let you know how it got on, cheers matey, Rob.
I wanted a single din motorised screen jobby, with a cubby under for phone or what have you. I also wanted it higher up for easier use of the touchscreen and viewing the display. Quite natty really. It’s not android though but a Windows driven system. You can’t download apps, what you see is what you get. However, it does have,
- Sat nav
- RDS radio
- CD & DVD player
- Bluetooth
- Handsfree phone
- TV
- Steering wheel controls
- 2 USB rear inputs
- reversing camera
- Equaliser
- SD card player
- Choice of boot up screens (can add others via SD card)
- Subwoofer output
- dedicated iPod input
- RCA outputs for more monitor screens (not sure I need them)
the whole install including the unit, interconnect lead, SWC lead, new fascia plate was sub £250. I bought it as much for the ‘Retro’ looks and the main knobs sort of match the heater control rings and the heated seat switches. The colour of the unit is a good match for the rest of the trim in the car too.
Barrie
Morning Rob, have a great day at the show. Don’t lose any sleep over the golf, if your thoroughness is anything to go by, it will sail through its test! I’m going to go to the next bunch of fives meet, 3rd June I think? Might see you there if you’re available.
Barrie
You know it’s calling you. 175 would possibly come in at close to if not actually 180 kinda making the 1800 GT monica even more appropriate. I’m using man logic here as it always works well when I need to convince myself I need something. Having now driven the 200 it’s made me move forward. Rang the Adrian Flux on Friday to check the insurance increase for a 185. Just £30 so nothing to stop me now.
Got curious with the car comp rules as my mate got punished for having a mohair roof in standard class which cost him a win. Although they didn’t spot his aftermarket grill and speaker surrounds. It suggests that, for lightly modded, that exterior paint must be stock paint colour only and must retain interior finishes… god knows how they arrived at yours being lightly modded lol. . Nevertheless it’s good to see all your hard work to achieve something special being recognised.
Here’s a link to the install. Due to photobucket throwing a wobbly, lost all the pics so have edited and put them back with postimage
https://www.mx5oc.co.uk/forum/yaf_postsm633619_NC1-Pumpkin-audio-install.aspx#post633619
Barrie
Couple of little updates. Firstly, I’ve replaced my headunit with the OEM one and have installed an all in one dashcam/mirror/GPS/rear view camera/reversing camera/DVR/Bluetooth/handsfree/FM transmitte/Android unit in place of the OEM mirror. All the info is on a seperate thread in this section.
https://www.mx5oc.co.uk/forum/yaf_postst108223_DVR-Dual-camera-sat-nav-rear-view-mirror-thingy.aspx
Secondly, the GT badge that sparked all this work off, has been replicated on the horn push. I had the horn push wrapped with all the other stuff, ready for doing this. Finally got round to ordering another (already two on the wings) this time with a red middle. The horn push has a curvature and the metal badges are flat, so a bit of gentle bending in the vice has sorted that issue.
Here it is fitted.

I think it just lifts the wheel a bit and finishes off that area. Just the right size too!
Barrie
great job barrie
lots of nice little touches , a very nice , individual motor …
You need a chrome key fob Barrie.
You are slipping these days.
Looking good as usual Barrie.
Not read your mirror install yet, been busy driving mine but I’m having a day in so will catch up today.
Barrie
Glad you’re out and about Mick have a read of the thread, I’m well chuffed TBH. What would we do without China
Barrie
Thanks Geoff, getting the itch to do something else now
Barrie
Just found this member on here called 1800GT hope he doesn’t mind me using his name for the car
https://www.mx5oc.co.uk/forum/yaf_members.aspx?g=members
Barrie
Just bought the ILMotorsport alloy expansion tank oh, and I also made an offer to RamAir, directly, for one of the skuzzle torqintake induction kits and they accepted, saved myself almost £90 over buying it through mx5Parts!
They’re due tomorrow so will update my findings on them when I get the stuff fitted ( with pics of course ) I also swapped the oil and filter, purists may not be happy but I used ECP for the bits, (5 ltrs QX 5w-30w semi synthetic and a crossland filter ) £17.50 all in! Well £20 actually 'cos I accidentally bought two filters
I’ve put the other one on the shelf for the next oil change
I’m posting this here so everything’s under one roof so to speak
makes it easier to find stuff in the future.
Barrie
Continuing with modding and ( hopefully ) improving the GT, I read an excellent topic in this section from steve398, regarding lumbar support. Thanks Steve for links on how to etc.
Anyway, started looking on the Internet and found a complete kit for less than a tenner delivered on Prime. It arrived at lunchtime and this is what was inside the carton.
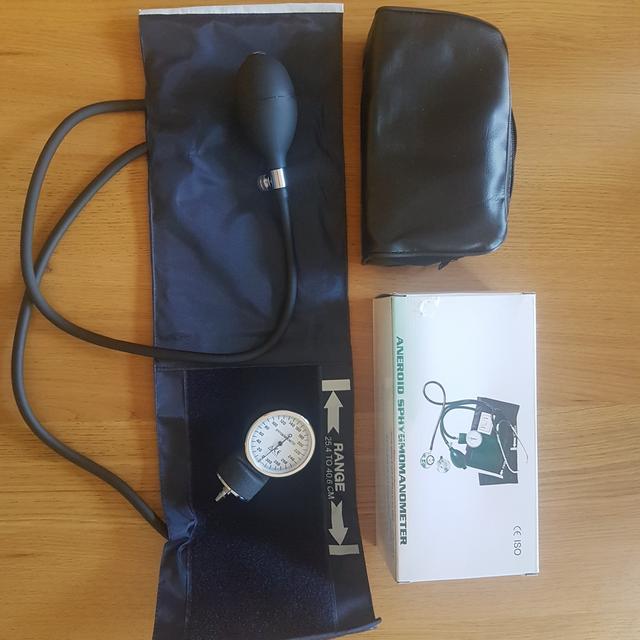
I didn’t need the gauge obviously but as a kit, that’s what it came with for a couple more quid I could have a stethoscope too!
Decided not to bother with that part. Following the guide linked to by Steve, it was simplicity itself to carry out this modification. I took the gauge off, folded the rubber tube back on itself and tie wrapped it up.
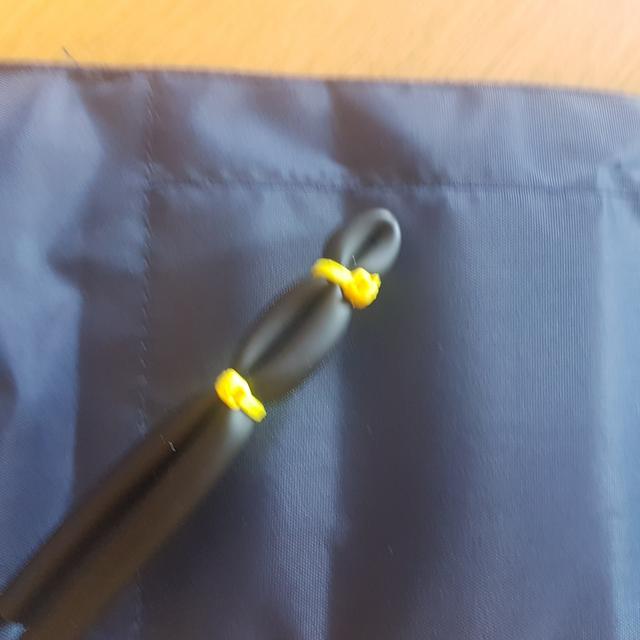
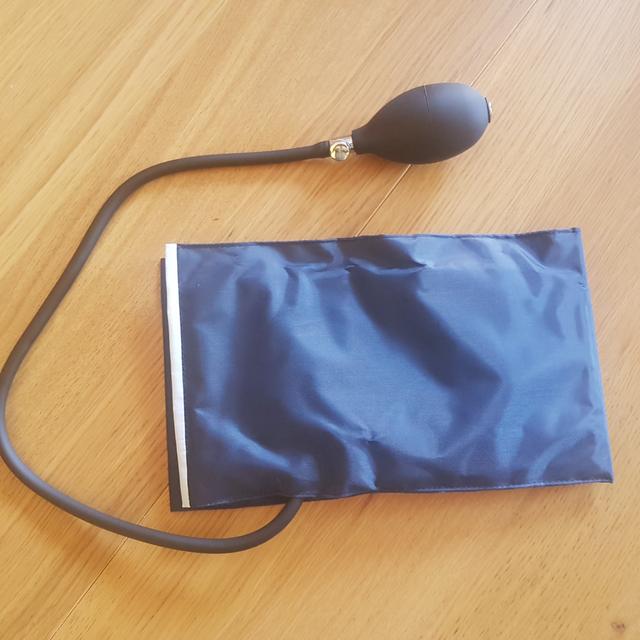
I didn’t cut the tube as I wasn’t sure if it would seal but having submerged it in water after pumping up the cuff, no bubbles were seen. Rather than cut off the surplus part of the cuff, equal in length to the bladder, I just folded it back on itself, placing that side against the springs on the lower seat back.
This is it ready for fitting.
Pulling the springs away from the foam allows the cuff to just slide carefully into position. I routed the inflation bulb to sit just alongside the manual seat height adjuster.
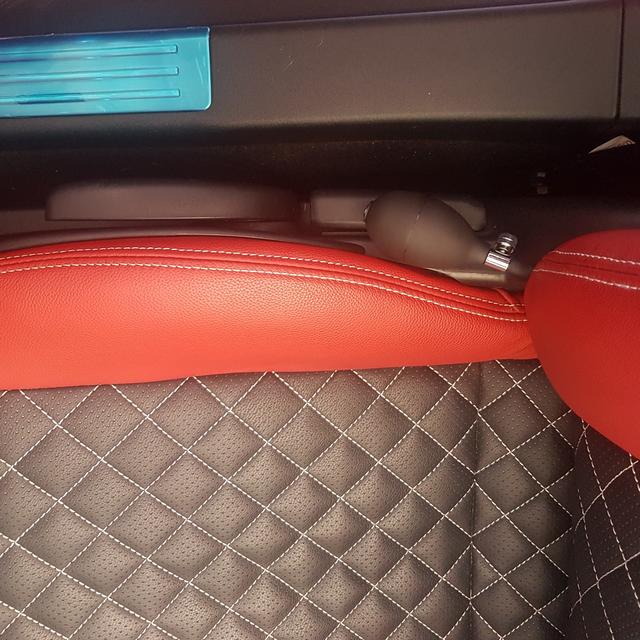
Works perfectly, well pleased! I’m going to do the other side next, seeing as it was so easy to do. I remember having a 4x4 Sierra Ghia estate back in the day and that had a very similar accessory.
Barrie
Been busy today
after a tea break,
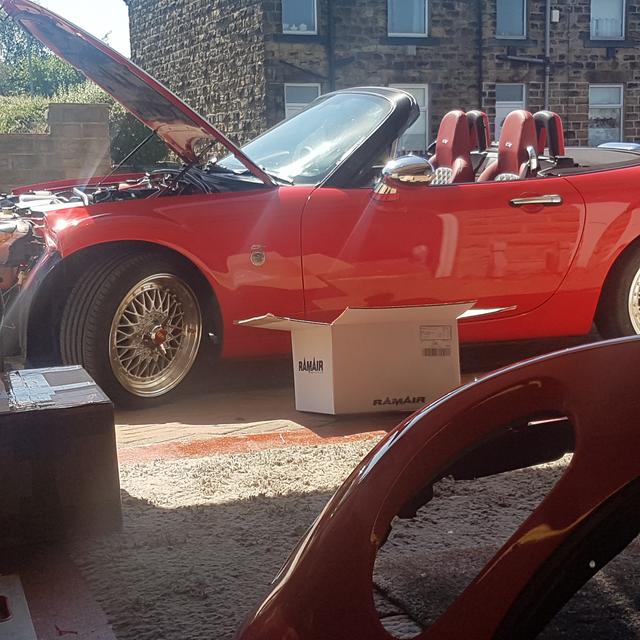
I got stuck in to fitting a RamAir Skuzzle torqintake. I messaged RamAir and offered £150 for one delivered and they said yes! I’m not a tight sod but everyone likes a bargain, mixed reviews made me a bit hesitant to pay almost £240 delivered from mx5Parts. Anyway, this arrived this morning so got stuck in to the installation. First thing is bumper removal, which might seem daunting but I’ve had it off several times ( ooooooeeeerrrrr Mrs
) right, back to the install, new fixings all round meant the bumper was removed both quickly and easily, revealing the stuff that needed removing.

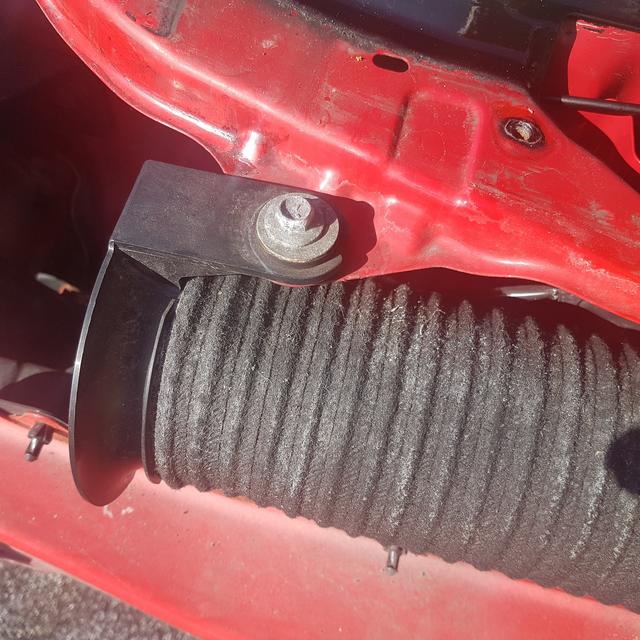
All looks a bit grim under the shiny new bodywork but hey ho! I loosened the two 10mm bolts either end of the corrogated intake tube, then the two Spring clips on the airbox, taking the lid off and the K&N panel filter at the same time. Unscrewed the hose clip beyond the MAF, unscrewed that as well and put to one side then took the intake tube off. There were a couple of 10mm nuts holding the lower sections of air box in place. Once undone, a sharp pull upwards releases the box from a rubber socket below. Picture of one of the two bolts holding the intake tube in place
There is a plastic air guide along the top edge of the bumper, held in with those ubiquitous plastic clips that Mazda love to use there are two, one either side beneath the headlights, I just could not remove them without breaking, even though the instructions say you can without removing headlamps. I decided to take the headlights off, only four ( you guessed it) 10mm bolts holding them in place, once put to one side, the trim clips came away easily.
Next was to install the new torqintake.

Big box with not a lot in it. Very lightweight item, the tube being very nicely finished in a roughened satin black paint of some sort. Offered that from the front of the bumper and once well into the engine bay, the tube can be rotated and the bends drop down behind the bumper bar. There is a bracket welded to the tube that aligns with one of the trim clip holes in the metalwork. A supplied bolt,washer and nyloc nut is used to fix it. At the other end, the tube engages with the stock pipe work using the existing clamp to secure it. The MAF attaches to the new intake with two supplied Allen head button screws and washers. That’s the mechanical fixing done.
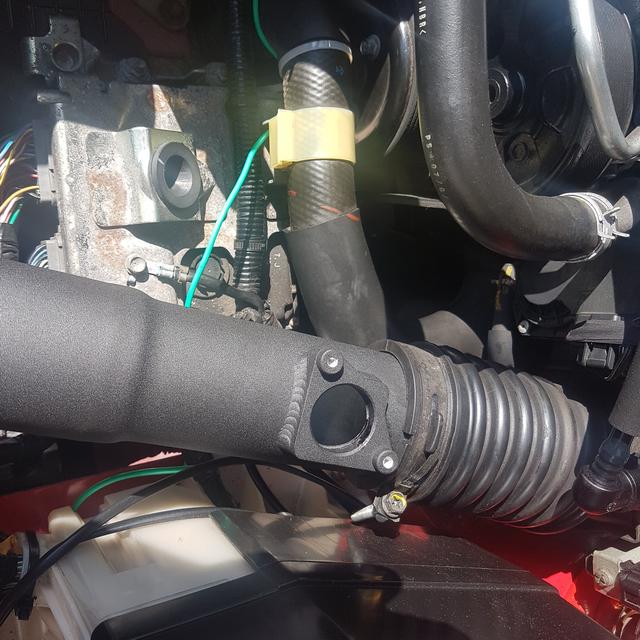
All that’s left is the air filter to attach at the other, lower end.

I then started the car and it just fired up and soon settled to an even tickover. I read that the ECU needed resetting so held it at 4500rpm where it’s supposed to drop down to 800rpm on its own? Well mine didn’t and at the risk of offending my neighbours, I let my foot off the pedal. Everything bolted back up again, time for a test drive I did about 10 miles of very mixed roads at varying speeds and loads. All running nicely. My butt dyno tells me it pulls better, it’s smoother and just feels better. However, all that may just be placebo
what isn’t though, is the very nice induction sound, a sort of muted whoosh, very pleasing to my ears
So, on reflection, was/is it worth it? For me at the price point, YES without a doubt! The only downside I can see, is the mess left when the airbox is removed, exposing the ECU and the mass of wiring. I’m going to have a look at the bottom airbox push in fixing and there are two bolts holding the PS fluid reservoir in place that might provide a fixing for some sort of cover plate. I’m on a run out in Sunday in N Wales (roughly 300 miles) so will get a better feel for things after that.
Barrie
All in the same morning ( said I’d been busy ) my new ILMotorsport expansion tank arrived too, so why not fit it while the tools were out
.
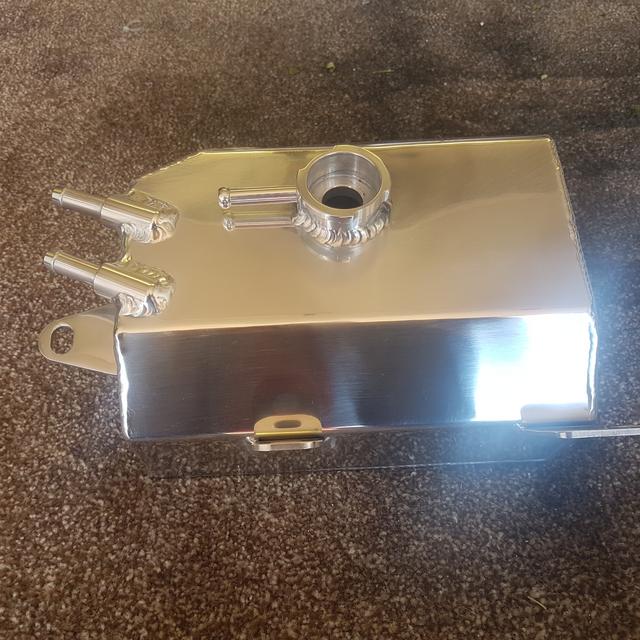
It certainly looks nice very easy to fit too, all the hoses fit directly on in the OEM positions and the mounting points align perfectly too with OEM fixing points. I undid the top hoses and removed them from the plastic tank along with the 3 X 10mm nuts. Once loose, raise the tank and coolant comes out of the smaller pipes, I caught this in a small container, repeated a few times until tank drained. Then I undid the large hose under the tank and removed the tank completely. Swapped in the new tank in reverse, large hose underneath first then settled the tank onto its OEM fixing points, finally reconnecting the two small hoses and the overflow pipe. I reused the fluid I’d removed to top up the new tank, replaced the expansion tank cap, ran until up to temp and fans kicked in, no leaks, everything good.
Now, quite an expensive bit of under bonnet bling! First, no baffles, not sure this is an issue but the Moroso one does have them. Second, no sight glass or easy way to determine fluid levels, on the plastic one it’s very easy to see obviously, the Moroso one has a sight glass. Thirdly, it’s like a kettle! Certainly soaks the heat up, I presume the Moroso one does the same. Would I buy one knowing what I know now? Not sure, but me being me, the answer would be yes
Barrie
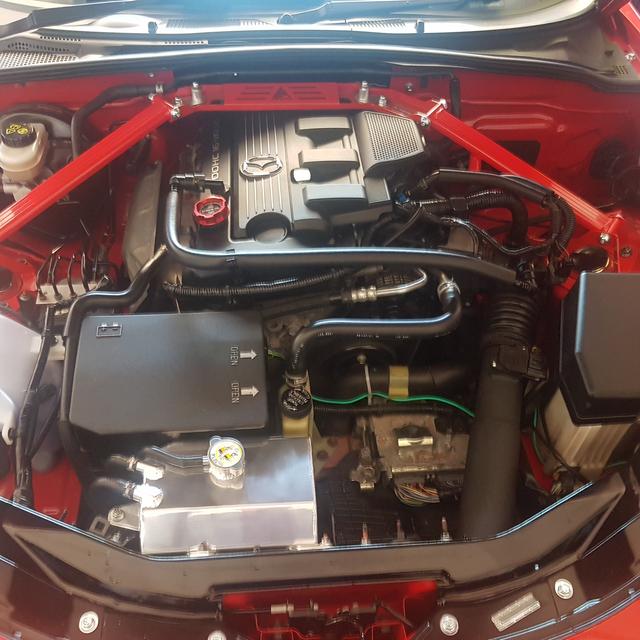
Following on from the torqintake and my comments about the exposed ECU and wiring where the airbox used to sit I nipped up to my local friendly metal purveyors with a cardboard template. A quick rummage in the scrap bin, produced an offcut of alloy sheet, only 2mm but more than adequate for my needs. They trimmed it to size, put two opposite folds in it for me too
and here it is on the car.
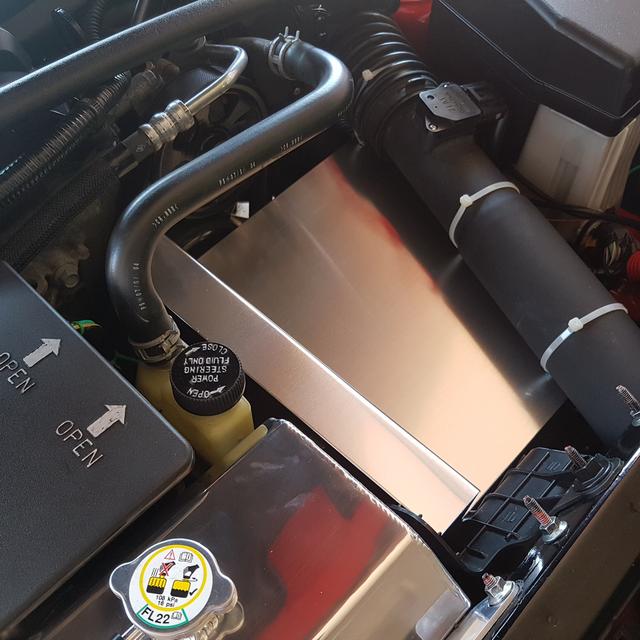
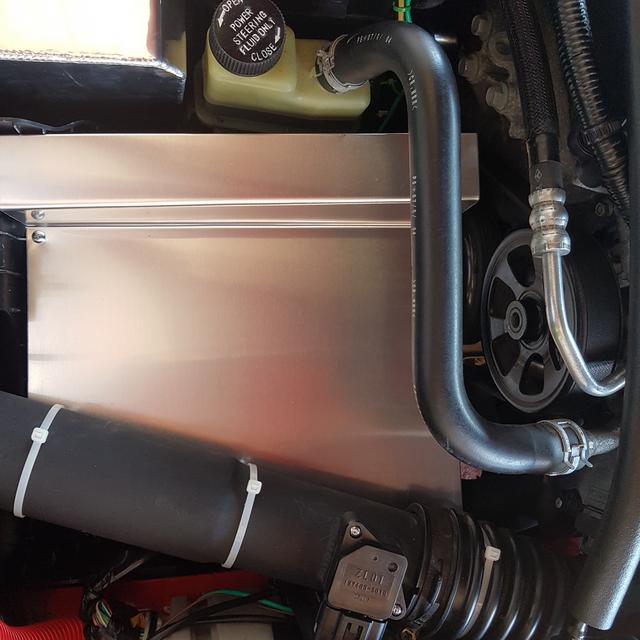
I just need to get some black tie wraps next time I’m in the motor factors to replace the white ones. I just drilled three holes along the side of the new panel for the tie wraps. The folds have made the sheet quite rigid and the self tapper on the front corner holds it firmly there
Barrie
Good job Barrie
Looks like there’s going to be more airflow around the front of the engine with the box removed.
I found some chrome bling in the cupboard, well the missus did, forgot I’d bought it from a forum member. Now fixed on the car, chrome seat belt tower cover thingy’s, took me all of 2 mins.
1 Like
Bring on the bling! I’ve had those on my car too Mick, quite like them but make sure they’re well stuck on as I lost one and had to buy another pair
As luck would have it, another member lost one of theirs, the opposite to mine so I passed my spare over to him so he had a matched pair
mine are now wrapped in the carbon fibre on other parts of the car and look fine, sort of subtle, being dark. Certainly a bit more space in the engine bay now! I think the torqintake kit was missing that bit and probably puts folk off. Wouldn’t be difficult to make a more " factory " looking cover panel and supply it with the kit.
Barrie
1 Like