Not sure if you listen to podcasts but you might be interested in the latest ‘CarChat’ podcast where Sam talks to Bruce from Rocketeer.
Might be company for you under the car!
Not sure if you listen to podcasts but you might be interested in the latest ‘CarChat’ podcast where Sam talks to Bruce from Rocketeer.
Might be company for you under the car!
Thanks Michael! I’ll give that a listen 
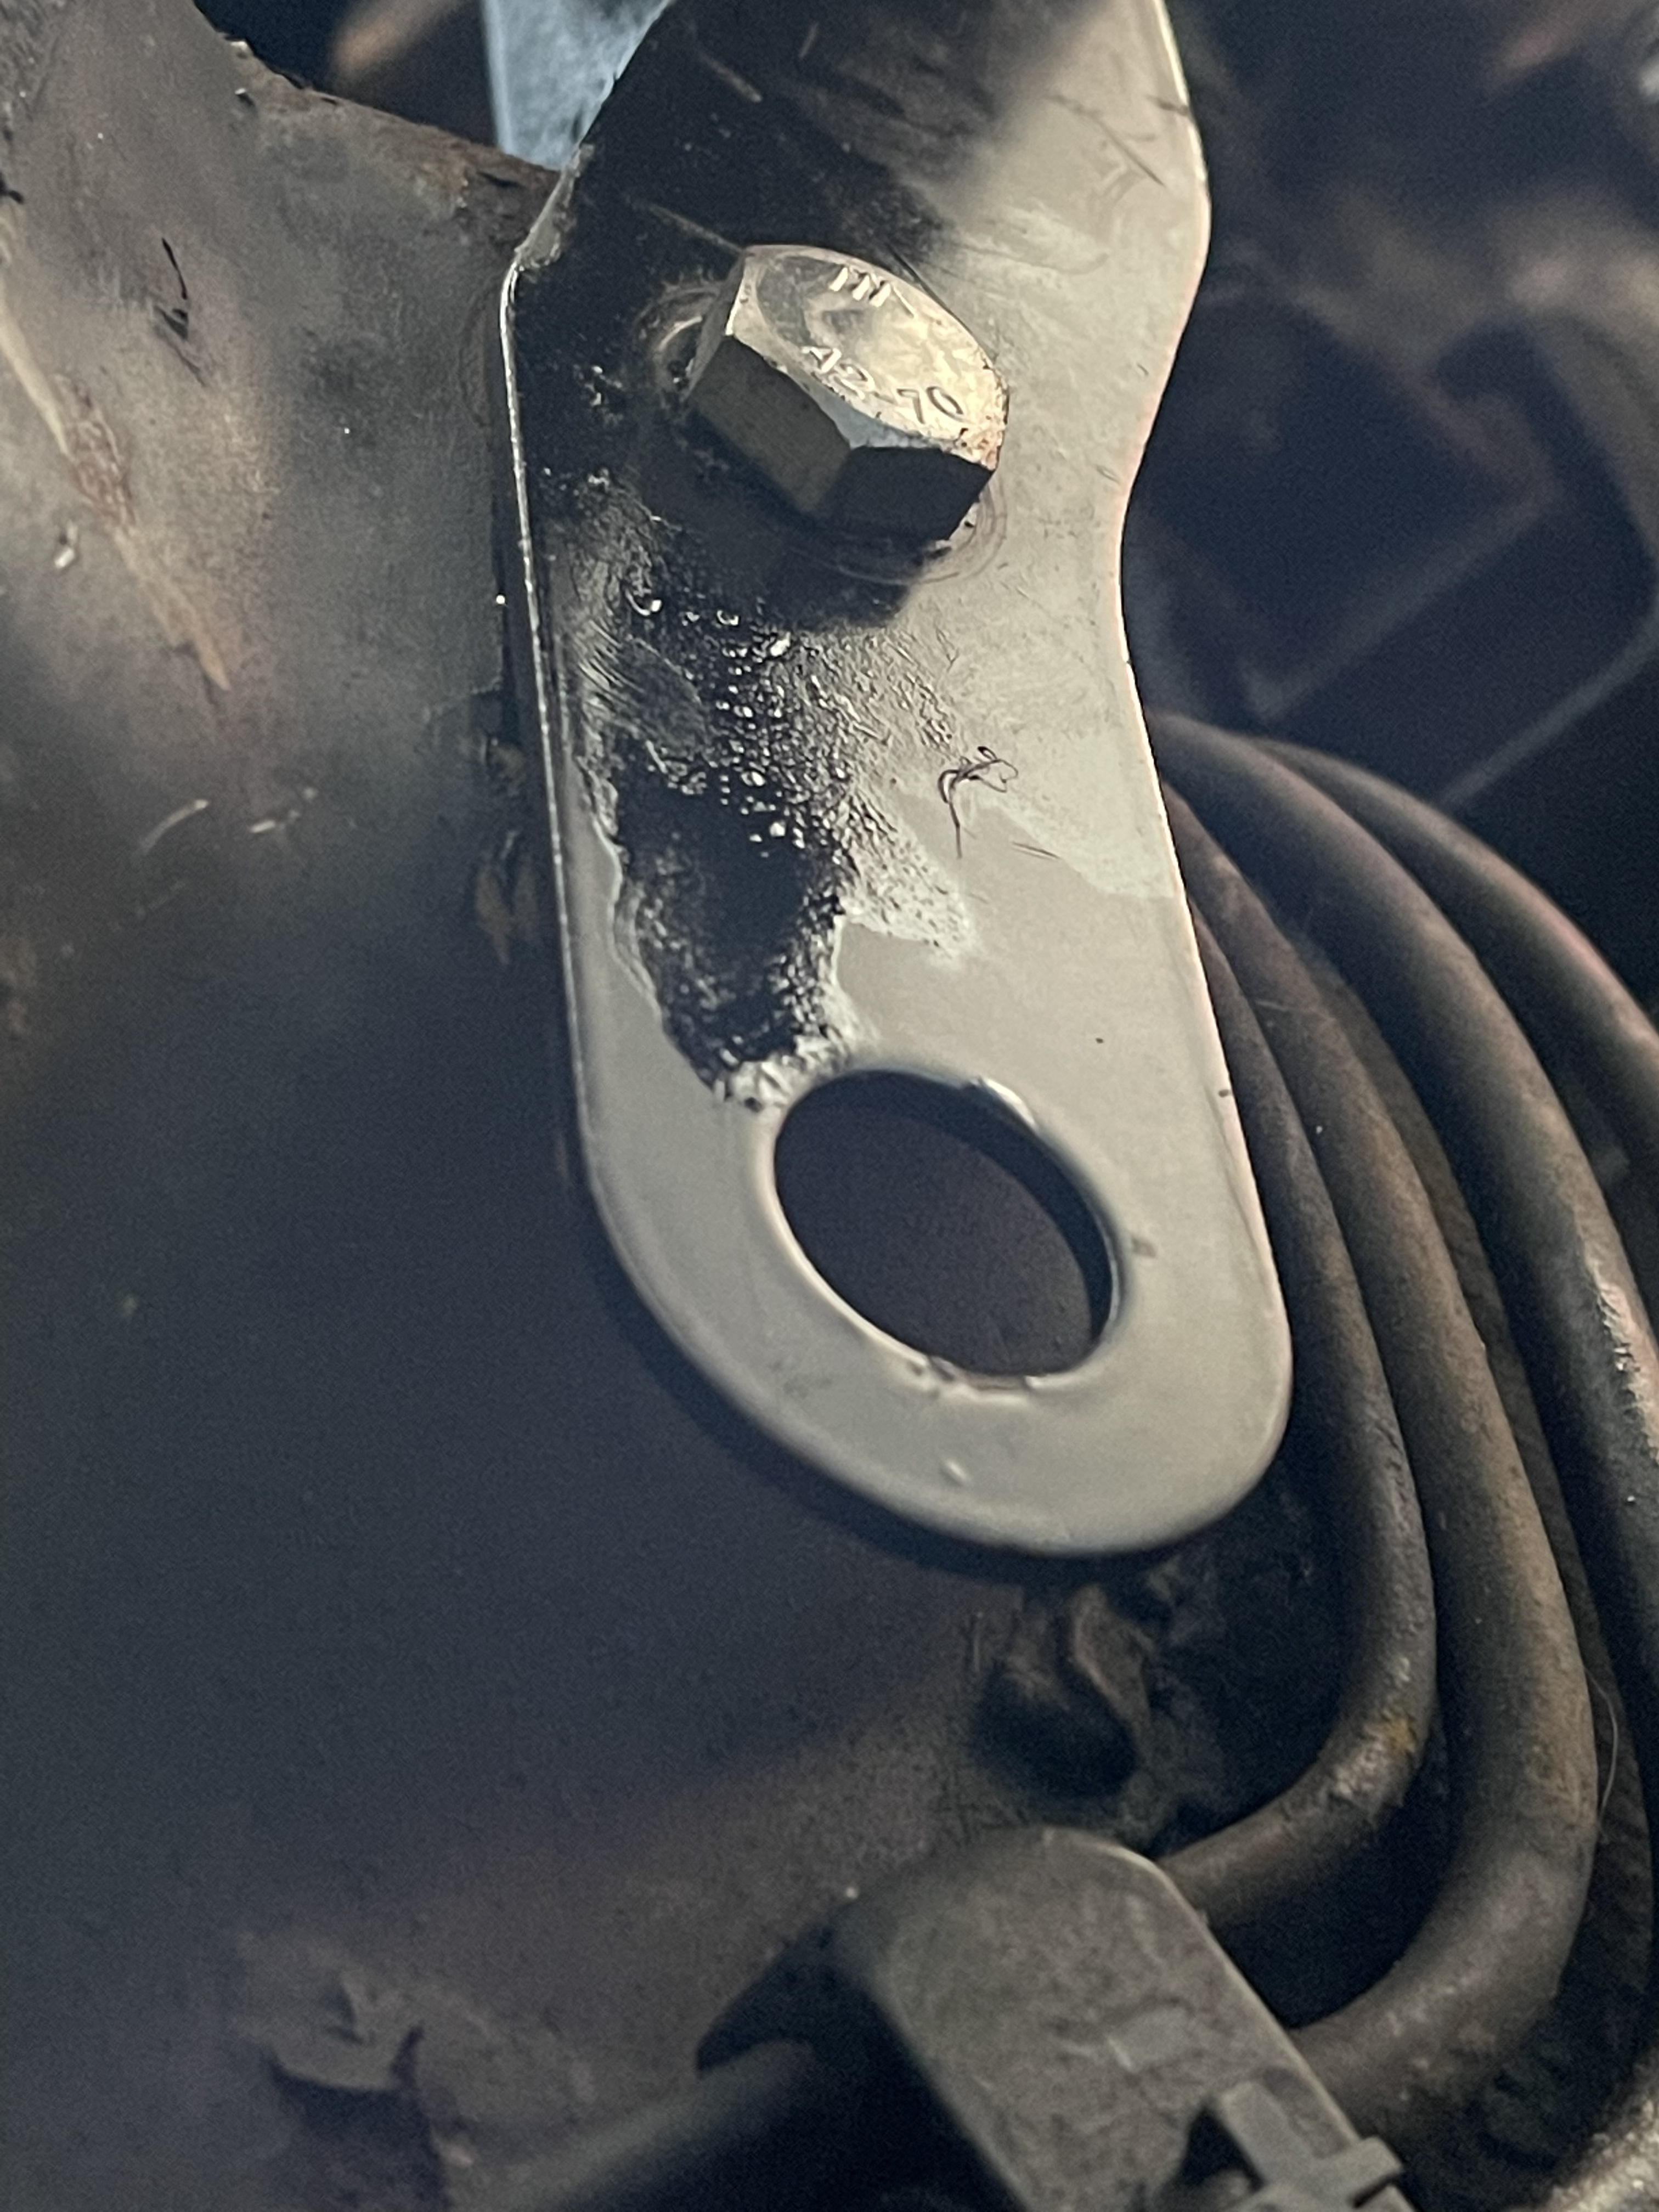
Might be worth trying a longer bolt.
That one seems pretty short for going through a subframe first and much of the damage will have been done by the subframe rather than the thread in the captive nut or whatever it screws into.
Hi guys,
I am currently in the process of re-building my front suspension and brake system, for two main reasons (other tahn the obviosu reason of needing to to be able to drive it at any point  ):
):
Having ordered lots of news bolts and screws and nuts, I set about the rebuild process. The now Superpro fitted suspension arms were a ■■■■■■ to get on and they barely move up or down, is this normal?
I then, cleaned up the hub with a wire brush, some wire wool and some brake cleaner.


I applied some copper grease to the surface of the hub to stop the disc seizing on there, and then mounted the disk.

Time to fit the shiny shiny ILM Brake Calipers and Yellowstuff pads.


BC Racing Coilover fitted


New Superpro ARB fitted on to engine bay mounts and tie rods (loosely for now)

Fitted brake pipe

Test fitted wheel.

It looks like a car again!!!
Hi guys, a follow up to my subframe post. Somehow, I completely arsed up the helicoiling and now I’m stuck and beyond miserable. I followed all the guidelines:
Cleaned the hole
Tapped the hole
Inserted helicoil with tool.
Firstly, the helicoil didn’t stay in place 100% solidly, then when I did get it to stay, the bolt only tightened so far and then again was turning in the the helicoil, and I then removed the bolt with the helicoil attached.
So, I then tried the process again but went up a drill size. Same problem. Now what?!
Suffice to say, I want to sell everything and move to Outer Mongolia and become a goat.
Has anyone got anything to put my mind at ease?

Don’t they eat goats in Mongolia?
Frankly, i’d take it - put me out of my misery! 
It’s possible many of us feel your pain.
Often a setback in a project can initially feel insurmountable but with a fresh approach can be overcome.
Is there anything else you can tackle to re-invigorate your mojo? Something that will allow you to make positive progress and then come back to this at a later date?
I’m optimistic that someone here will give you a path to victory.
Keep your chin up mate. This is all part of the adventure.
Cheers,
Guy
Sorry to hear about this, helicoils can move if they are not drilled straight, you could try a Keensert? Key-sert (Keensert) Type Metric & Imperial size Free Running Threaded Inserts | eBay
Not tried them myself but they seem to like them in the US. Otherwise it might be time to open up the chassis rail and replace the nut (which is a bit of a pain)
Did you leave the tang in place on the first helicoil (that’s the bit poking inwards to the hole?). The tang is usually snapped off with a drift and a hammer otherwise the bolt will be pushing against it and will wind the helicoil in further.
First did you use a new bolt? The thread was shot on the old one.
Second, you need to snap off the insertion tang otherwise the bolt catches it and continues to drive in the helicoil which now clings to the bolt rather than expanding to relax in the freshly tapped thread. And you did wash out the tapping oil?
Going up a drill size is bad news, unless you also use the next size up on helicoil, its dedicated tap and another new bigger bolt the right size for the new helicoil.
Yeah, I did snap off the tang from the helicoil.
The kit I got comes with a punch to take the tang off.
I’ve gone up a hole size but also have the tap and helicoil that size too, but the same thing happened. I’m probably just doing it wrong.
I’ll go out and investigate later when the sorrow subsides!
Thanks for the quick replies guys - it does seem as though if I can’t get it to hold this time then cutting out the cap nut and welding a new one in is the only way…sounds painful to me, especially as I can’t weld. But i’m sure it isn’t insurmountable.
Some more inspiration…
A bit of araldite (or similar) to hold the insert in place, run a parallel tap up the insert once It’s cured, new bolt (or worst case run a die down the old one if it’s salvageable) - job done.
It only bloody worked! Never doubted myself for a second  thanks again for all the advice and patience
What did?..
Nice one  .
.
Shows what a pinch of perseverance can accomplish.
Now, onwards and upwards. 
Helicoiling a larger (larger) hole and loctite to fix a broken submount thread
So pleased it worked, onwards and….
Thanks Upwards! The electronics pack (inc. ECU) may arrive today which is super exciting.