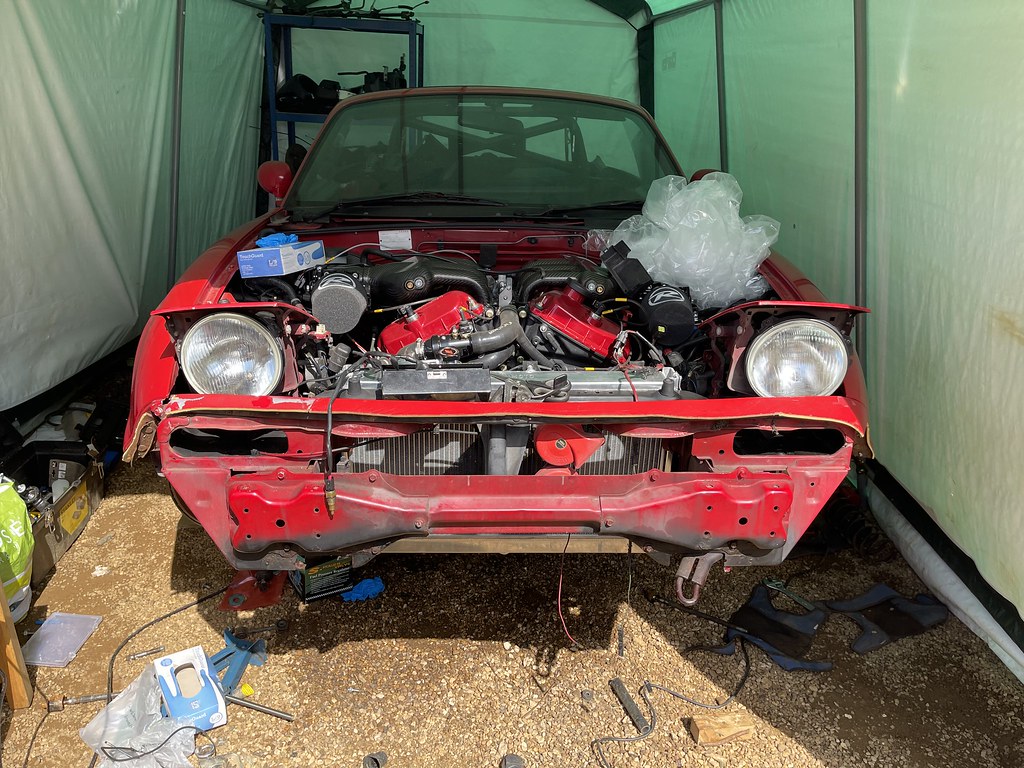
5th & now 6th (šŸ™ˆ) MX5 & the beginnings of a Rocketeer build

So, as is mostly always the way with Rocketeer, things donā€™t happen as quickly as iā€™d like. The Electronics Pack hasnā€™t arrived, so over the weekend I busied myself with other jobs that needed doing.

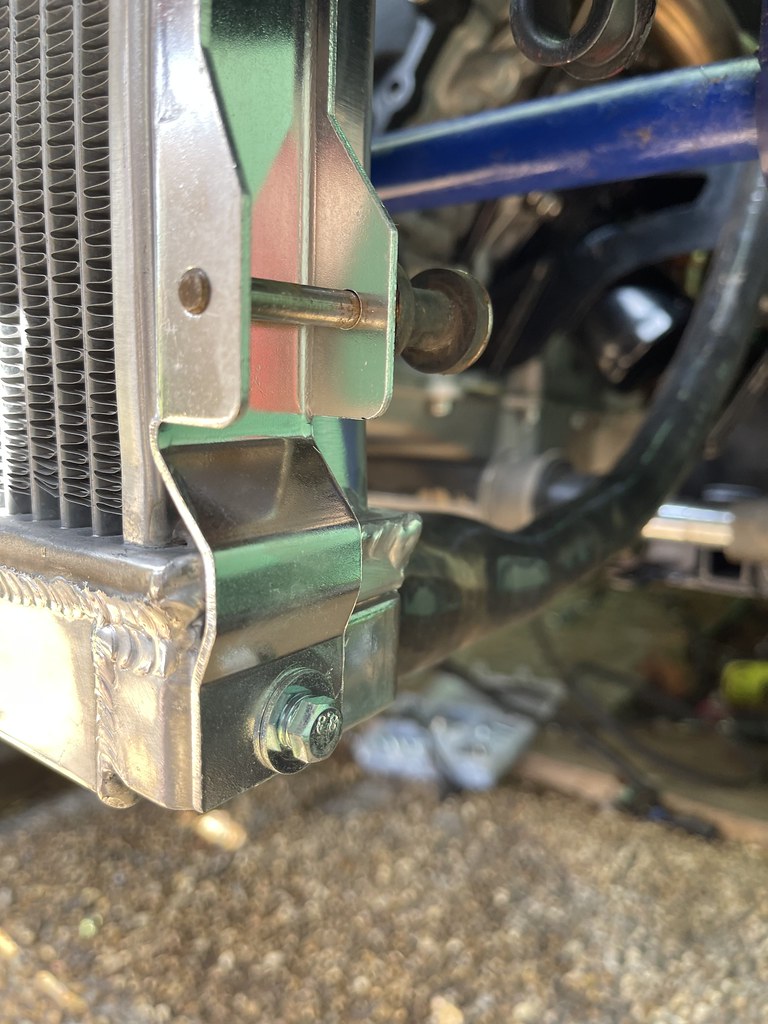
Firstly, I fitted the new radiator. Strictly speaking you donā€™t need to change the radiator, but with all the extra power and heat under the bonnet I figured it would be a good idea to do so and is recommended by Rocketeer.

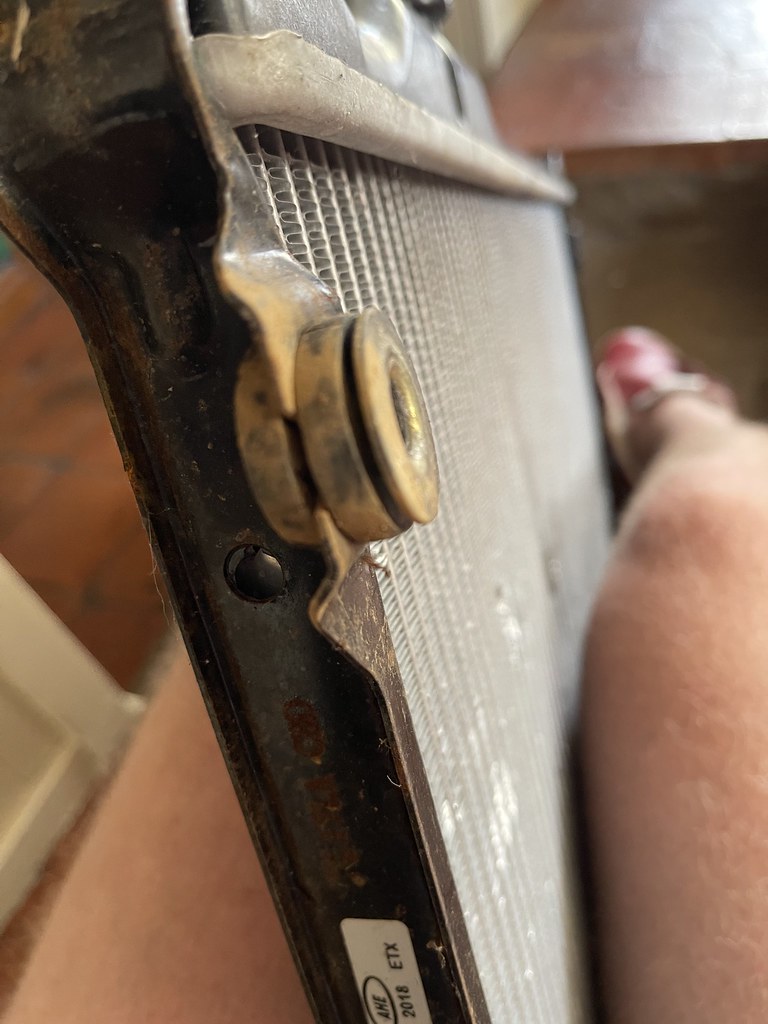
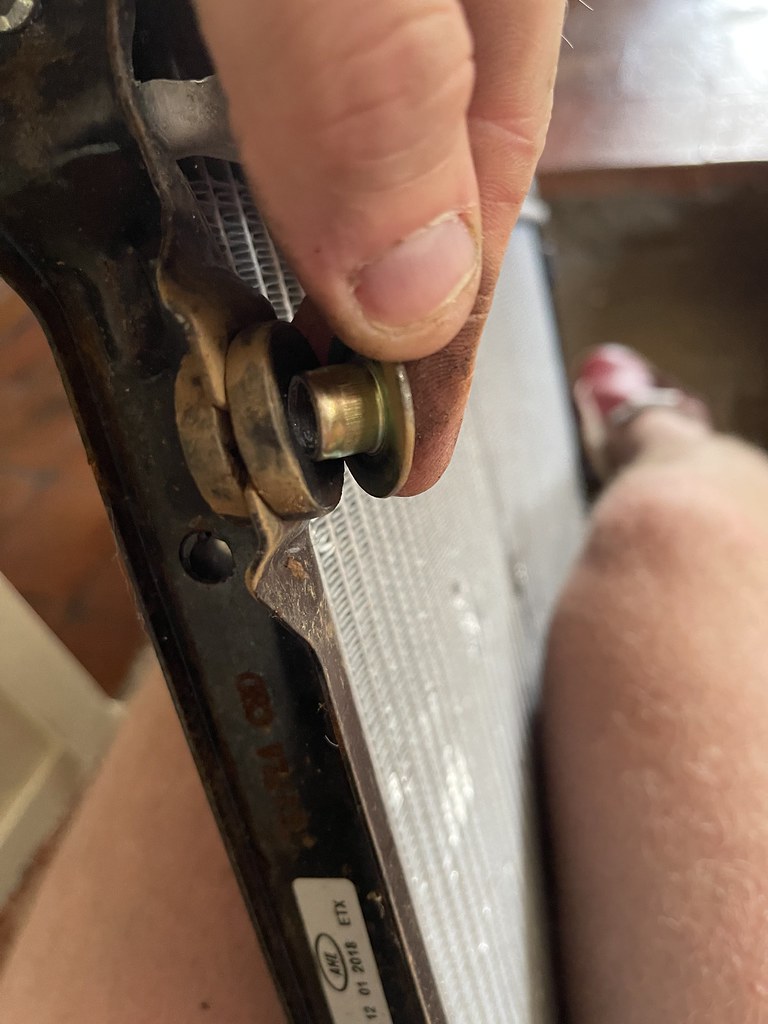
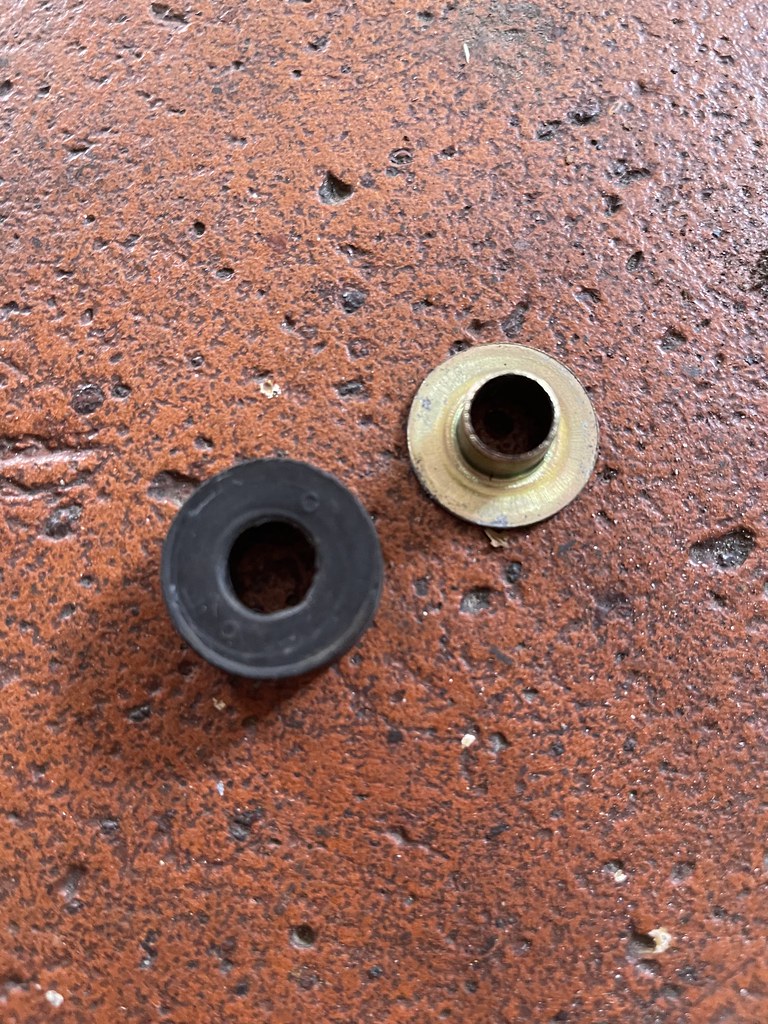
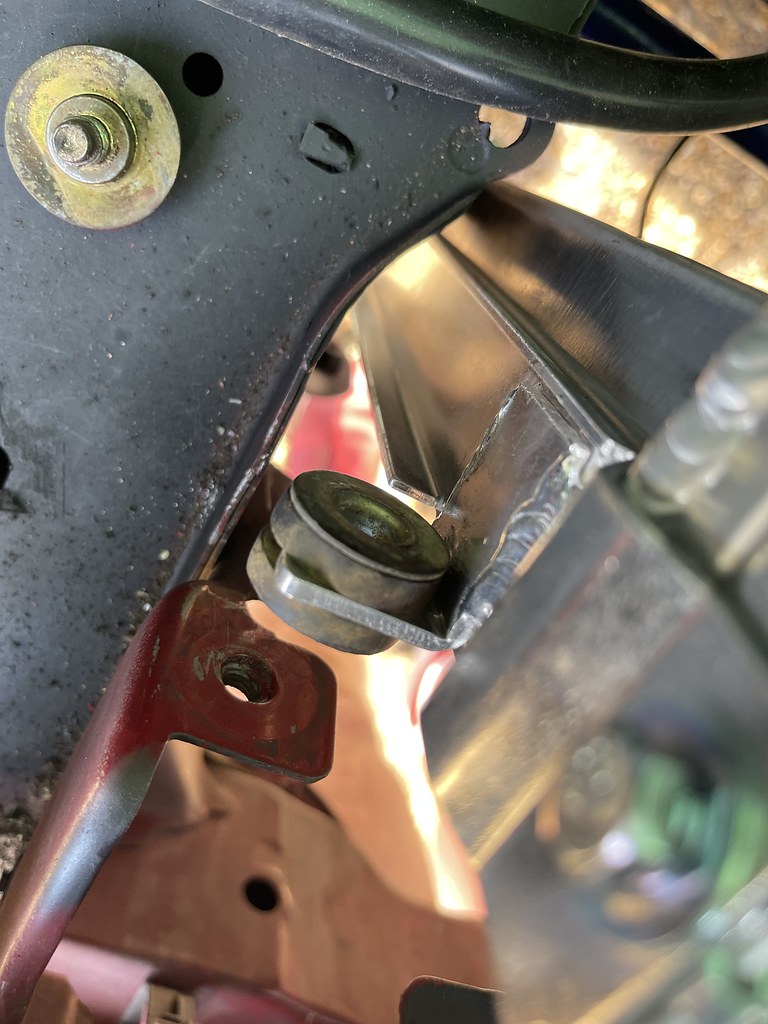
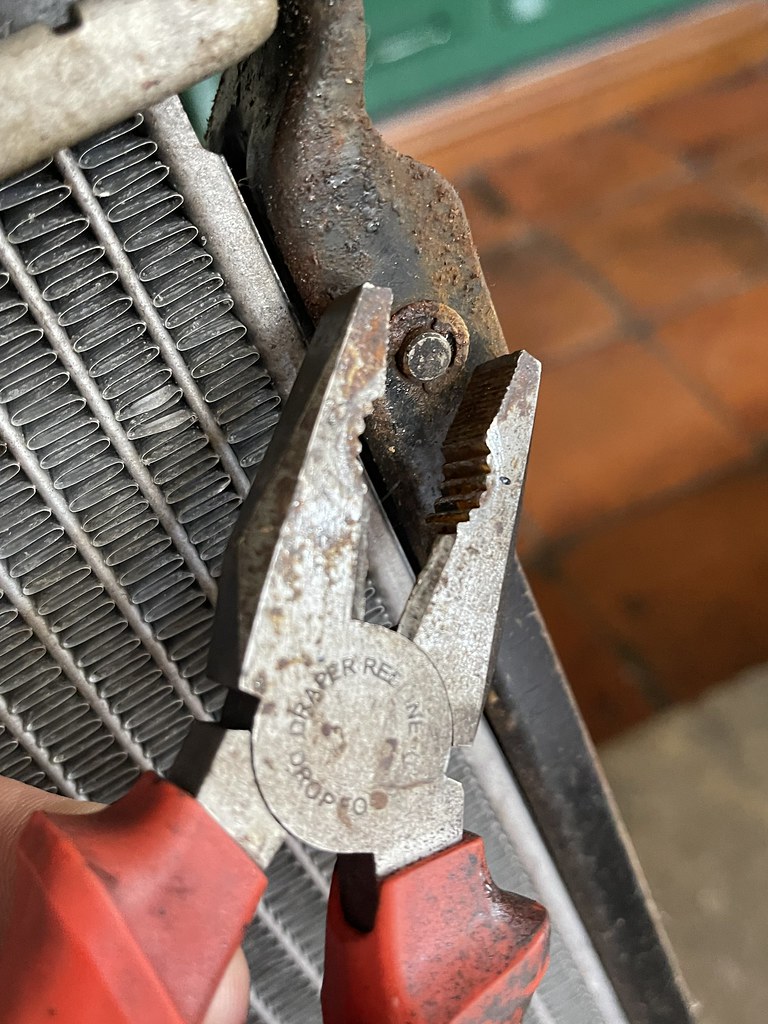
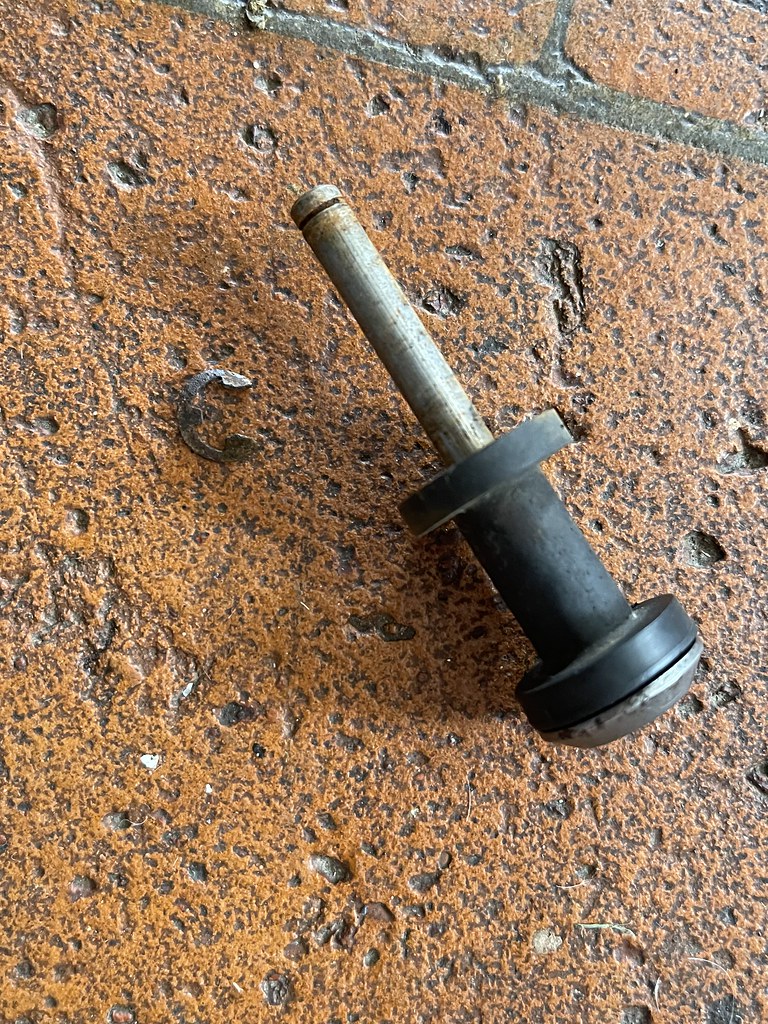
I purchased a Mishimoto radiator specific to the NA, and the install itself is fairly straightforward. In order to mount the new radiator, you need to remove the old mounting rubbers, splines and C clips from the OEM radiator.

Imgur
Imgur
Imgur
Imgur
Imgur

Then it is simply a case of doing everything in reverse. It is probably easier to fit the fan(s) before you reinstall the radiator, but because I havenā€™t decided whether to stick with the OEM fans or upgrade, I havenā€™t mounted those yet.

Imgur
Imgur

Itā€™s looking pretty shiny!

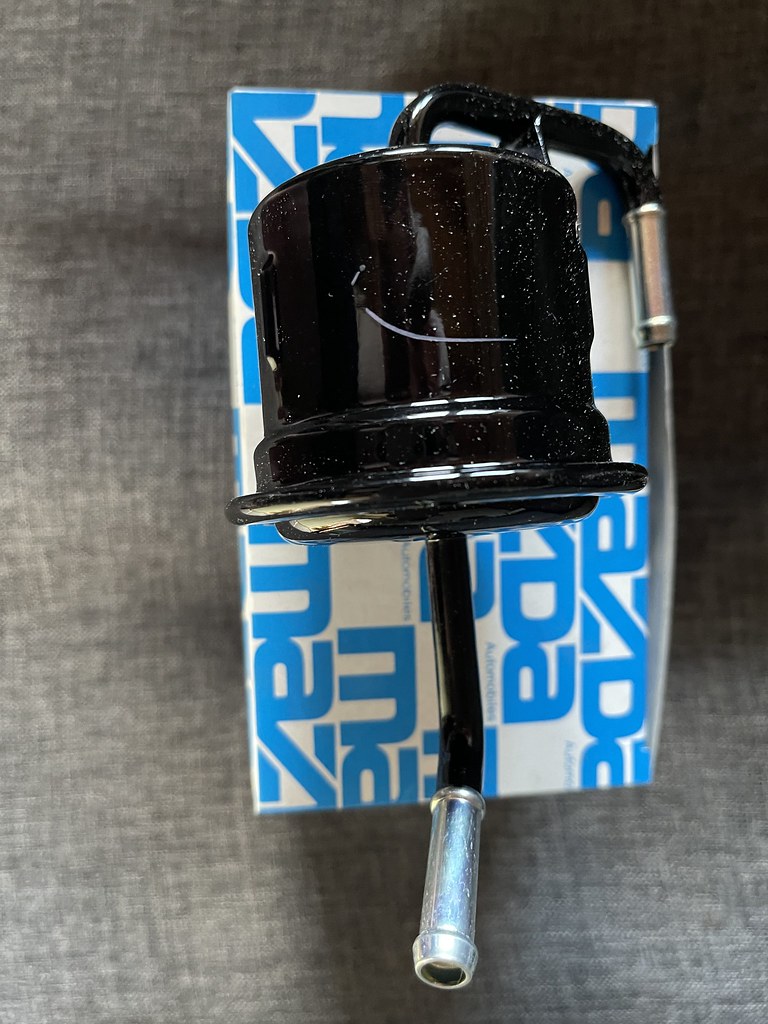
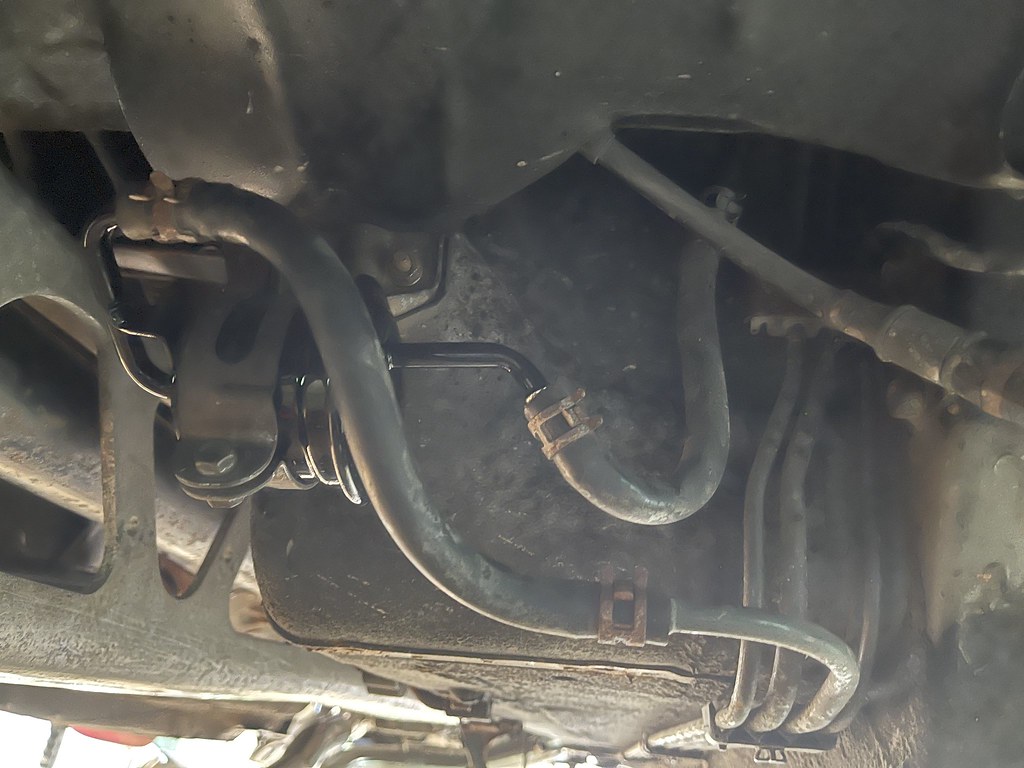
Next job was to change the Fuel Filter. As iā€™ve got an NA, its much more simple than it would be with the NB. The NB uses different connections from fuel filter fo fuel lines, which can require a special tool for removal and to be completely safe, emptying of the fuel tank.

Imgur

However, itā€™s still a job involving fuel and there are always going to be some leaks doing this job, so please wear gloves and goggles. I have seen videos on youtube of people getting petrol in their eyes, and you really donā€™t want to be doing that.
Other things that you should do:

  • Disconnect negative battery terminal
  • Undo fuel filler cap to release pressure
  • Start the car, disconnect the fuel injector fuse and wait for the car to stall (doing this releases pressure at the other end of the system).

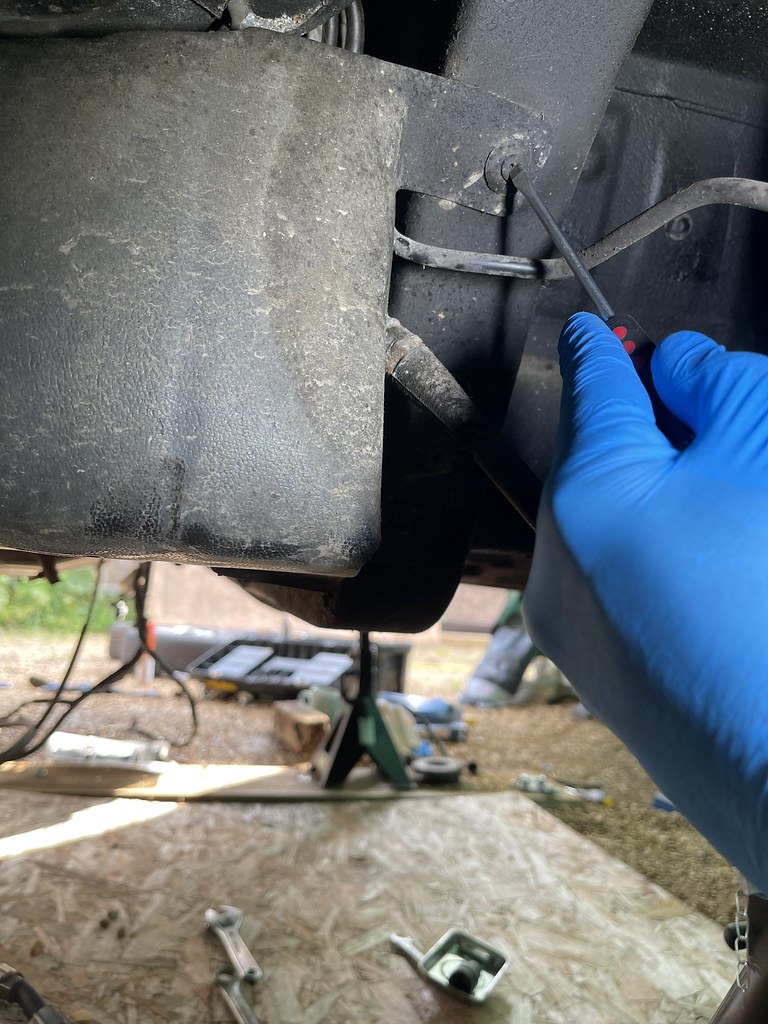
The filter should be hidden by a plastic cover, but like with a lot of these pieces on our cars, they are often missing. If the cover is present it is held on with those annoying plastic crossheaded screws. As they are 30 years old, they tend to be pretty brittle and round, which is a pain in the ā– ā– ā– . Using a flat headed screwdriver is a tip that iā€™ve seen on ā€œlights up, lights downā€ YouTube channel and it worked for me.

Imgur

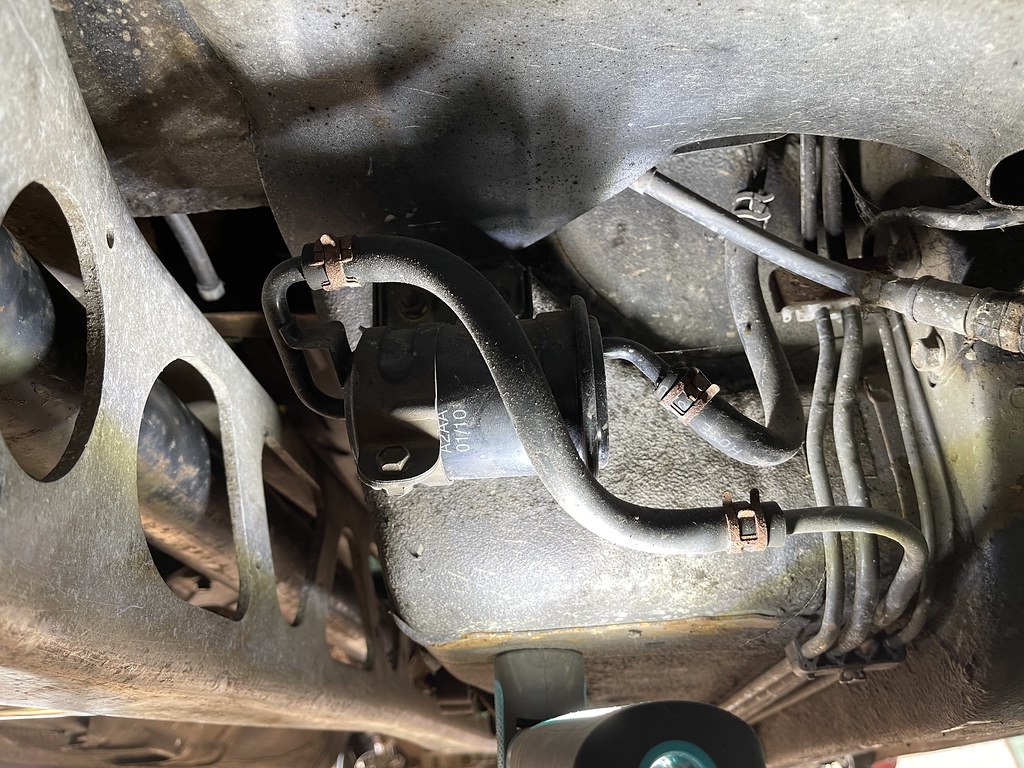
Once you get access to the filter (youā€™ll need to lift the car on to axle stands), itā€™s self explanatory and straightforward. Position a bucket r similar underneath where you are working to catch any spillages and have some builders sand to soak up anything that misses.

Imgur

New Filter in!

Imgur

It sounds like overkill, but the sensible approach is to have an extinguisher to hand just in case.
4 Likes

Kudos to you for taking on this challenge. I have really enjoyed reading the thread from the start and wish you continued success with your project.

1 Like

Thank you :slight_smile:

1 Like

Hello!

Sorry for the long delay, we had a family trip up to Yorkshire. 6 adults, 5 children and a dog. Suffice to say I am knackered!

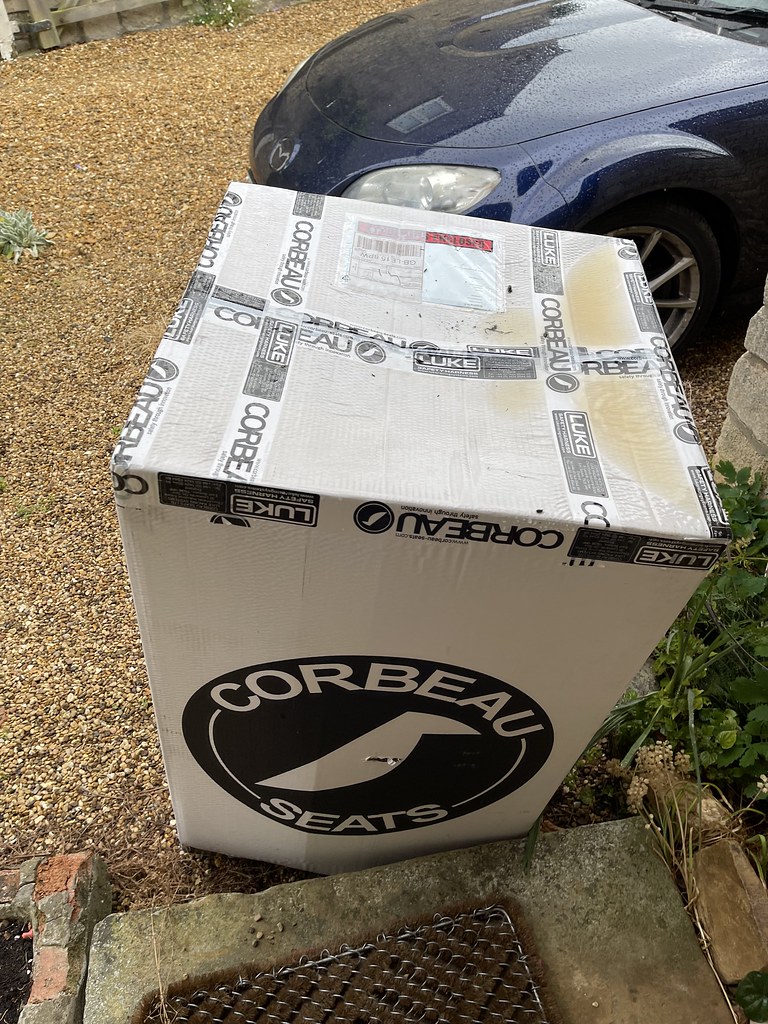
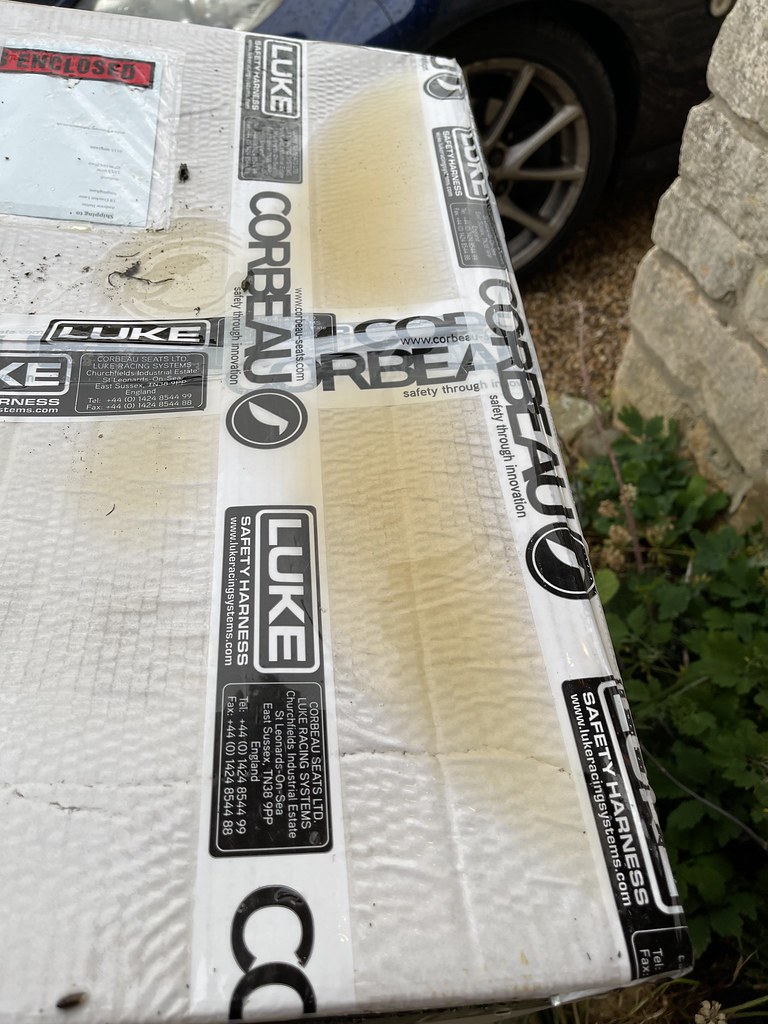
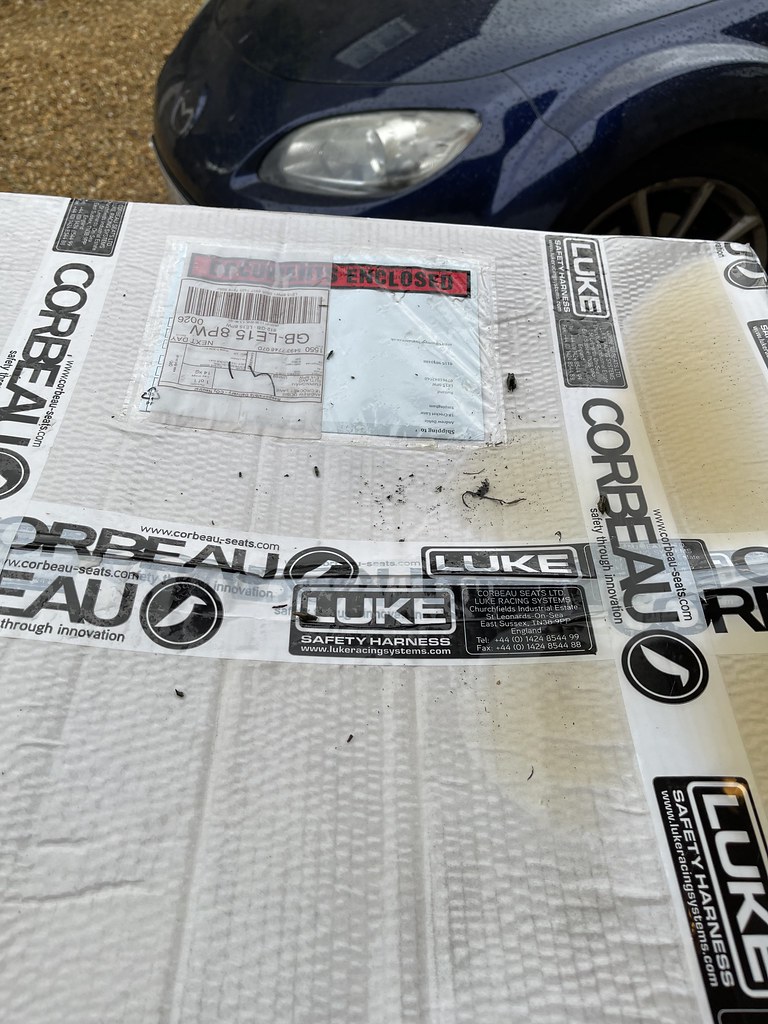
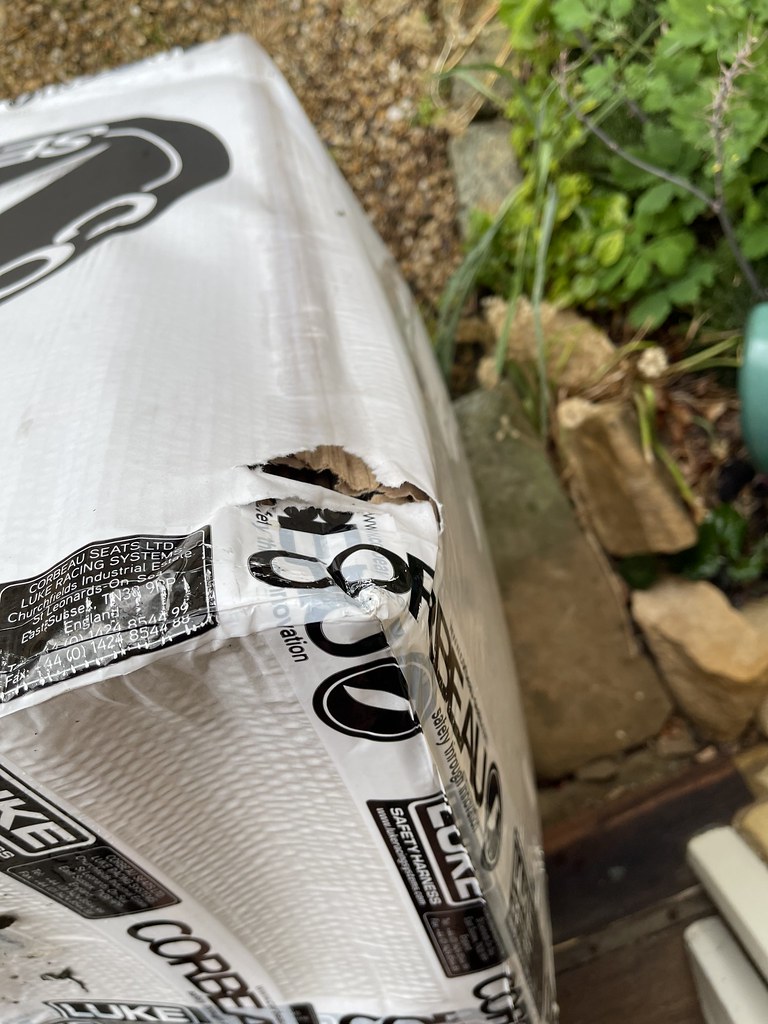
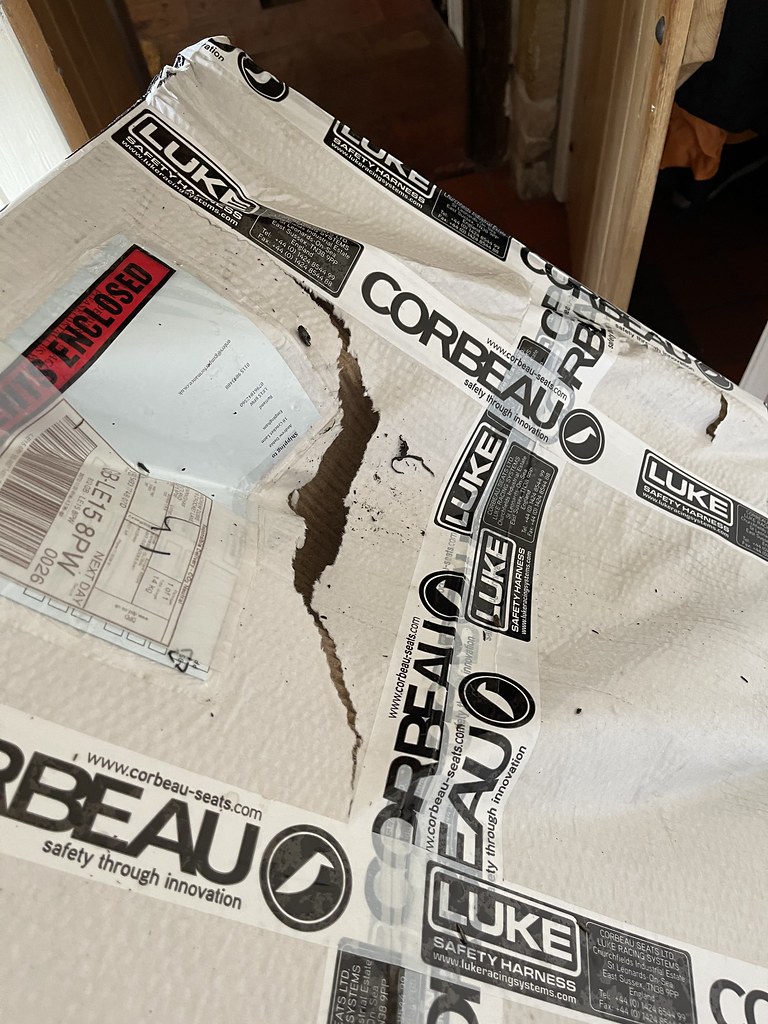
I returned home yesterday to find a nice box waiting for me. Well it would have been nice. My built to order Corbeau LEā€™s arrived. On the same day the text message arrivbed saying theyā€™d been despatched. Although judging by the state of it all when I took a closer look, suggests otherwiseā€¦

Imgur
Imgur
Imgur
Imgur
Imgur
Imgur

Amazing to think that in 2021, courier services are possibly the worst theyā€™ve ever been. Sure, they are quick, you get lots of updates and there are a myrriad of ways to track the parcel but the service and pride in their work leaves a lot to be desired.

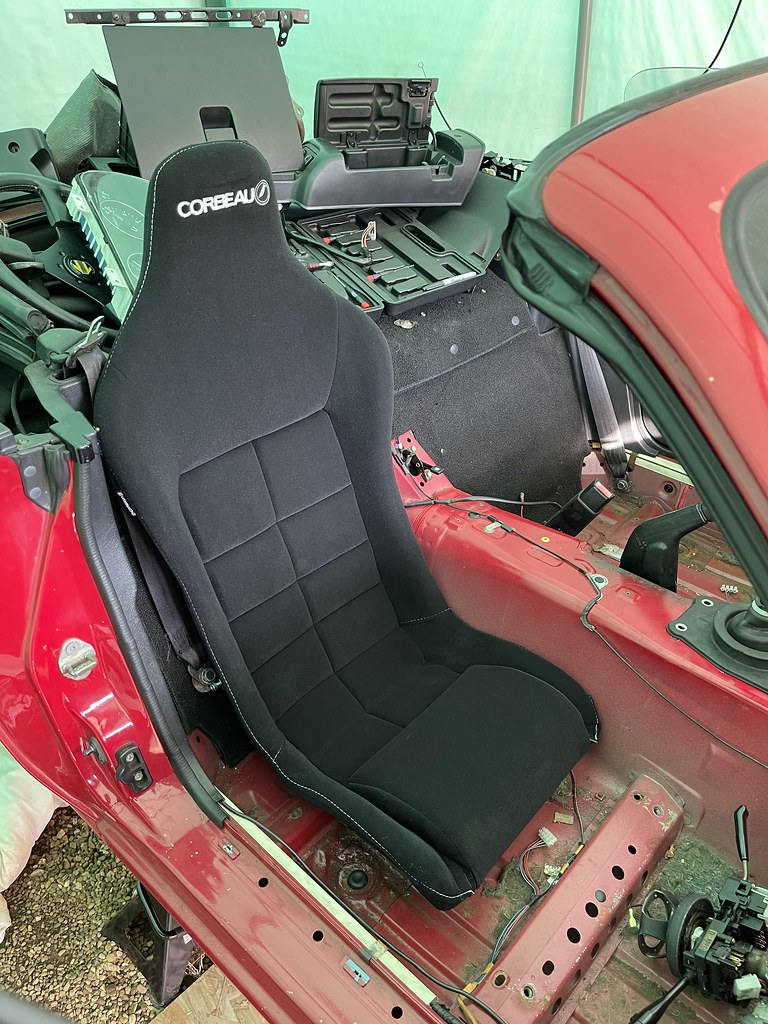
Fortunately, the seats themselves were undamaged and looking GREAT!

I couldnā€™t resist test positioning them in the car, which gives the result I had hoped for; better support, lots of room and looks cool.

Imgur

You have to use your imagination a bit as the rest of the interior is a sty :smiley:

Right, now for a question. thereā€™s always a question!

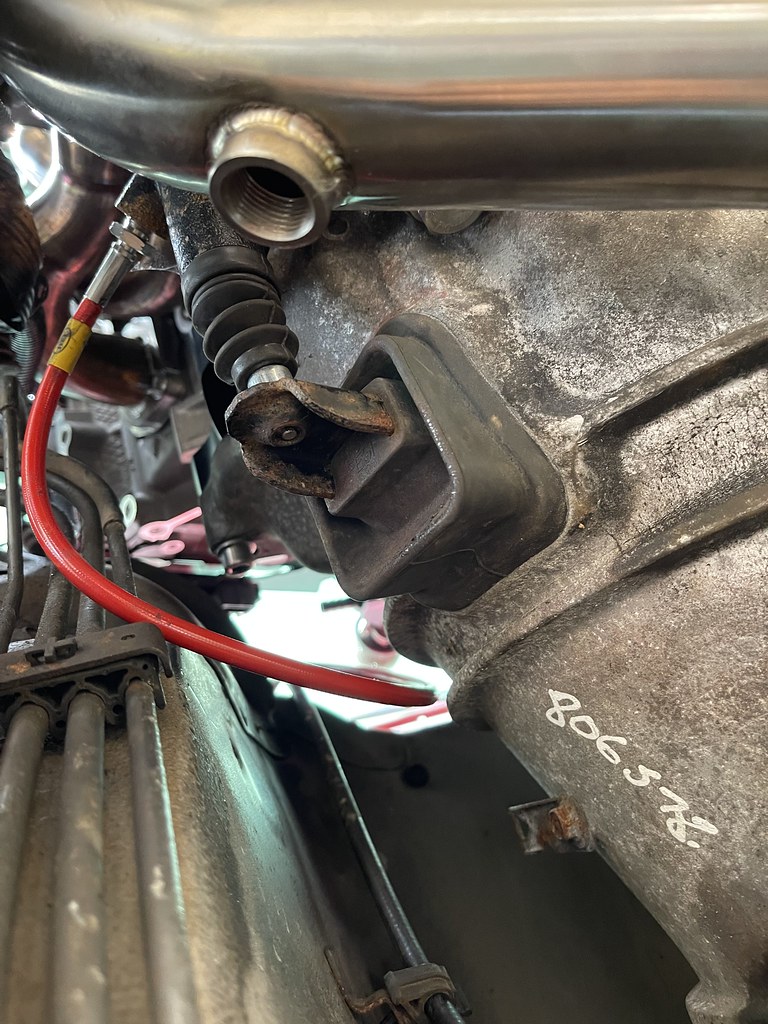
As I was tightening my remaining subframe bolts (woohoo!), I noticed the clutch release thingy (correct word pleaseā€¦!) on the side of the gearbox so decided to move it in a childlike re-enactment of what it will be like when its finished. However, it doesnā€™t move as I would expectā€¦it moves towards the slave cylinder fine, but doesnā€™t seem to move away.

Imgur
Imgur

Second link is a video of what I describe above.

Now, when installing the gearbox, we had to remove a 2mm chamfer from the inside of the bellhousing to enable enoug clearance between the new flywheel and the mx5 gearbox. I am hoping against all hope that this is not an issue there, because if it is, iā€™ll have to remove the gearbox again :frowning:

Oh yeah, the question. Why is it doing that or is it as it should be without any hydraulic pressure?

Hope you are all well,

Andrew

Oooh and another question whilt I am at it.

During the rebuild of my suspension, I split apart my balljoints. When reassemblind that part of the suspension, do the ball joints correctly reattach as I tighten them or is there more to it?

That sounds like a stupid question worded by a stupid person, so iā€™m imagining iā€™m being a prawn sandwich.

I used this tool:

https://www.mx5parts.co.uk/ball-joint-seperator-19mm-p-2117.html?utm_source=google&utm_medium=googleshopping&utm_campaign=googlebase&gclid=Cj0KCQjw6ZOIBhDdARIsAMf8YyFagUZhpxwHqCDs8KNcZbQulwFSPneNGnUlTDGz0Dz3KIw1XSHbik8aAnFNEALw_wcB

So, what I am trying to ask is - how do I go about the reverse process?

If anyone has any experience of fitting LEā€™s to their car, please let me know which brackets you used, as per this seperate thread I started:

Were you able to move the fingers on the pressure plate before installing it? Now think of the force for pushing all of them at once. Remember how hard you need to press the pedal with a foot!

First try operating the pedal (system filled with fluid), while expecting normal foot pressures and system give. If it is rock hard, stop!
If movement, then ask a helpful volunteer to press the pedal while you look to see if that lever moves away from the slave enough to depress the pressure-plate fingers.

2 Likes

If you could move the clutch in with your fingers then you are either very strong or the clutch is broken! think of the pressure those springs are under to stop them slipping under nearly 300ft lbs of torque from the Jaguar v6 :slightly_smiling_face:

If thereā€™s no fluid in the system then you should be able to push the rod into the slave cylinder with ease.

3 Likes

If you mean when you bolt them back on then no tool is needed, the ball joints have a tapered part along the shaft of the bolt which pulls itself tight when you do up the bolt. Sometimes this spins when you fit an old ball joint with a nyloc nut. So the trick there is to draw the shaft into position using a normal nut and washers of the same size until itā€™s snug, then remove the nut & washers and fit the nyloc one and torque to spec.

2 Likes

Thnaks guys RE the clutch cylinder responses, as I suspected that was a moronic question! But thanks for confirming :smiley:

@carl_s can you explain ā€œSo the trick there is to draw the shaft into position using a normal nut and washers of the same size until itā€™s snug, then remove the nut & washers and fit the nyloc one and torque to spec.ā€ for a moron?

My understanding of this, as a fellow moron, is thst the nyloc nut will grip the threads, so that turning the nut will turn the threaded portion as well. The solution to this is to initially use an ordinary nut that should smoothly turn without gripping the thread and will thus allow the joint to pull snugly together.
9nce the joint is together, the ordinary nut can be removed and replaced with the specified nylon nut, which now the joint is snug can be tightened to the correct torque.

4 Likes

That is exactly right !

2 Likes

Have a look on the Facebook Rocketeer group, they will help.Log in to Facebook | Facebook

2 Likes

Right, that makes sense now! I think Carlā€™s explanation also made sense, I just needed to hear it twice!

1 Like

Hi chaps.

I will go a proper update soon.

But until then, cry/laugh/call doctors - So far this year, iā€™ve spent Ā£3279.78 at MX5parts.co.uk :smiley: :frowning: :man_shrugging:

This is my first ever restoration/conversion and I naively believed at the beginning that pretty much all iā€™d buy is the car, the kit and the engine.

The biggest problem iā€™ve found (apart from I love and need to comfort spend!) is that when youā€™re looking at your car and doing a once in a lifetime project, you end up just deciding you want to refresh everything rather than using rusty old parts. And 90% of it has been Genuine Mazda.

Iā€™ve probably spent the same amount combined at other vendors which probably takes the total spend to somewhere in the region of Ā£20k.

That figure would cause many non-mx5-enthusiasts (and some actual mx5 enthusiasts :smiley: ) to say "You could buy a M3/Boxster/TVR/blah blah blah for that, which is true. Or, ā€œyouā€™re an idiotā€. Which may also be true haha. But, they would all be very used examples. By the time iā€™m finished, more of the car will be brand new than second hand I would suspectā€¦at a guess.

A non exhaustative list of brand new parts:

  • BC Coilovers
  • Front Subframe
  • Rear Subframe was completely stripped and rebuilt so iā€™ll include that
  • Front/Rear Brakes
  • Brake lines
  • Front upper control arms
  • Rear Upper control arms
  • Engine
  • Engine Ancilliaries - alternator/radiator
  • Fuel Pump
  • Fuel Filter
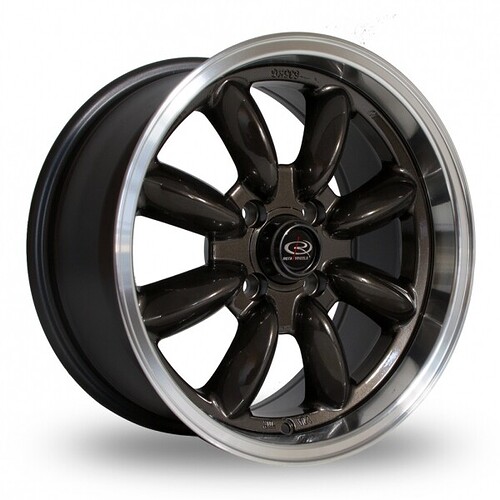
  • Rota RB Wheels (woop - yes you read that correctly, will be delivered this week)
  • Corbeau LE Seats
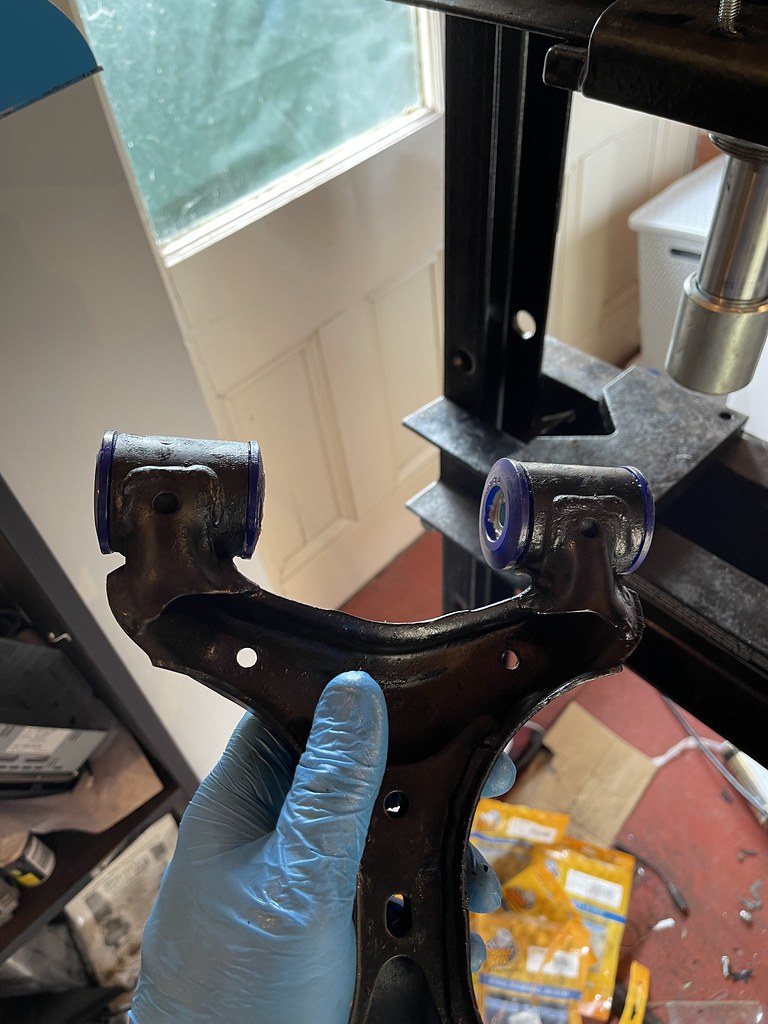
  • Superpro bushes all round
  • Superpro front ARB
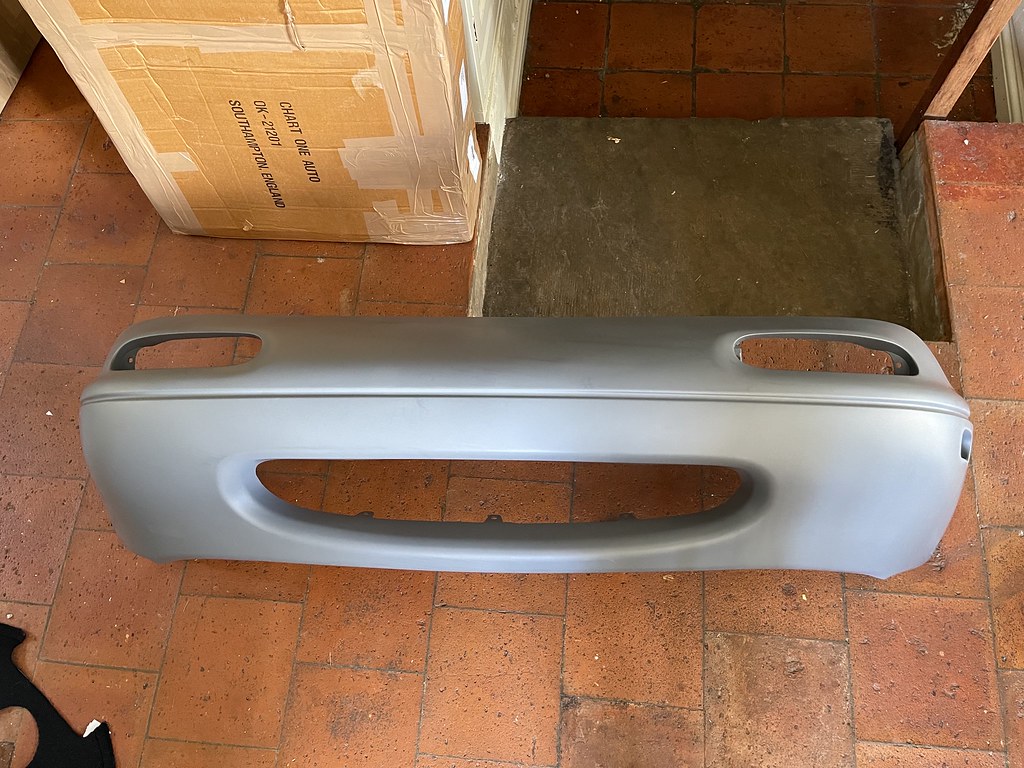
  • Front Bumper
  • Front air guide
  • Engine under tray
  • Front Hubs
  • Rear Hubs
  • Rear Bearings
  • Front Reflectors
  • Side Repeaters
  • Mishimoto Cooler assembly
  • Cobalt exhaust system from manifold backwards
  • New ECU
  • Refurbished Mazda Manual Gearbox
  • Refurbished Torsen Diff
  • Hundreds of brand new genuine bolts, washers and nuts.

Now, to find a comparable sports car with that list of upgrades and brand new genuine Manufacturer/OEM parts would cost a lot more. And they wouldnā€™t have pop-up headlights!

Anyway, that was a ramble - partly to explain that these things always cost a lot more than you think they will, but also to make the argument that what you end up with isnā€™t just an old Mazda with a new engine.

Now, pictures are needed - that ^ was a slog iā€™m sure :smiley:

Genuine Mazda front bumper arrived
Imgur

Rota RBā€™s ordered are on their way

Rear bushes installed and rear suspension beginning to take shape
Imgur

I test fitted my Corbeau LEā€™s
Imgur

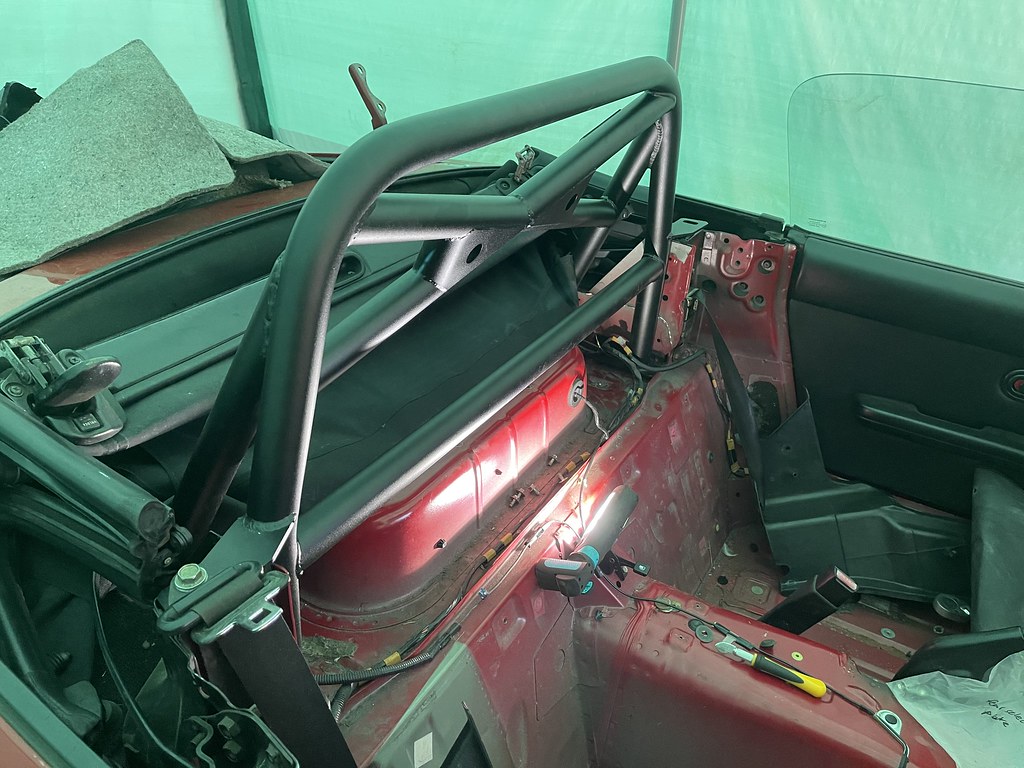
I bought a DaveFAB roll bar so that I donā€™t squash my head.
Imgur

That was in fact, an update! But, I will do a ā€˜properā€™ update where I go through the installation of some of the above things.

Oh, and I got engaged :slight_smile:

5 Likes

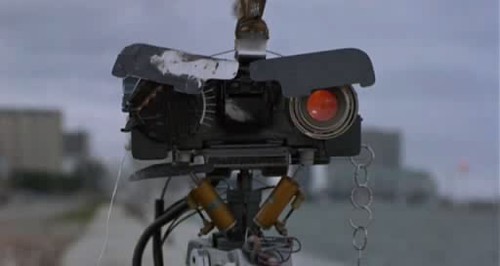
I think iā€™m going to call my car Johnny Five.

Imgur
Imgur

3 Likes

Very transparent of you to share the costs of the project and a bit of an eye-opener for many no doubt. This is probably similar to one of those Kevin McCloud shows where the eventual cost works out to be about twice the original budget and takes twice as long as bargained for.
:grin:

However, thereā€™s no accounting for the joy (?) of creating a unique car and doing it all yourself. The feeling of achievement and satisfaction when you complete your project is likely to be priceless.
Equally, having invested in many new or properly reconditioned components youā€™ll be able to enjoy your car for many years to come.
:+1:
I for one am grateful to you for sharing the highs and lows and Iā€™m enjoying every minute of it.
Keep on keeping on.

Cheers,
Guy

4 Likes

Congrats on the engagement ! and donā€™t worry about how much you spend on the car, as long as you can afford it then it really doesnā€™t matter if it gets you what you want :+1: Every build Iā€™ve done I get to a point where I add up how much Iā€™ve spent and then realise I could have bought something bigger/flashier then slap myself and remember that those cars I wouldnā€™t leave standard so they would just end up costing even more money!

I meant to ask where did you get your temporary polytunnel / car shelter from? I think I might need one as my garage just isnā€™t big enough to do everything inside.

4 Likes

Thanks Guy :smiley:

haha, well iā€™d love to build my own house one day too, but I fear iā€™d probably fall in to many of the same traps!

1 Like

Very true Carl, thats what I was thinking.

Itā€™s a Clarke one - I canā€™t remember where I got it because everywhere I tried was out of stock, can check for you though.

Failing that - when my wheels arrive, iā€™m actually going to be transporting it to my partners house as she has a double garage, so mine will be available if you want it?

Feel free to drop me a DM or you can text me on 07961842560 - even if you donā€™t wan it, would be good to be in touch with reageds the build.

Andrew

1 Like