Thank you - I actually had found that website already. The wiring diagrams for these cars are unfortunately a bit of a minefield!
Hi Robbie - honestly, I wouldn’t know if it was or it wasn’t! It didn’t look OEM, the solder joins were a bit iffy and they were left bare; consensus from the Rocketter chaps was that it was someone hacking about, BUT it is connected to SENSOR GROUND.
I’m going to have a go with the Multimeter later and see whats what.
Sooooooo, we’ve run in to another issue. And when I say we, i’m including all of you in my little ‘we’ team!
So, someone on the Rocketeer forum suggested checking for continuity using a Micrometer on the diagnostic port. Unfortunately, I can’t get the Micrometer to make any beeping noises when i’ve got one of the probles placed on the Pump Relay wire.
Just to be clear, i’ve removed the fuel pump relay from the circuit so there shouldn’t be any issues there. I’ve checked that when I place the probes together it beeps - and it does. I’m told that when I leave the pump relay fitted, the micrometer should beeo when I press the other probe on to a variety of ECU connector wories, however I can’t get it to beep at all, no matter what I try.
So, i’m stumped. Sorry, we’re stumped!
What have I missed? All I can think of is that something somewhere else in that circuit isn’t connected. I did remove the battery to engine relay box loom and replaced it with a manual one (my original car was an auto) - which isn’t completely connected but as i’m just testing continuity from diag box to ecu connector this shouldn’t matter?

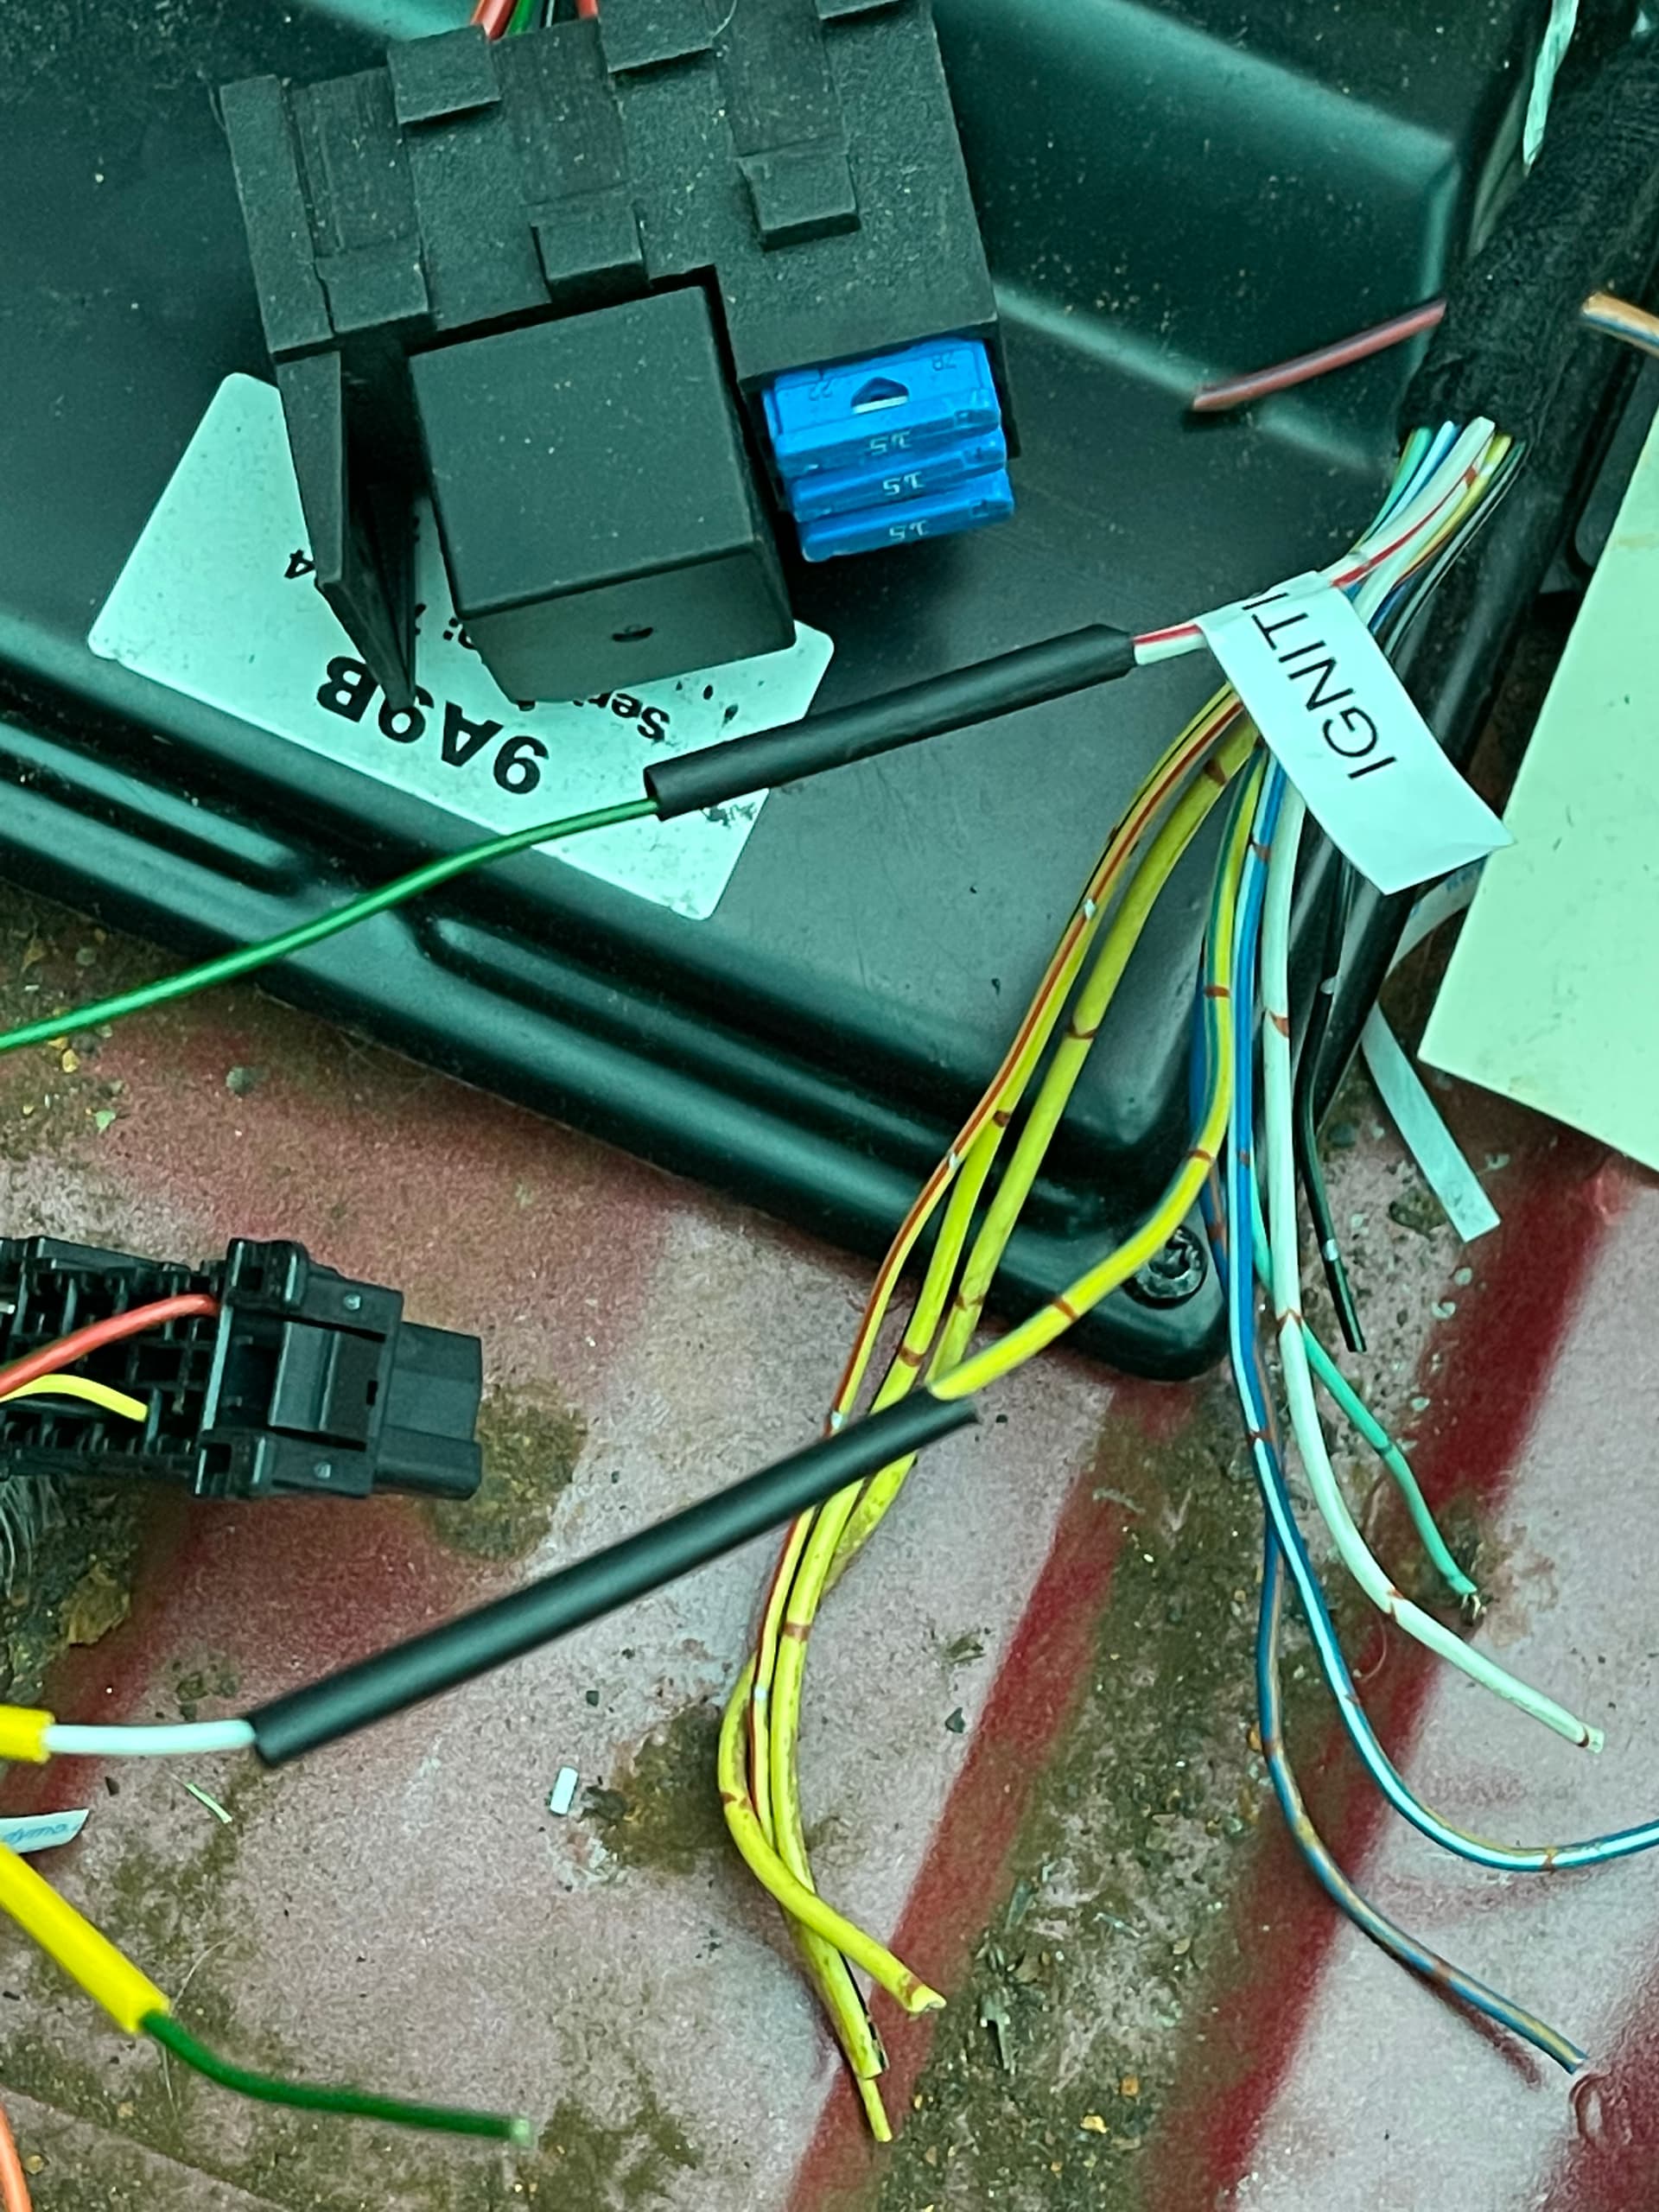
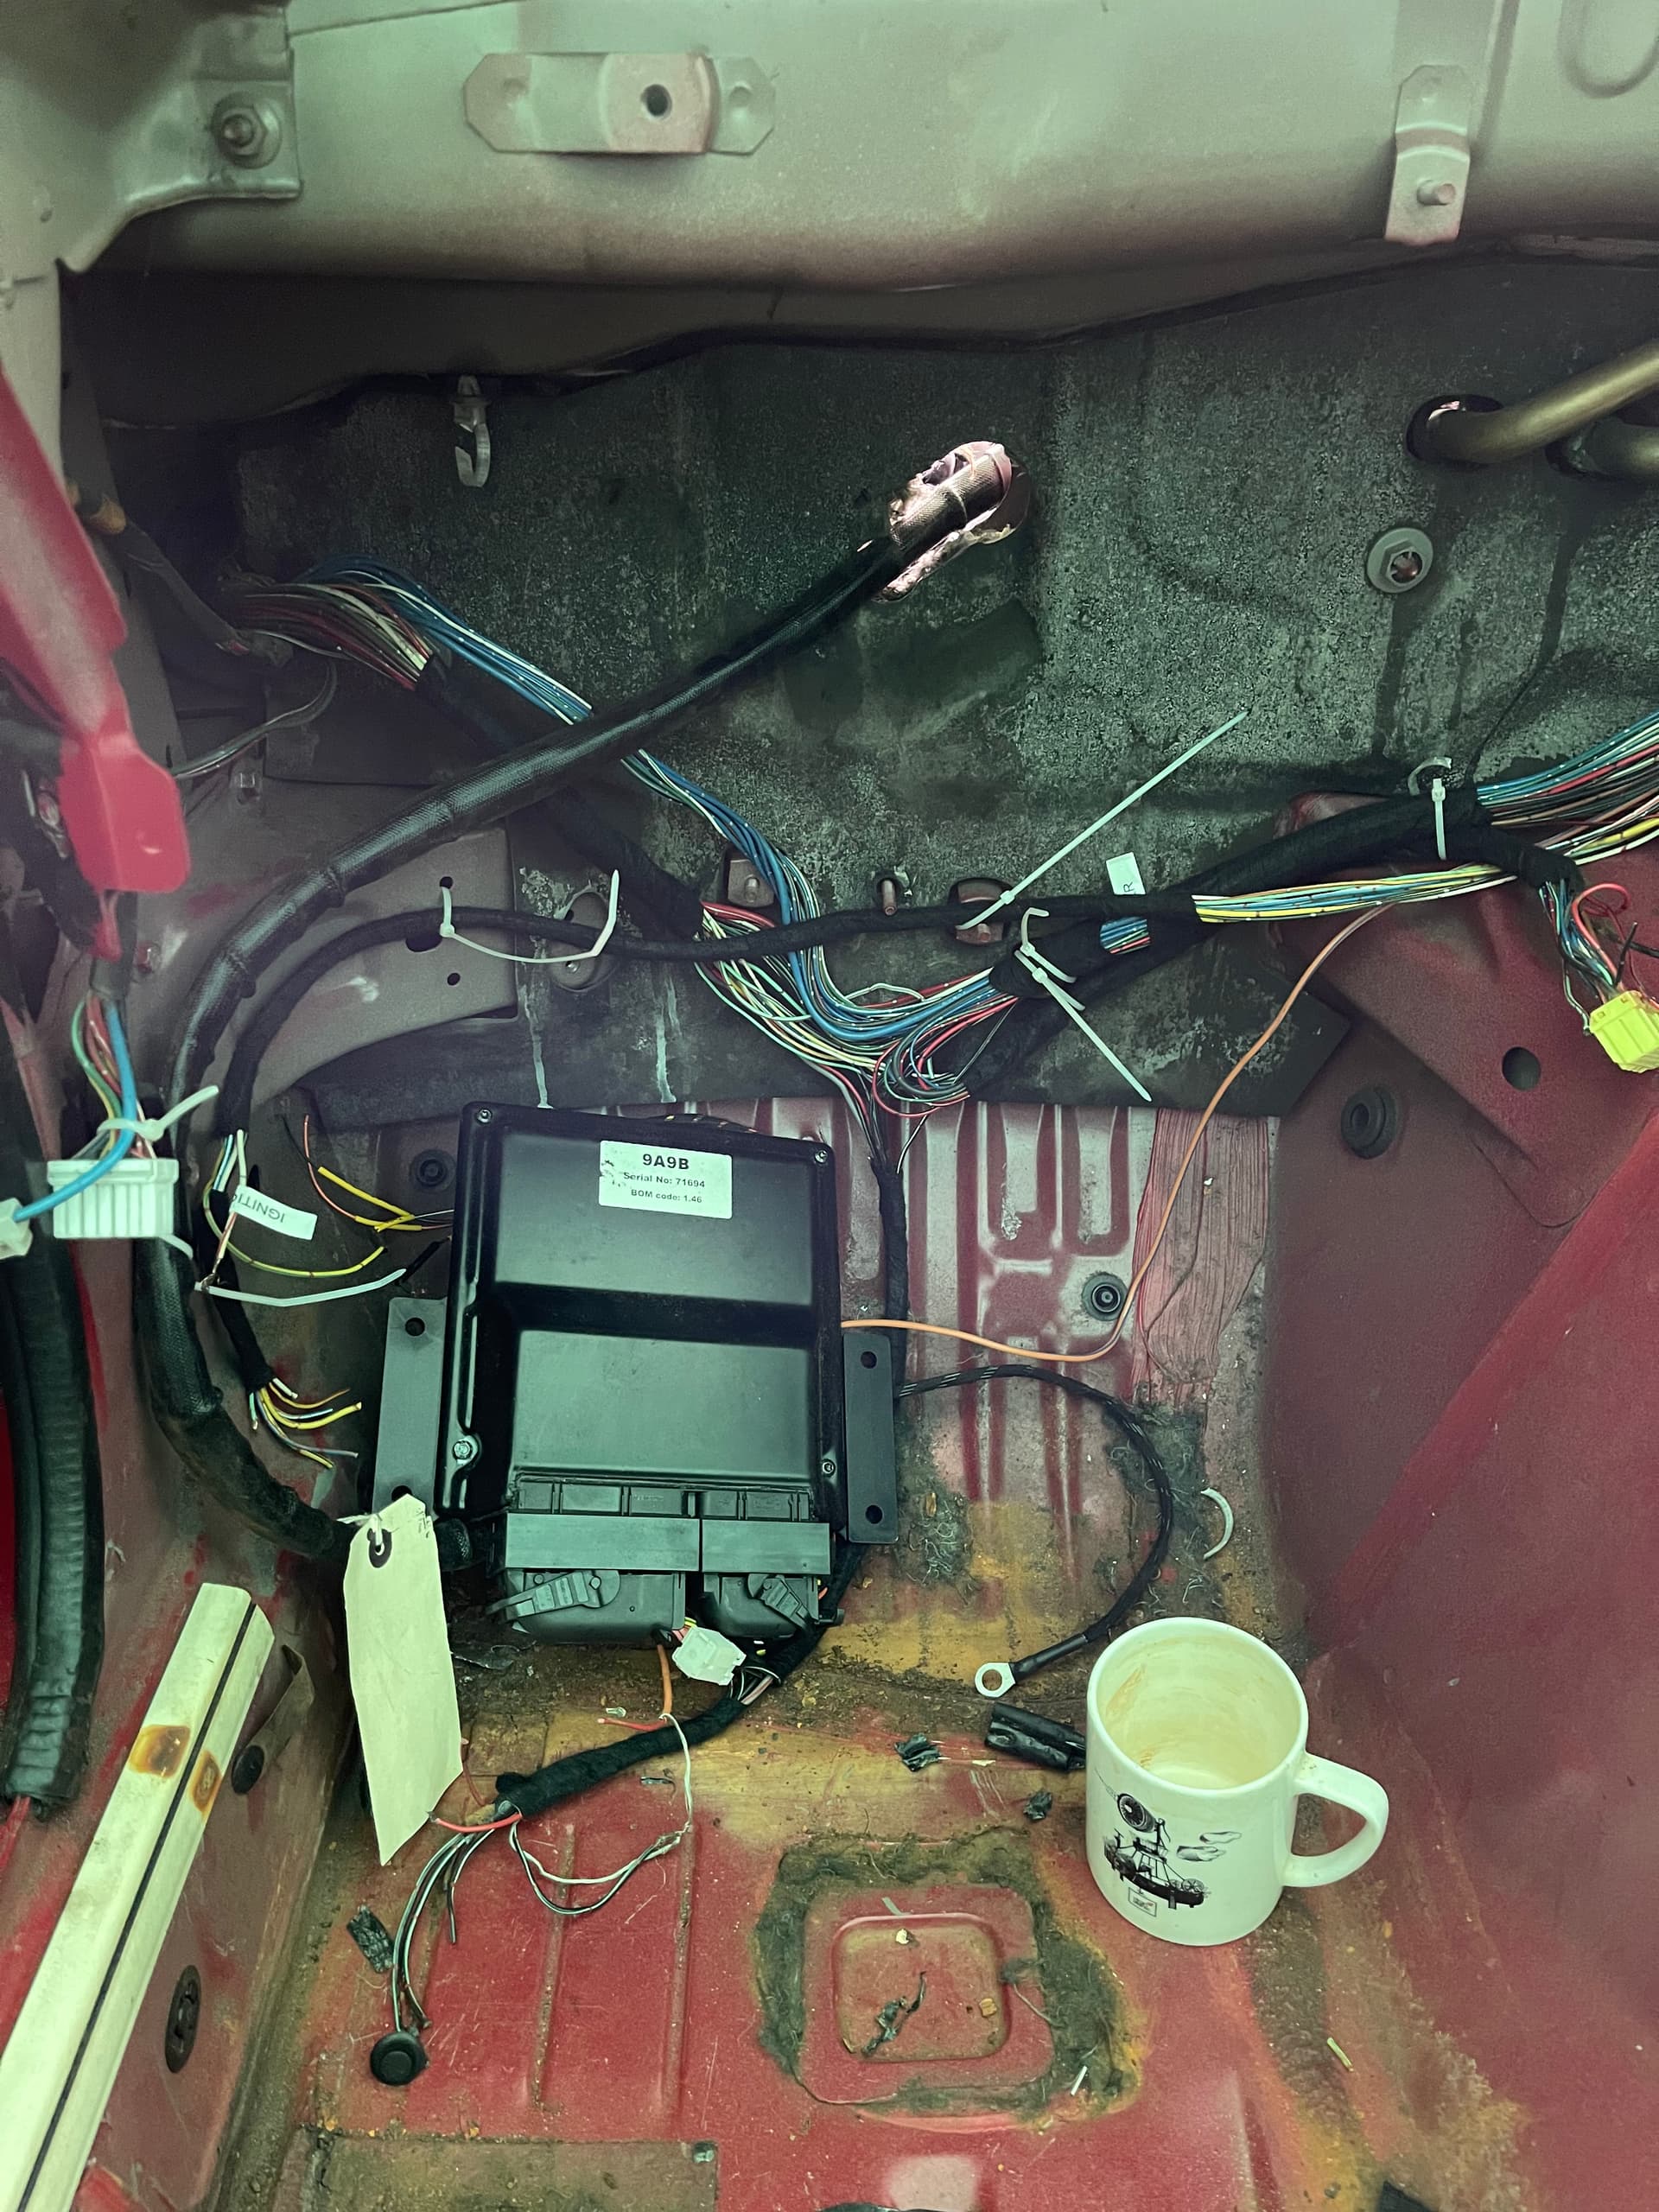
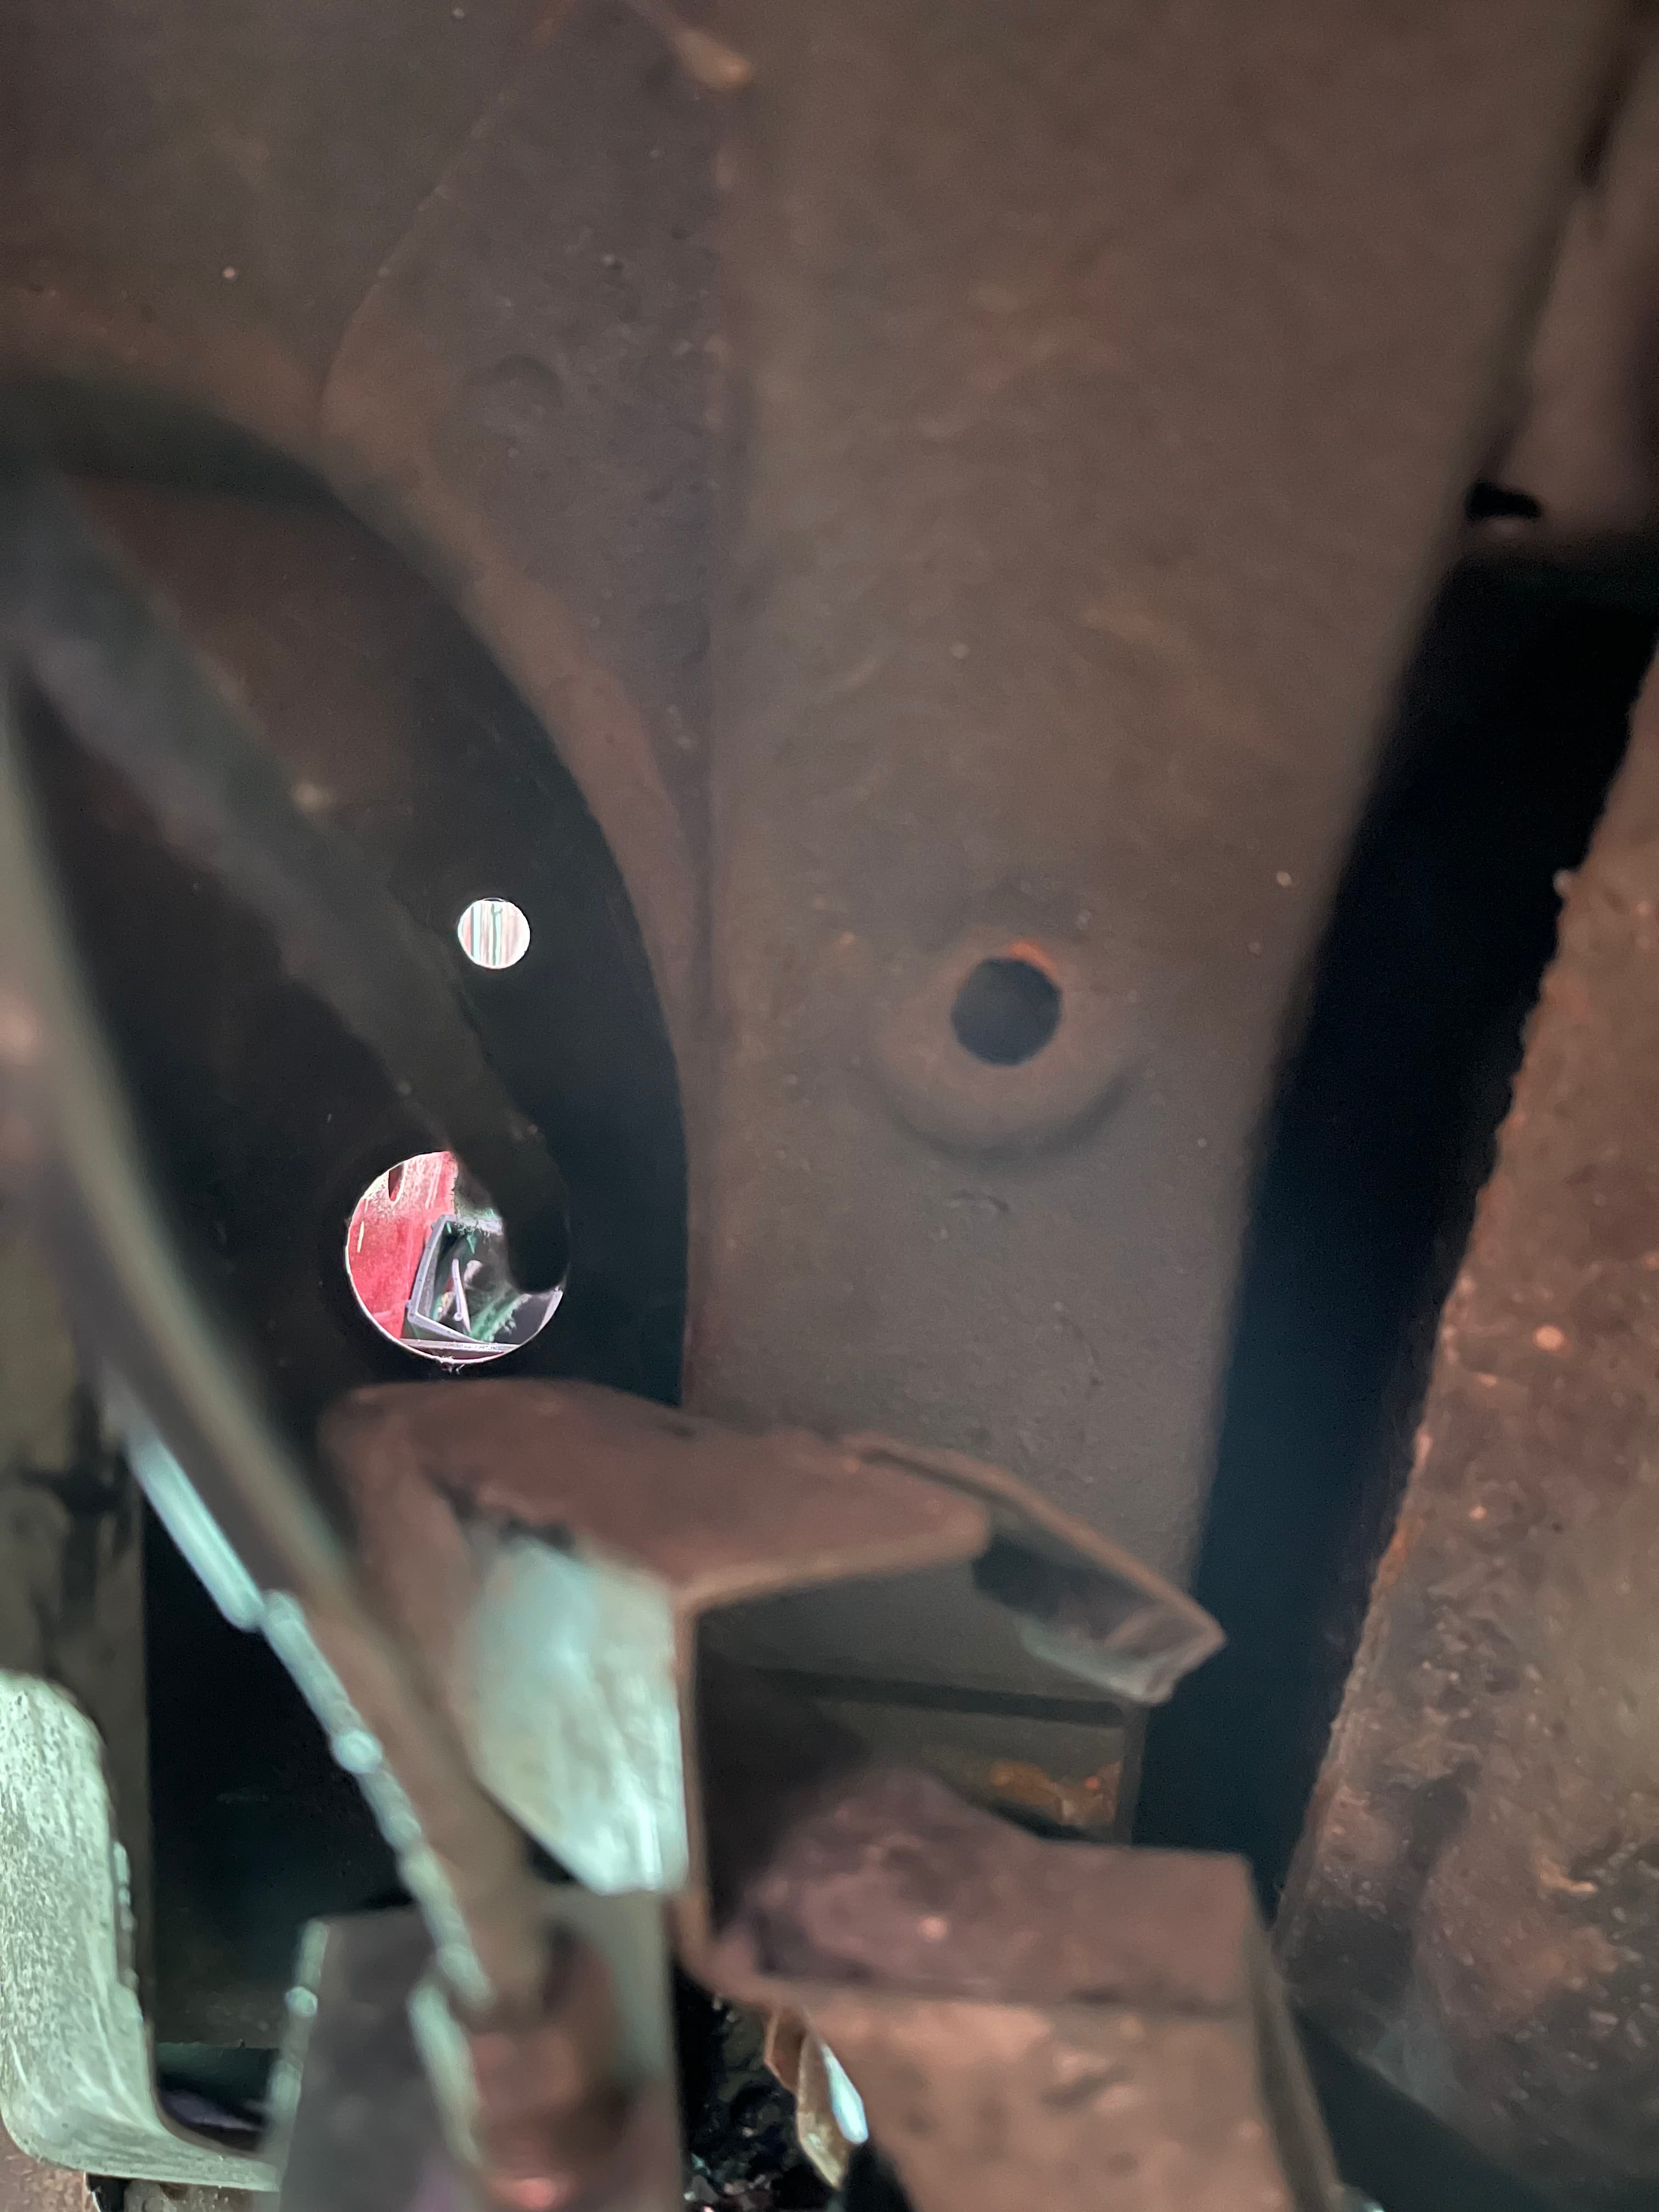
Also, as you can see in the picture above - I traced the F/P relay from the diag box to the ecu connector and connected the probes - still nothing. I can’t work it out. The picture above shows the diagnostic box and the ecu connector end of what im fairly sure is the same wire - i’ve just routed it through the bulkhead for the photo. What would be stopping the signal - it should be really straighfrward.
Anyway, a conundrum!
I am highly unqualified to help here but maybe that qualifies me in a way because I can relate to your problems in a way that an expert may not be able to.
Firstly, my understanding of continuity is continuous conduction of current and this is measured in ohms with a multimeter.
The resistance of a wire is measured in ohms and you are looking for zero ohms or zero resistance.
If you get really high resistance in an intact looking wire, that suggests the wire is broken inside the insulation
In the real world wires do have resistance, so you may well see close to zero but not actually zero.
So maybe your beeping multimeter only beeps at zero but you are not quite getting zero, so no beep.
Maybe the beeping is adjustable for tolerance?
I would suggest experimenting with pieces of wire, not just touching the probes together.
Also, presumably you understand that relays only pass current when energised.
A relay is basically a miniature solenoid that makes a connection when a current is applied to it. It is electro- mechanical and you will hear it click when it is energised.
2 Likes
Thanks for the reply 
When I touch the wires, the readout on the micrometer isn’t changing at all. It starts at 1 and stays at 1. If I touch the probes together then I get a beep and the resistance is on the readout.
When I head back later, i’ll try with pieces of wire.
Otherwise it might be a case of ripping out all the trunking and doing some wire tracing/checking.
Thank you for your advice!
1 Like
Sounds like a very versatile instrument you have there.
Not only will it measure resistance and current, it will also measure the thickness of a shim… 
Now you’ve lost me 


1 Like
A micrometer measures the thickness of something like a shim, very accurately.
To measure current and resistance requires a multimeter.
1 Like
OH
Wow, well there we go. If anyone needed further evidence of my electronic ineptitude, there we have it!
1 Like
BTW, when it comes to checking for current rather than continuity, a test lamp is very useful.
You can get one that looks like a screwdriver from Halfords for a few quid.
1 Like
Ok, thank you - good to know. I’ll get one now so that i’ve got it if and when I need it!
Hi chaps.
Sorry for the recent radio silence. A combination of not behind too well and a lack of time have meant that I’ve been under the weather more than I’ve been under my car!
Anyway, I’ve managed to do a fair bit over the last few days.
Electrical!
So, the last time I was here, I was finding the electrical side of things painful. Ive continued to read and beg for help and basically ignored it for a week as there were plenty of other jobs to do!
That being said, I have now hooked up two of the Rocketeer ecu wires to the old loom, and think I know where the other two go!
I’ve also tidied up the passenger footwell and rewrapped parts of the loom and cable tires it out of the way. If you’re wondering why I haven’t rewrapped all of of it, that’s simply for any diagnosing that needs doing when it inevitably blows up.
The gearbox wiring was also another pain in my behind. Whilst there doesn’t ostensibly seem to be any differences between the mk1 and mk2 five speed gearbox I’m left in a bit of a quandary. The reverse light connections are both wired up with my new loom and it LOOKS as though the neutral switch was already wired. However the connectors are different. Or have I misread? Anyway that seems like a fairly minor issue for now!
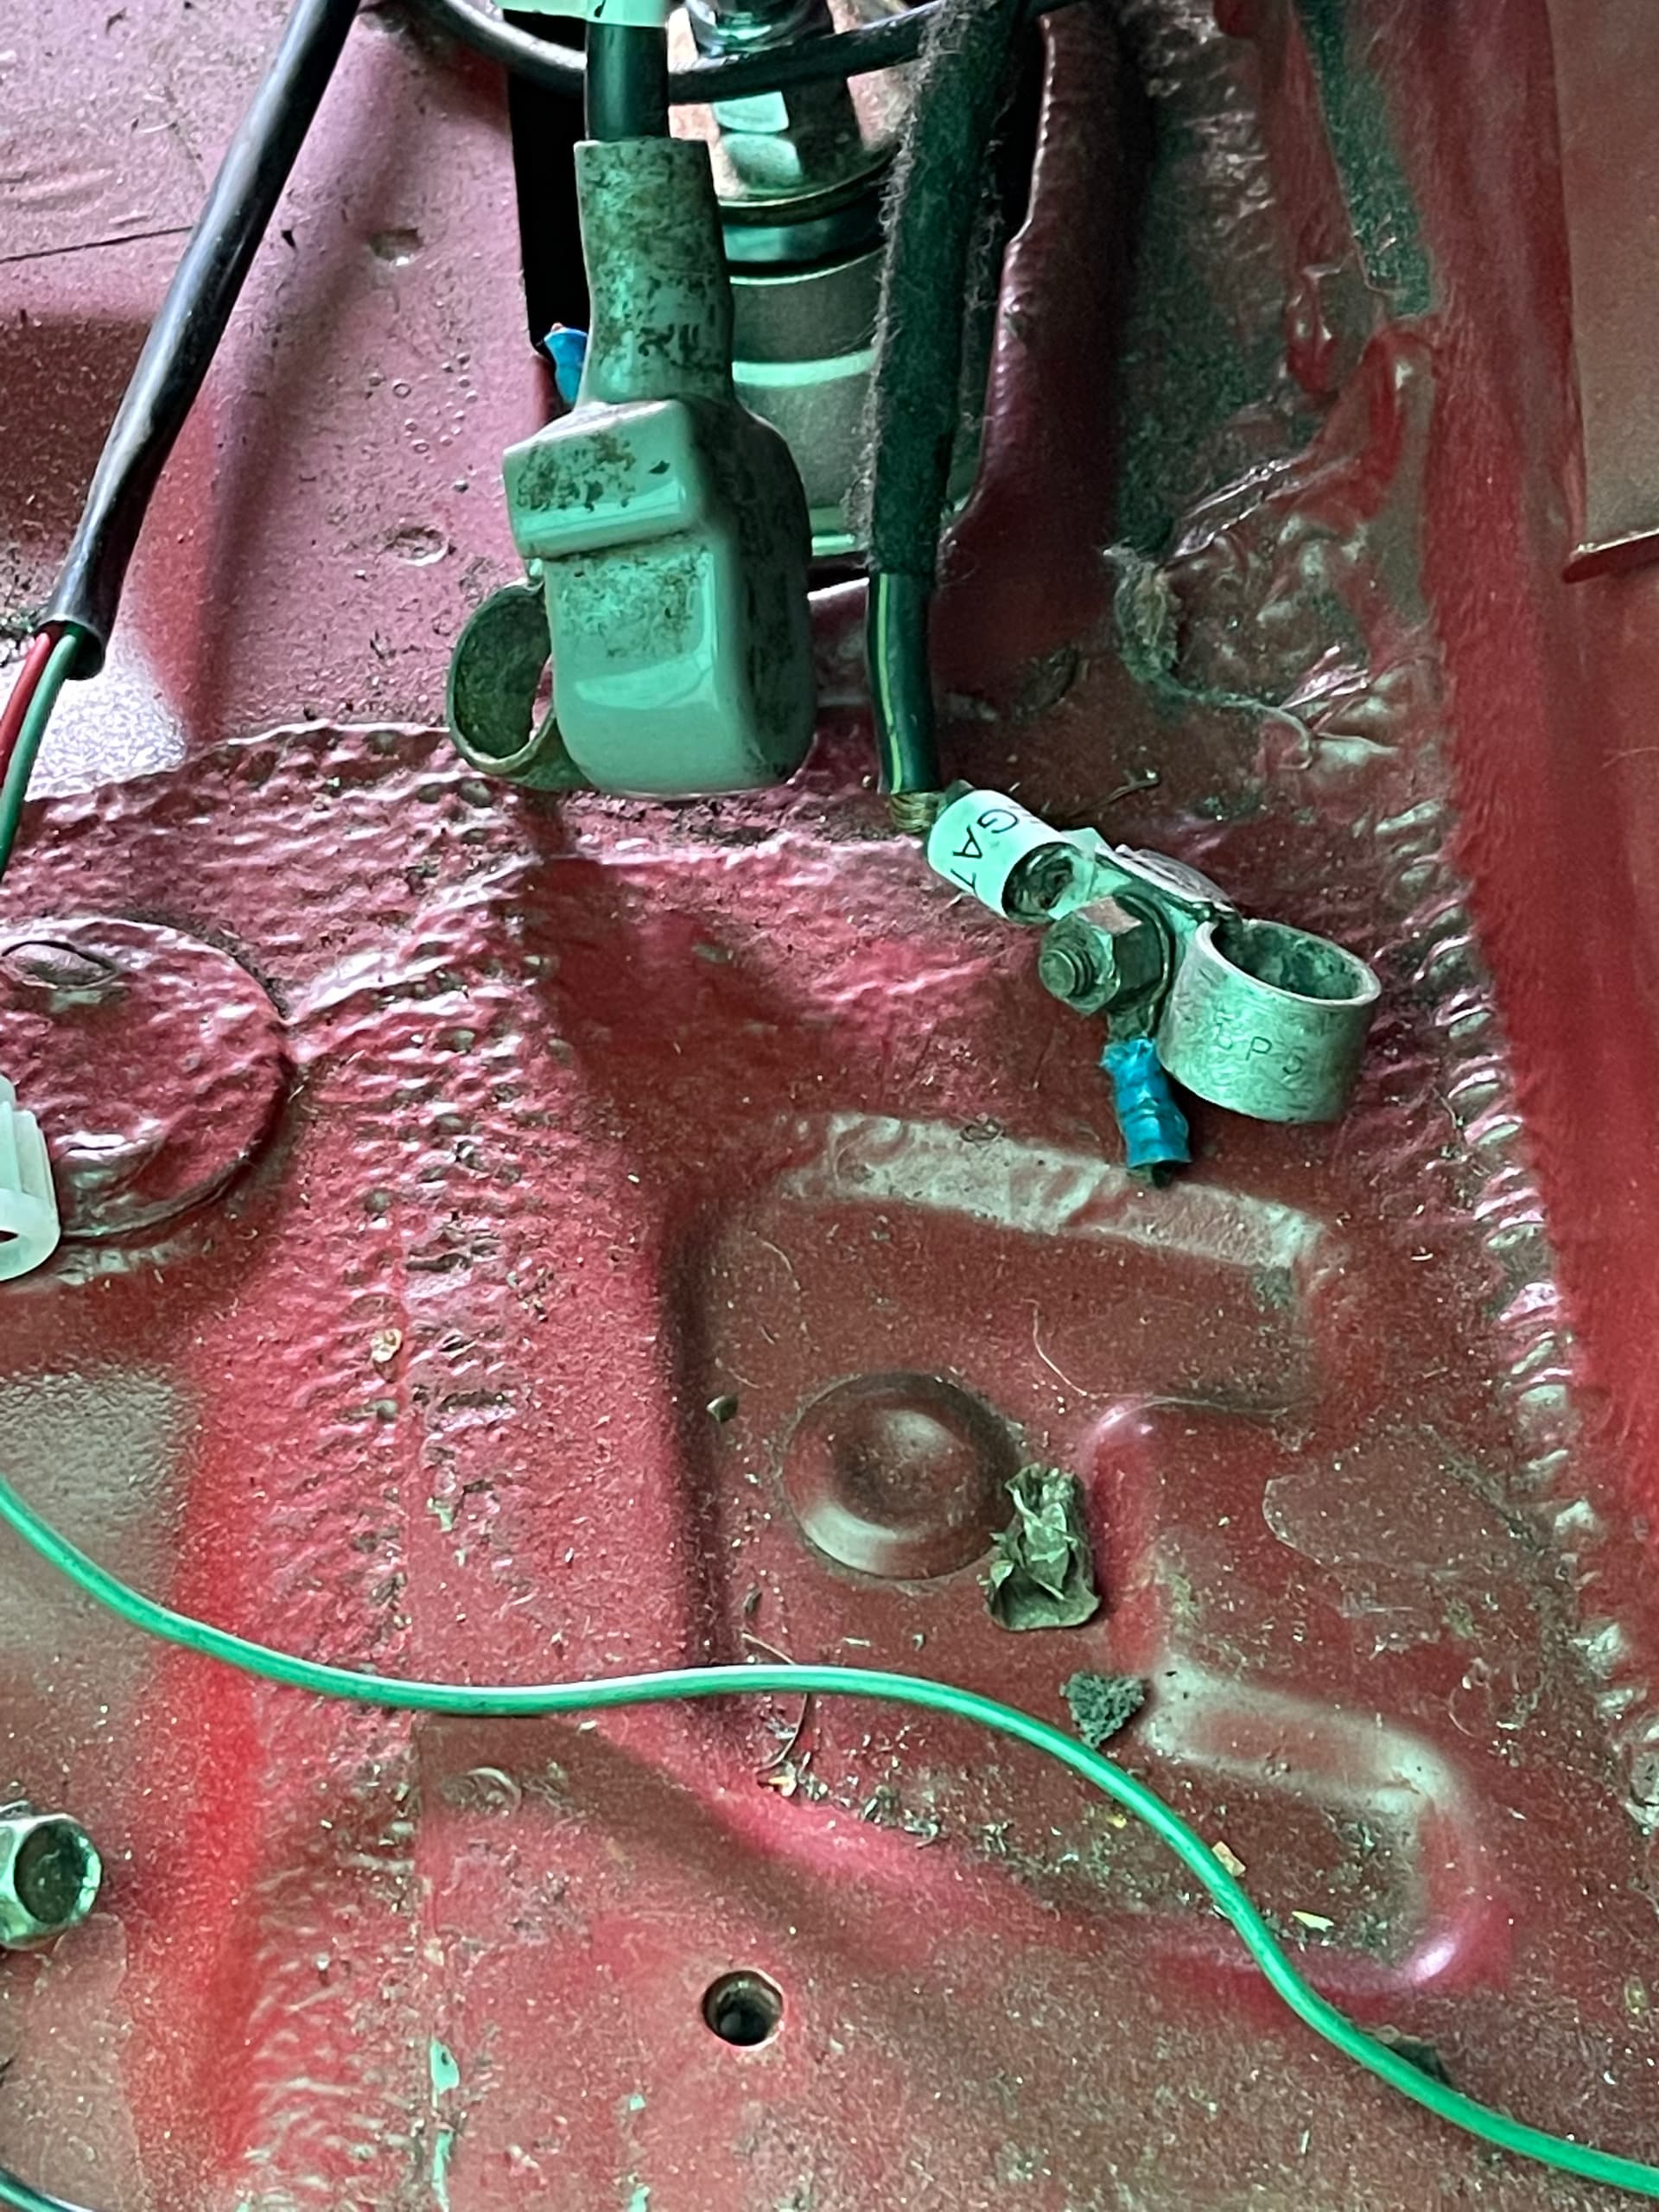
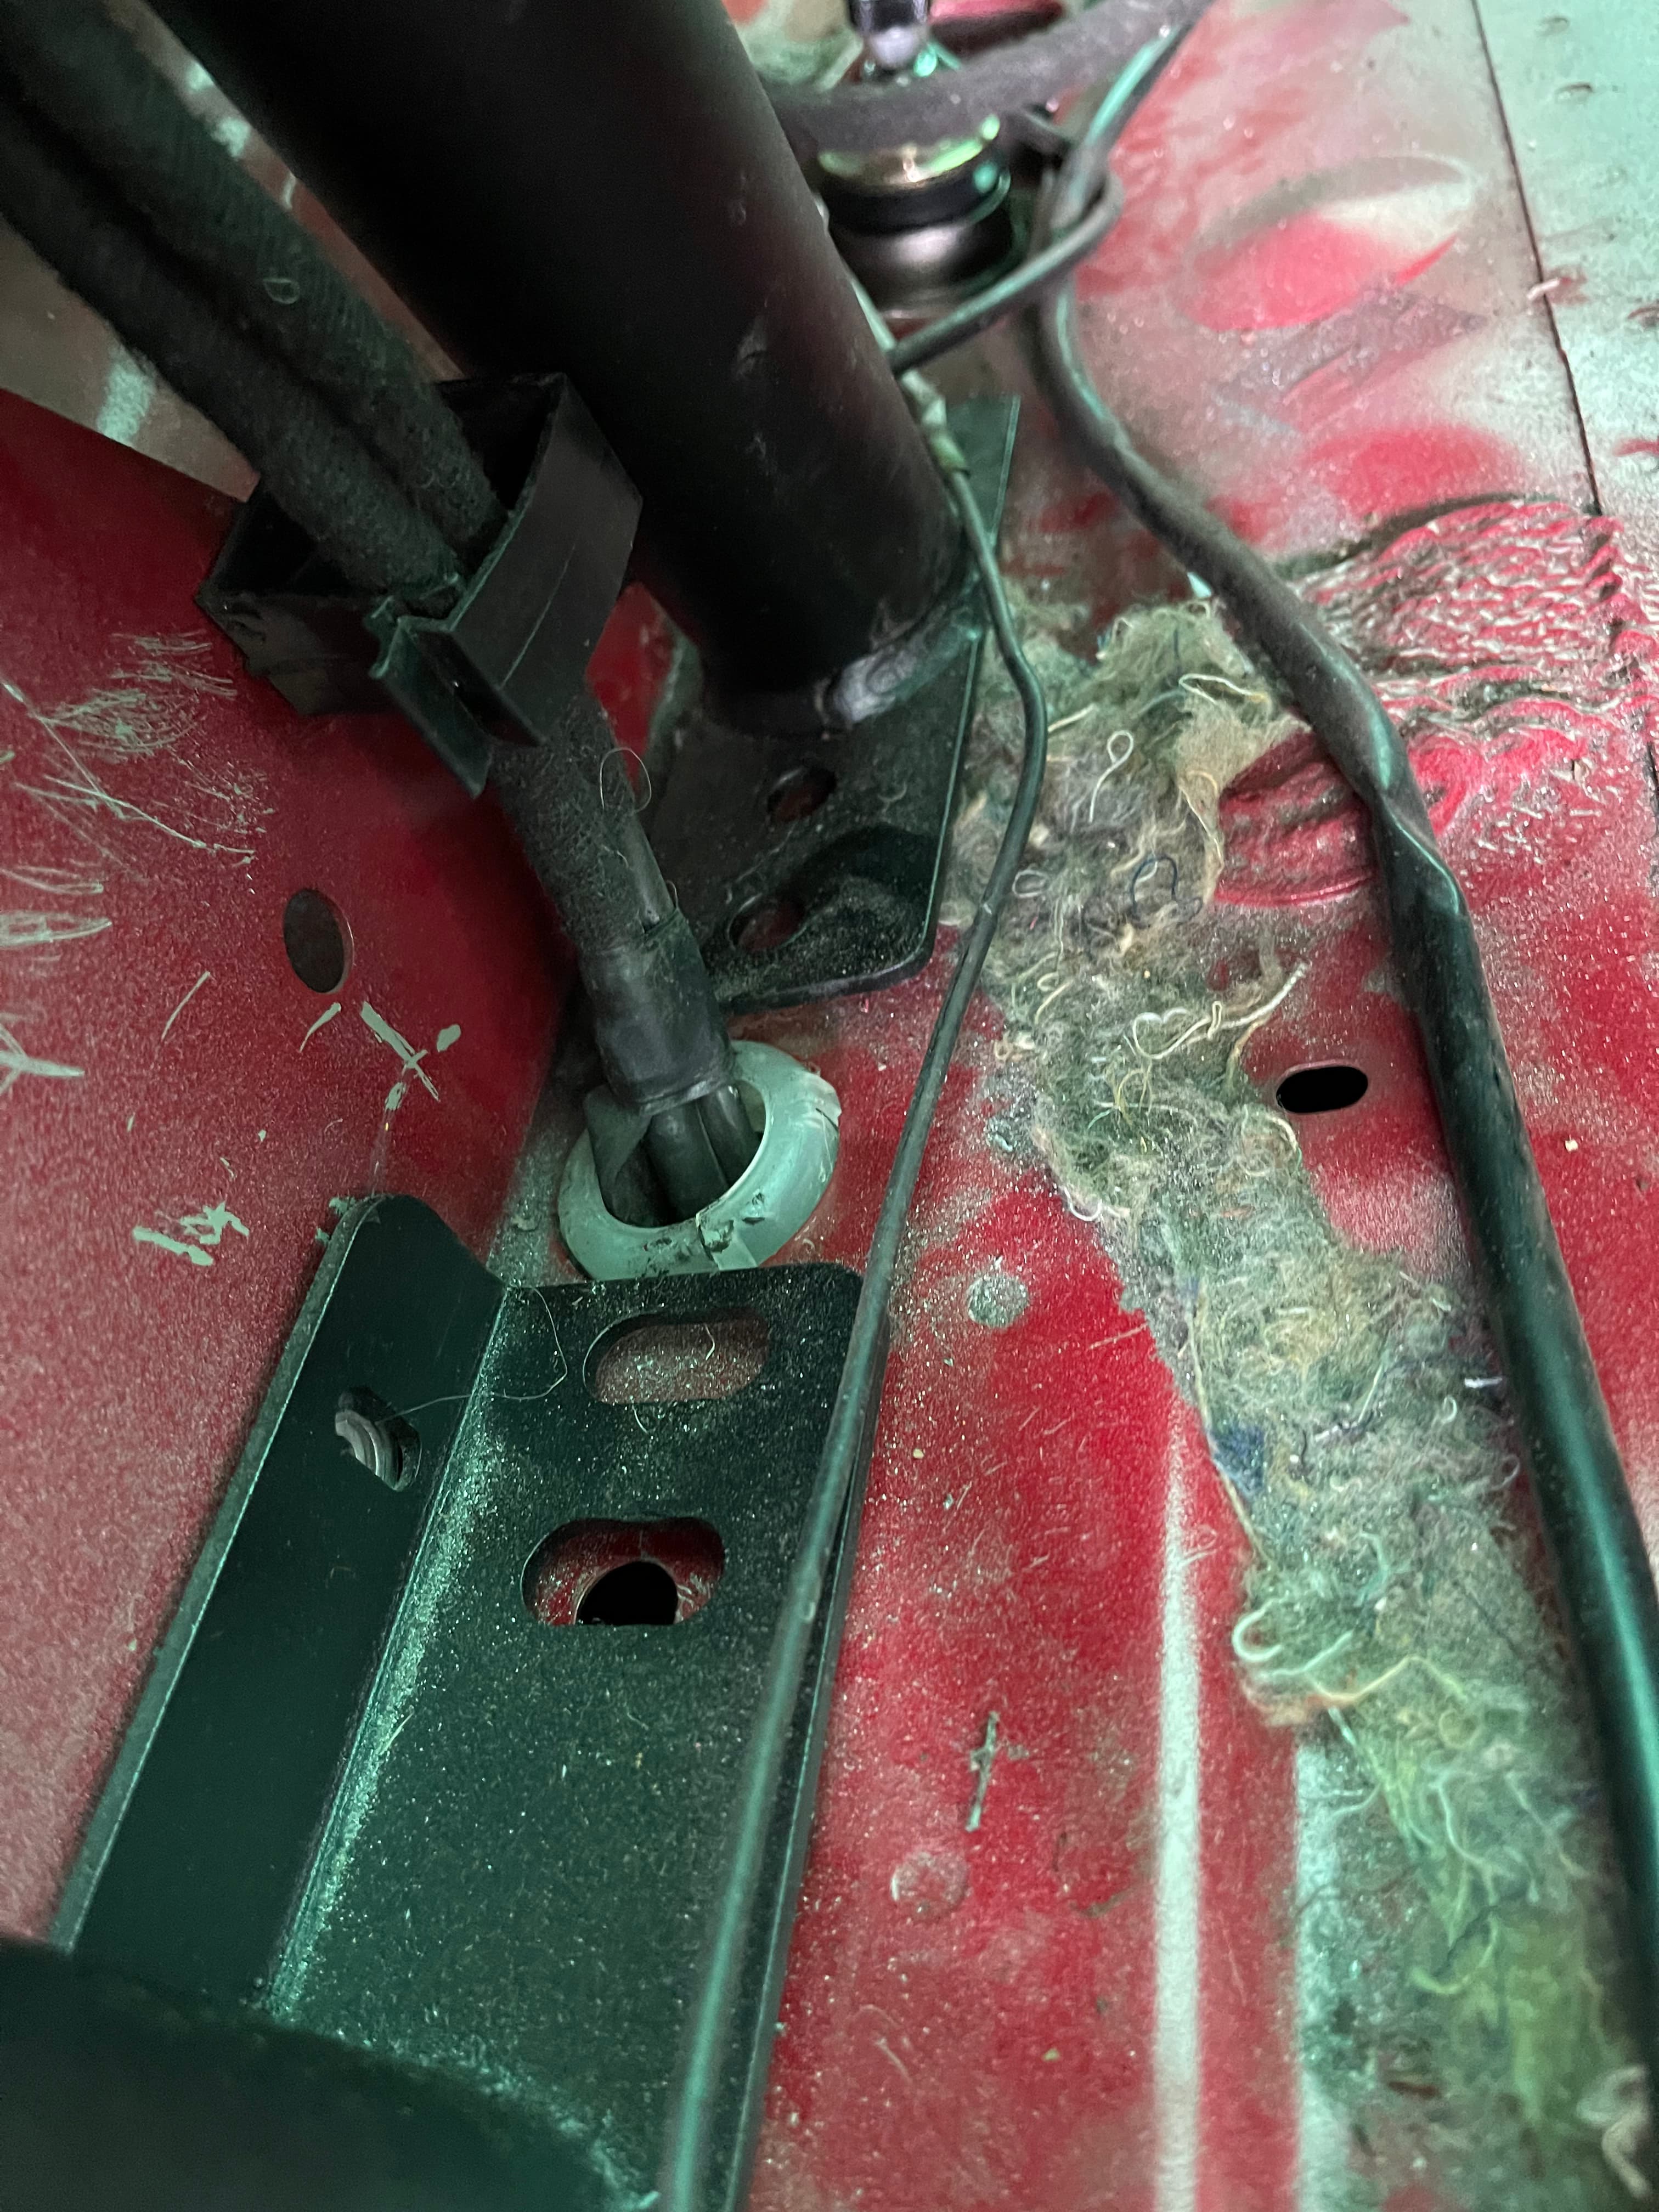
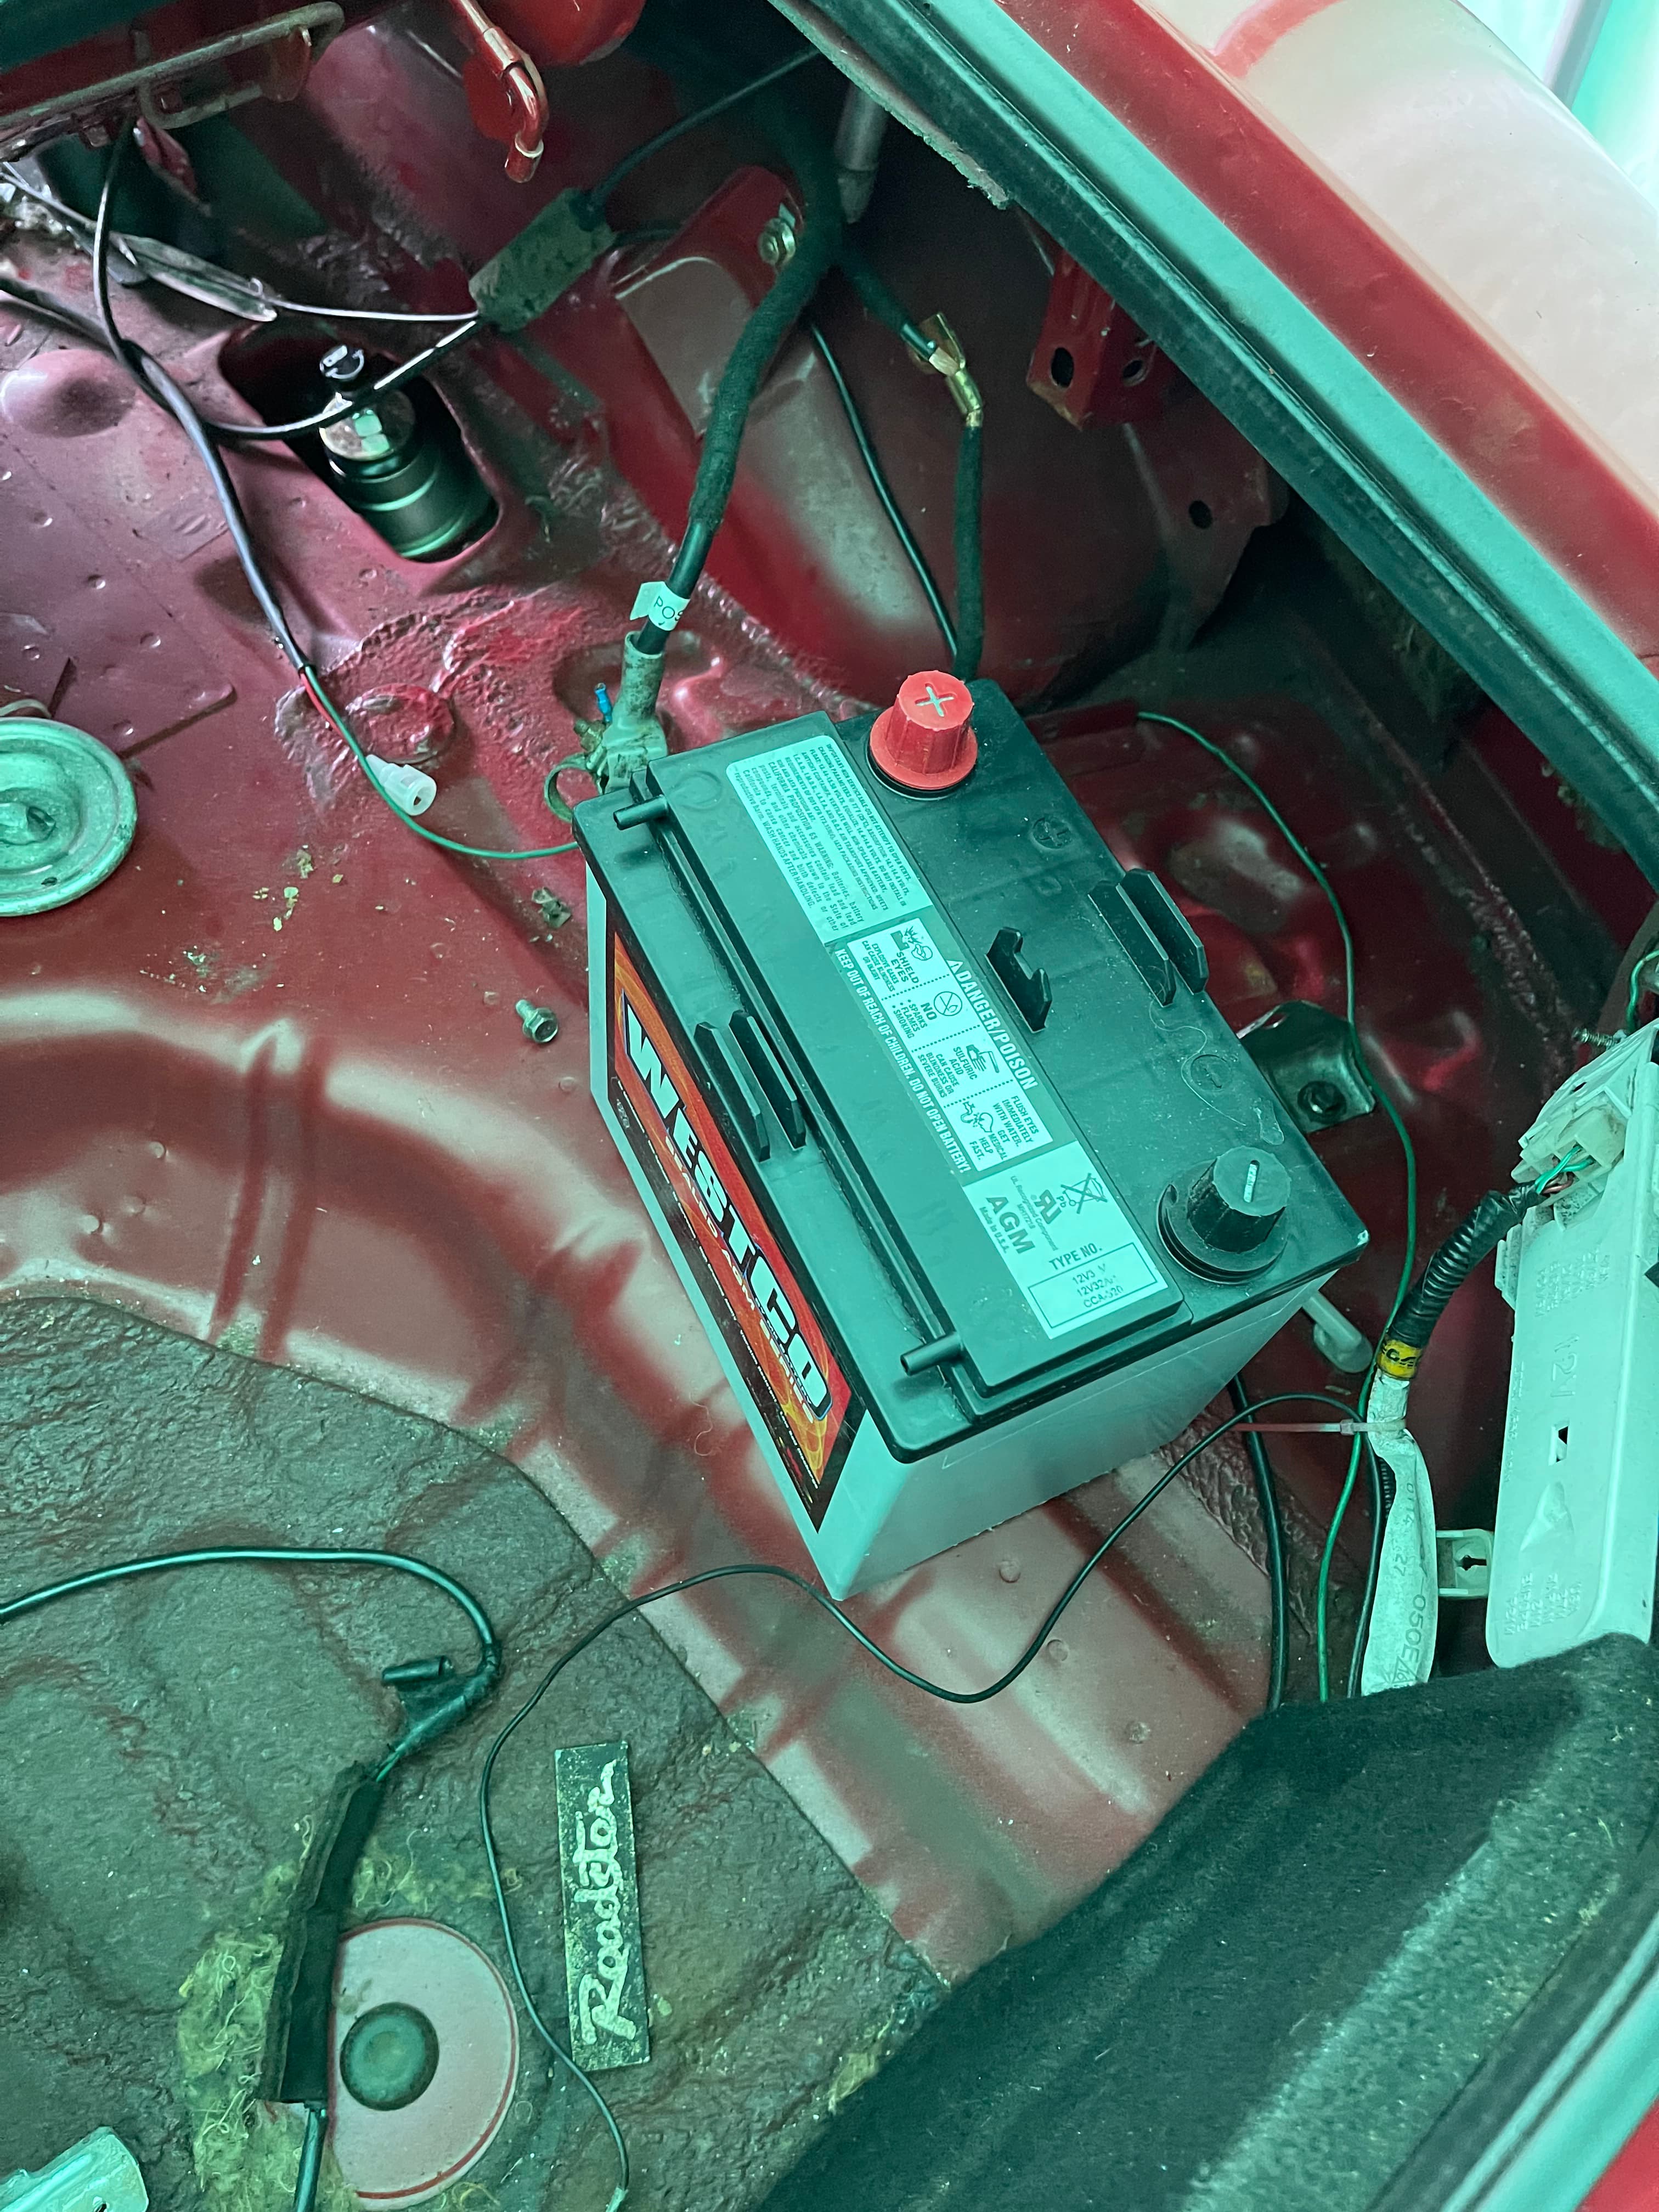
I’ve routed the new loom Back through the car from battery to engine bay (via the gearbox). I’ve attached the battery ground and the ppf ground. Can anyone identify what this ending covered in blue is? This is how it arrived and it’s different from the one I removed from my car.


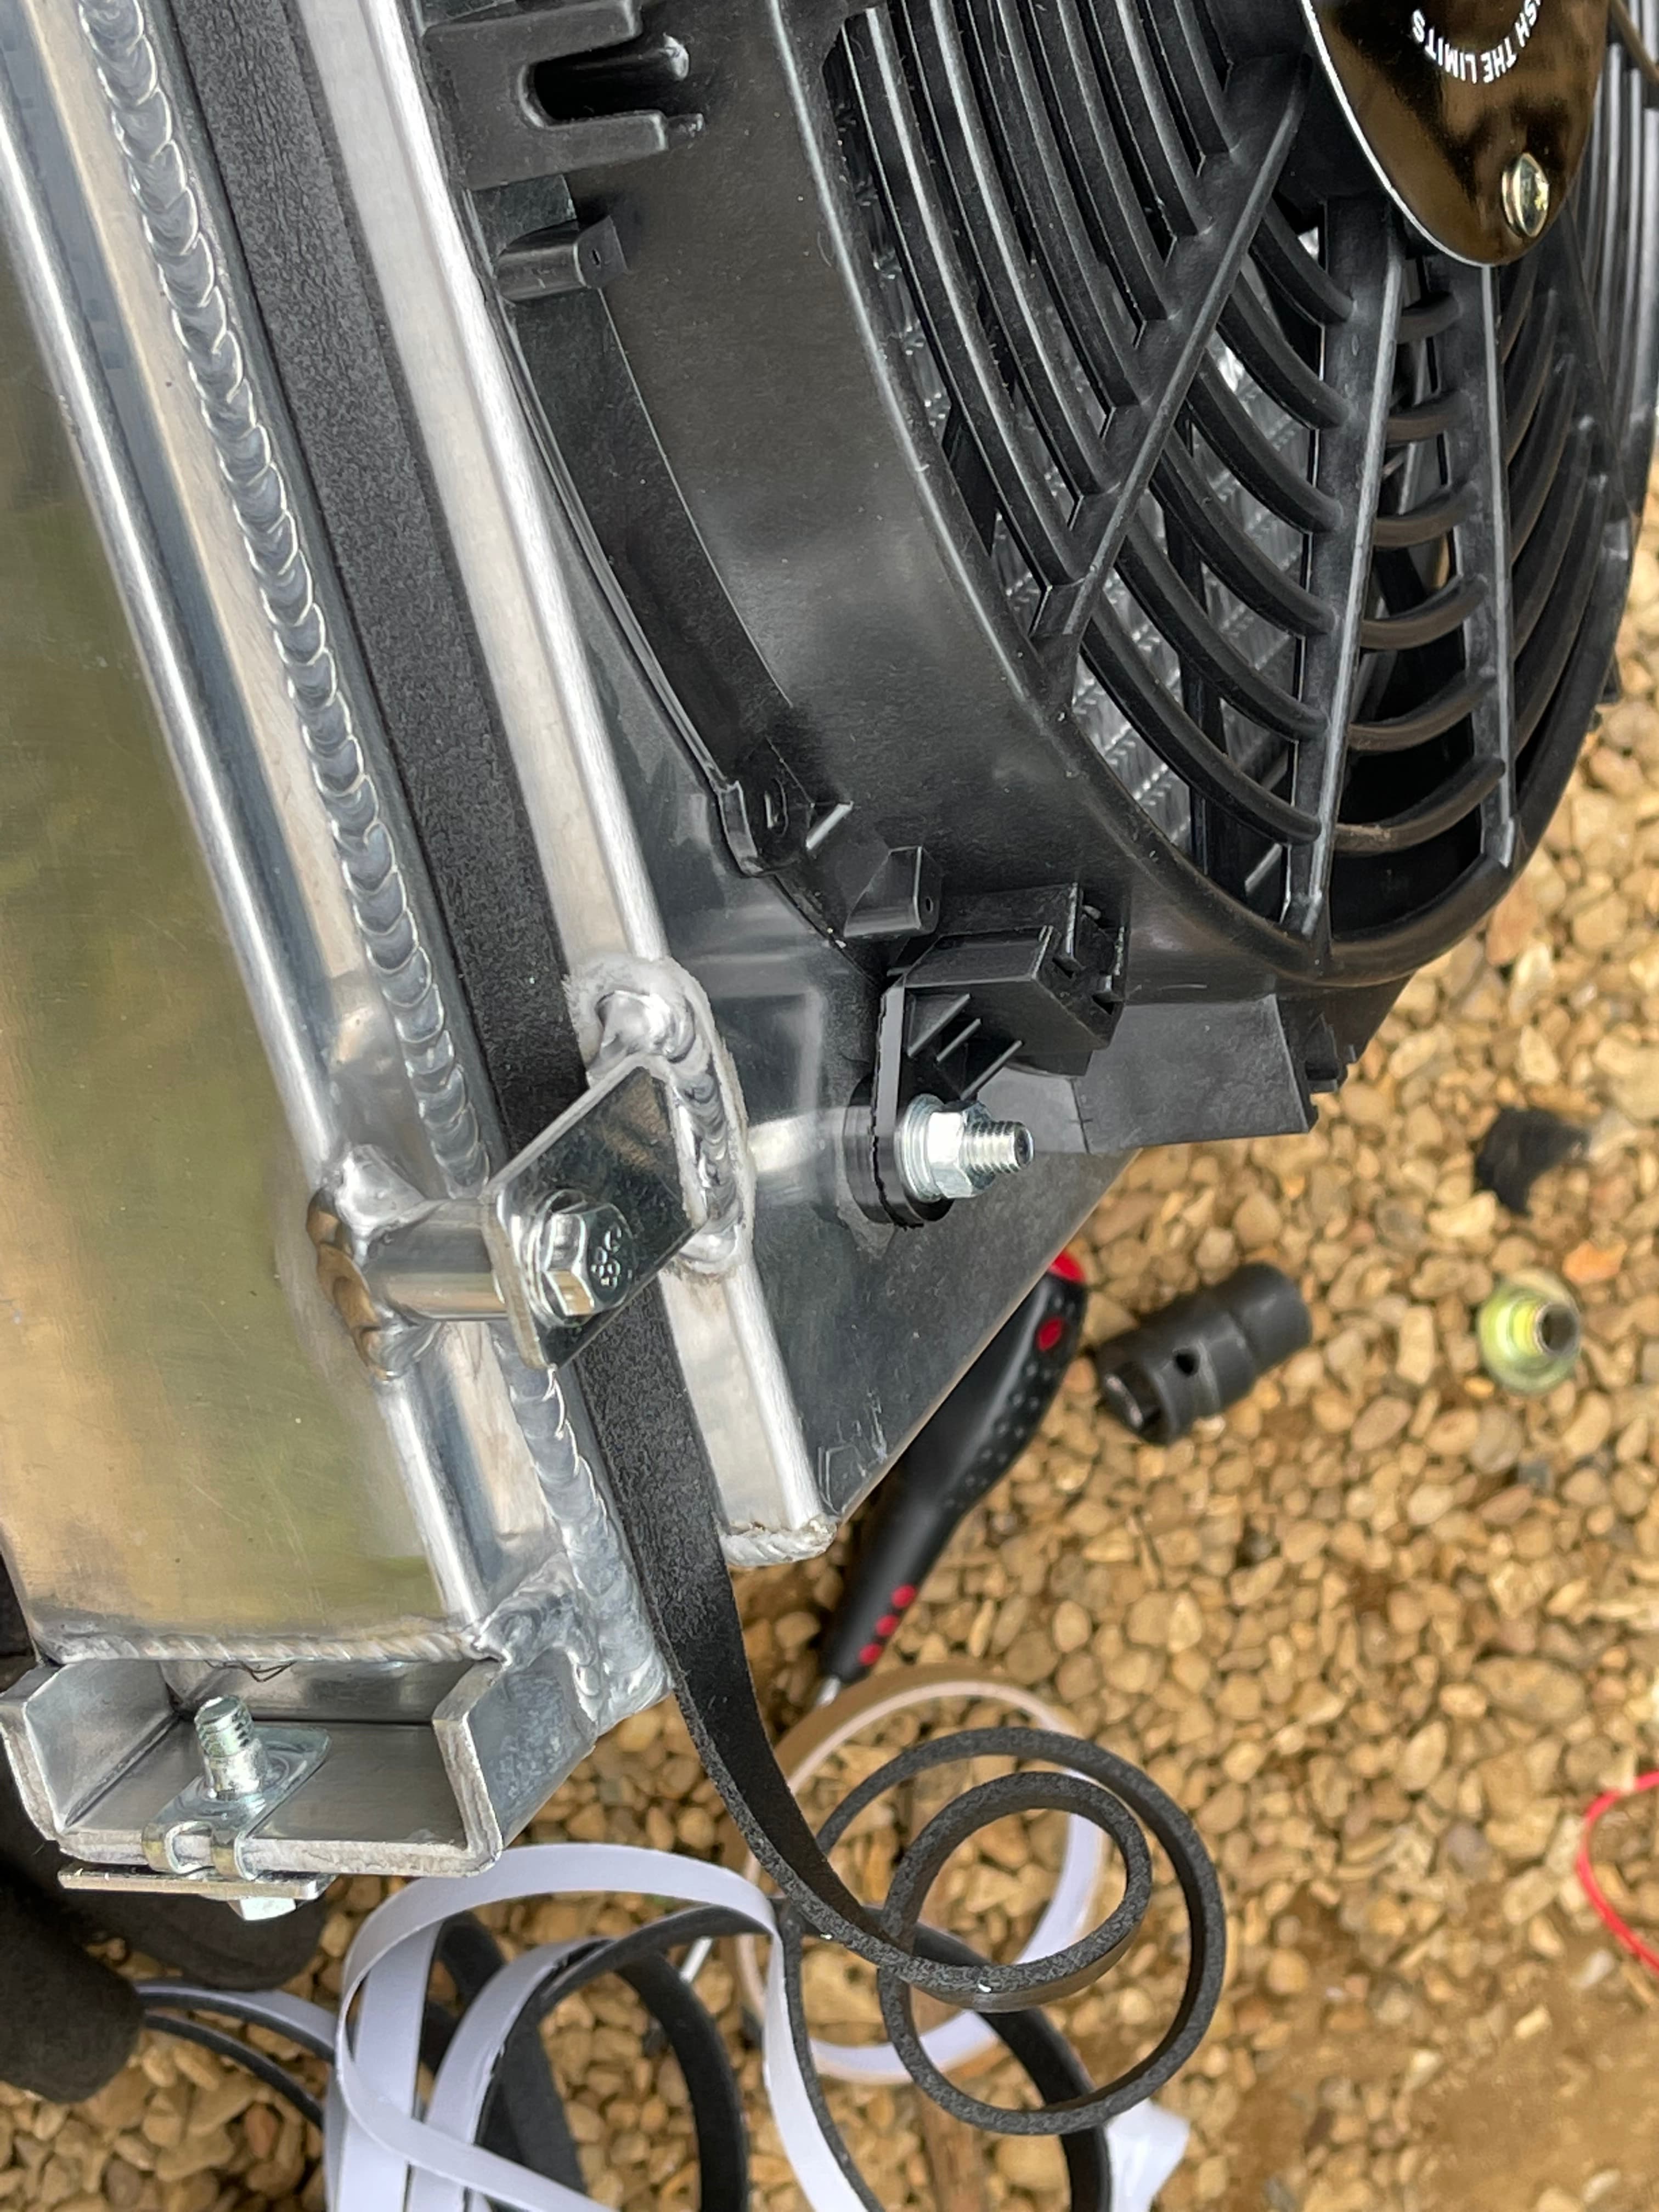
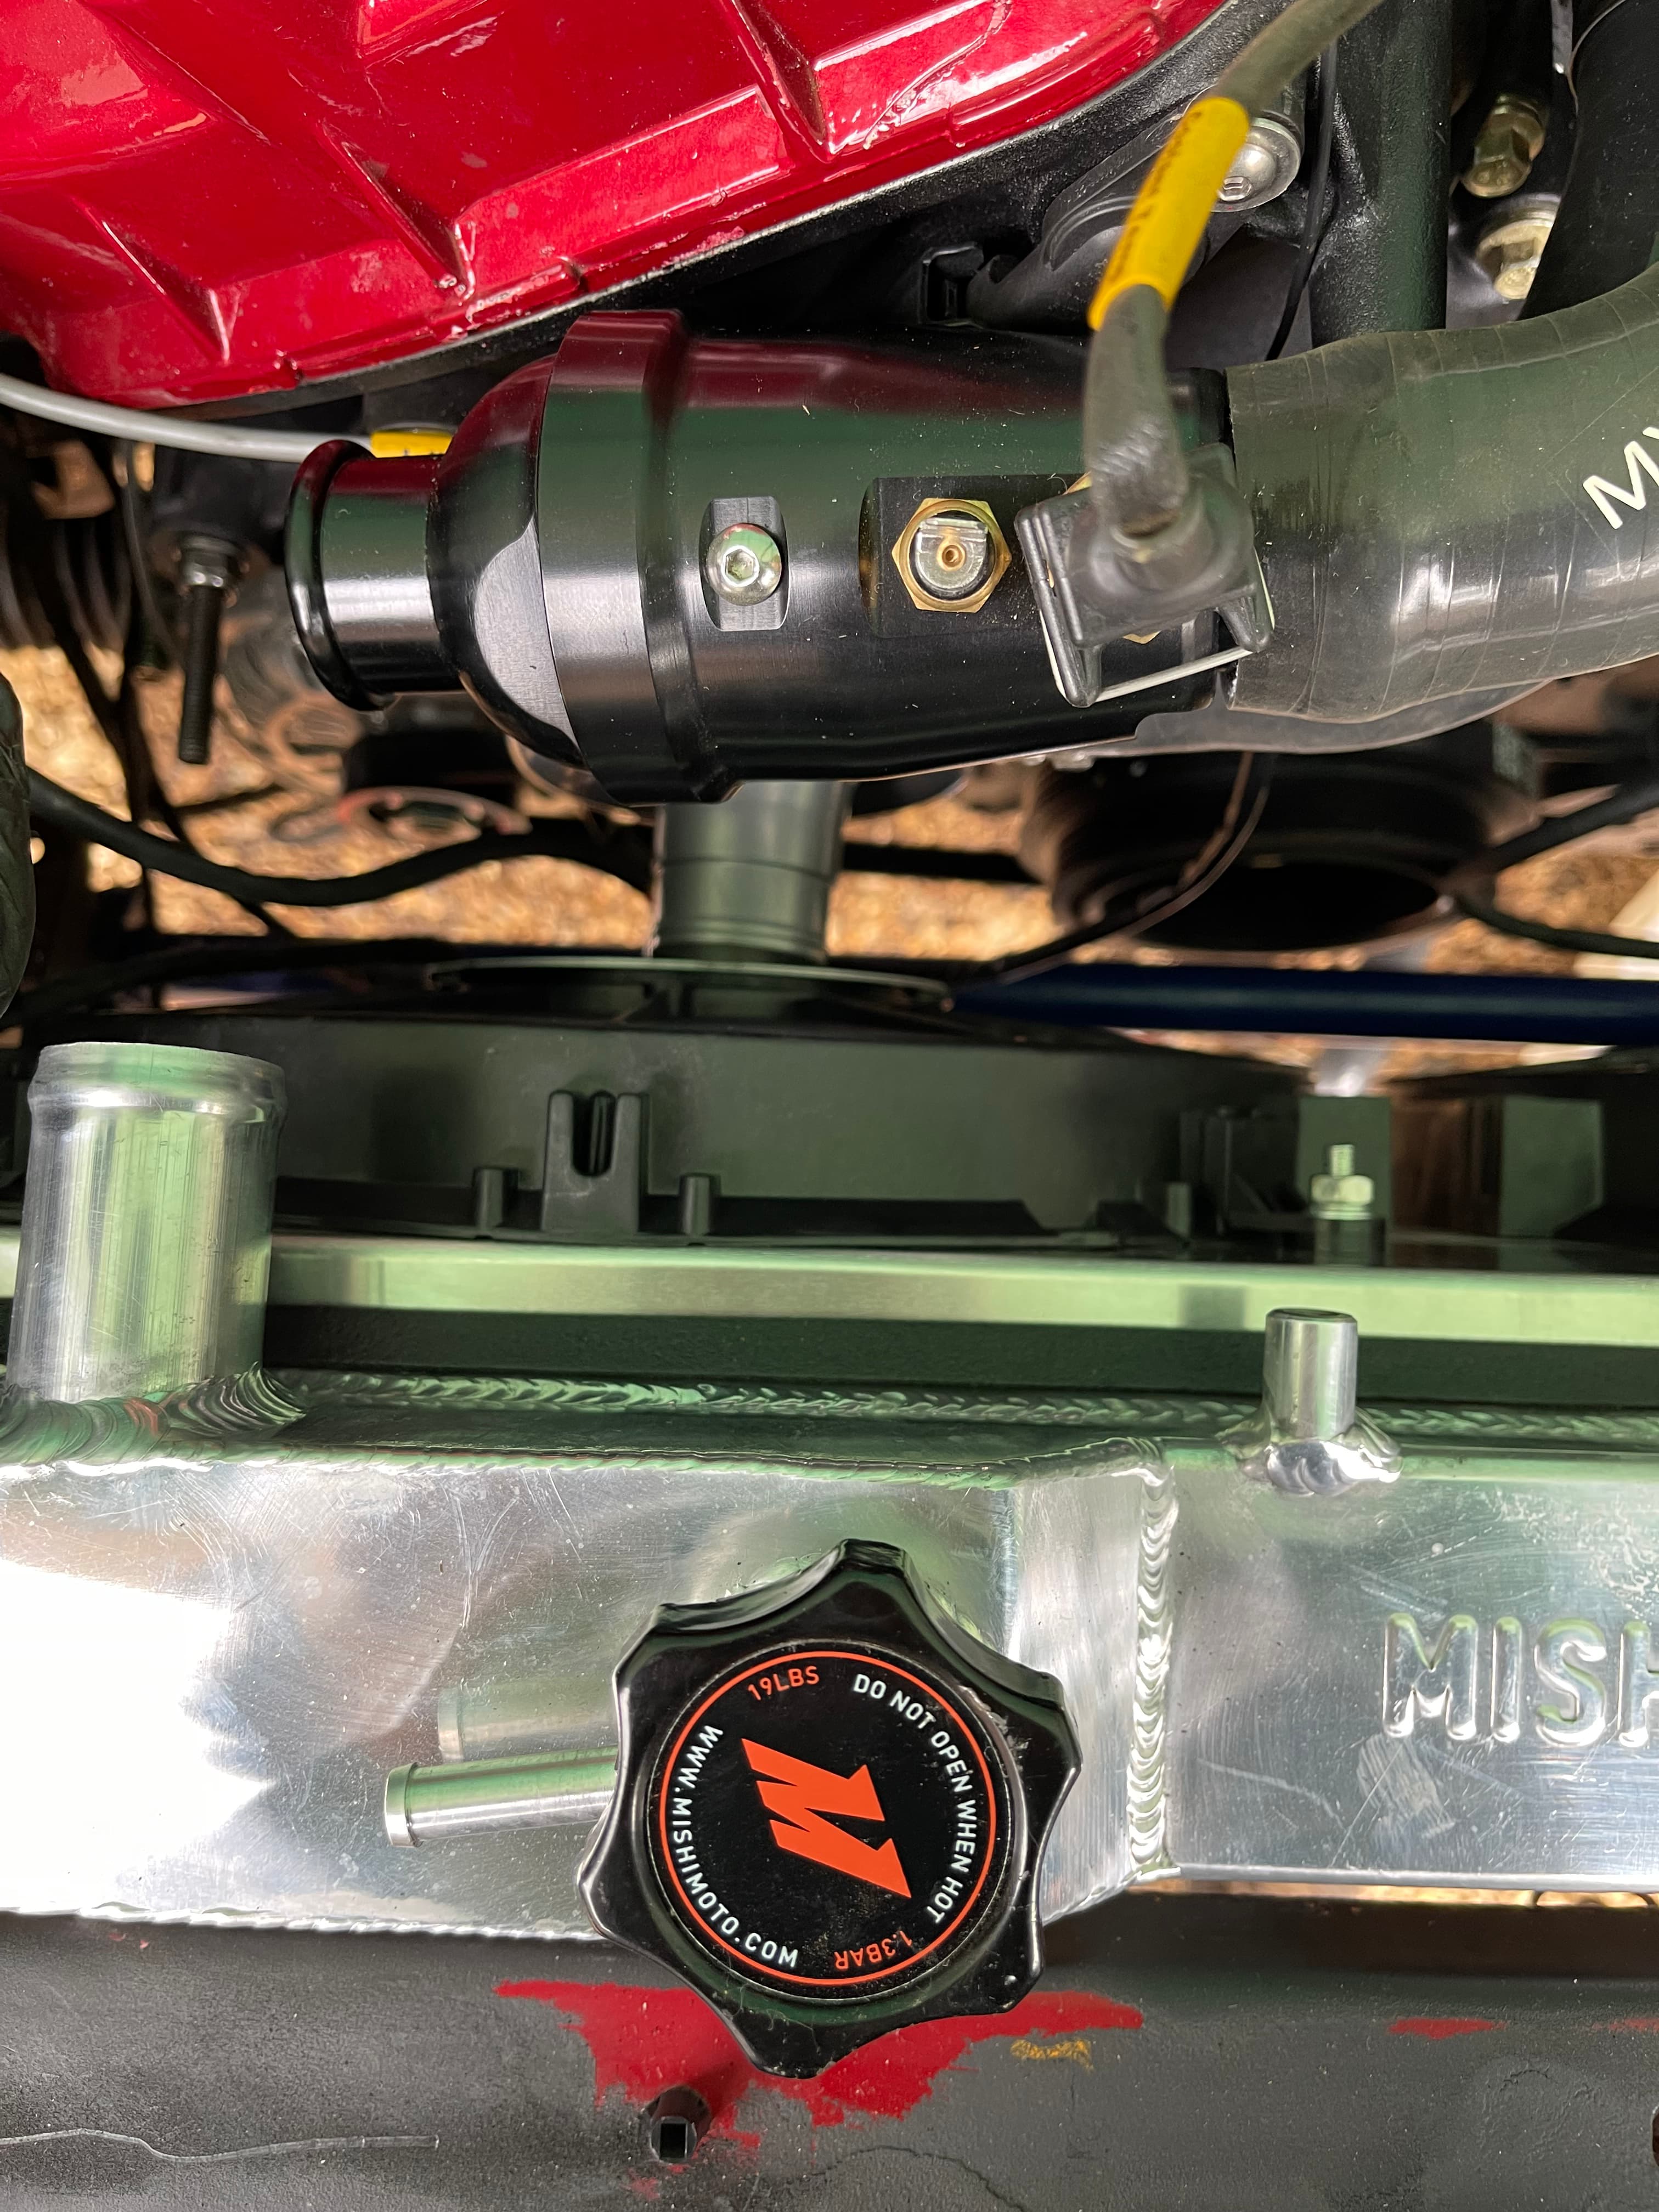
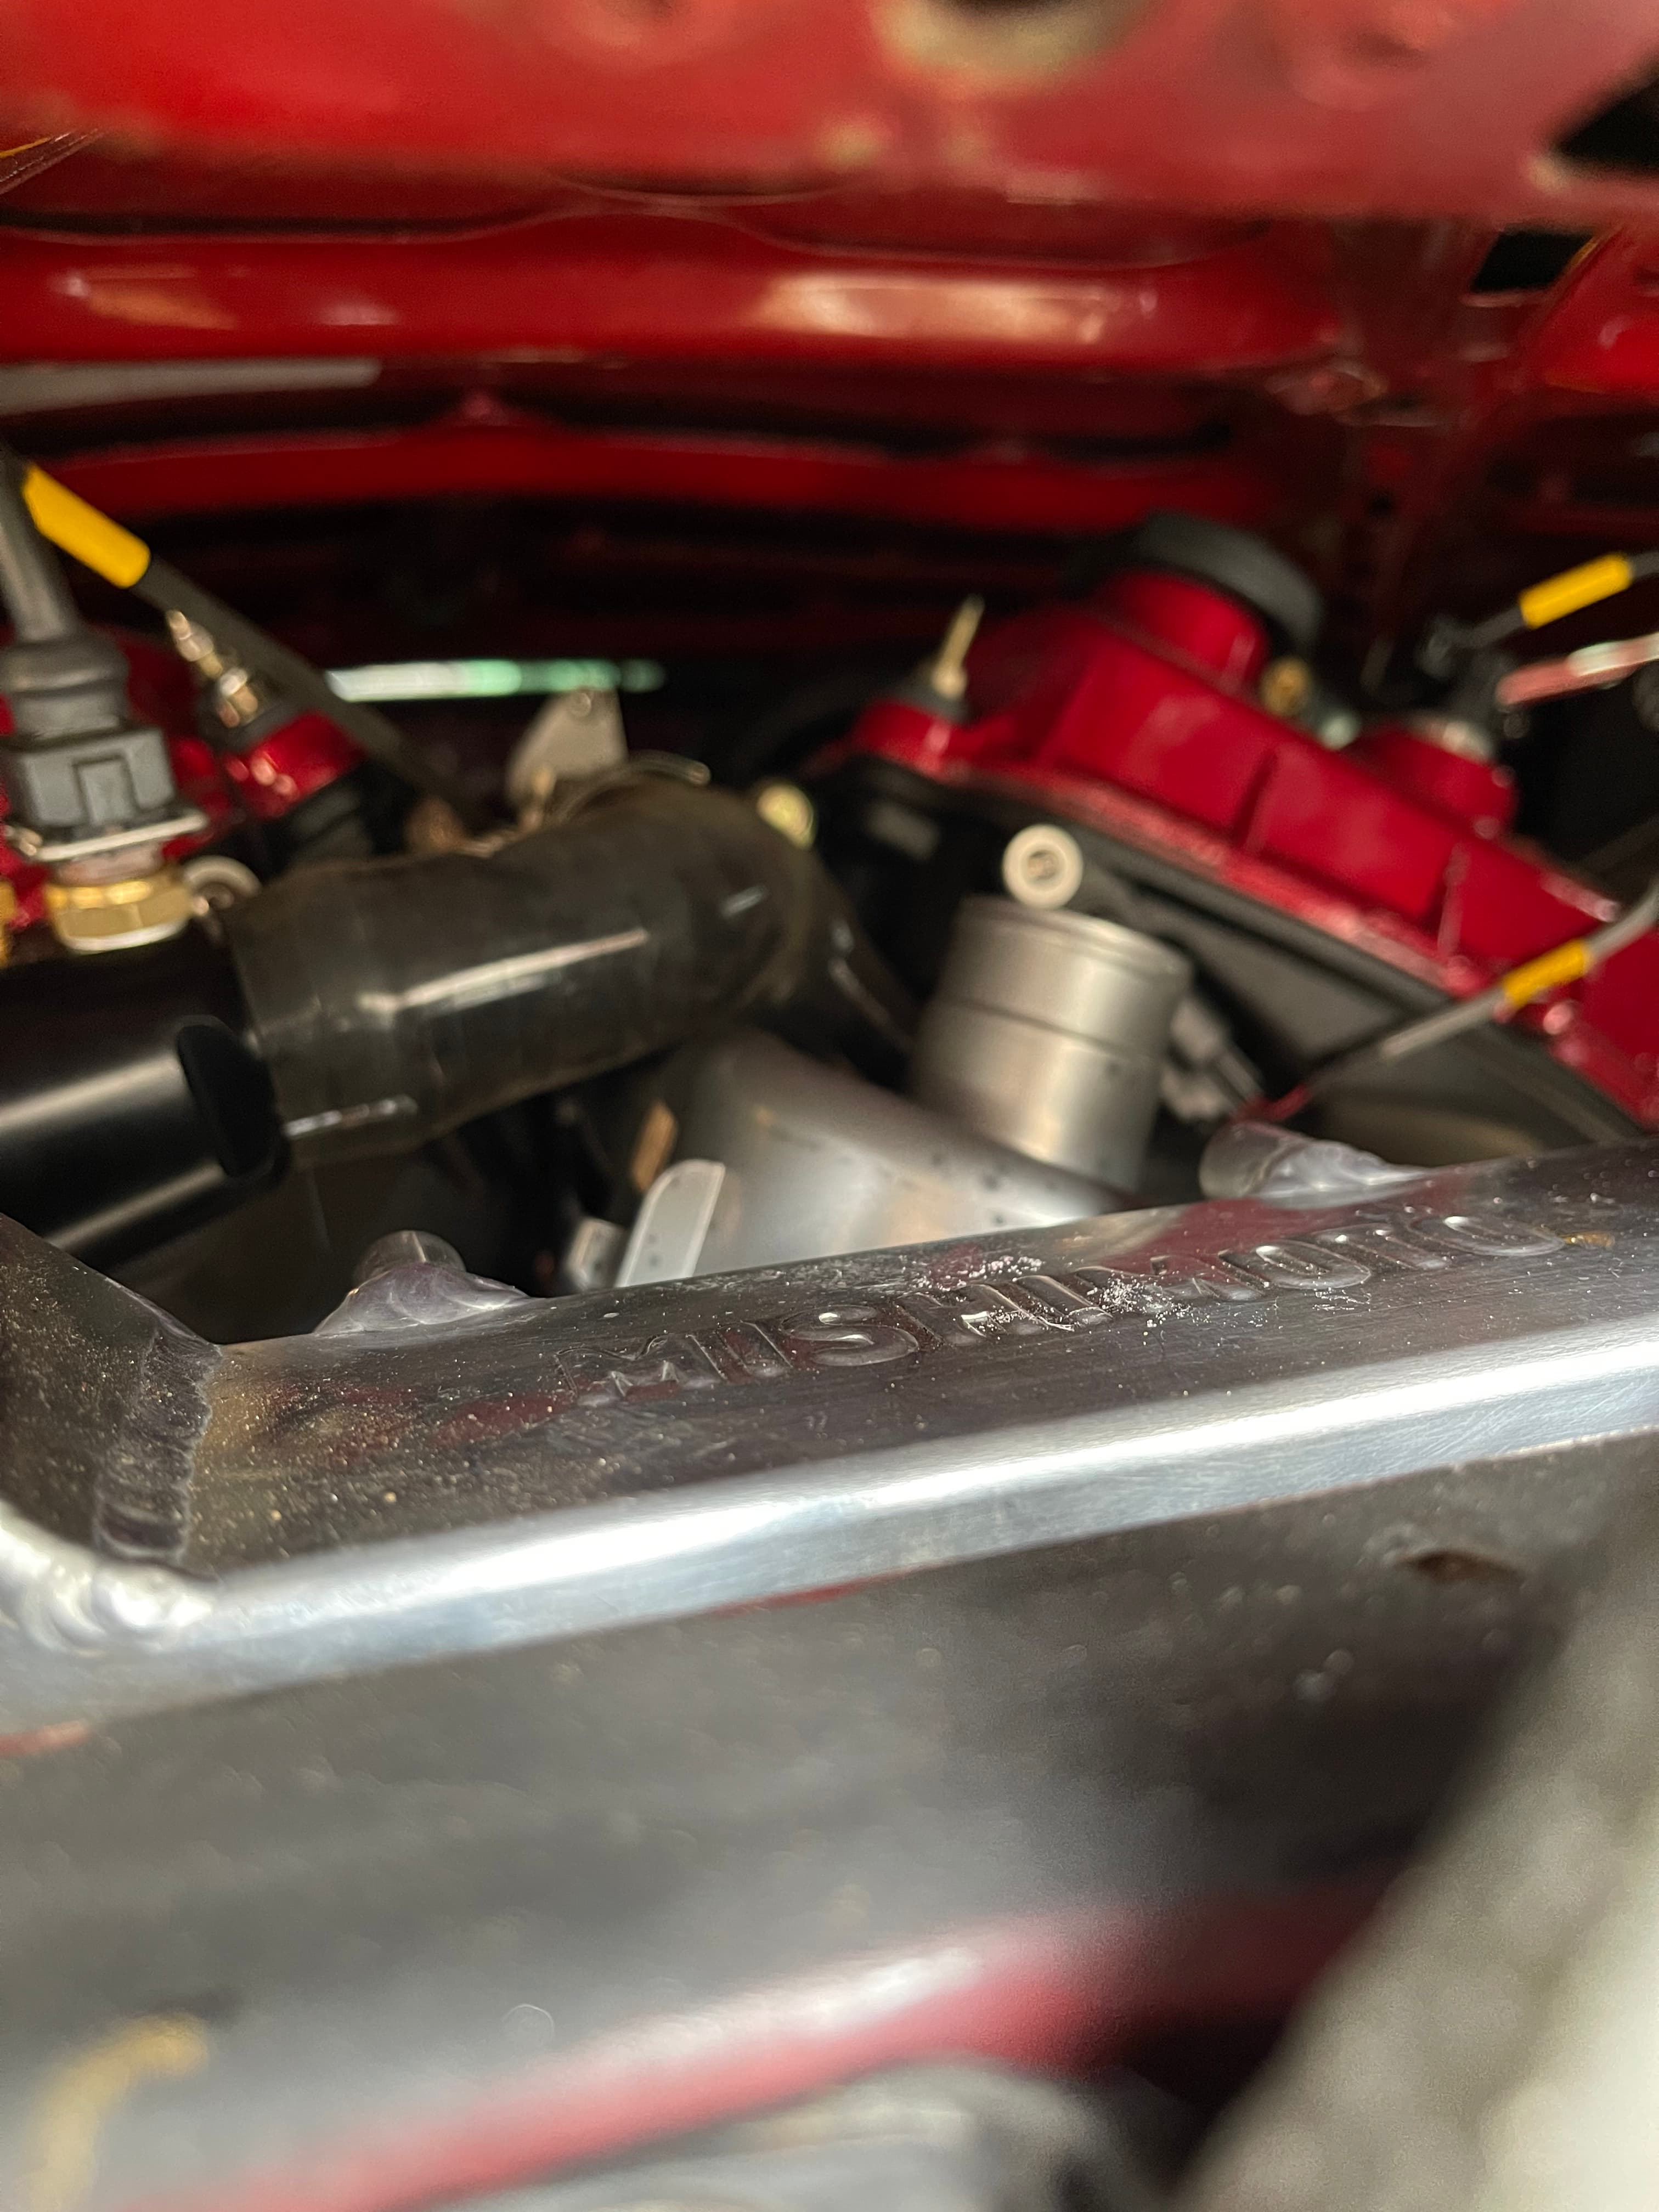
Radiator
I test fitted the radiator weeks and weeks ago and in my obsession with the ecu, hadn’t done any more with it. I purchased a double fan set up to match my mishimoto radiator. I can fit the new radiator and slimline fan setup in the car fine but the Rocketeer water pump placement meant that I couldn’t connect the hose from the radiator to the water pump. So I hacked things about a bit and came upon mounting it here. It’s all connected up fine, I just need to modify or fabricated some brackets to keep the hose away from the power steering belt.
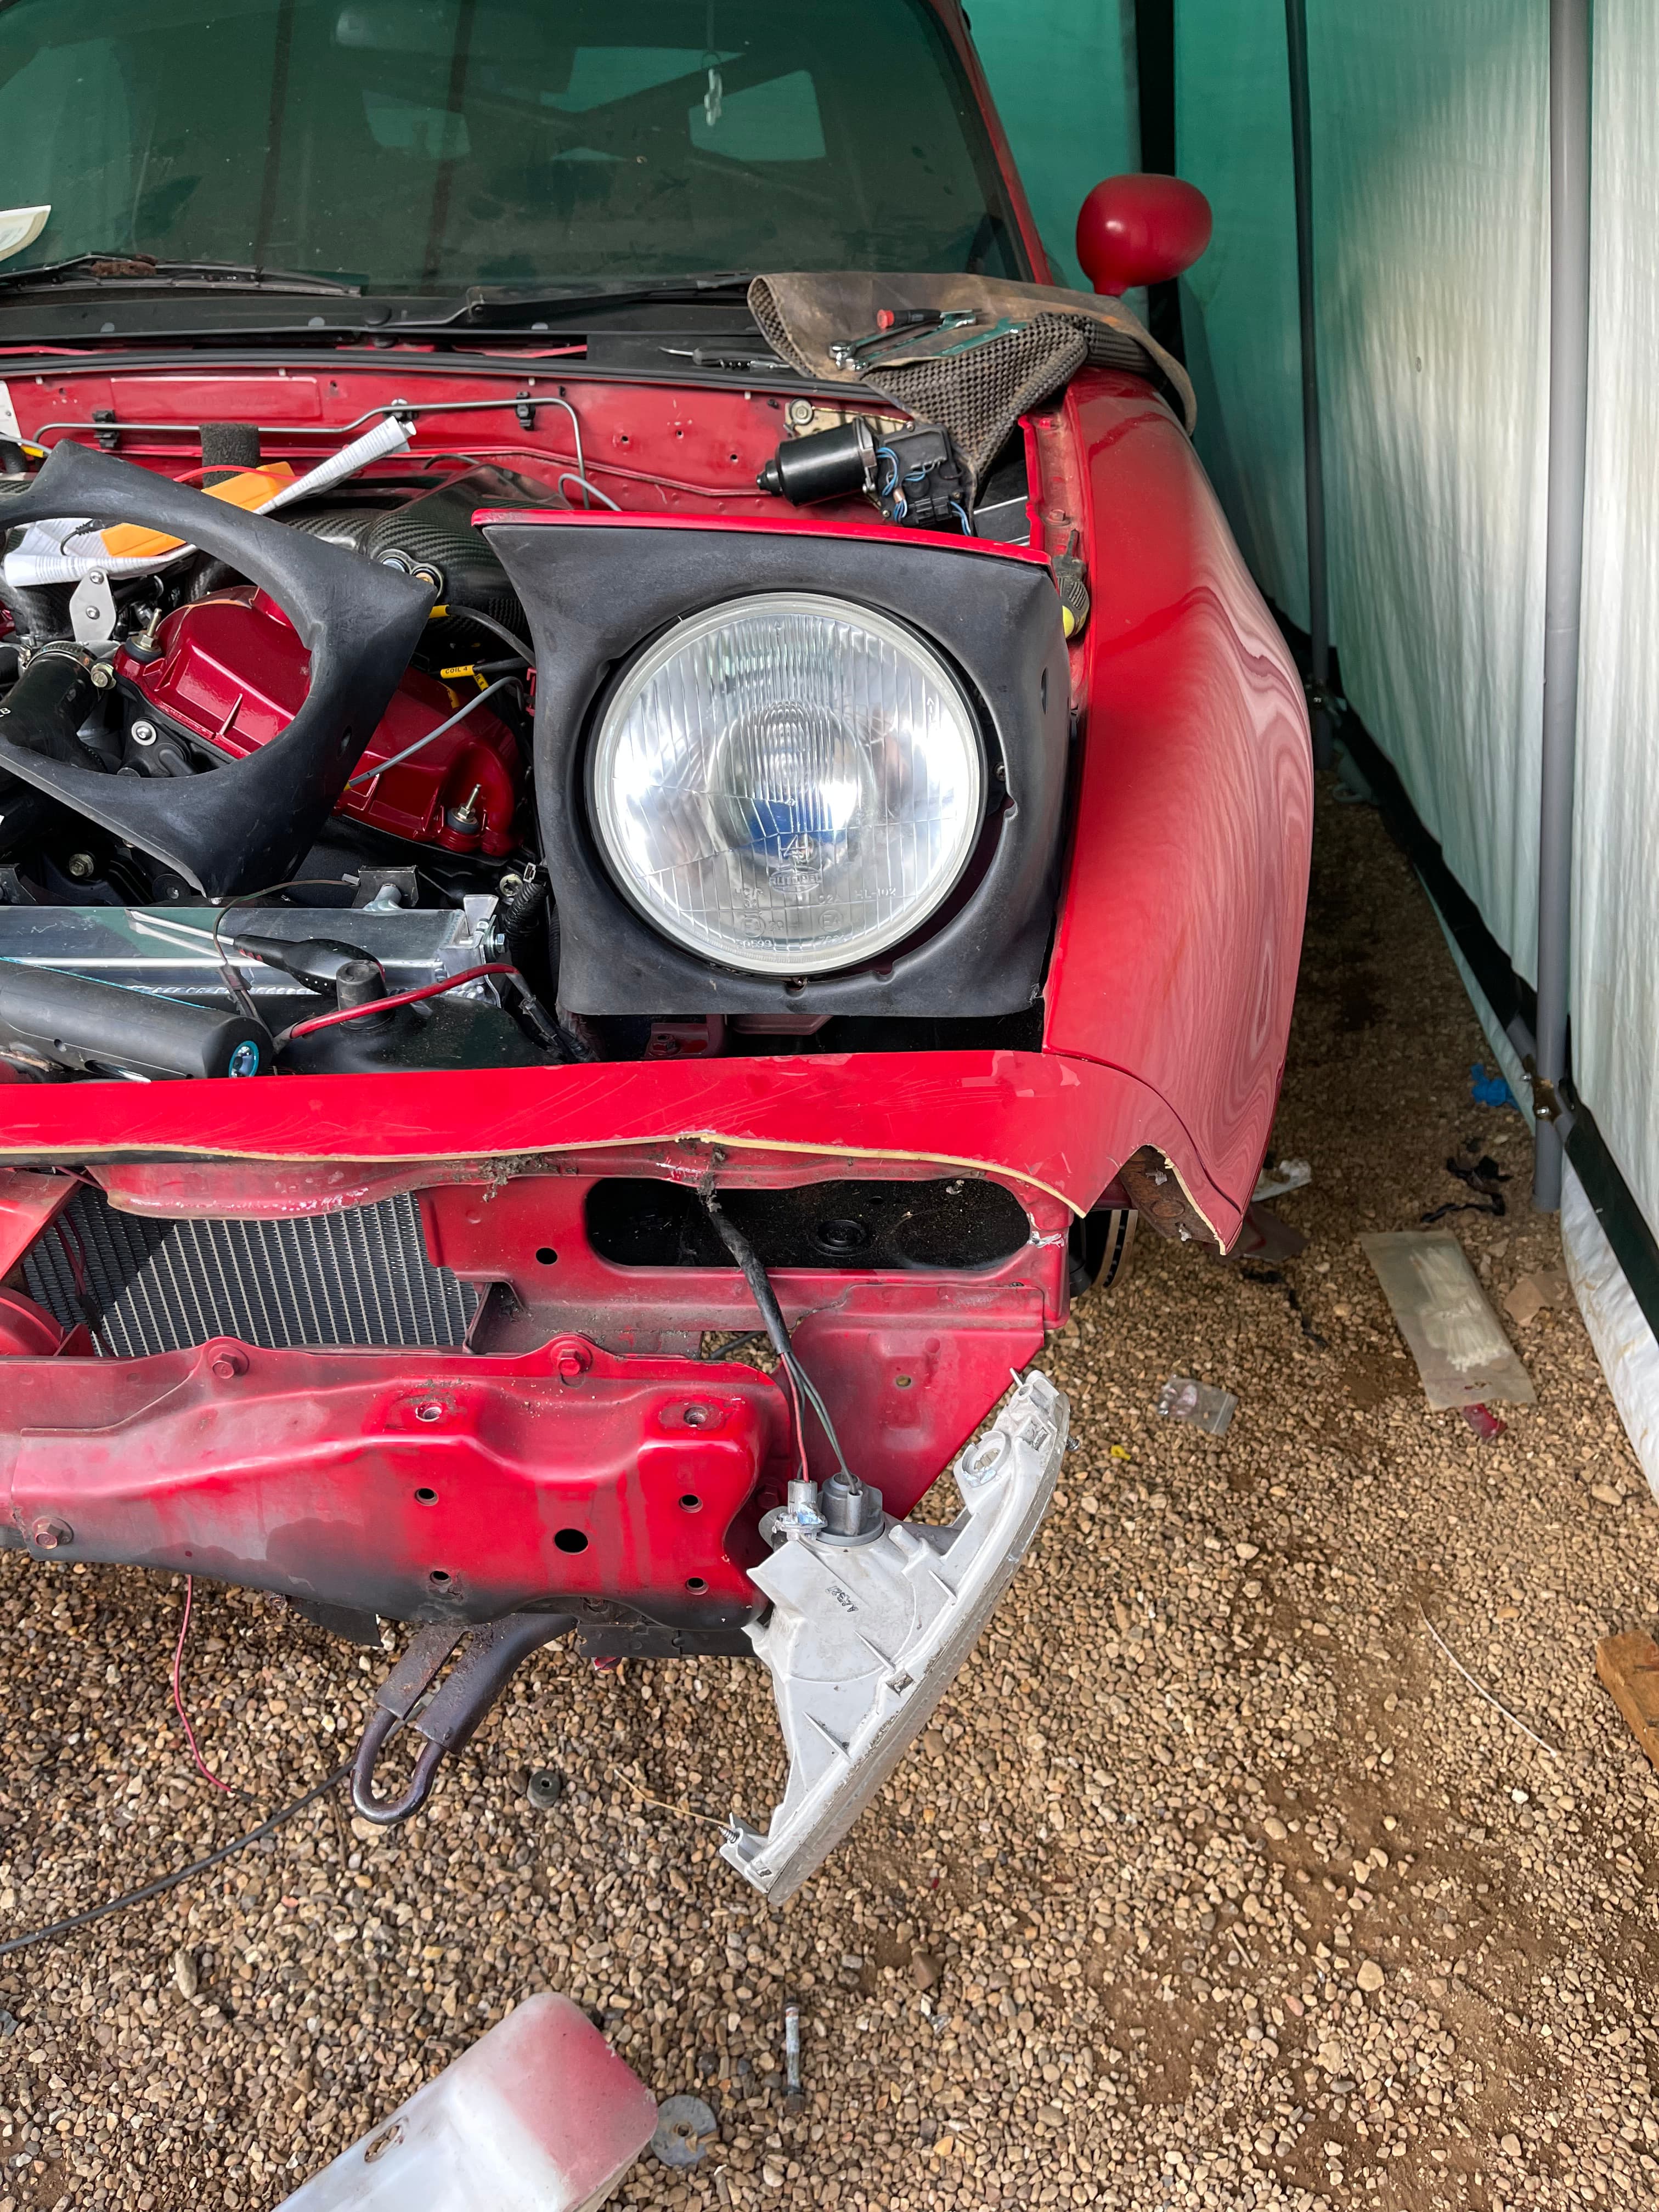
Lights!
The car looks less like short circuit now and more like a crashed mx4 which I think is some kind of progress! I’d removed both headlight assemblies completely, which was a pain but the refitting of them was much easier. I’m probably going to change the bulbs and lenses before MOT time but I wanted to get them refitted so that a) it removed some more unconnected connectors (my next band name) from the engine bay and b) it starts to look more like a car.


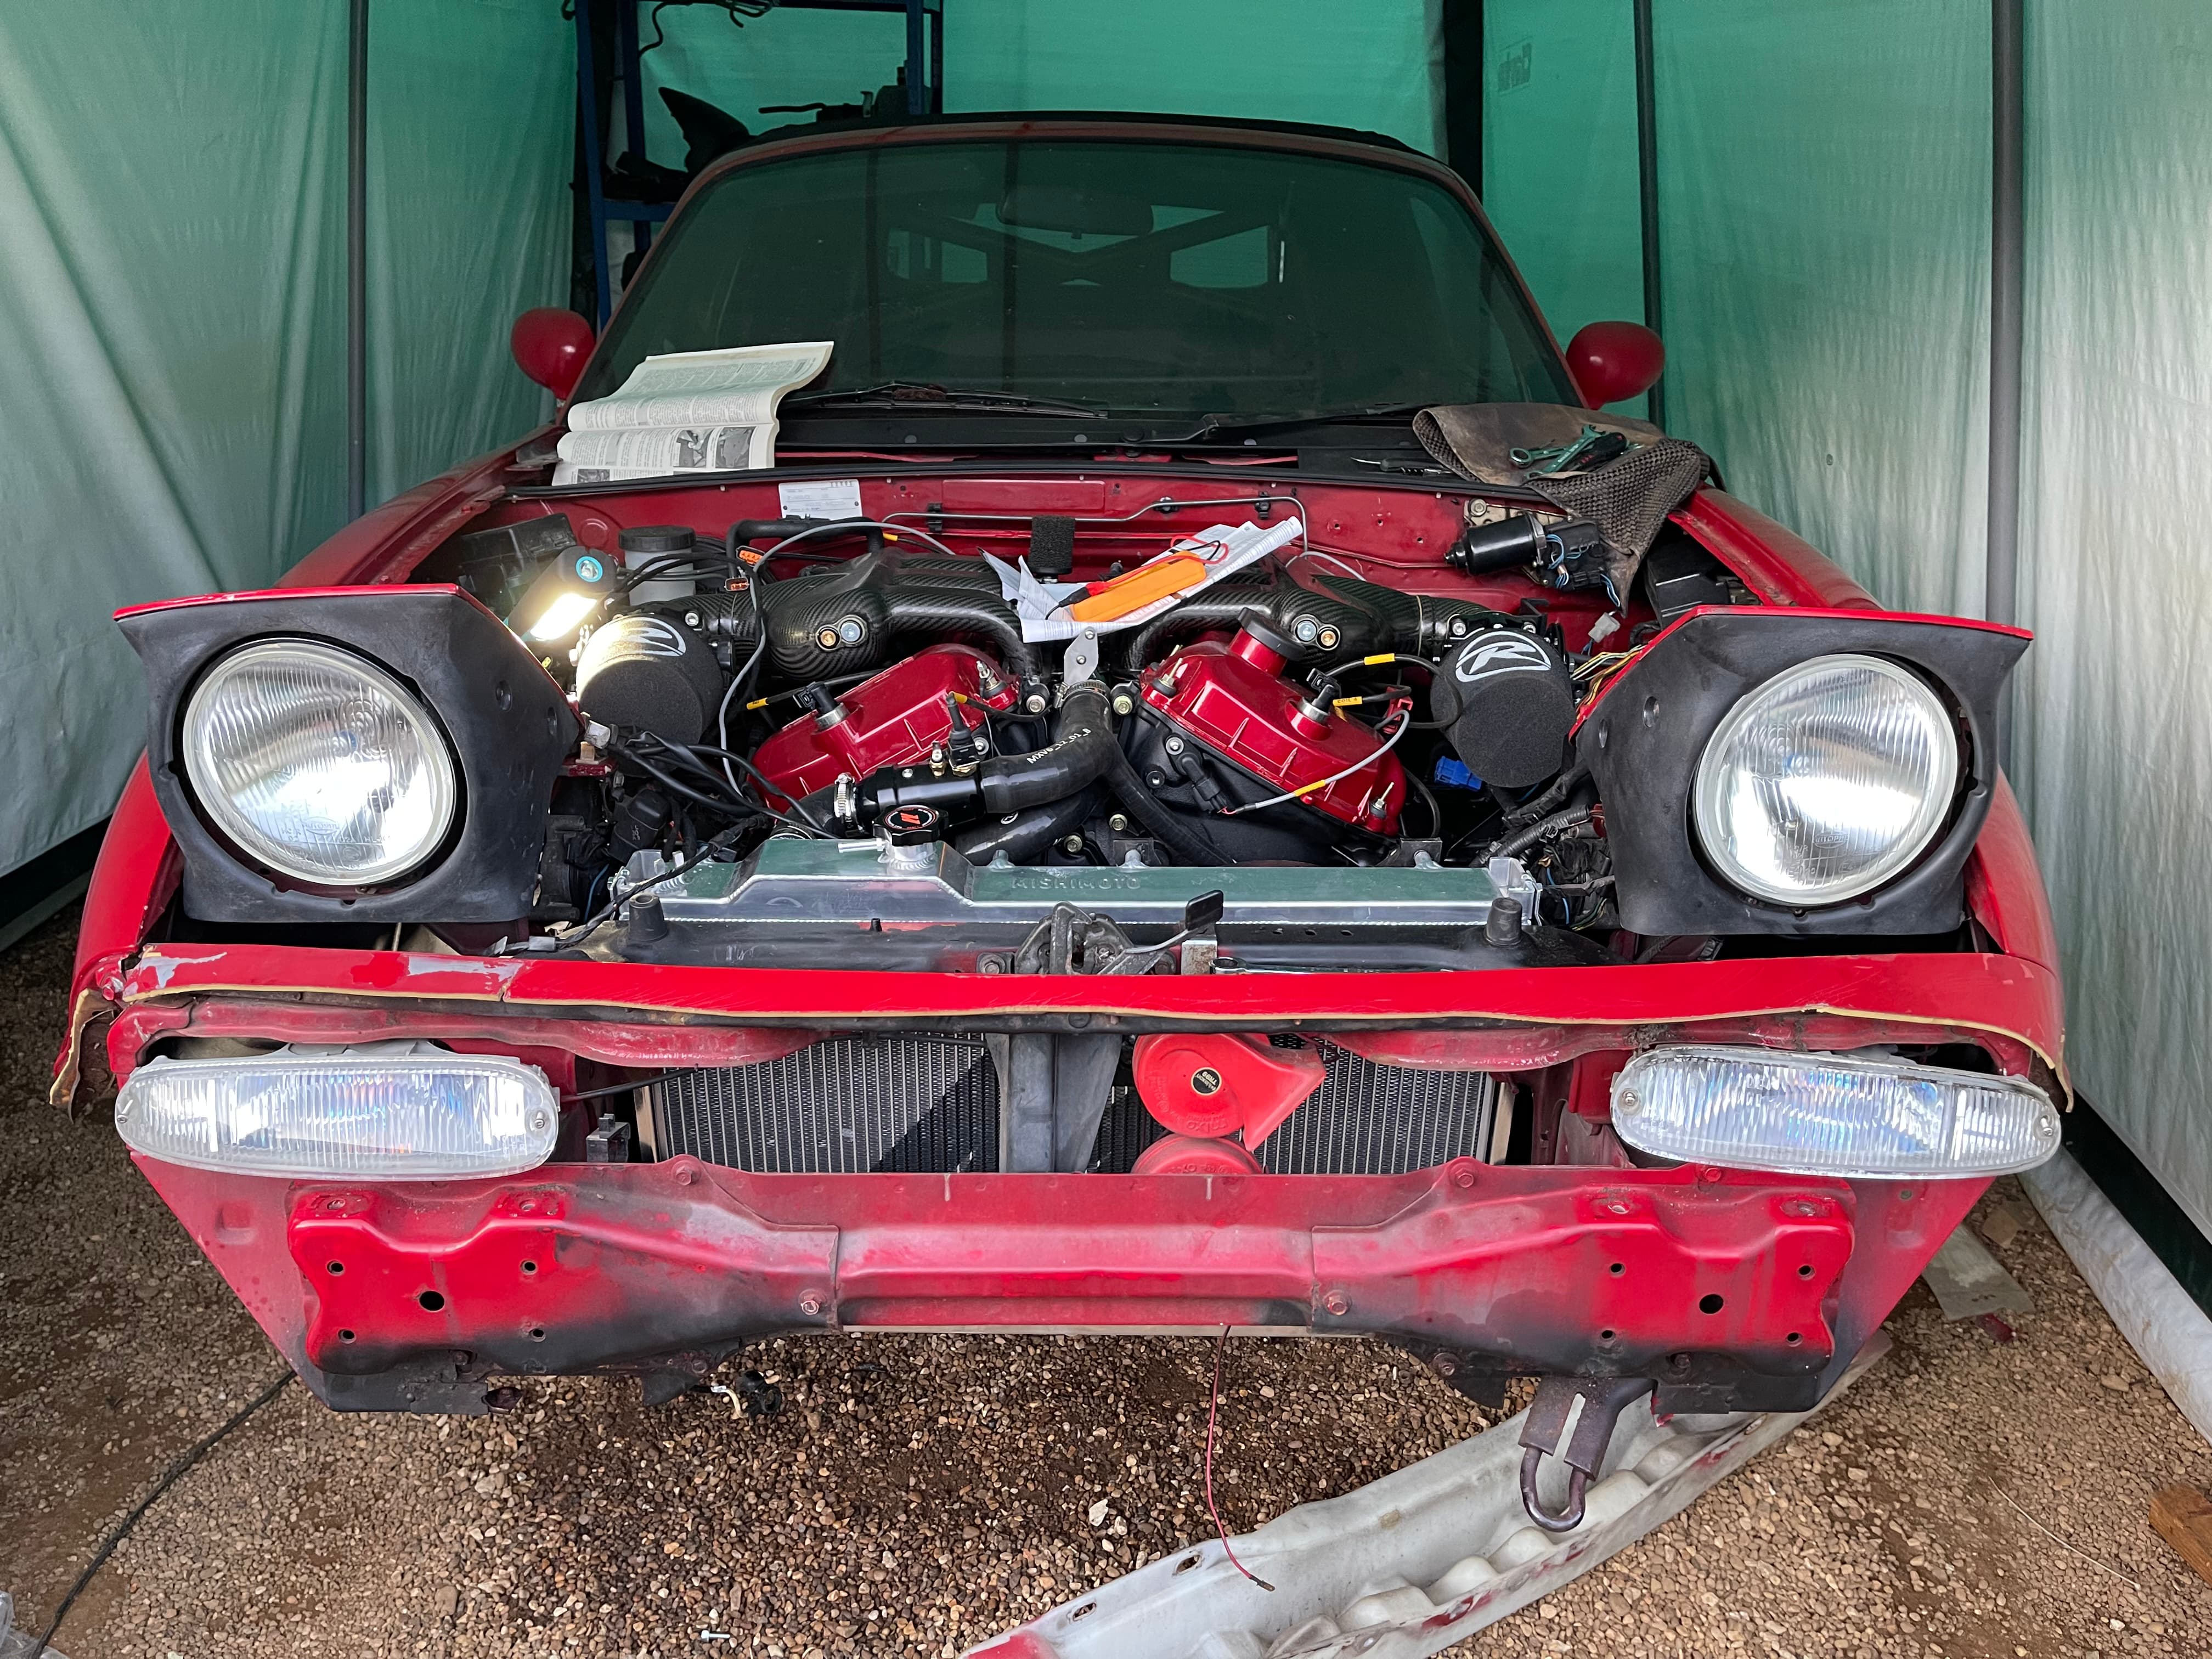
In keeping with the above, I also test fitted the bonnet to make sure the lights were positioned correctly and that the new radiator and water pump setup had good clearance. It does!
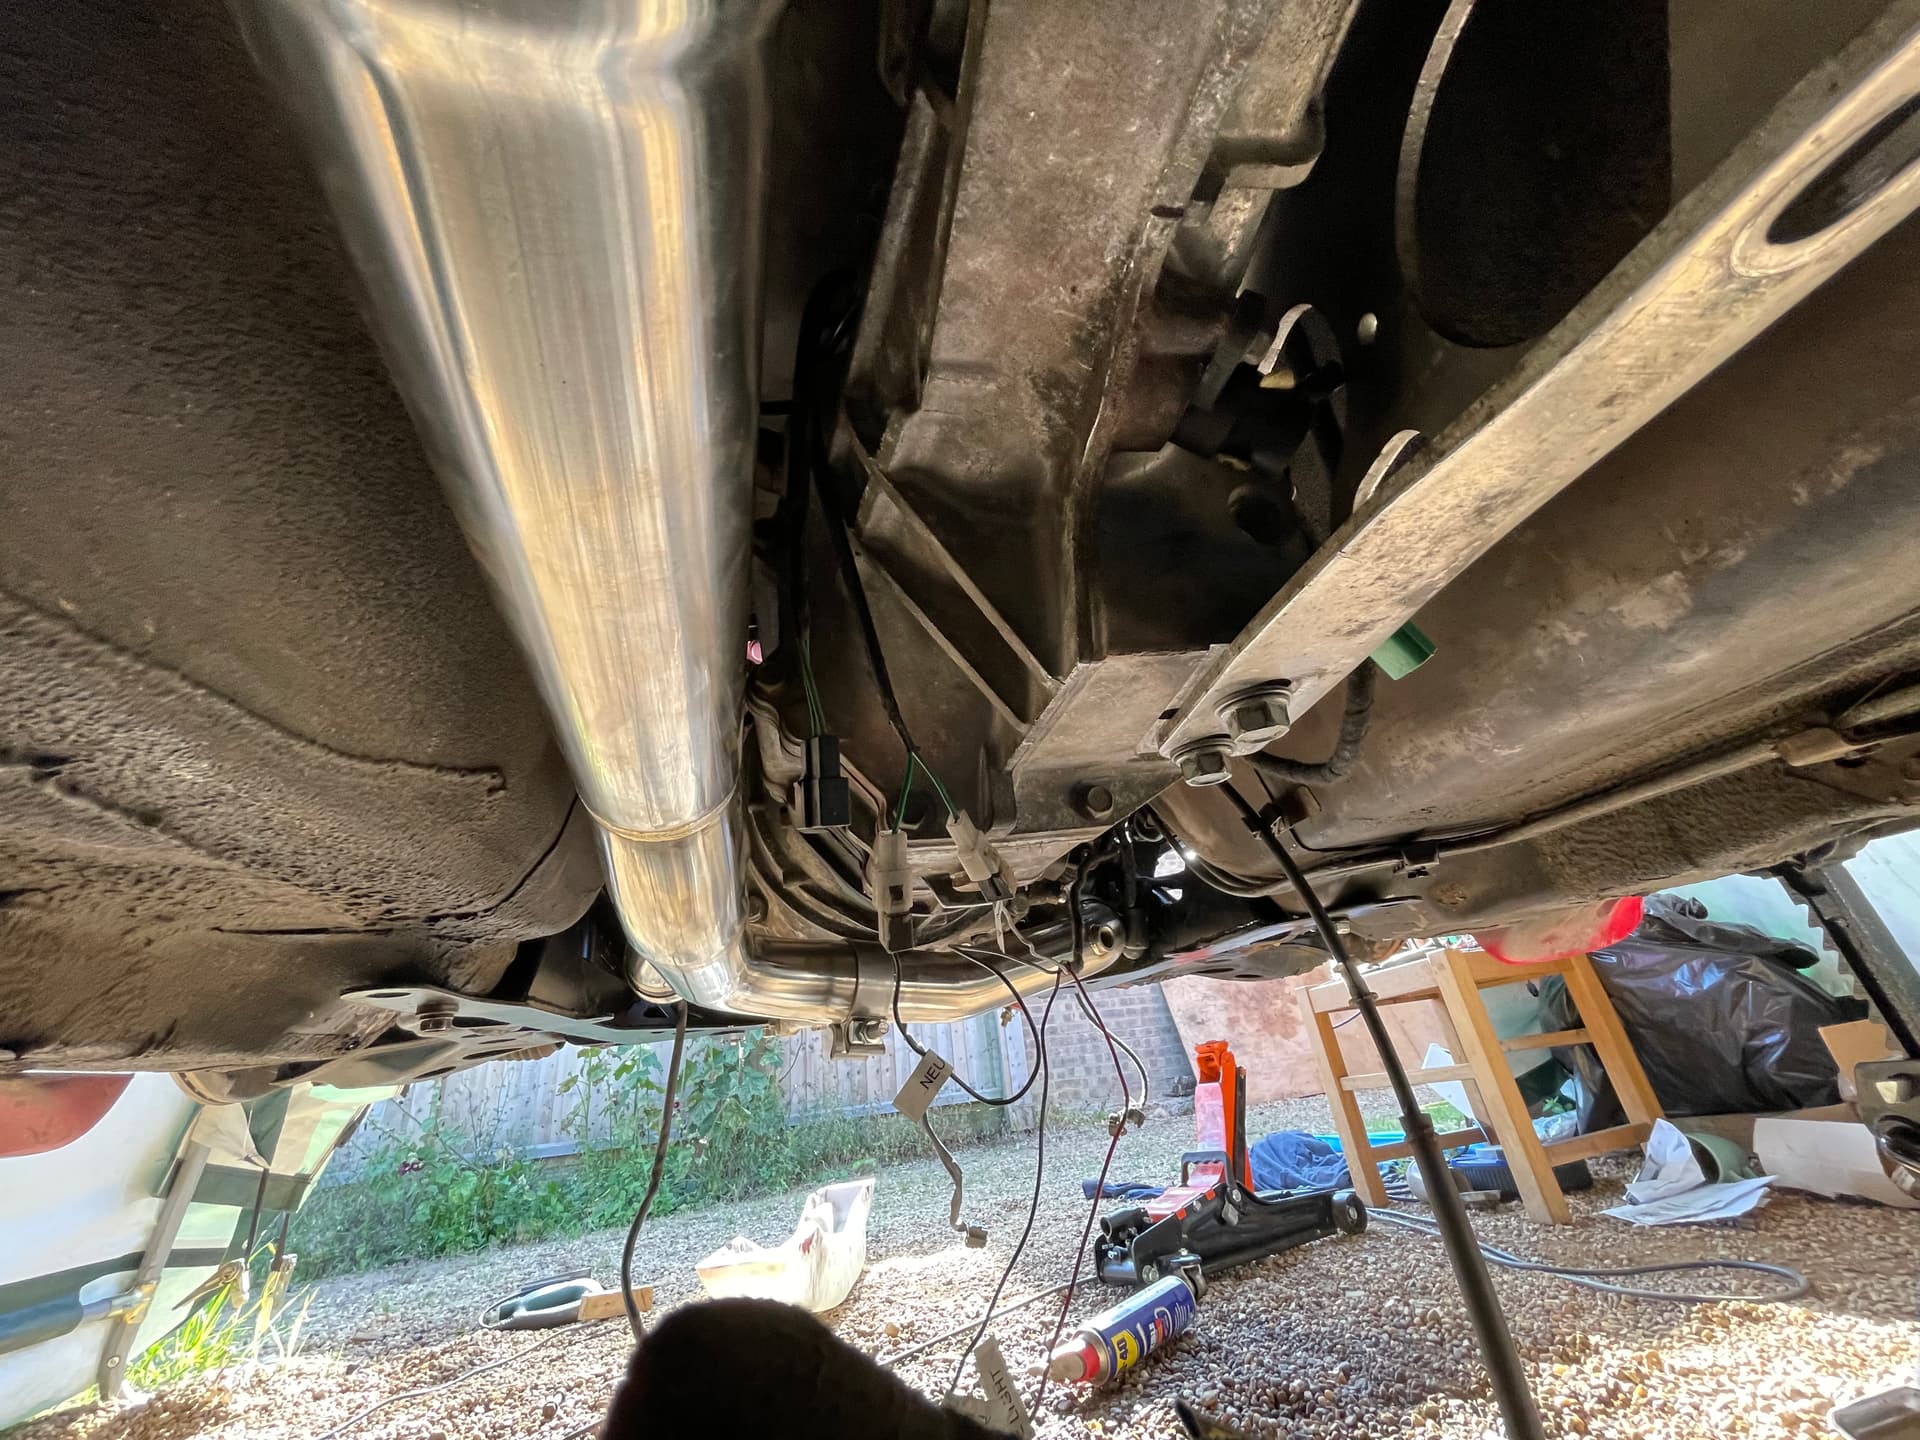
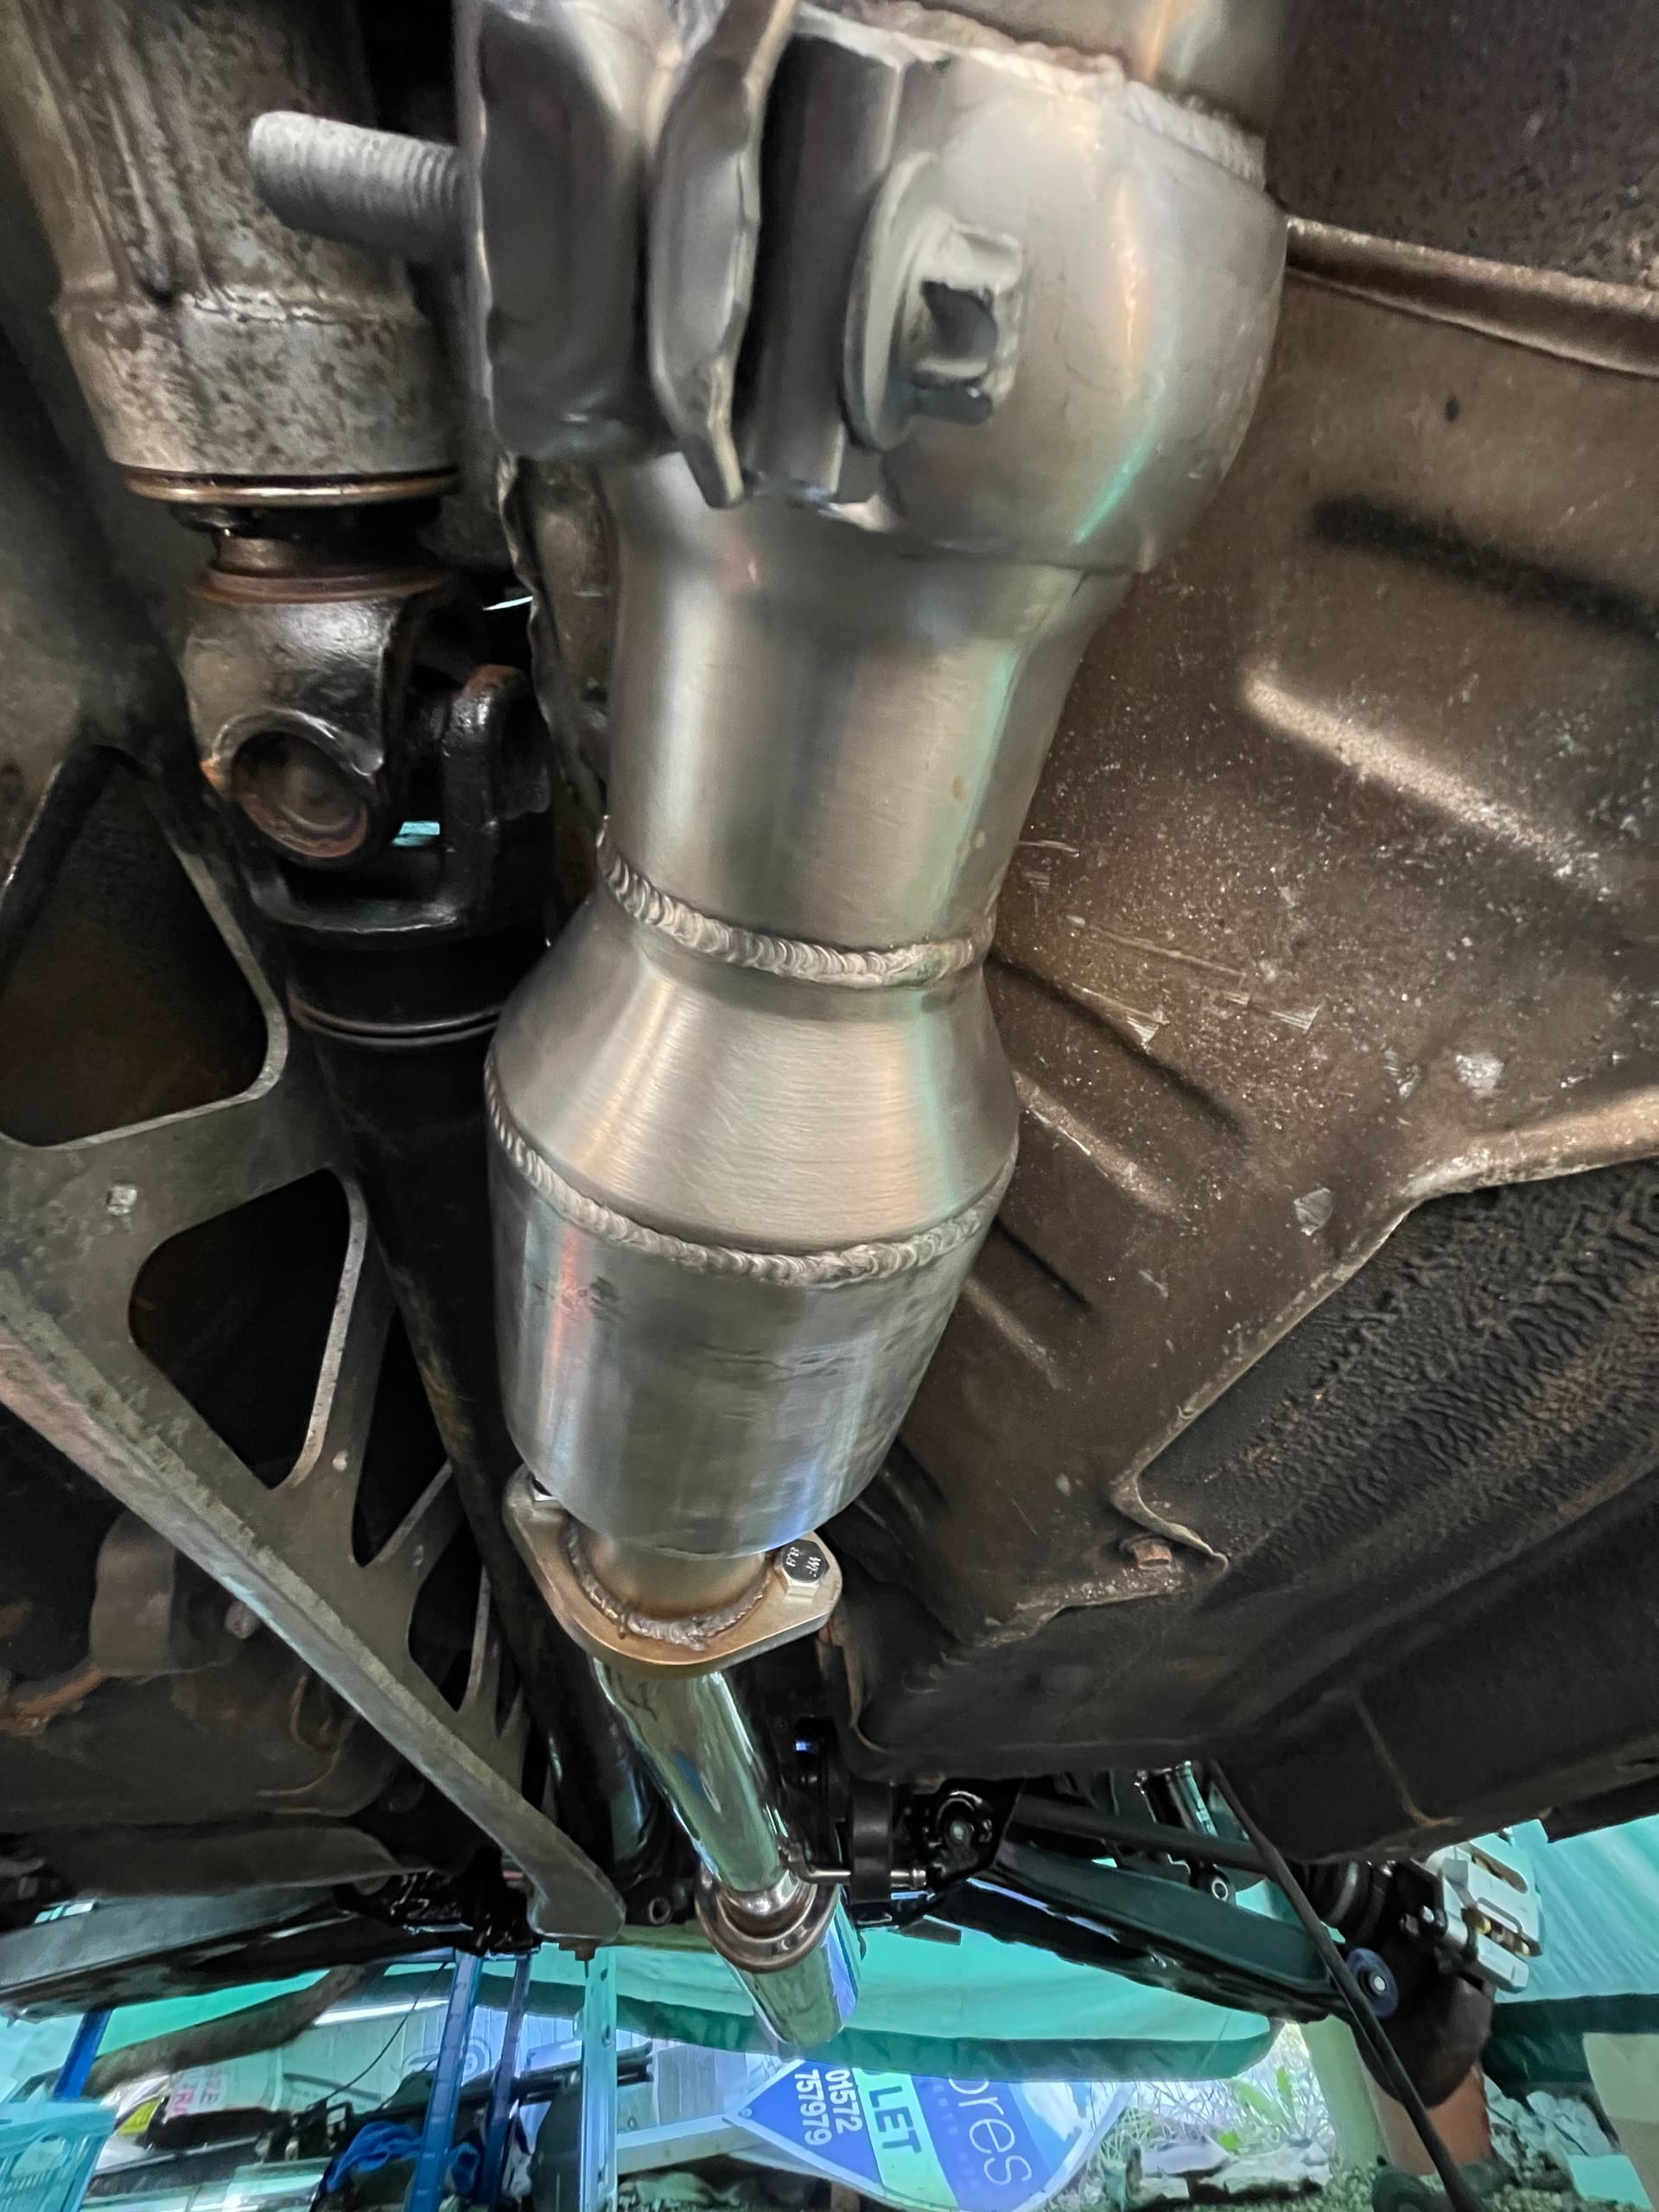
Exhaust
I connected the cat up to the front pipe and the mid pipe and it all felt solid which is great. This setup uses less hanging mounts than the stock exhaust so I’m glad to see the exhaust isn’t going to be wobbling about.
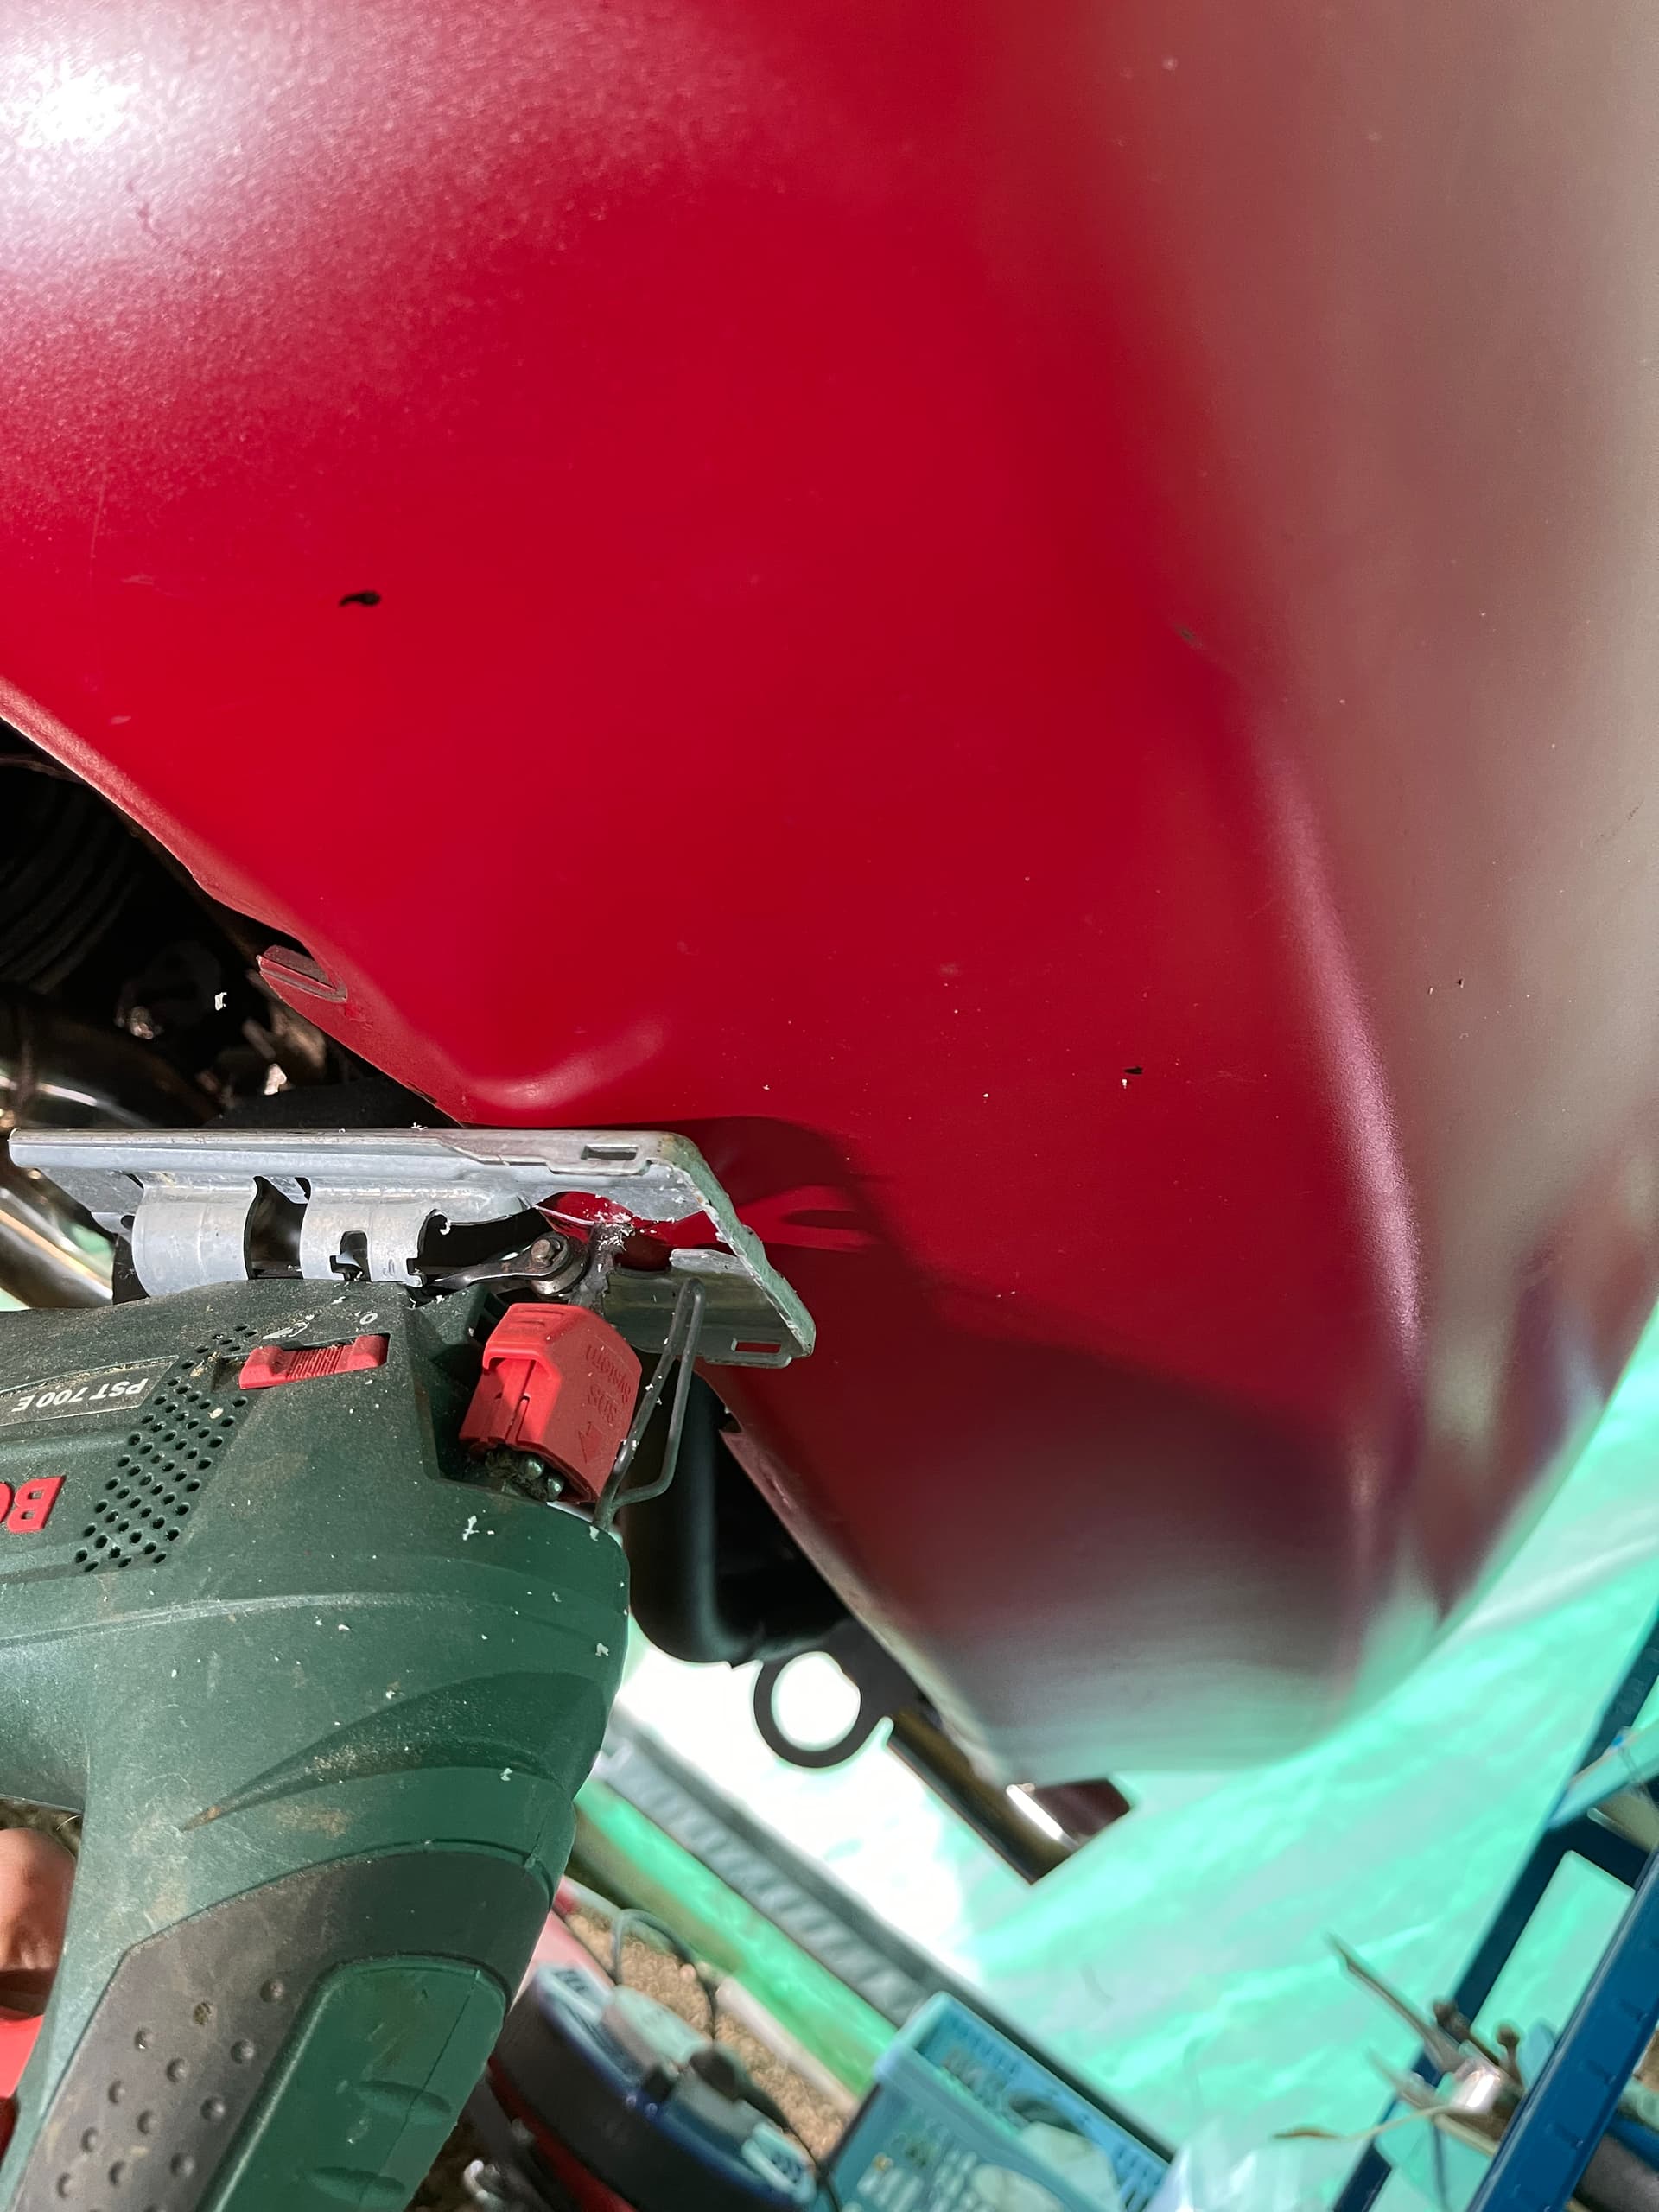
I cut a smaller than necessary hole in the left of my rear bumper to test fit the second tail pipe. Whilst alignment was spot on, I have managed to mislay the bracket for that pipe and I have noticed one issues with using a (beautiful) refurbished mk2 rear subframe - the hanger for the rubber mounts is in a different place. So to get the second tail pipe at the right height I’m going to need to fabricate something. All the hours of watching Project Binky on YouTube will hopefully help!
Brakes
Almost there now, the front brakes have been fully connected and the new braided hoses connected up.
The rear brakes are proving harder because a) I think when I sold my original subframe I left my rear brake connecting pipe on and b) I’m having issues getting the driveshafts connected to the diff.
Processing: 9E72A5BA-5E73-4678-BC6D-E68F785481E5.jpeg…
Diff 
I fitted the propshaft to the diff using Mazda bolts and all is well. On turning the propshaft, I can see the gears of the individual sides of the diff turning as it should. Sweet. However the drivers side driveshaft doesn’t move when connected vis the prop and I’m 90% sure it’s seated correctly. The passenger side driveshaft I can’t seat properly. Any tips gratefully received!
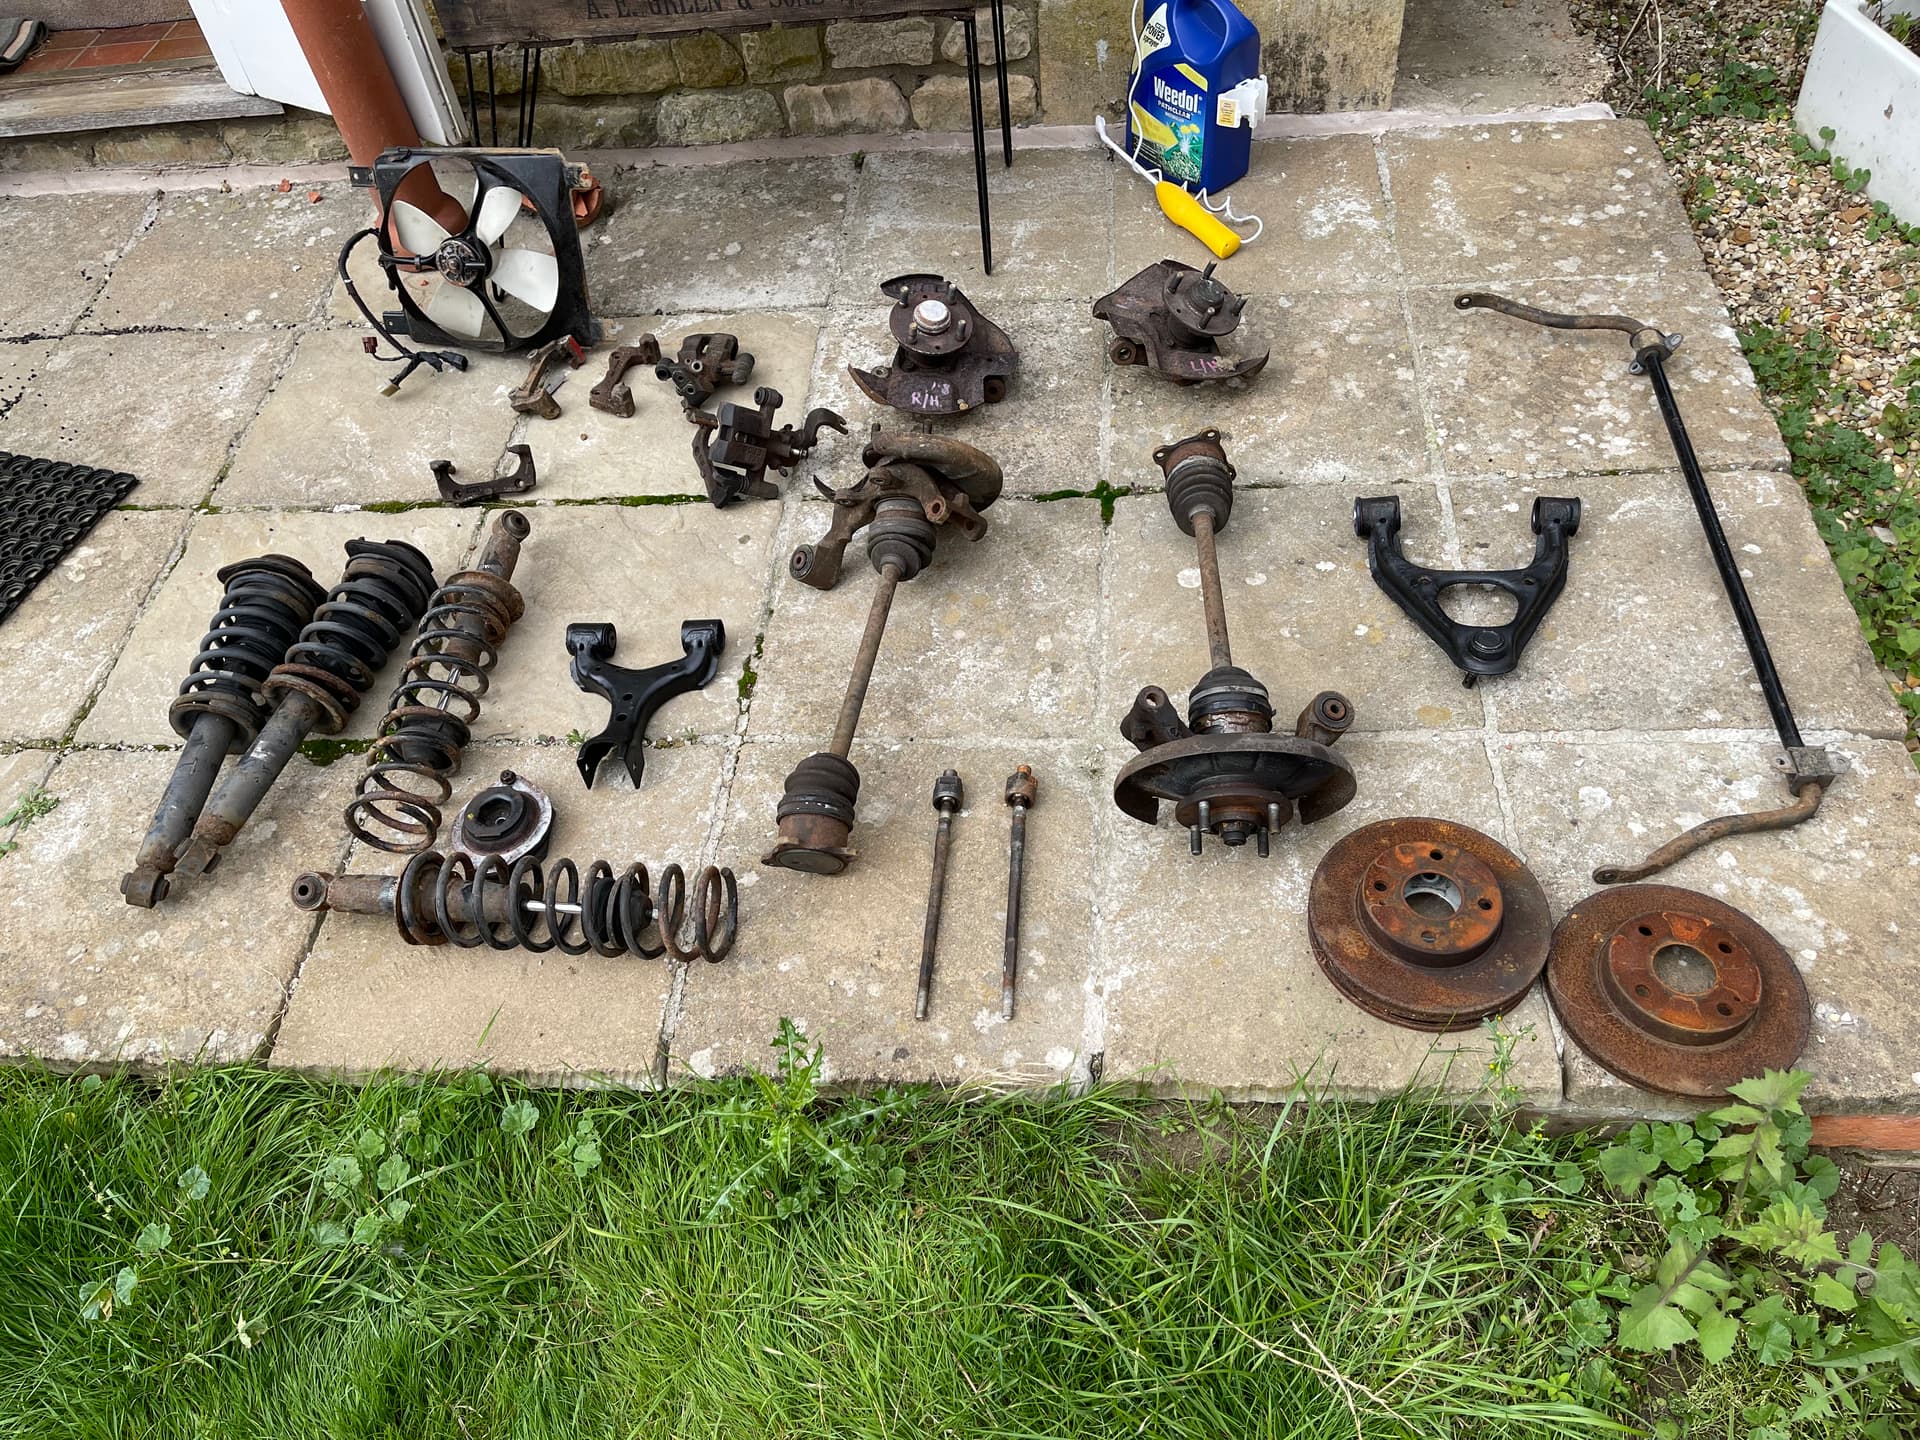
And if anyone needs any of this lot let me know!
2 Likes
Well done you’ve got a lot accomplished! The driveshafts can be a pain they sometimes need a bit of a whack to get the circlip to seat properly. I seem to remember hitting the hub end with a big hammer and piece of wood.
1 Like
Yeah, I think one side is in but the prop and driveshaft move independently which is odd. I’ll have to keep trying! I’ll order a big hammer.
HELP.

Things I have tried:
- Swapping out loom for different loom - same result
- Checking and refitting grounds - same result
- Connecting new ECU - same result but fuel pump and ecu power up which is good.
- Checked all fuses to see if any blows - all were fine.
Things I am unsure about:
-
Car has immobiliser - I removed it, my thinking being that because it has a new ECU, it wouldnt be expecting an immobiliser anyway, so I could safely remove
-
There are no grounds fitted on the driver side under dash grounding point - I am sure there should be on there?
Because the same thing happened when I swapped the loom over, it obviously has to be something that I haven’t connected. The thing is, I can’t work out why the car would be getting power without the key and why the windscreen wiper stalk controls the power feed. If I put the windscreen siper stalk in to its furthest down position, it completely cuts out power to the car and vice versa.
I am at end of tether. Also its too hot.
What a fascinating thread! Thank you Fivealive!
I have only read some of it so far, but I intend to catch up and follow. I’ll be no help whatsoever I’m afraid, but this is a wonderful thing to read!
2 Likes
haha well, glad to be of service!
I can’t say i’m really enjoying it as much as I thoguht or hoped I would.
So your words of encouragement are most helpful!
2 Likes
This is in no way a criticism of anyone so please don’t take it as such, but is this really how busy the forum is these days?
I remember around ten years ago, things were much busier for want of a better word!
That and I really need help. HA I’ve tried all avenues short of getting an automotive electrician in and that would cost a small fortune and unless he happens to be an exoert in mx5’s i’m not sure it would be a quick fix for them either!
Wish I could help Andrew but vehicle electrics are like the black arts to me.
1 Like
haha yeah, same!
1 Like