Bettabuilda's AHURA MAZDA

Small is the key here, room is limited around that pedal.

I have several original (NOT made in China) Petersen Visegrips of various shapes and sizes bought years ago, this is the “4LN” long-nose. (Photo perspective makes it look bigger than the ruler)

3 Likes

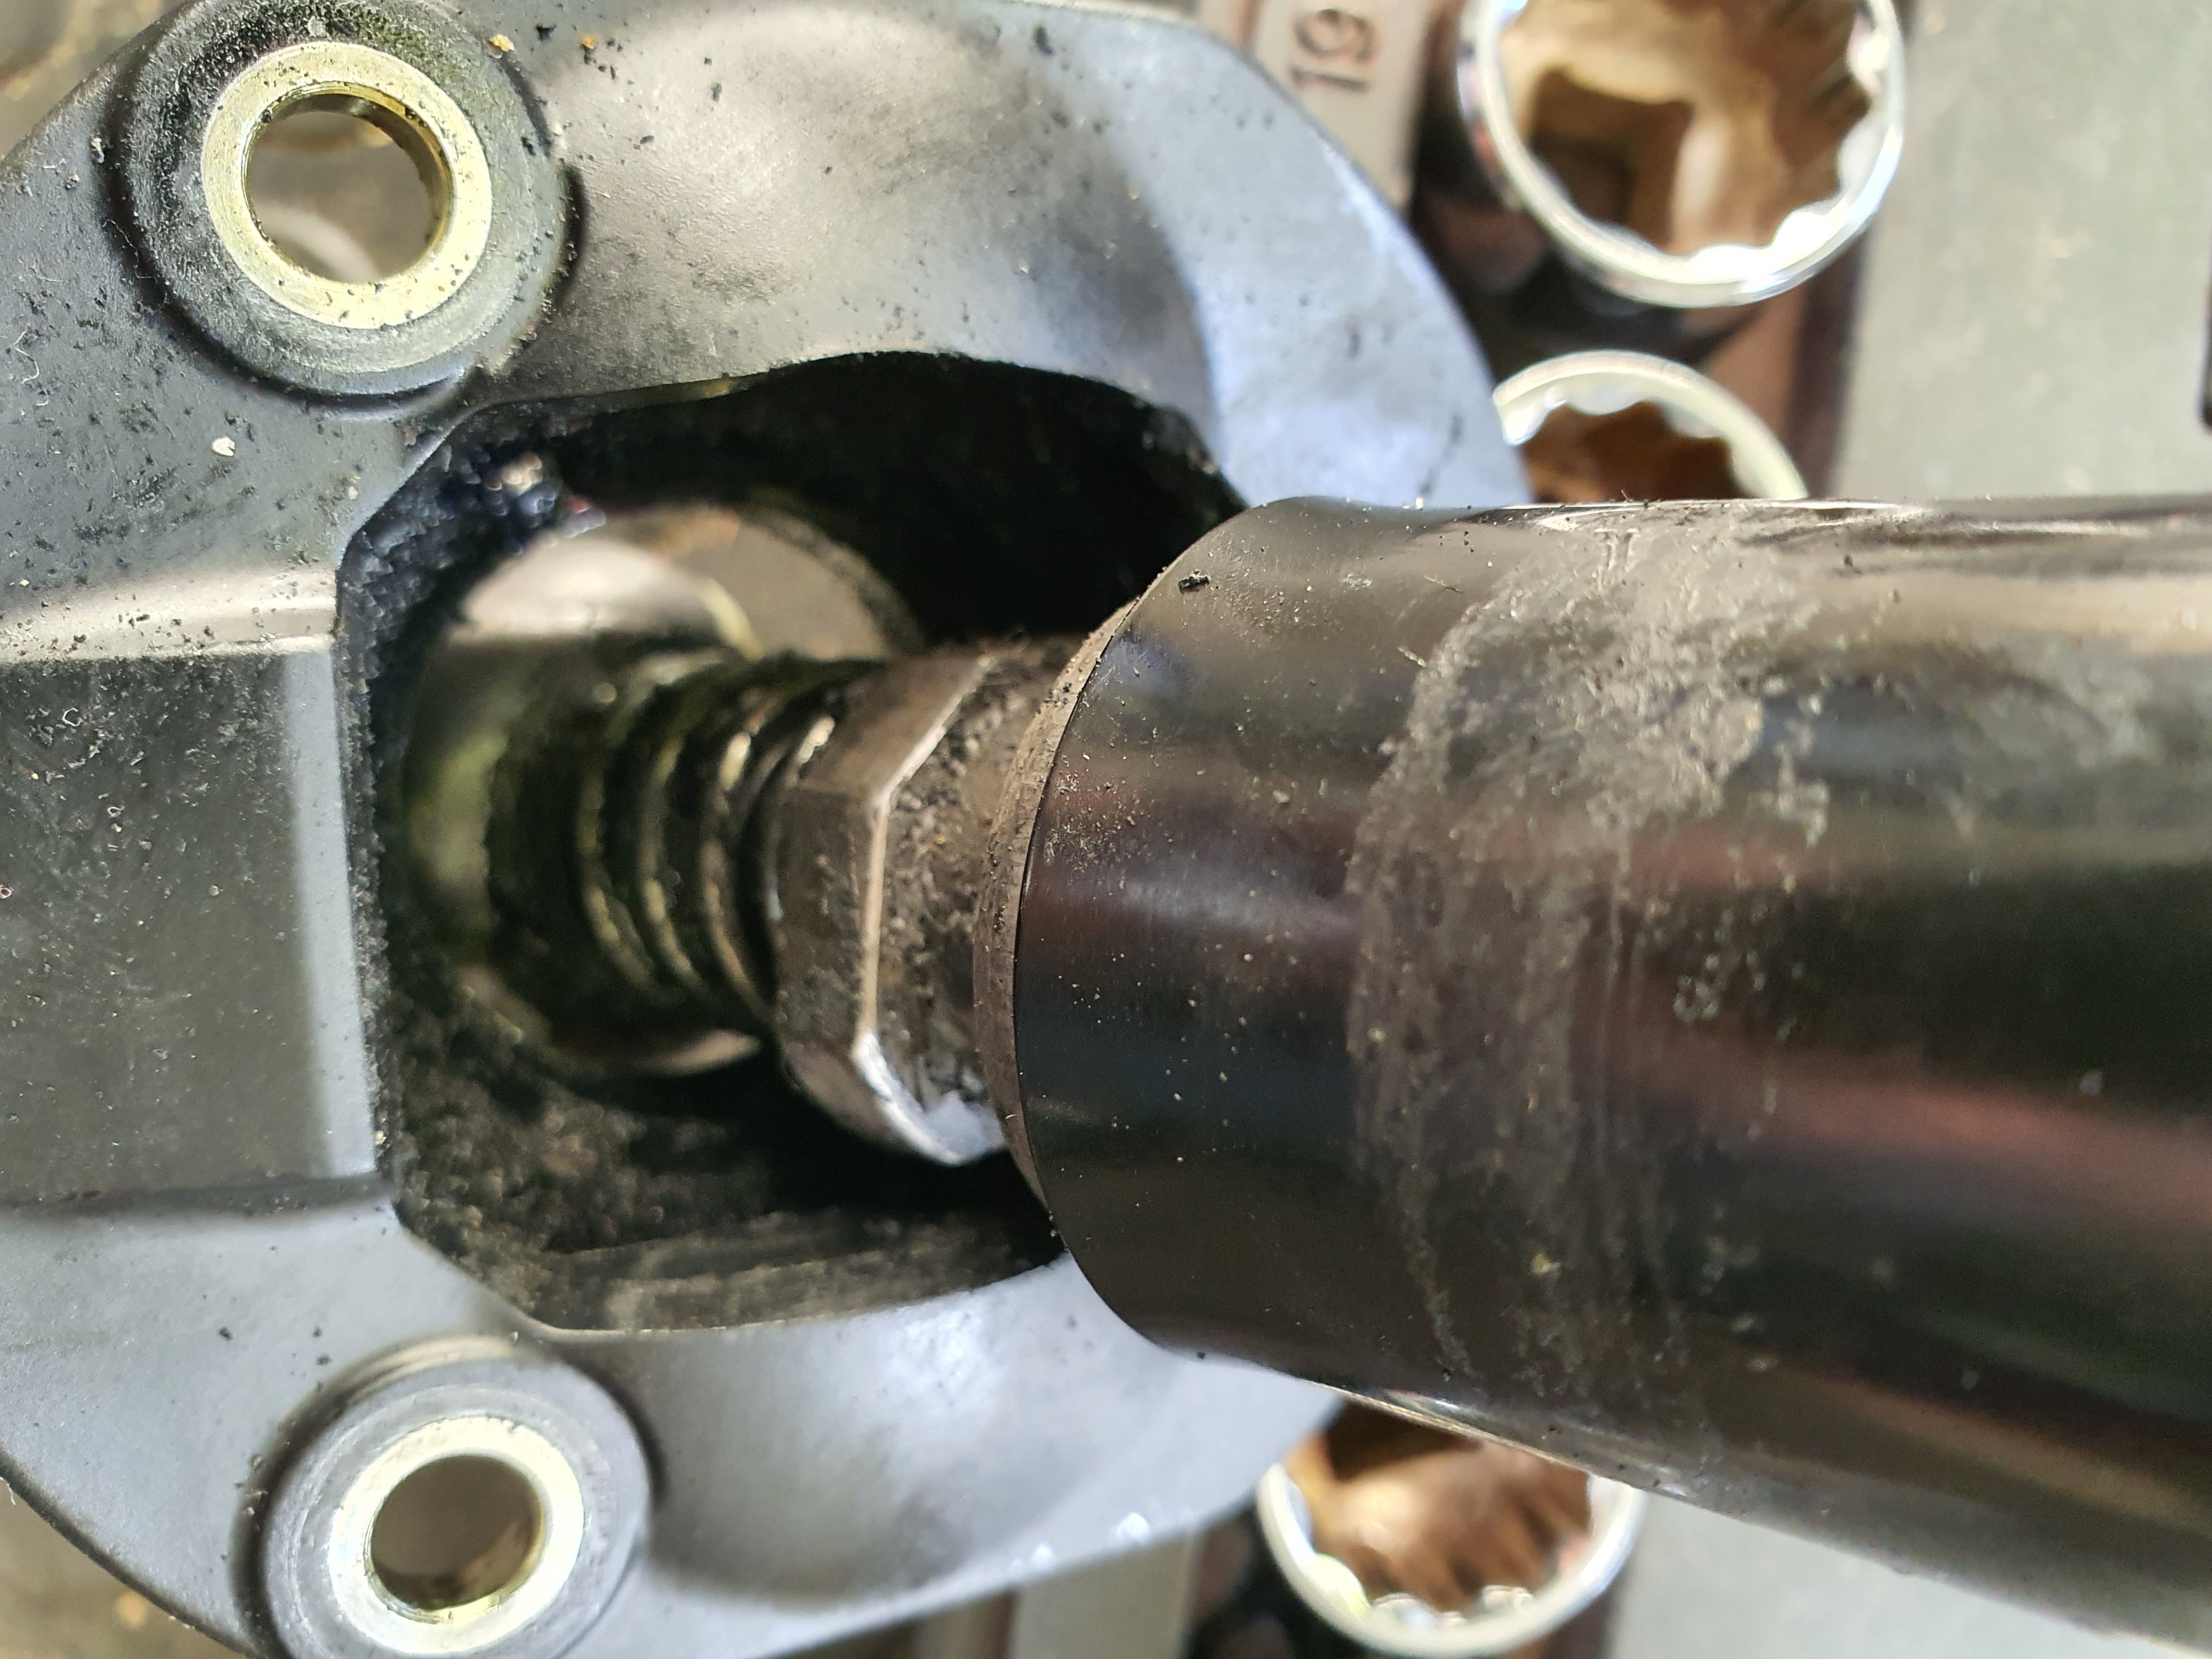
Hi everyone, following on from previous posts relating to gearchange etc, today I’ve managed a partial refurbishment (if that’s the correct term). The gear detent plate is still out of stock at mx5Parts so that hasn’t been changed, I thought I would pull it all to bits though, to see what I was up against.


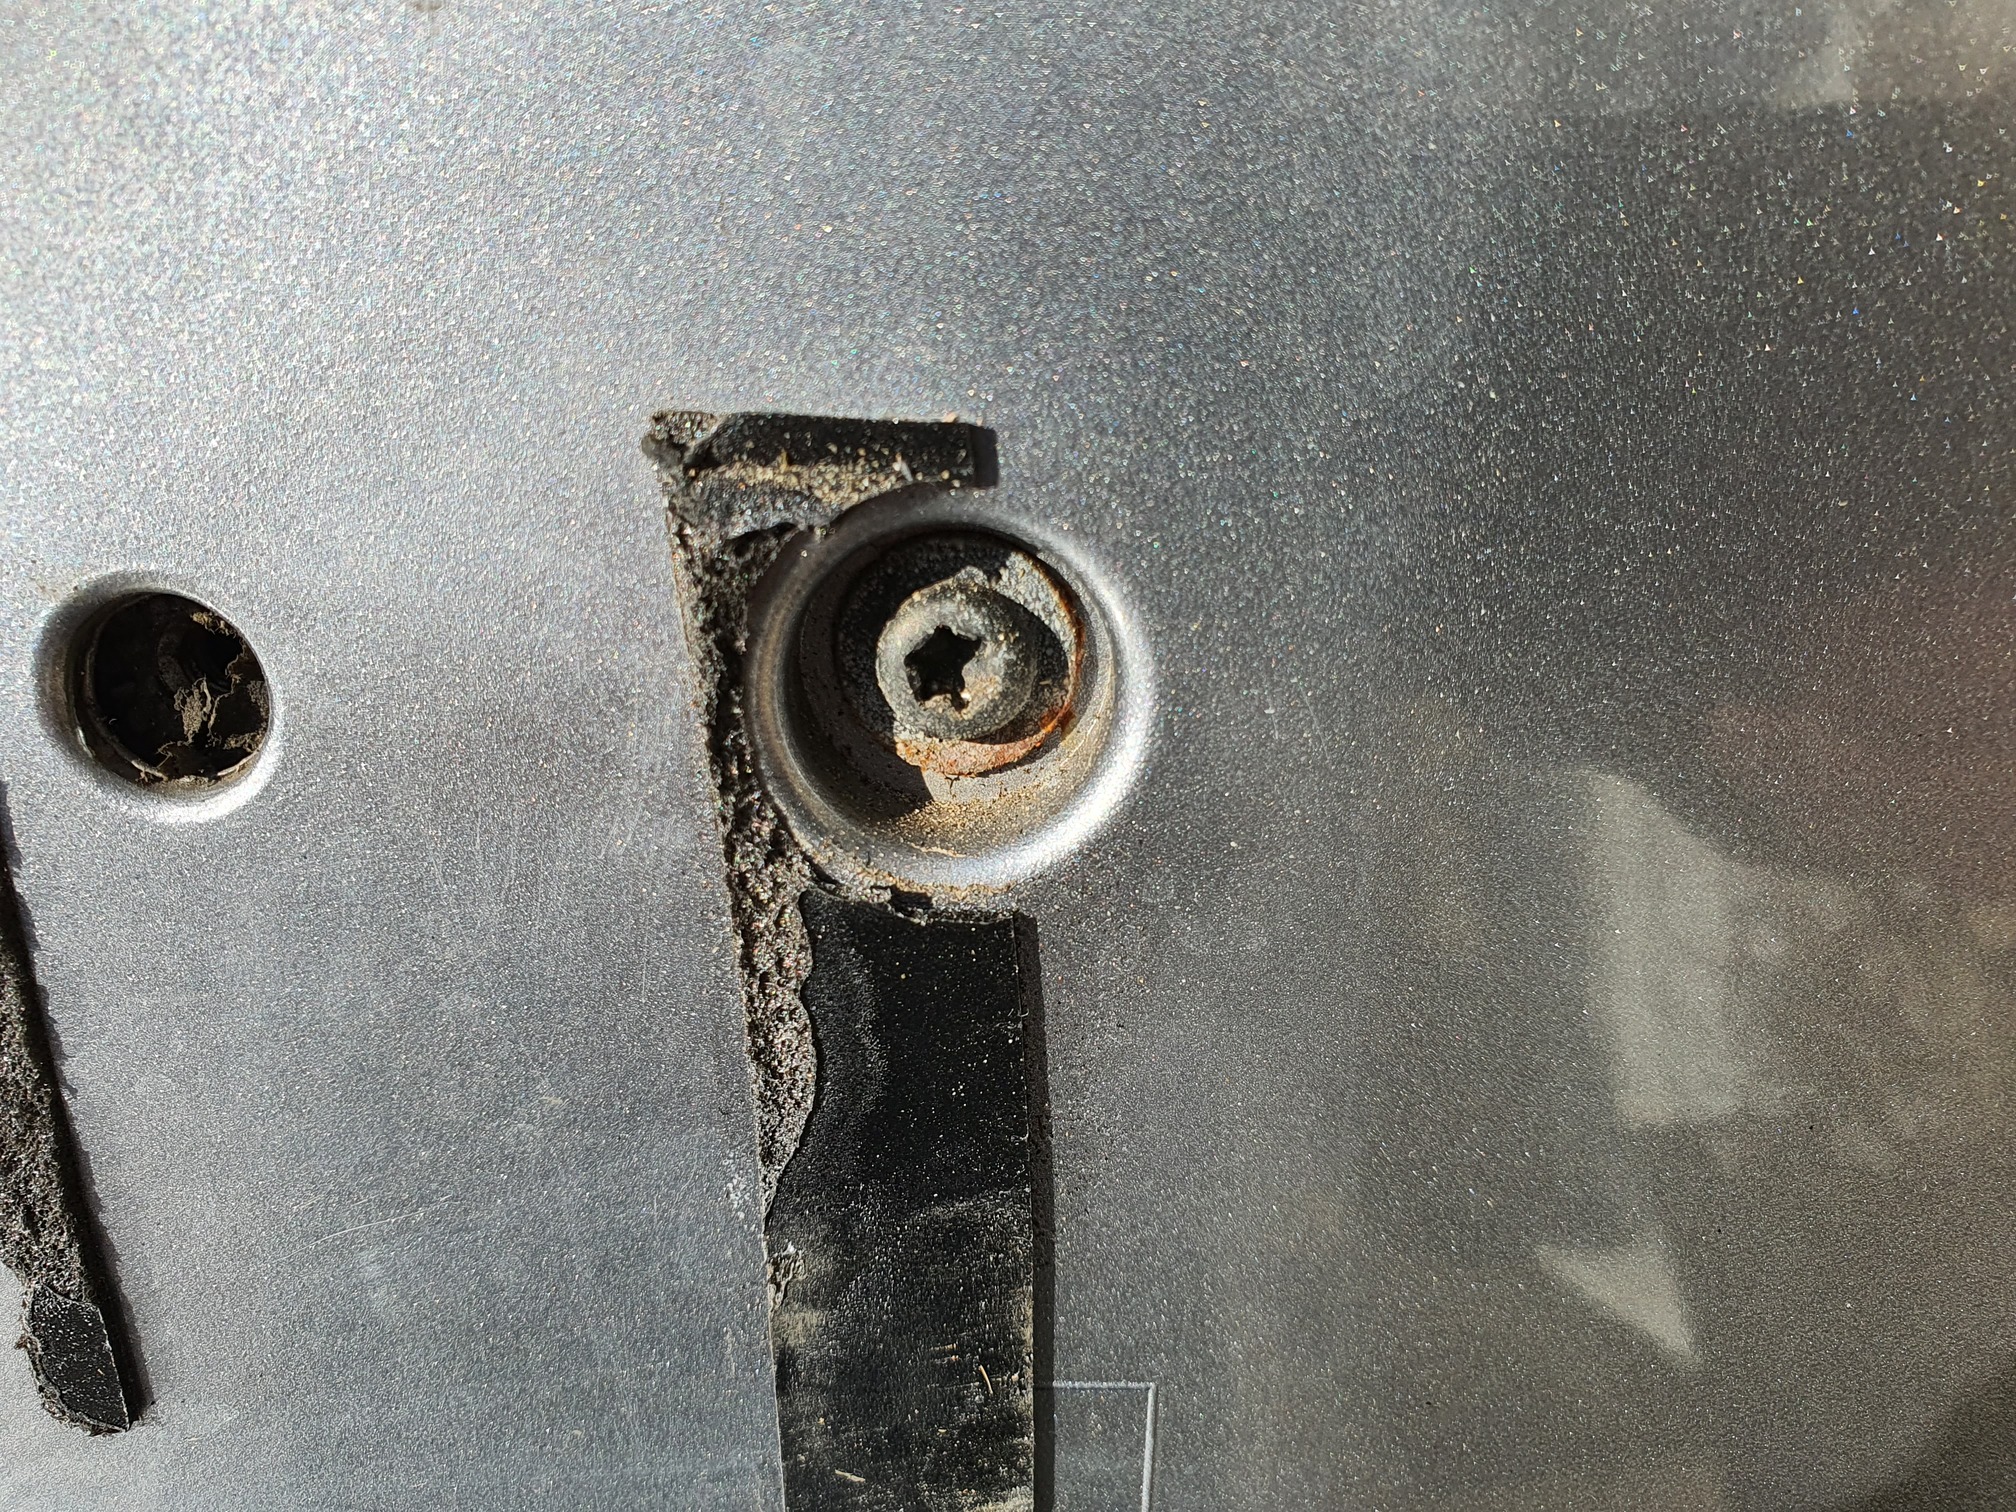
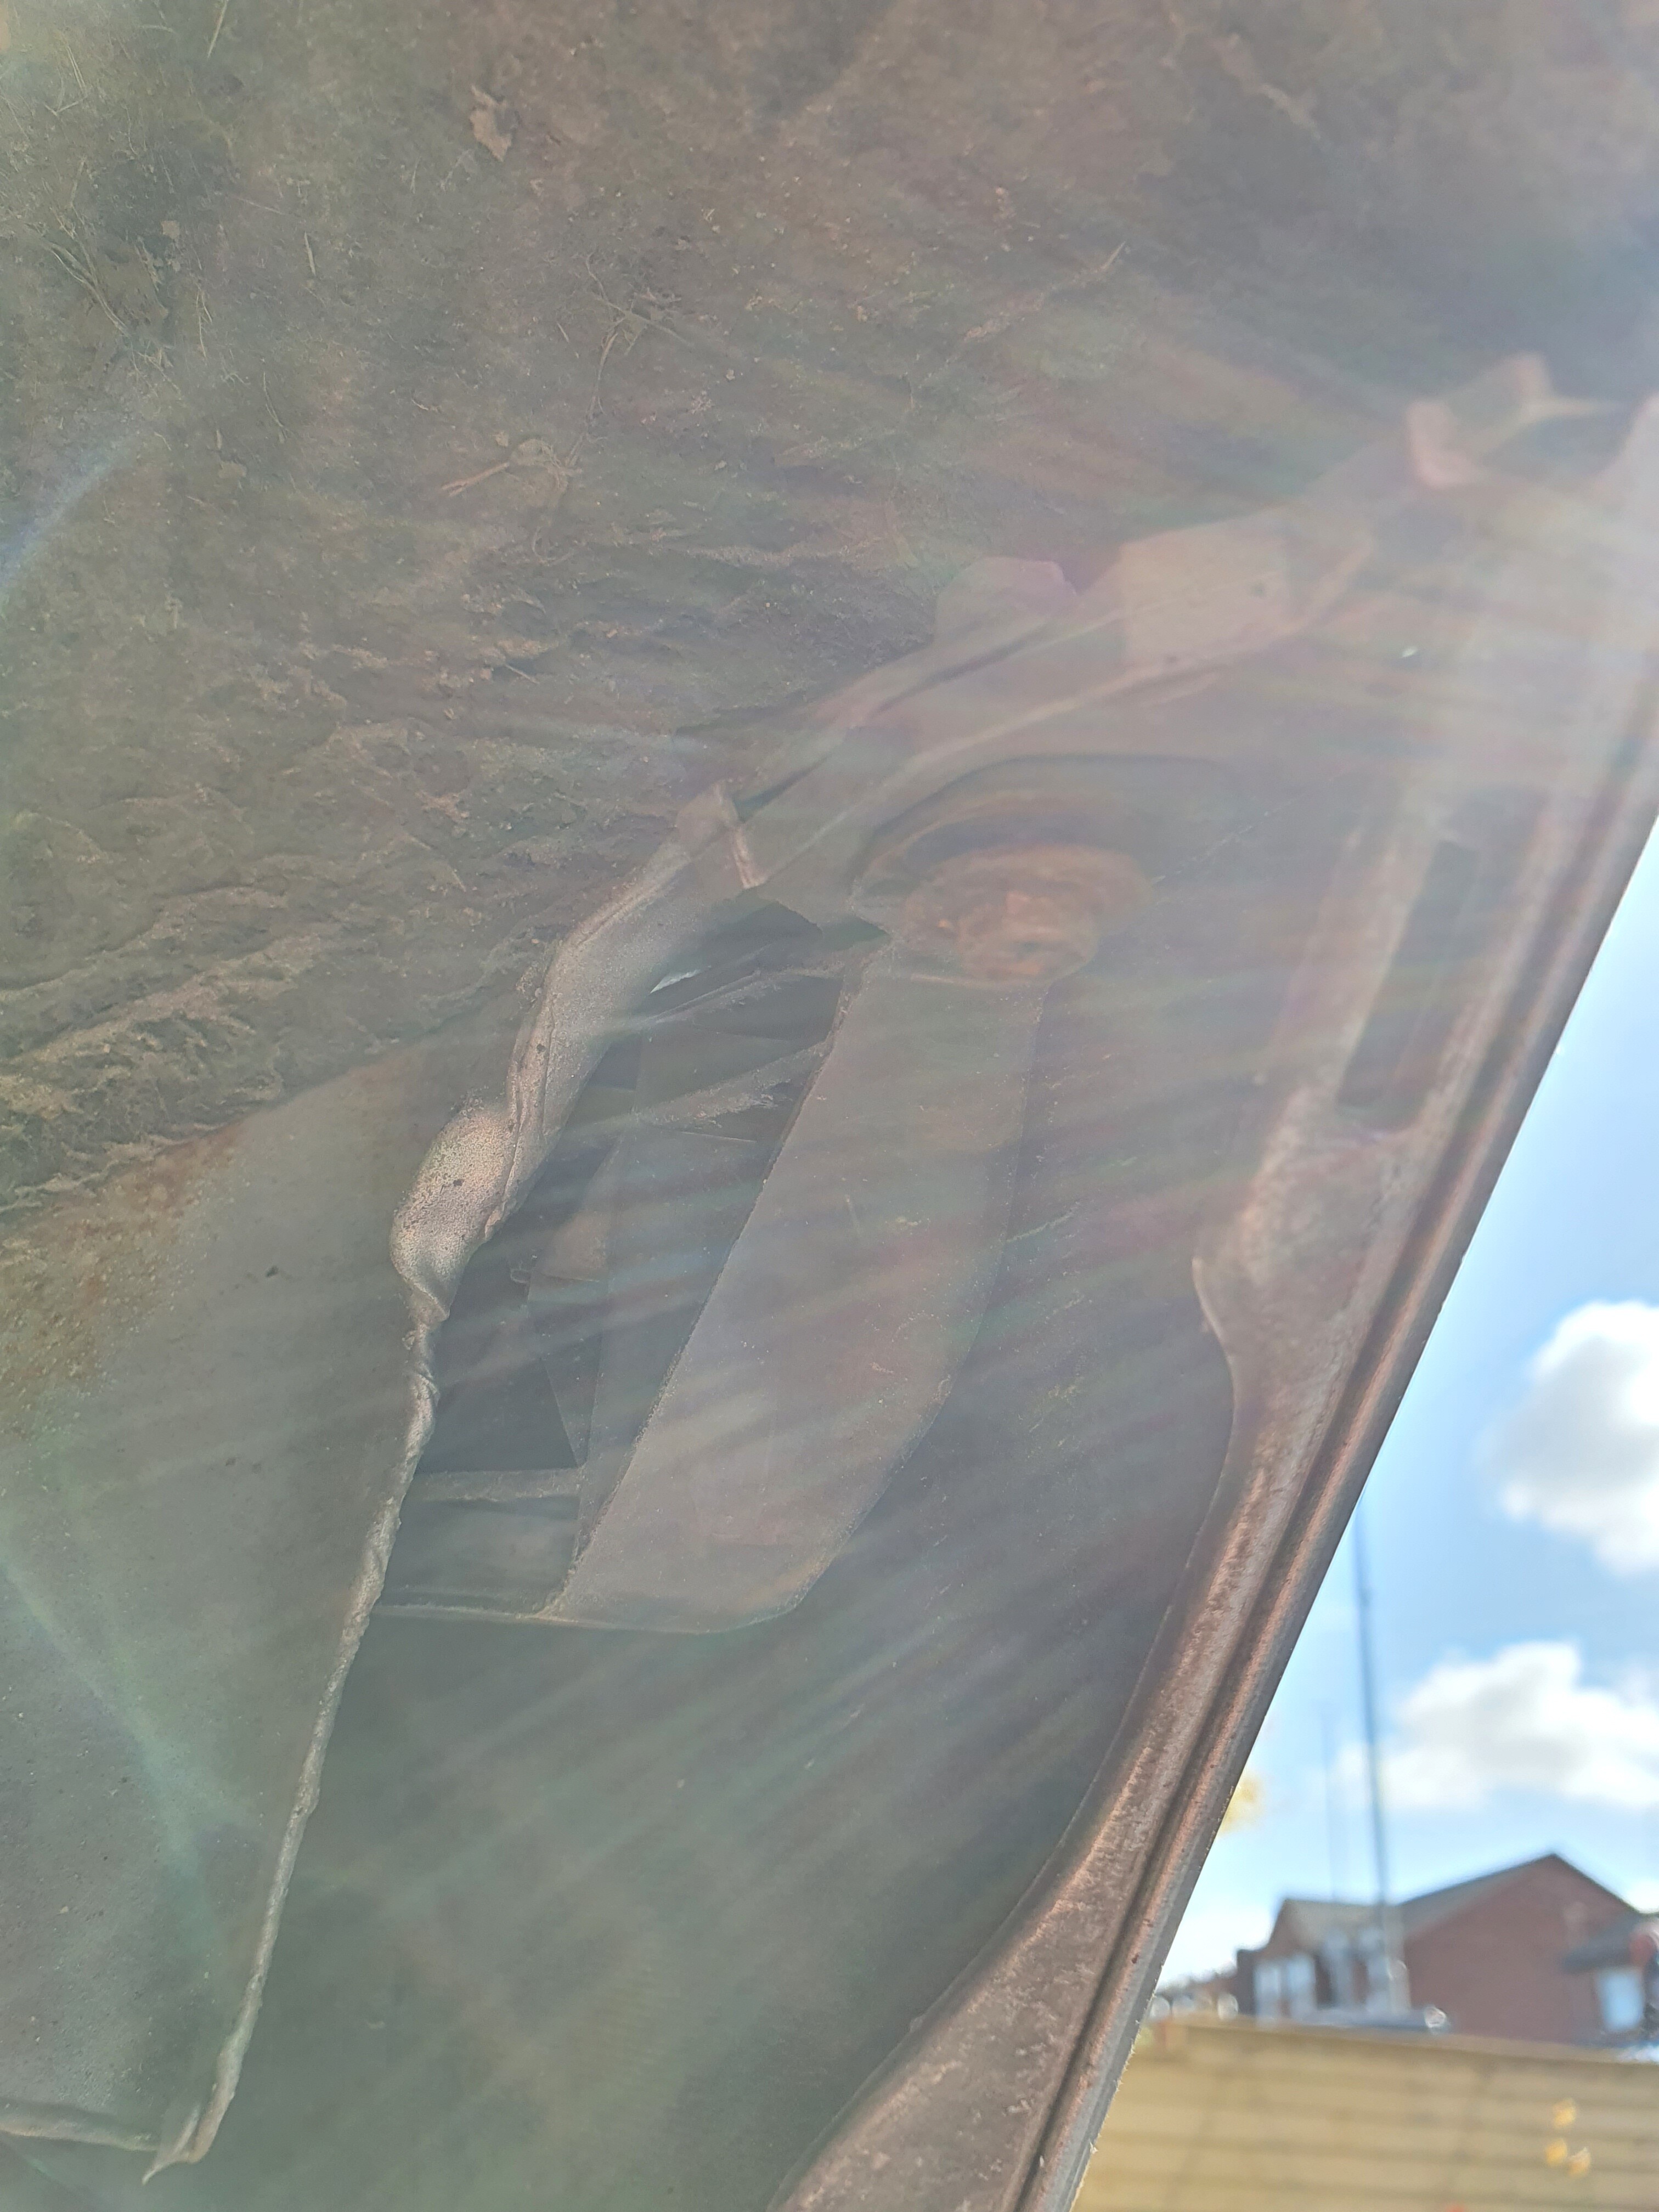
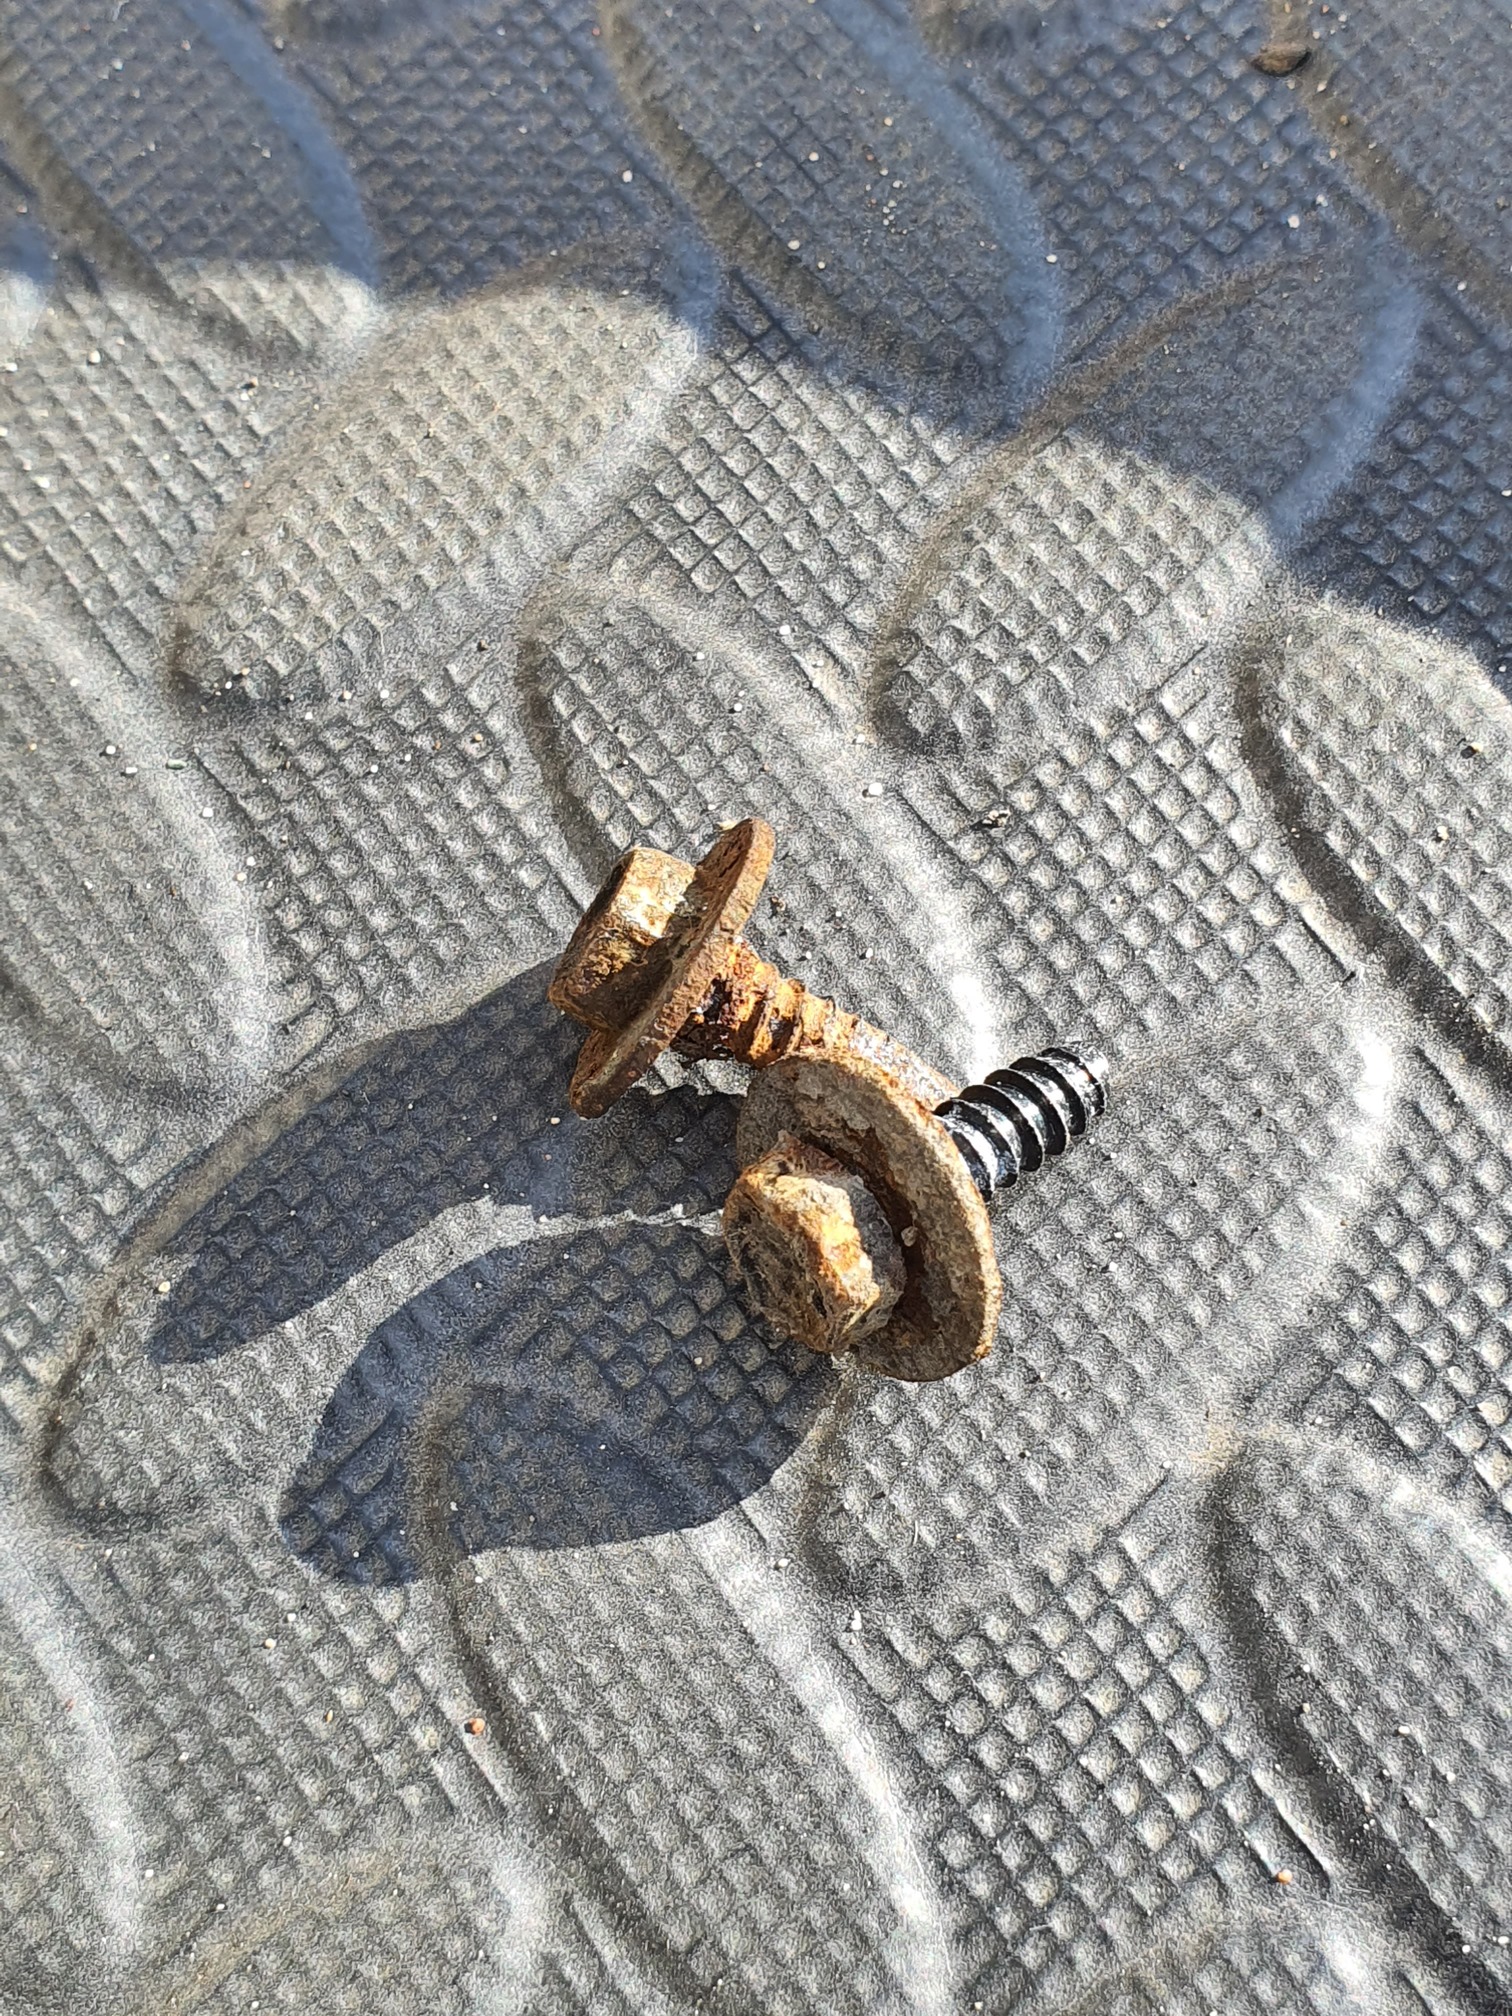
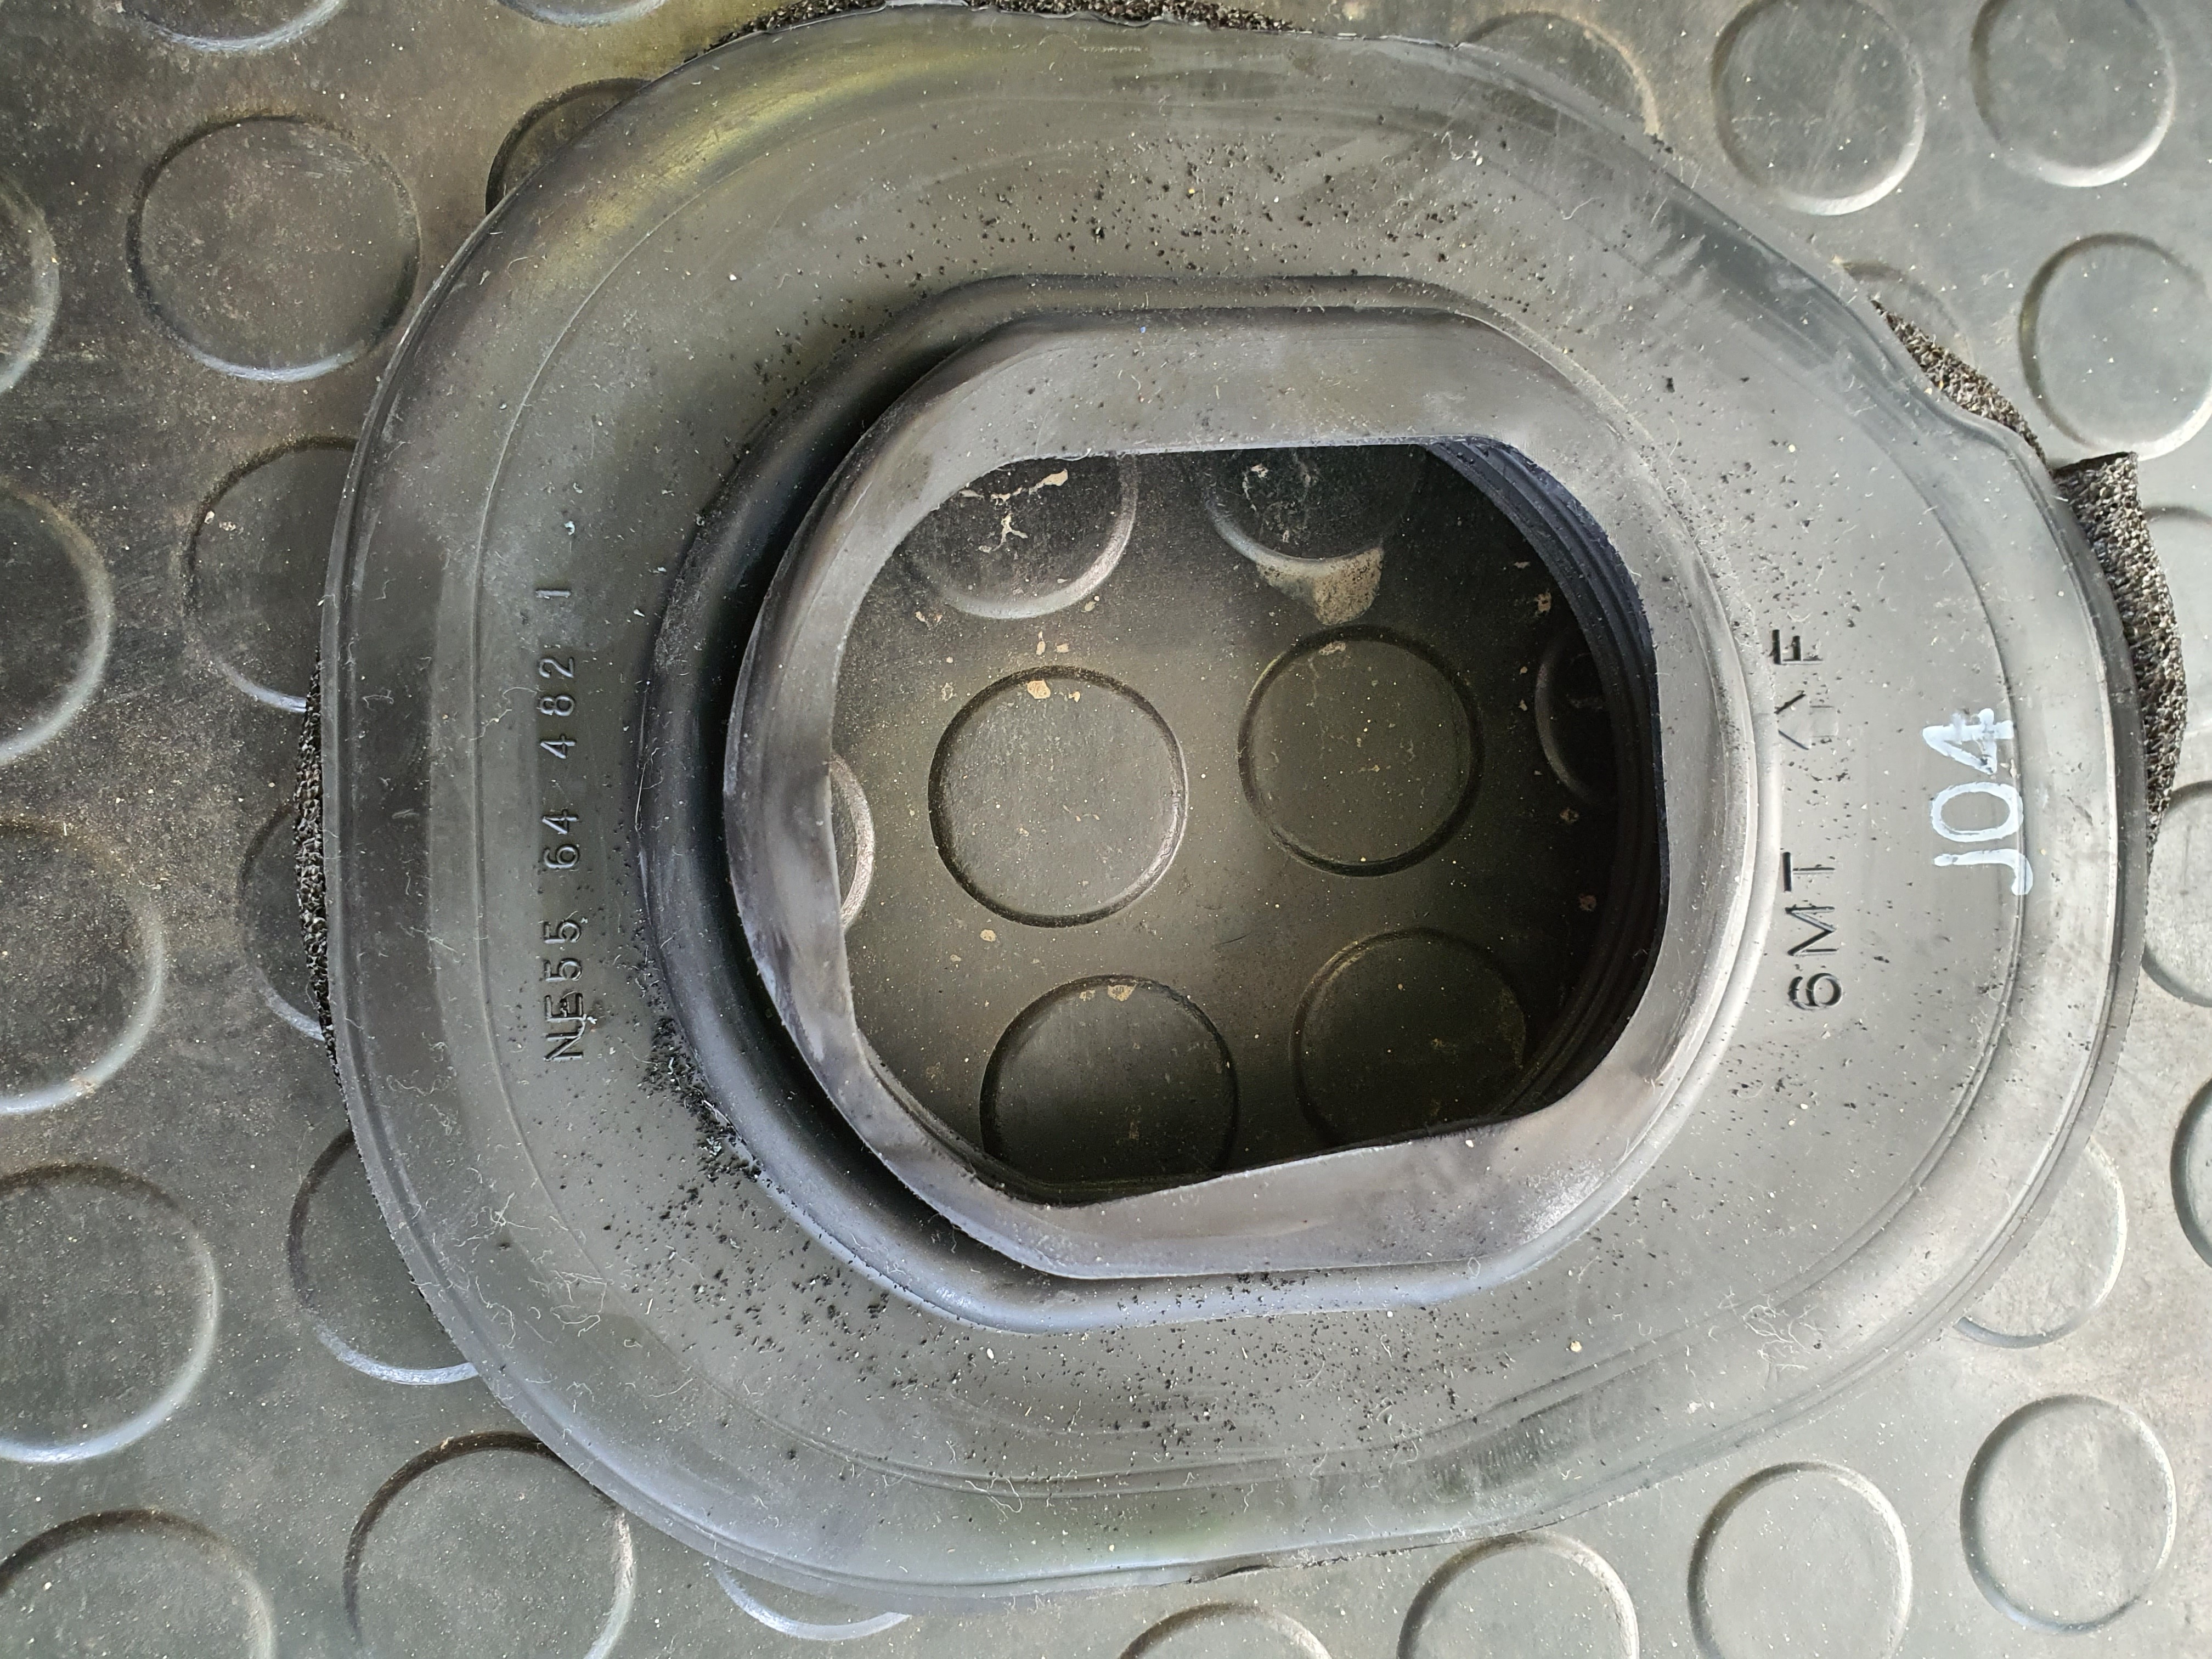
You can see wear along that top side. The rubber gaiters were in quite reasonable condition which is a bonus :+1:
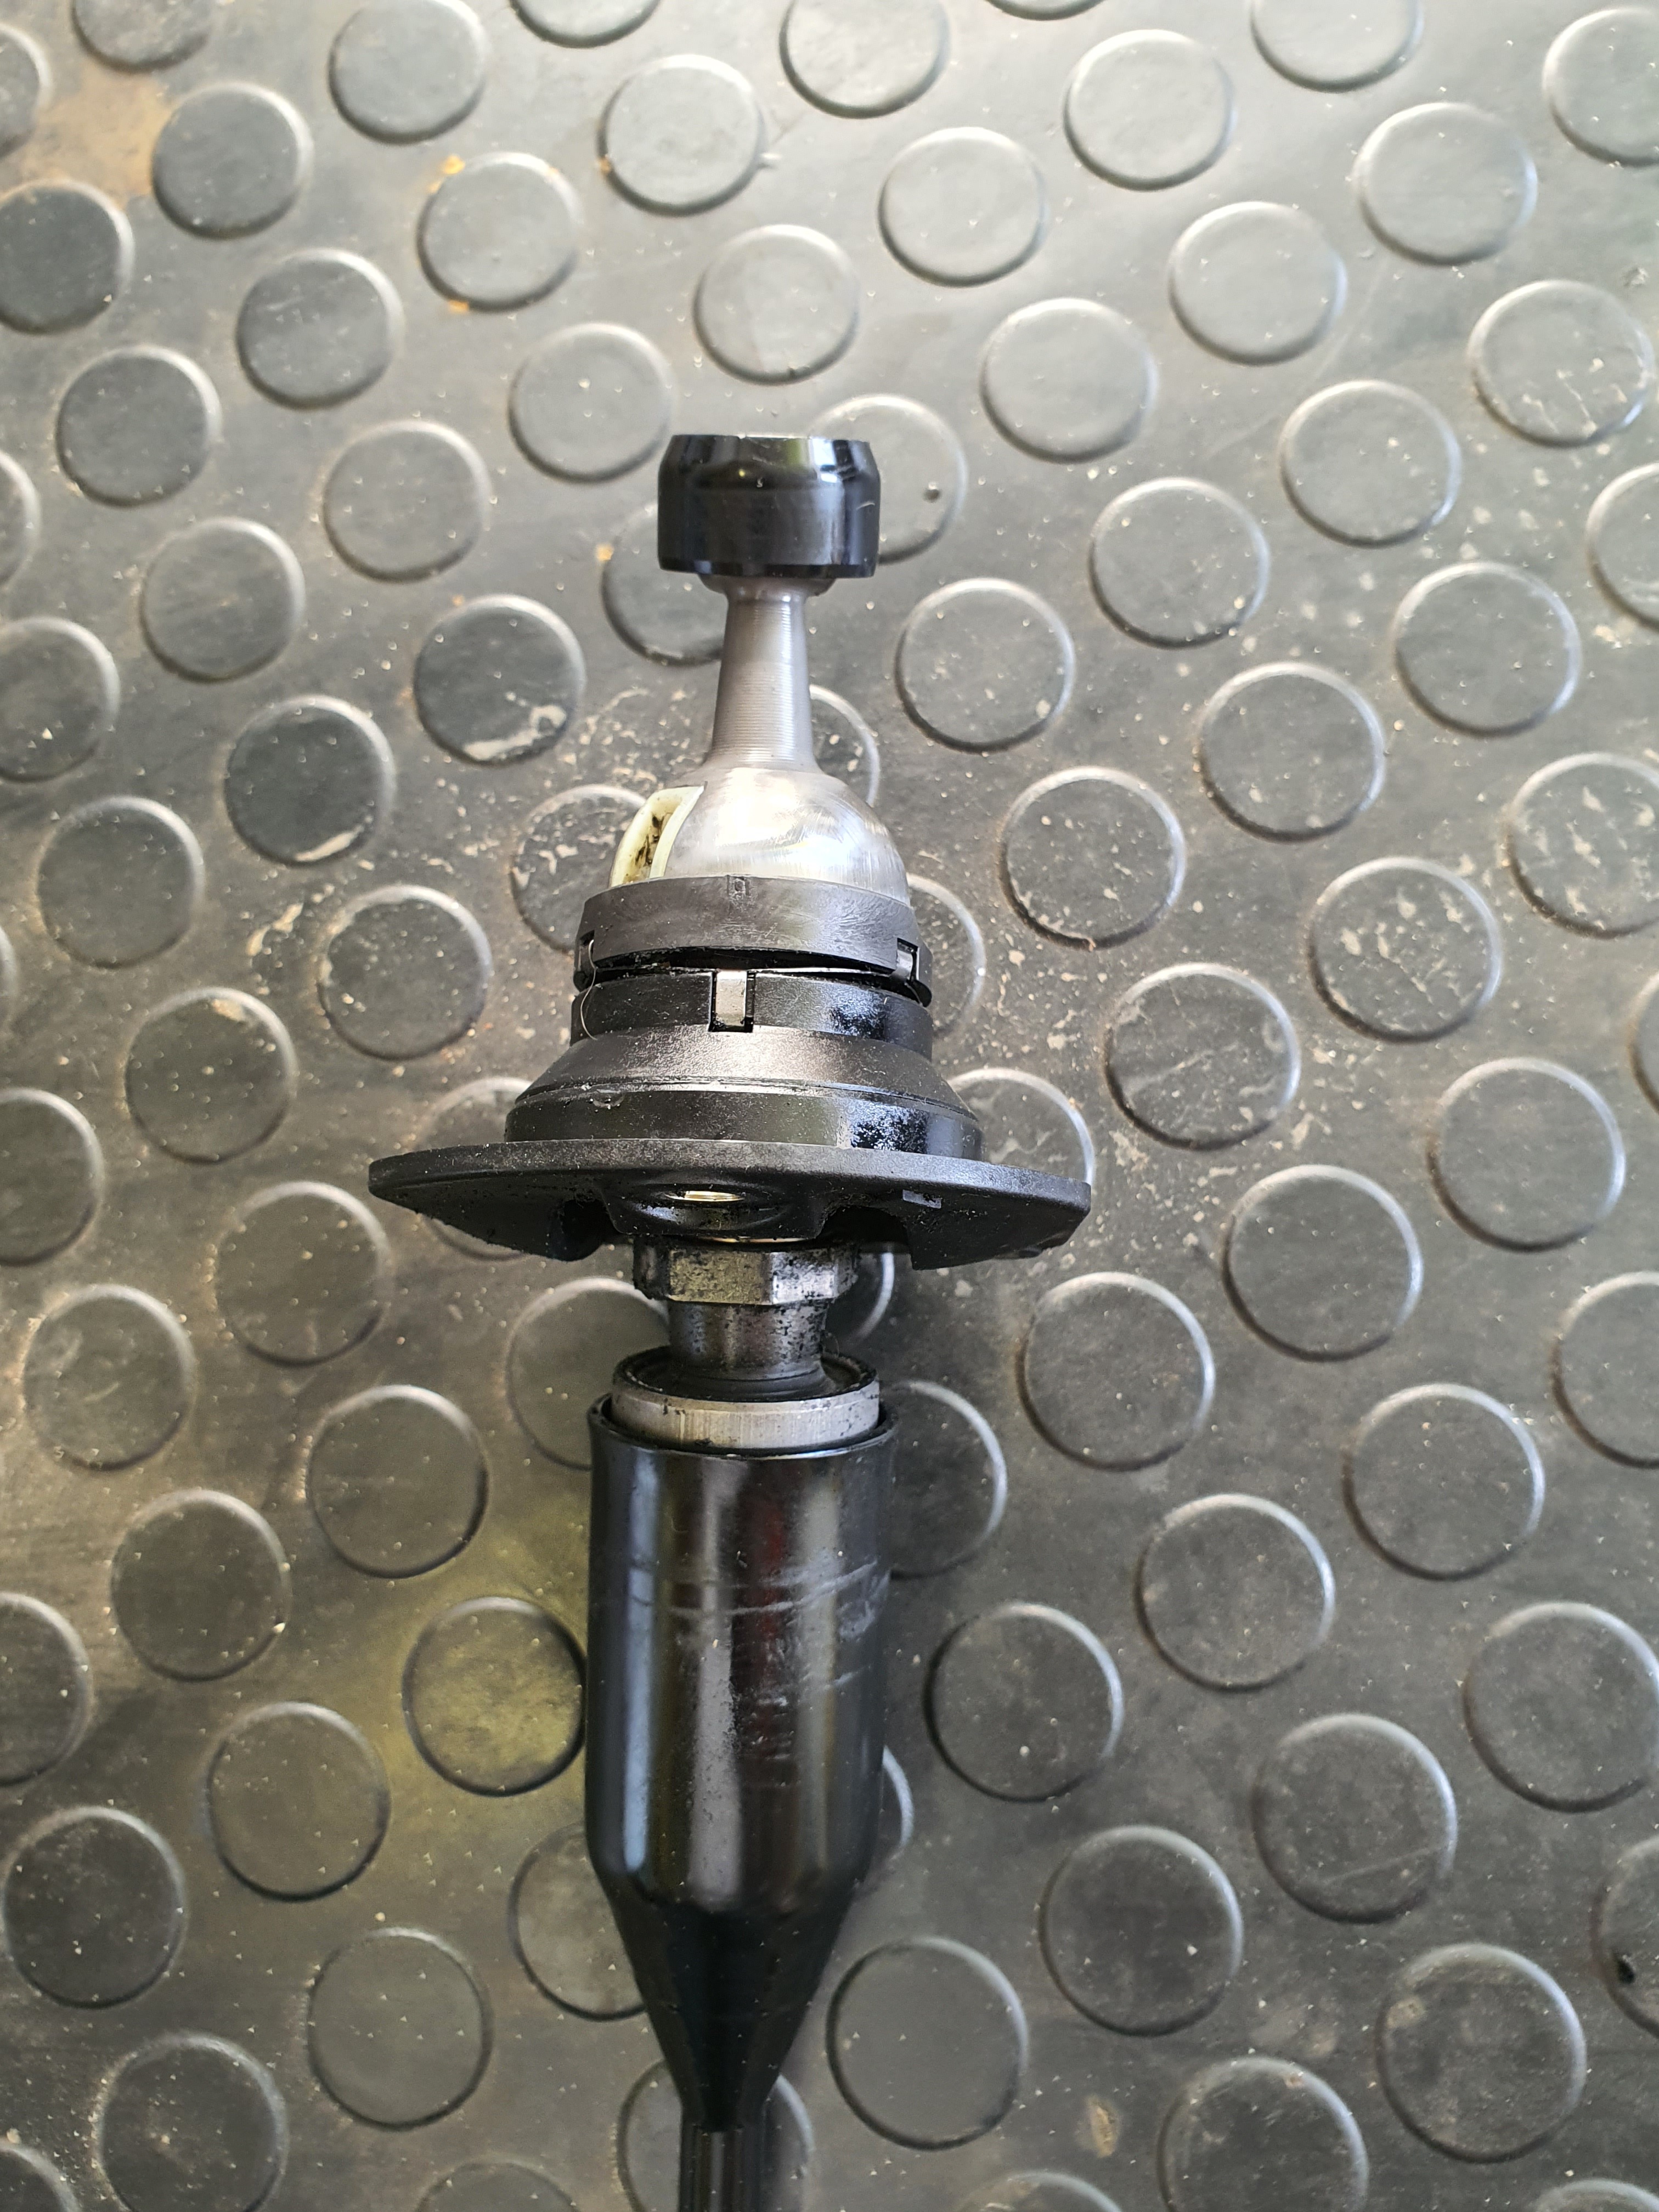
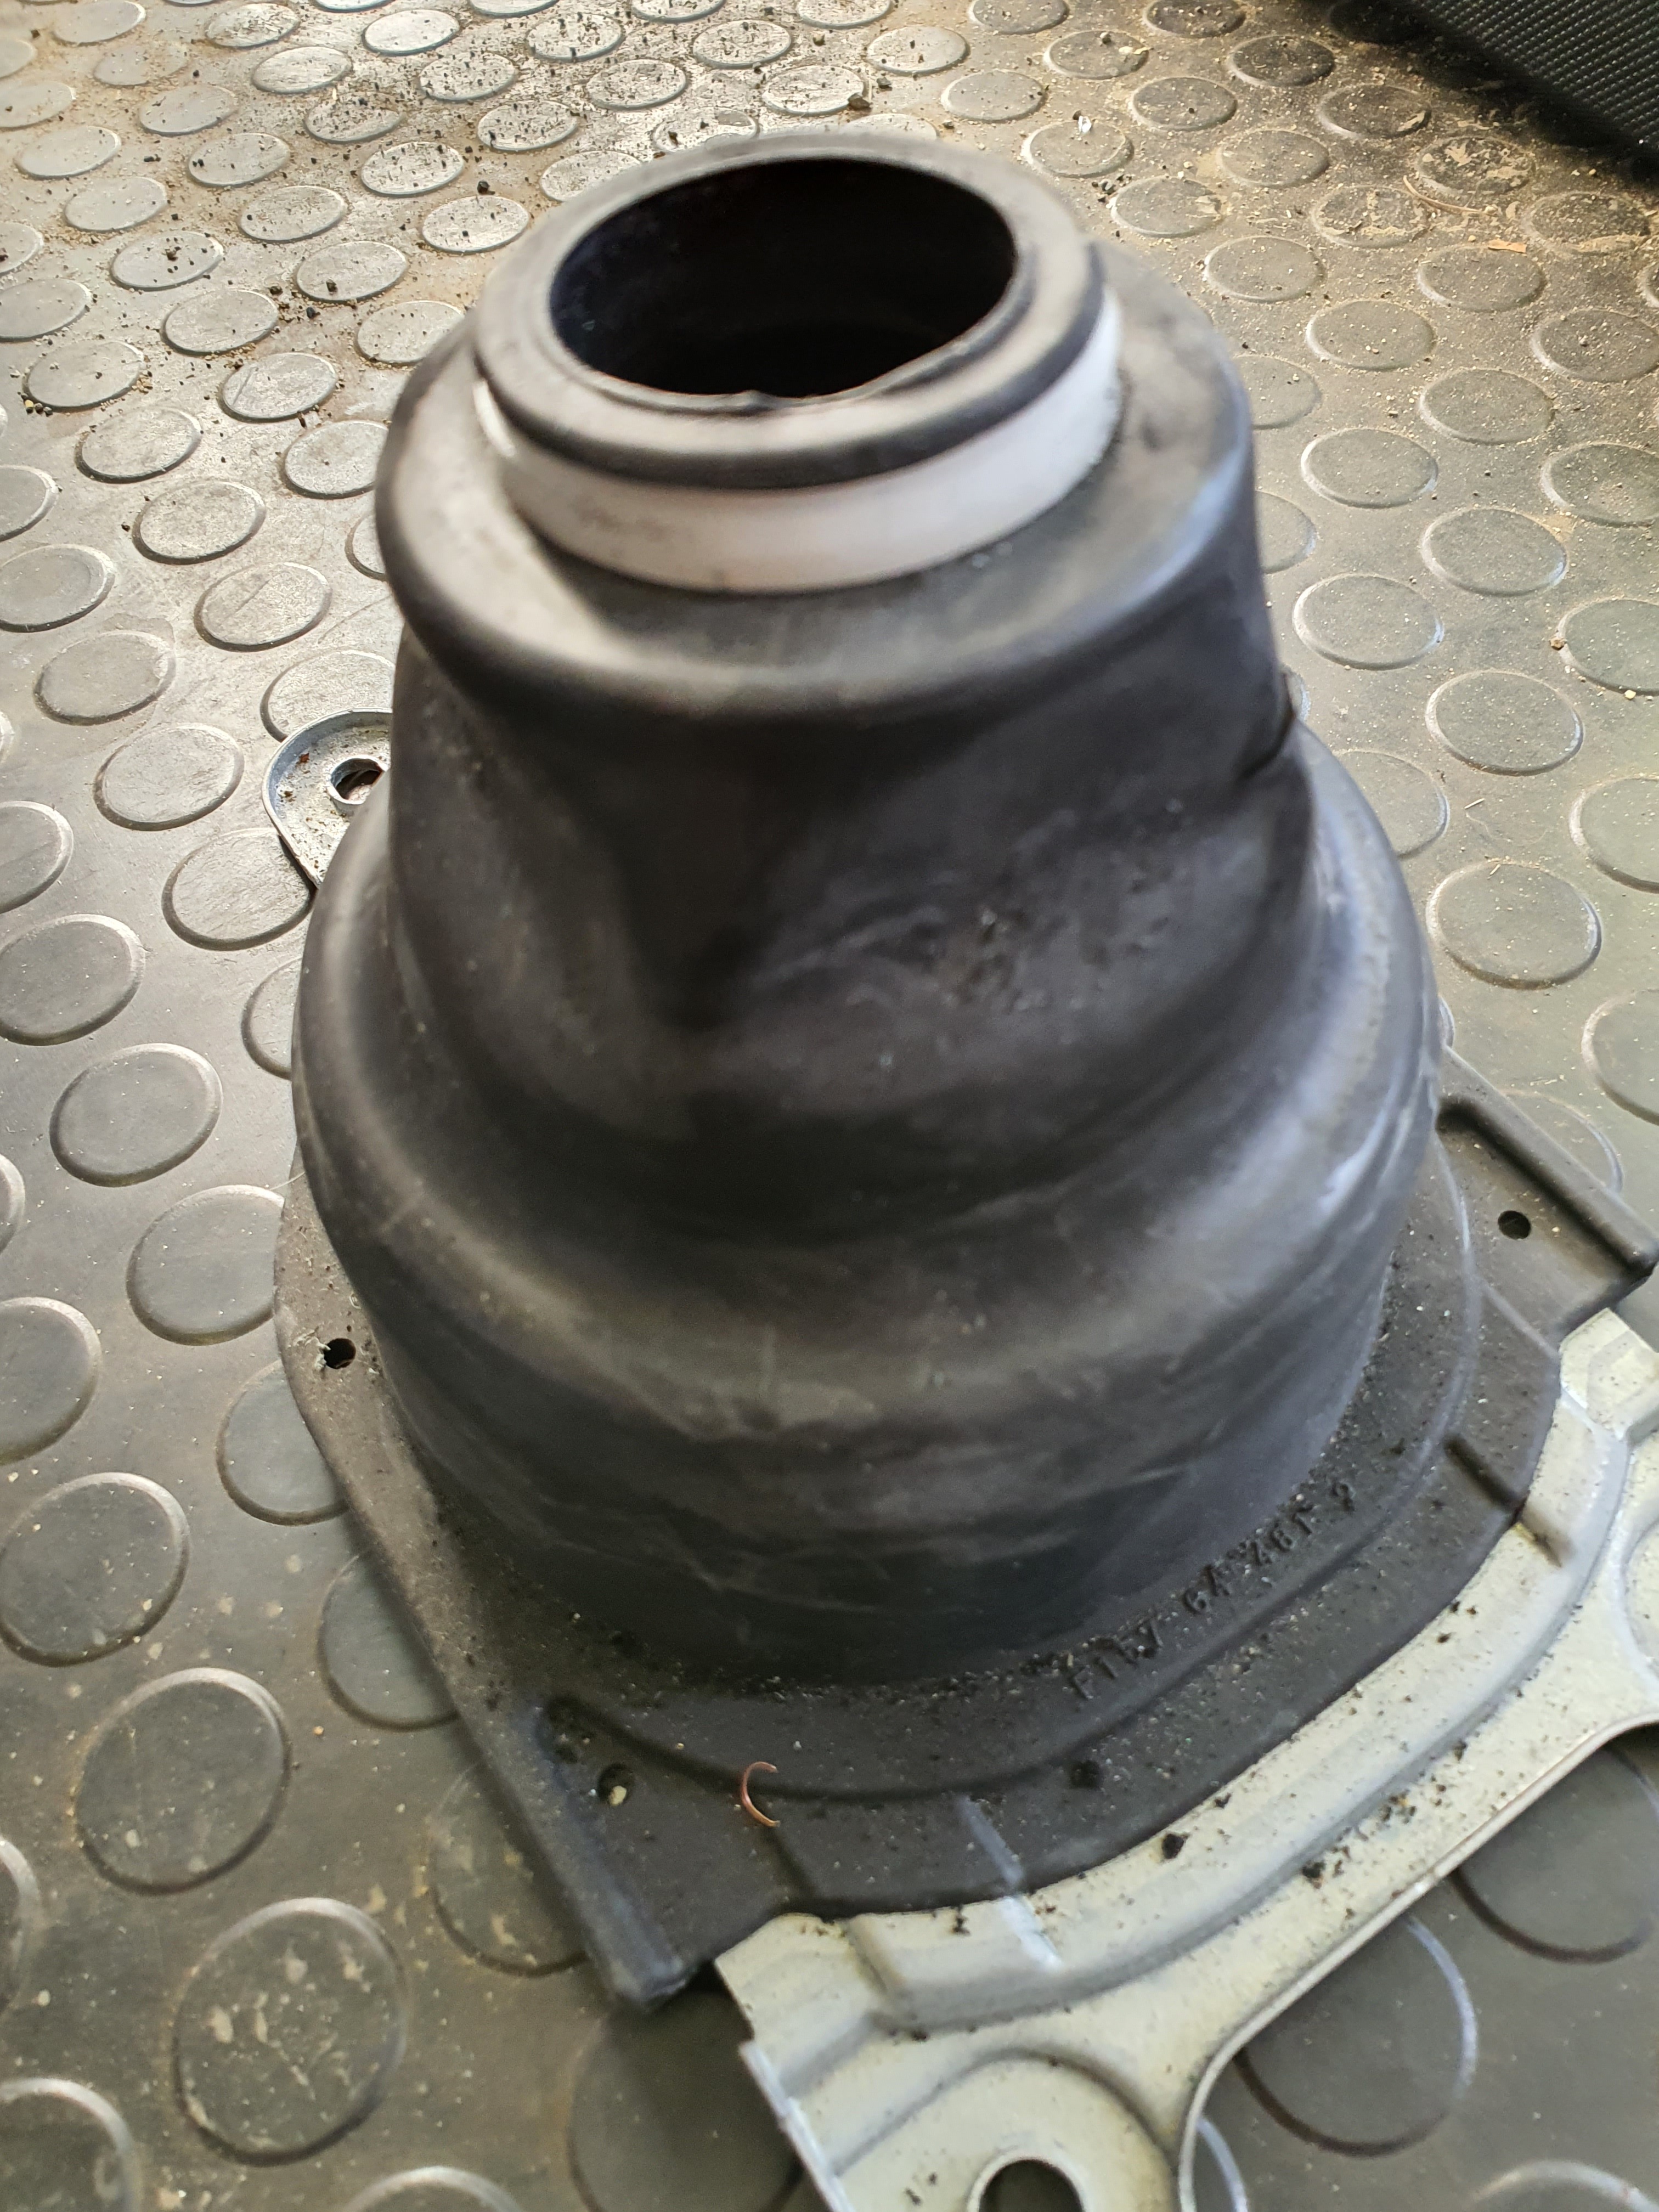
So, having got that far, I decided to top up the turret, degrease, clean and regrease the gear lever then reassemble it all.


Compared to some of the rubbers I’ve pulled out of previous Mk1’s, these are like new! :joy:
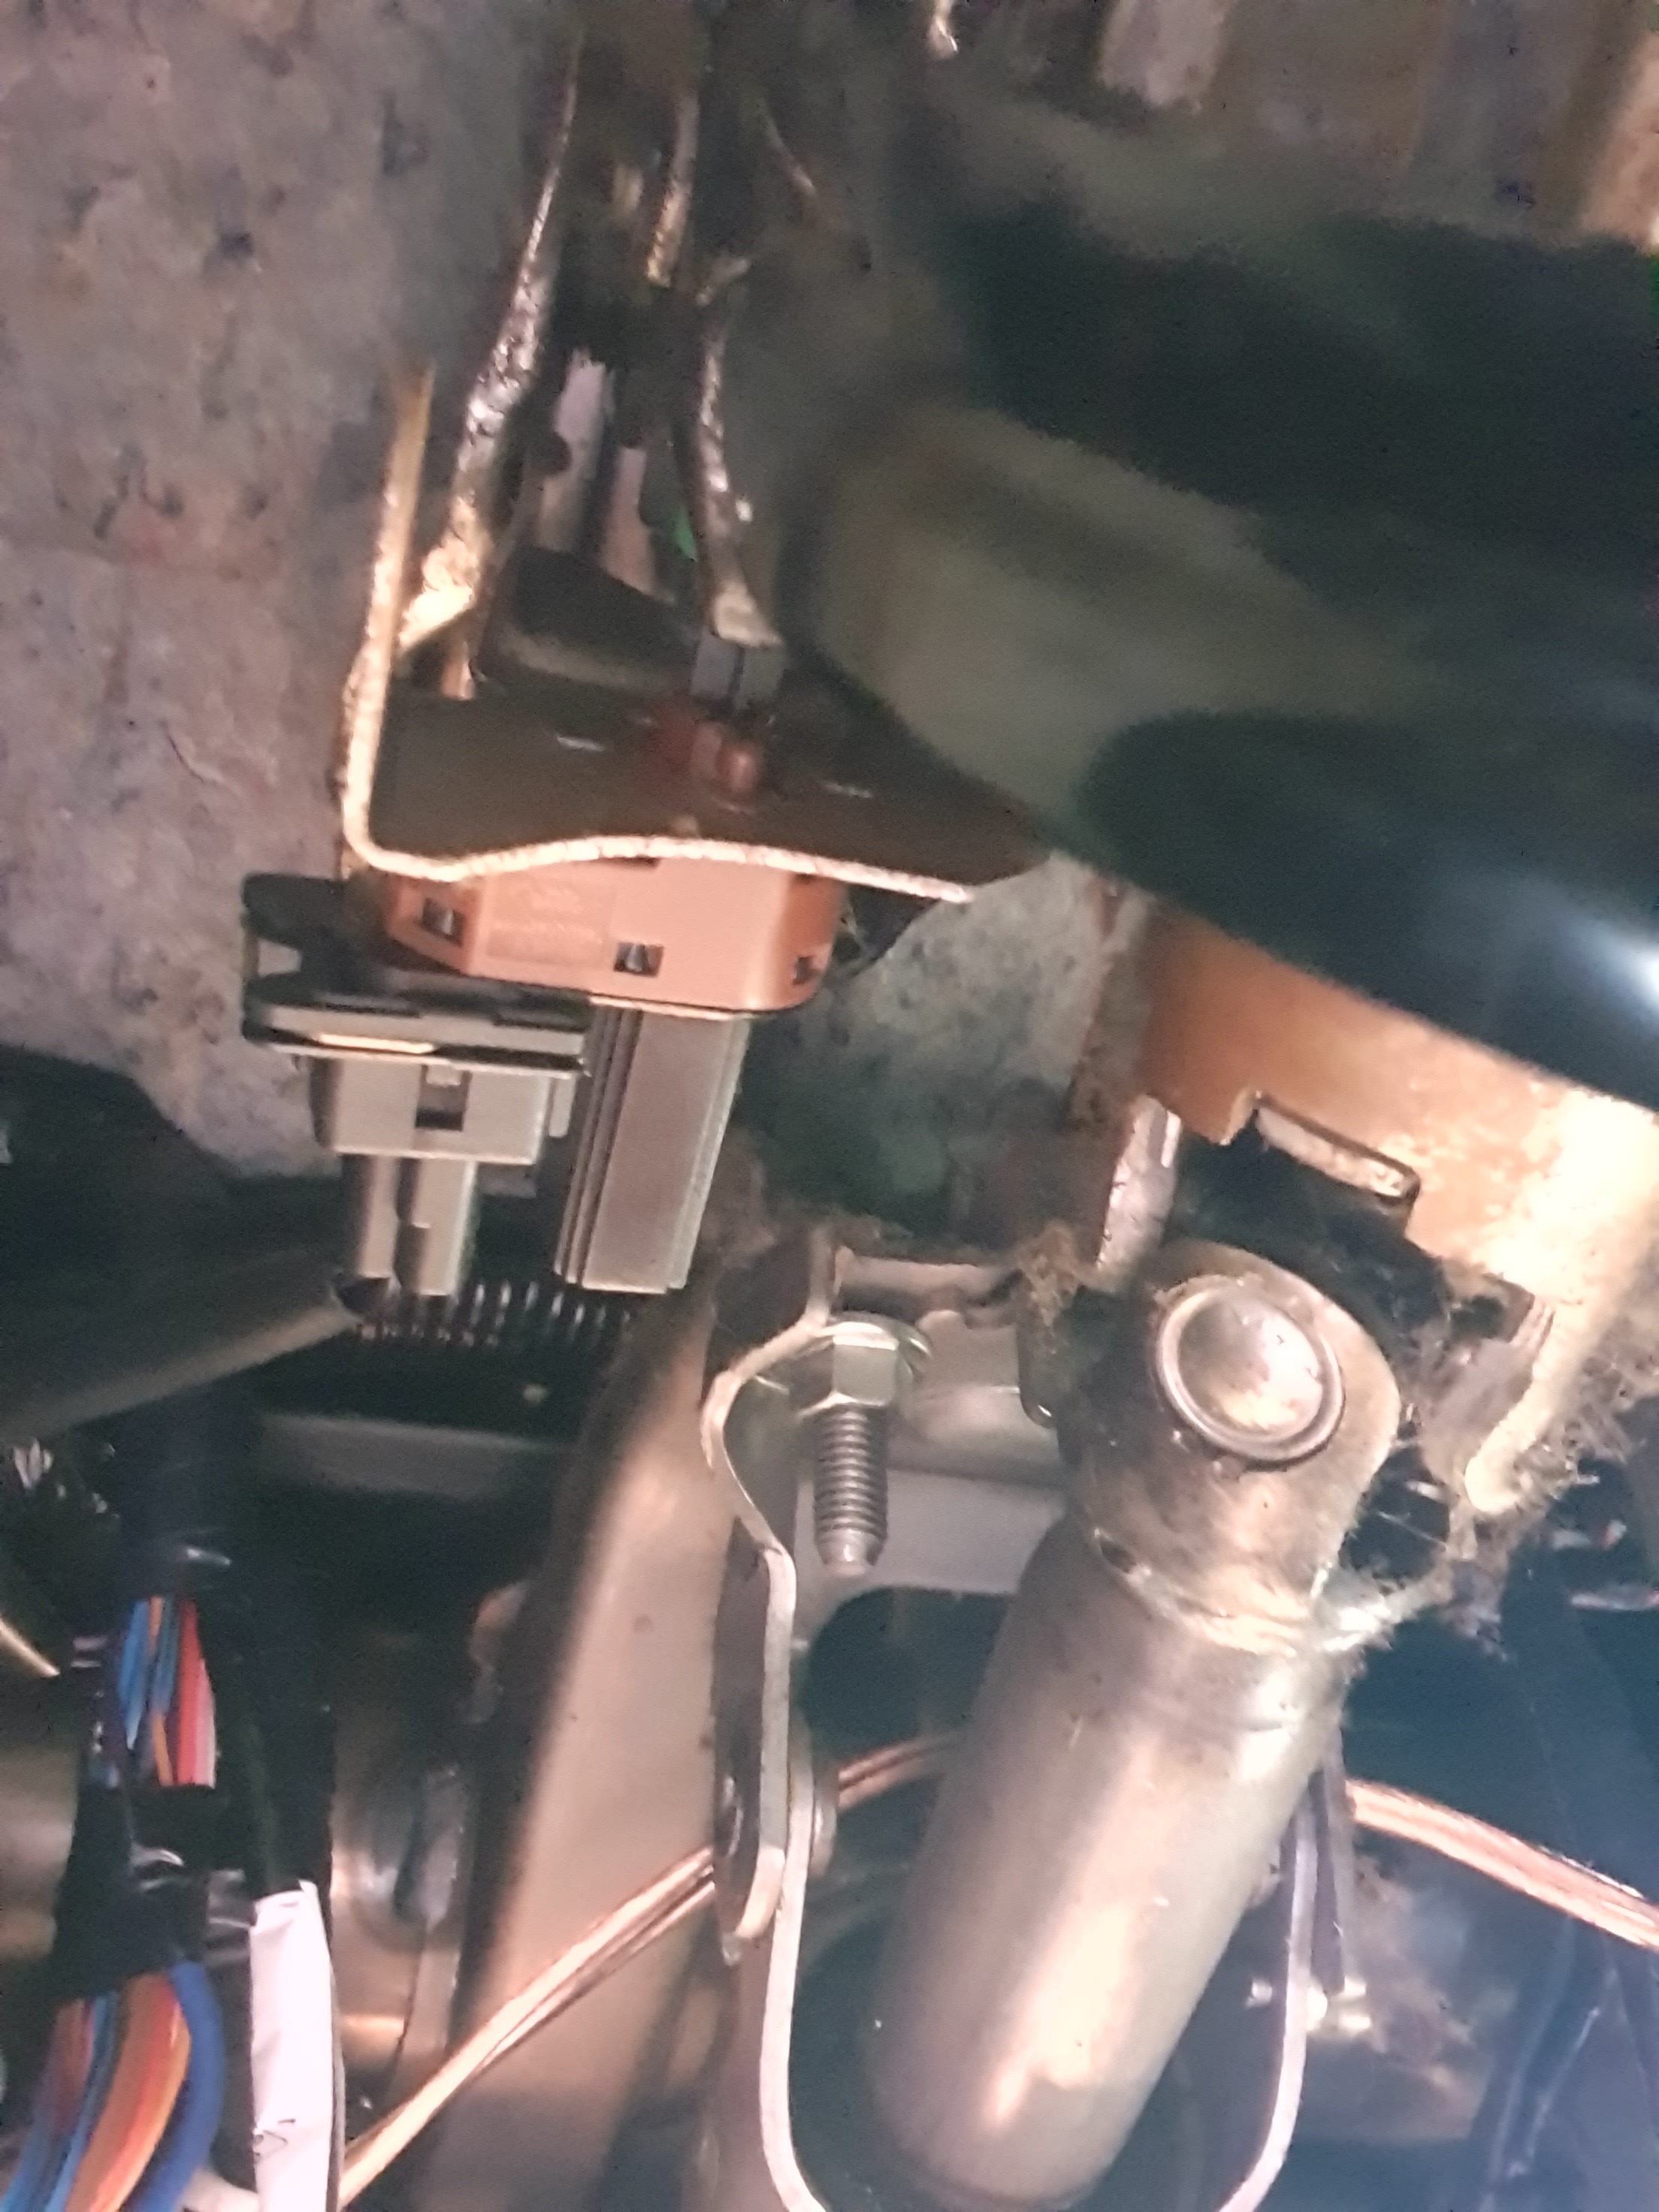
Anyways, I then adjusted the clutch pushrod, bit of a pain as there’s not much room but I took notice of RichardFX’s advice regards a small stool on the outside of the car to aid getting under the footwell for access.

All back together now and I went out for a short test drive, changing gears, stop start etc, giving it a bit of a work out. I realise it was not an essential journey per se, but combined it with travelling to doctors for my flu jab so don’t feel too bad about it.
The change in feel/gear selection and gear change is significant! :nerd_face: I’m not sure I’ll even bother with the detent plate now :thinking: its made such a difference to the car and at zero cost (apart from a little oil in the turret and some grease, both of which I already had in the garage! Very, very pleased with the outcome and a highly recommended thing to do!
Barrie

5 Likes

Well done Barrie.
As you say, a bit of a pain to do but sooooo worthwhile.
I really cannot understand why Mazda supplied them like that…

1 Like

Thanks, yes its definitely not my favourite job to do! :slightly_smiling_face: its funny though, a virtually zero cost addition making such a difference (bang for bucks springs to mind) I’ve spent into the thousands of £££’s on mods with different 5’s and not felt as chuffed? Well, not really but you get my drift :roll_eyes:
Barrie

3 Likes

Hi Barrie,
Quite agree, adjusting the clutch free play (but being careful not to remove ALL play) and getting some lube into the gear lever ball and socket are 2 of the best mods you can do at zero cost. What lube did you use on the gear socket? I put some really thick old EP140 (which is almost unobtainable these days - just had some from an old British Seagull final drive!) in the joint, because it is very slow to leak out.
Alan

1 Like

Hi Alan, how’s things with you? I had some Castrol Syntrans kicking about and used that TBH. the turret wasn’t empty, I just added to it! :slightly_smiling_face: That and the grease has made such a difference :hugs:
Barrie

I’m good, thanks, Barrie…you? Roll on jab!
Just as an afterthought, along with clutch pedal adjustment, it’s well worth bleeding the clutch slave cylinder, if you can get to it - but you’re already performing contortions to get to the pedal anyway…!

1 Like

I keep looking at these and other rim protectors for my daily driver… But unsure if they would offer any real protection. My wee VW has 17 inch rims with 40 series tyres so every kerb is an enemy :stuck_out_tongue_winking_eye::stuck_out_tongue_winking_eye::stuck_out_tongue_winking_eye:

1 Like

Morning Charlie, the ones I have are RimRingz. They have a mechanical lock onto the wheel, rather than relying on adhesive. They are also a one piece ring rather than a strip with a join. They can’t then unravel if the wheel contacts a kerb. A big colour range to suit most paint schemes, not the cheapest option but are doing their job. My only concern is they are made out of ABS (I think) and could be brittle in colder weather :thinking: . They have not caused any issues for me and just stay put on the wheels.
Barrie

2 Likes

Just updating my thread! :nerd_face: Ever since I purchased this car, I’ve wanted the paintwork refinishing. Not just a mop and polish or similar, but a full respray. I knew the front bumper and leading edges of wings/bonnet/mirrors were peppered with stone chips etc, right from the start, the car though, is in very, very nice condition body wise ( no dents, no rust) apart from this obvious problem. Underside has all been treated/coated with Bilt Hamber products and is nice and clean.
But then, when you really get down to it, there are other exterior paint defects apparent (no rusting apart from under rear boot lid which I’ve sanded and treated) but there’s scratches, chips etc that might not bother others, to various panels but I really want it as perfect as I can get it.
What with Covid-19 etc, getting in the way, I’ve just not done anything about it really. Until now. :nerd_face:
My mate Geoff (bally3) has just got fixed up with a Recaro Sport, based on the Sport Tech which is my model. So, I’m motivated to get on with the final piece of getting the car up to standard and to get it looking, externally at least, similar to the Recaro model. I know mines a mk3.5 and not a mk3.75 but what the heck. :rofl:
To this end, car goes Monday to be sorted. I’m going for same Aluminium metallic which I really like but black roof and mirrors (need to decide on which Mazda black to use) Everything else on the car is sorted so :crossed_fingers: I’ll be happy with the end result.
I’ve located a set of side decals similar to the US club edition ones, fitted to the Recaro models, not genuine Mazda though.
Will update after Monday when I take car in to discuss everything with bodyshop (including the final price) Subject to being happy with everything, I’ll leave the car with them to undertake the work.
Thanks for reading!
Barrie

5 Likes

OK, been busy this morning. I’ve never had a NC rear bumper off, ever! So I thought I’d better have a go, in advance of the body shop folk doing it. Didn’t want any surprises while it was in :nerd_face:
This is documented in various places but for this thread, I just wanted to go through it and post a few pics too!

  1. Remove interior boot trims to gain access to the rear light clusters. It’s necessary to remove all four pieces! Careful with panel where boot light is,this needs disconnecting.

  2. Remove each rear light after first disconnecting the three separate plugs for the lights and undoing the three 10mm nuts that hold it in place. There is also a plastic pin on the back of each light at the outer edge, which is quite difficult to deal with. I used a trim tool to gently prise the light units away from the body work, once disengaged, the lights come out easily.

  3. Once the lights are out, there are two plastic fasteners that were hidden behind the lights. Located on the bumper, next to the oval shaped cut out in the pic. The middle just prises out and then the entire clip can be removed.

  4. Remove rear number plate, might be screwed in, mine is just double sided tape fixing.

  5. This reveals two small torx head screws which also need removing.

  6. Now, for ease of access, I jacked up the rear of the car, supported on axle stands, removed the rear wheels and put them under the sills at either side too! This gives better access to the rear section of arch liner which also needs removing to gain access to wing/bumper fastener. You can see two of the screw holes in the liner, 8mm heads, the third is accessible from the very bottom of the bumper at the rear of the arch. Both mine sheared! Not a big deal though, once the liner was out, I could grip the remainder of the screw and just wiggle it out.


  7. Once arch liner removed, access to the single screw holding bumper to wing is gained. Apology for poor picture quality, sun was shining straight at my phone! Came out easy enough though (one at each side)

  8. That’s it! The bumper will now pull backwards at each side, with a bit of effort, and you can set it aside somewhere safe, along with all the other loose bits you’ve now accumulated :nerd_face:

  9. Next step is to burst into tears as you survey the total lack of rust protection exposed by the removal of the bumper!

  10. Having recovered your composure, (hopefully) it’s not as bad as it looks! Remove the metal bumper reinforcement bar by taking off three 17mm nuts at each side, the inner ones need an extension bar to put through a pre formed hole in the reinforcement section. Good idea to just leave one nut on each side by a few threads until your ready to take it off completely.

  11. You’re now ready to descale/remove any surface rust and flaky paint from both the bar and the rear panel that it attaches to. Then apply liberal amounts of rust treatment (insert treatment of choice here) making sure everything is coated!

  12. Attach the reinforcing bar back into position and tighten the six nuts onto the studs.

  13. Everything else is literally a reversal of taking it apart! I replaced these,

With some of these,


Just a cheap box of self tapping flanged screws from Halfords. I’ve left all the boot interior out for convenience of the bodyshop.
I’m happy now I know that the metal work behind the bumper is (a) not in too bad a state and (b) it’s all been treated :+1:
All in, I reckon less than 2 hours start to finish, from getting the car out of garage to cleaning up at the end!

Barrie

6 Likes

Excellent write up, Barrie :slight_smile: :+1:

1 Like

Thank you! It took nearly as long as the job itself? :rofl::rofl:
Barrie

1 Like

Nice job …!

1 Like

Amazed it’s took you this long to explore behind the bumper…my PRHT deck started getting the dreaded white chips from nowhere that have been reported by others.Touch up paint for me though.

1 Like

Great job Barrie :white_check_mark::white_check_mark::white_check_mark:
Nice write up too👍🏼
I hope you get the 5 exactly as you want it cos’ it’s a crackin’ Car :red_car:

1 Like

I did the same Barrie about 18 months ago but need to get the bumper off again. Having seen yours and another members who posted up I now need to remove that bumper reinforcement, bet there’s rust behind it.:-1:
I had the heat shield off and treat the boot floor and rear chassis rails too whilst the bumper was off.

Good job Barrie.:+1:

1 Like

Sounds like you’ve got your mojo back for your five again Barrie. :+1::+1:

Always great to hear the updates of your work. Looking forward to seeing the next steps.

1 Like

Hi Mick, TBH, it was your post about taking the bumper off and doing some work that got me thinking about this! It’s just taken me an age to get round to doing something! :smiley:
Barrie

1 Like

Dave, thank you for that, yes I do seem to be getting ‘back at it’ so to speak! :rofl: I really did lose interest for a while but now Geoff (bally3) has got his Recaro edition, I’m really getting back into the swim of things :+1:
Barrie

1 Like