training up my grandson to look after ERIC , but i let him practice on his daddy’s car first
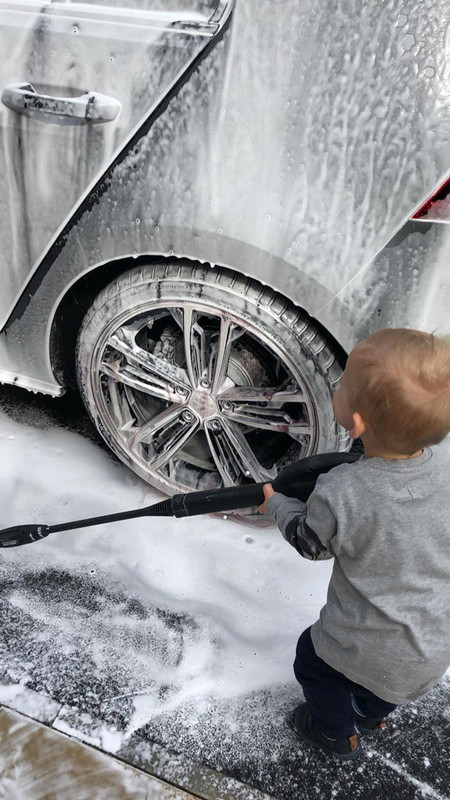
training up my grandson to look after ERIC , but i let him practice on his daddy’s car first
You can never start them too early mate! Is he any good with PRHT problems?
Barrie
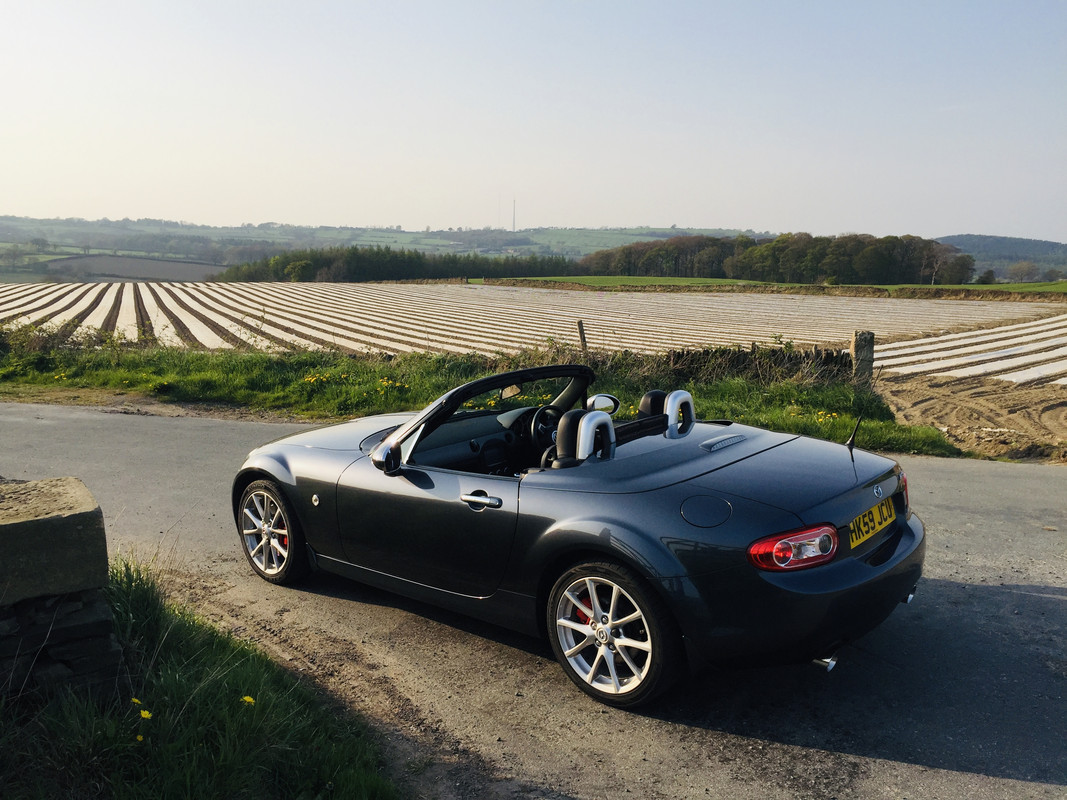
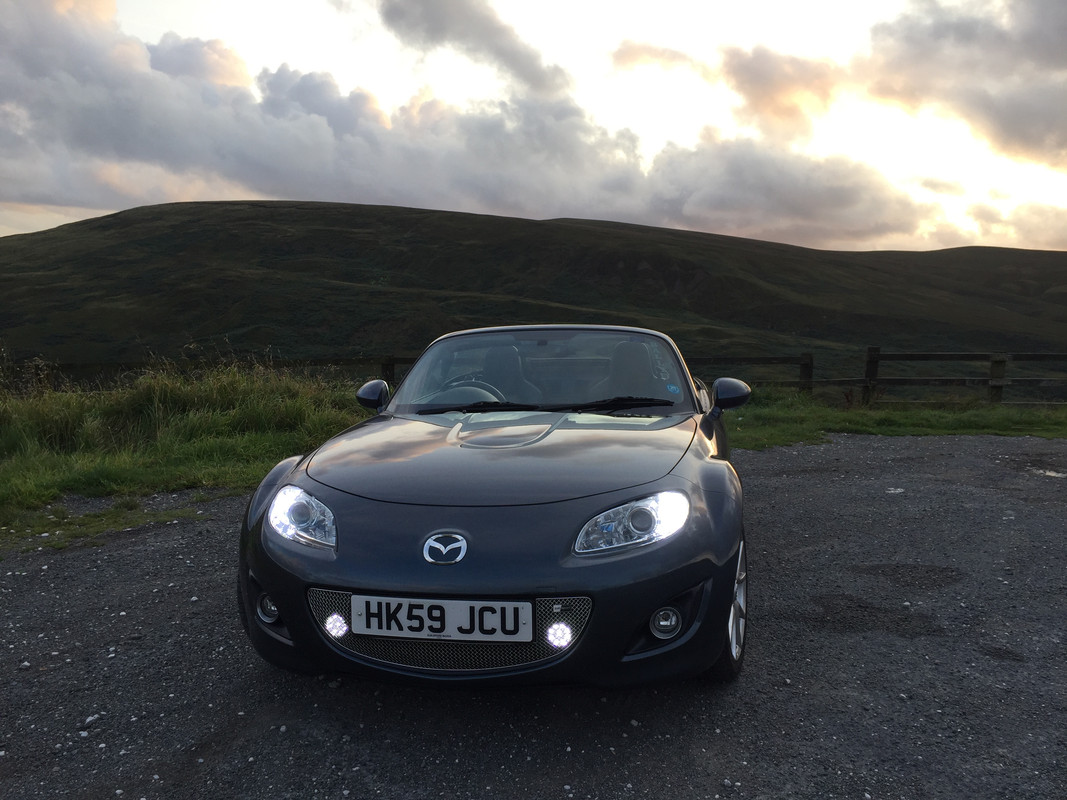
a couple of embellishments for ERIC over the last few days …

work in progress …
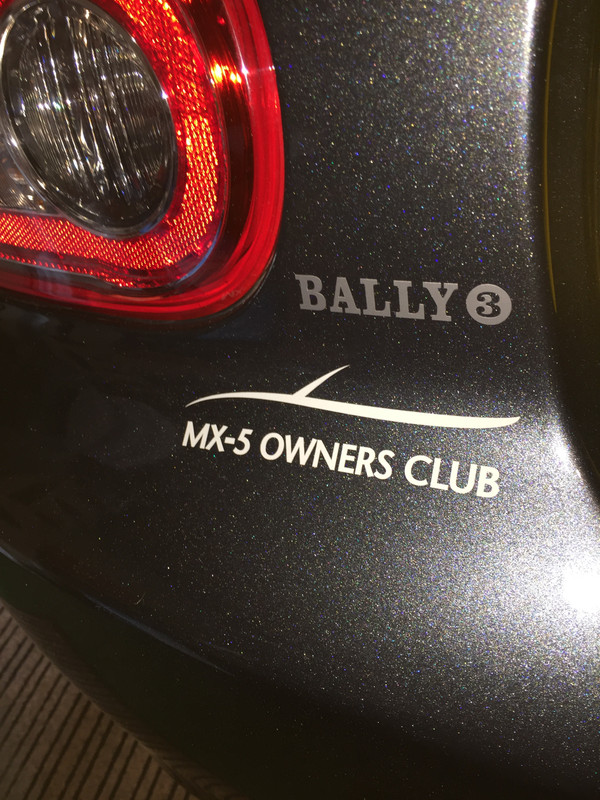
Great looking car, and very nicely detailed
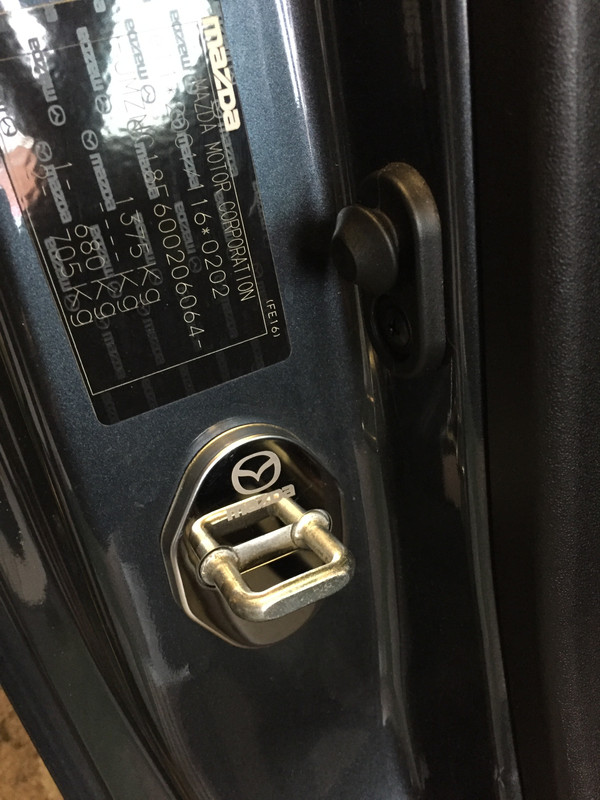
they say prevention is better than cure , so i thought i would seal the scuttle grommets before any potential problems occurred ,
although they still look very sound ,
easy 10 mins job ,
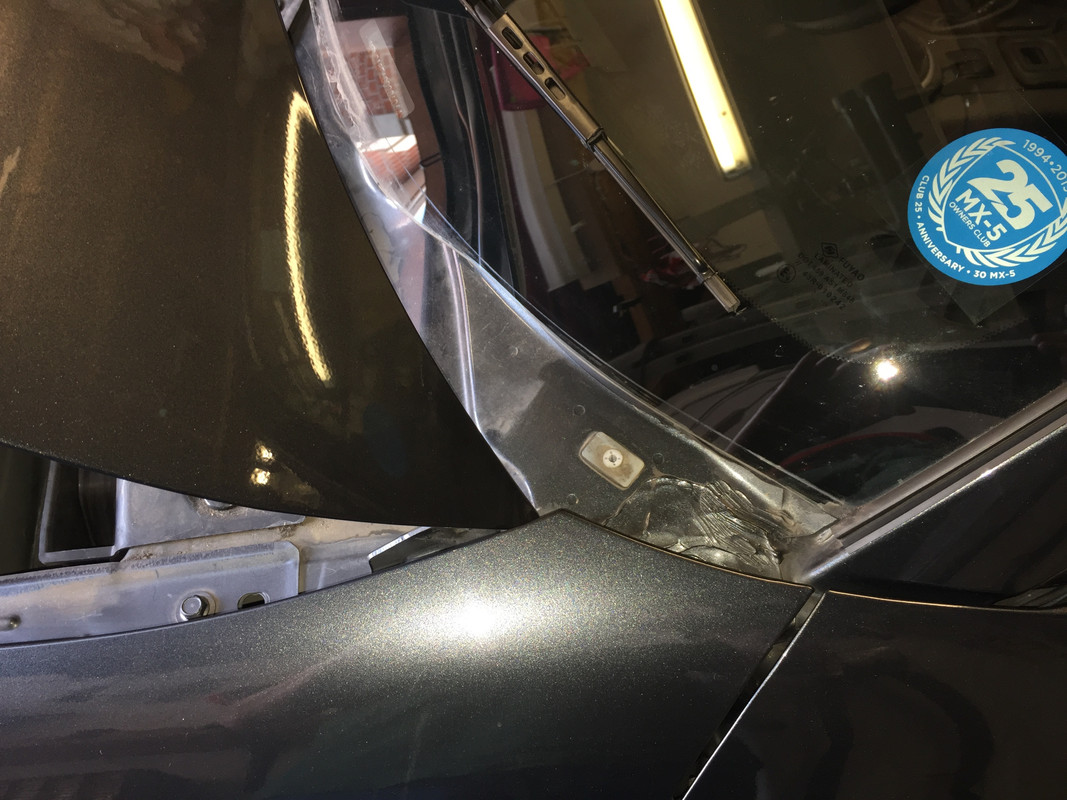
hopefully no leaks in the future
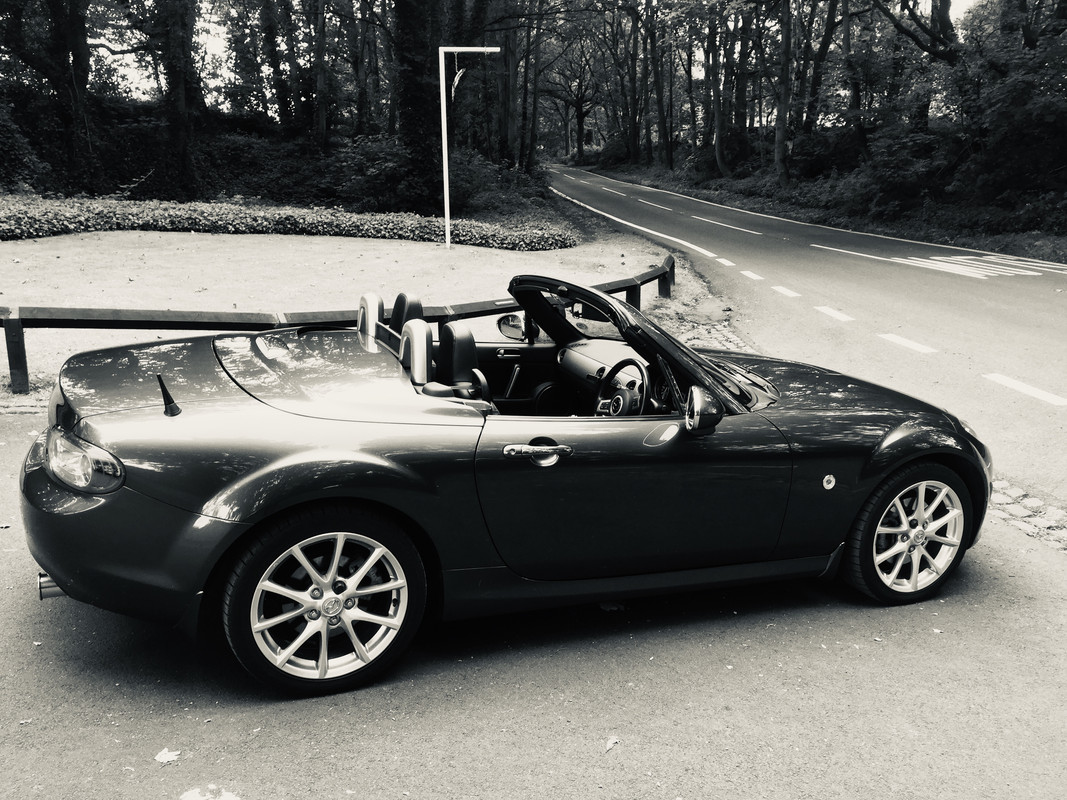
off work after minor operation yesterday …so just tinkering on my computer ( not very computer literate ) ended up messing with filters on pictures so thought i’d bob a couple on here
today i had my first go at ceramic coating
ERIC was covered in TFR and wheel cleaner , rinsed and washed ( all POWER MAXED products ) , rinsed again and towel dried
as ERIC has only covered 300 miles or so since being clayed i decided this was not required …( please note , i am not a car detailer )
next was a deep clean with more POWER MAXED polishes, both say they are a good base for applying wax or ceramic coating
so a good hand polish with each of these polishes , took around a hour

i have never bought ceramic coating before so really this was a stab in the dark …HYDROLEX CERAMIC SEALANT
it was easy enough to apply once you got used to NOT putting too much on ,
you get 2 application pads and 2 MF clothes too.
this took probably another 30 mins
not got any really good pics ( not been out yet ) , but got couple while doing coating on my driveway


happy with results
i got a litre of the stuff so it will probably last me years
Nice looking car, credit to you.
John
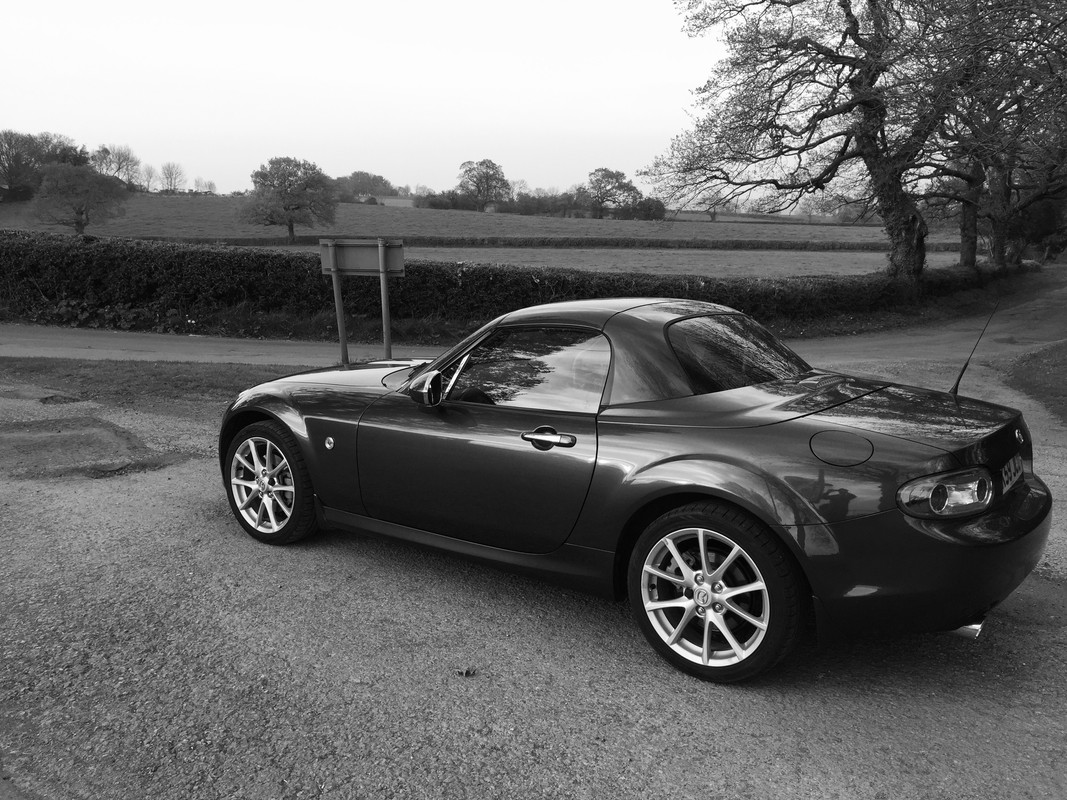
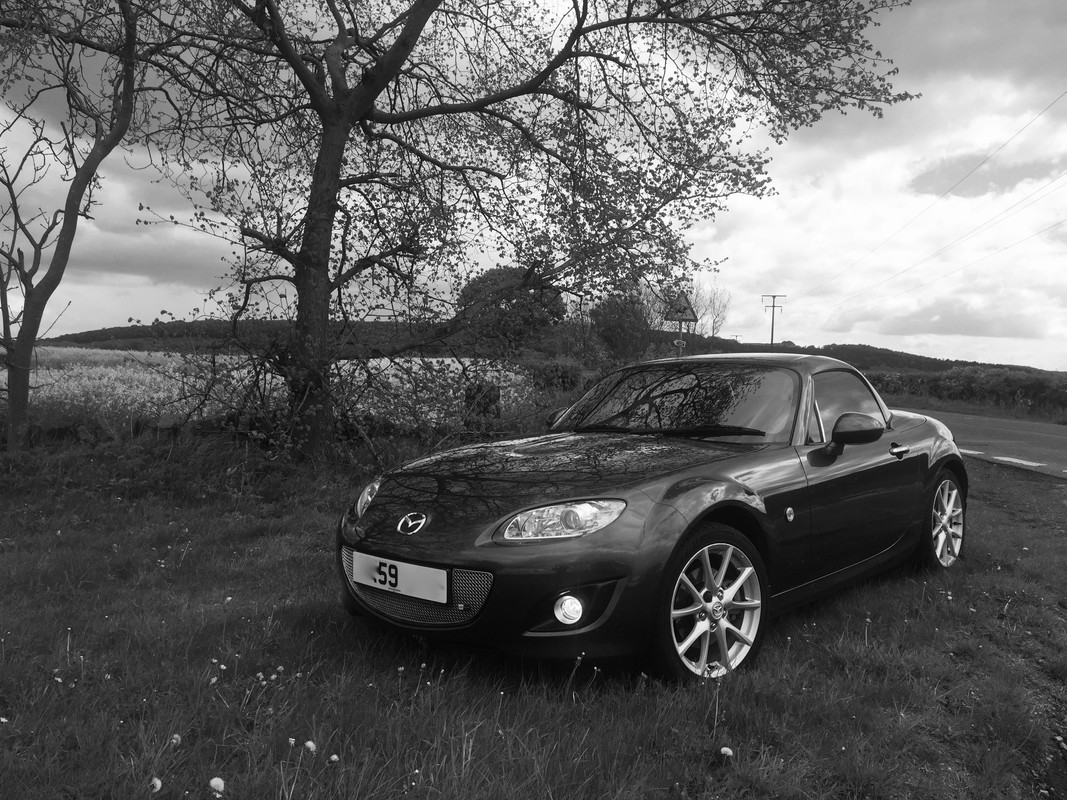
after giving ERIC his ceramic coat 5 days ago ,it was time to take him out for a spin !
I’ve seen this car today! Looks amazing Geoff credit to you mate. Wish mine looked half as nice
Only a respray of mine will get anywhere near the finish of yours.
Barrie
with ERIC being a dark grey i decided to fit some DRL’s
i started by removing the ZUNSPORT stainless grill,

mounted the round DRL’s into the original grill ,

refitted stainless grill , had to reposition the logo
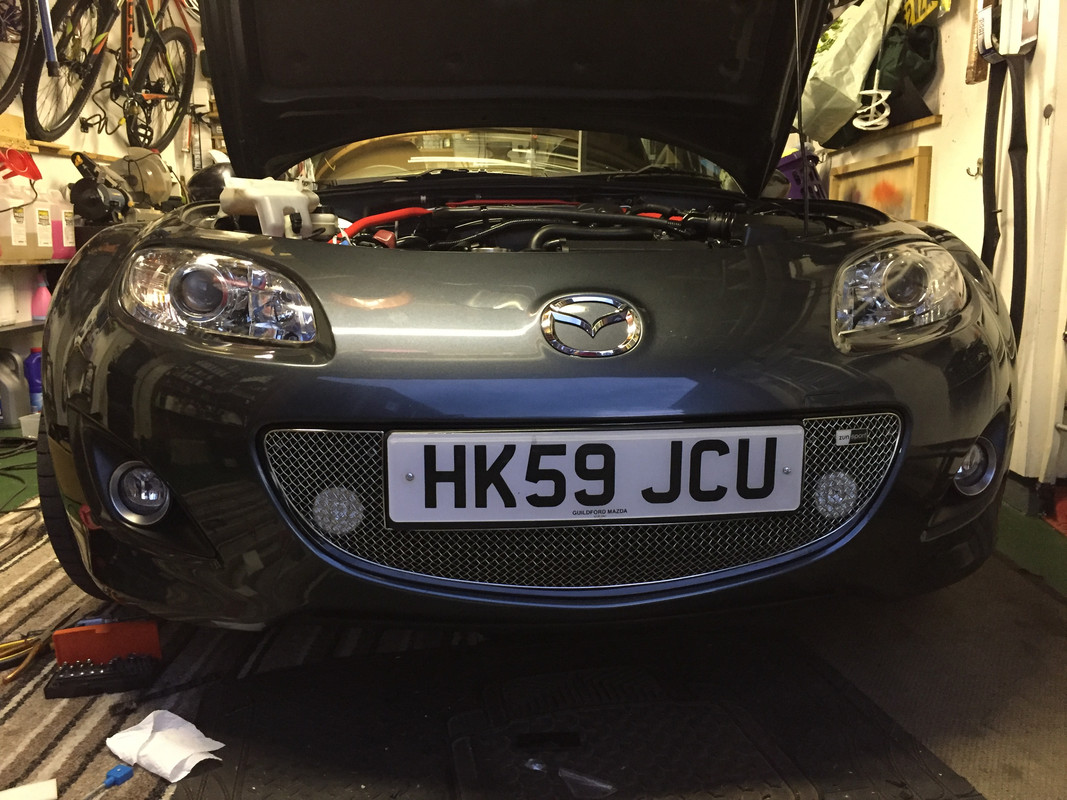
wired up to controller ,


should be more visible to other road users now
They look good - neat install too.
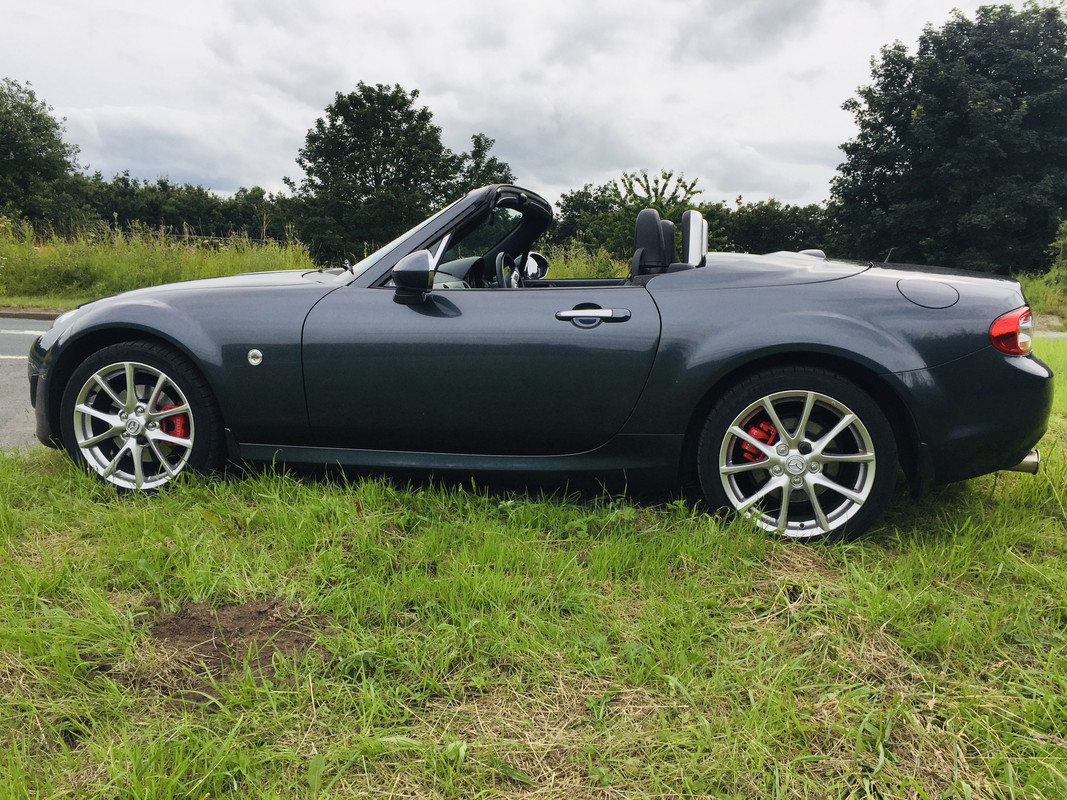
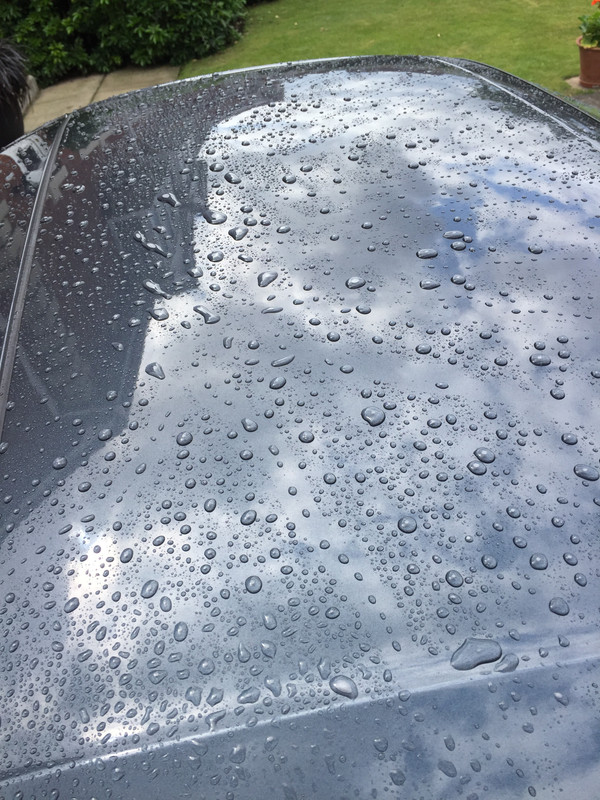
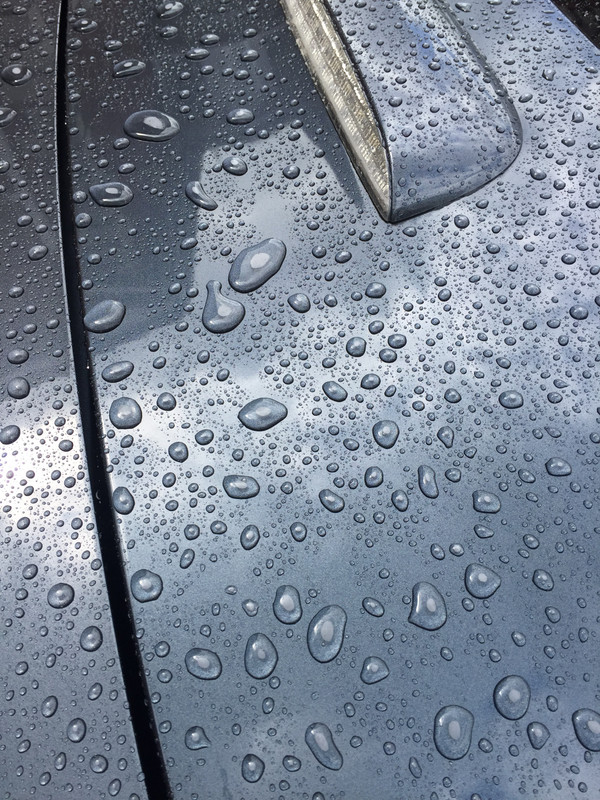
i finally got a chance to wash ERIC after applying the ceramic coating ,
heres the results ,
water beading
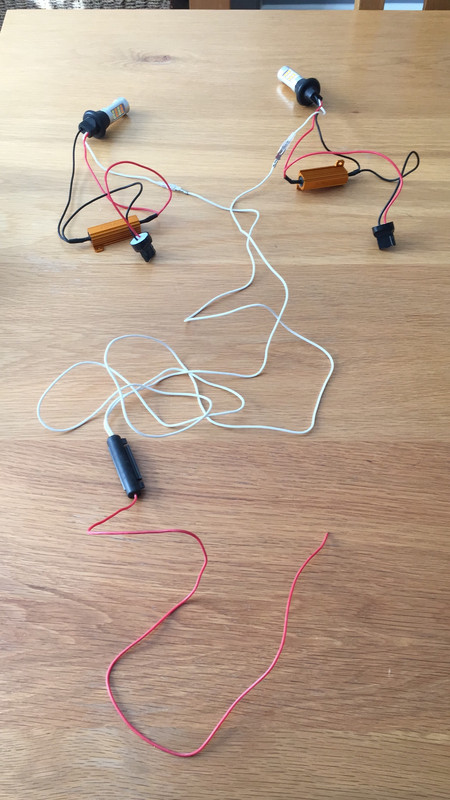
after fitting my DRL’s i was still thinking about the switchback indicators and how good they looked .
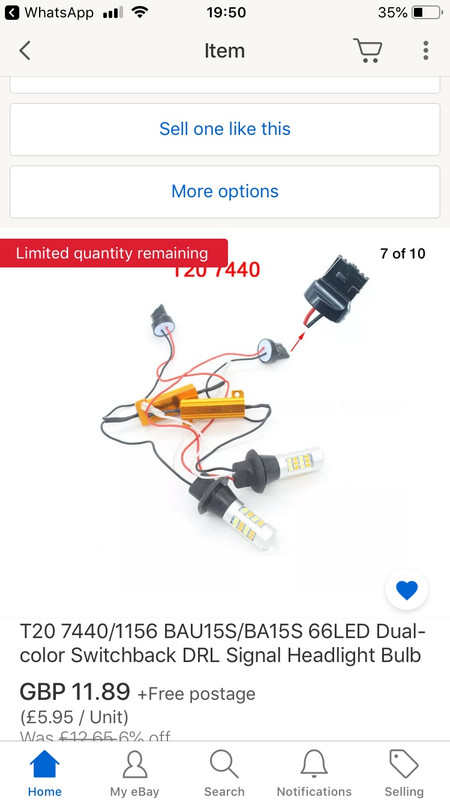
these are the ones i ordered,
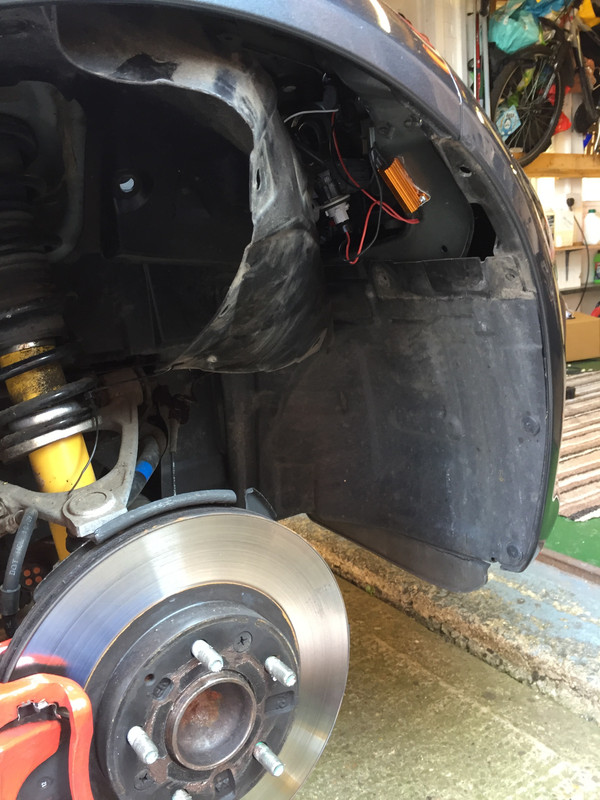
so i started by removing both front wheels to gain better access, removed the poppers that hold the arch liners and tied these back against the suspension.
then its quite easy,
twist out the original bulb/holder , remove the amber bulb (save ) , put the connector from the new DRL’s into this bulb holder ( firm click )
push fit the new soft rubber DRL /indicator into the headlight housing ( easy fit , clicks in )…same both sides .
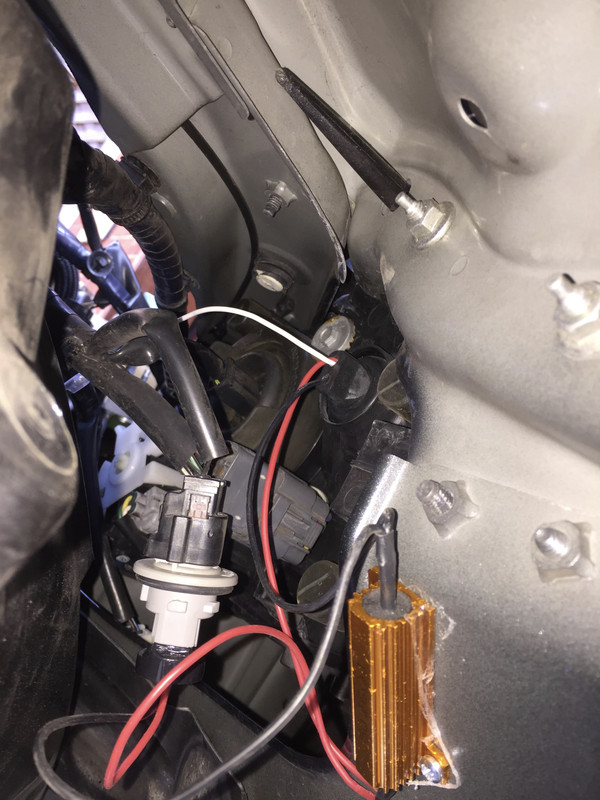
find somewhere suitable for resistor to sit ( i self tapped mine to bodywork ) + tidy wiring with cable ties .

run red positive wire to controller , tap into positive wire from controller to my other drl’s …job done !!!
apart from refit arch liners , poppers , wheels
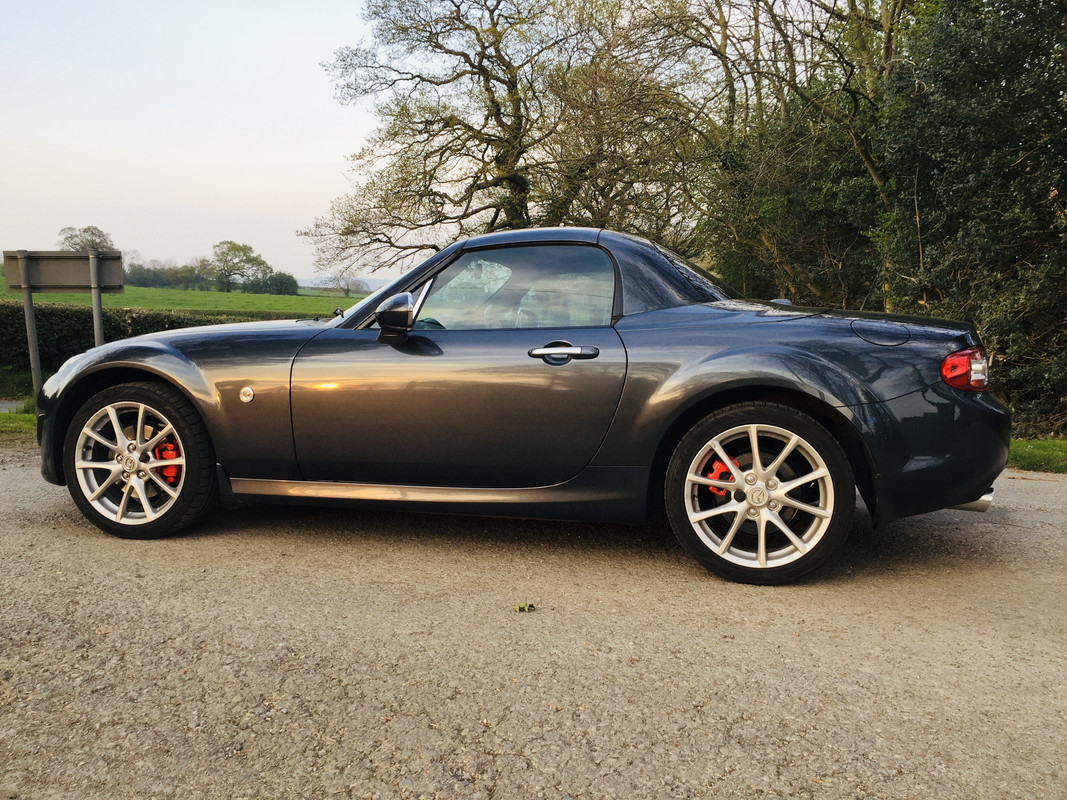
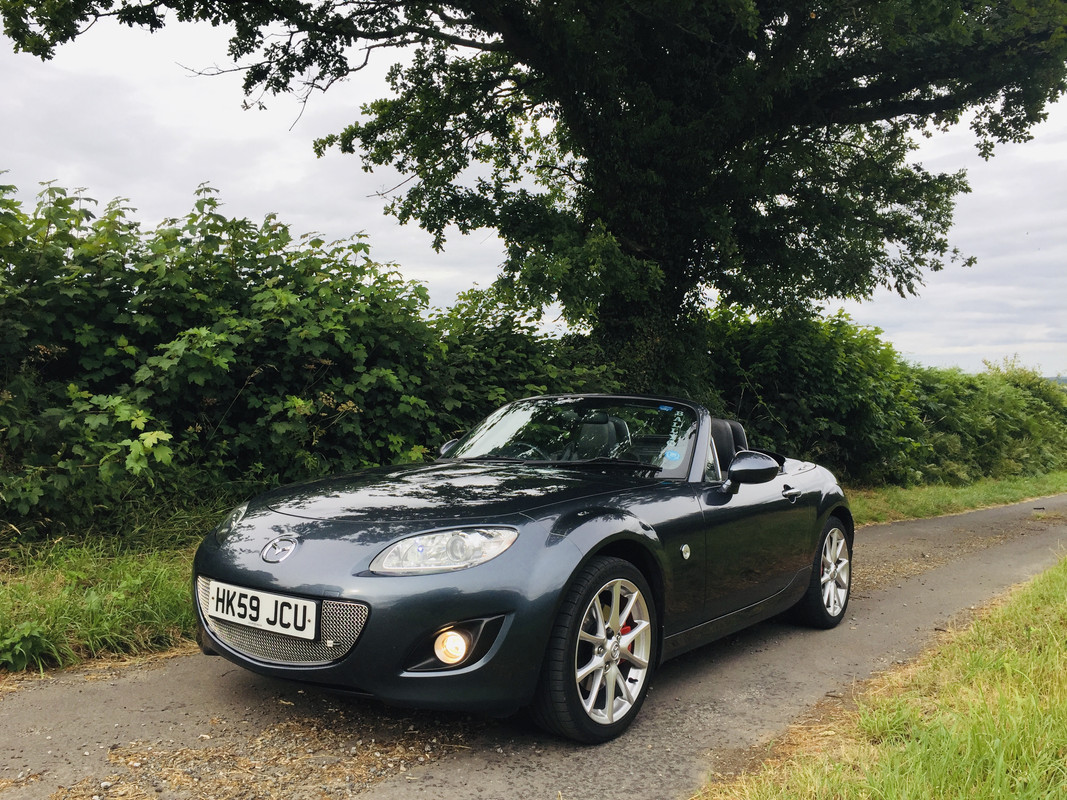
this is how he looks now.,

all DRL’s dim once side lights come on
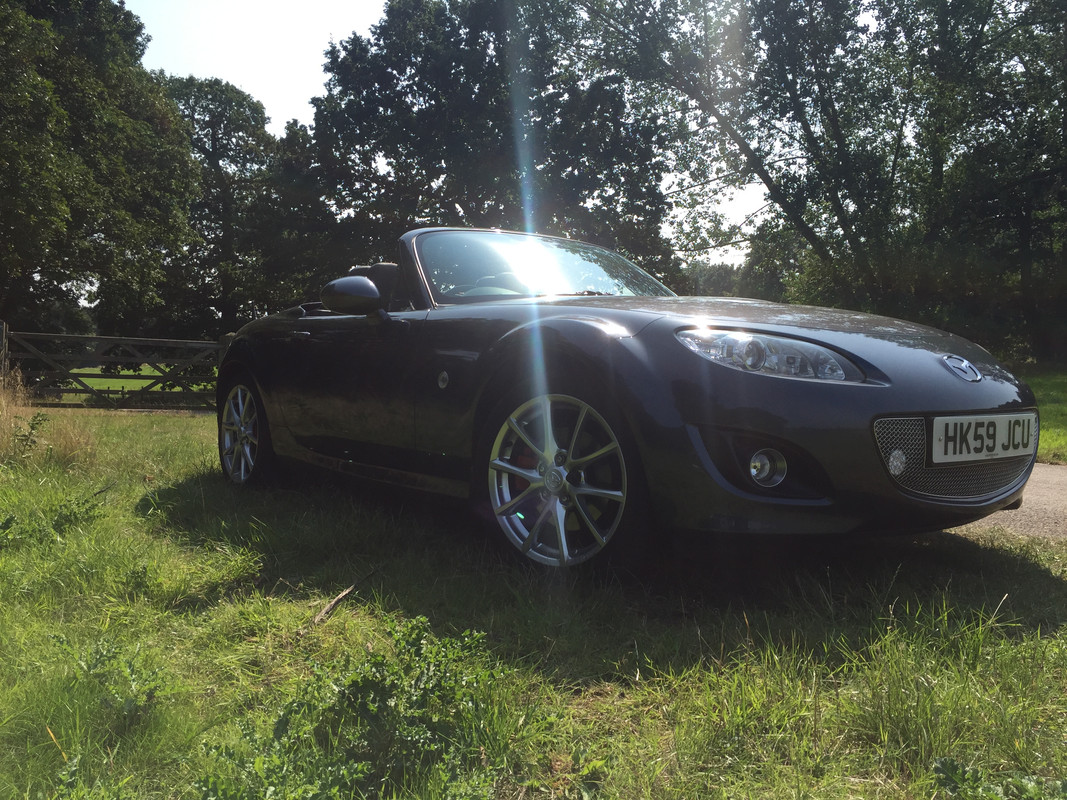
ERIC is a great little motor , i think its fair to say, i’m chuffed t’ bits with him !!!
i have a video of how they work but don’t know how to upload it
but heres one by mac5 ( off youtube ) if you want to see
Very nice - I’d like the same but I don’t think my Mazda Indy would get on well with fitting them. 
However, I am planning on getting the DRL foglights sorted at some point… 
rob.
very easy to fit and all in less than £20 , whats not to like ???
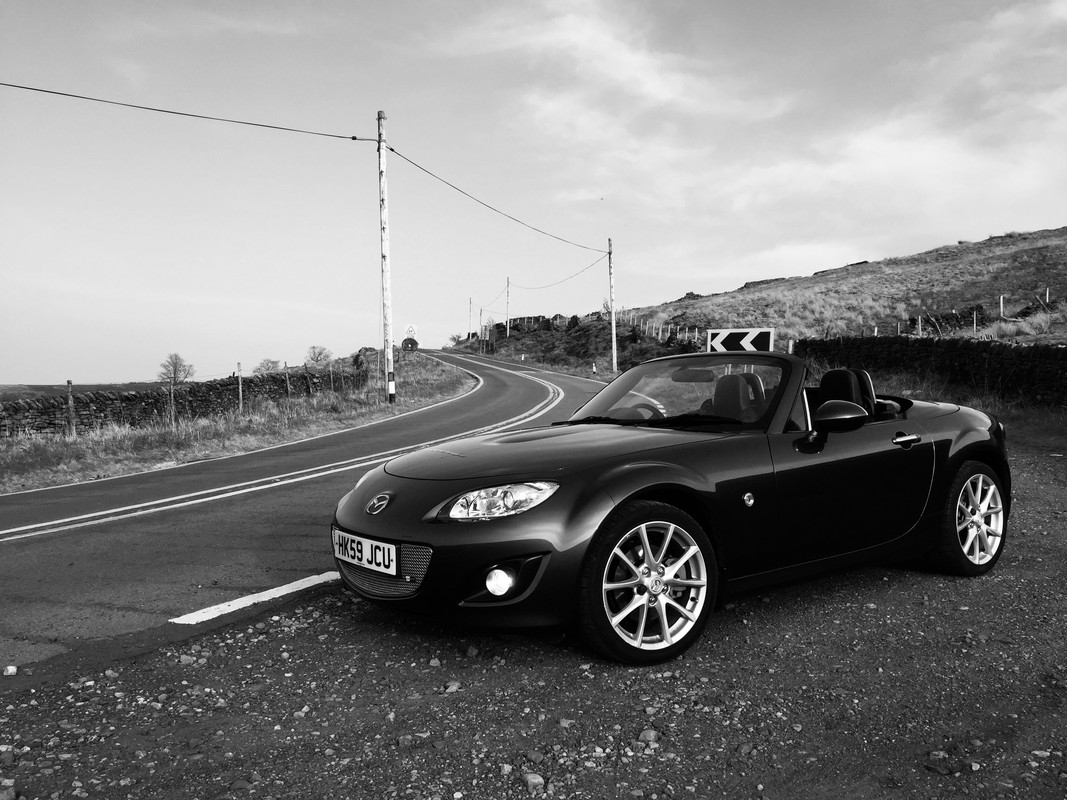
took ERIC for a short run over holme moss ,
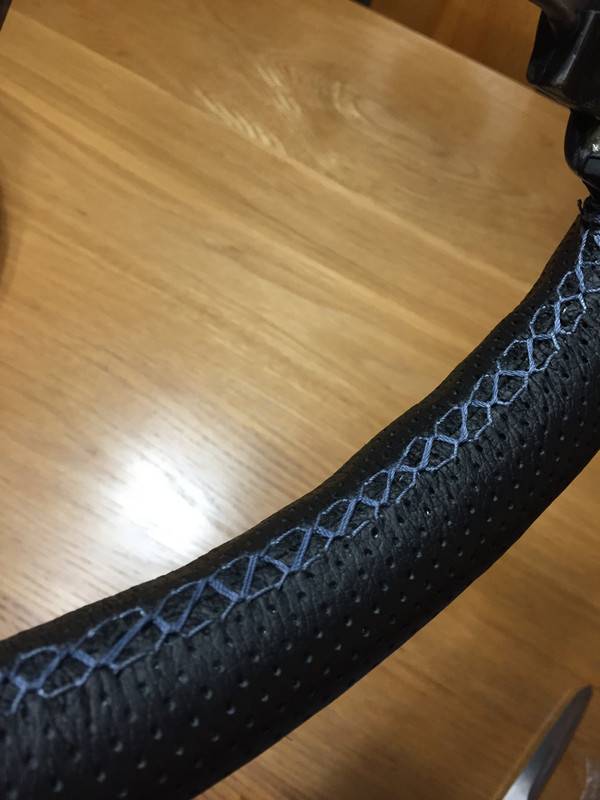
after getting a price for a steering wheel recover from royalsteeringwheels i decided that i would have a go at recovering one myself. (tight yorkshireman )
my original steering wheel is in very good condition and could be refitted by next owner ,
i just find it too thin and find my self gripping too tightly.
so i bought a second hand one off ebay for £24 plus a leather steering wheel cover £20
my first job was to beef up the feel of the wheel , this was done with laminate underlay,
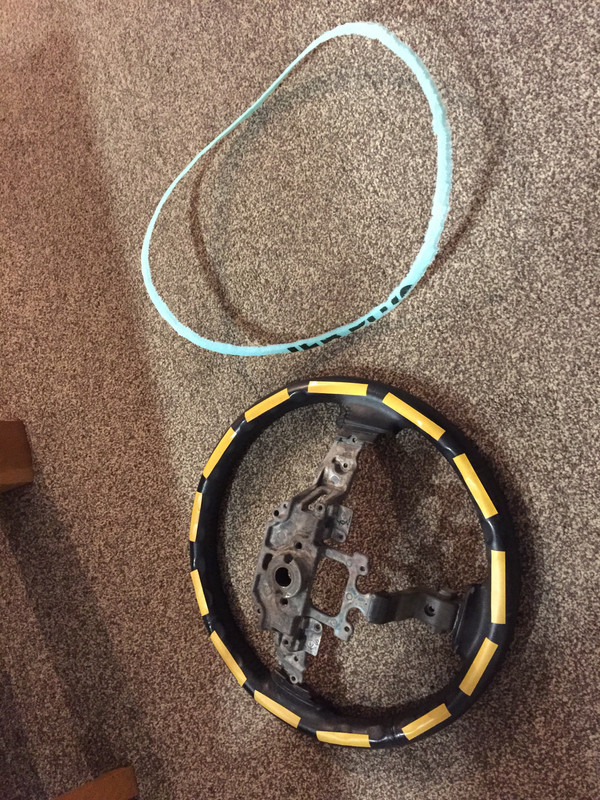
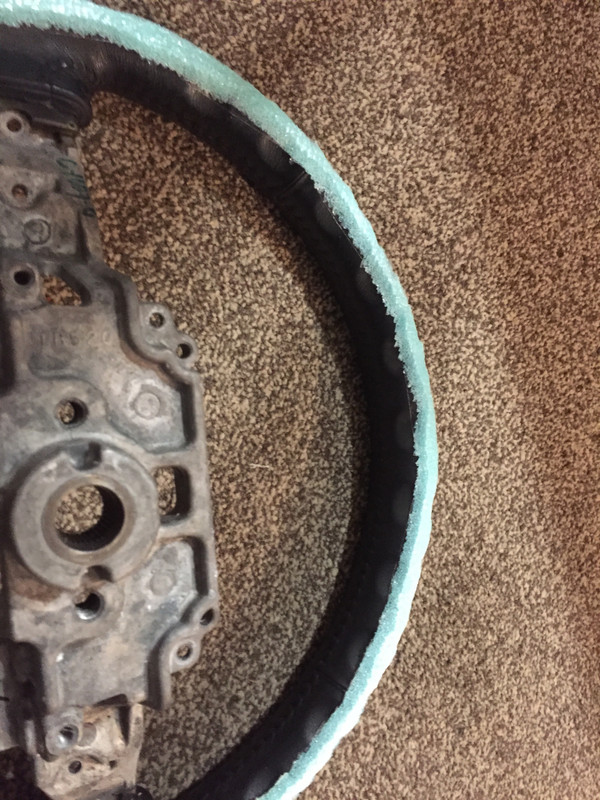
i then hand stitched the cover over the old wheel /underlay ,

bettabuilda was my glamorous assistant , helping with wheel / airbag removal
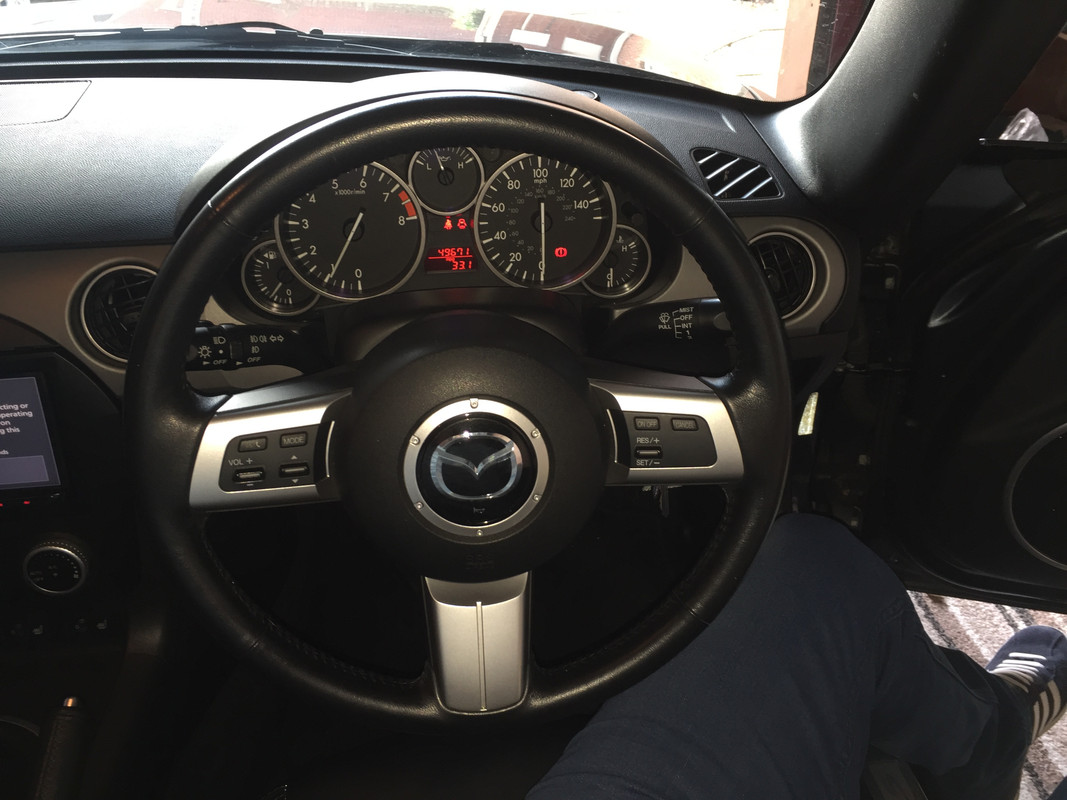
this is ERIC with his new wheel in place ,

i know its not as good as royalsteeringwheels but it was £200 cheaper
the leather cover was not fully "sculptured " to the shape of the nc wheel and i had to use alcantara infills around the cruise and audio controls
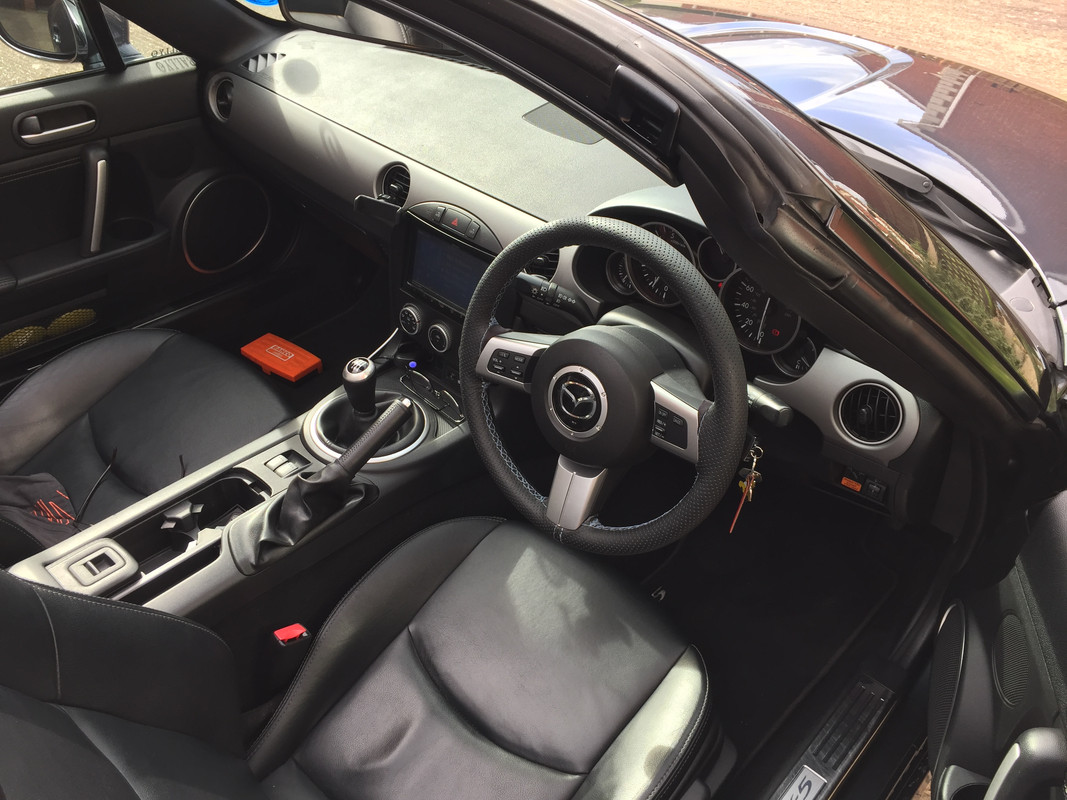
the “new” wheel feels fantastic and make a big difference to the driving experience …i love it
"bettabuilda was my glamorous assistant , helping with wheel / airbag removal "
Should have gone to Specsavers Geoff!!
Was great to help out a fellow 5er
Barrie