2 previous faulty items? That’s very off putting. Good luck with it.
No it was only one faulty item, though had to refit the harness twice so I could check the first module (was requested by Mods4cars to test module after setting were altered) . So today have refitted a new harness with the replacement module and all works fine. Unclipping and refitting the electrical plugs is a right pain !
1 Like
Clean and a good wax… Nothing else! 
Rob
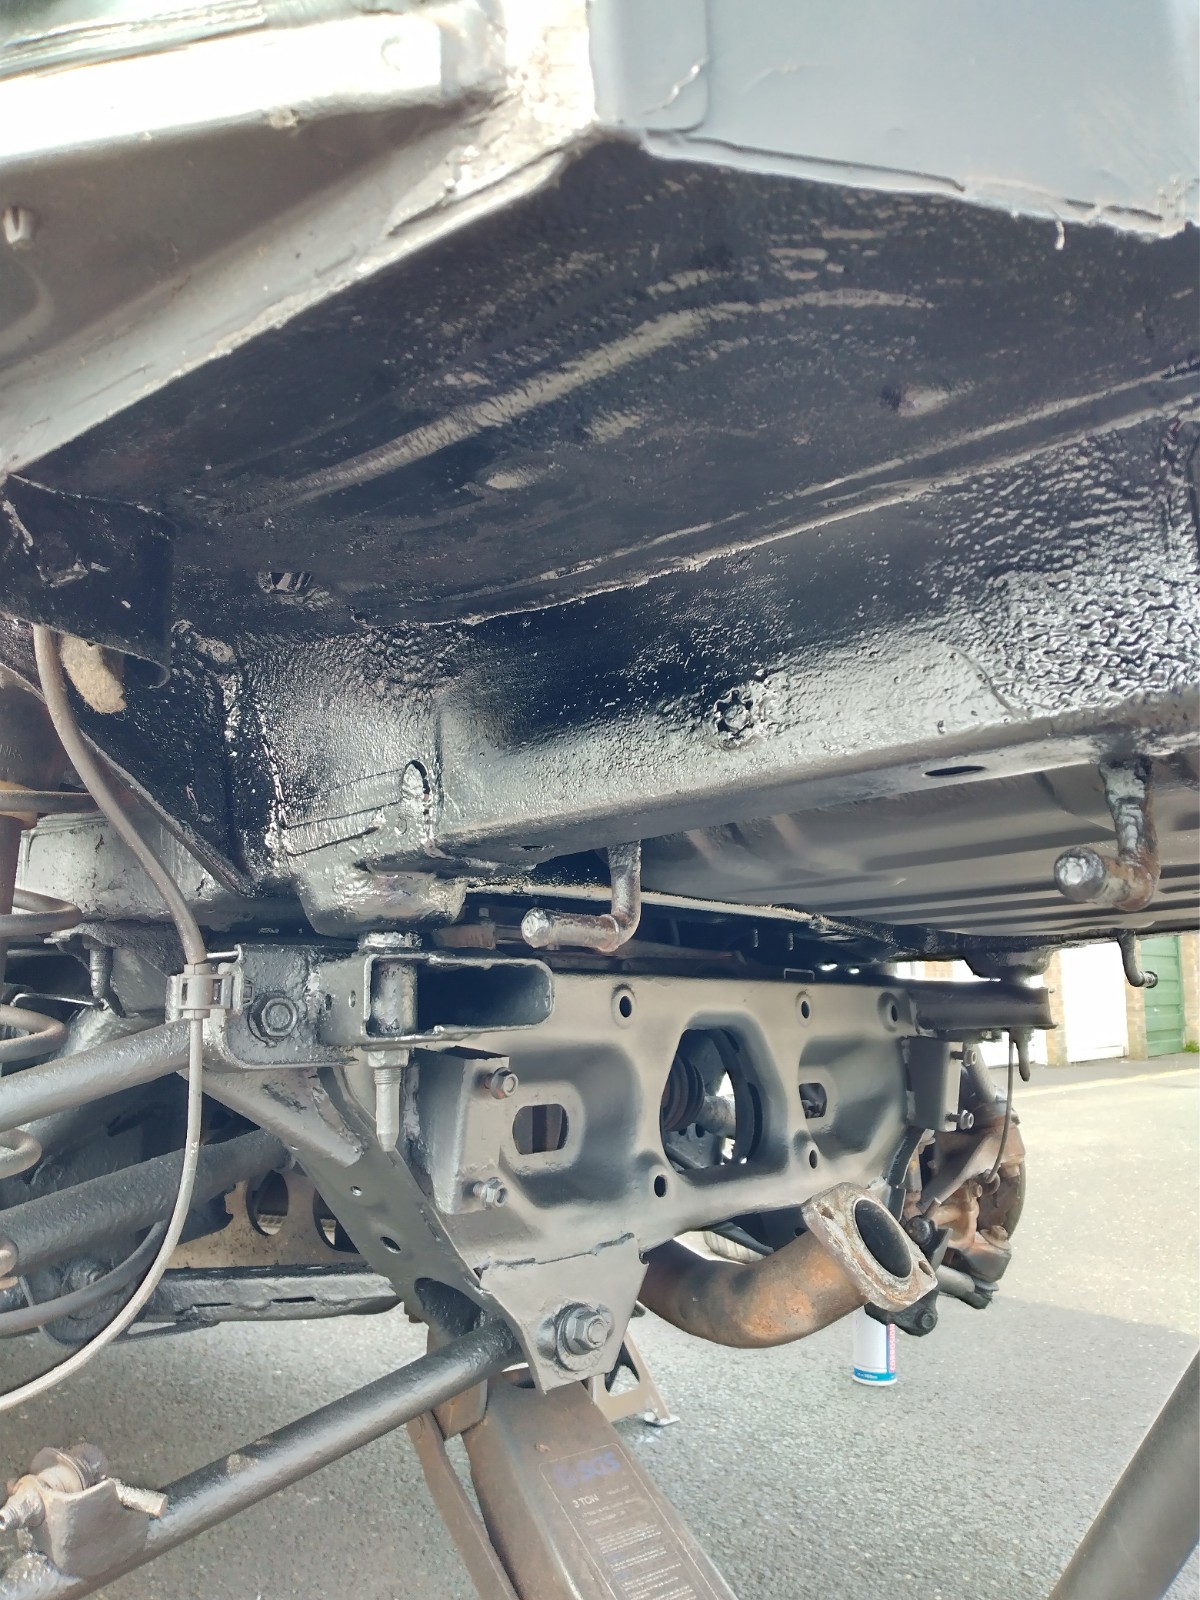
More protection applied, boring post, but pretty important 
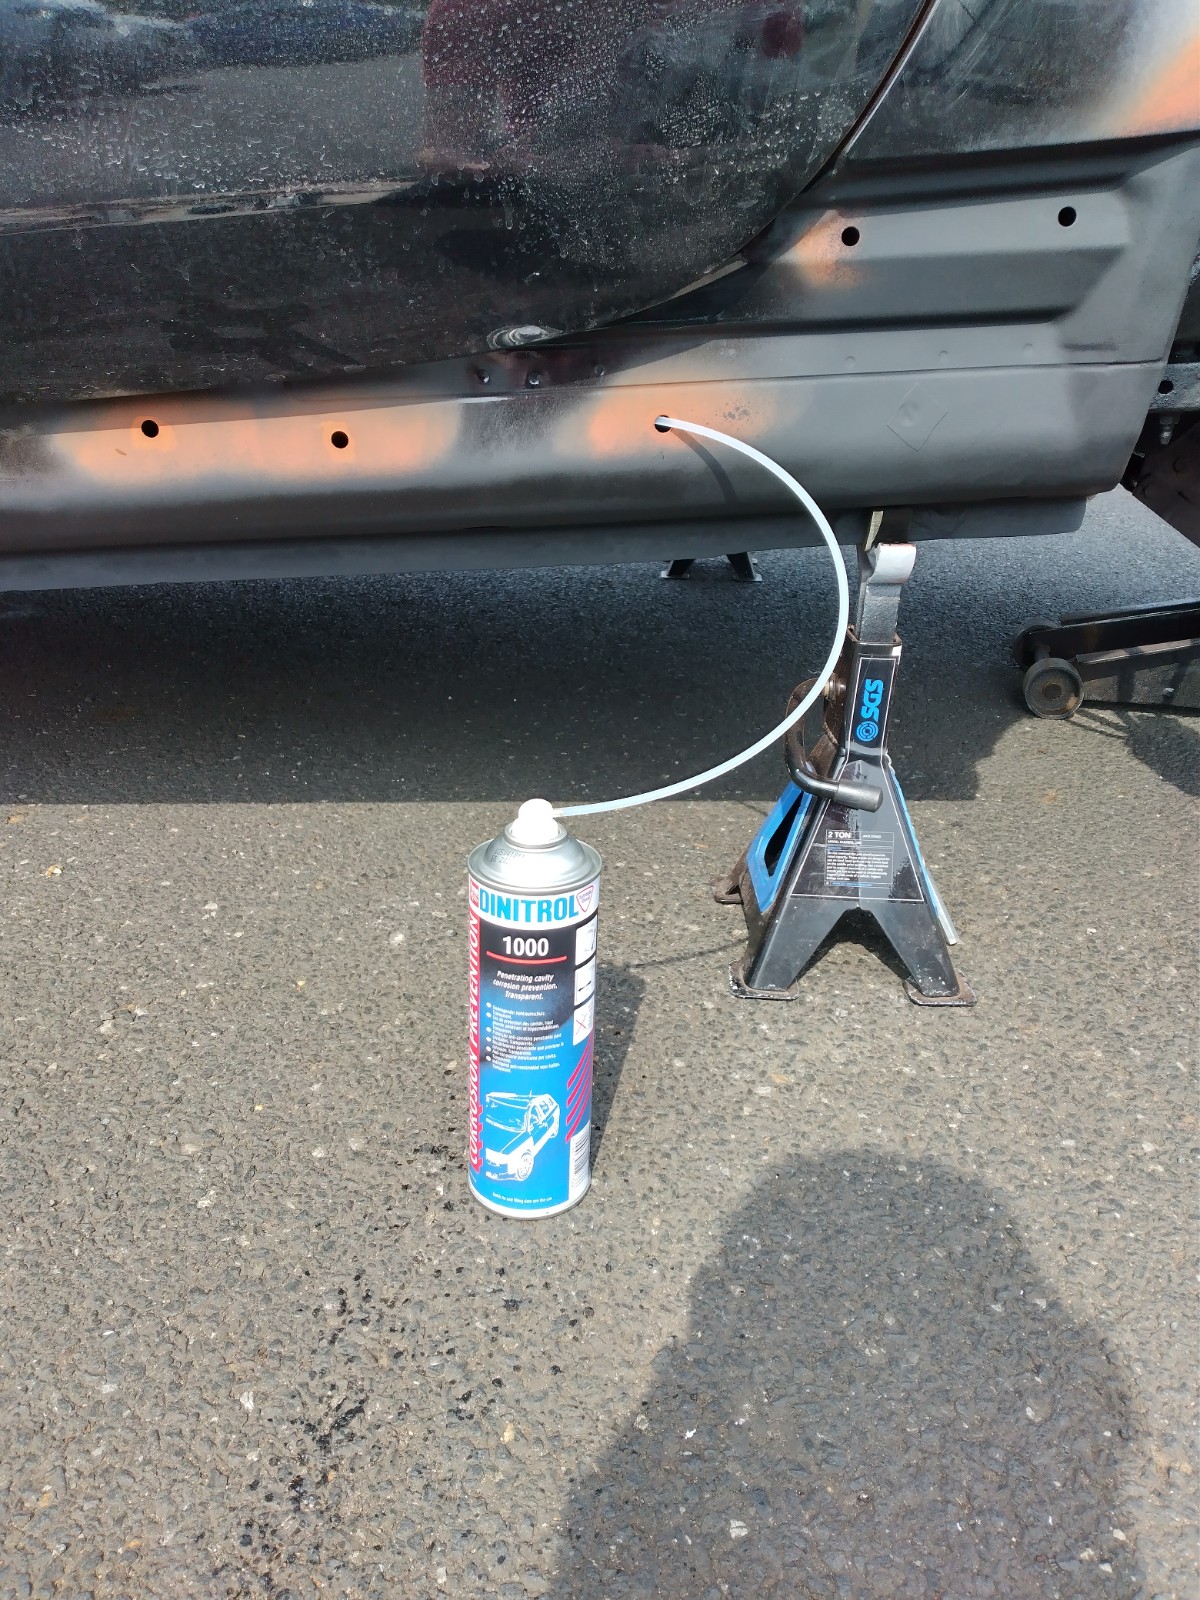


Have to say the Dintrol 4941 is superb, fully loaded can and would spray perfectly no matter which way I held the can.
Car was on axle stands, Im on my back underneath and it still sprayed perfectly with no waste.
Still requires further coats but Im going to wait a day or two for each coat to fully cure.
8 Likes
When you bolt the rear crash bar back on, run some sealer around the bolted section. When it rains or you wash the car the water runs in the boot gutter and behind the lights and out through the bottom of the car. But it runs right through the bolted section, resulting in the rust between the crash bar and body. After all the work you have done in removing the back end to treat the rust, this will help stop it from returning.
3 Likes
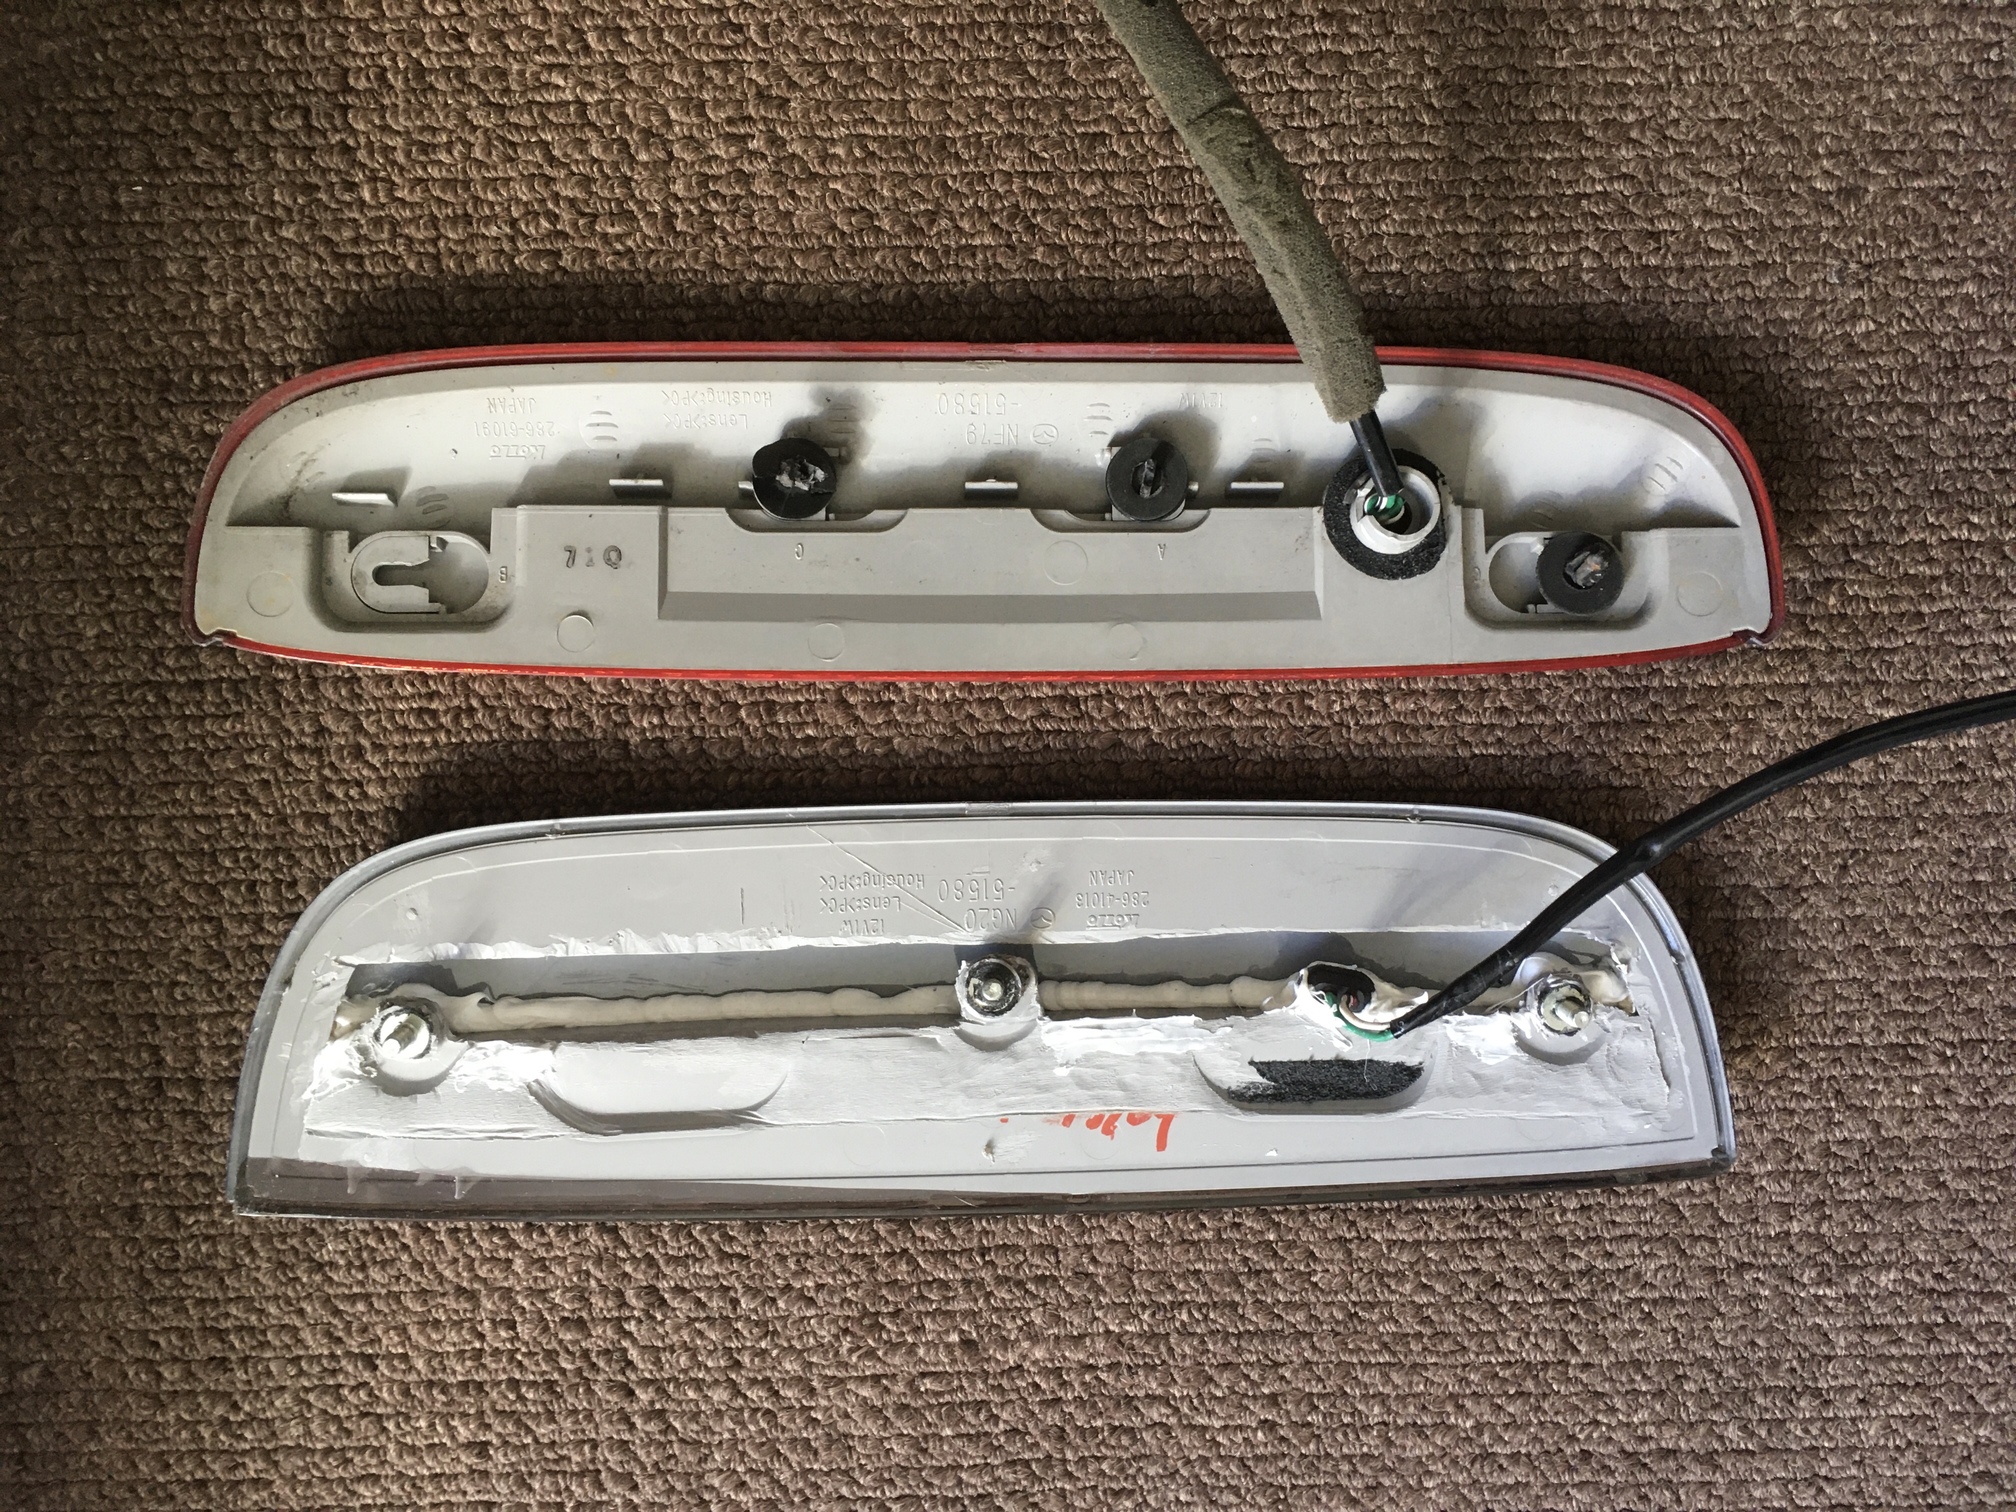
Fitted a clear lens high level brake light. Mine came with the bog standard red lens and I thought the clear one would go better with the cars grey colour so I searched for a second-hand one. For Mk3s it appears clear ones are only available on hard tops, and mine’s is a soft top, but I figured I could get it to fit - how hard could it be? Very, it turns out.
The hard top light is shorter, deeper and slightly curved. It also has three bolts for fixing, as opposed to four press-fit studs on the soft top. I didn’t let that put me off and set about sanding down the underside of the new one. Took ages but the picture below shows the end result, as well as the differences between the two (soft top version on top).
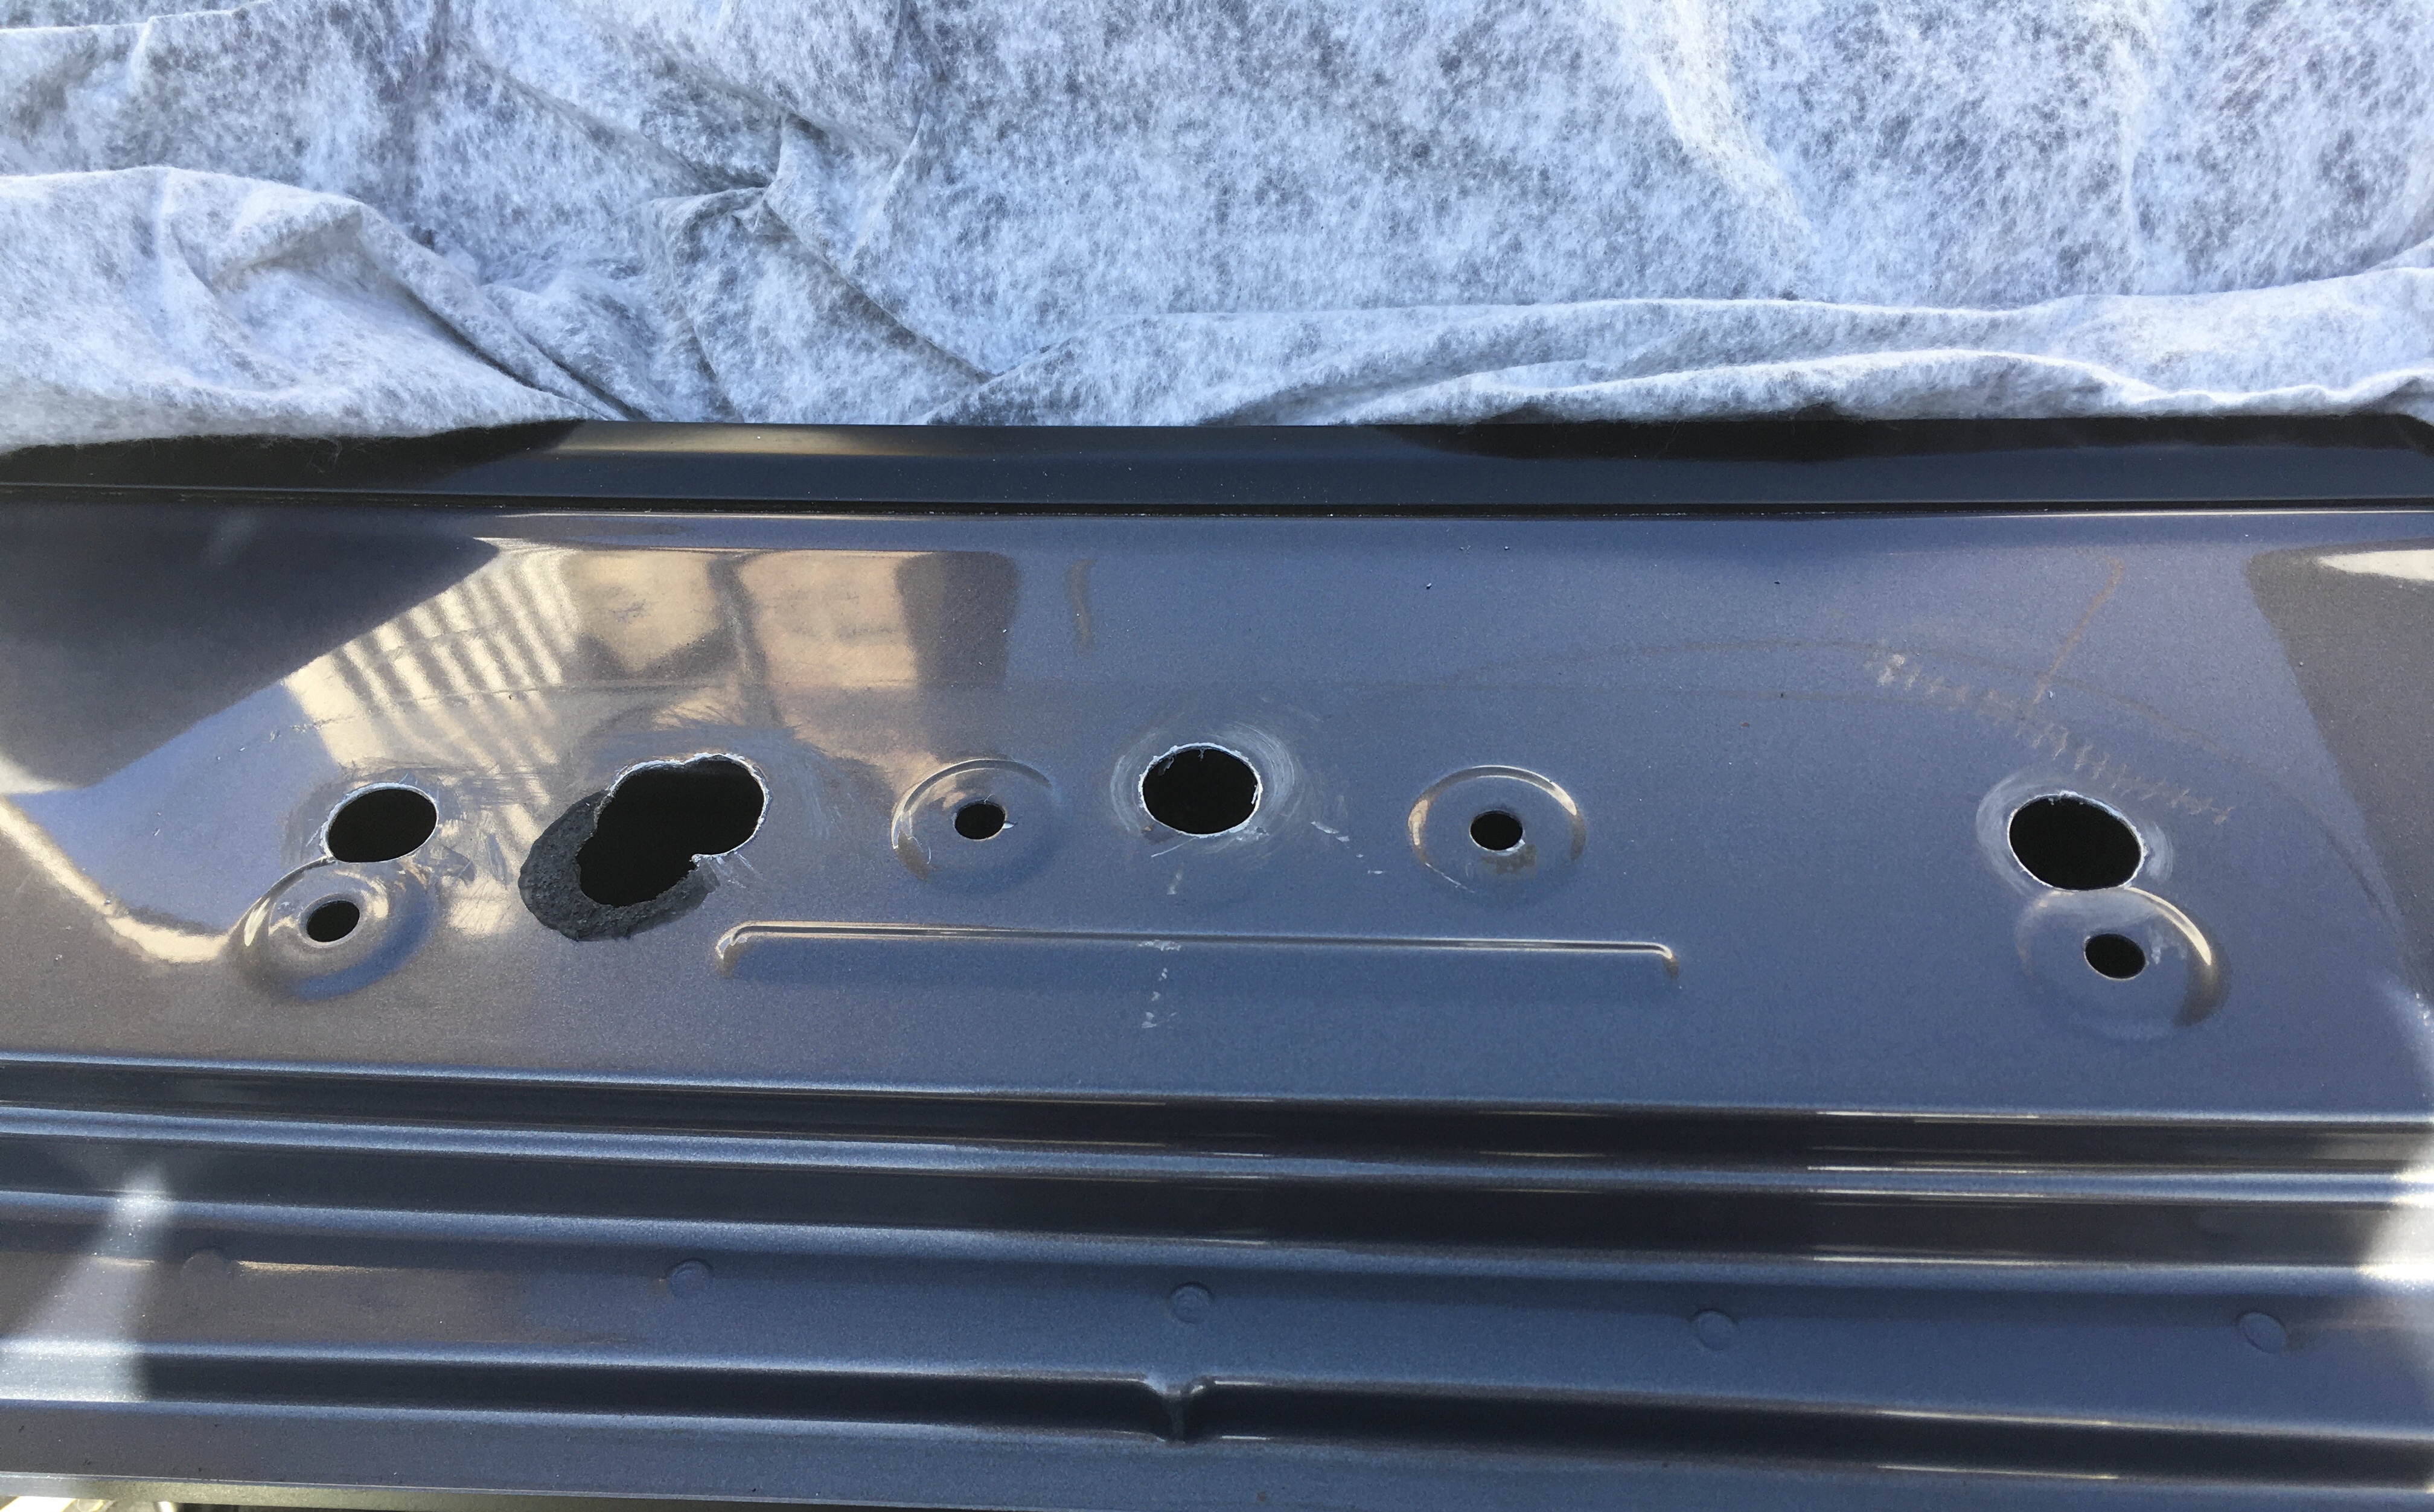
I then had to drill new holes in the bodywork, which just felt wrong. Even my neighbour asked if I was sure I knew what I was doing when he saw me approaching the car with a 10mm HSS drill! The picture below shows the pilot holes I started with,
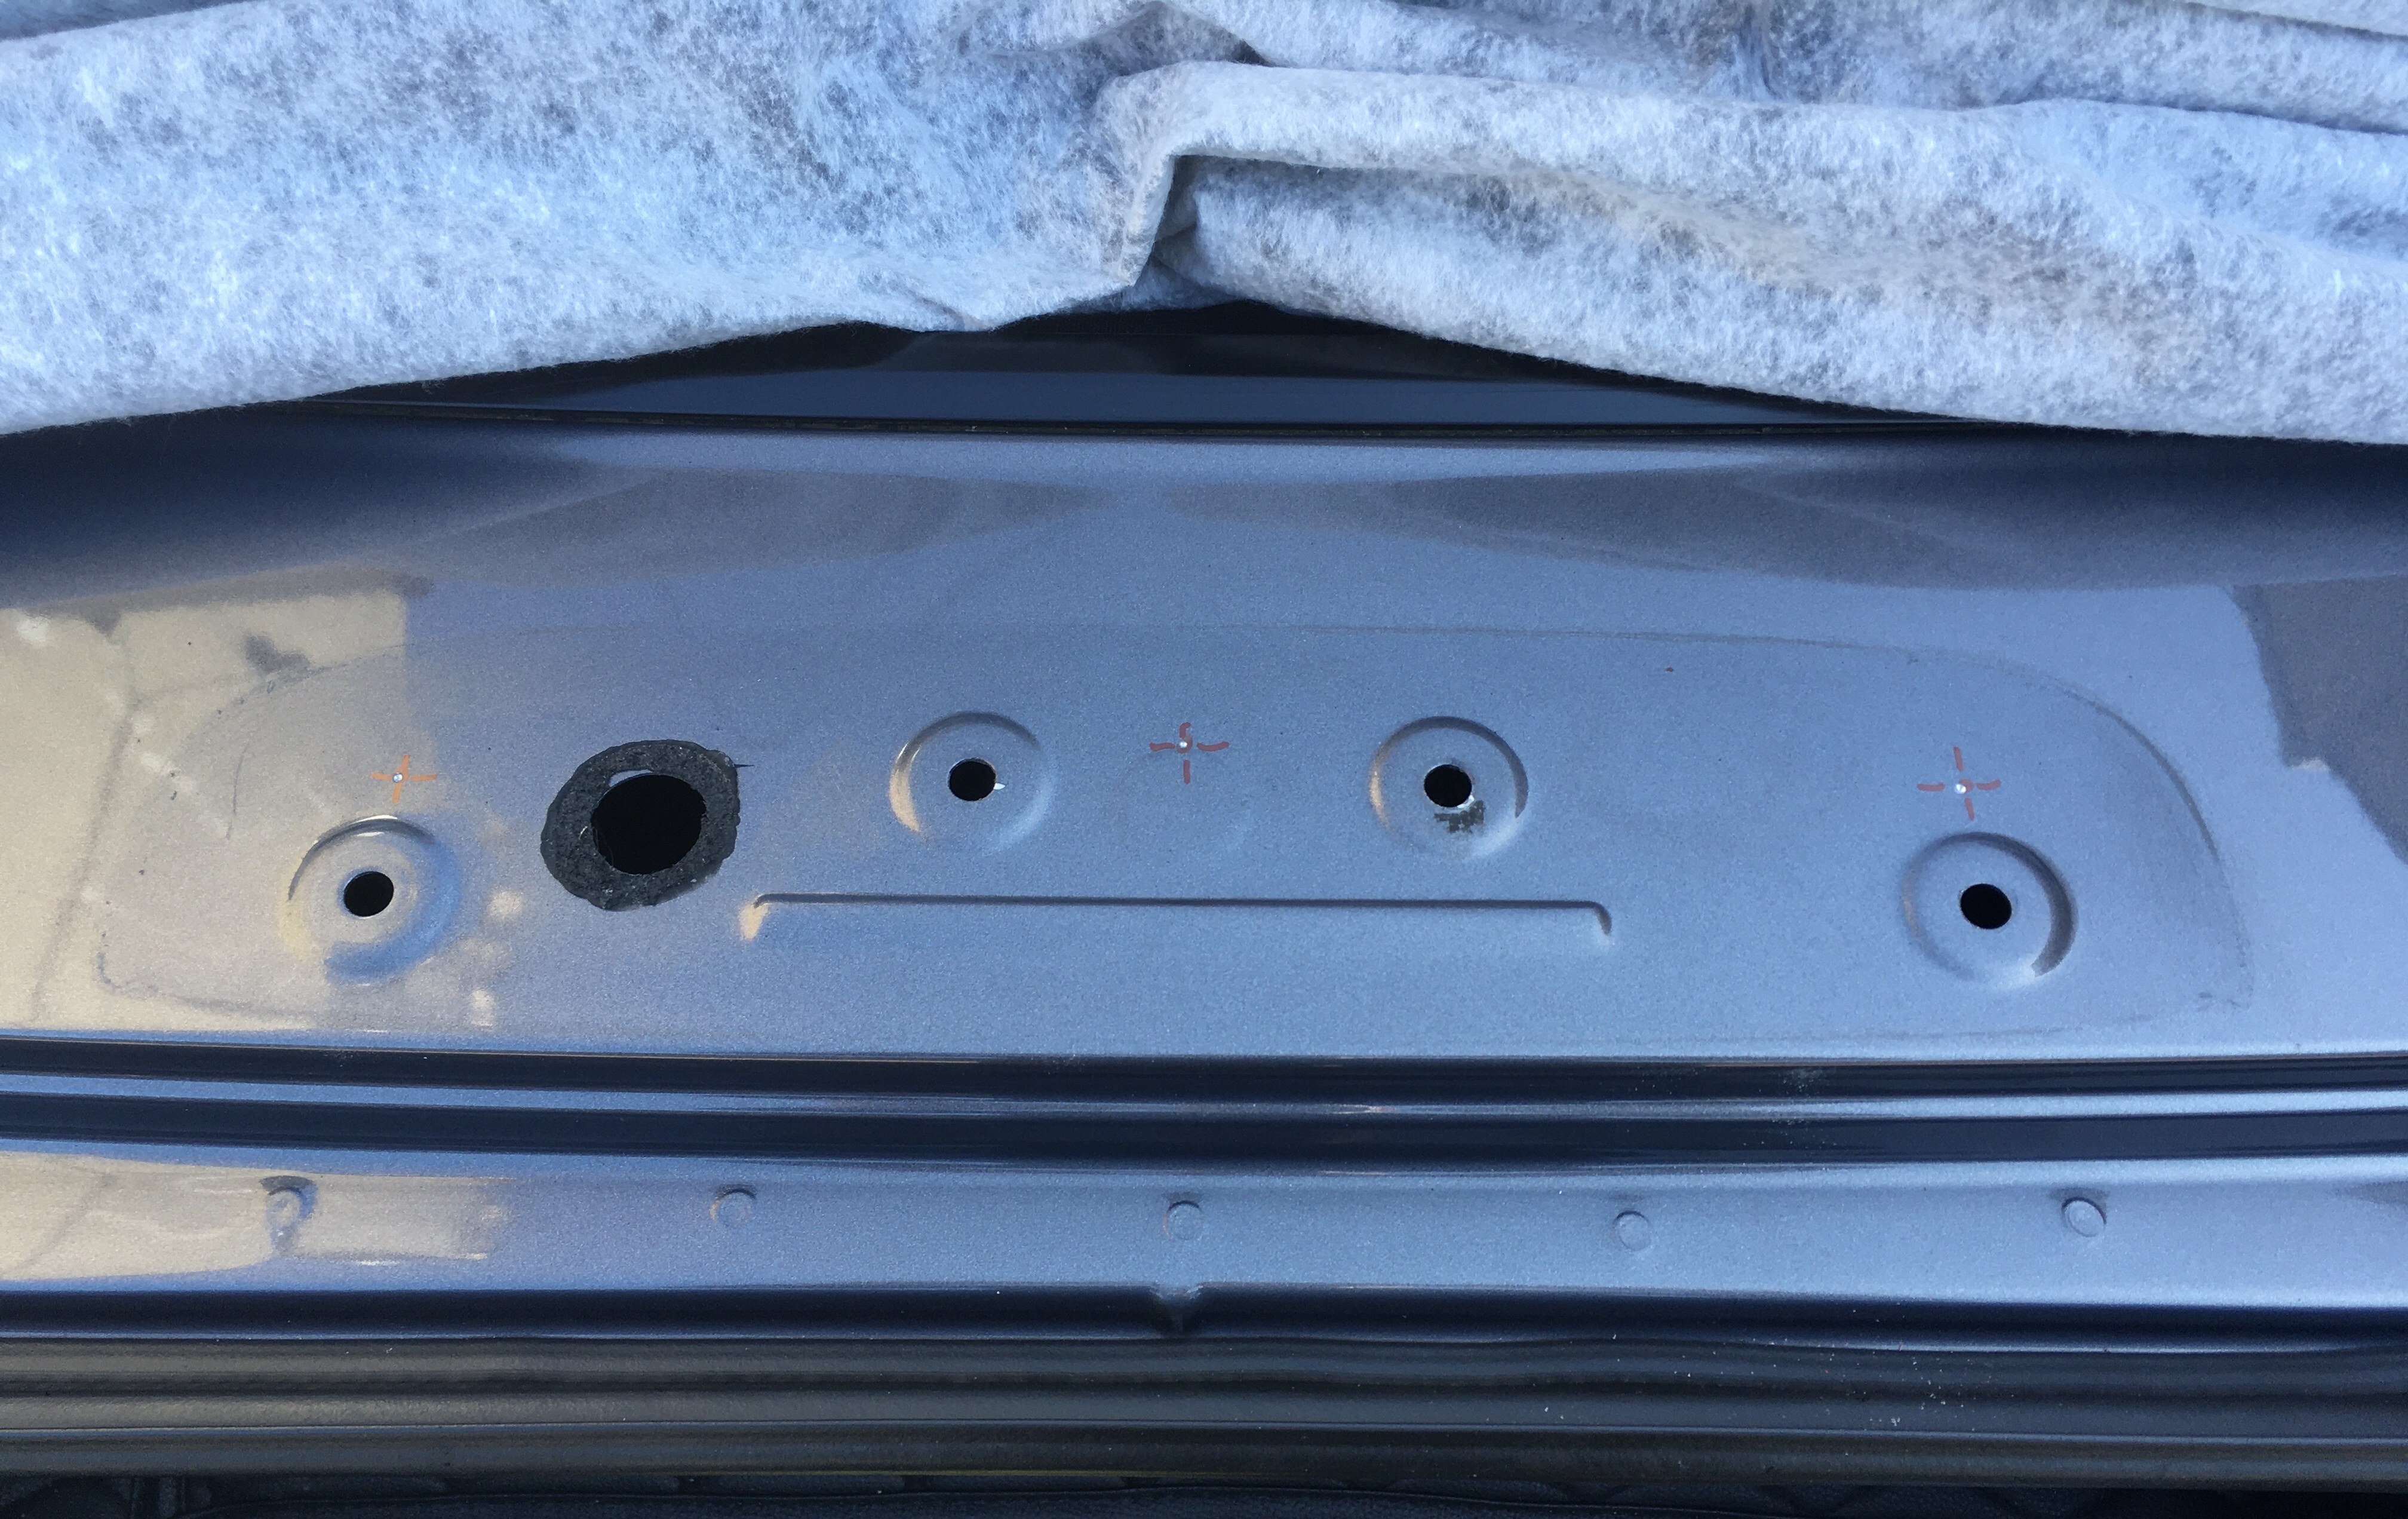
and this is how it looked when I had finished.
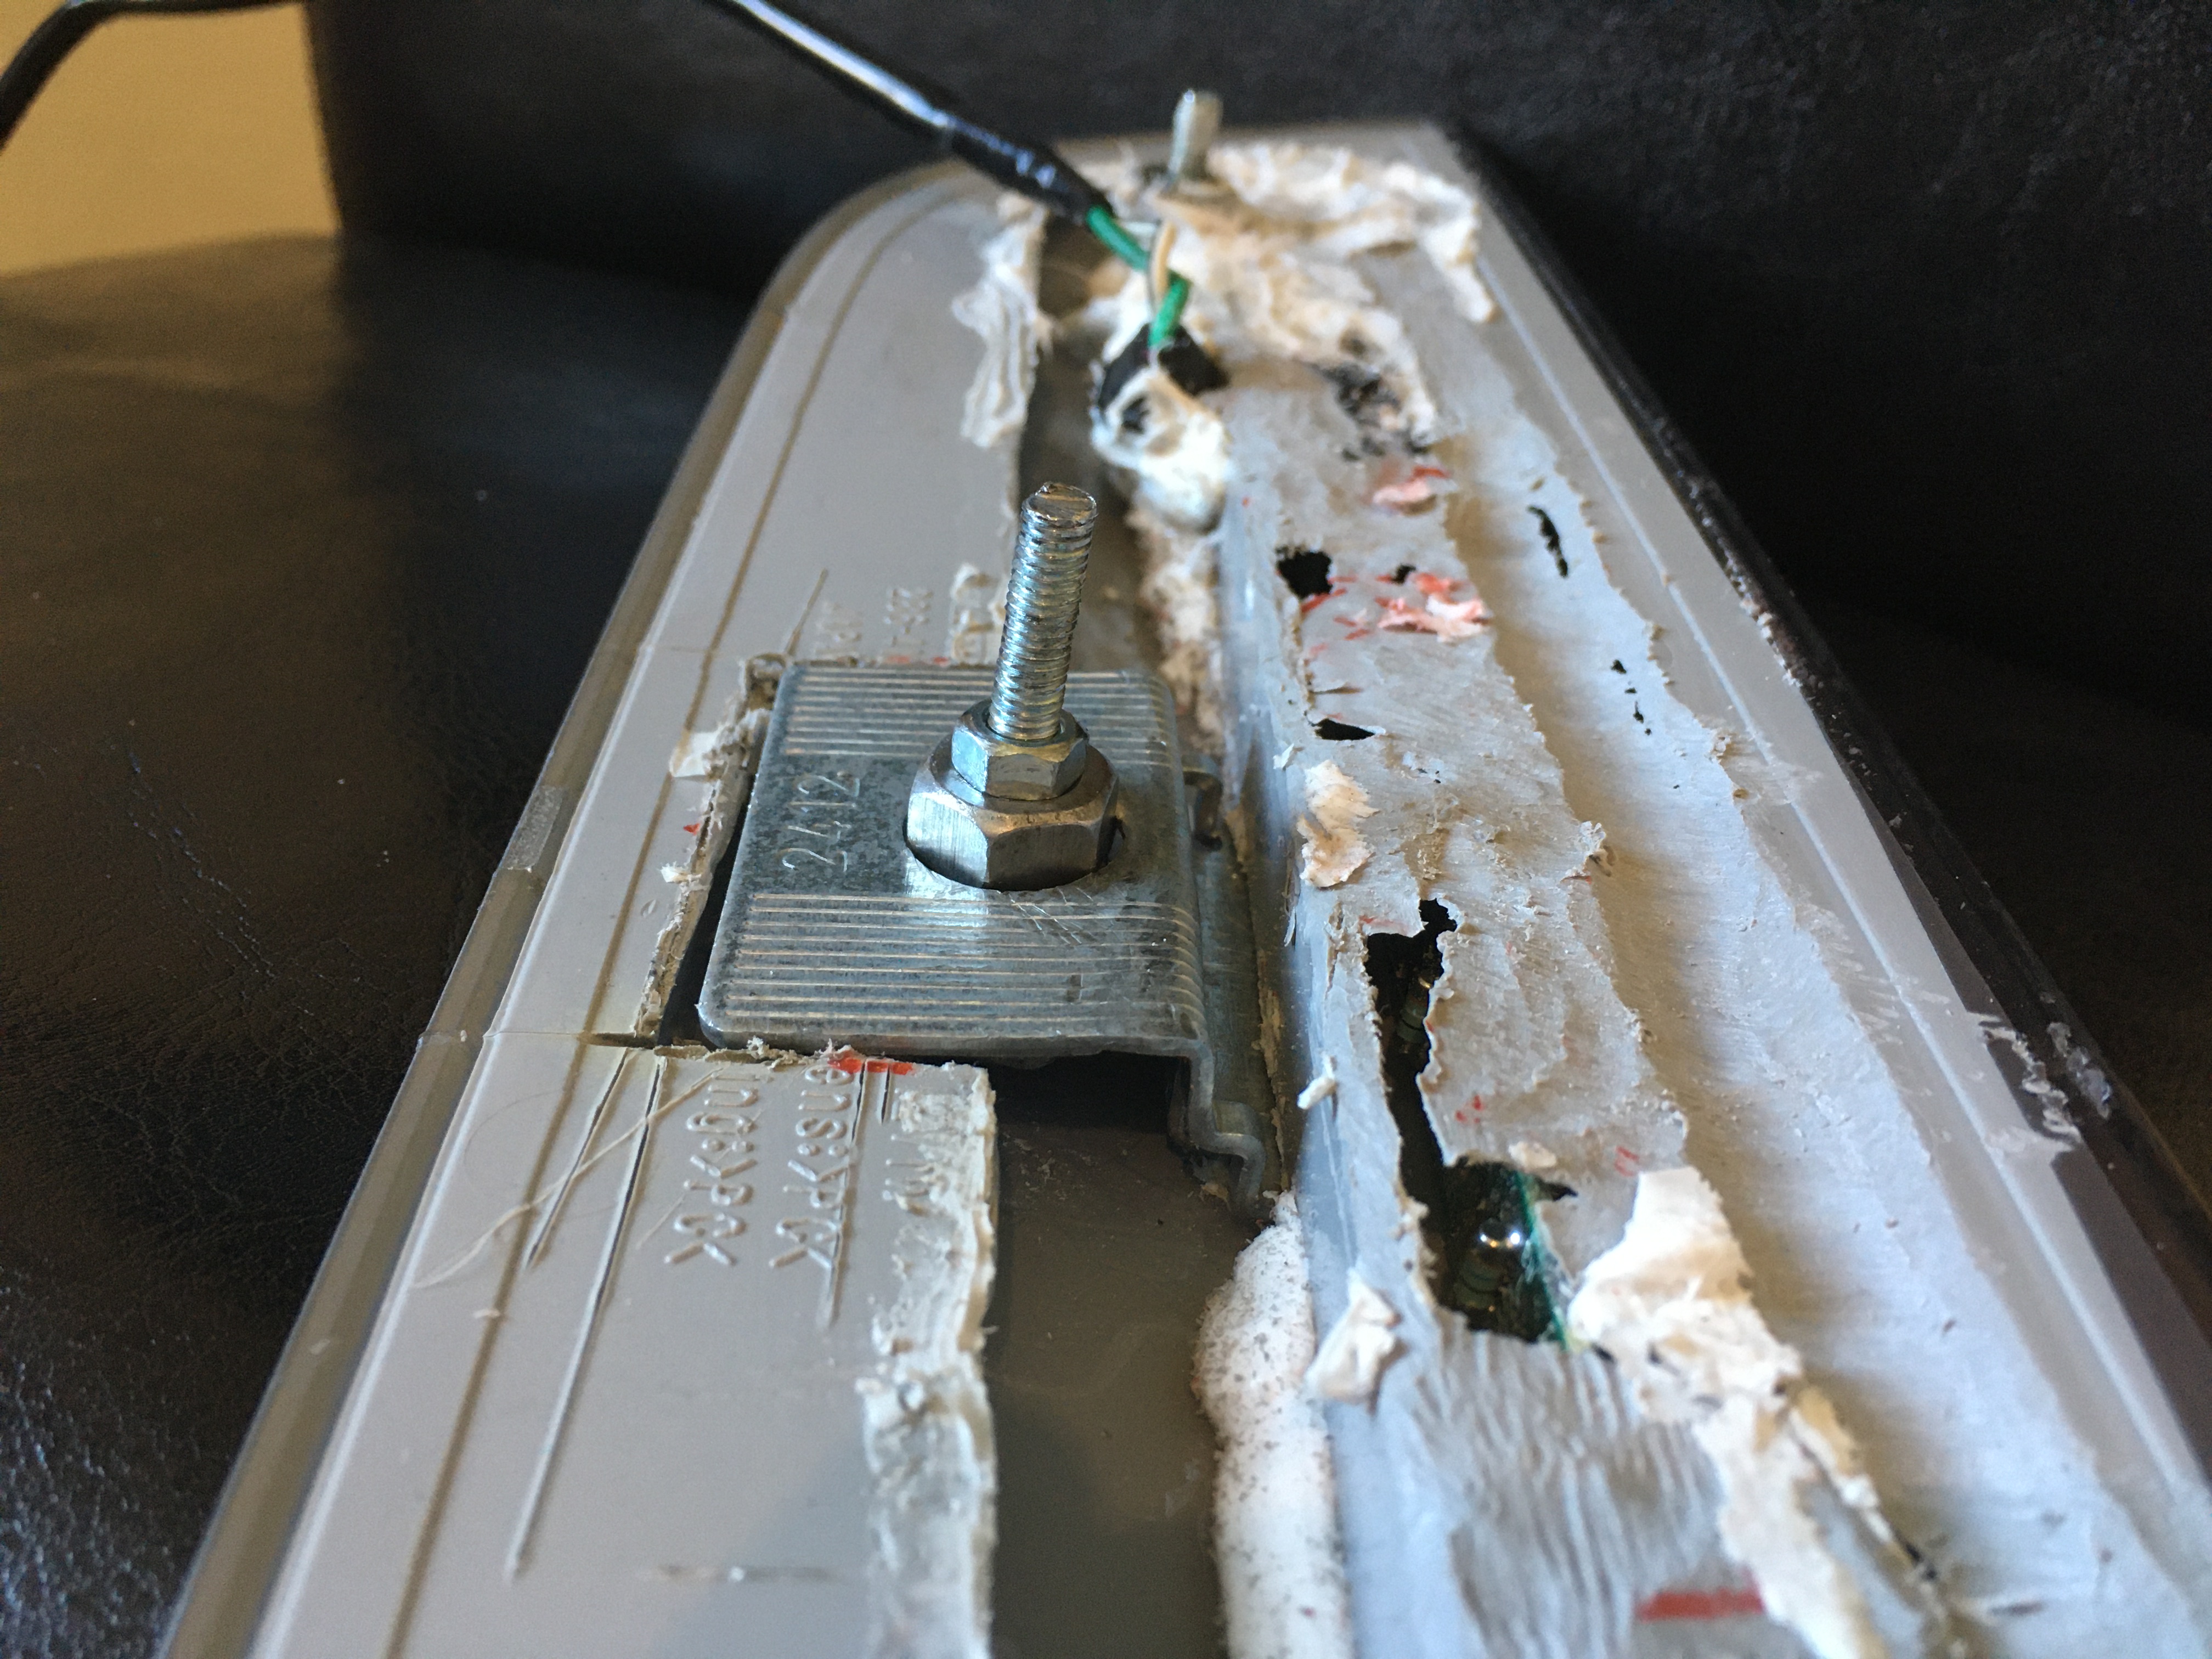
I painted around the holes with three coats of primer and installed the new light. My method of fixing it to the bodywork consisted of flat metal plates and nuts inserted onto the three bolts from inside the boot. That was a real pain in the a*se as there is a second metal skin in the way with only a few small cutouts for access, meaning I had to do it blind and line everything up by feel! I must have dropped those brackets and nuts fifty times into the cavity but eventually engaged them and started tightening everything up.
As I mentioned earlier, the new light is curved on the bottom, and my panel is flat, but I figured I would just tighten the middle bolt and it would pull it down. Wrong - it just sheared off! I had to cobble together a new centre fixing, as shown below. The underside was starting to resemble Frankenstein’s monster at this point!
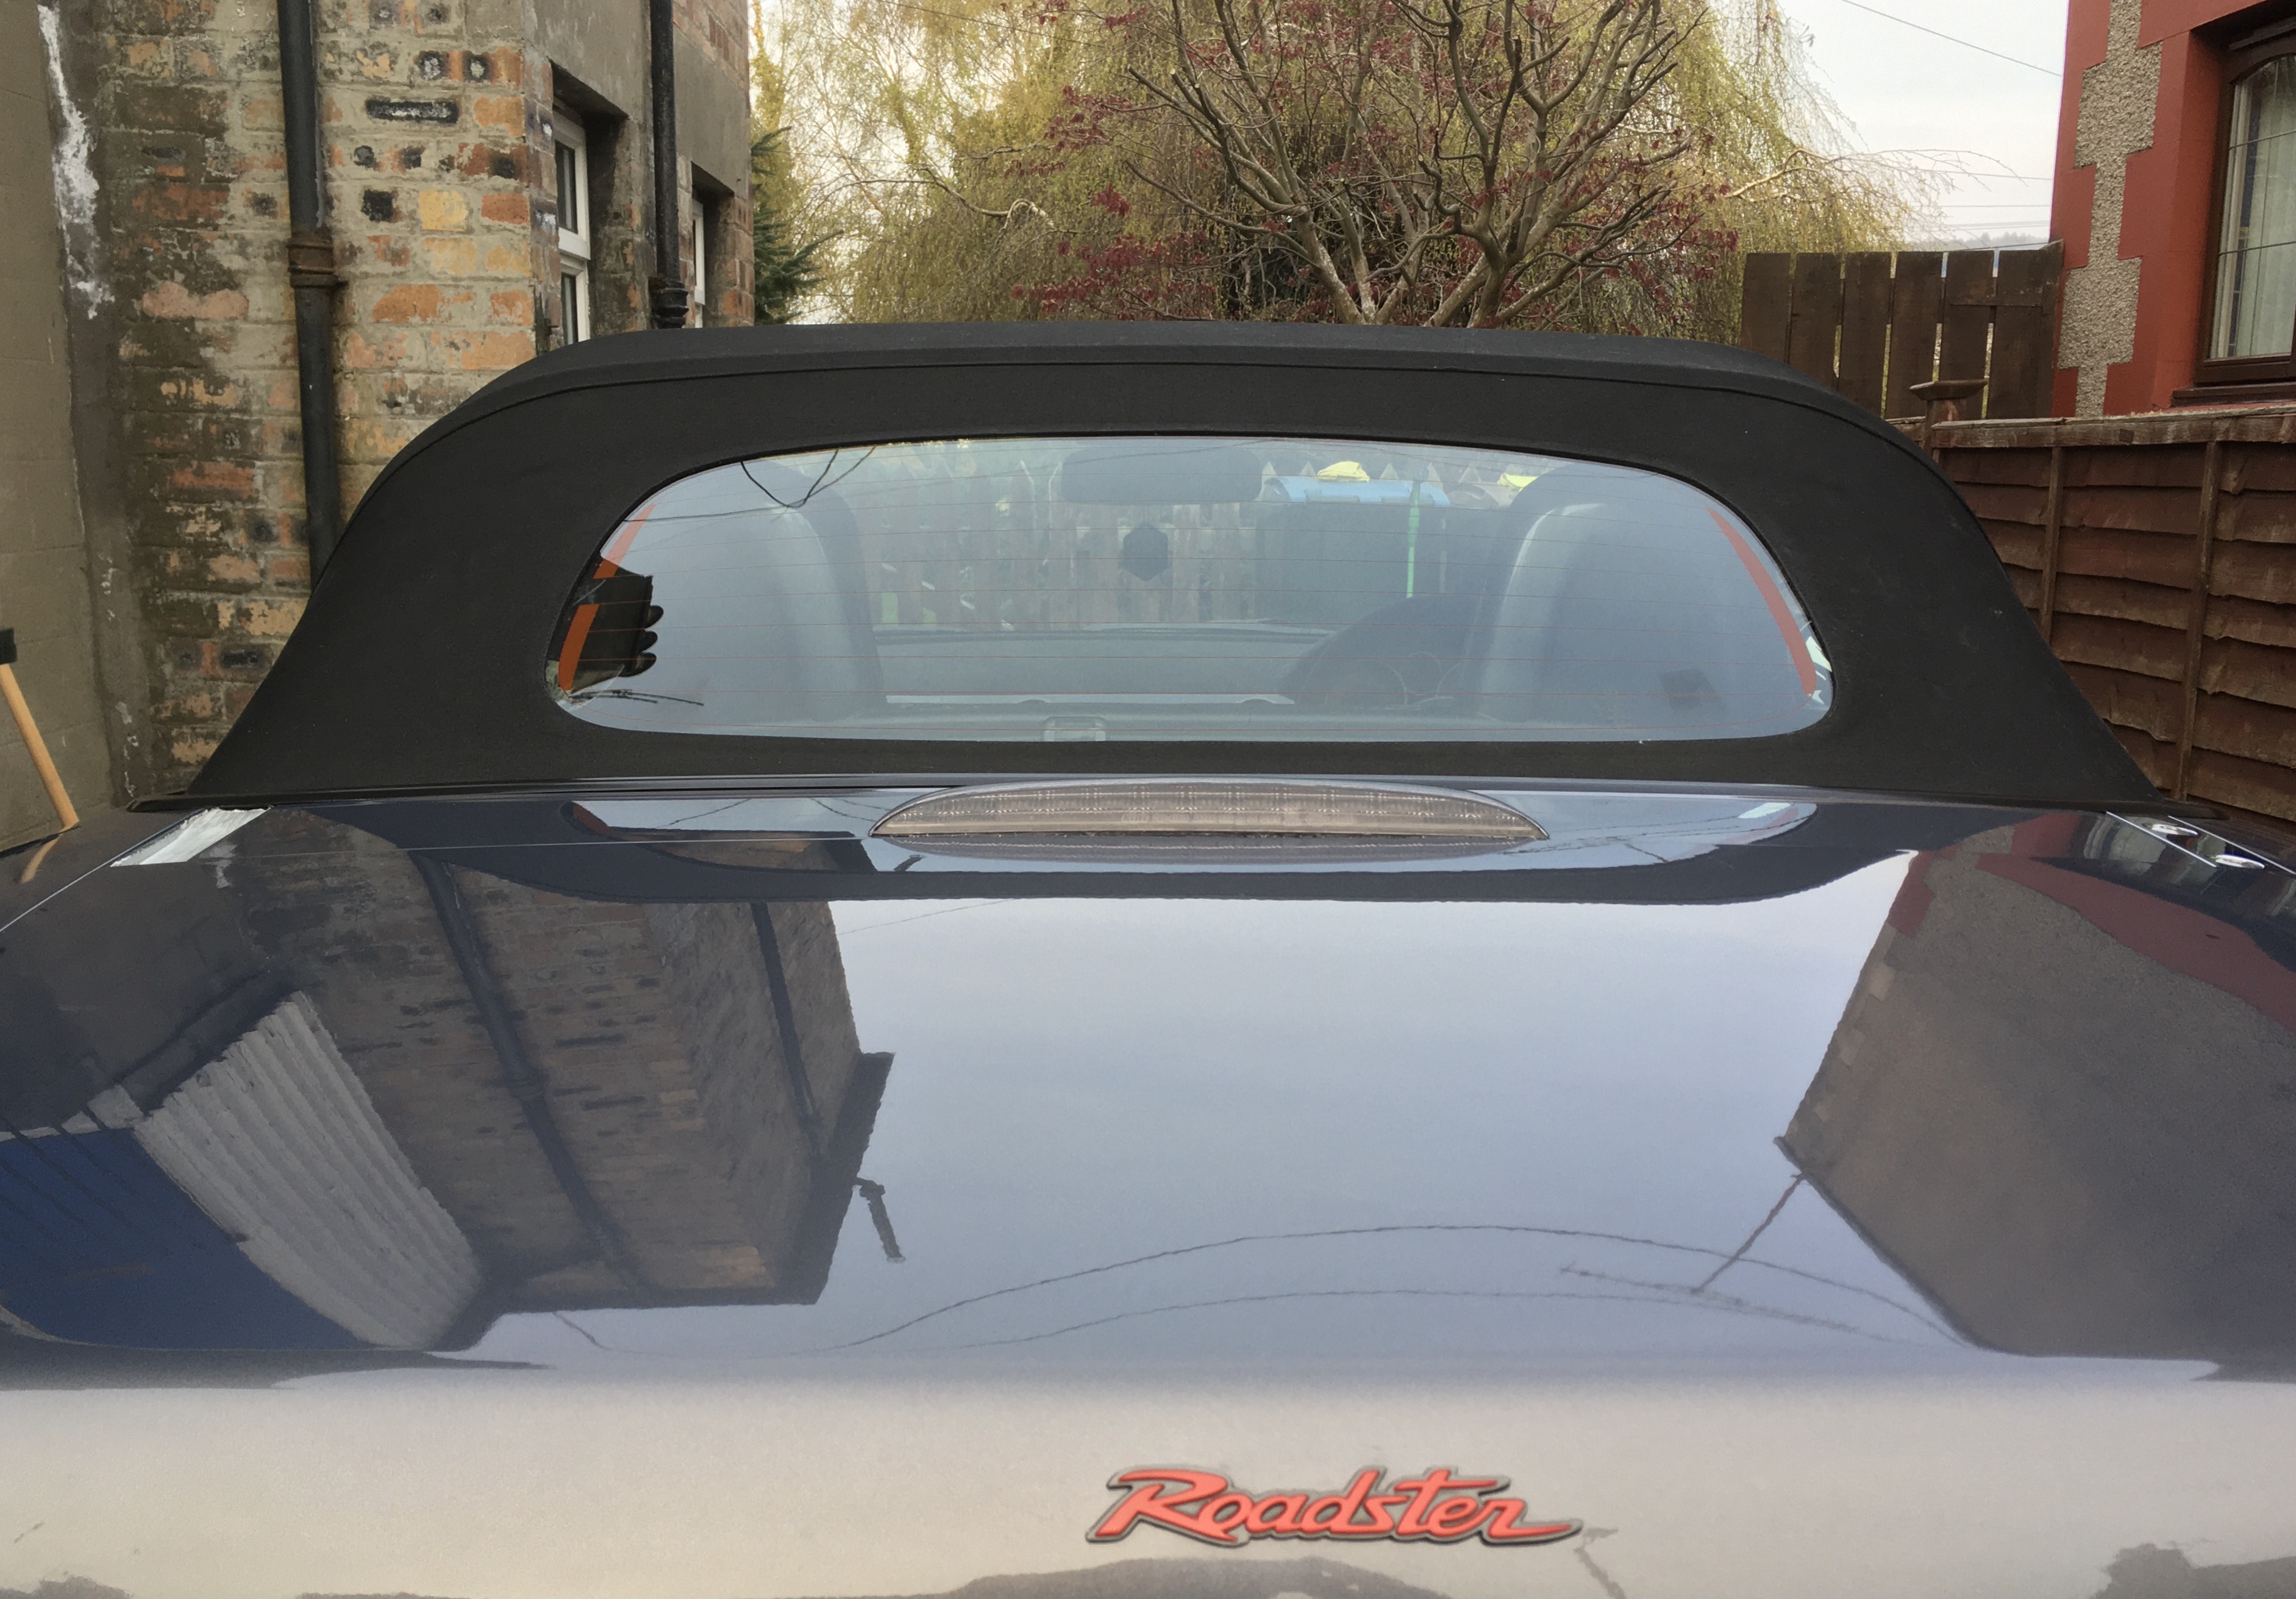
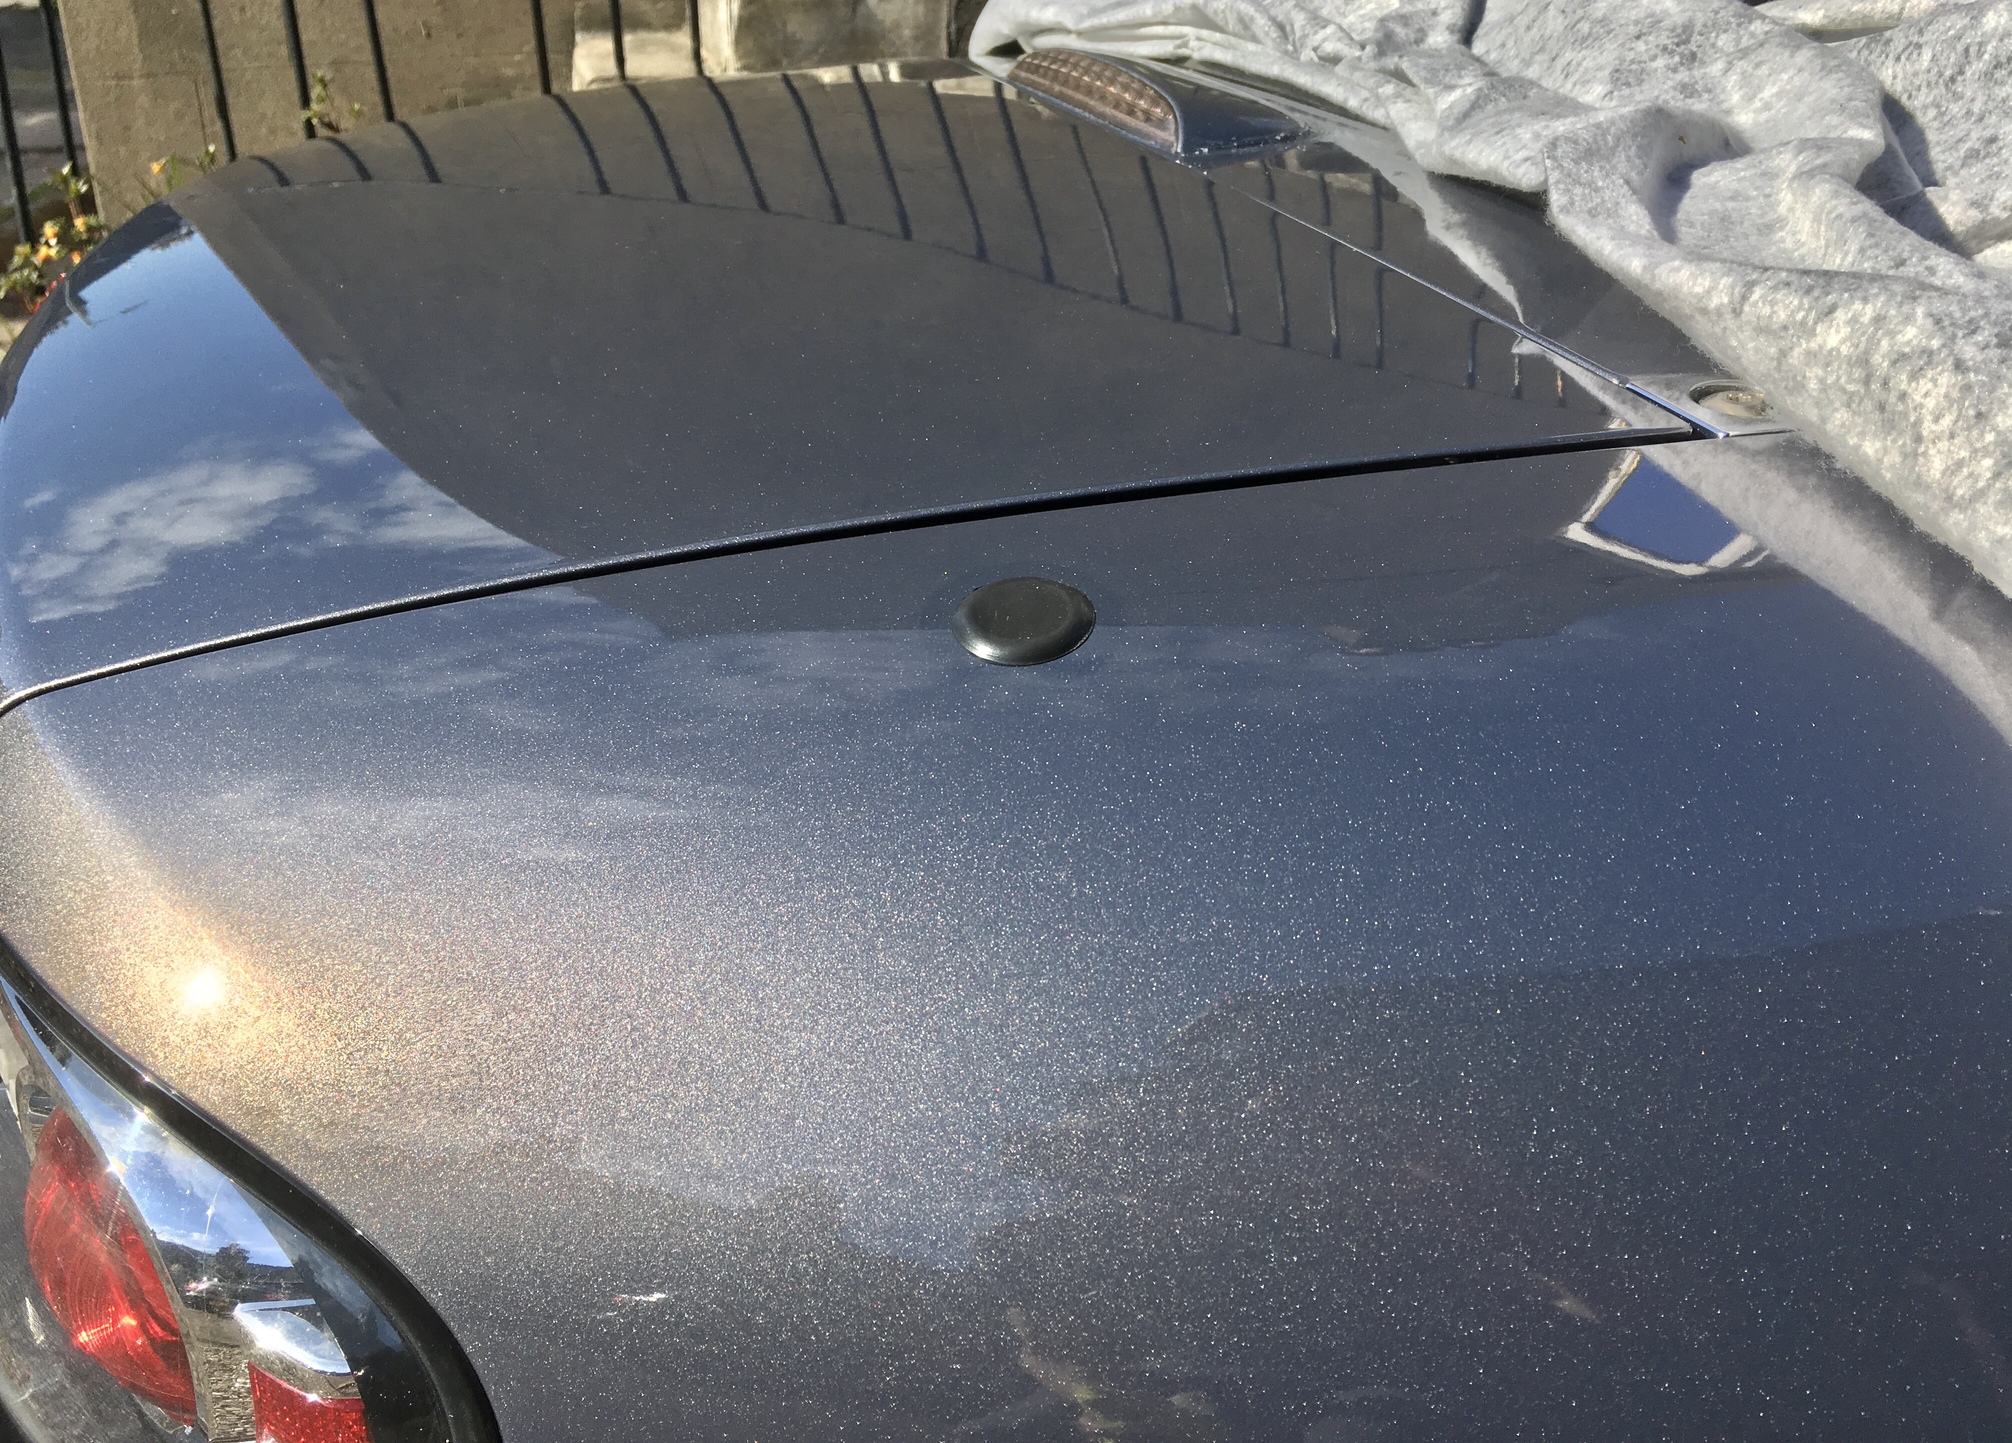
The new bolt held when I tightened it all up but I still couldn’t get the light to go as flat as I would have liked, and resigned to fill the gap with silicone.
As you can see from the picture below, there’s a bit of a gap around the edges as well, which I may also fill with silicone. It’s not the tidiest job I’ve ever done, but it looks okay from a distance. I also put a light smoke film tint over it.

2 Likes
Reapdjusted the passenger side plastic bush.
The CO was complaining of rattling over bumpy, rough surfaces, so I took the bush off and freed up the adjustment slots some more, then fitted the bush loosely, shut and opened the door a few times, tightened some more, etc, etc until tight.
I made sure to do this with the windows open so that I could better feel any resistance from the bush.
With windows closed, air pressure from closing the door creates extra resistance and it makes a surprisingly big difference.
I also smeared Autoglym Bumper Care generously on the bush
The results were brilliant. ALL rattles from bumps gone and the car feels even stiffer, sharper and more solid.
Super pleased 
The cheap, 3d printed Just Send It bushes do the job but another time, I would buy the Cobalt machined Delrin version.
2 Likes

What we done to our MX5 today
3
/
3
![]()
I have got mine out of the garage Give it wipe over. It is already polished and sealed Then I put the MXparts Chrome spot light embellishes on and the two side marker chromes … will go for a short drive to Ongar Essex today Roof down Hair blowing all over the place but who cares when you are in the smartest little roadster in the world.
![]() 4h
4h
- [
last reply
](https://forum.mx5oc.co.uk/t/what-we-done-to-our-mx5-today/120097/3)
![]() 1h
1h
- 2
replies
Add or Remove…
![]()
Hi Raymond
You appear to have sent this as a message to me rather than as a post on the thread.
I’m guessing this wasn’t your intention…
Jeremy
![]()
![]()
No it wasn’t but I haven’t a clue how to navigate this web site. I imagine that I’ve created havoc across this site, I need someone to come and show me how to press buttons and do it correctly, I am in Epping area Anyone available to help me Tea biscuits or beer Best regards from Ray
Quote
1 Like
Did the Boot Popper mod today. 5 minutes.

4 Likes
Cut a couple of blocks of closed cell foam to fit over the top of the drain hole grids. The thinking being that any downpour would just float them clear, so no blockage.
Found it tricky to cut to shape, so tried popping the grids out, as had read this is possible. Hey Presto !
They pop out easily, so no excuses for not being able to insert a brush…
Cut to the shape of the grids and good to go.
Too nice weather to try with roof up but sounded quiet with roof down.
Acid test is with roof up of course.
Will report back.
1 Like
I’d be very interested to know if that works. Do you have any pictures?
Removed my aerial and filled the hole with a Honda grommet. Don’t know if there’s an equivalent Mazda grommet but research online showed a lot of NC owners had done this. I can confirm it’s a perfect fit.
No pictures at the moment but I could take some.
The foam is from a left over section of Halfords garage flooring, which at a guess is something like 1.5 cm thick.
I simply popped out a grid with my finger tips, placed it against the foam and cut round it with scissors, put the grid back and put the foam on top.
Took a very few minutes to do both sides.
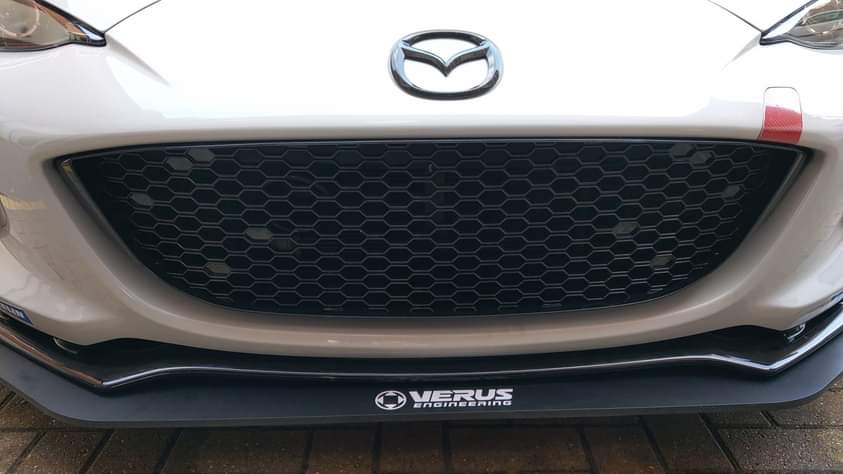
The grill looks good to be honest.
Okay, I will ask.
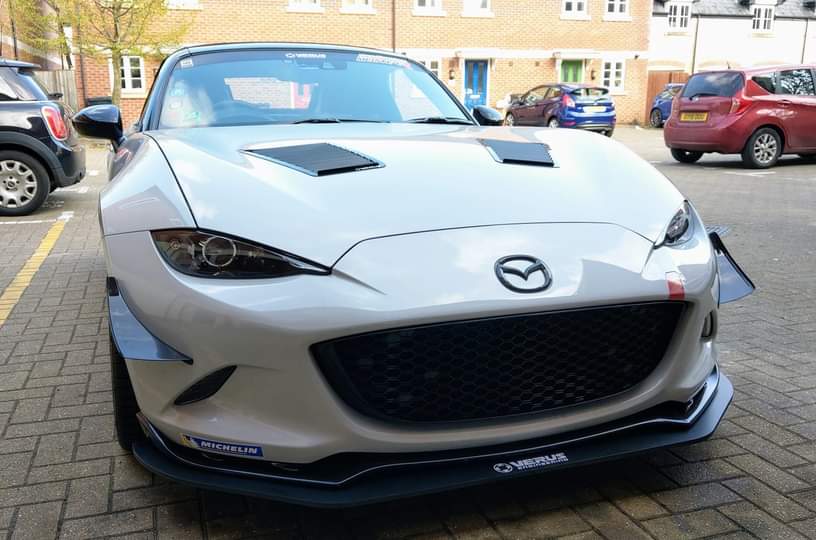
What are those black things on the bonnet for?
As for those those winglets…
Just an opinion. ![]()
1 Like
I presume the vents in the bonnet, if not just “stuck on”, will create additional cooling, but probably more a visual addition. Are we not missing a number plate? It is a shame that in the UK you have to have one, as in the US I believe they are optional and there are many cars (like the MX5 with a small frontal area) that look far better without one. However as we have “anti-fun” sorry “safety” cameras everywhere, then they have to stay…
They are bonnet vents which help get rid of under bonnet heat and aid cooling and aerodynamics. The canards and front spoiler also aid aerodynamics.
2 Likes
Went to Tesco roof up this morning, which was quite a sacrifice on a sunny morning.
I don’t think you can ever totally eliminate road noise in these cars but the really annoying level of road noise in the left ear is much reduced, so it does seem to work.
I like the canards but I know if I had them on mine I’d be continually catching my shins on them 
I also like the front splitter…
1 Like