What have you done to your MX-5 today? (Part 2)

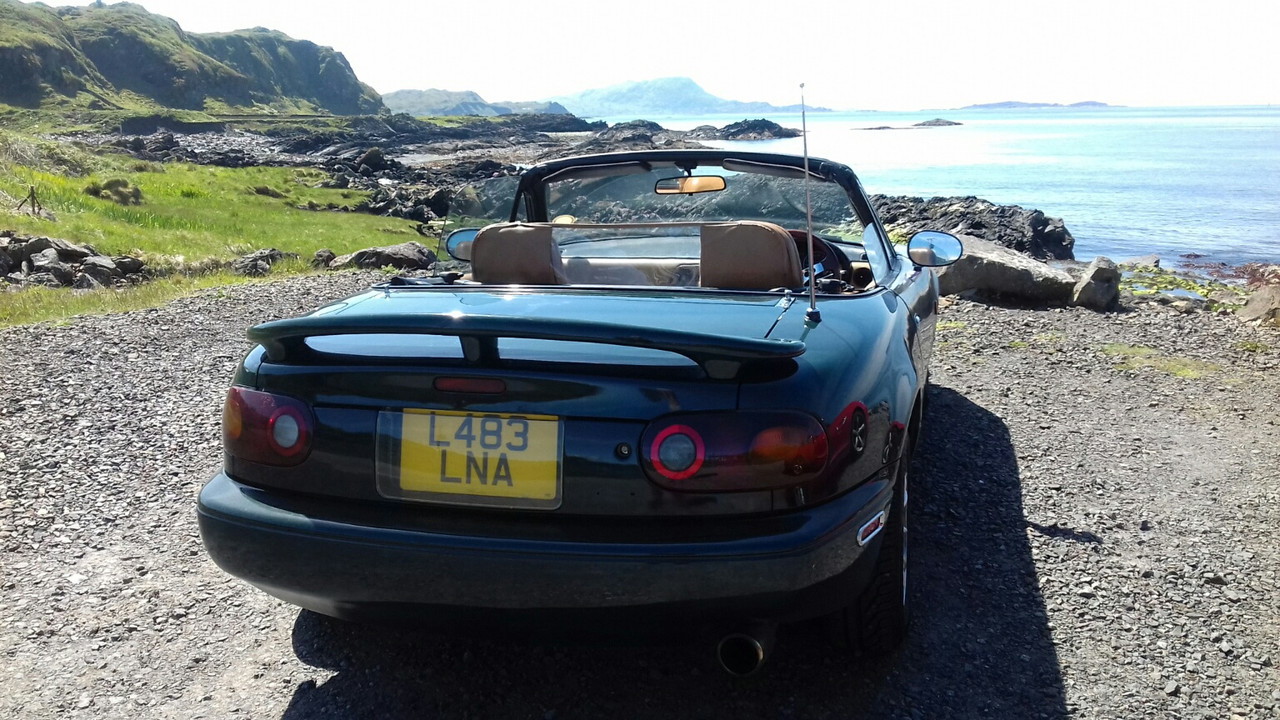
So, after two weekend afternoons on the new-to-me ‘McKenzie’ (NA):

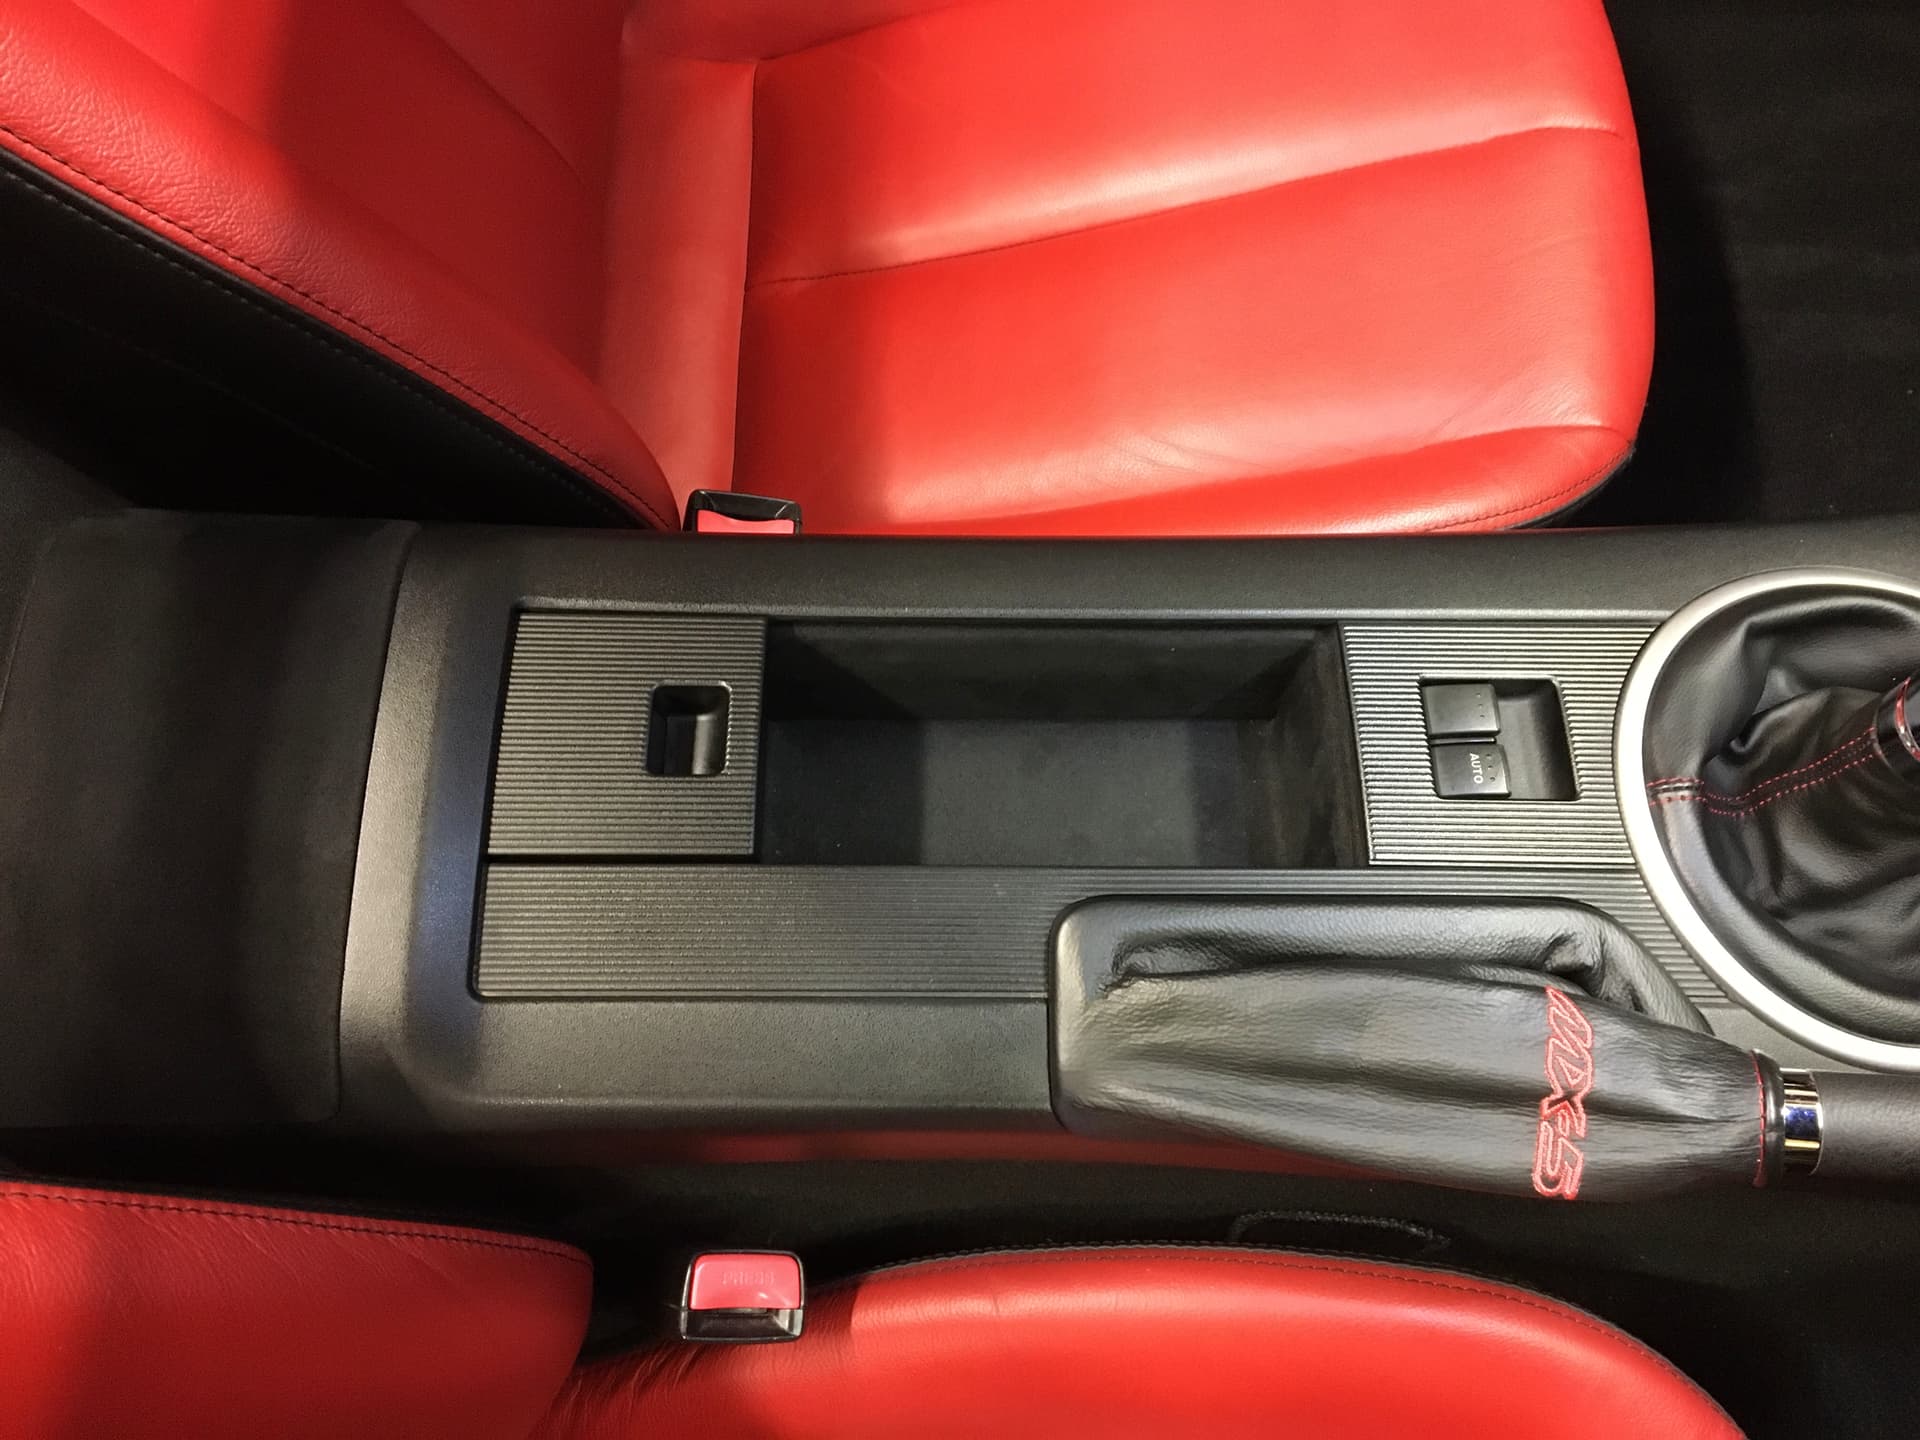
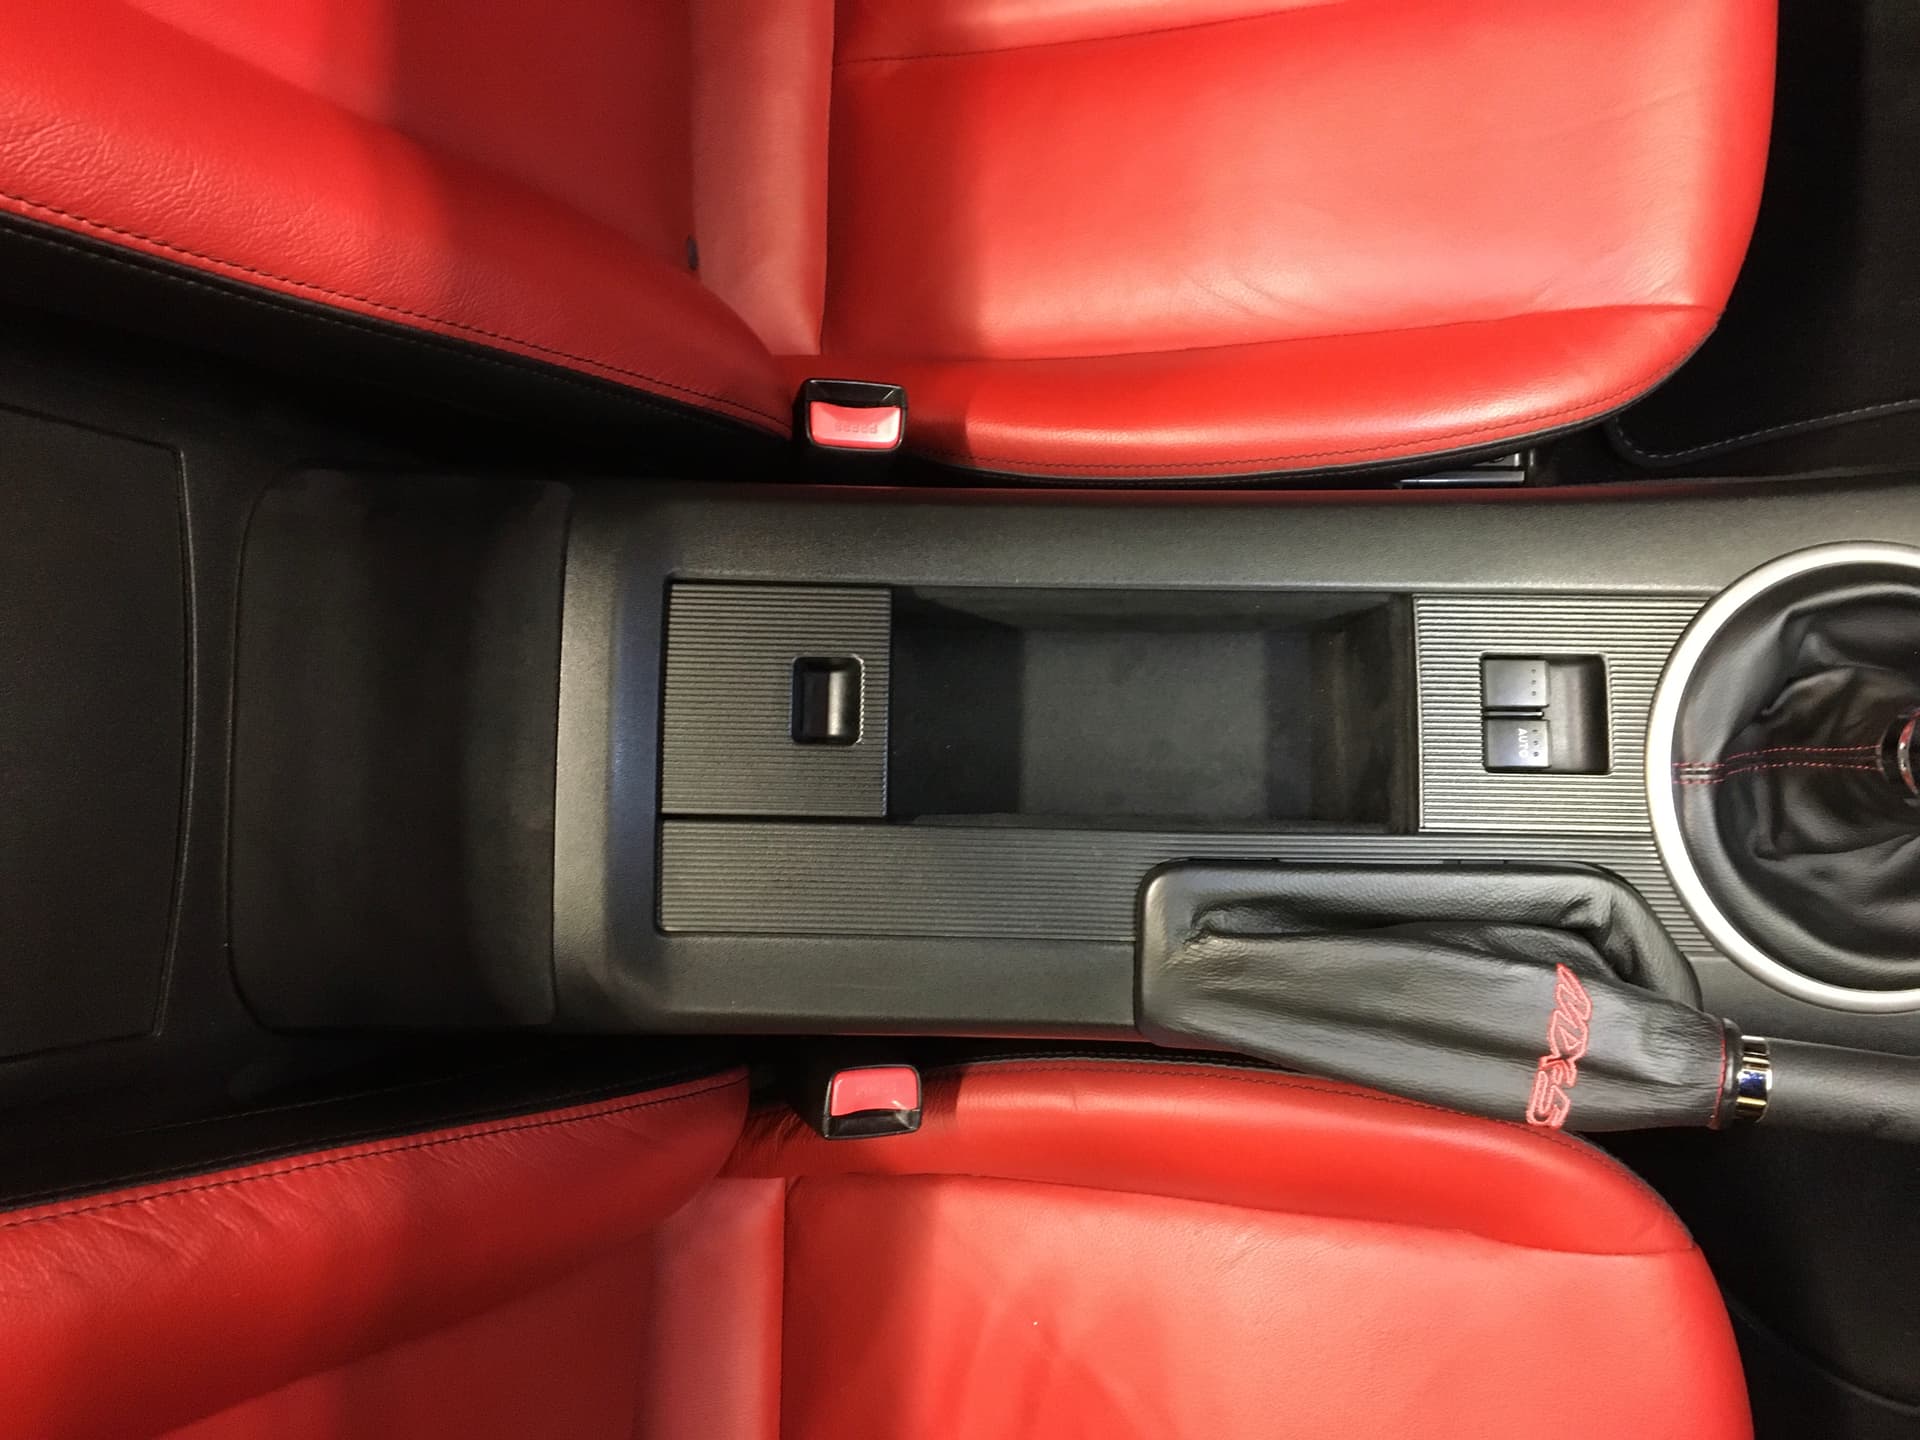
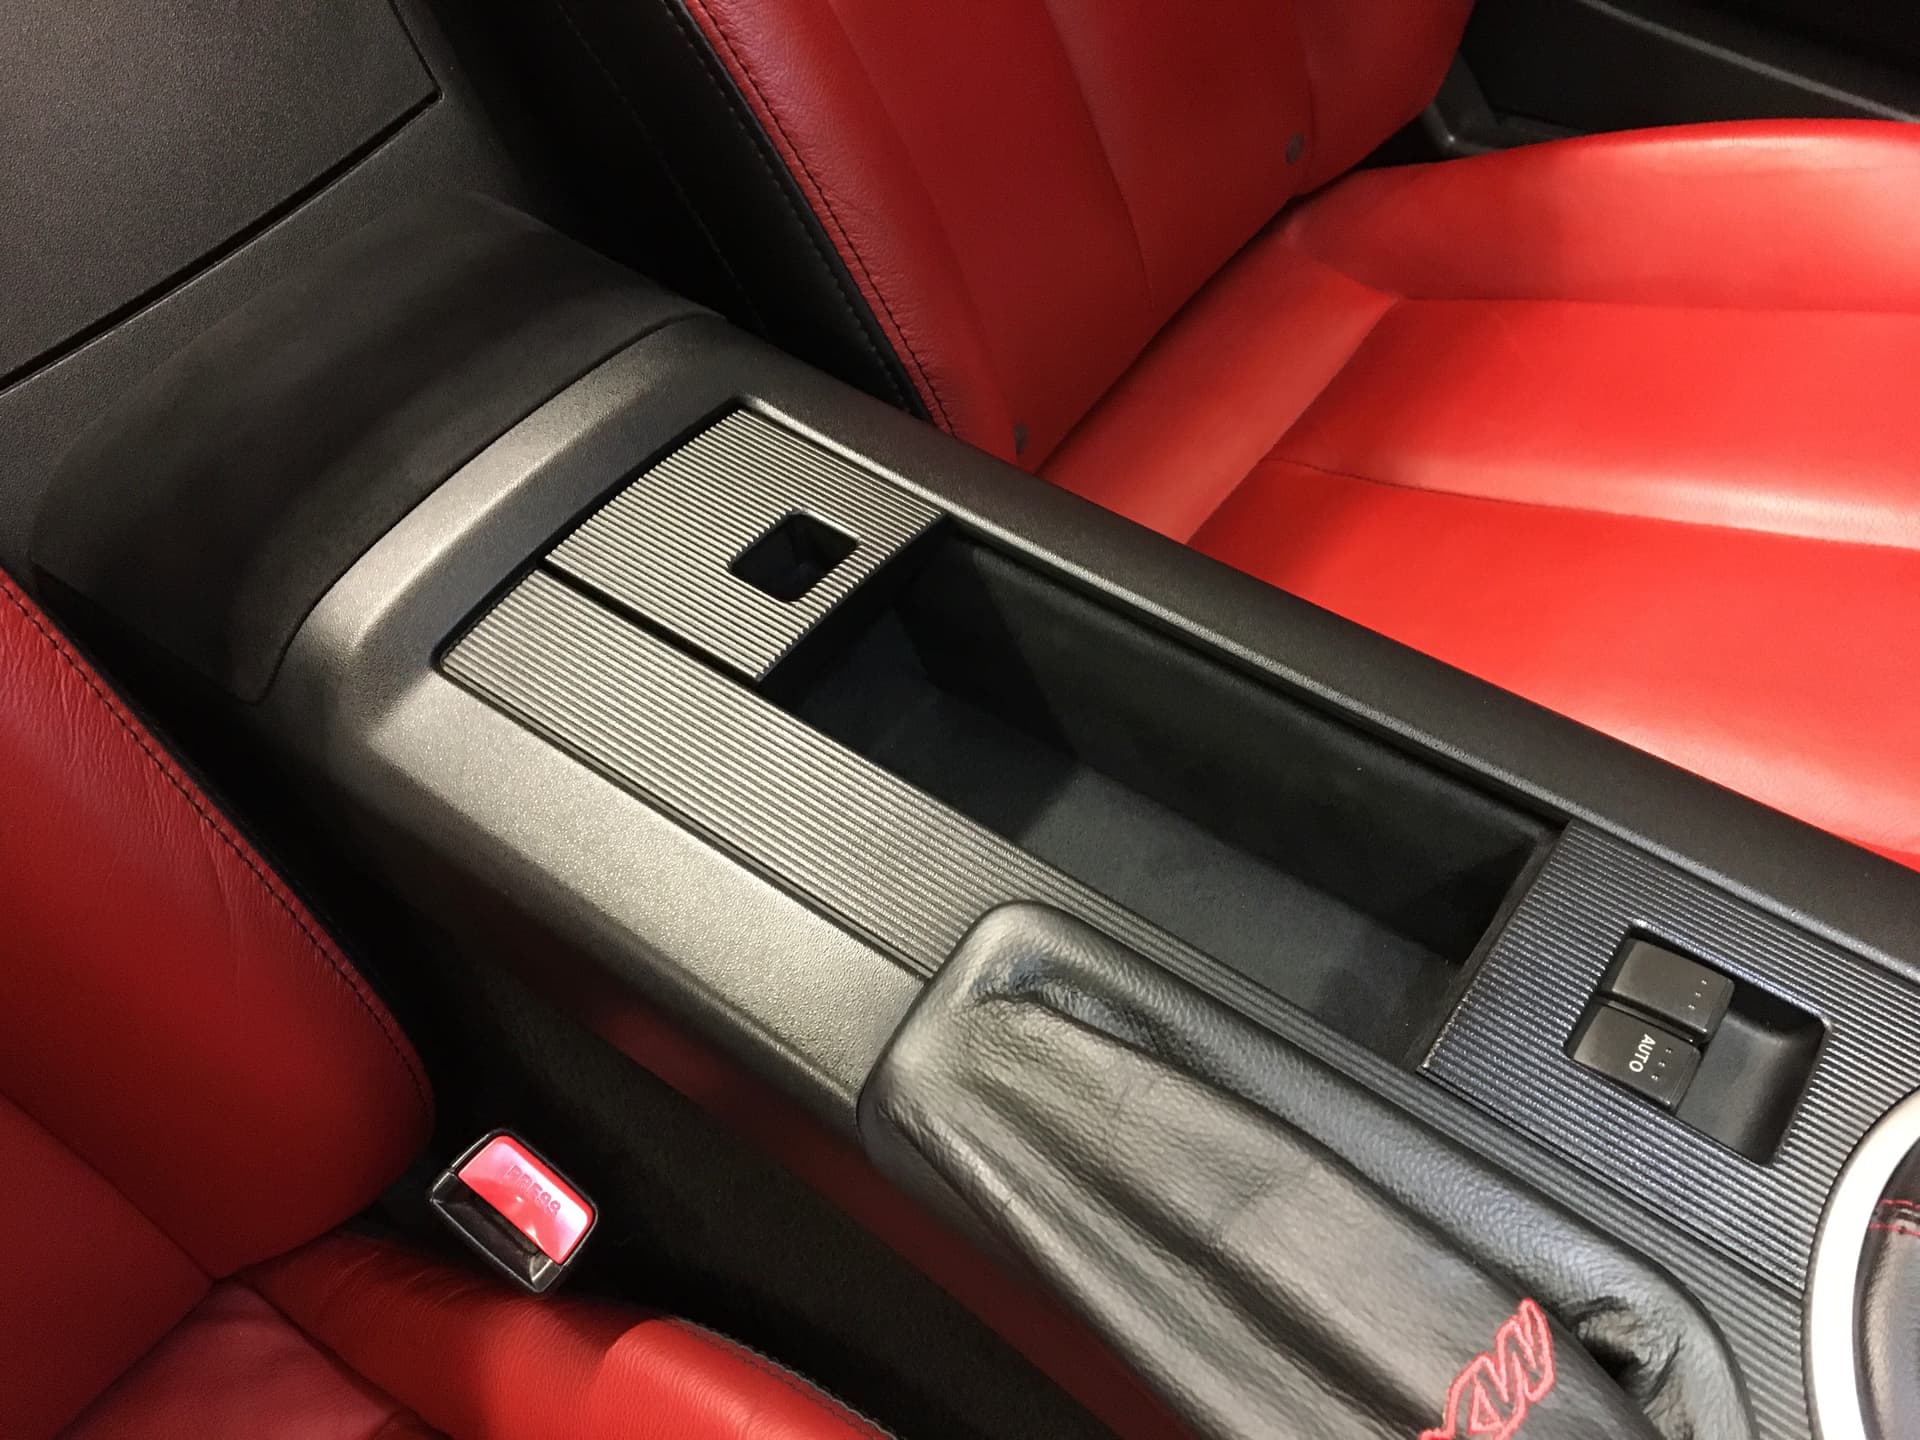
centre console out, vents out, tombstone out, old radio (Sony single DIN) out, swap cubby box to top slot, put 2 3" speakers in each headrests of driver and passenger seats after removing the one in each that was rattling around before, drop wiring down back of seats, crimp and solder connectors on, wire it up via central tunnel, reversing camera (not necessary but why not) on underneath boot lid, reverse signal from rear reversing light, all routed via centre to front, wire up speakers, remove A pillar trim and fit DAB+ aerial, refit A trim, fix GPS receiver up near vents, connect all, test, reassemble. Oh, and removed the buzzer relay that NA Eunos’s have which is annoying.

So now I have a single din head unit with removable front plate, so when off looks like nothing worth nicking is there, but when attached and started, screen flips out (missing gear lever and handbrake, and not obscuring HVAC controls) and gives double DIN sized screen for DAB+, radio, bluetooth (streaming music and phone), SD card playback, CD playback and CarPlay. All in all a cost effective and sensible solution for a soft top that will be left hood down most of the time. Gives a lightning connector in the central box and a USB port in the glove box too.

Sounds are much better. Waiting for the replacement door speakers cos the current ones look knackered and one doesn’t work - and then it’ll be sorted…

Do note that the telling of this is coherent and step by step, whereas the actuality had a few “whoops forgot that” bits, and a few more partial builds to check connections. And the odd pause for rain, cups of tea, etc. But nothing too difficult, just had to be patient and logical.

2 Likes

Here’s the home brew cubby hole finally fitted to the car. Have to say, why Mazda put cup holders into this space is beyond me.


Oh, and the cost ? Less than a fiver in materials.

10 Likes

Nice job!The original space really is chocolate teapot territory,anything apart from a handful of coins snag or jams the lid!

1 Like

More what I will be doing to it (Mk1)
70th Birthday money well spent.

The 12 years old licence cover was looking really tired, some splits. To me, the Roadster bottom looks bare without.
Each their own I guess.
Prompt , fuss free efficient service from Mx5Parts as usual

Also, that tire inflator can be preset, so it’ll be one less trip touching stuff Joe Public handles.
0 to 120 PSI.
Good for inflatable exercise stuff and all sorts.

1 Like

I’ve never seen a licence plate cover, why would you need one?

You do not need one at all.
They are no more than yet another aesthetic & useless “enhancement” bling oriented personal preference.
Like so many hundreds of other utterly pointless & useless stuffs we buy our cars. :blush:
I just think it finishes it off .

I do not hold however that it quite suits all colours of Roadsters.

4 Likes

How does it attach?

1 Like

I like the look of that and it’s not chrome bling either, bonus.:+1::grin:

2 Likes

Hi Robbie.
It’s got tiny pins at the bottom that insert into holes I predrilled years back.
They are little bigger than a newly sharpened pencil lead.
So, that’s the bottom secured.

At the top on both sides there are brackets again secured with screws, with supplied very sticky pads.
It sounds crude, but really it’s all invisible when done properly.
It never came off all these years through thick and thin.
It’s all actually very secure. EG using a jet wash won’t bother it but…water will get in behind so I always hand wash the back end.
You do need to be very careful when drilling though.
You do get a sort of template by the way.
PS I personally think yours would look superb with it.
Not reds or whites though…canny put my finger on why.

This made me smile for some obscure reason!!!
:heart:

6 Likes

Trust you Malc.
Only our Malc! :rofl:
Anyway…

There is easy scope to scratch build an additional securer at top as well with VERY careful drilling with say a Dremel.
I never bothered with the risk.

This morning I adjusted the clutch biting point on my NC.
I can confirm that although it looks it pretty inaccessible area to get into its not that difficult once you try. open the door all the way and rest your back on the door rail and use your legs to get under there head first (good exercise btw)

open ended spanner 10mm and 12mm as described in the guides, loosen up the 12mm locking bolt and then you should be able to break the adjuster bonded thread (caused by grub) with the 10mm spanner and extend the adjuster screw as needed by hand.

Give it a test drive before you lock the bolts back.

When gearbox is cold it did a marginal difference but probably will help a bit more when its properly warmed up. Worthwhile job regardless - just make sure the biting point is where it should be and clutch is not engaged when pedal is not pressed.

1 Like

No fans of bidets here then…

P.S. Happy birthday Scottishfiver. :grinning:

4 Likes

Thanks for the detail. I’ve always liked the look of those but wouldn’t be keen on drilling my rear finisher. I’d want to source another one to make it reversible I think.

1 Like

Yes, its very important to make sure there’s some free play and theres no pressure on the actuator rod until you start to press the pedal.
If you don’t have any free play theres a danger of clutch slip and a knackered clutch release bearing.

TBH if yours was mine only clay, polish, and carnuba would get near it.
Mine’s just a usuable decentish looking from 15 feet fun hack.

1 Like

Yup not good for the thrust bearing if continuous pressure is applied… however the adjustment can move the biting point a few mm though and im not sure you can actually engage the clutch when fully wound out (but sure need to be aware not to do it if its possible to do so through the adjustment)

Replaced the Alternator and PAS belts …

and dicovered master cylinder vacuum pump leak !

does anyone know what the difference between a vacuum pump designed for a NBFL with LSD and one not is ? Can’t find the former looking at fitting the latter, TIA.

1 Like

One is a tandem brake servo, the other is single. From memory without LSD is tandem (it’s deeper). From your photo, brake fluid is unlikely to be leaking from the servo (black component) which I think you’re referring to as a vacuum pump. The fluid will be leaking from the master cylinder, silver component with pipes attached.

3 Likes

Thanks for your reply Robbie, are you implying I might get away with just changing the master cylinder, it has been suggested the servo might have brake fluid damage ?

1 Like