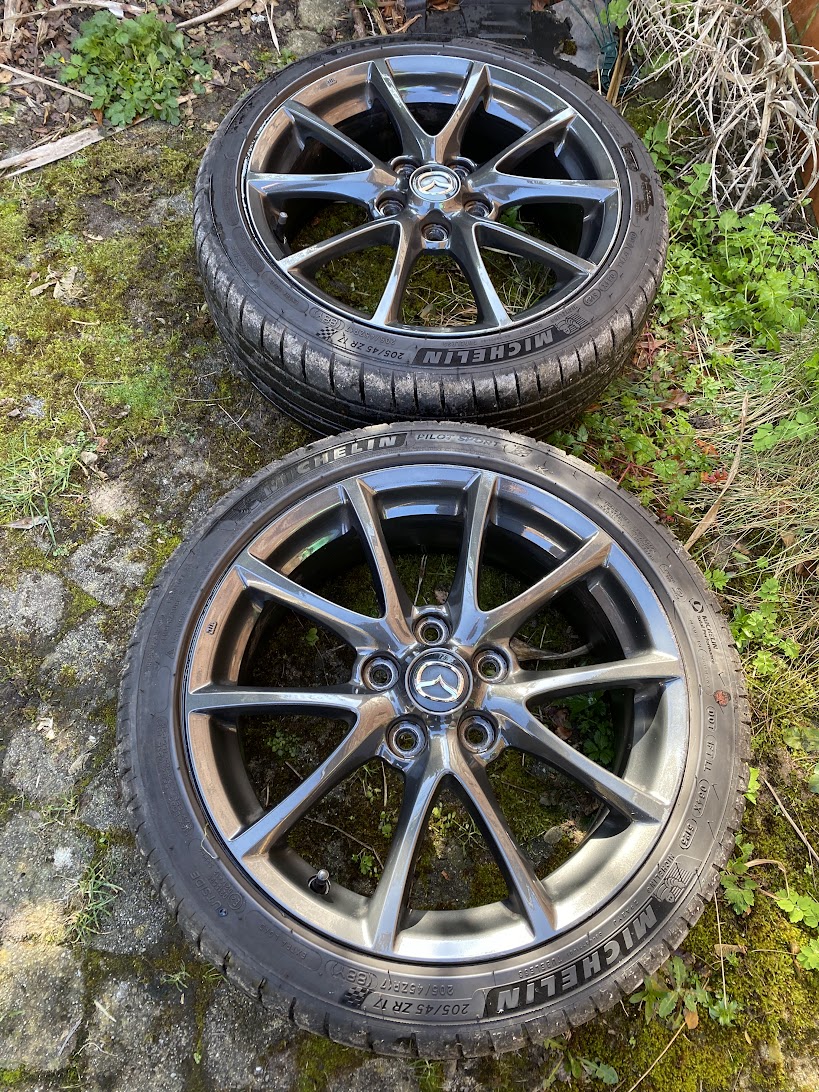
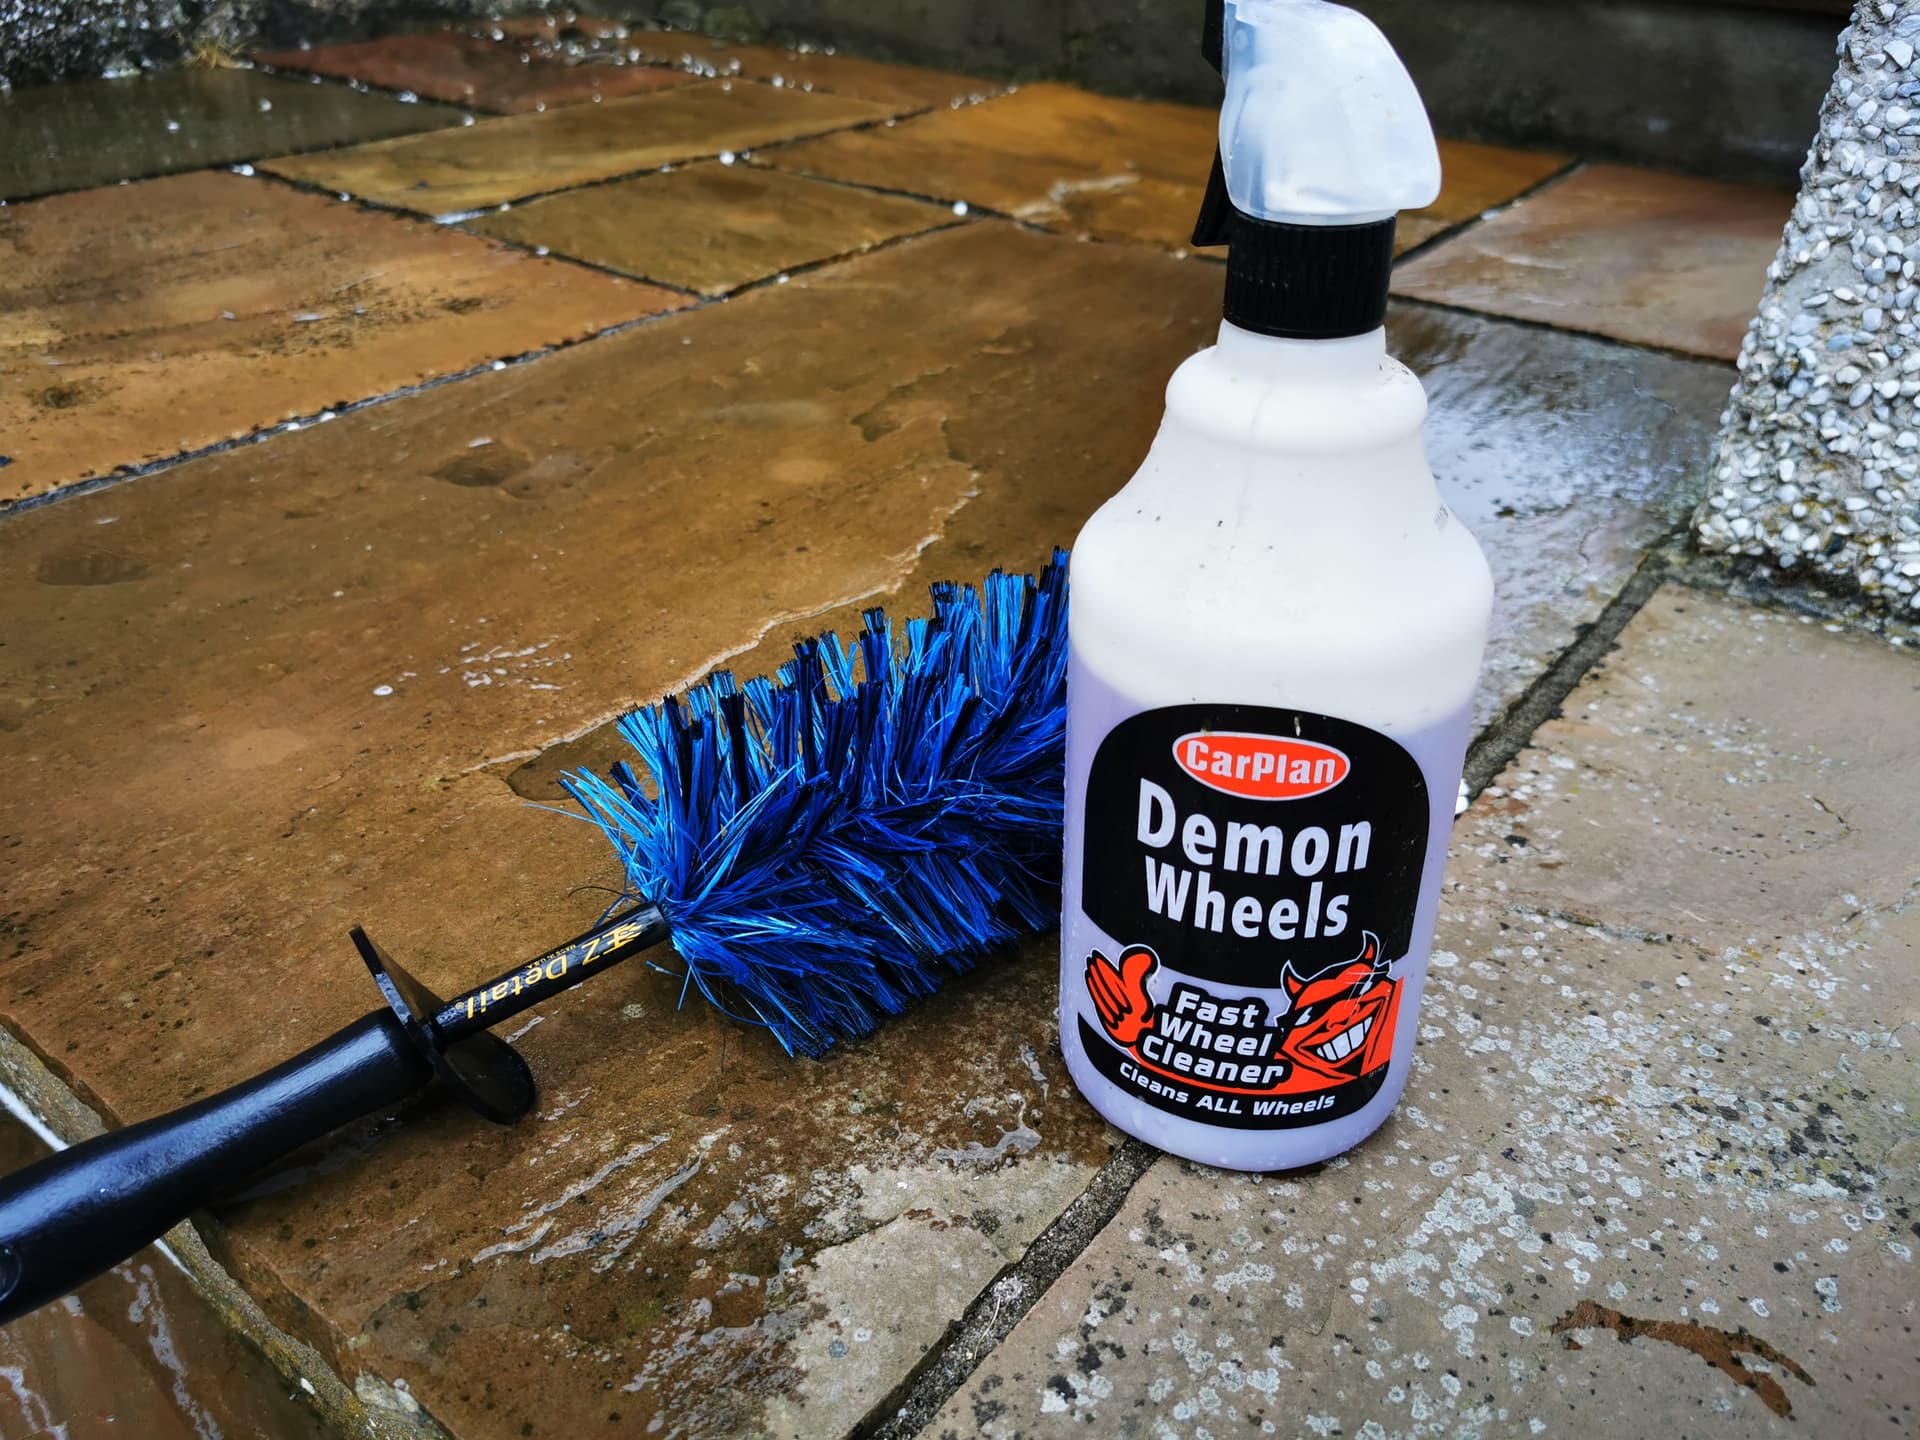
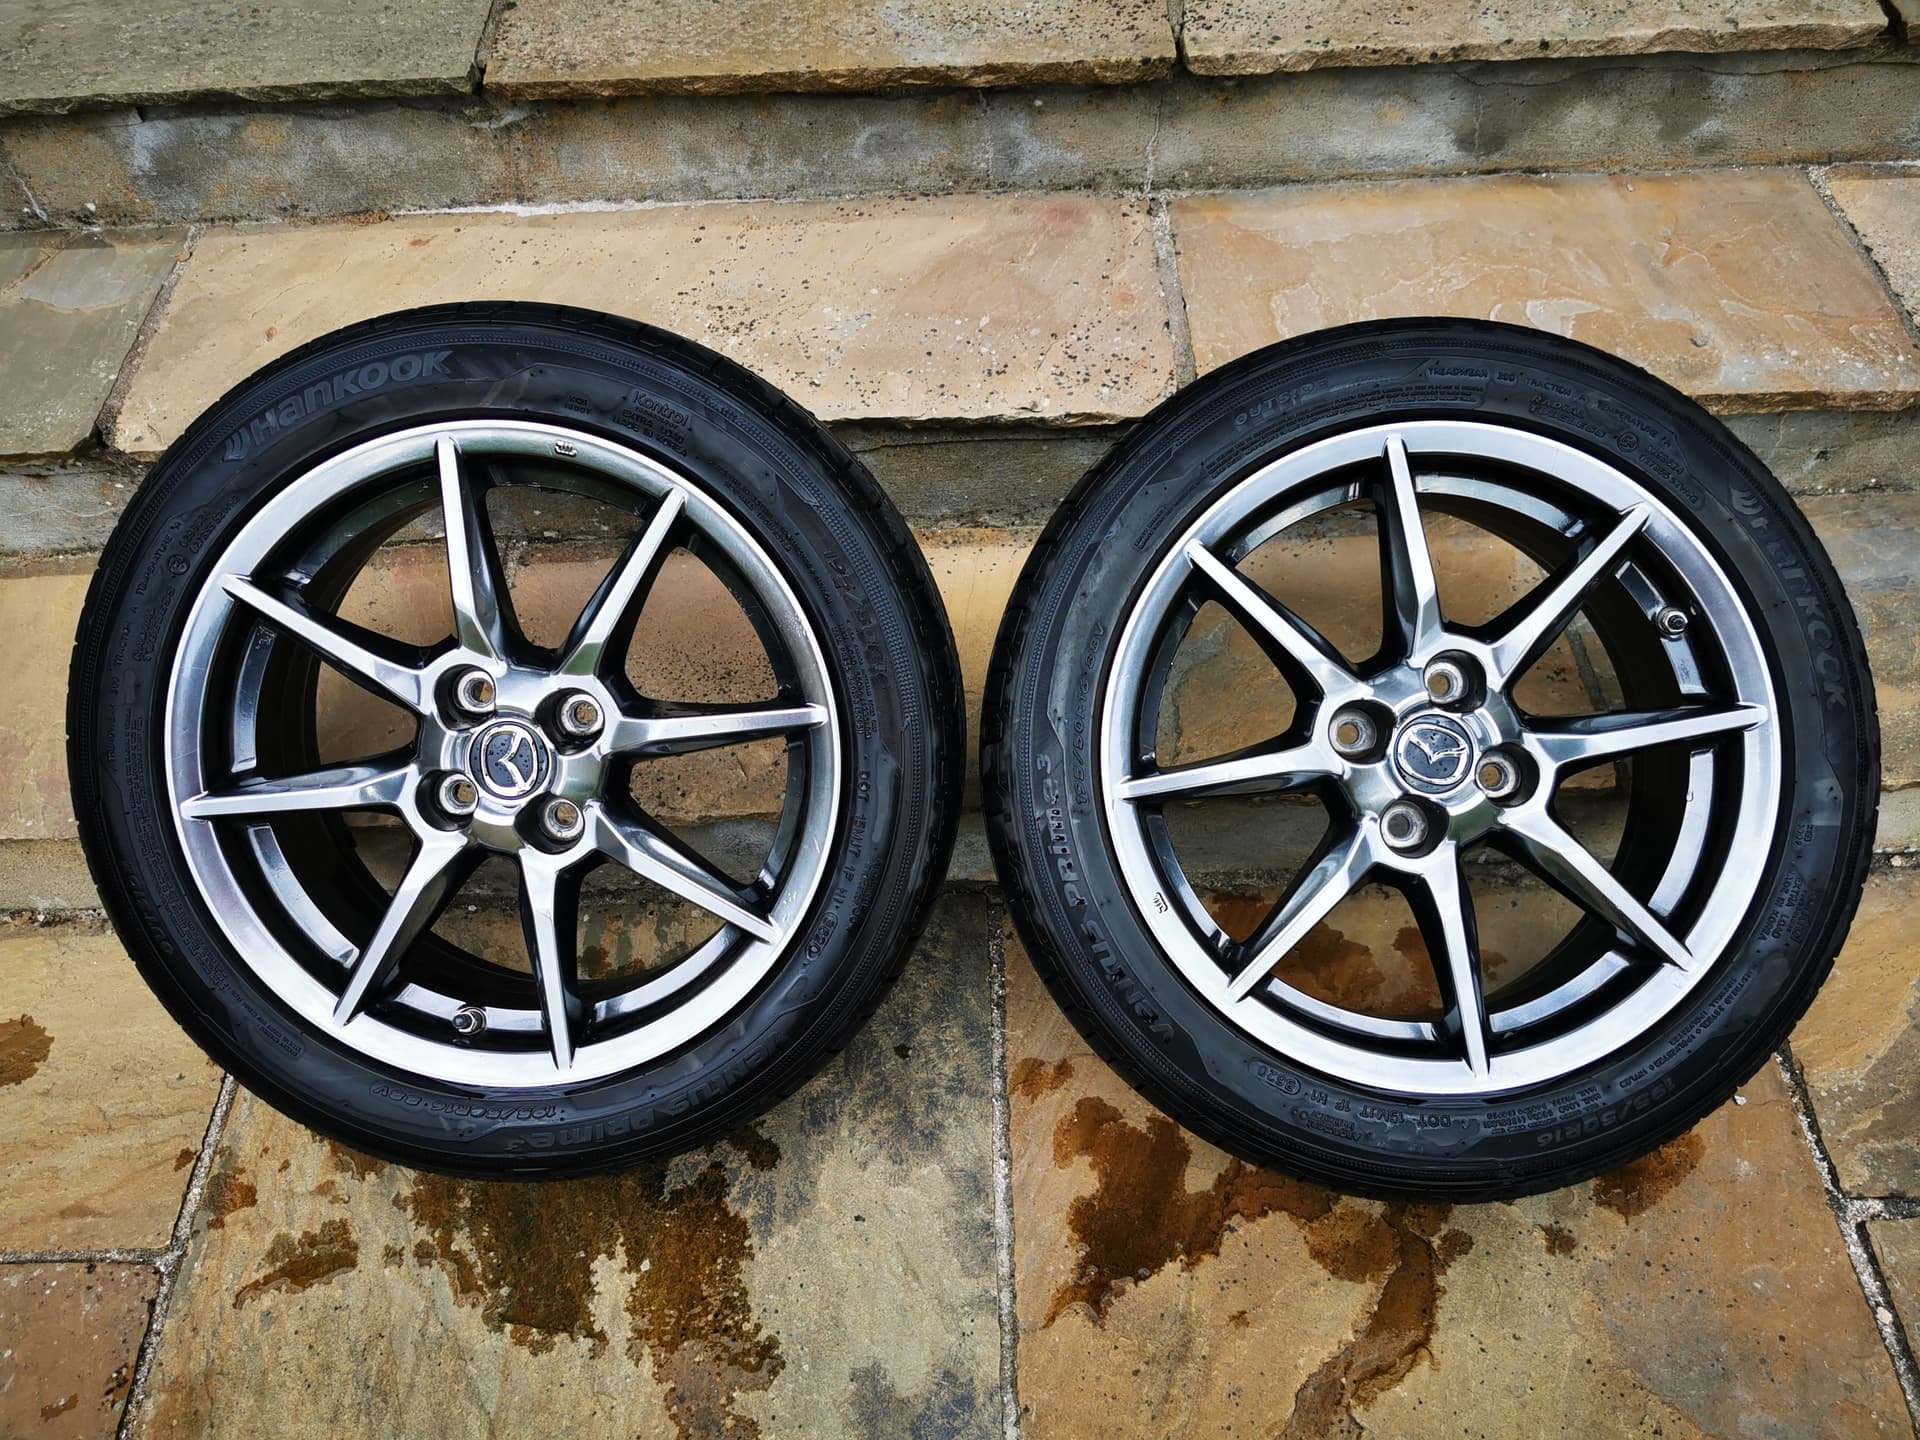
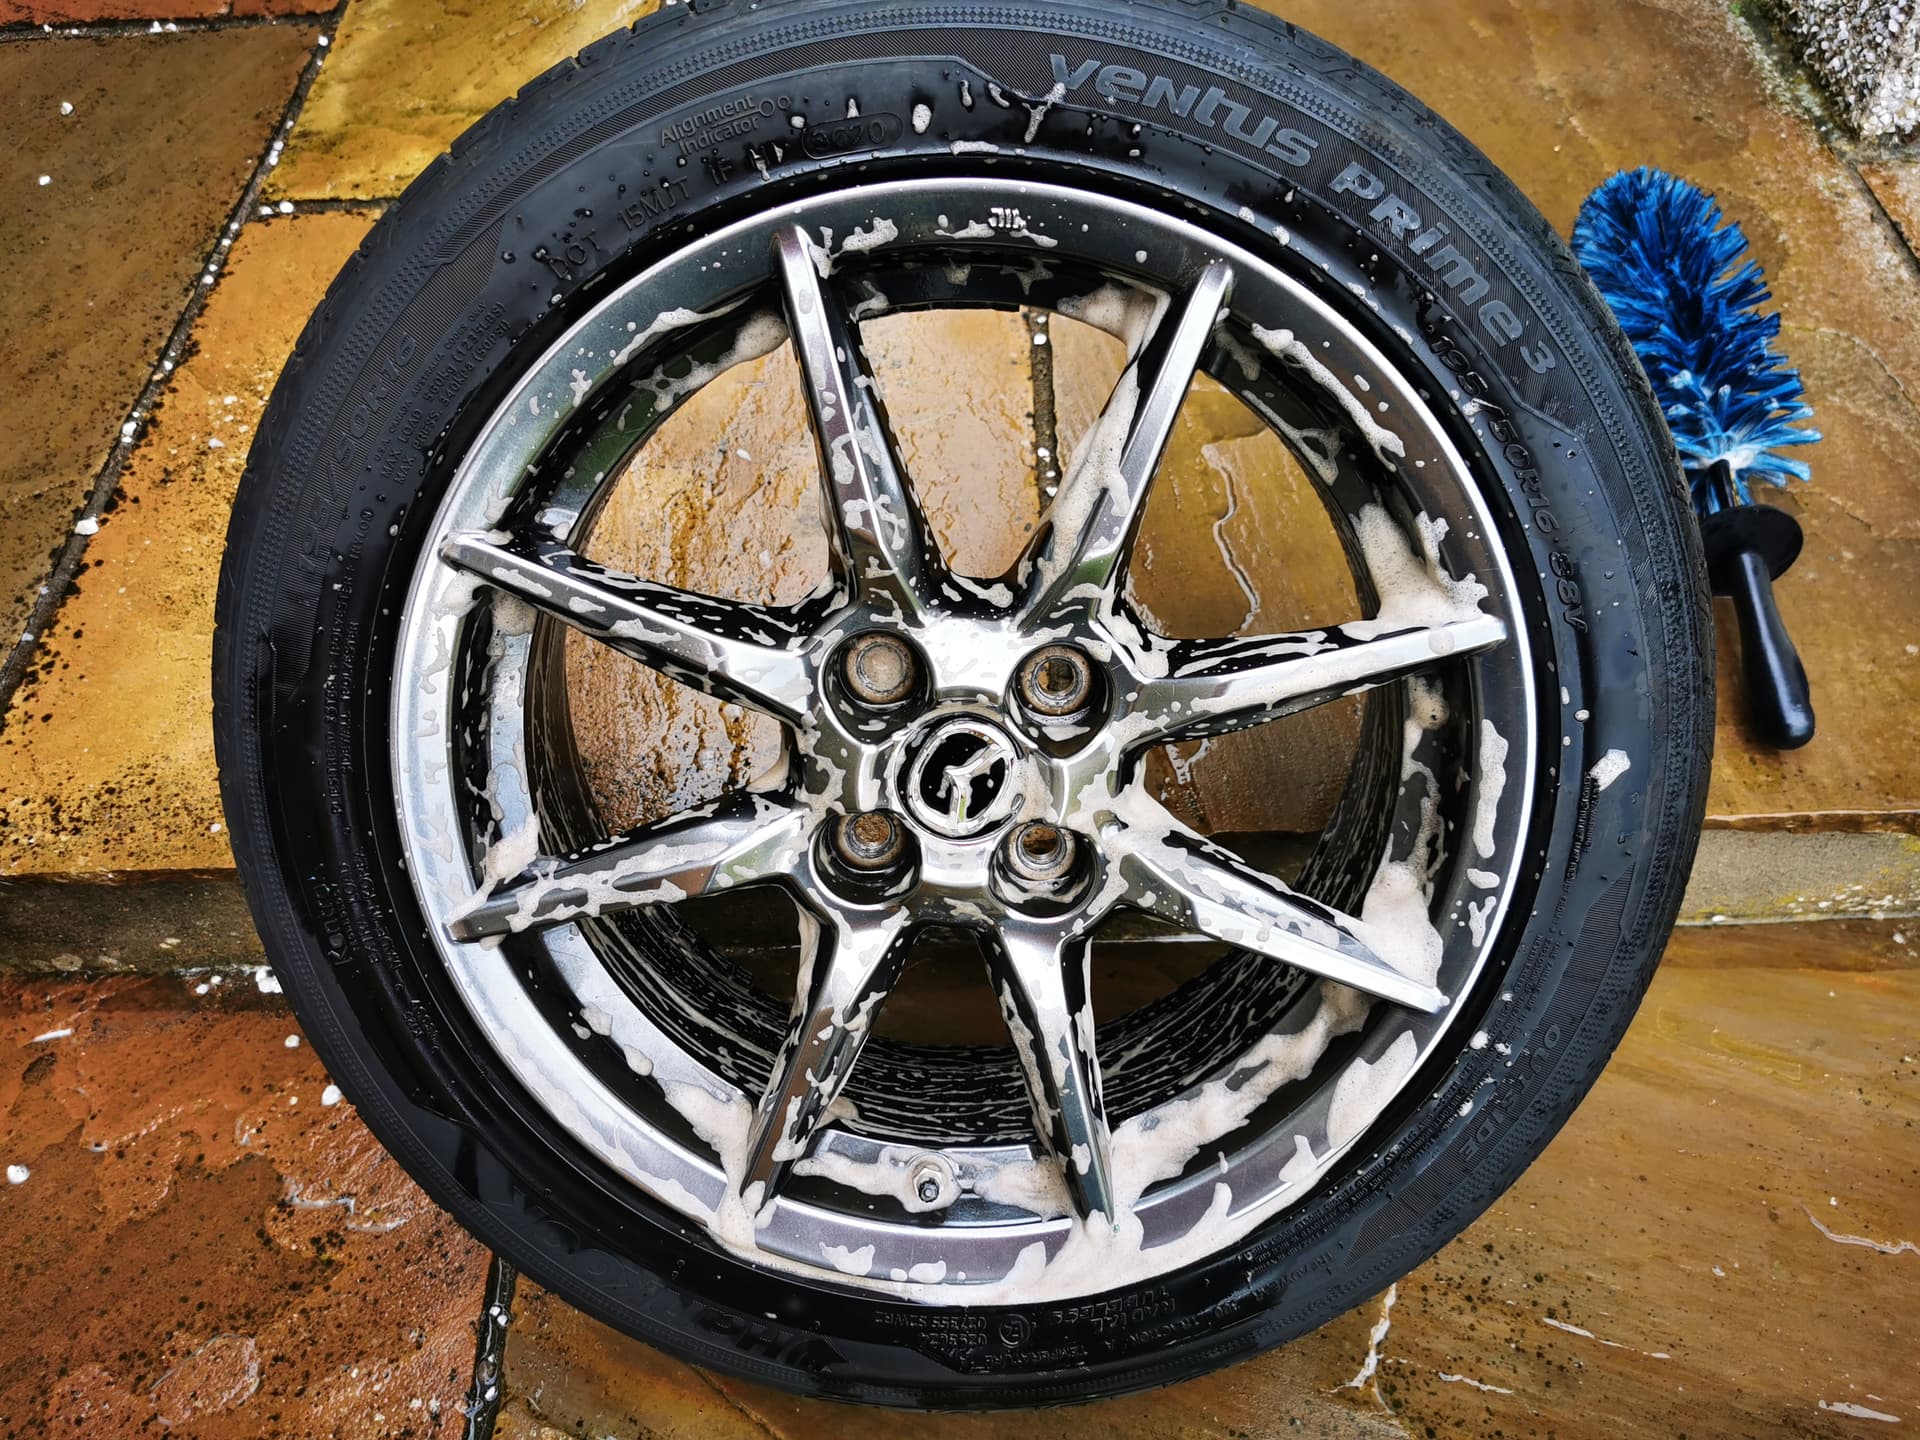
Started giving my summer wheels a thorough deep clean. Getting ready to treat them (Dlux Pro, a ceramic sealant) before they go back on the car for the summer. Step 1, a good citrus prewash, and a good scrub. Making the most of a sunny day!
5 Likes
Carpet mats wet-vacced at lunchtime. Now drying in the sunshine before I swap out the winter rubber mats at the weekend.
And they looked pretty clean! ![]()

5 Likes
Bought some rarther expensive car ceramic coatings today I am going to have ago at doing this next stage my self as the car is 6 years old the old coating need a refreshment to have it done again would be around £250-300 but buying the product would be half that price and I could buy extra products to keep it tip top for the next 6 years …these coatings have been used since the car was new …


kit arrives this week so sat and Sunday are booked in the garage …!
3 Likes
slightly off topic l like your wheel covers too… ![]()
Not sure, but do you need to clay bar the body work if it’s already been ceramic coated and need to re coat it?
DIY detailer here:
Decontamination, so fallout remover and clay bar followed by a light polish and panel wipe to remove the rest of the existing ceramic. Skip this and the new ceramic won’t adhere properly.
2 Likes
thank you for the tip reading on there site it just says to clean the surface no need to remove or polish but just to clean the surface and apply one pannel at a time ,
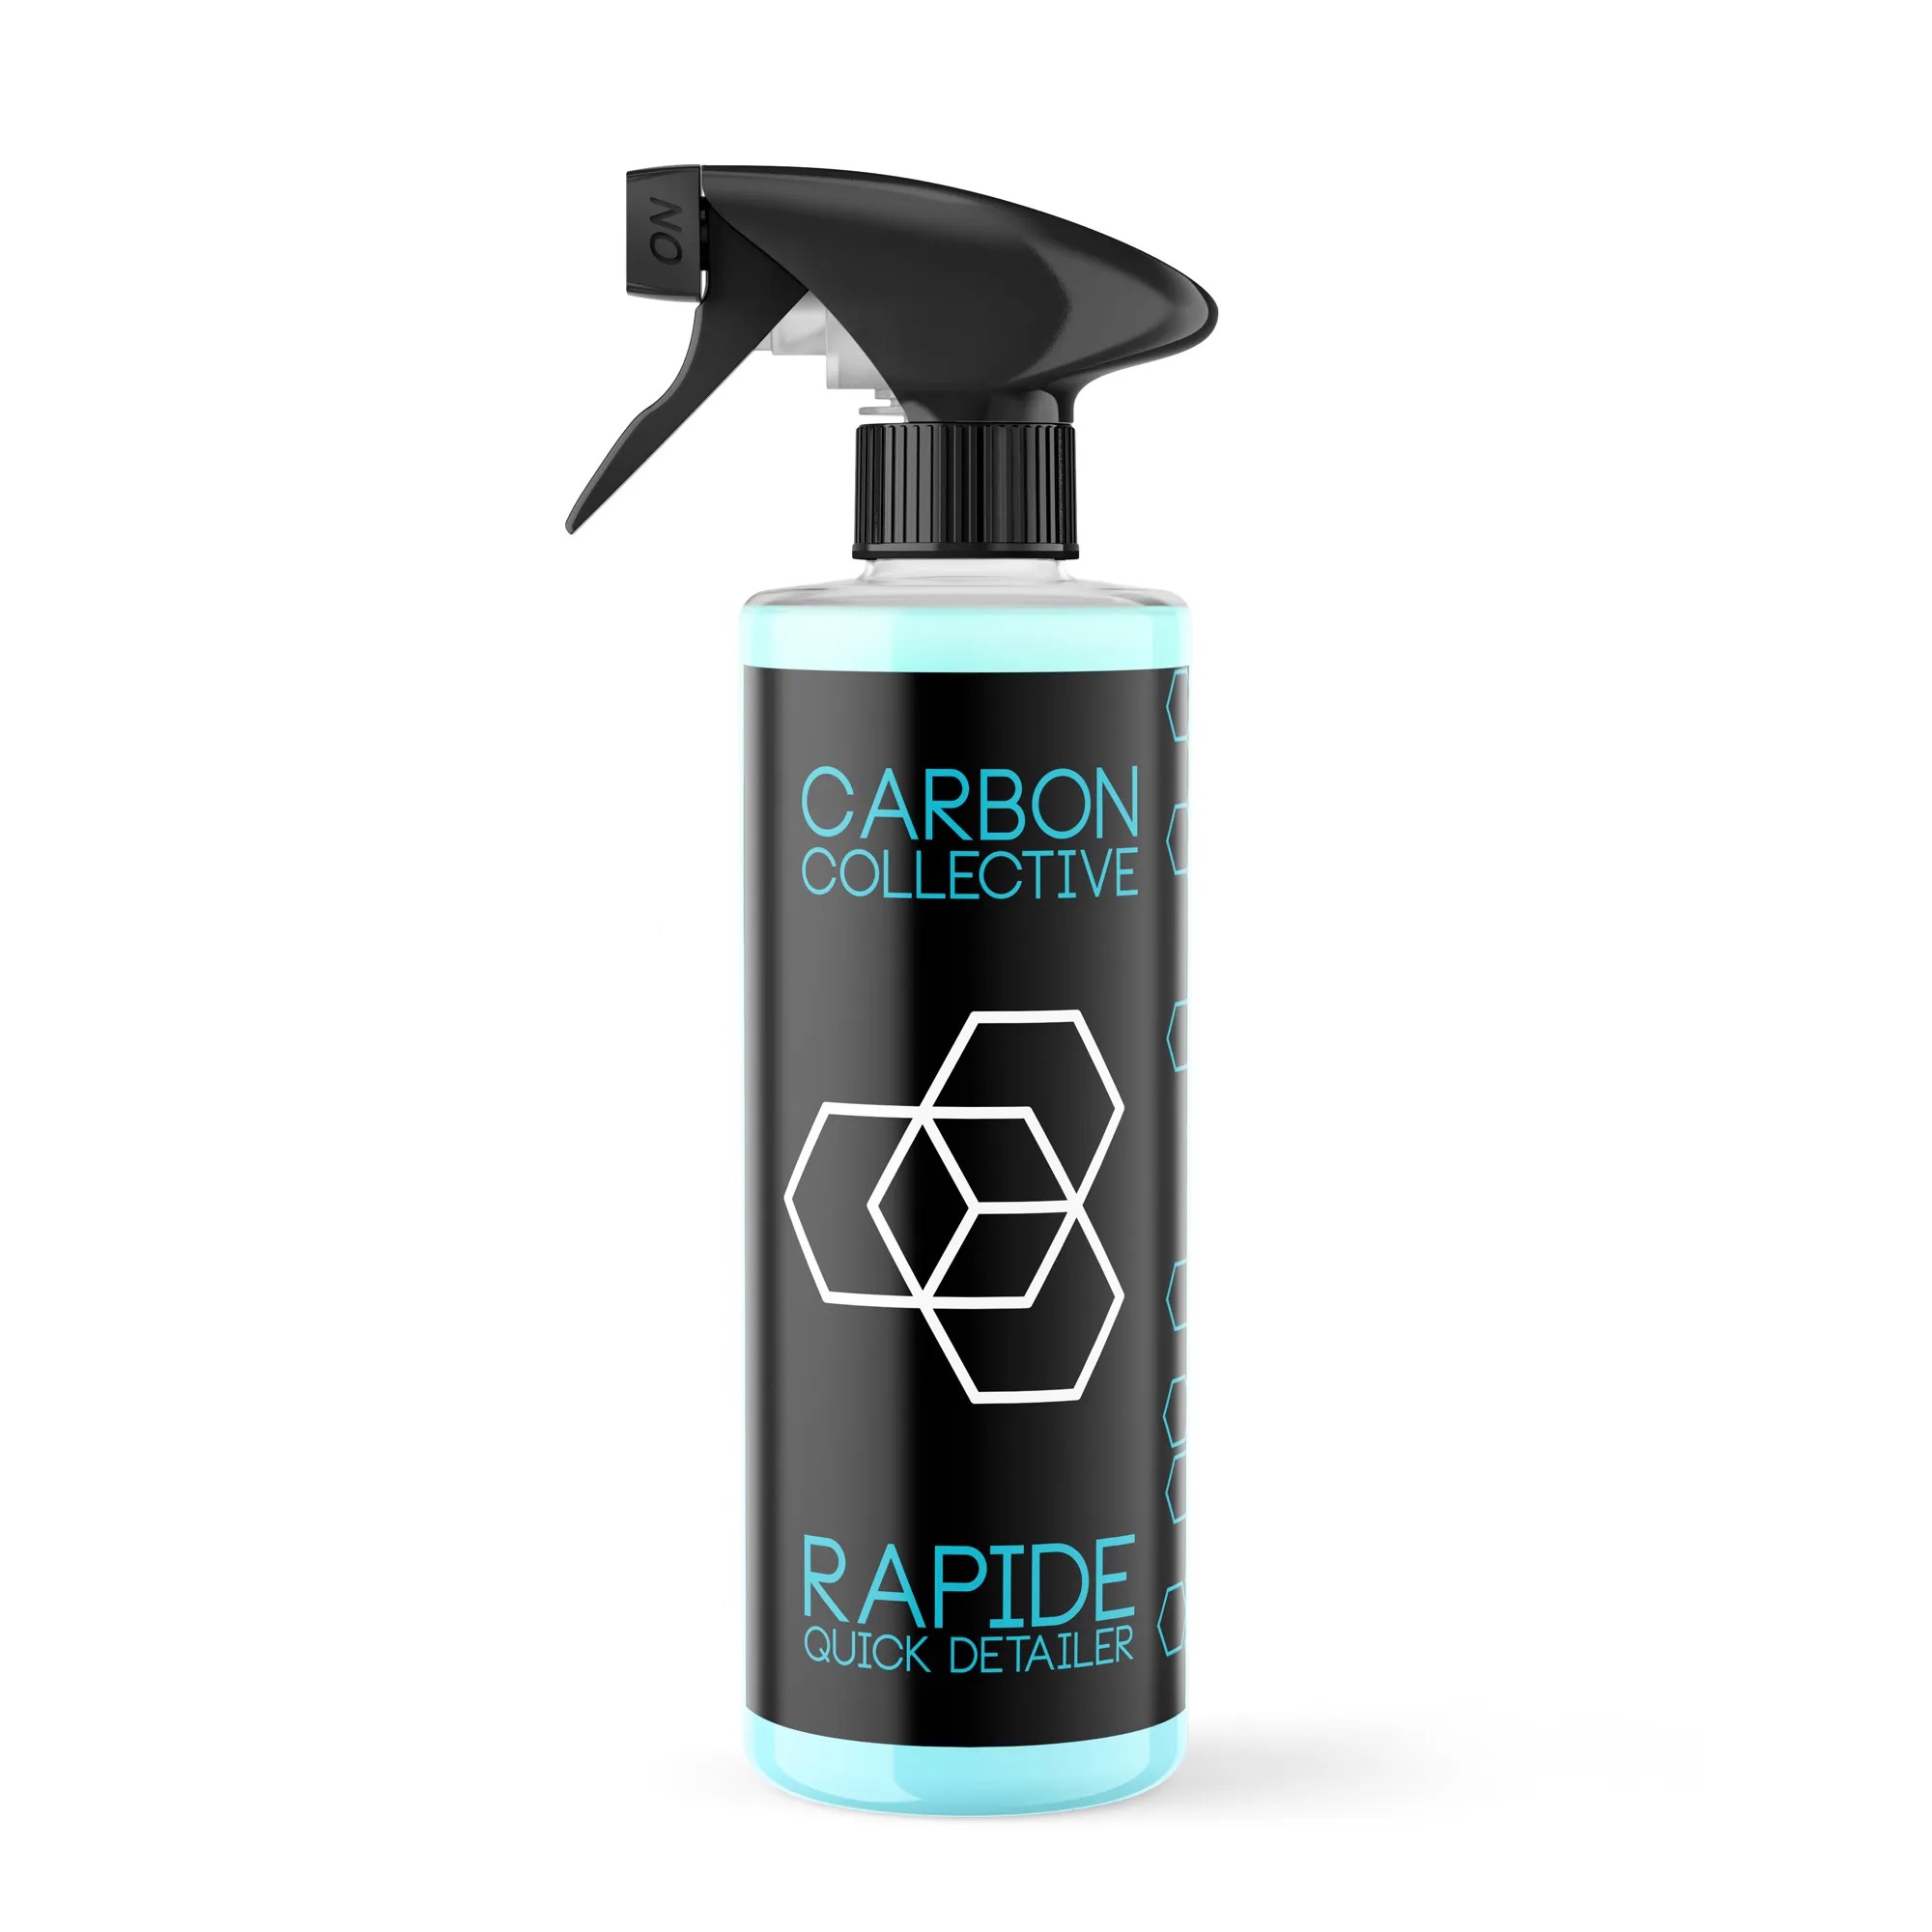
If I had the 3 bottles above, then I’d use them as follows:
- wash, decon, polish, panel wipe and then Nero. You’ll very likely see some strange water behaviour if you don’t remove the old ceramic and try to layer on top. The ceramic needs to bond to very clean paint and the very nature of it is to repel anything else, contaminants or otherwise from bonding to the paint. From the site, Nero can be applied as a topper to their other ceramic product Molecule but that must assume a fairly fresh coating rather than one a few years down the line. I’m making assumptions here that the existing protection is a proper ceramic coating.
I would then use Rapide to wipe away any bird poo in between future washes.
- I would use Pearl when I was doing future maintenance washes after the car had been coated with Nero, with the intended use being as a drying aid. If you didn’t use Nero, you could use Pearl as a standalone product, where it gives a little, short term protection.
Consider purchasing a soap such as CarPro Reset which I’ve found to be effective at “declogging” existing protection. You may find much of the ceramic properties you previously had return after a good wash. Observe the water behaviour and top off with Pearl during drying stage. Be mindful that it is likely that the existing coating will have degraded in places after a few years however. The new ceramic will bond, if it does at all, to a coating which is degrading so you’ll almost certainly not get the same level or length of protection you may expect. I feel it’s a bit of a waste of product in all honesty and would strongly recommend a light polish and panel wipe prior to application.
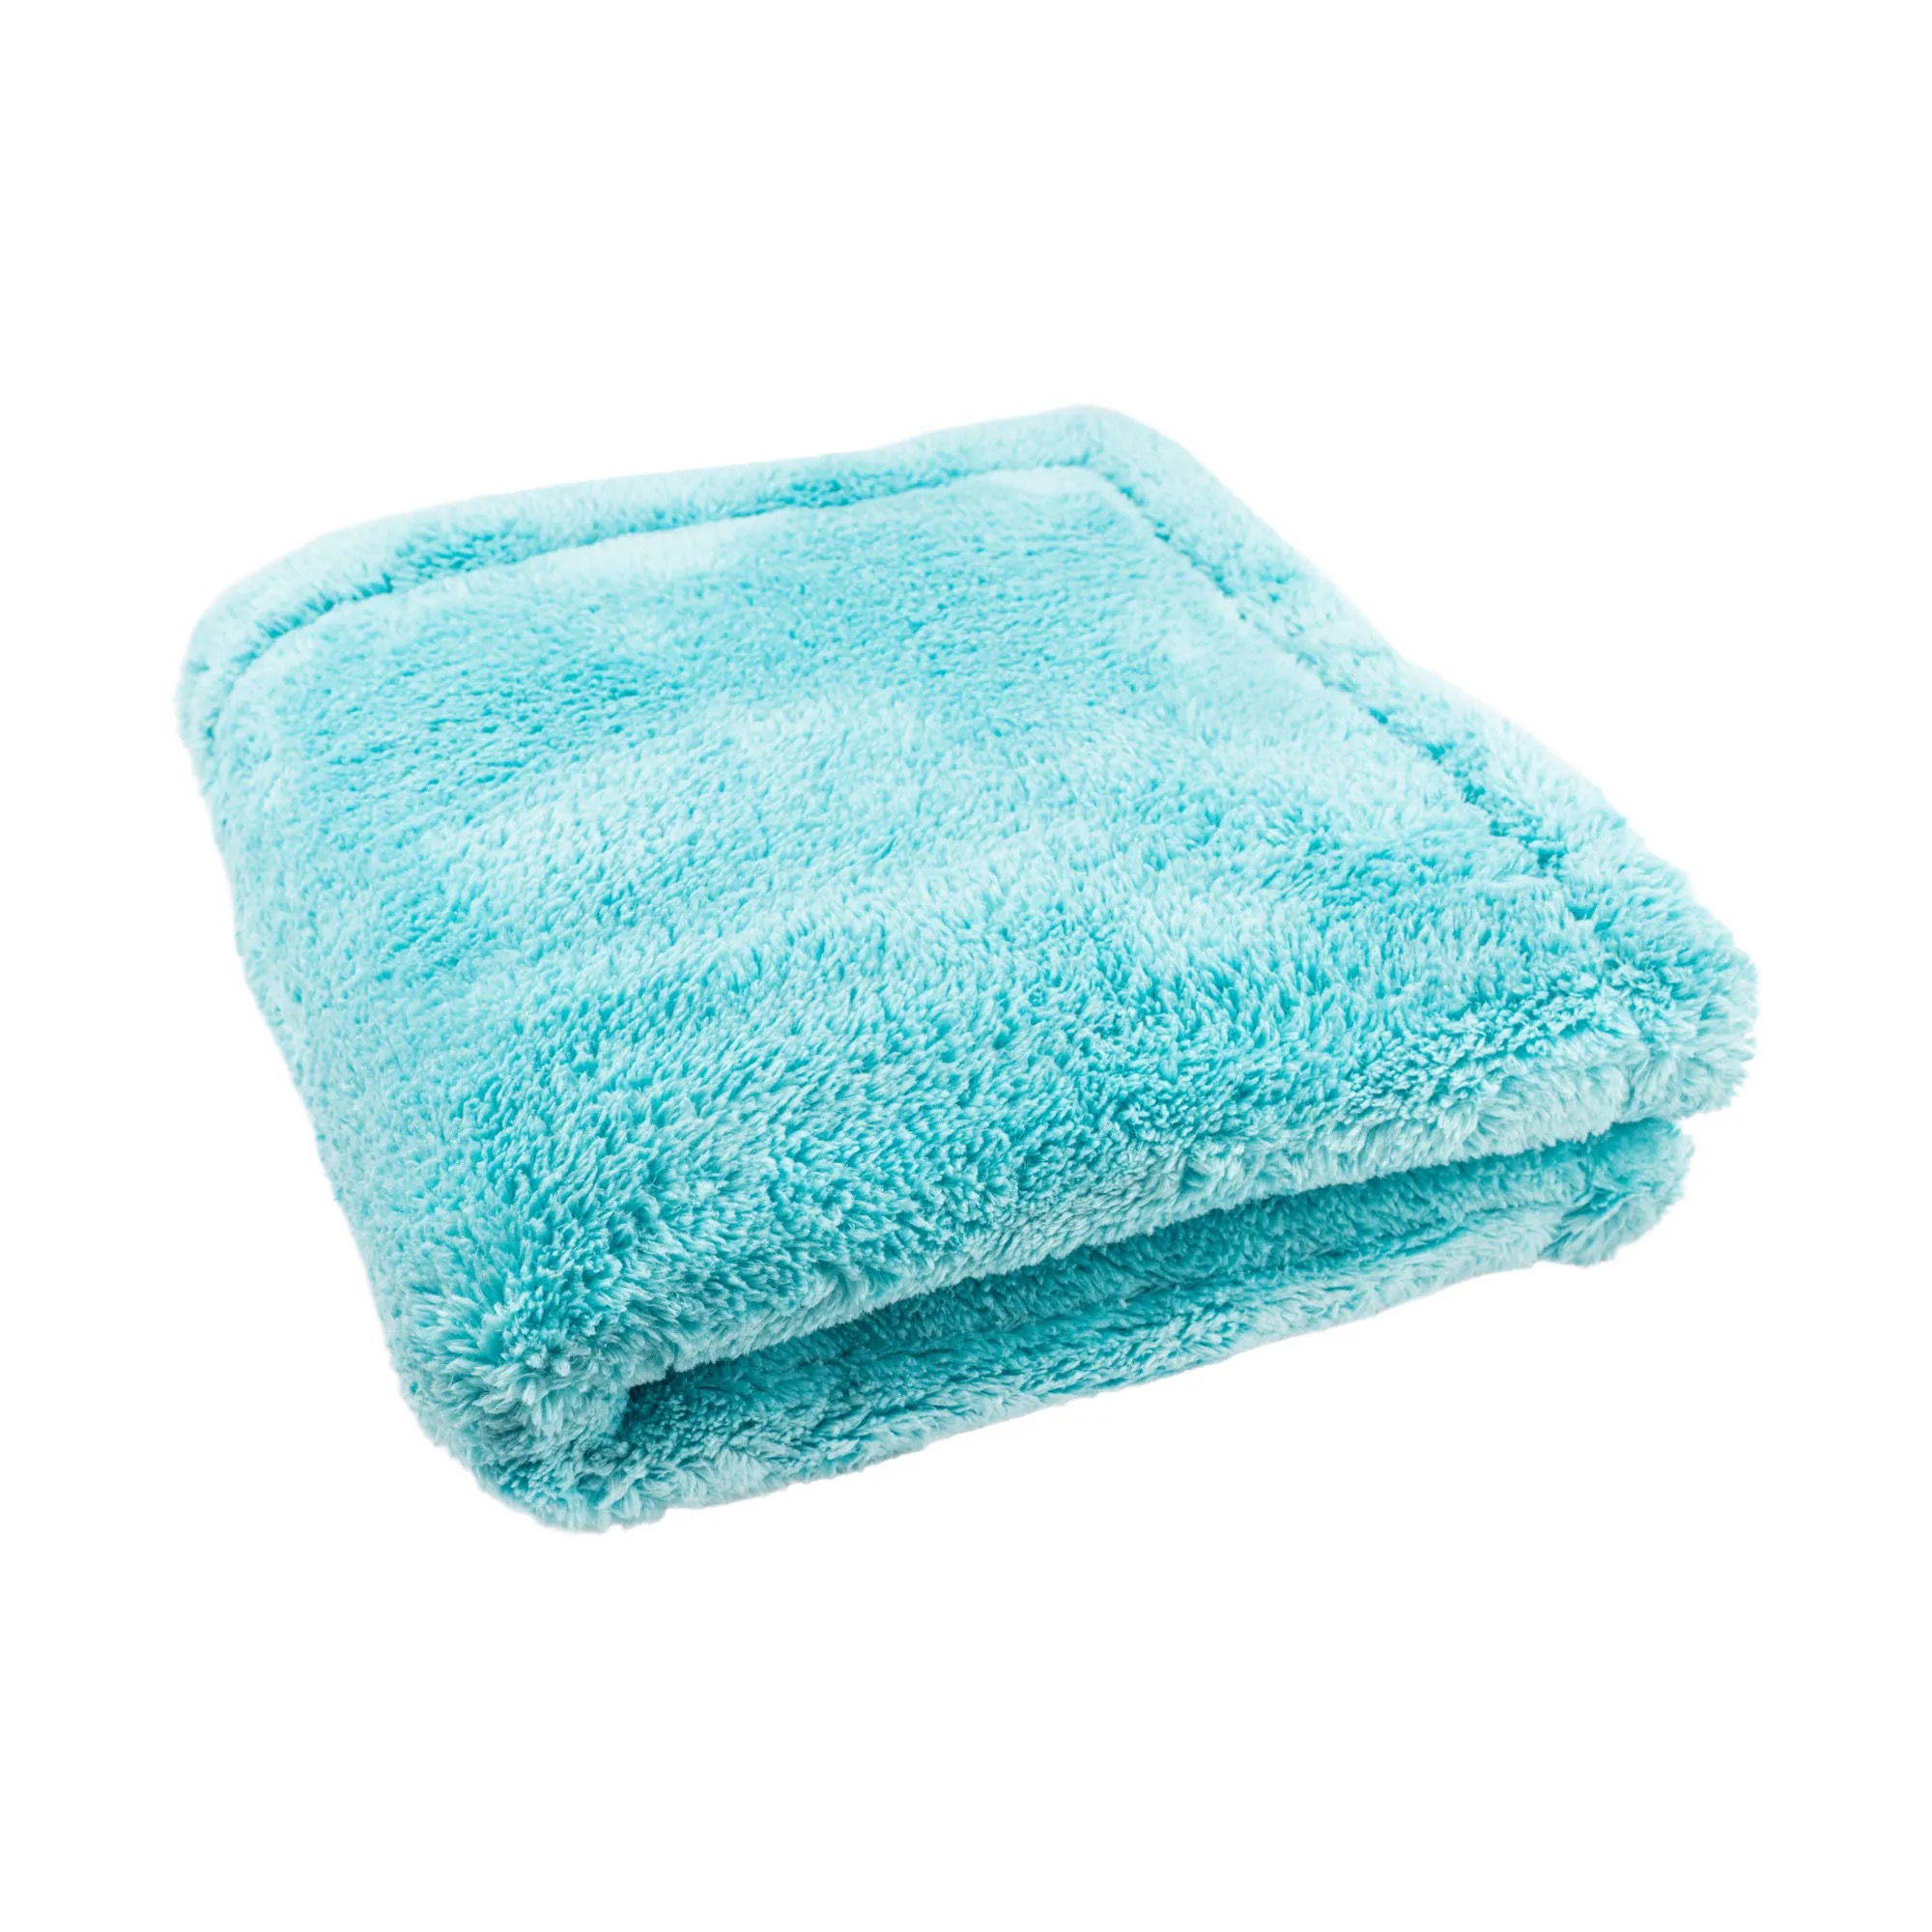
Finally, I would use a stack of shorter pile microfibre cloths for levelling and removing the coating rather than the one drying towel pictured.
2 Likes
yes that’s one way But I been using carbon collective now 6 years and have my own way of doing it I do not want to strip it right back to paint I want to clean it down to ceramic coating with there product then build it back up they have a hole selection on doing this which I will be following as for fibre cloths that’s only one of around fifty cloths at different grades I have I use I use a surf city carbon wash for the car and the carbon collective quick detailer that you apply when the car is still wet you just wipe down and the polish off all done I have other collective sprays and clay wash pads in my collection these are just a few of there products that I have ordered above …also I have around 35% of the car in PPF and carbon fibre hydro dip paint work they also need coating …
then the wheels need doing with there stuff …
1 Like
Brilliant - this is good to hear. Big fan of the Carbon Collective stuff. Have used Platinum Wheels on an Octavia and an ND and it’s held up really well, makes cleaning the wheels so much easier. Haven’t tried the paint coatings yet though.
It’s quite addictive when you get into it, eh? ![]()
1 Like
I’ve also used them on my wheels.
Not cheap but fantastic products.
1 Like
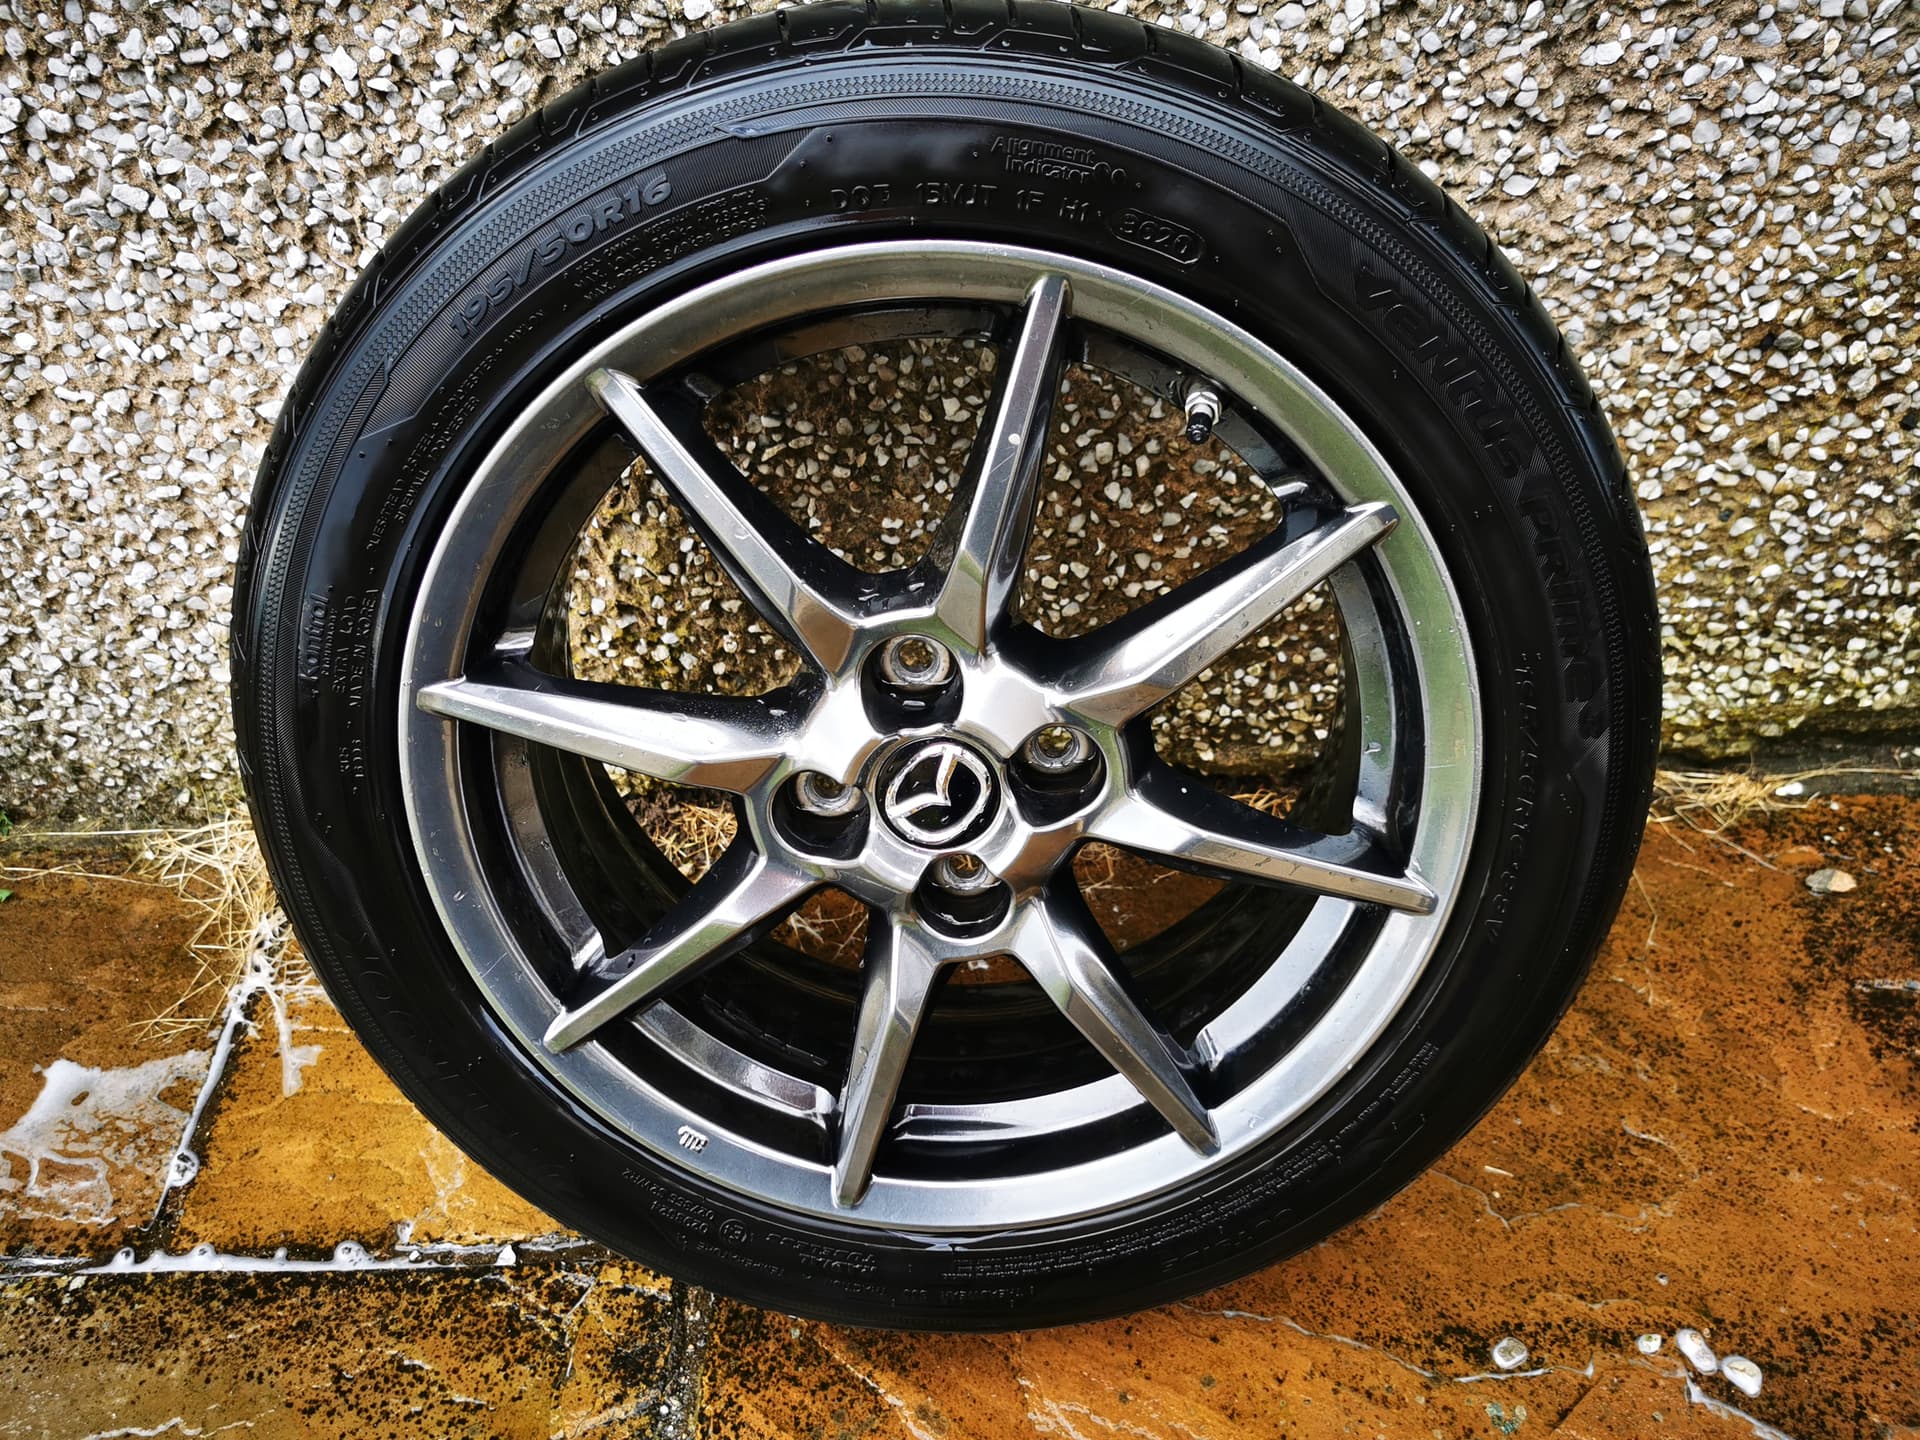
What is the finish/colour on your wheels, they look really good.
They’re standard on the 1.5 ND Sport described as Gunmetal alloy I think
1 Like

Nothing - 'cos mine passed too! Just one advisory (low brake pad)
10 days of good weather forecast too ![]()
2 Likes
The Good
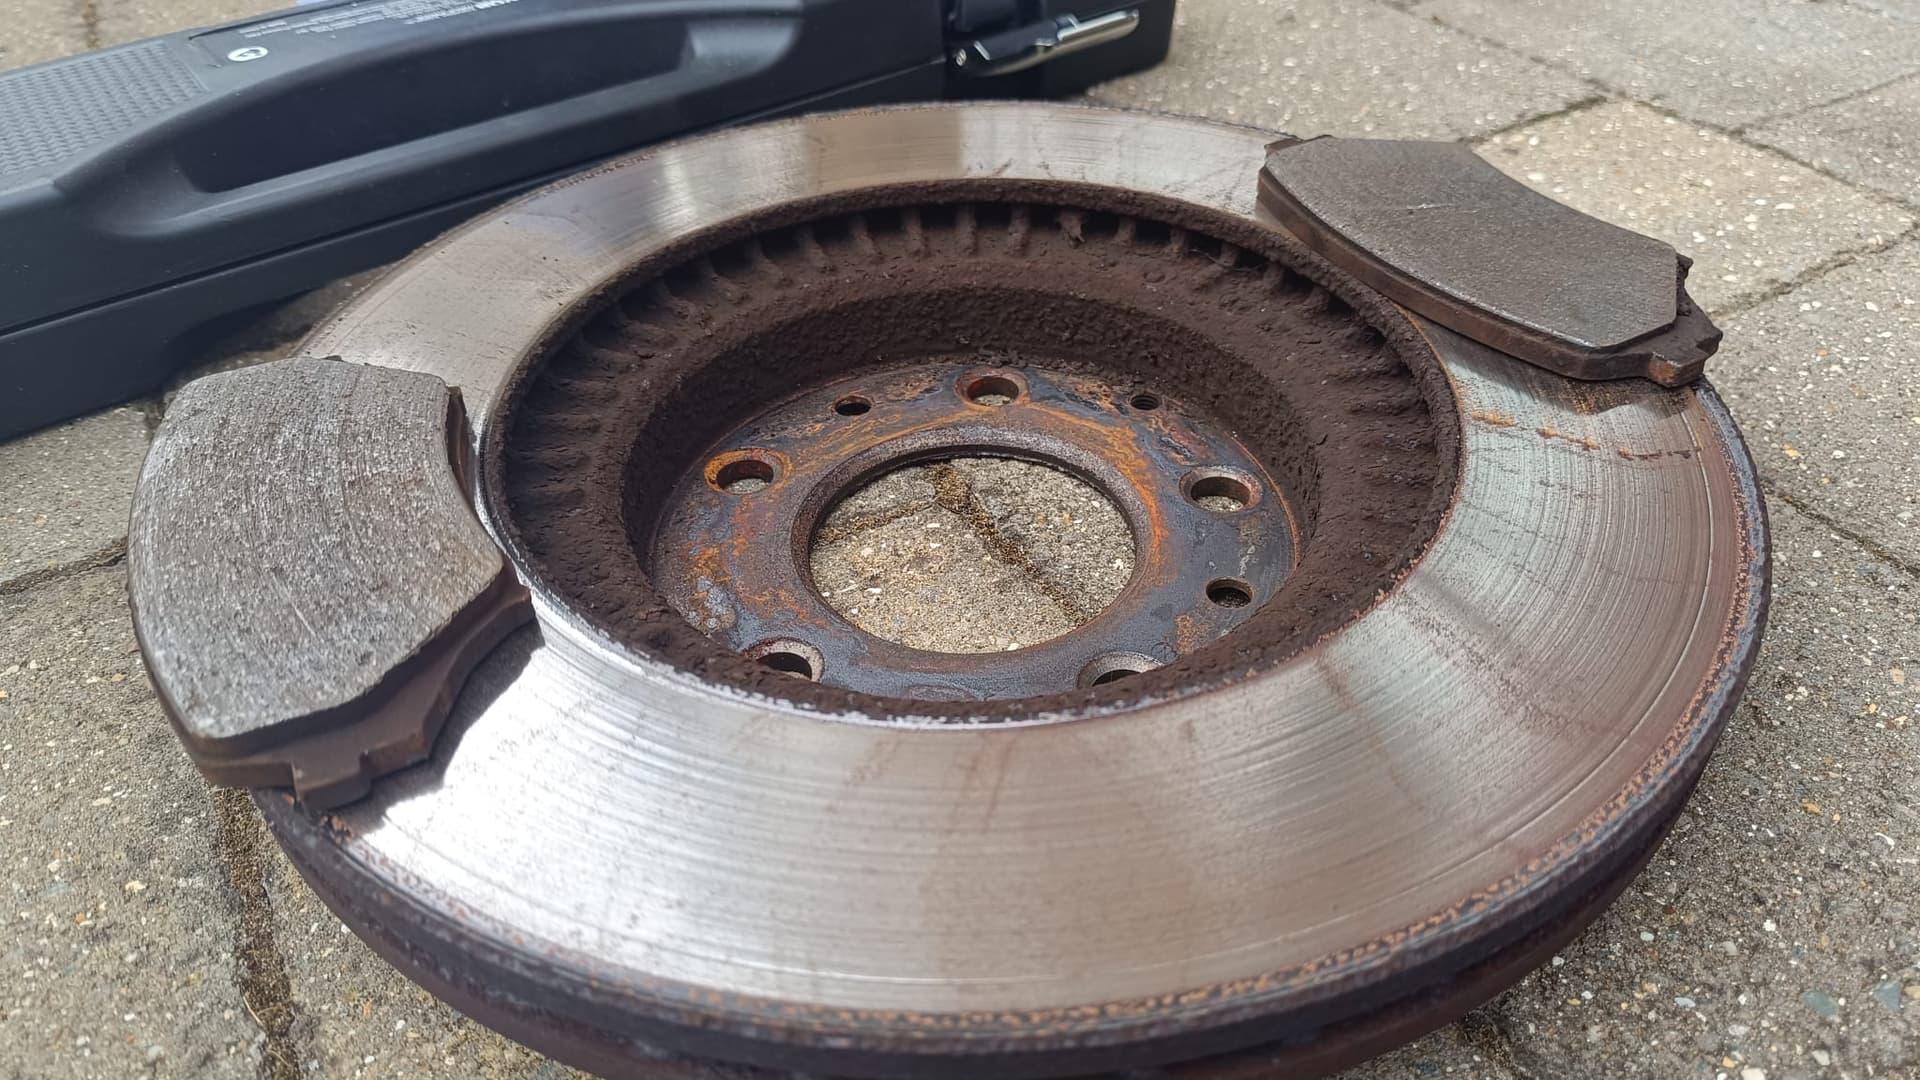
The Bad
And the ugly
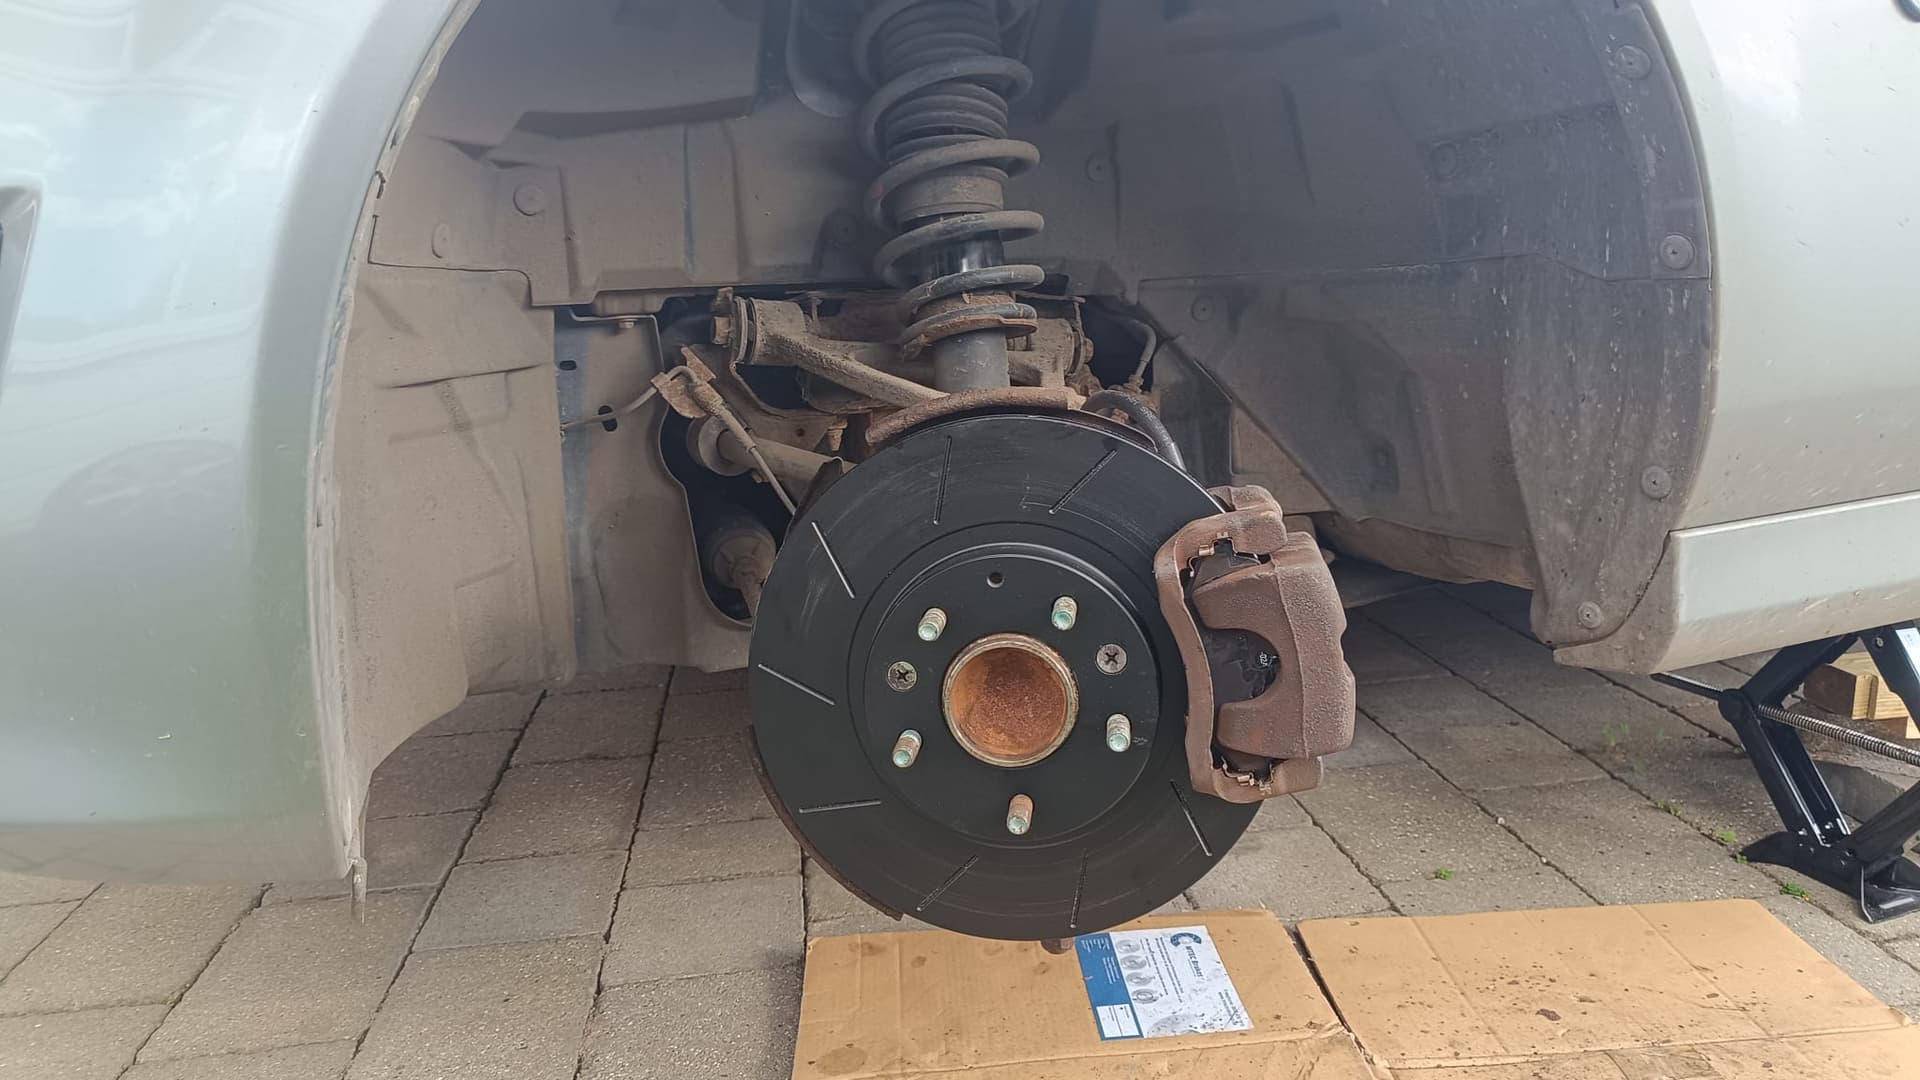
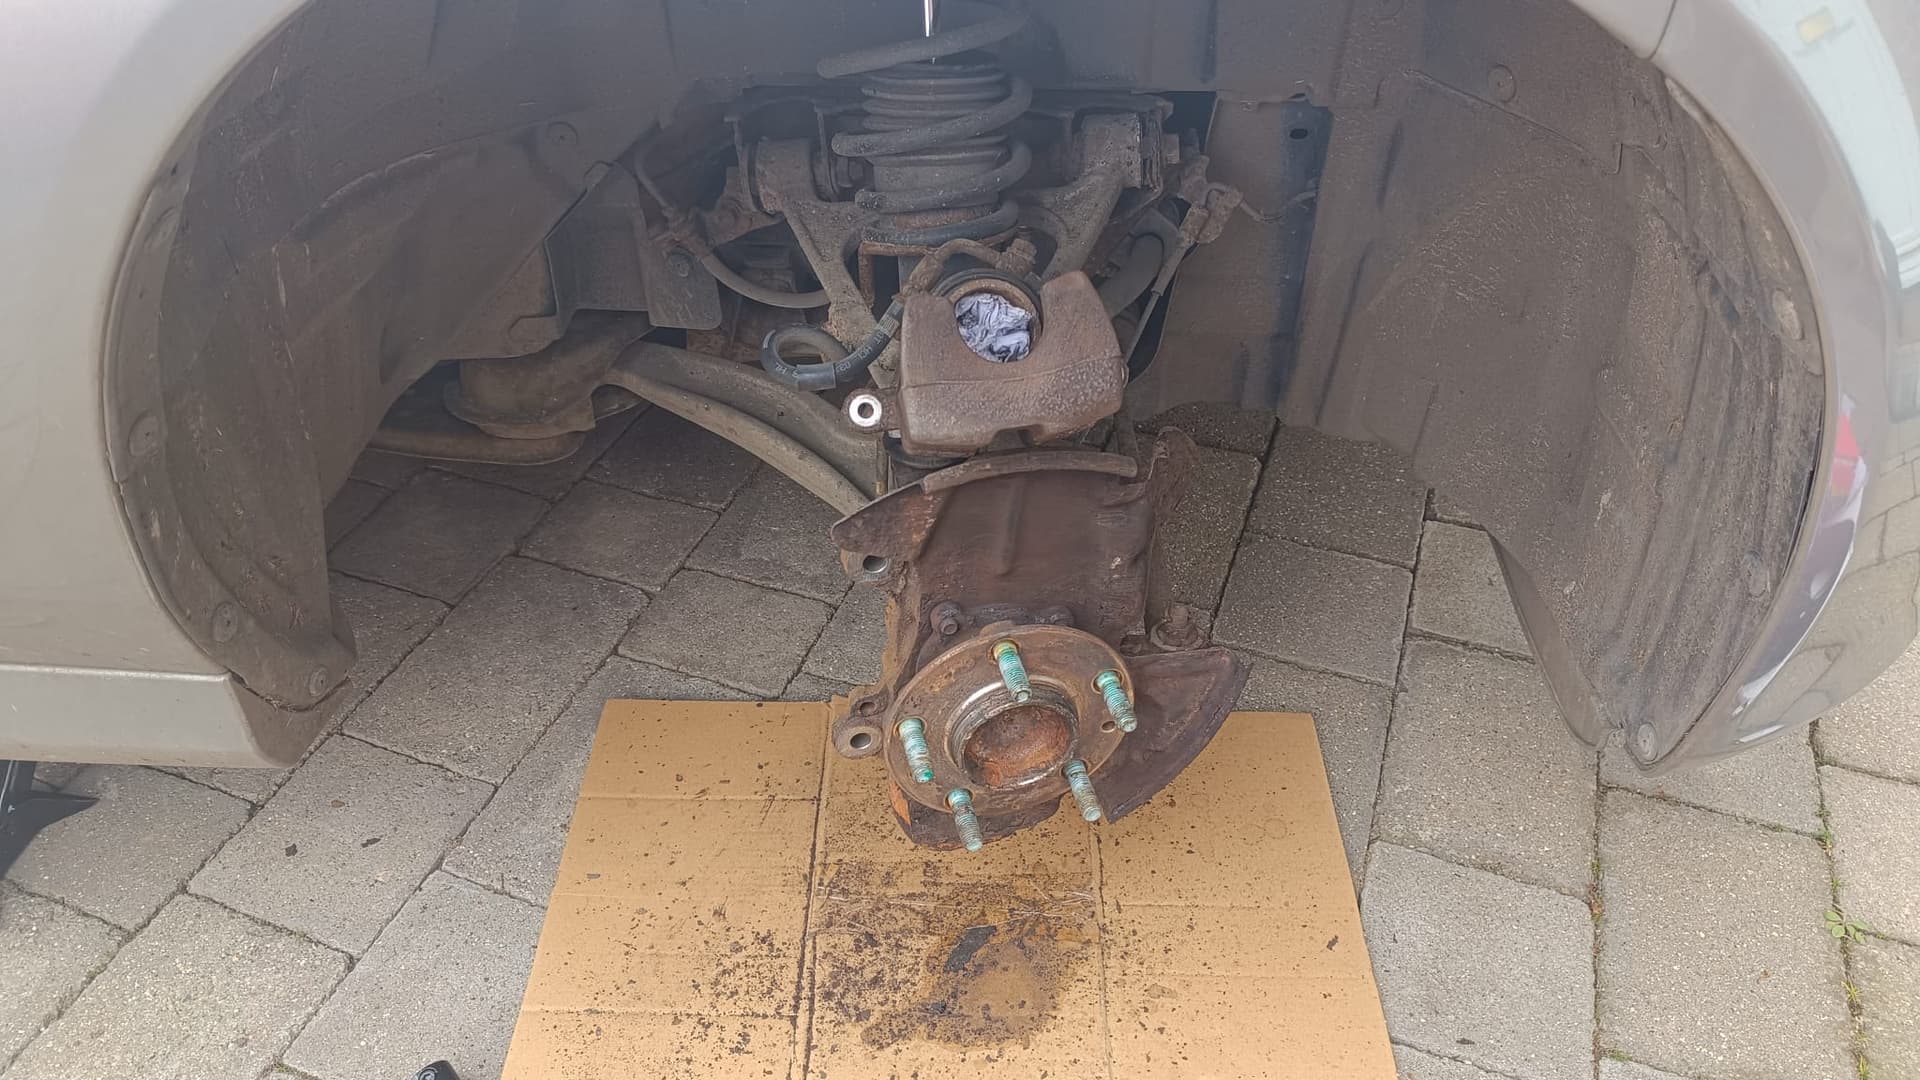
I started on the driver’s side, and jeezo, the bolts on the brake carrier simply would not move. The caliper bolts on the slide pins had also been done up to 4 million, but they did at least come out. Not so the carrier bolts. Finally, I brought out the big ‘I’m not asking’ bar and they did started to move, and I got them out… along with the threads on the carrier.
Of course the carrier is unobtanium, mostly because you can buy a new caliper & bracket as a set. Hmm.
Thinking on that, I moved on to the passenger side to see what else I would break, and it went about as easy as you like. Popped everything out, lubed the lubey bits, popped it all back together with new disc and pads and it was fine
As you can see, the old pads were down to about 3mm and there was a goodly trench in the discs, so it needed doing. The new ones are MTEC rotors and Mintex pads.
Then, being tired, I foolishly did a brake check and noticed the drivers side now leaking. I had popped the wheel back on but not put the pads in while I pondered the carrier conundrum, so it has extended and messed up the seal in the caliper. Well I needed to buy a new bracket, so I guess a new caliper & bracket it is. Mr Amazon to the rescue tomorrow while I do the rears. Wish me luck.
2 Likes
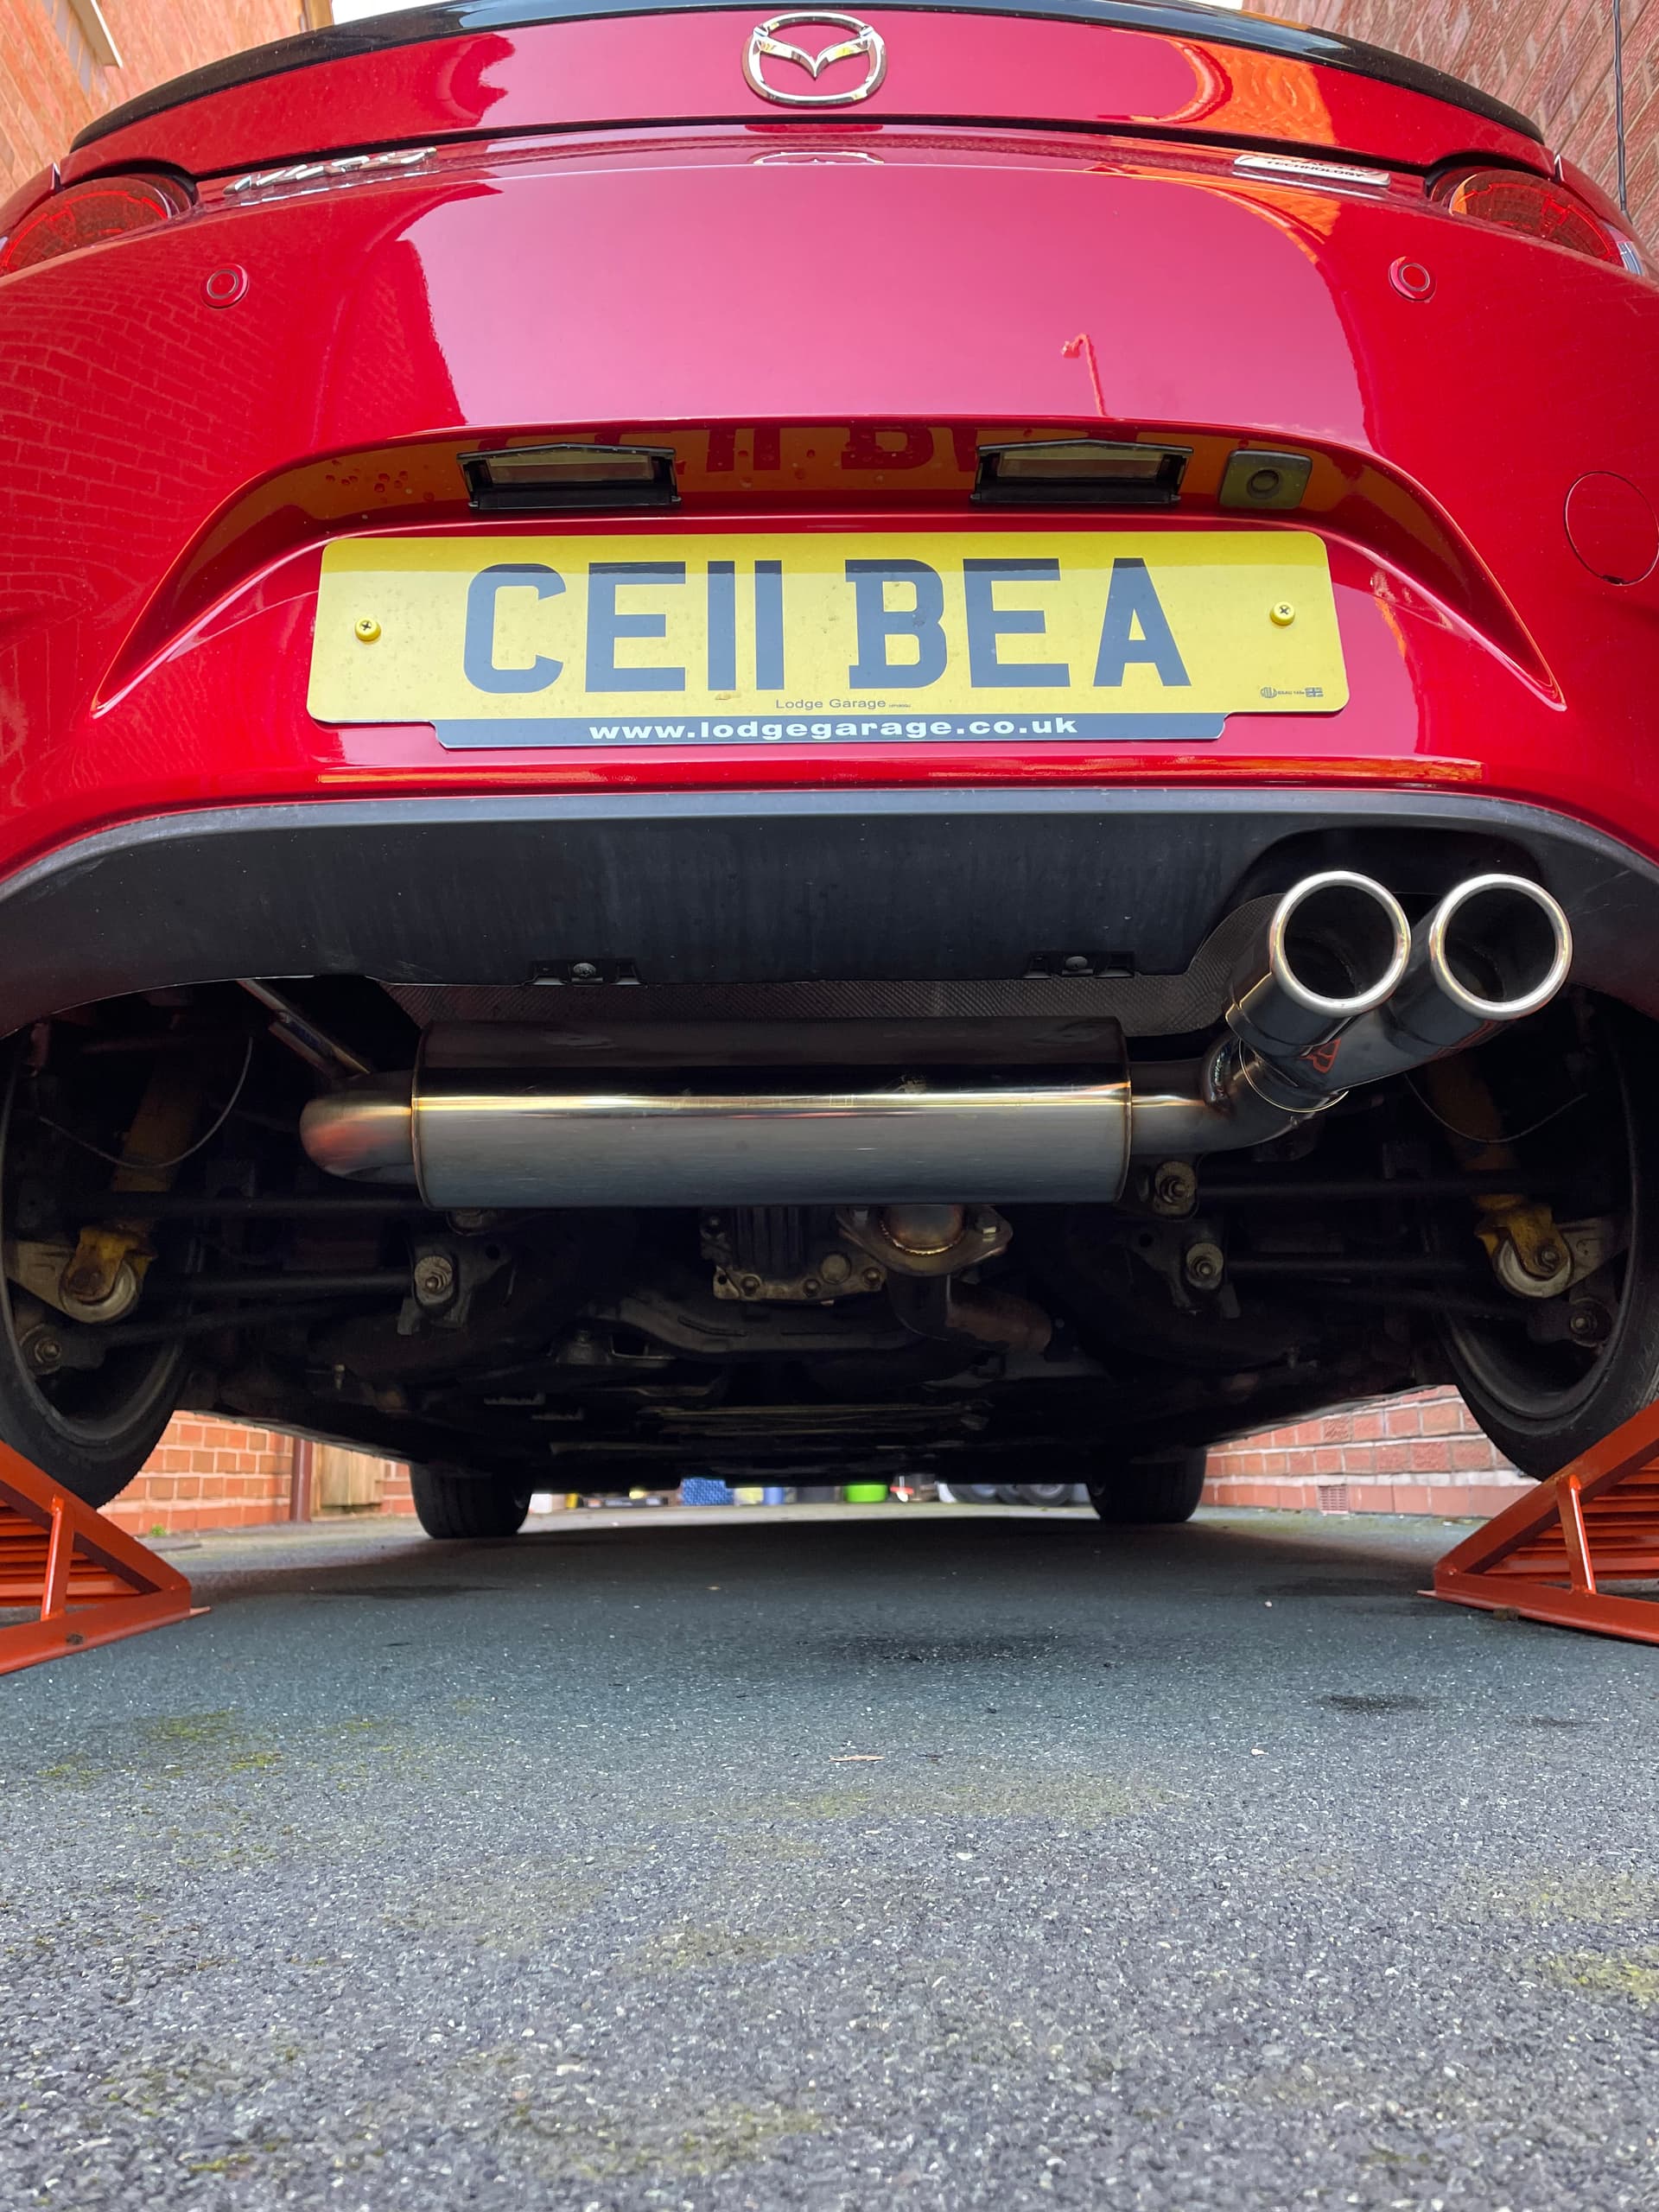
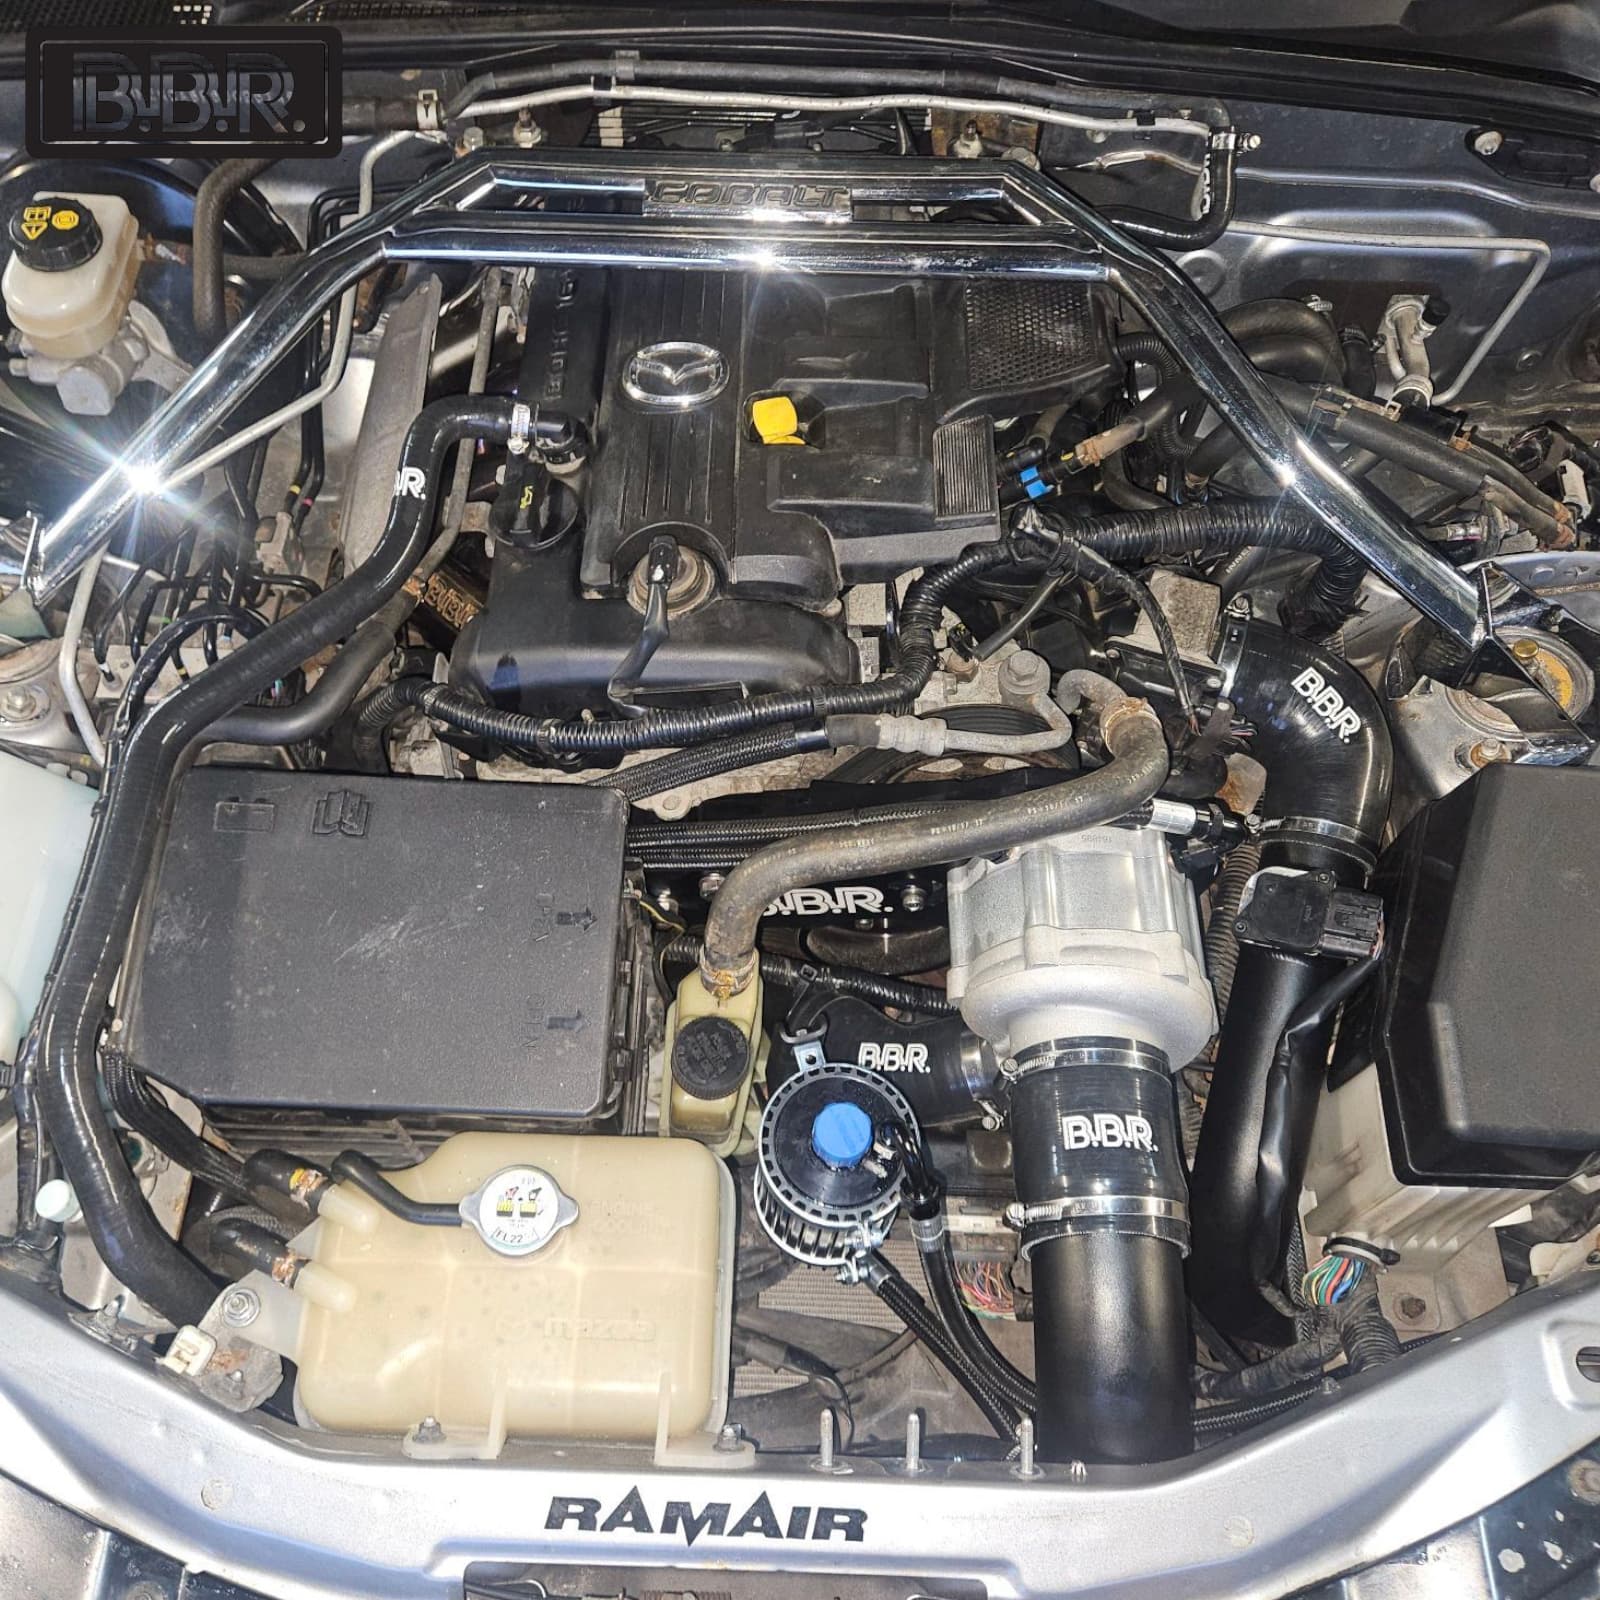
Guess who’s back, back again, Tizzy’s back, tell a friend, guess who’s back, guess who’s back…
Oh my days…She’s back and feels the same, but yet not the same. Tame and polite in town, stage 1 clutch feels no different in traffic to normal clutch, but then more grown-up/more manly at speed…and I haven’t been over 4000rpm yet!!
175bhp to 275bhp and the only restriction is the OEM fuel pump otherwise this girl goes all the way to 340bhp.


5 Likes
If I had a brain, I’d be dangerous ![]()
Today’s efforts continued with the pads & discs on the rear. Very sensibly, I had chocked the front wheels, set the handbrake off, then rolled forward and back against the chocks to ensure everything was free and hard up against the chocks before cracking wheel nuts and jacking up the car. The driver’s side bolts had again been done up by Arnold Schwarzenegger, but once I got them moving and they came out easily enough. The caliper, however, would not move. Have I forgotten something? Is there something I don’t know, here? Back inside for another check of the MX5OC font of wisdom and… no, everything’s good. Caliper’s not stuck, caliper pins move freely…
And then I looked in the cabin. Handbrake on. ![]()
I can only assume that having carefully checked everything, I yanked it on before getting out in a sort of muscle memory without realising. It’s amazing how much easier it is with the handbrake off.
The usual rigamarole of clean everything and lube the lubey bits, then on with the new pads and disc. I carefully wound the piston back in and it all went back together. Not being a twerp this time, the other side got knocked out pretty quickly.
Now I just need the new caliper etc. to replace yesterday’s debacle.
5 Likes