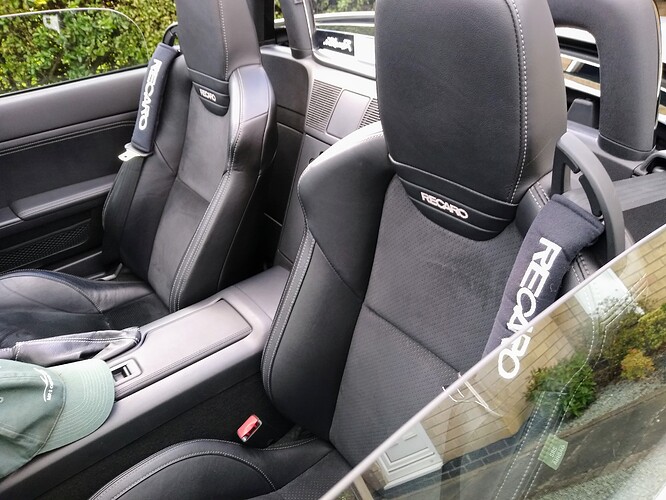
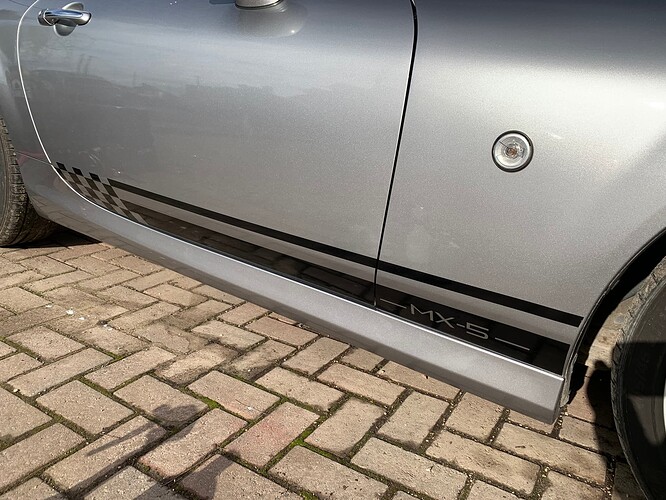
Washed it for my first day back into the office for a while.
Had a full service done at Roddisons, including all fluids and new spark plugs. Gear selection was noticeably improved the moment I put it in first to pull away, and got even better on the journey home. Excellent service from Paul, who even took the time to offer some advice on future tyres to purchase, and the service regime for the next few years. Happy to know it’s been sorted by an absolute expert, and seeing the 300bhp stripped out Mk4 racecars was a nice treat too - highly recommended (as Paul Roddison always is!)
that is a awesome looking 5 you got there mick !!! 

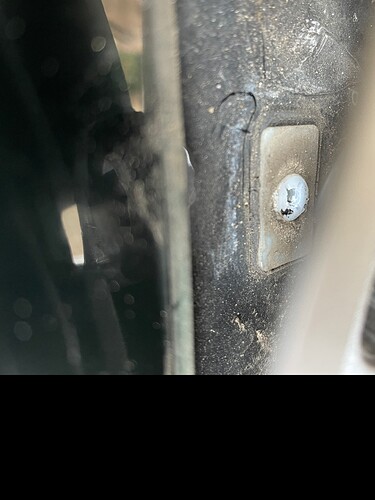
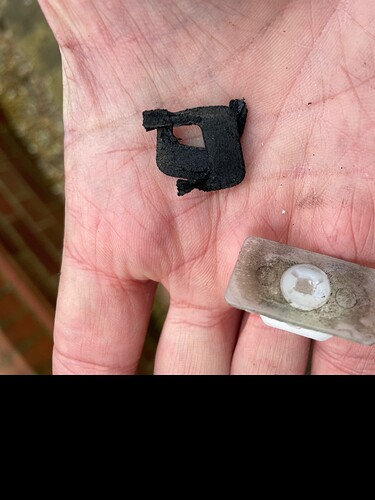
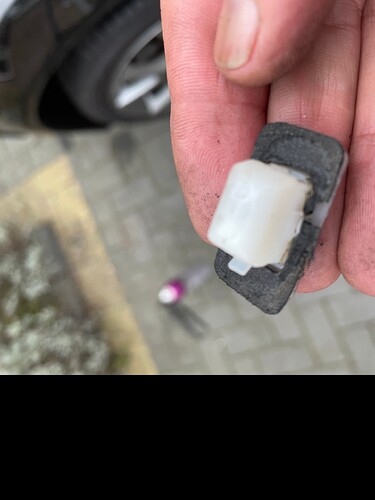
In case you are wondering, this is what 7 year old, 55,000 mile NC scuttle seals look like. Mine weren’t leaking but I think I got to them in good time.
I have ordered and received them so on my jobs to do. Thanks for the reminder 
I used brand new ones but with the “washer” removed. It’s worth also buying the little round black plastic covers in case you mangle one. You can remove them carefully with a tiny screwdriver.
It gets dirty quick Geoff but then I find the dirtiest roads to go down it seems.
Last trip just off the building site near us they had left a right mess on the roads, would have been cleaner going over the fields 


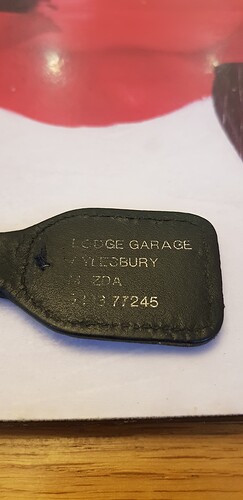
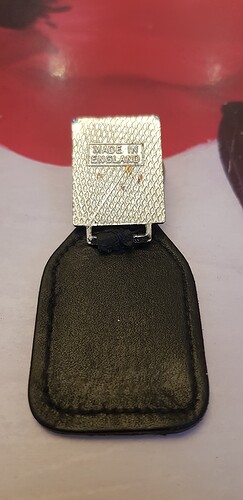
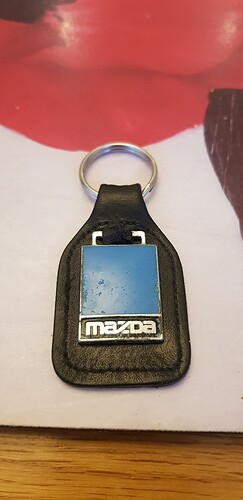
On a deep dive under the seats found this blue/silver Mazda keyring nestled amongst some ancient parking tickets. Had the leather piece from when we bought the car a few months ago. The metal bit must have come off and gotten lost many years ago. Que three broken needles, two stabbed fingers, half an hour worth of dodgy sewing skills and it’s back in action. Judging by the history of the car I reckon this is the keyring the car came with at initial purchase:)
What polish do you use?
That finish doesn’t come from the shampoo… 
This is how I wash a car. YMMV of course. It was taught to me by my dad in the 60s. I washed his car (a canary yellow Ford Corsair which was his pride and joy) every Friday for the princely sum of five shillings (method amended to include microfibre elements which weren’t available to a 15 year old kid back then):
Hose down to remove grime taking care to include inside wheel arches. Autoglym shampoo conditioner (washing up liquid back then) liberally applied with micro-fibre wash mitt. One capful to a bucket of warm water. No, it doesn’t foam, it’s not supposed to. Scrub wheels with soft brush and the last of the shampoo. Hose down again, towel dry with microfibre towel, gently buff up with microfibre cloth. And that’s it. The shine is testament to the mollycoddling the car got from its previous owner.
Back in the 1990’s I used to take my 1981 Mazda 323 1.5GT there for servicing… They were brilliant back then! I remember one invoice showing work they did F.O.C, like for example reglueing the gear lever gaiter back to it’s base. Were quite good value too for what I can remember…
Rob
It’s best to put sealer under the new grommets as well, as the foam will break down.
Agreed. Five to six years seems standard for total disintegration of the foam.
It is easier to carefully avoid disturbing the existing grommets and just replace foam with silicone; then no damage to the bodywork removing the old ones.
I simply sawed out all the old rotten muddy foam with a long damp strip of scrap cloth,
cleaned down the gap revealed to remove mud etc,
made double sure it really was all clean and dry and
finally worked in a couple of layers of the sealant.
I left it to set overnight before inserting and doing up the two screws again, although I had replaced all the other bits.
Interspersed with drying times (cups of tea), allow a couple of hours to do both grommets.
I used ordinary quick-setting silicone bath sealer.
I did t use the foam washers. I took them off the new grommets and just use decent silicone bathroom sealant under and around it.
Agreed.
I see zero point in wasting money on new plastic inserts as it’s only the foam gaskets that fail.
Replacing the gaskets with new foam is equally pointless as it will simply fail again.
Using silicone sealant or similar to replace the foam under the original inserts is the way to go.
Without a gasket in place, the inserts are a loose fit, so lift each insert and place a bead of sealant underneath to fill the gap all round, having first removed all traces of the original gaskets.
Wait for the sealant to cure before refitting the scuttle covers.
Simples
They probably add at least 5bhp 

