this was the morning of collection ,
Good colour choice.
1 Like
after handing over my money i took it a longer run , maybe 6-7 miles to see how it drove before heading home to start tinkering … 
There are some jobs that need doing ,
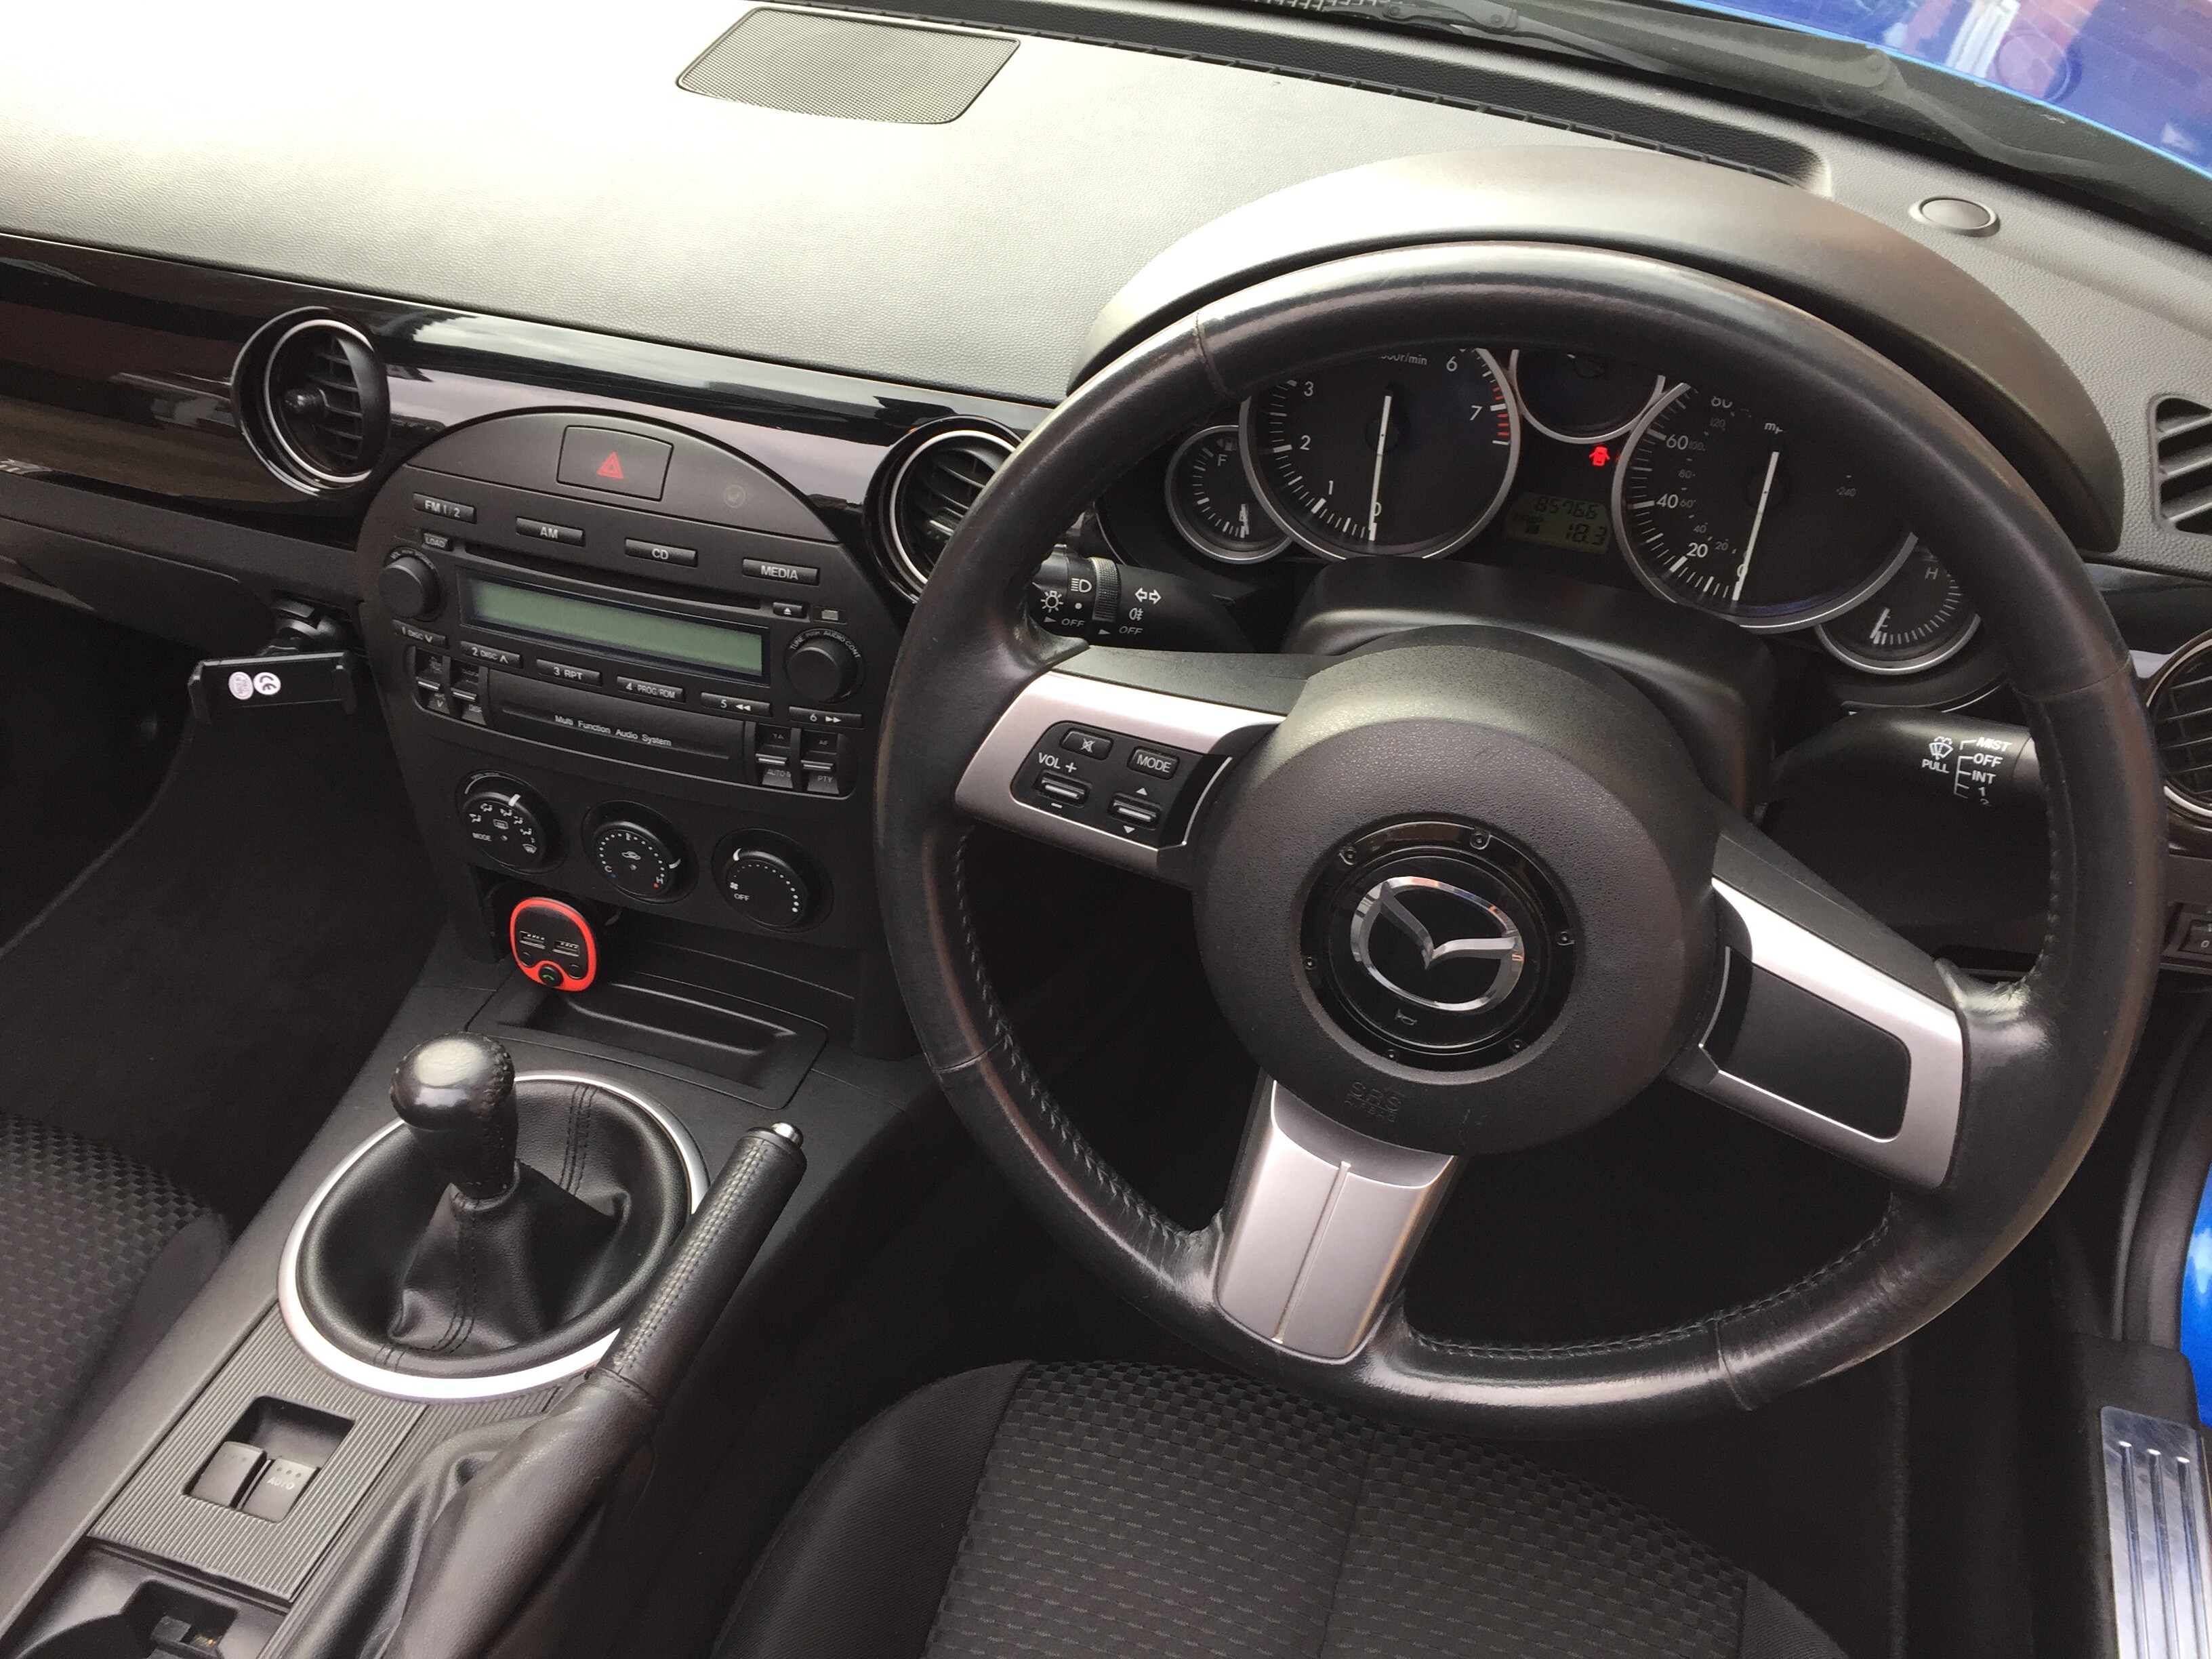
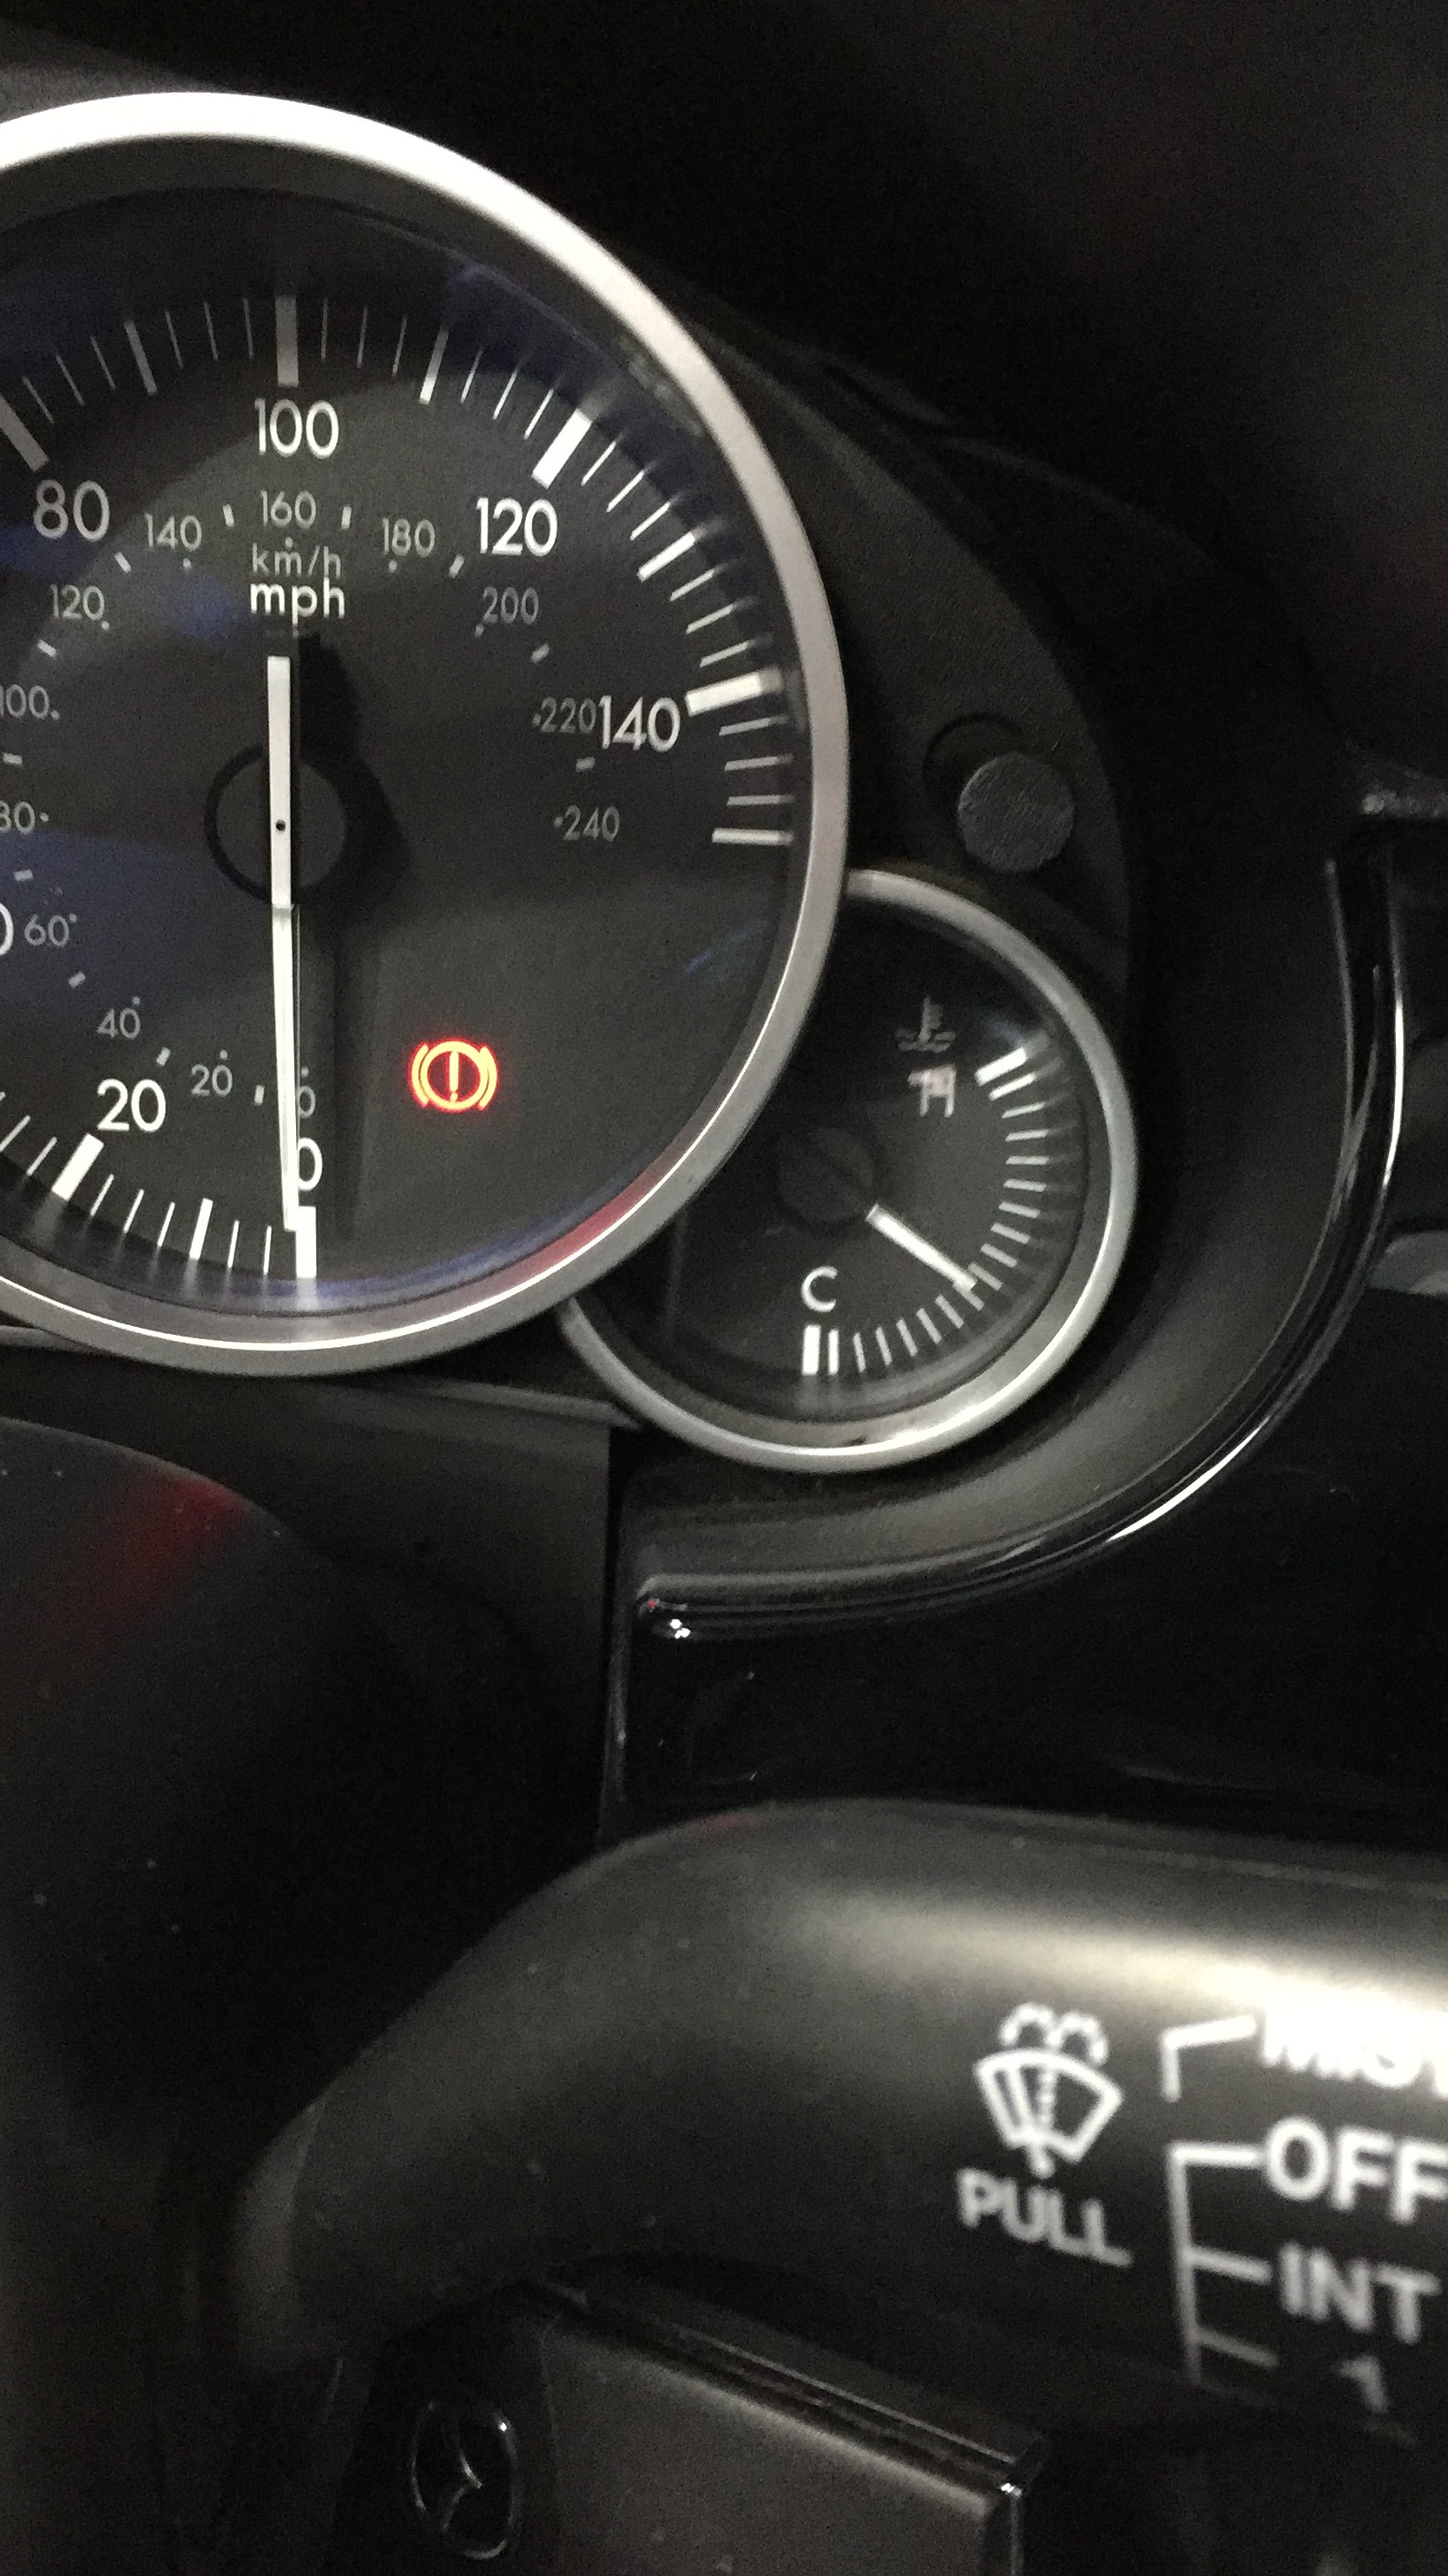
the temp gauge is only moving 1/4 up the dial so needs a thermostat 
( any links to the part or doing job would be great ).
i’ve not changed thermostat on mk3 before . 
the roof has some mould marks to remove . 
it is getting ready for 2 new tyres in next 2k miles 
but so far i’m a happy bunny 
first job was the engine bay…
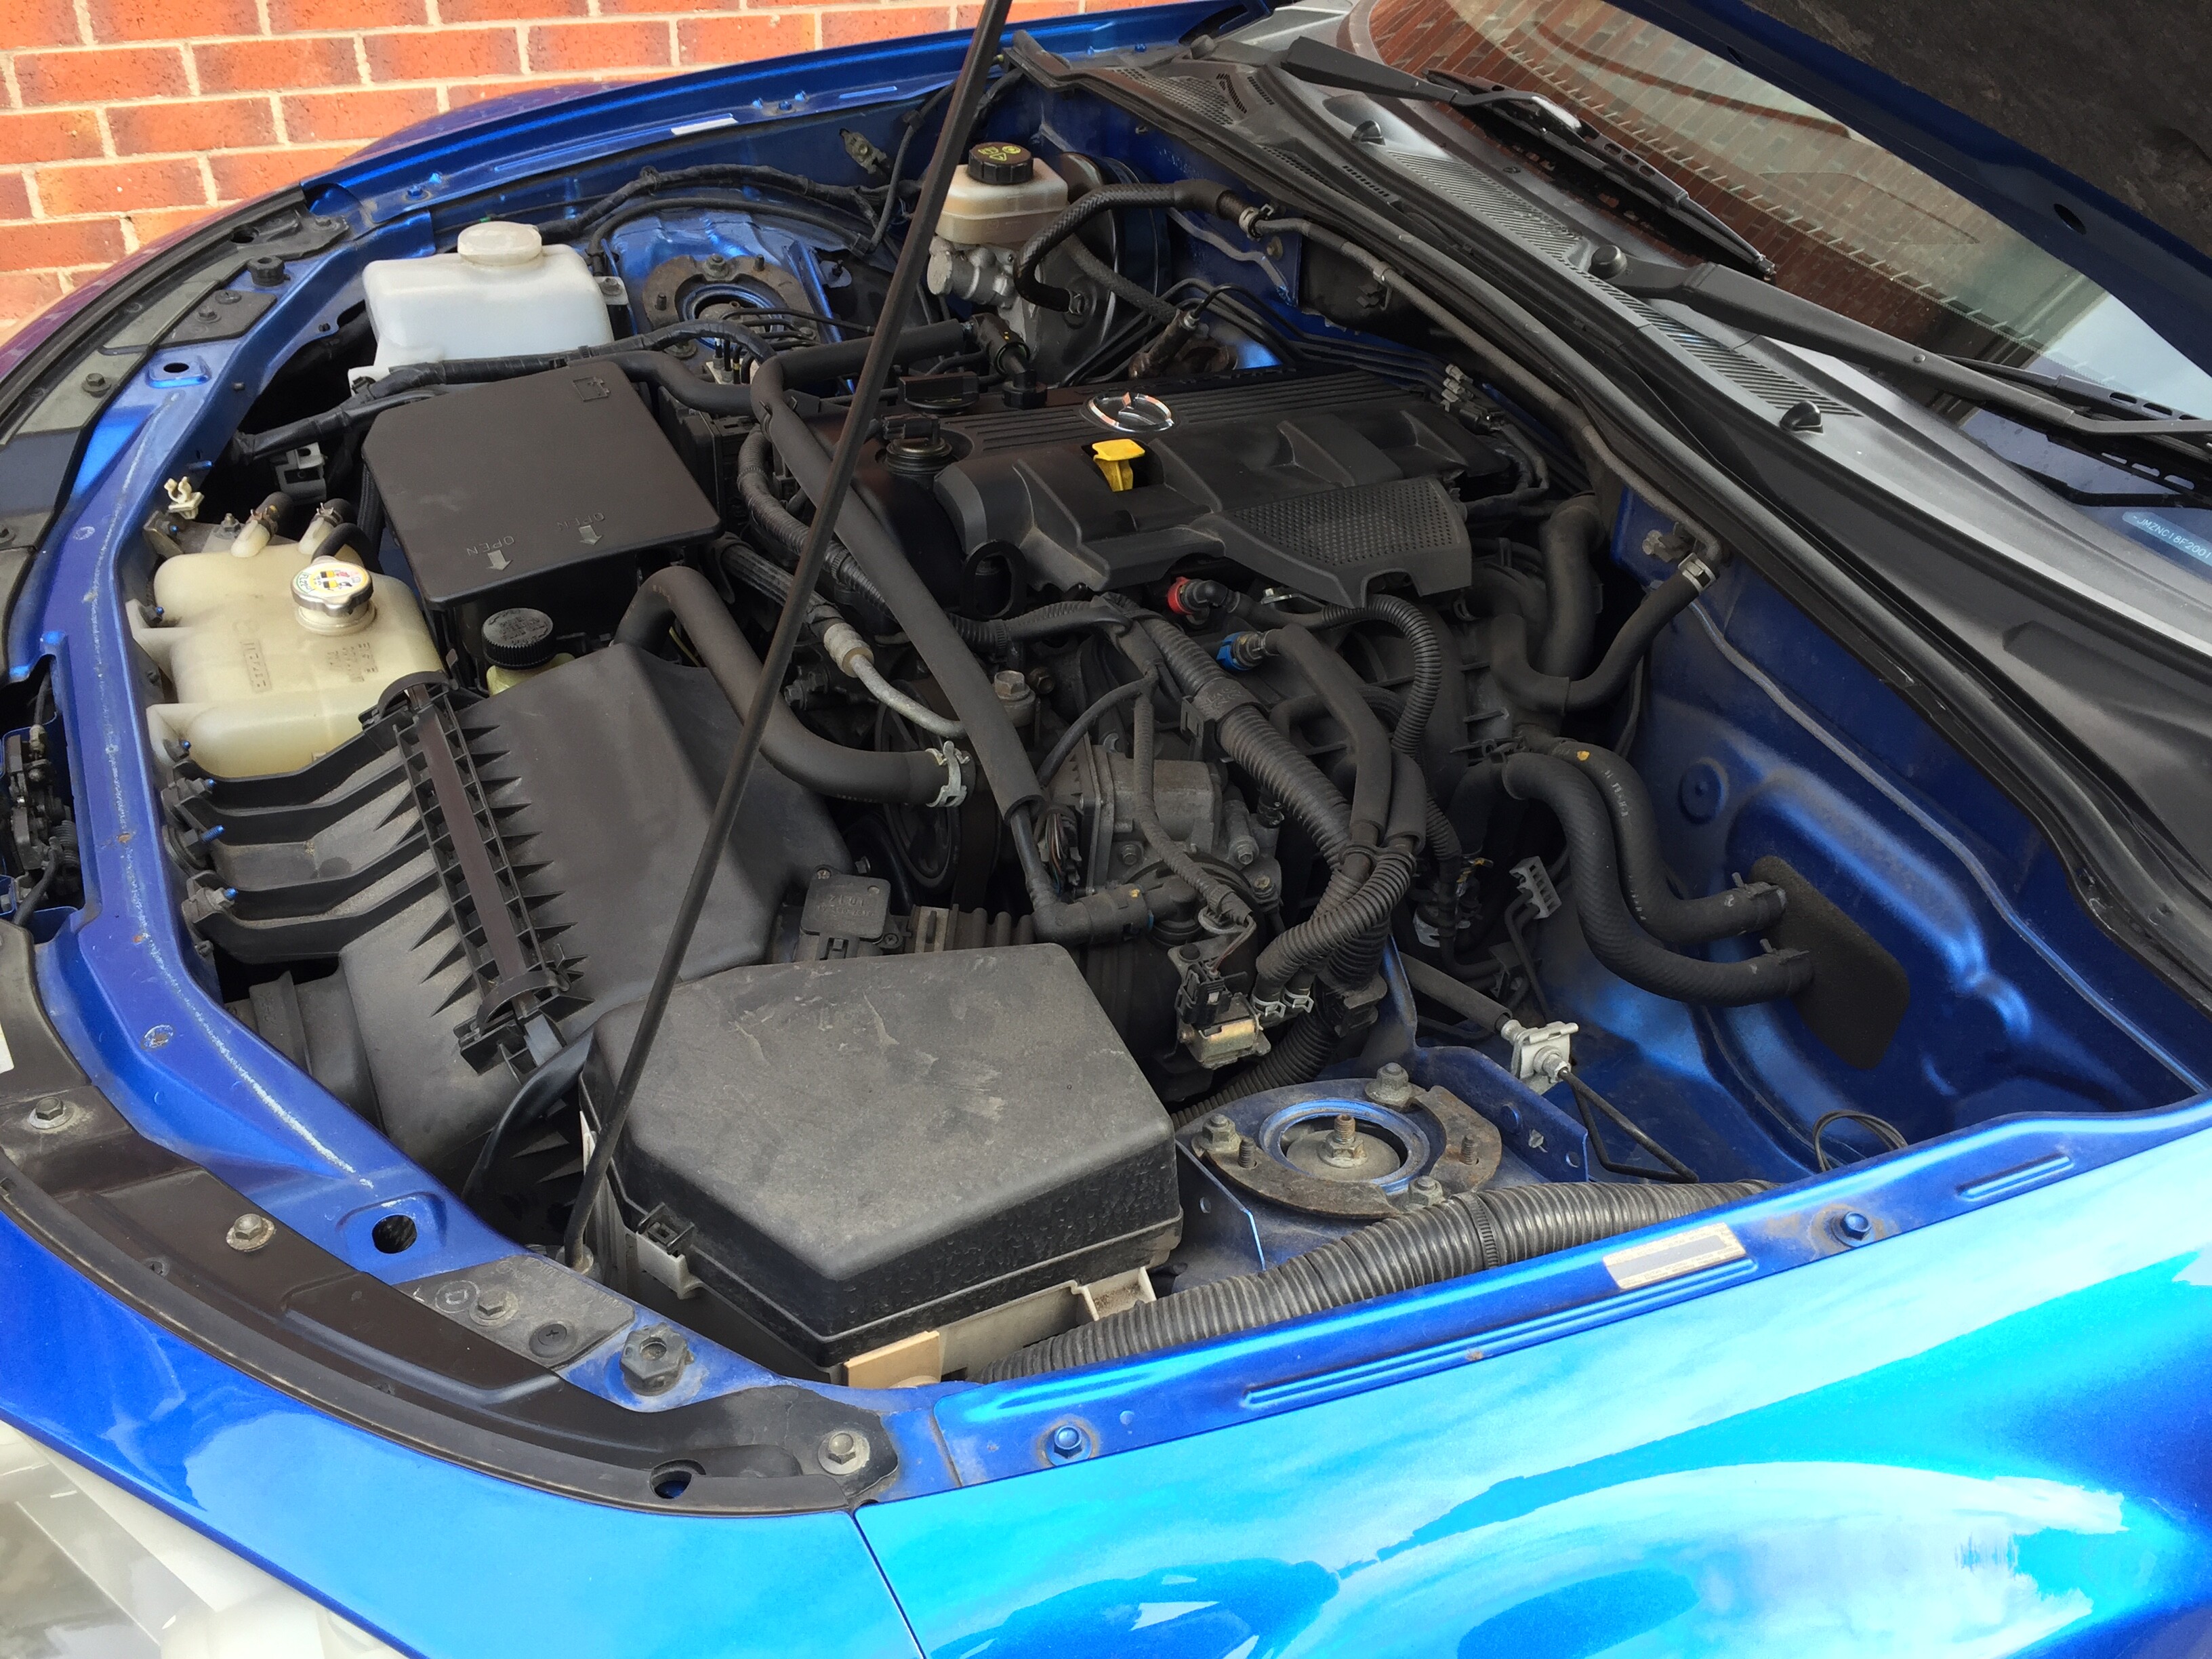

this was sprayed with “elbow grease”, a cheap degreaser (£1bottle )

left to stand 5 mins , then agitated with a brush in all crevices .
then washed off with jet wash on low pressure ( being very careful around electrics )
i always have the engine running while doing this , you can hear if the engine revs dip
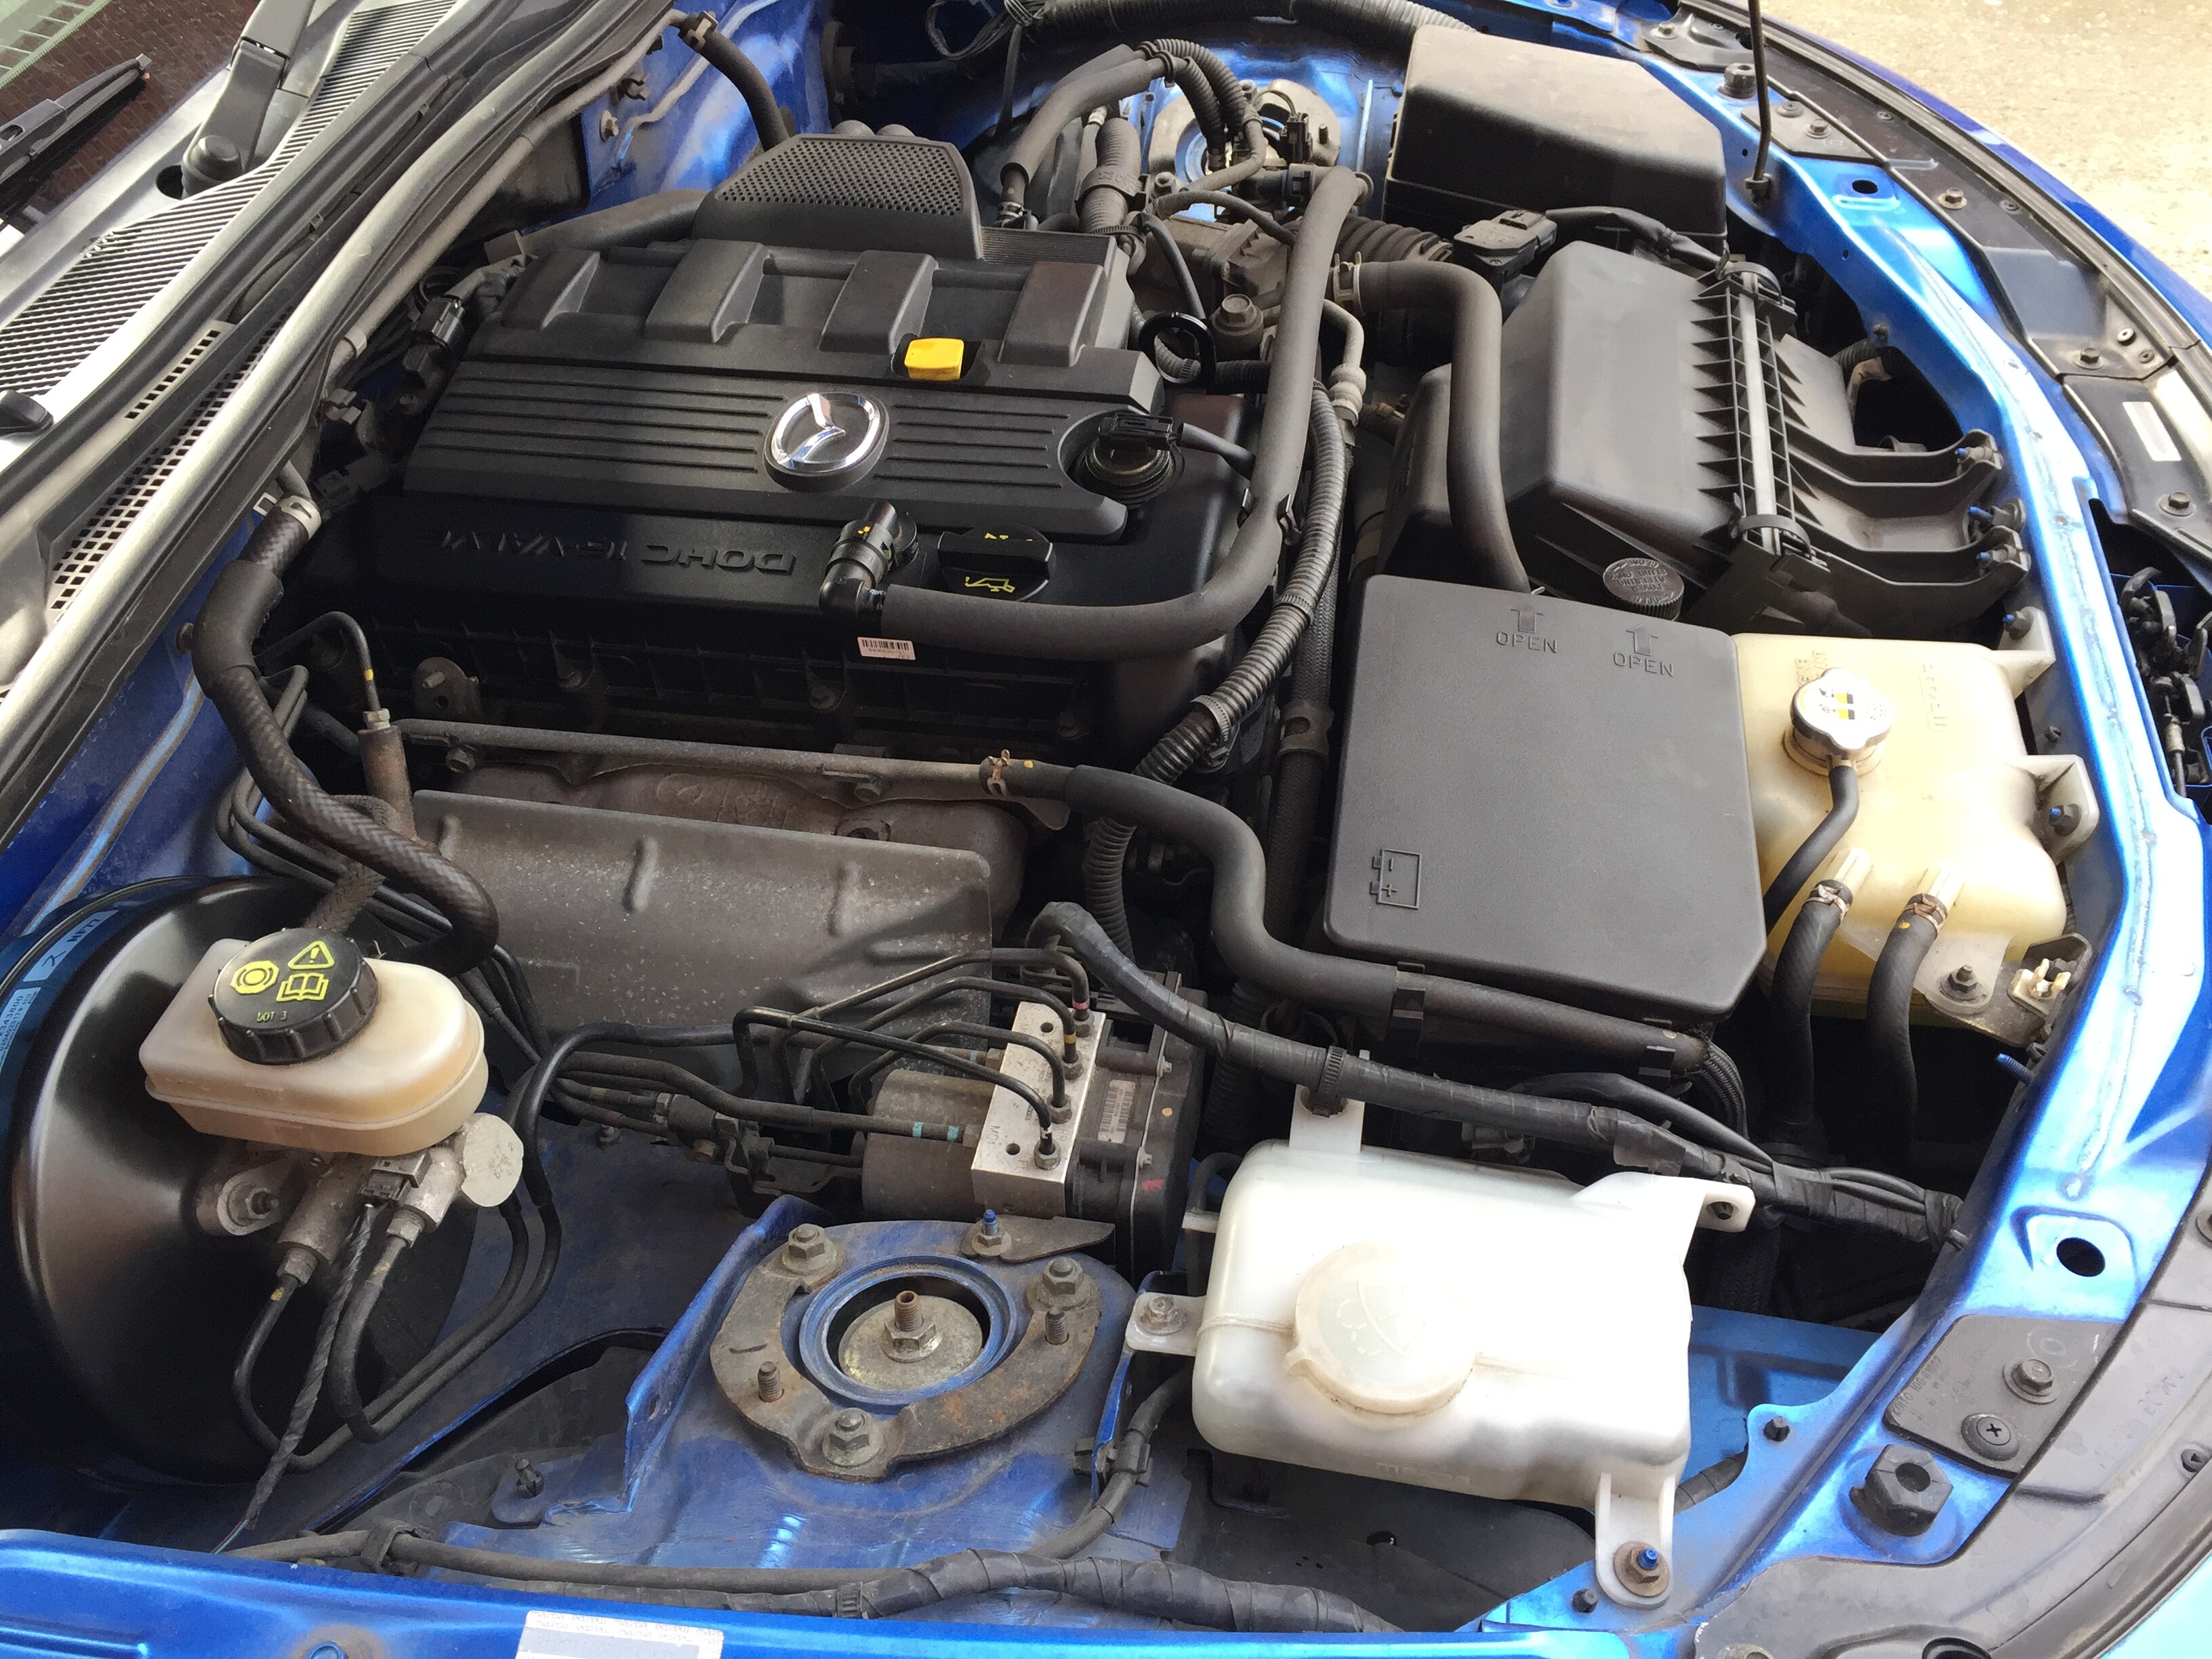
I dried off the engine and dressed it with silicone spray …job done !!!
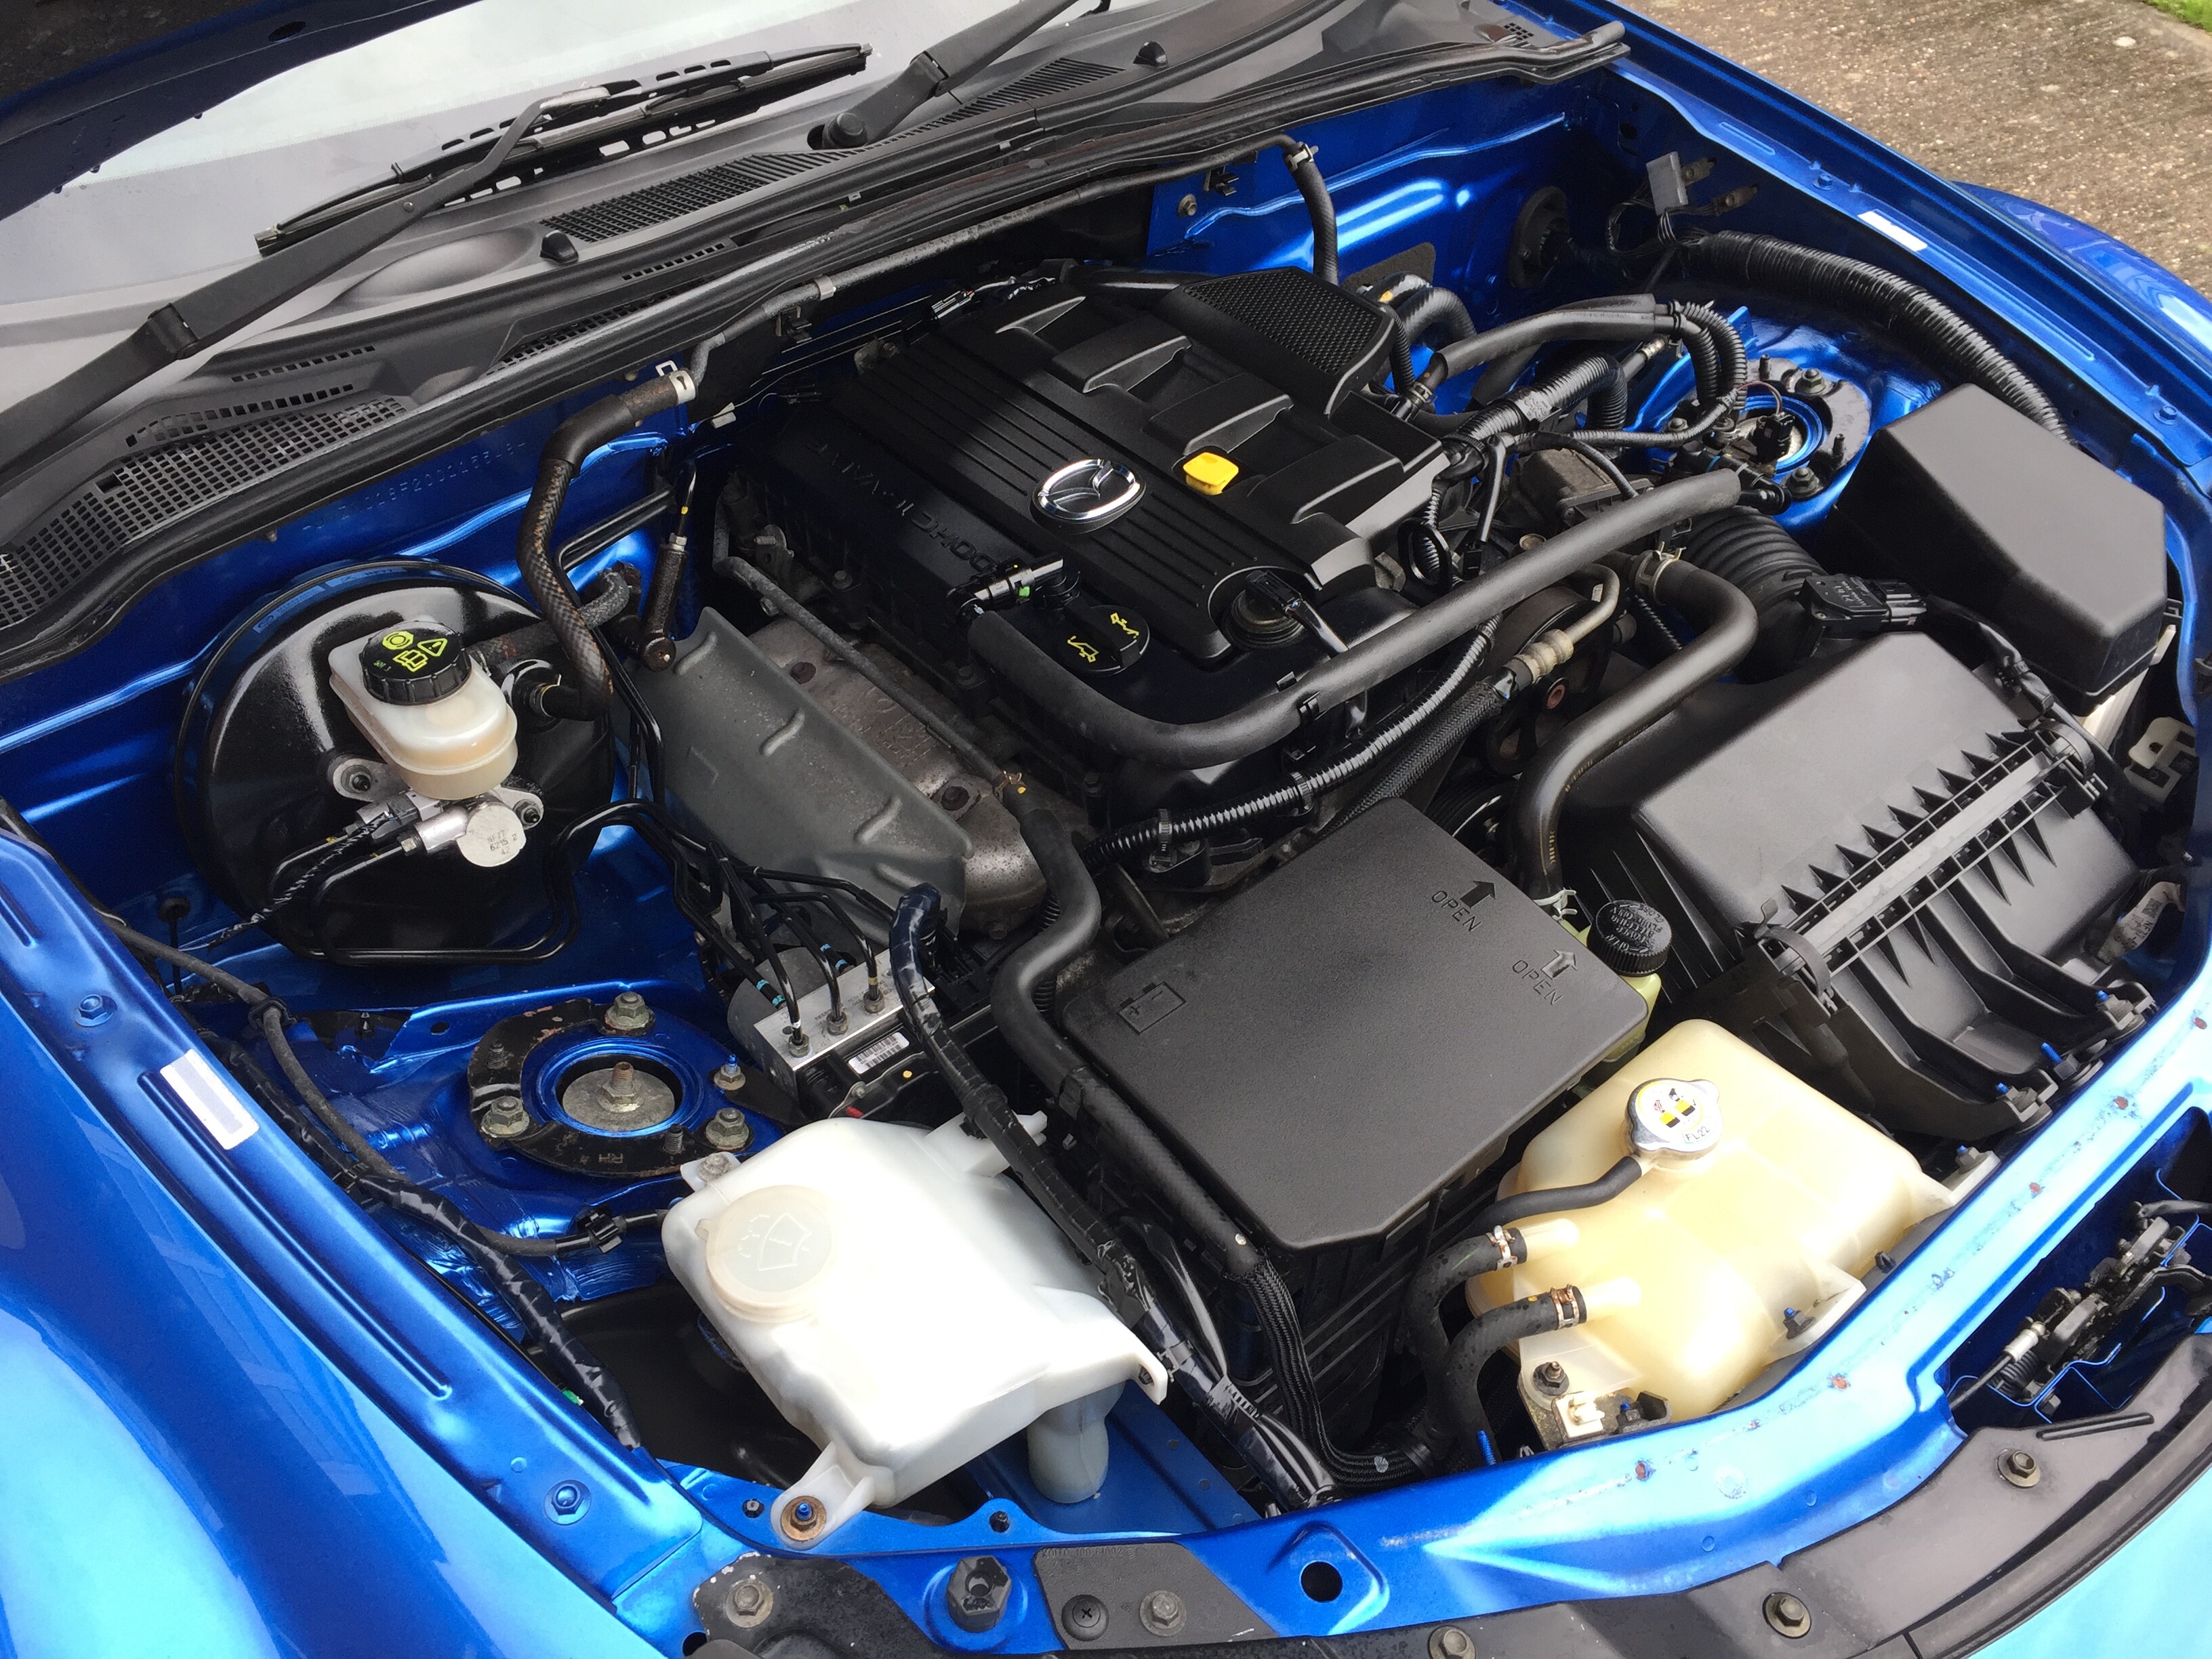

heres how she looked after being with me for 60 mins 
thanks for looking 
20 Likes
Good transformation that!
1 Like
Looks like new! great job - very satisfying I am sure…
1 Like
after the bay was sorted i turned to the bodywork
sorting through my bits of cleaning gear i found my clay bar had gone rock solid ( lid loose on container  )so unable to clay bar ( will do next time !)
so , started with power maxed "iron off " on wheels and bodywork .
let this sit 4-5 mins ( don’t let it dry ) , then rinsed that off…
applied TFR all over bodywork , again rinsed off .
washed with PM shampoo , rinsed and towel dried .
applied quick detailer and buffed up
then a cheeky drive to take daughter to work ,
stopped off for quick pic ,

its coming along nice
6 Likes
Glad you finally got another MX5 - looks great and love the colour.
1 Like
I’ve started on your shopping list.
Clear side indicators. 
3 Likes
Or maybe even smoked but agreed that orange doesn’t go with that vibrant blue. Good call.
1 Like
Smoked.
2 Likes
Looks like it’s lowered already, so maybe not on the shopping list.
Looking good so far.
I use the elbow grease in the kitchen, after 5 mins it really does disolve any grease, never would have thought to give the engine bay a go with it, good tip.
1 Like
Hi mick
Lowered by Paul roddison 5 years ago with new springs n shocks 
1 Like
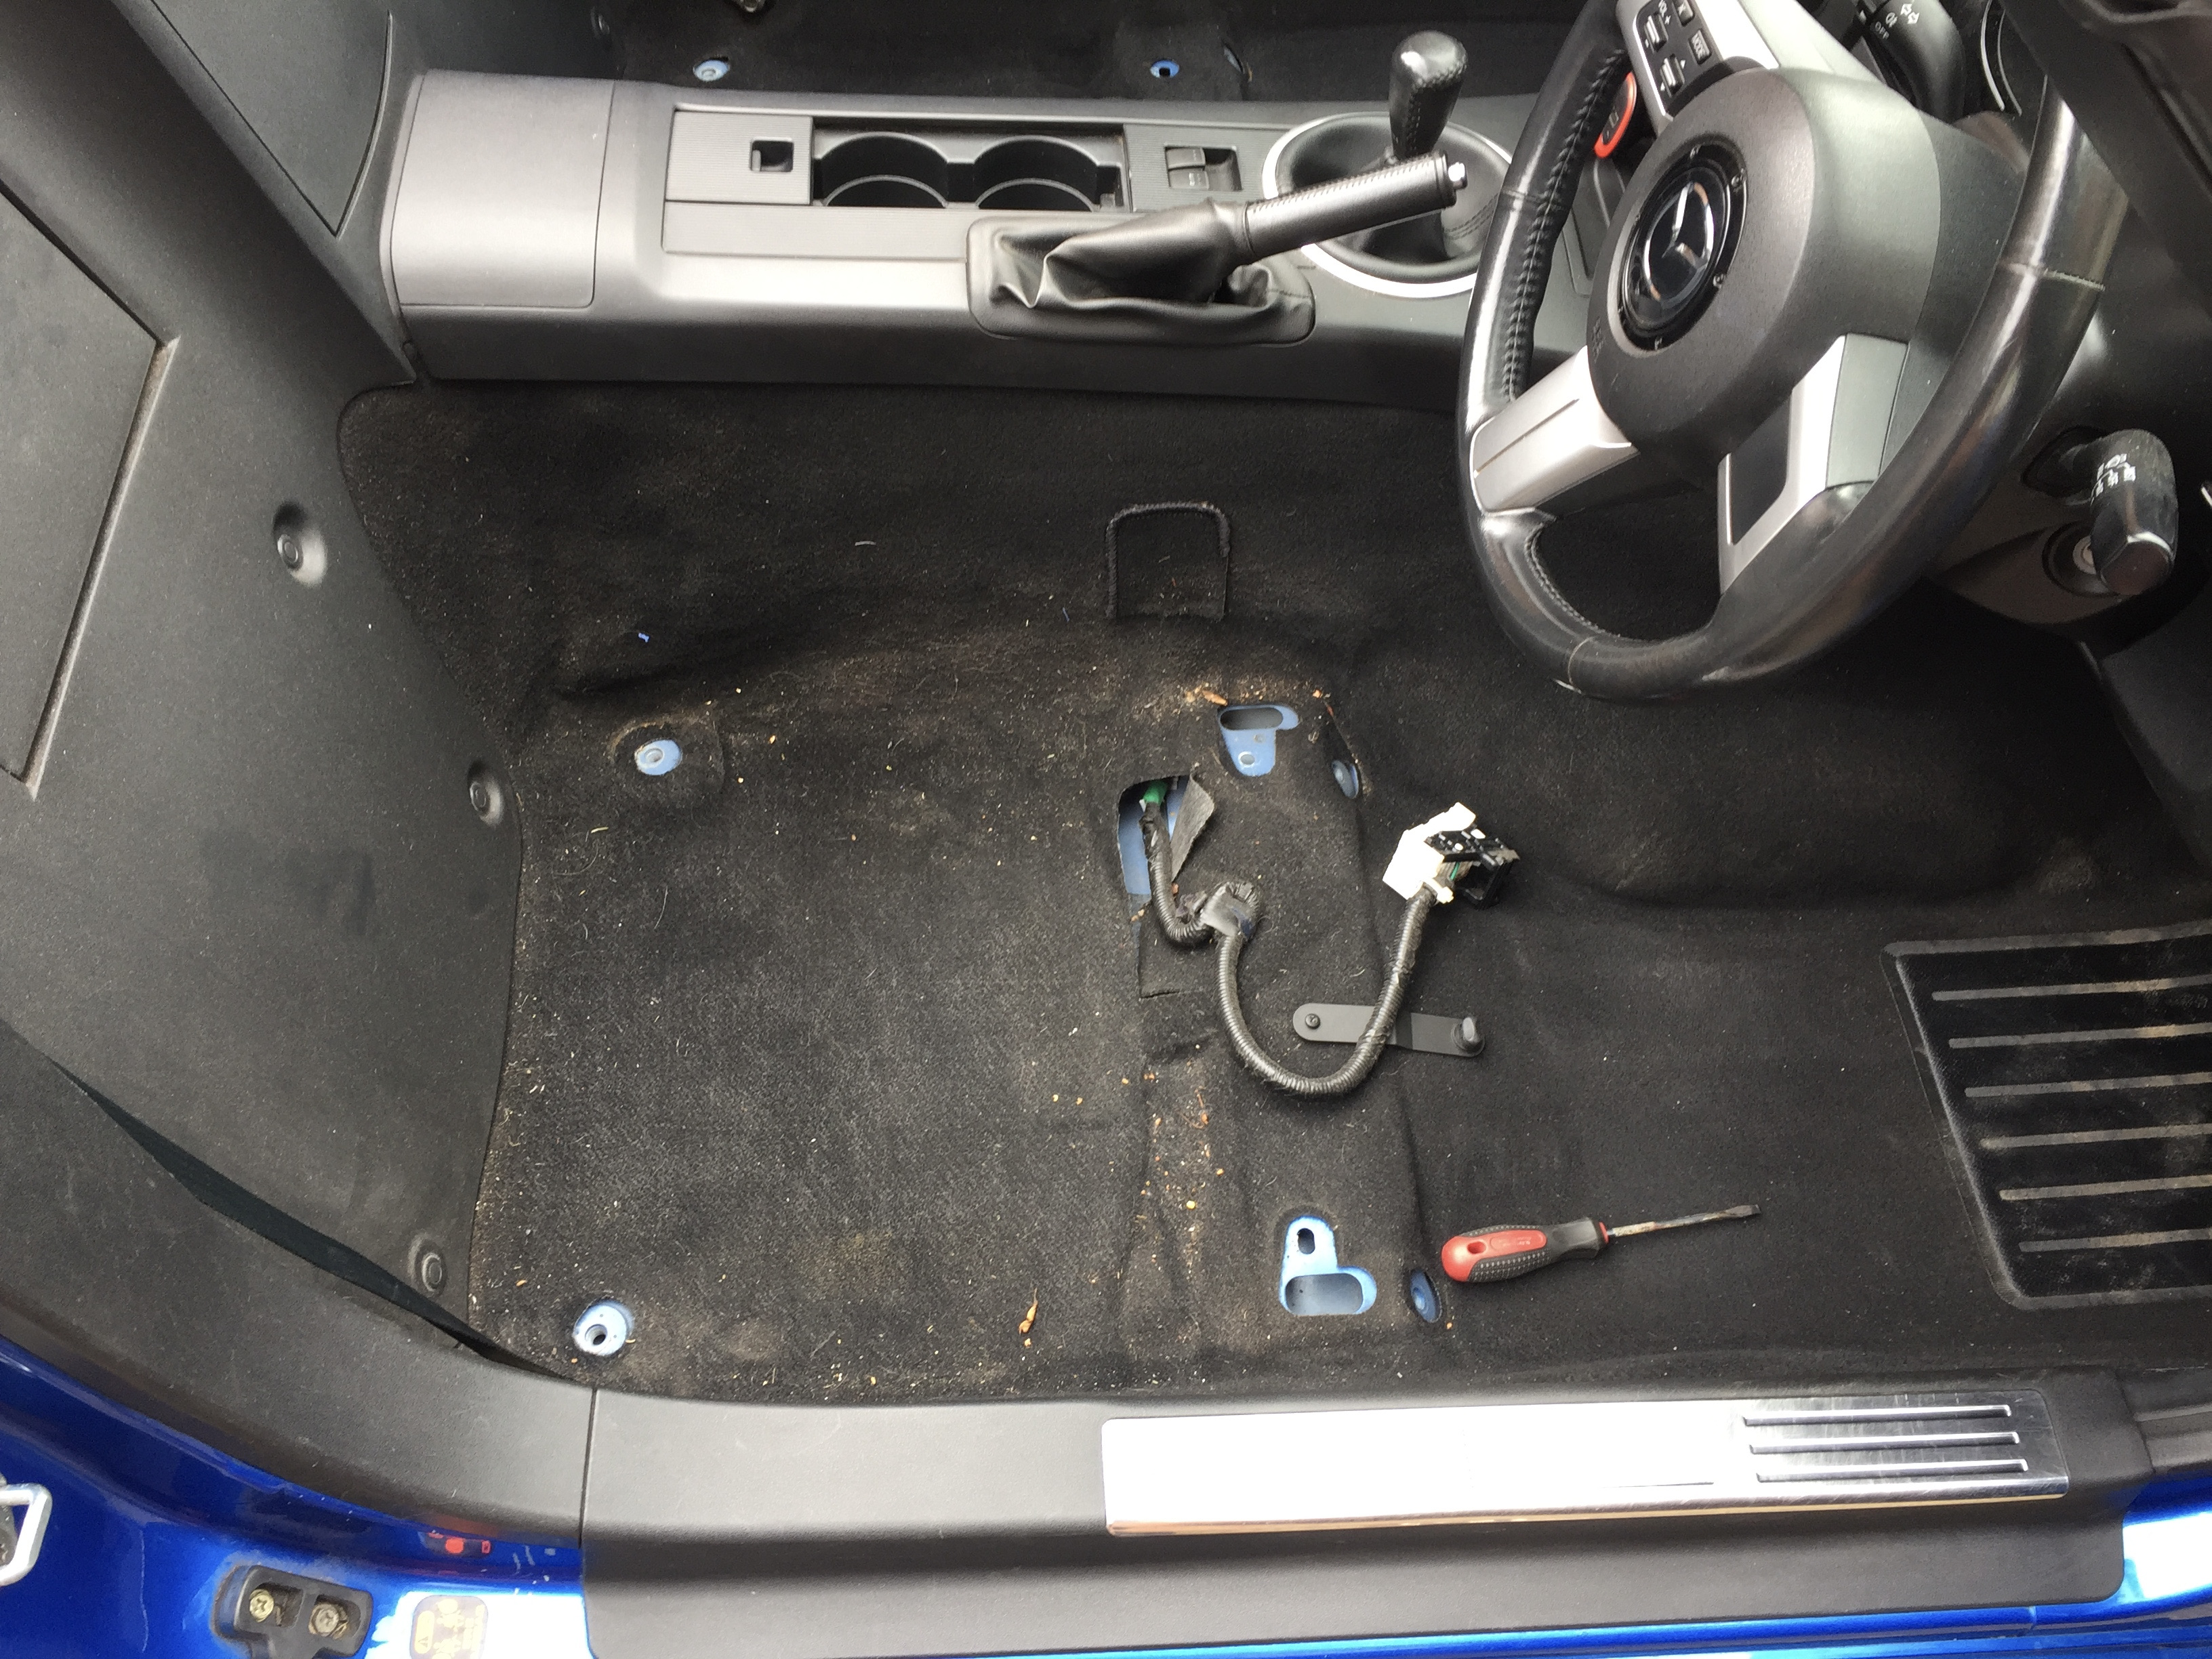
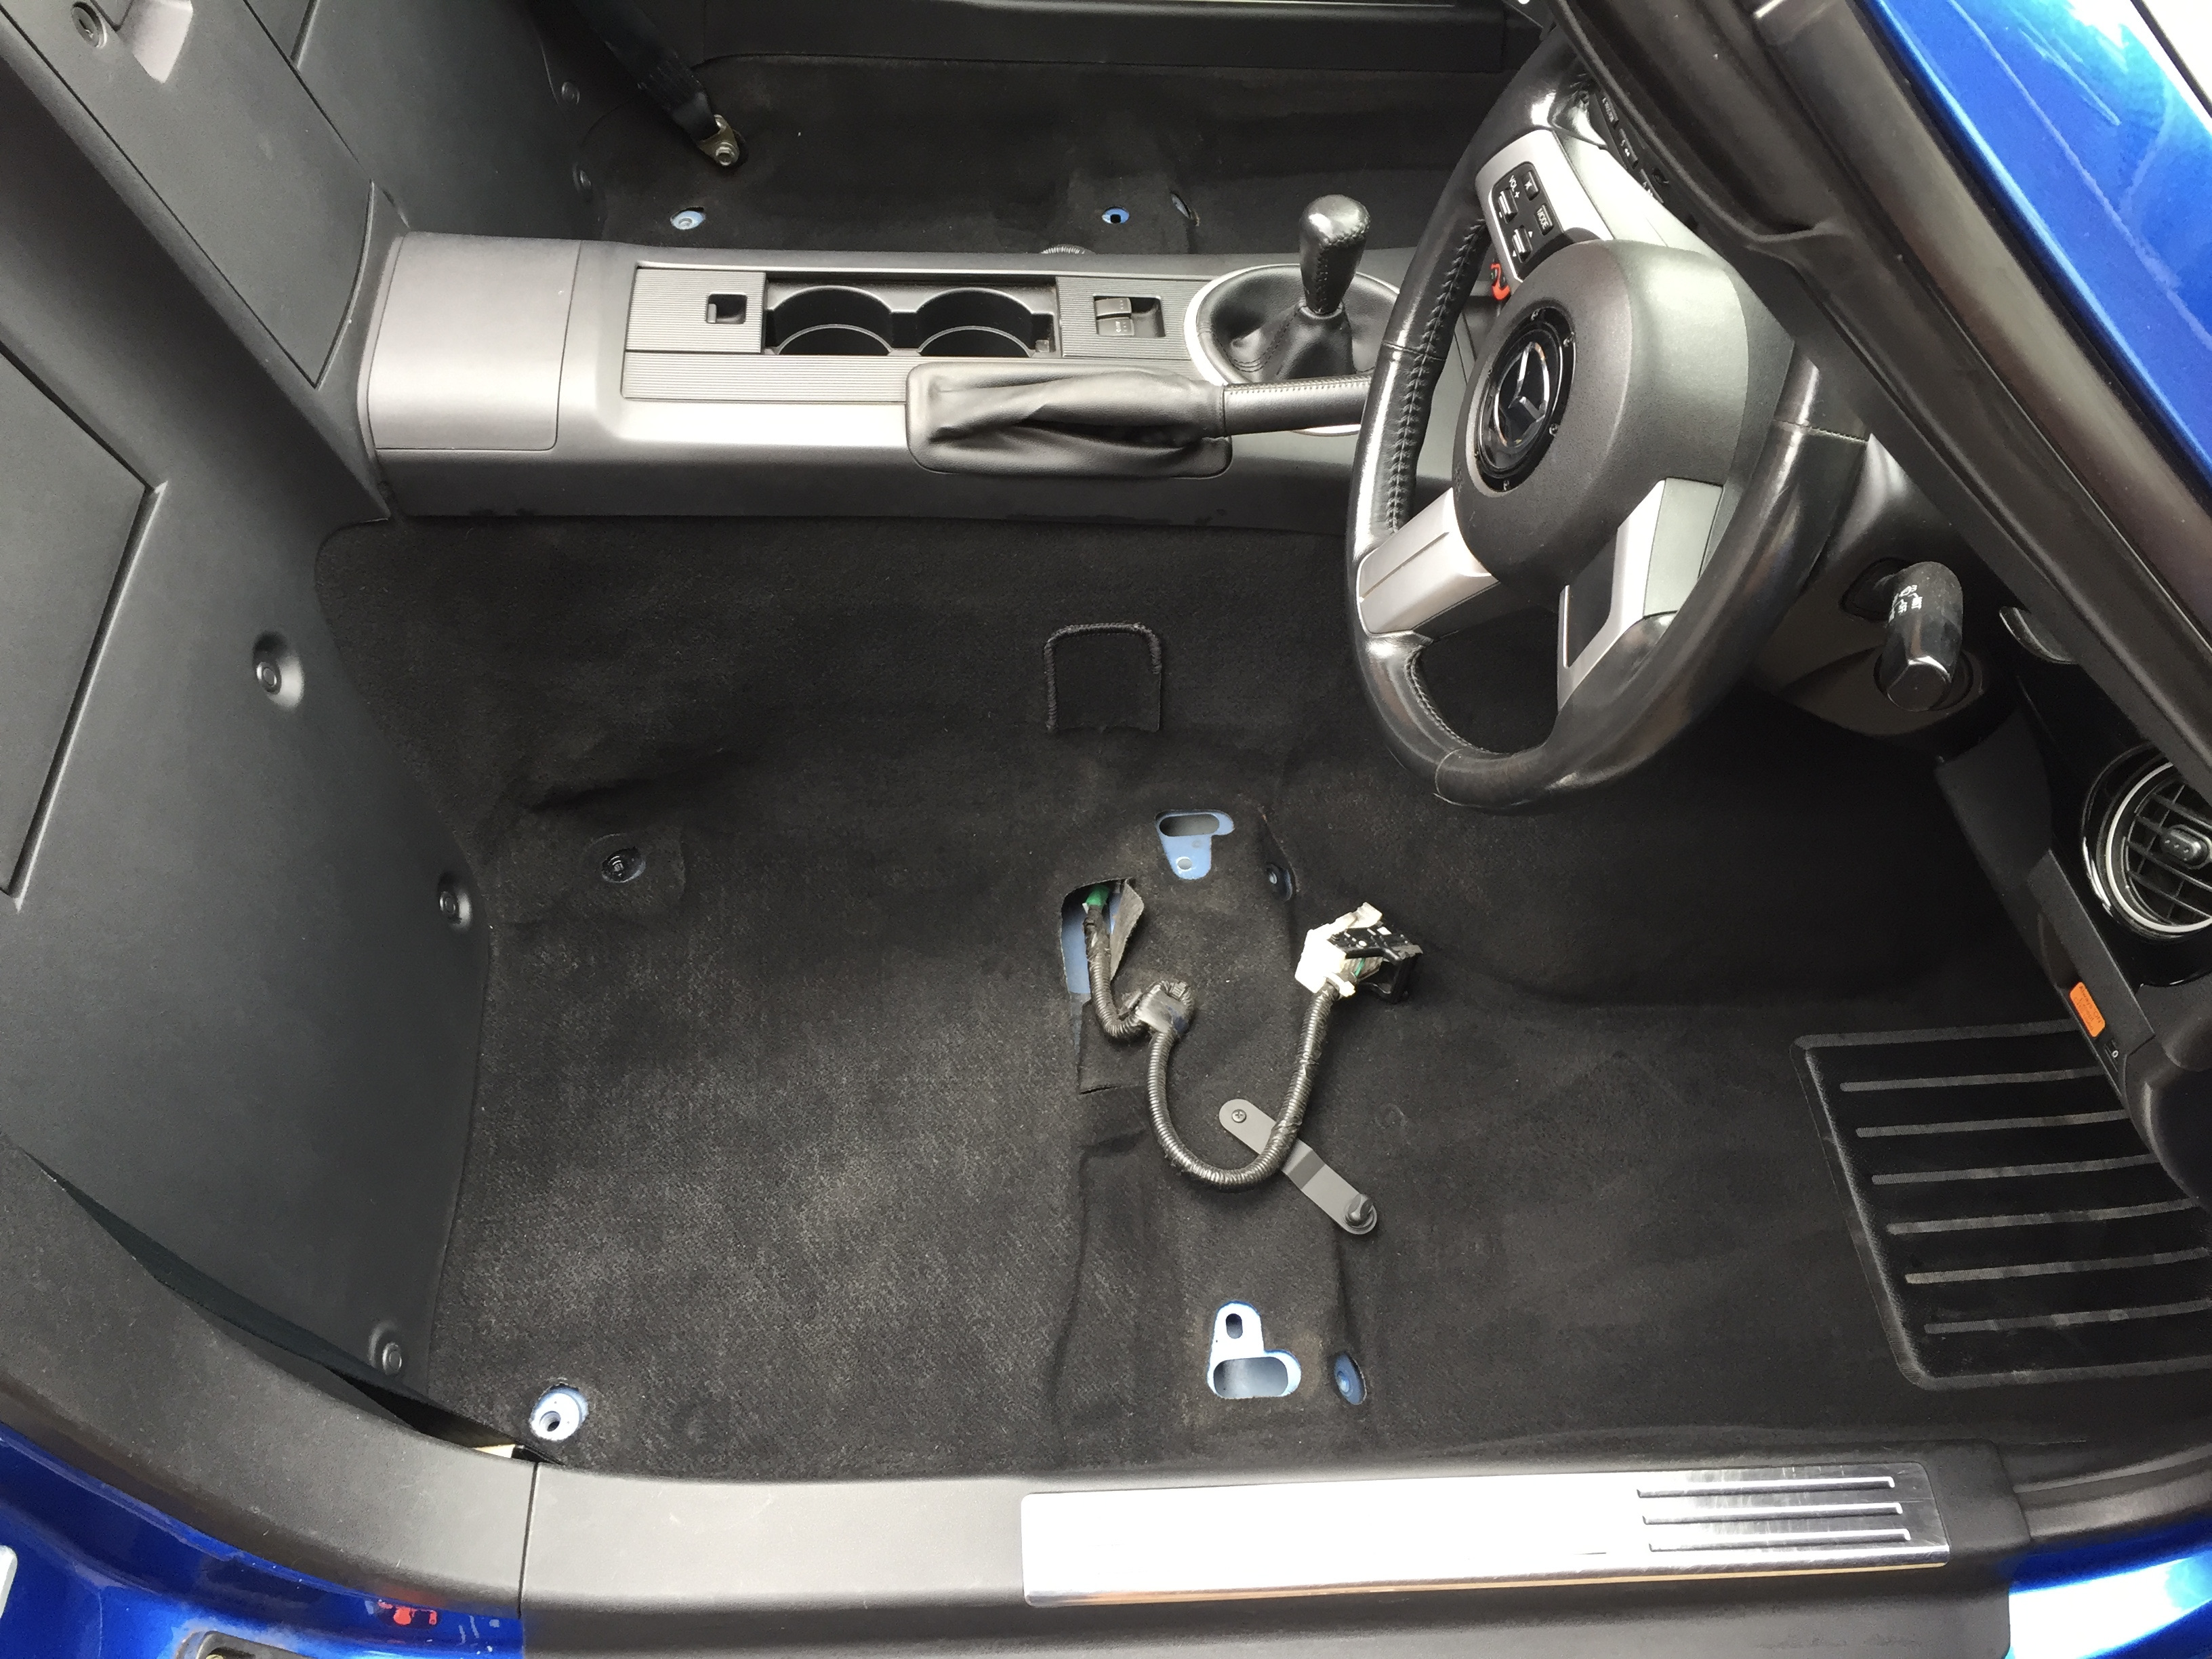
interior day
removed both seats so i could vac and shampoo carpets , then wet vac .
all plastics wiped down inc’ dash .
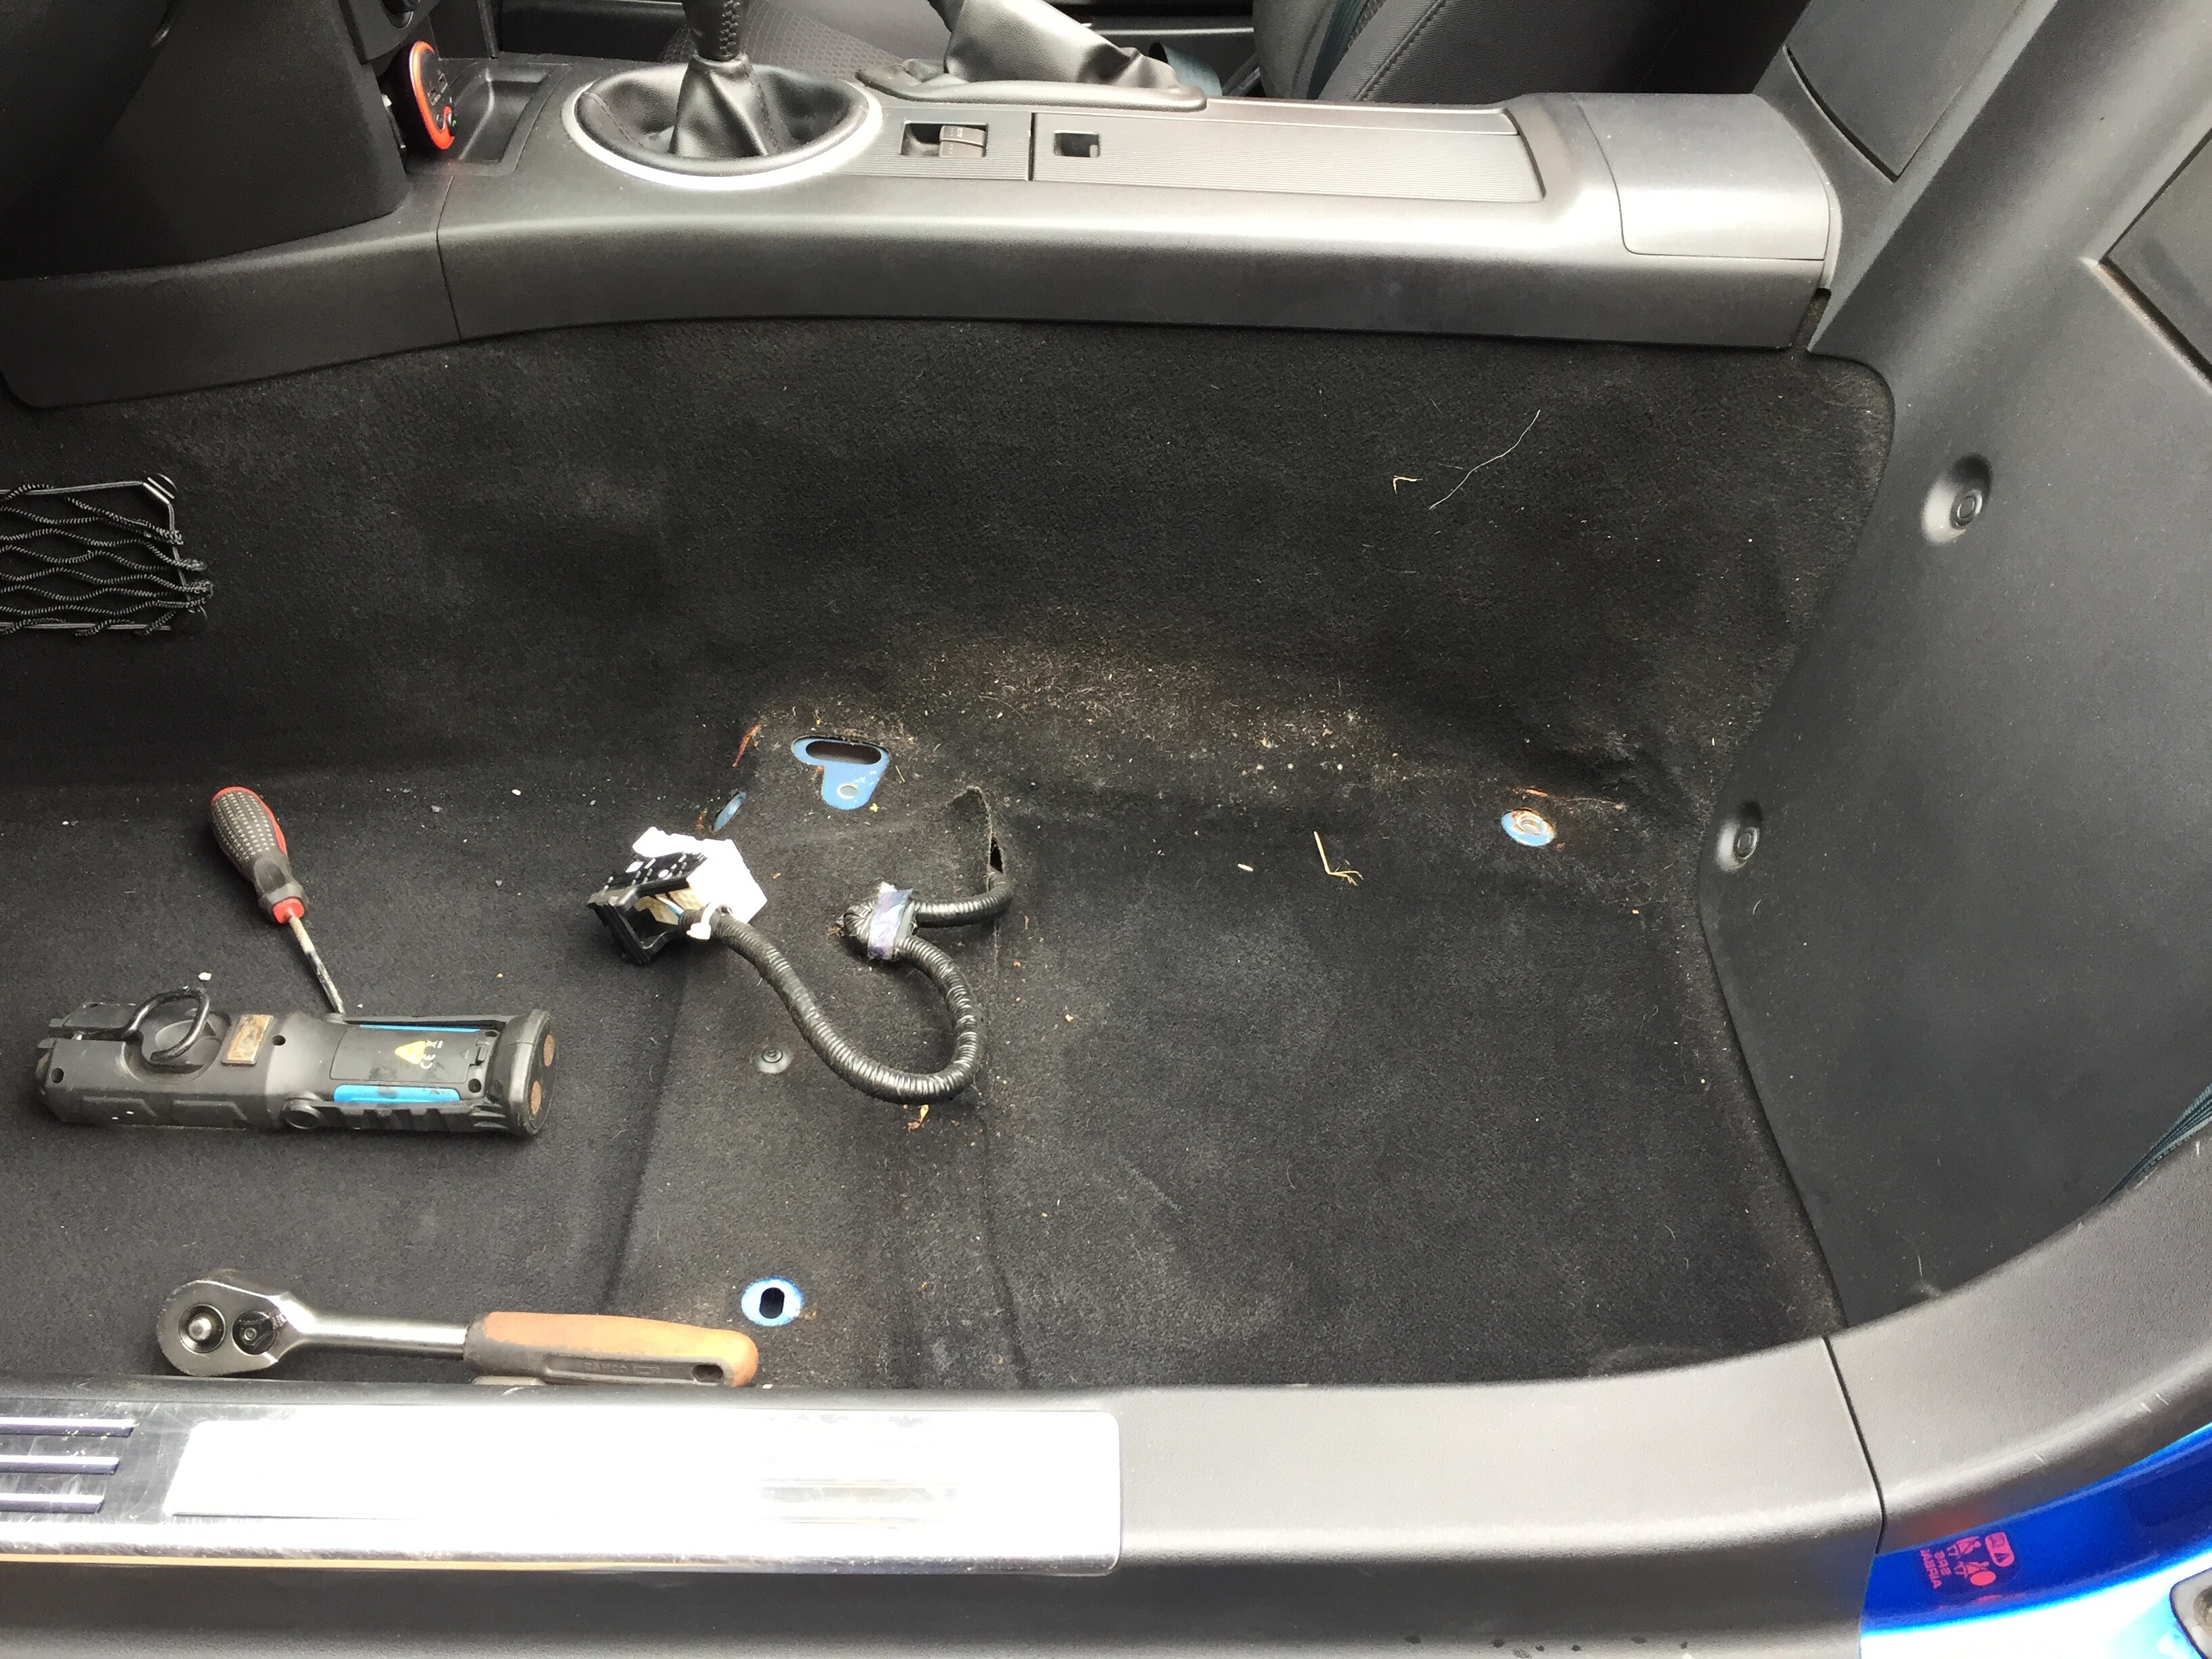
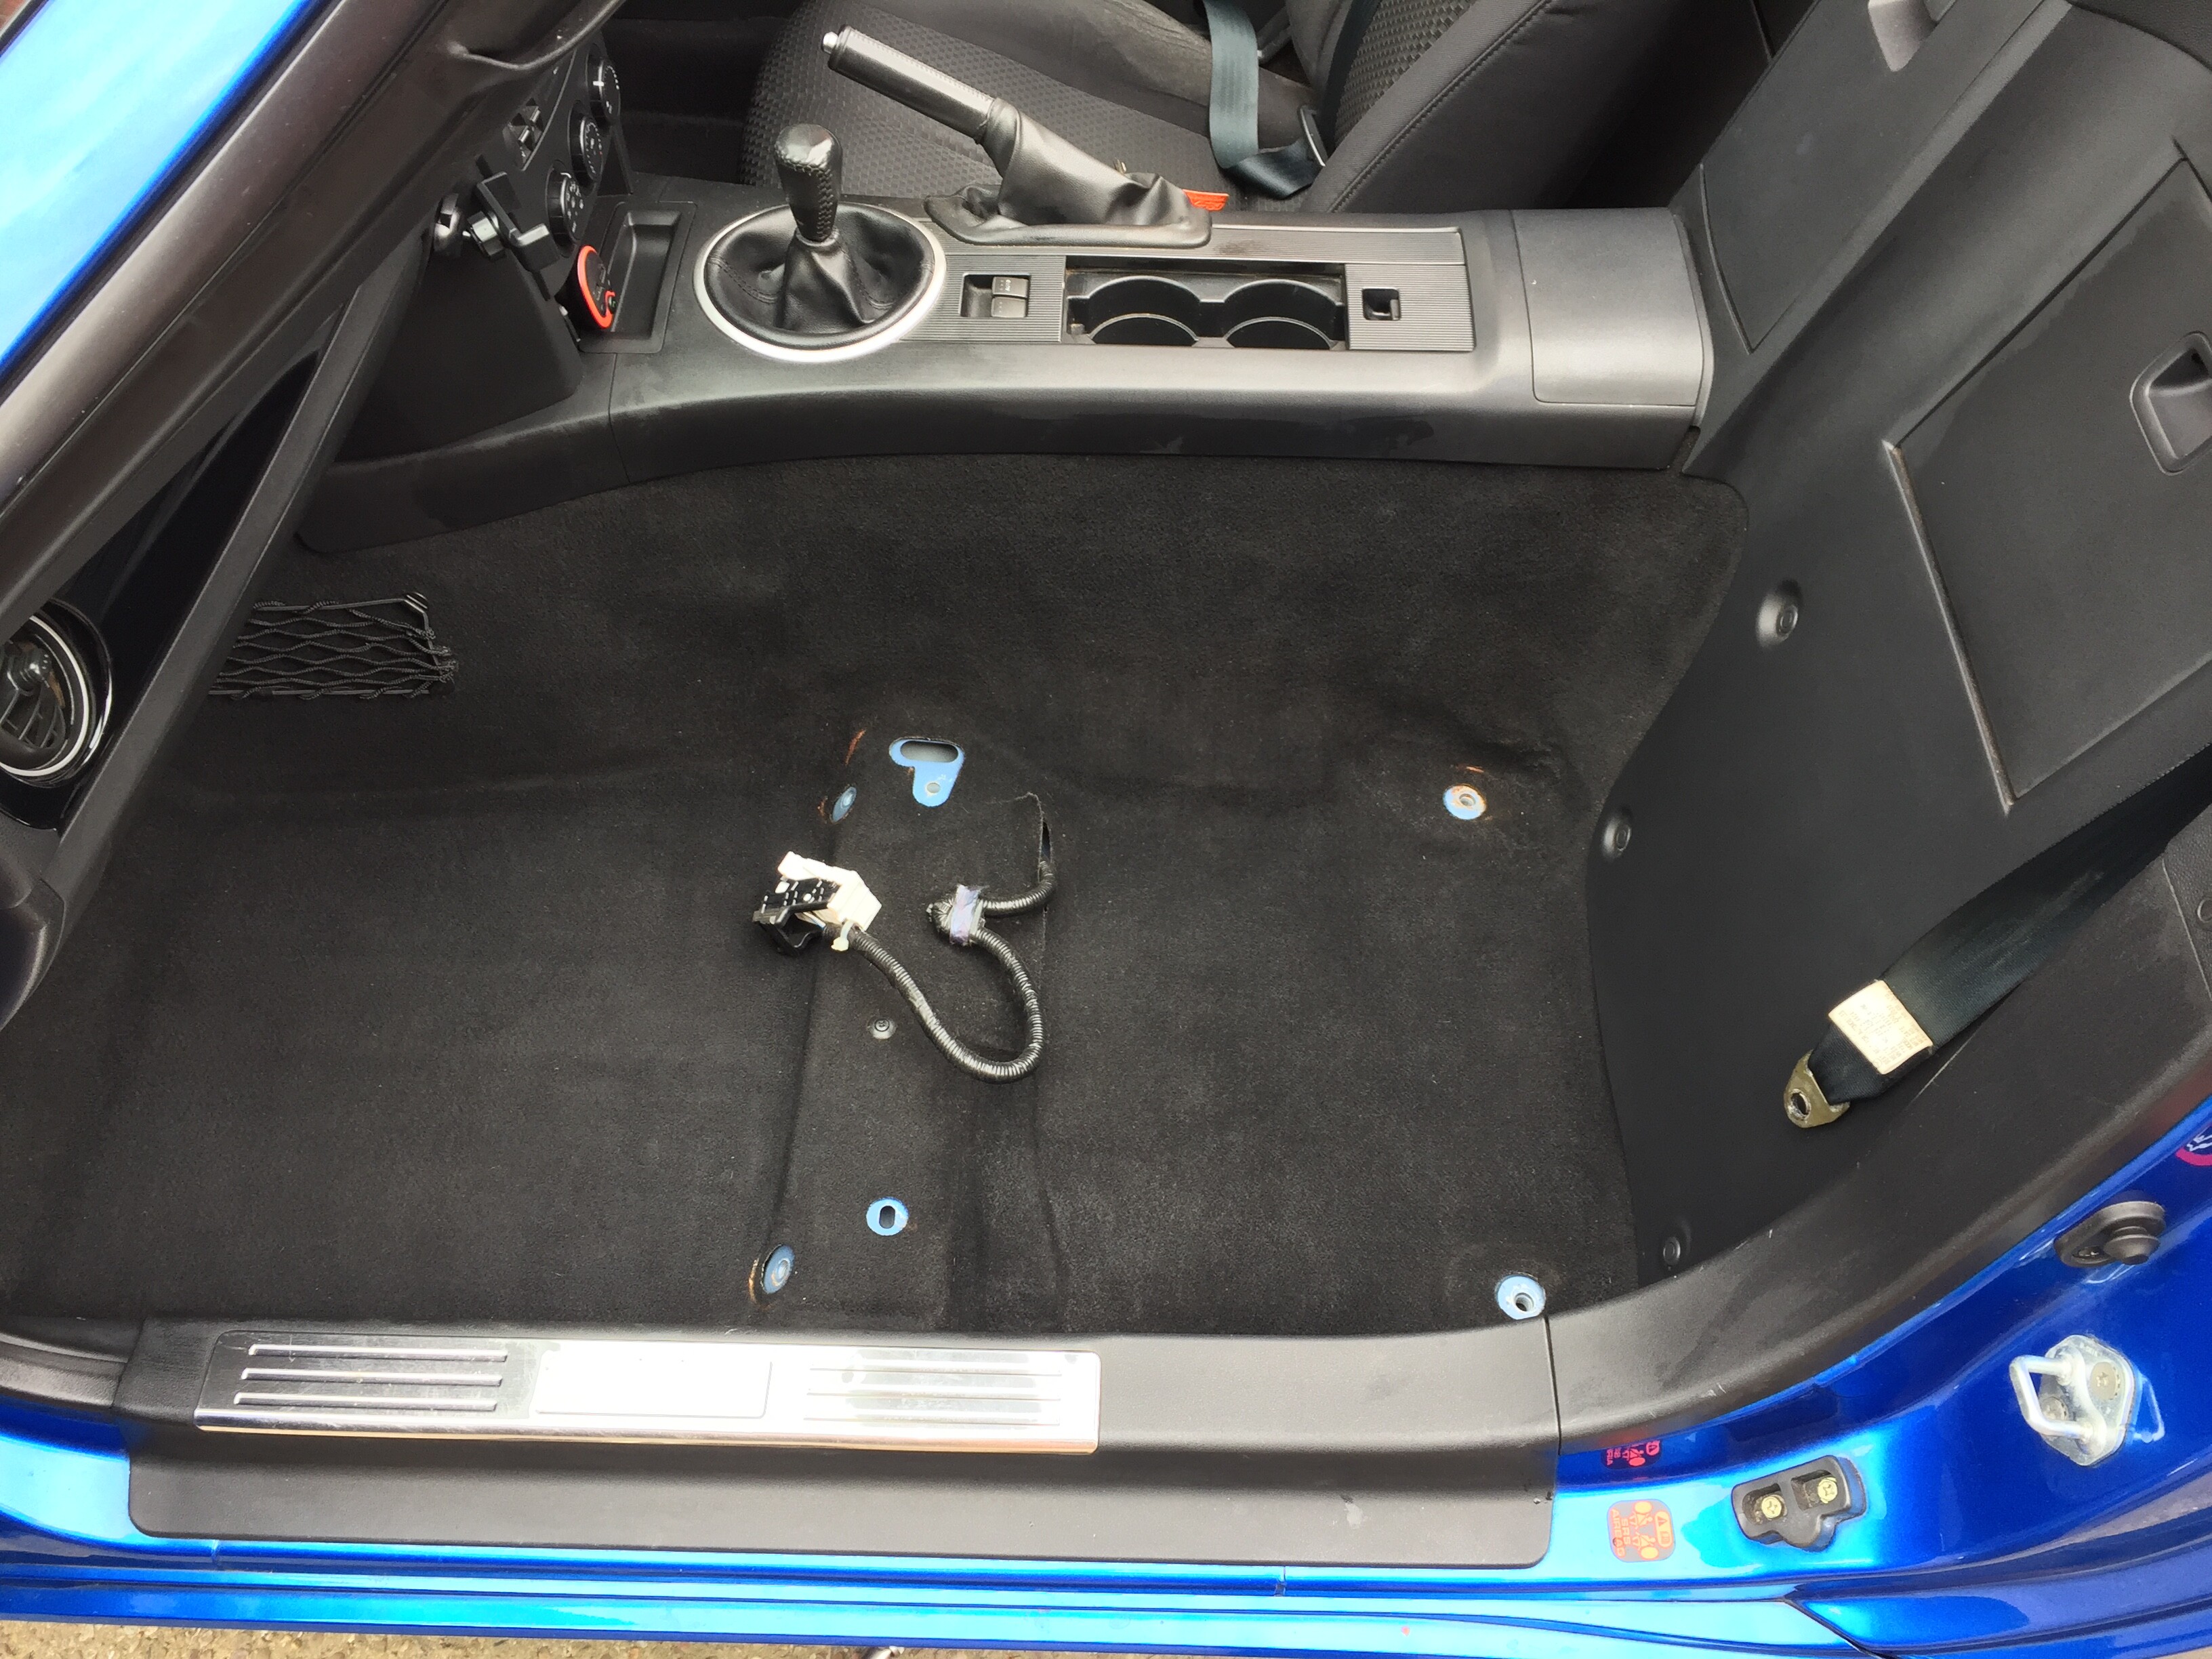
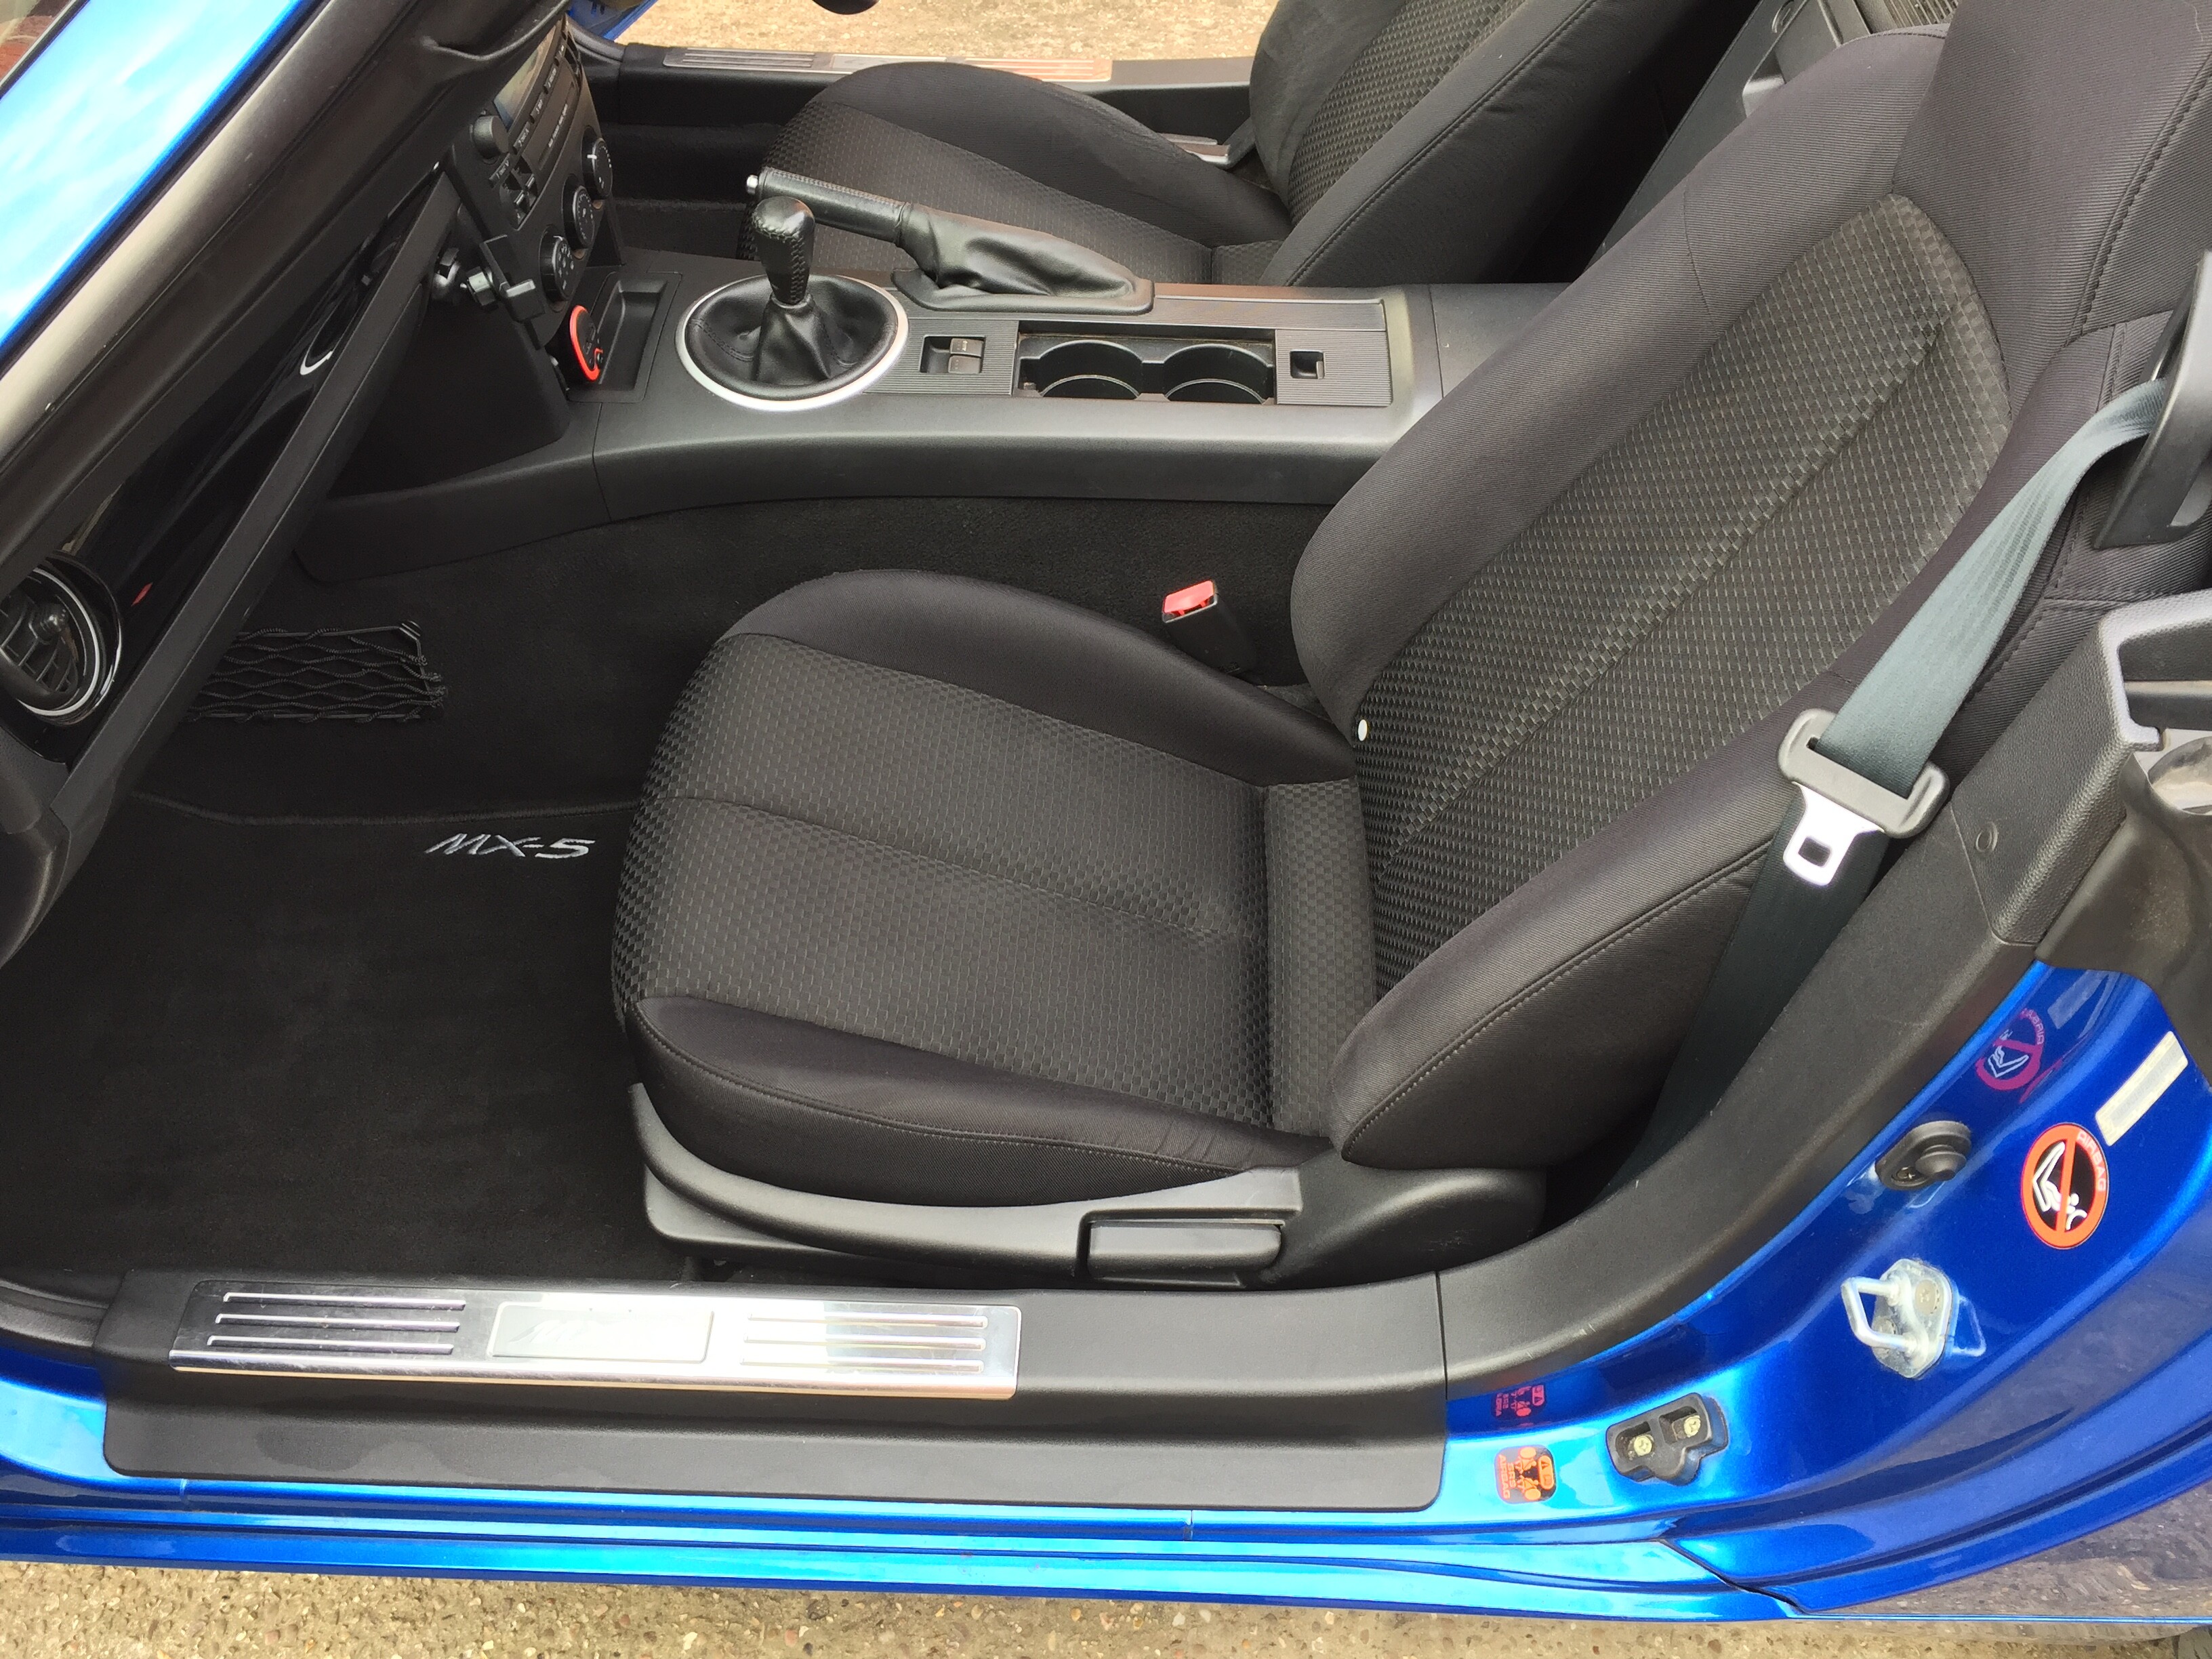
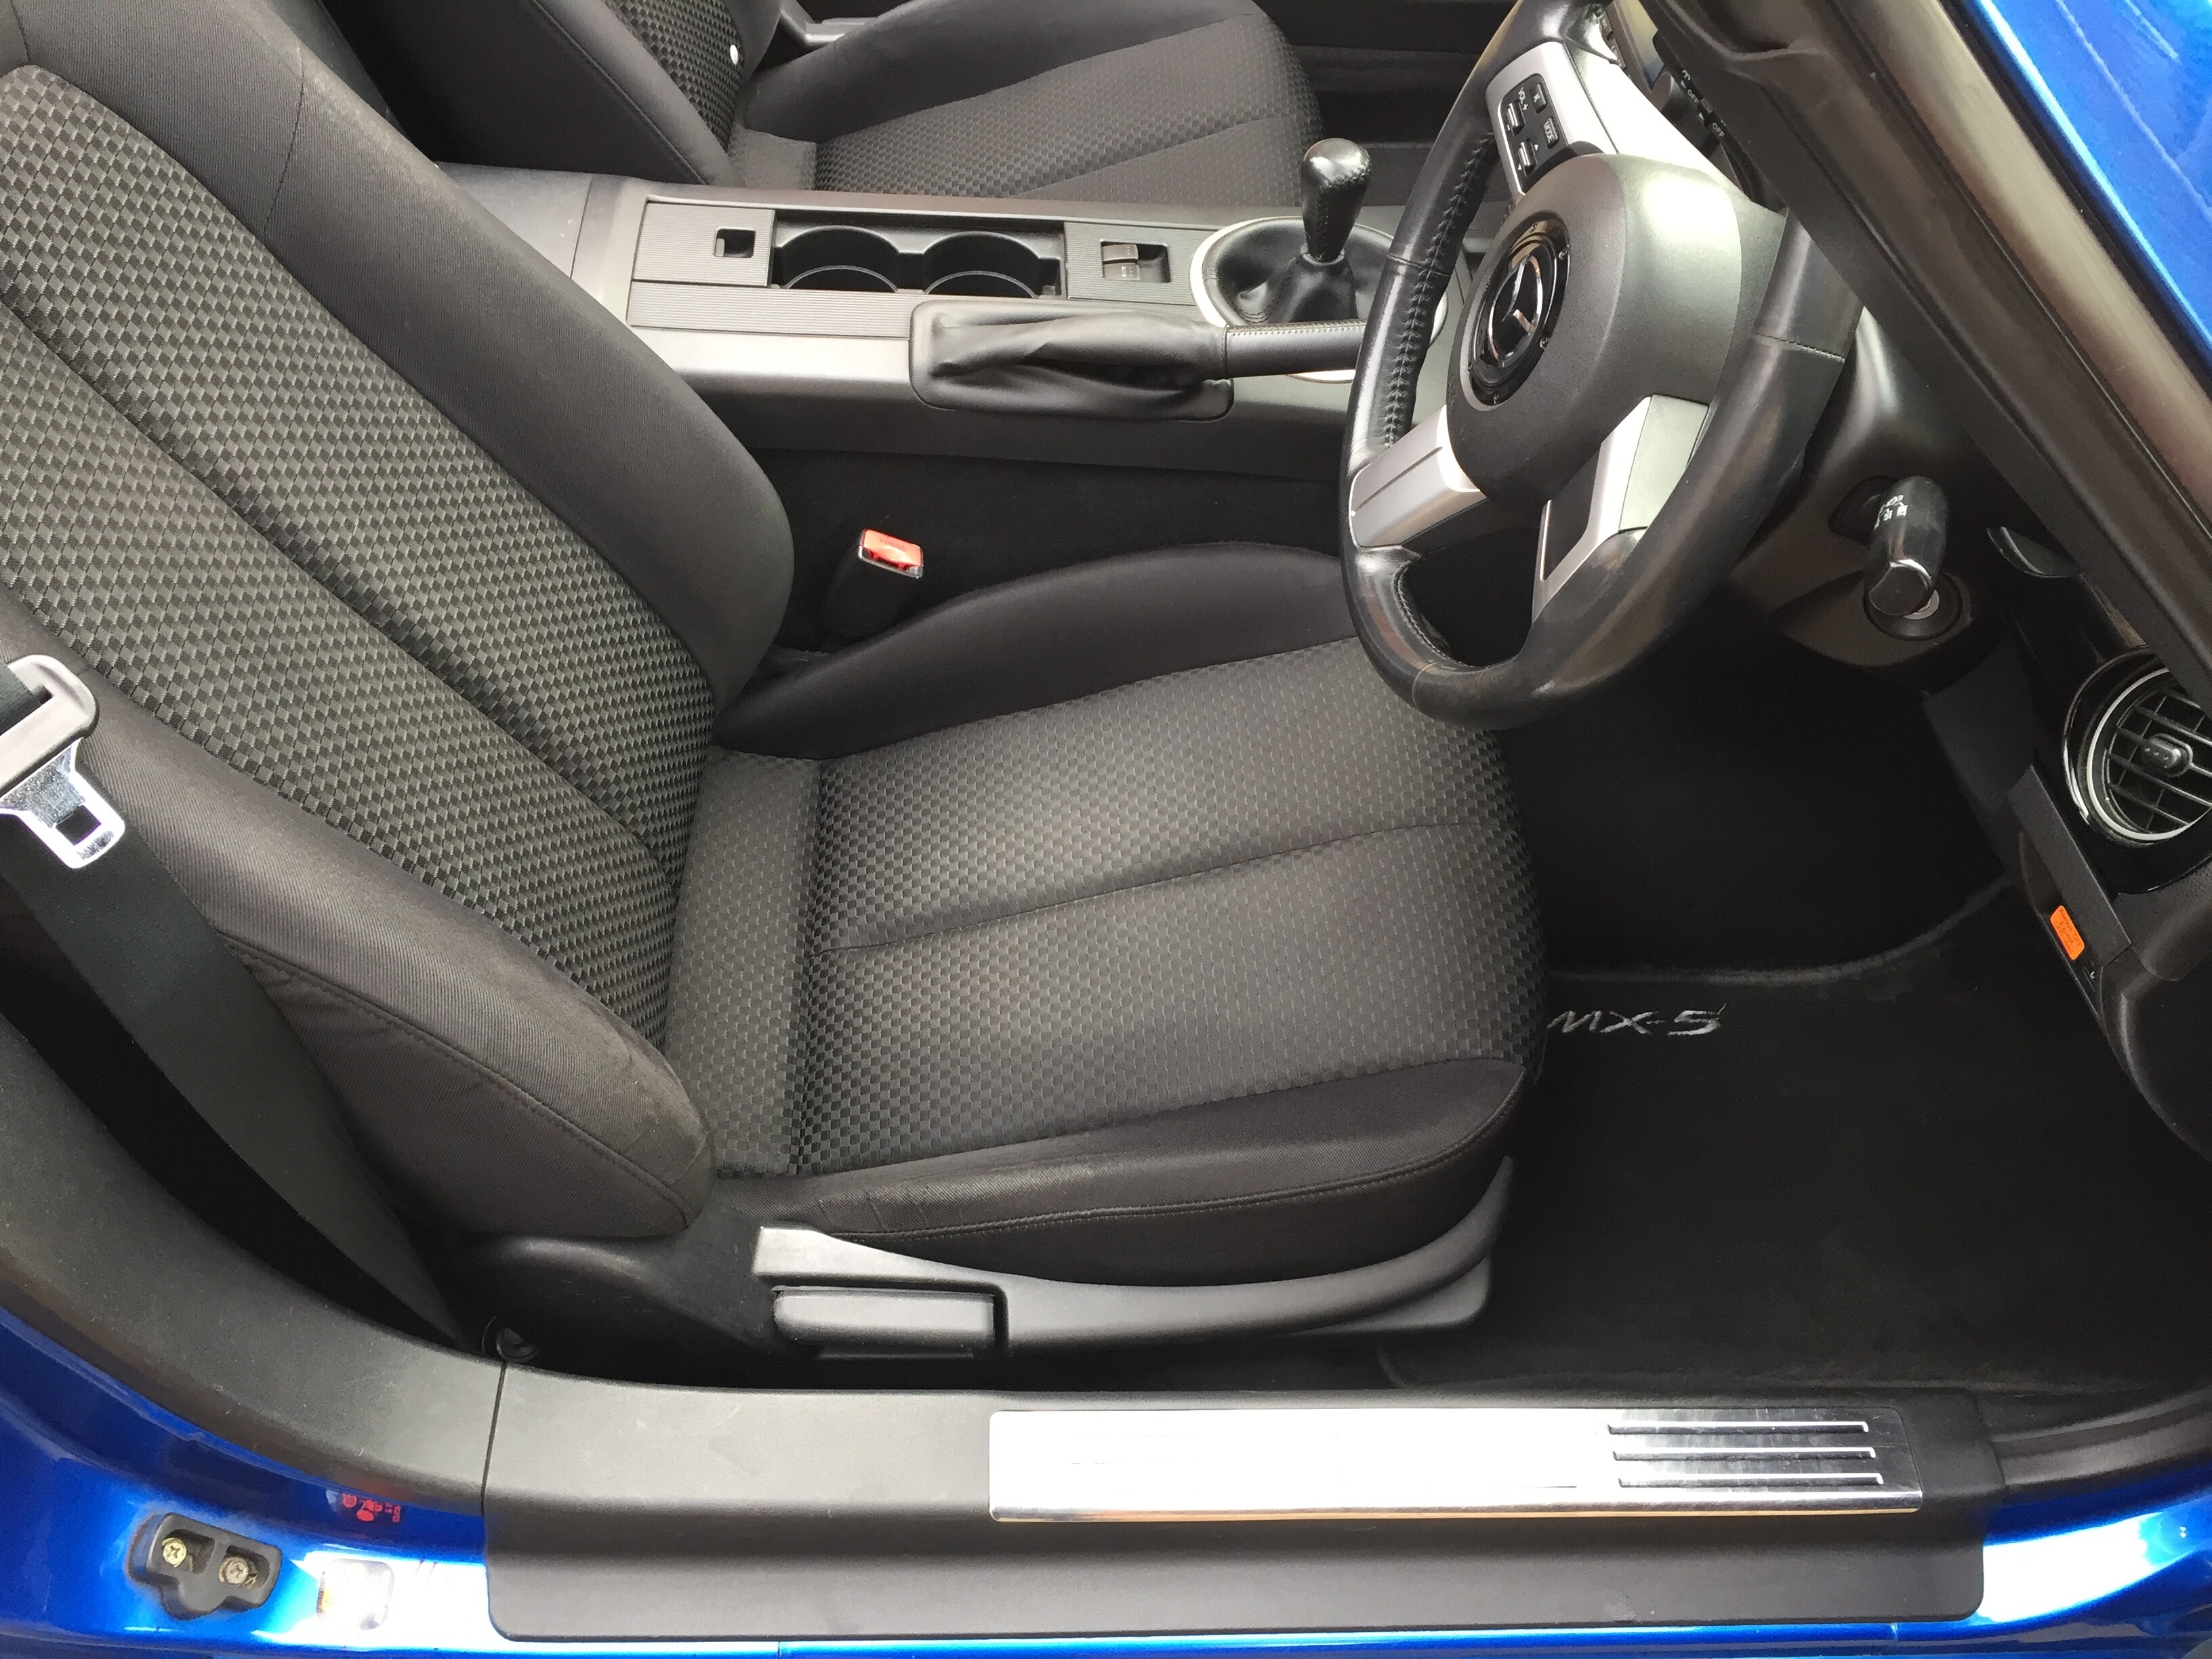
both seats treated with valeting foam, scrubbed with a brush then done over with the wet vac … 
4 Likes
Wet vacs are magic.
They’re also excellent for extracting wet and muck out of the roof drains from UNDER the car. - Phtoomphut!
Good job!
1 Like
If you are looking for another Winning Blue to do when yours is finished, mines available. Great job.
1 Like
Good to see no driver’s offside bolster rips as well.
Bonus.
This seems to be a bliddy good example.
1 Like
Fantastic progress so far, the difference on that engine bay is literally night and day… great looking car for not a lot of money!
1 Like
Done a stunning job with the engine bay!  Nothing like a lovely bit of car porn to round the day off. She’s a beaut, well done
2 Likes
You certainly been a busy little bee, cracking motor !
1 Like
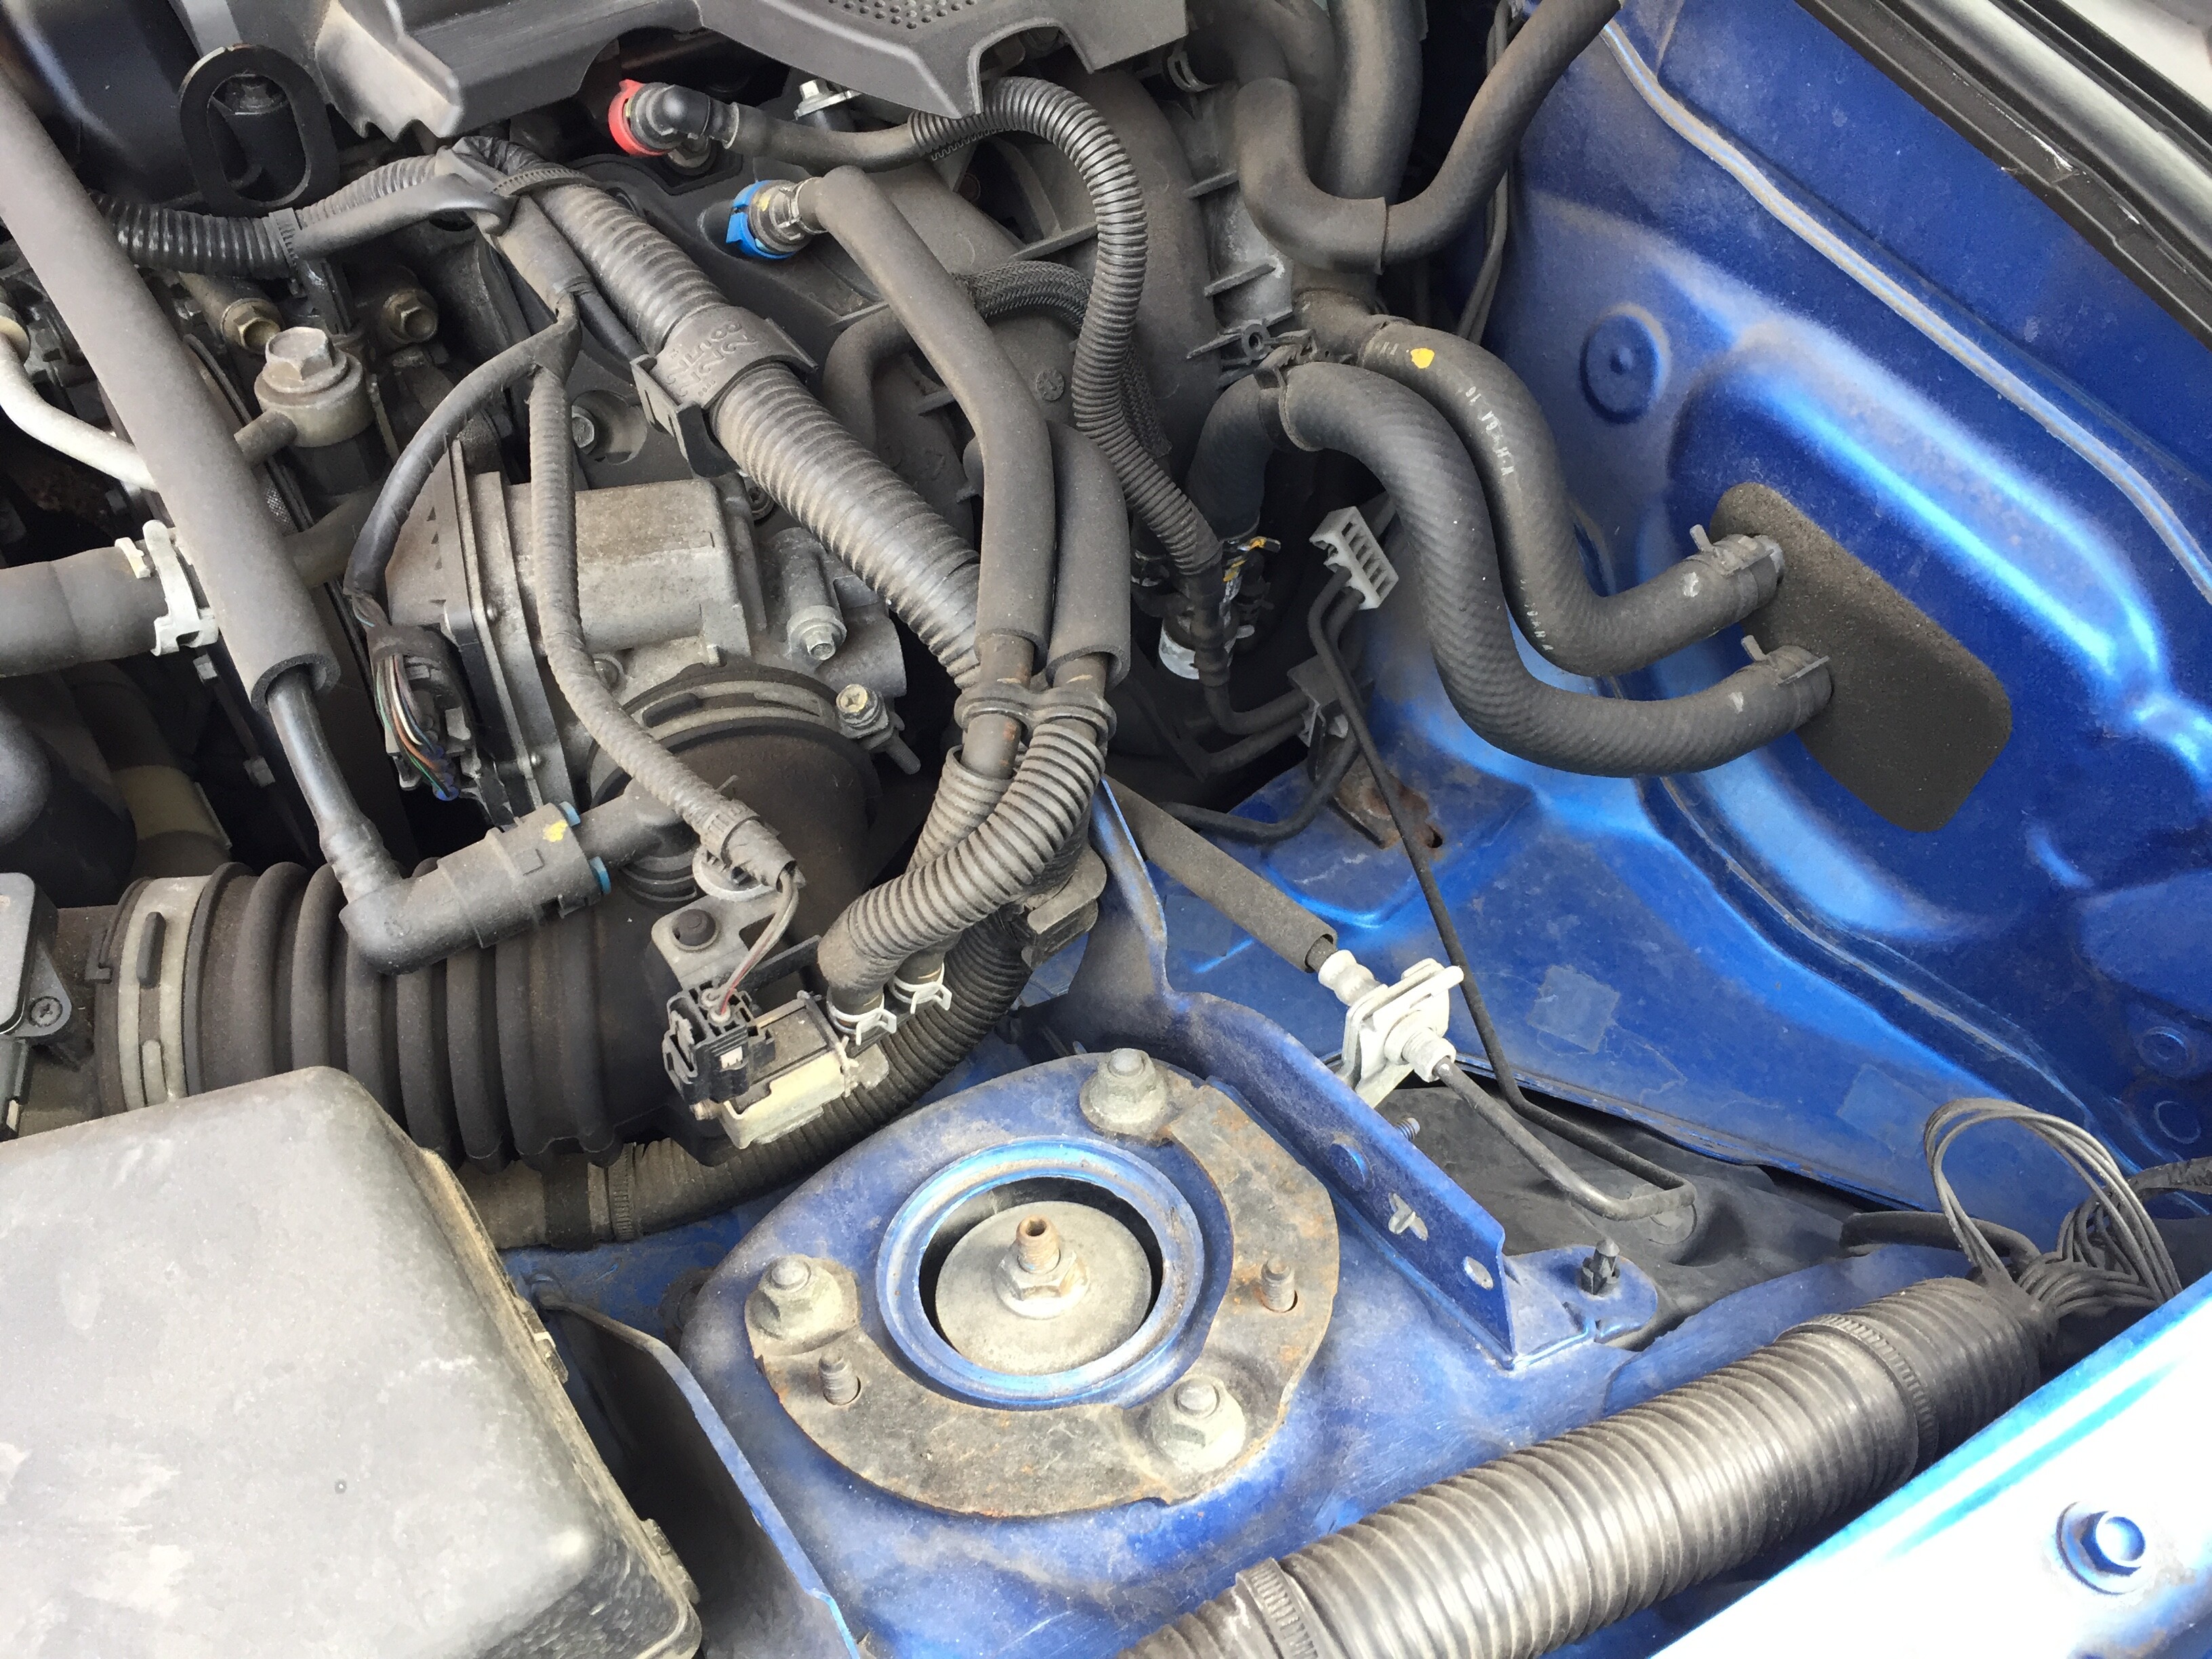
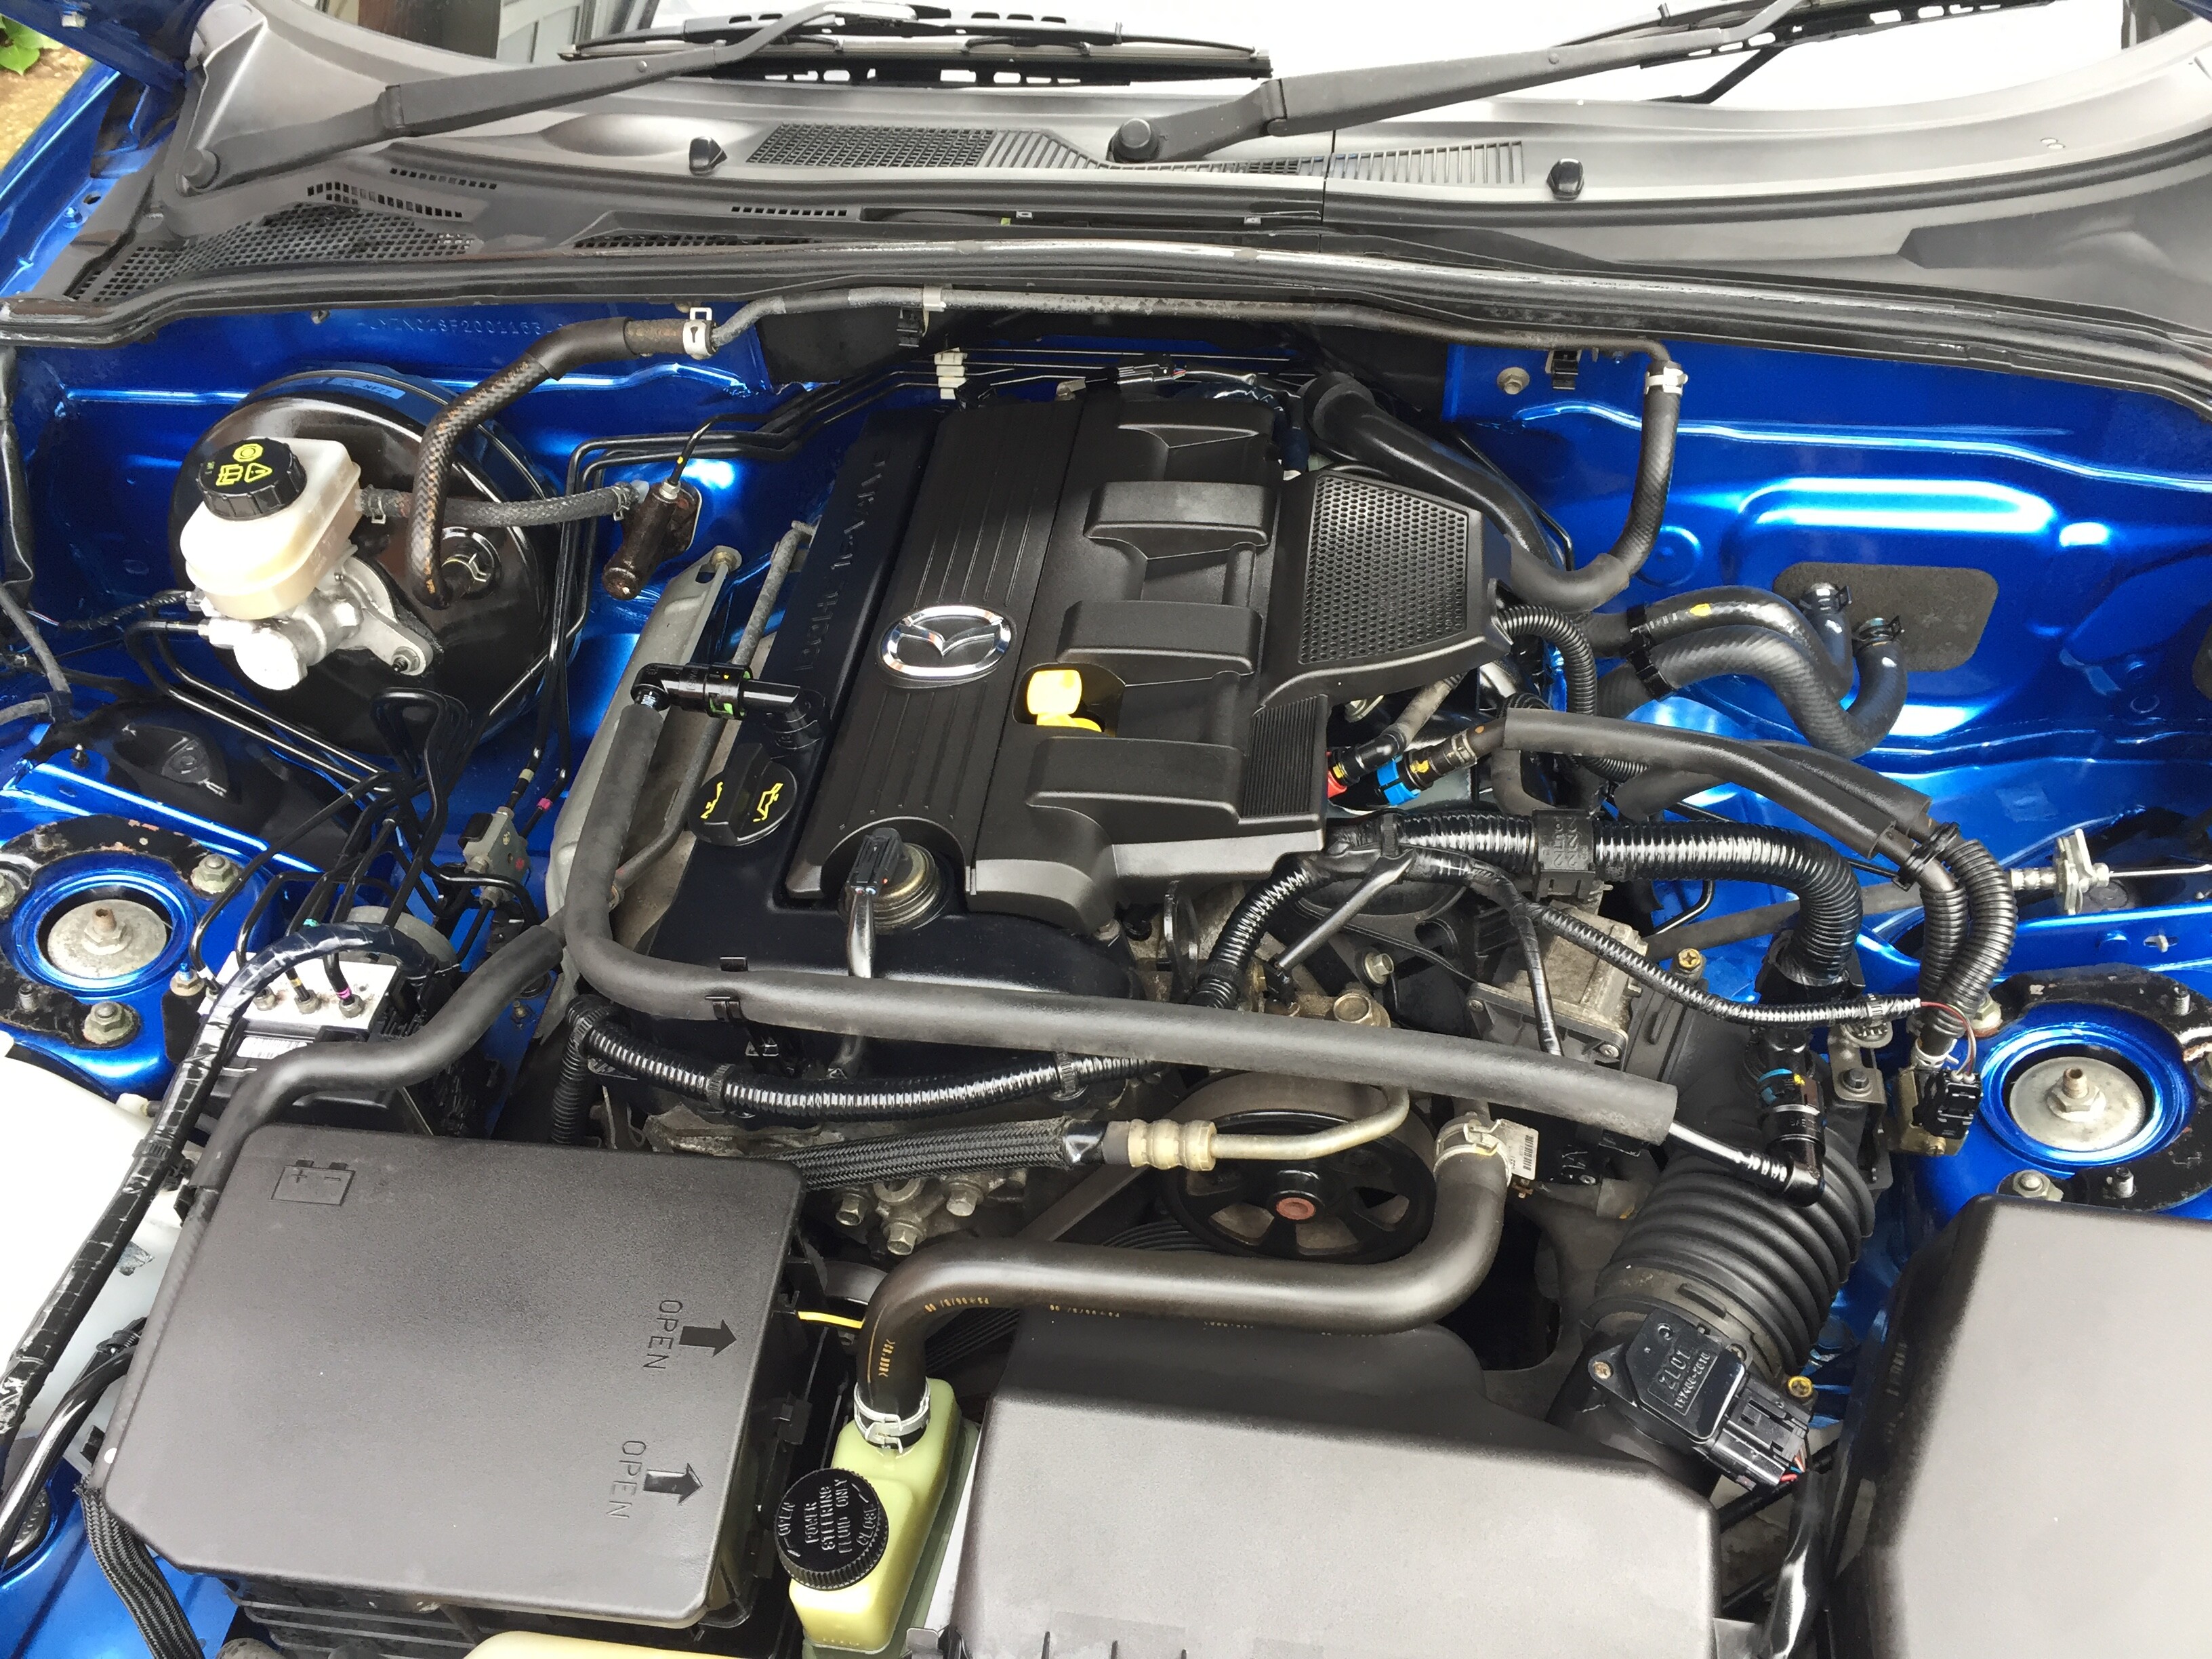
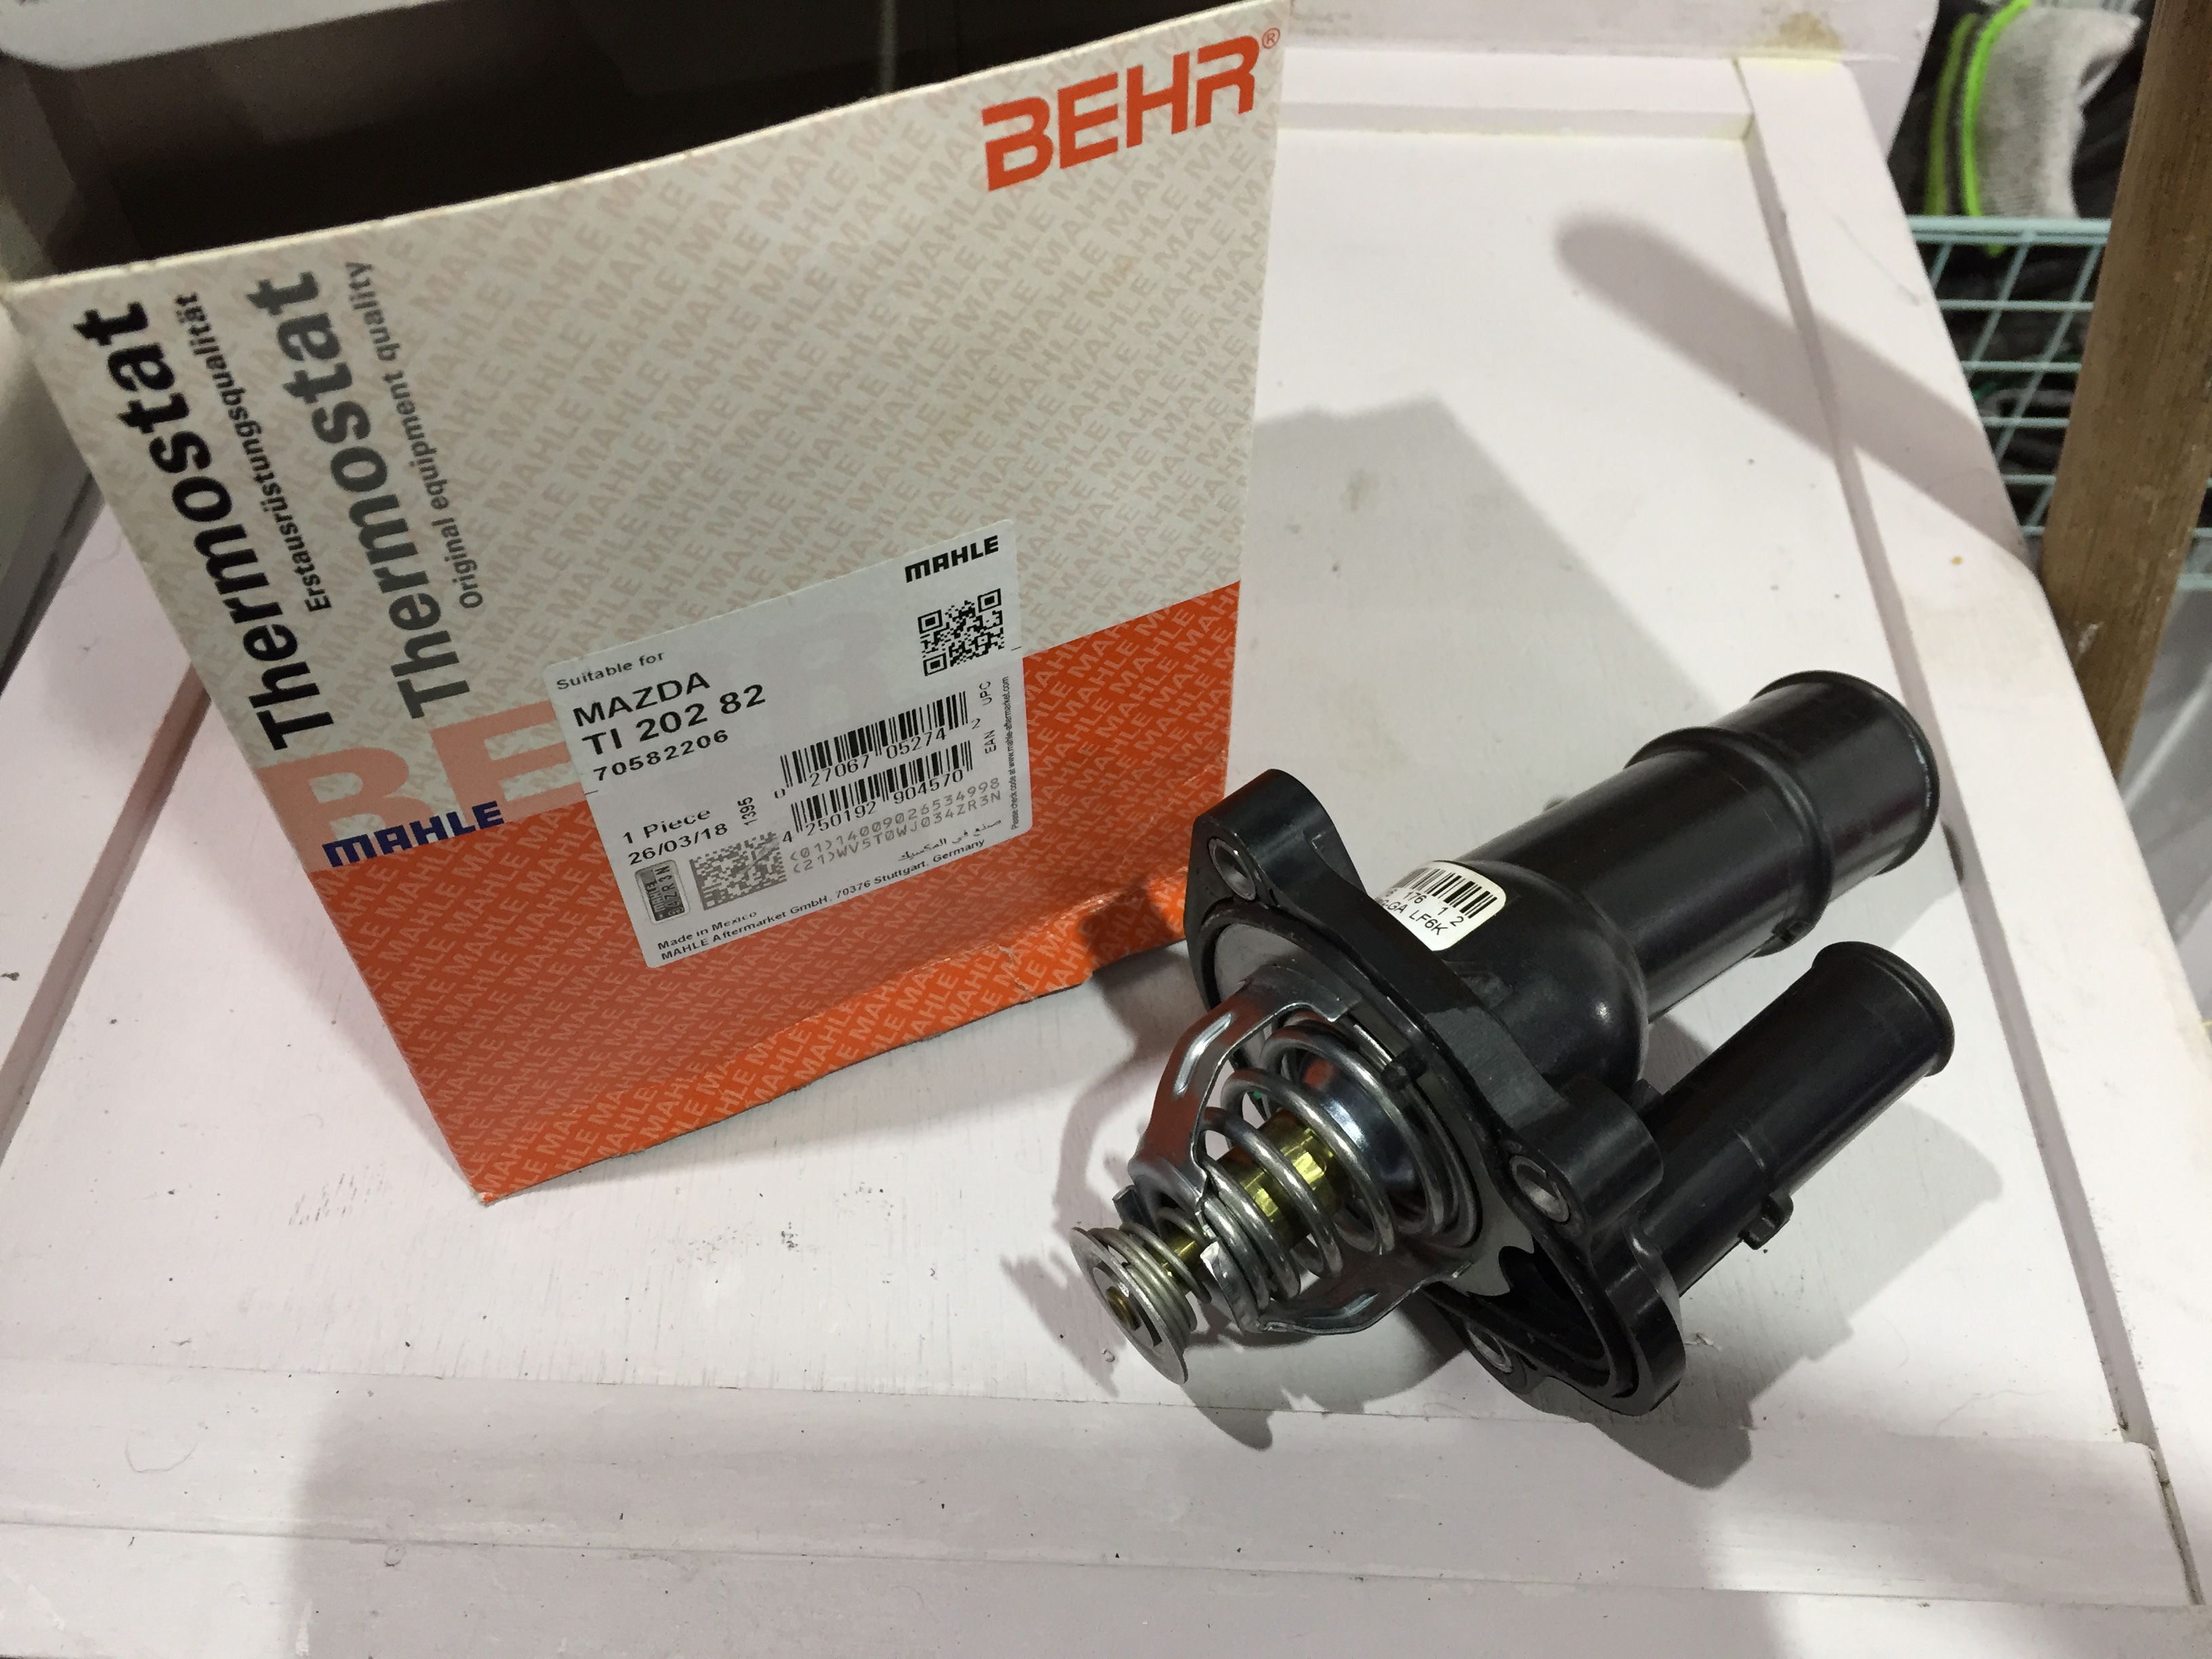
as mentioned previously , my thermostat was only moving a quarter of the way on the temperature gauge , sometimes less . 
so i eventually got a new 'stat , thanks to Dave (spelio ).
and set about fitting it tonight .
first drain the radiator , via a plastic plug underneath the car .
here’s a few pics ,
with intake hose removed,
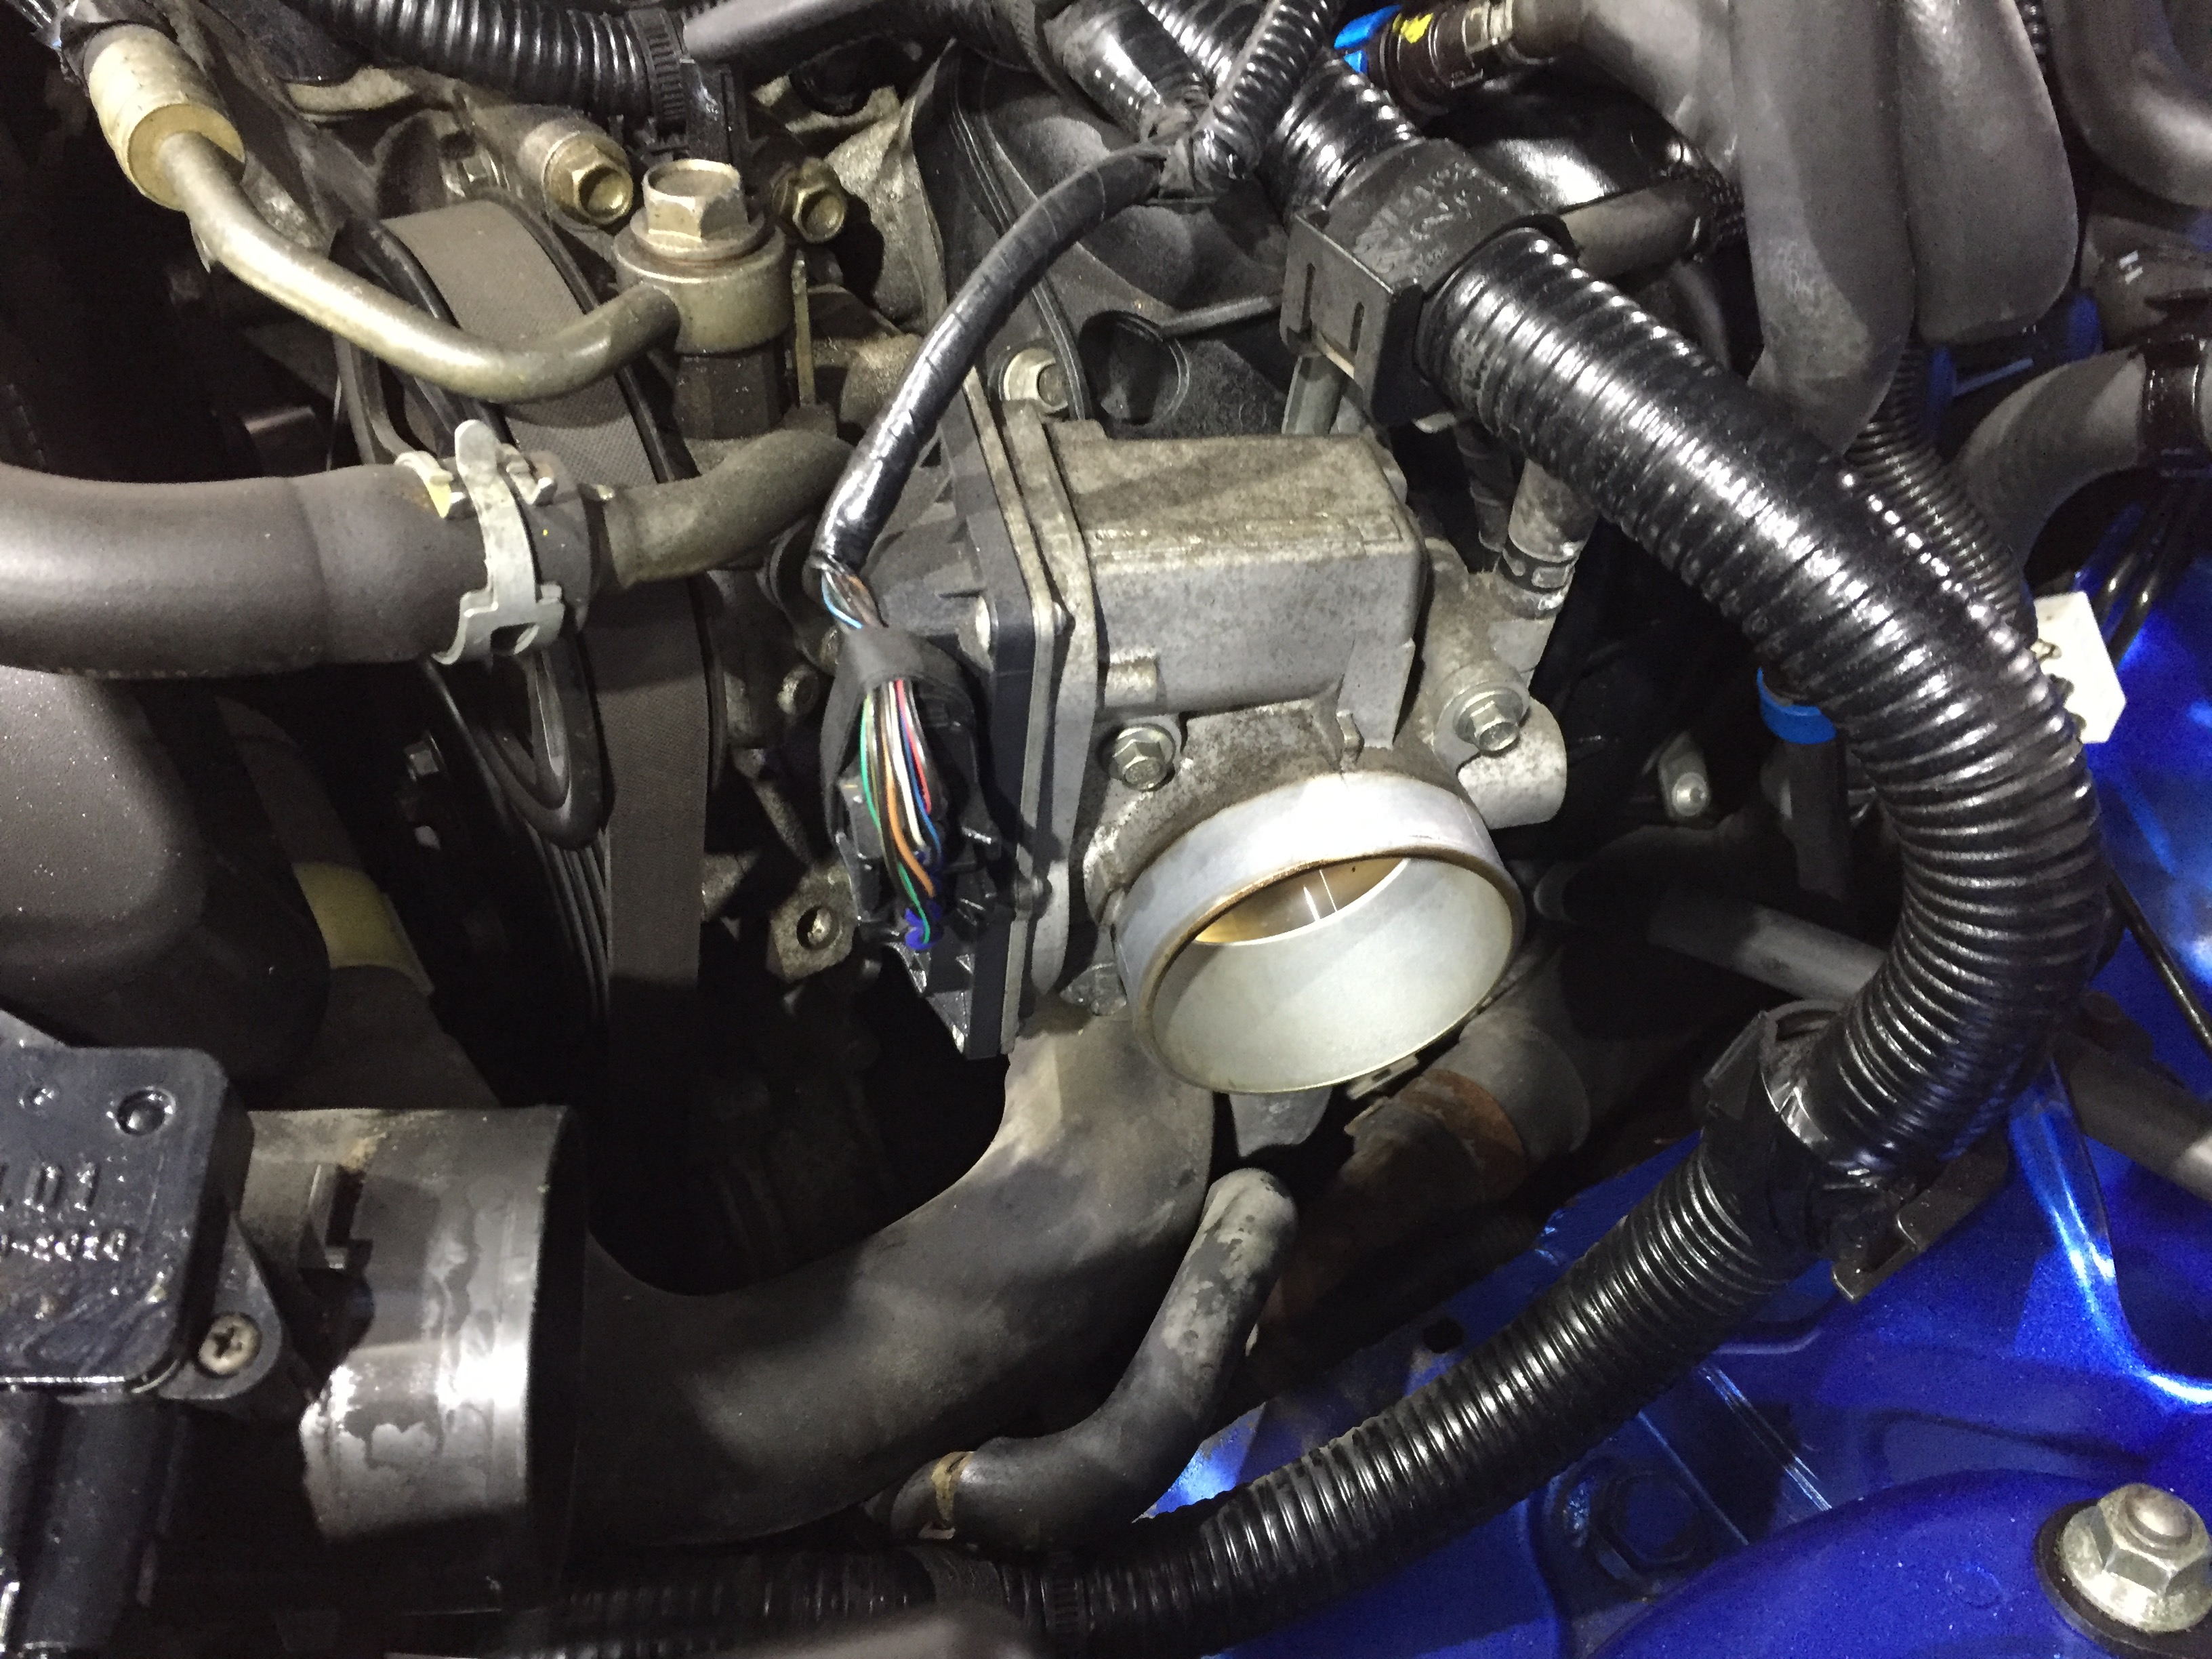
throttle body removed ,
now here’s the thermostat
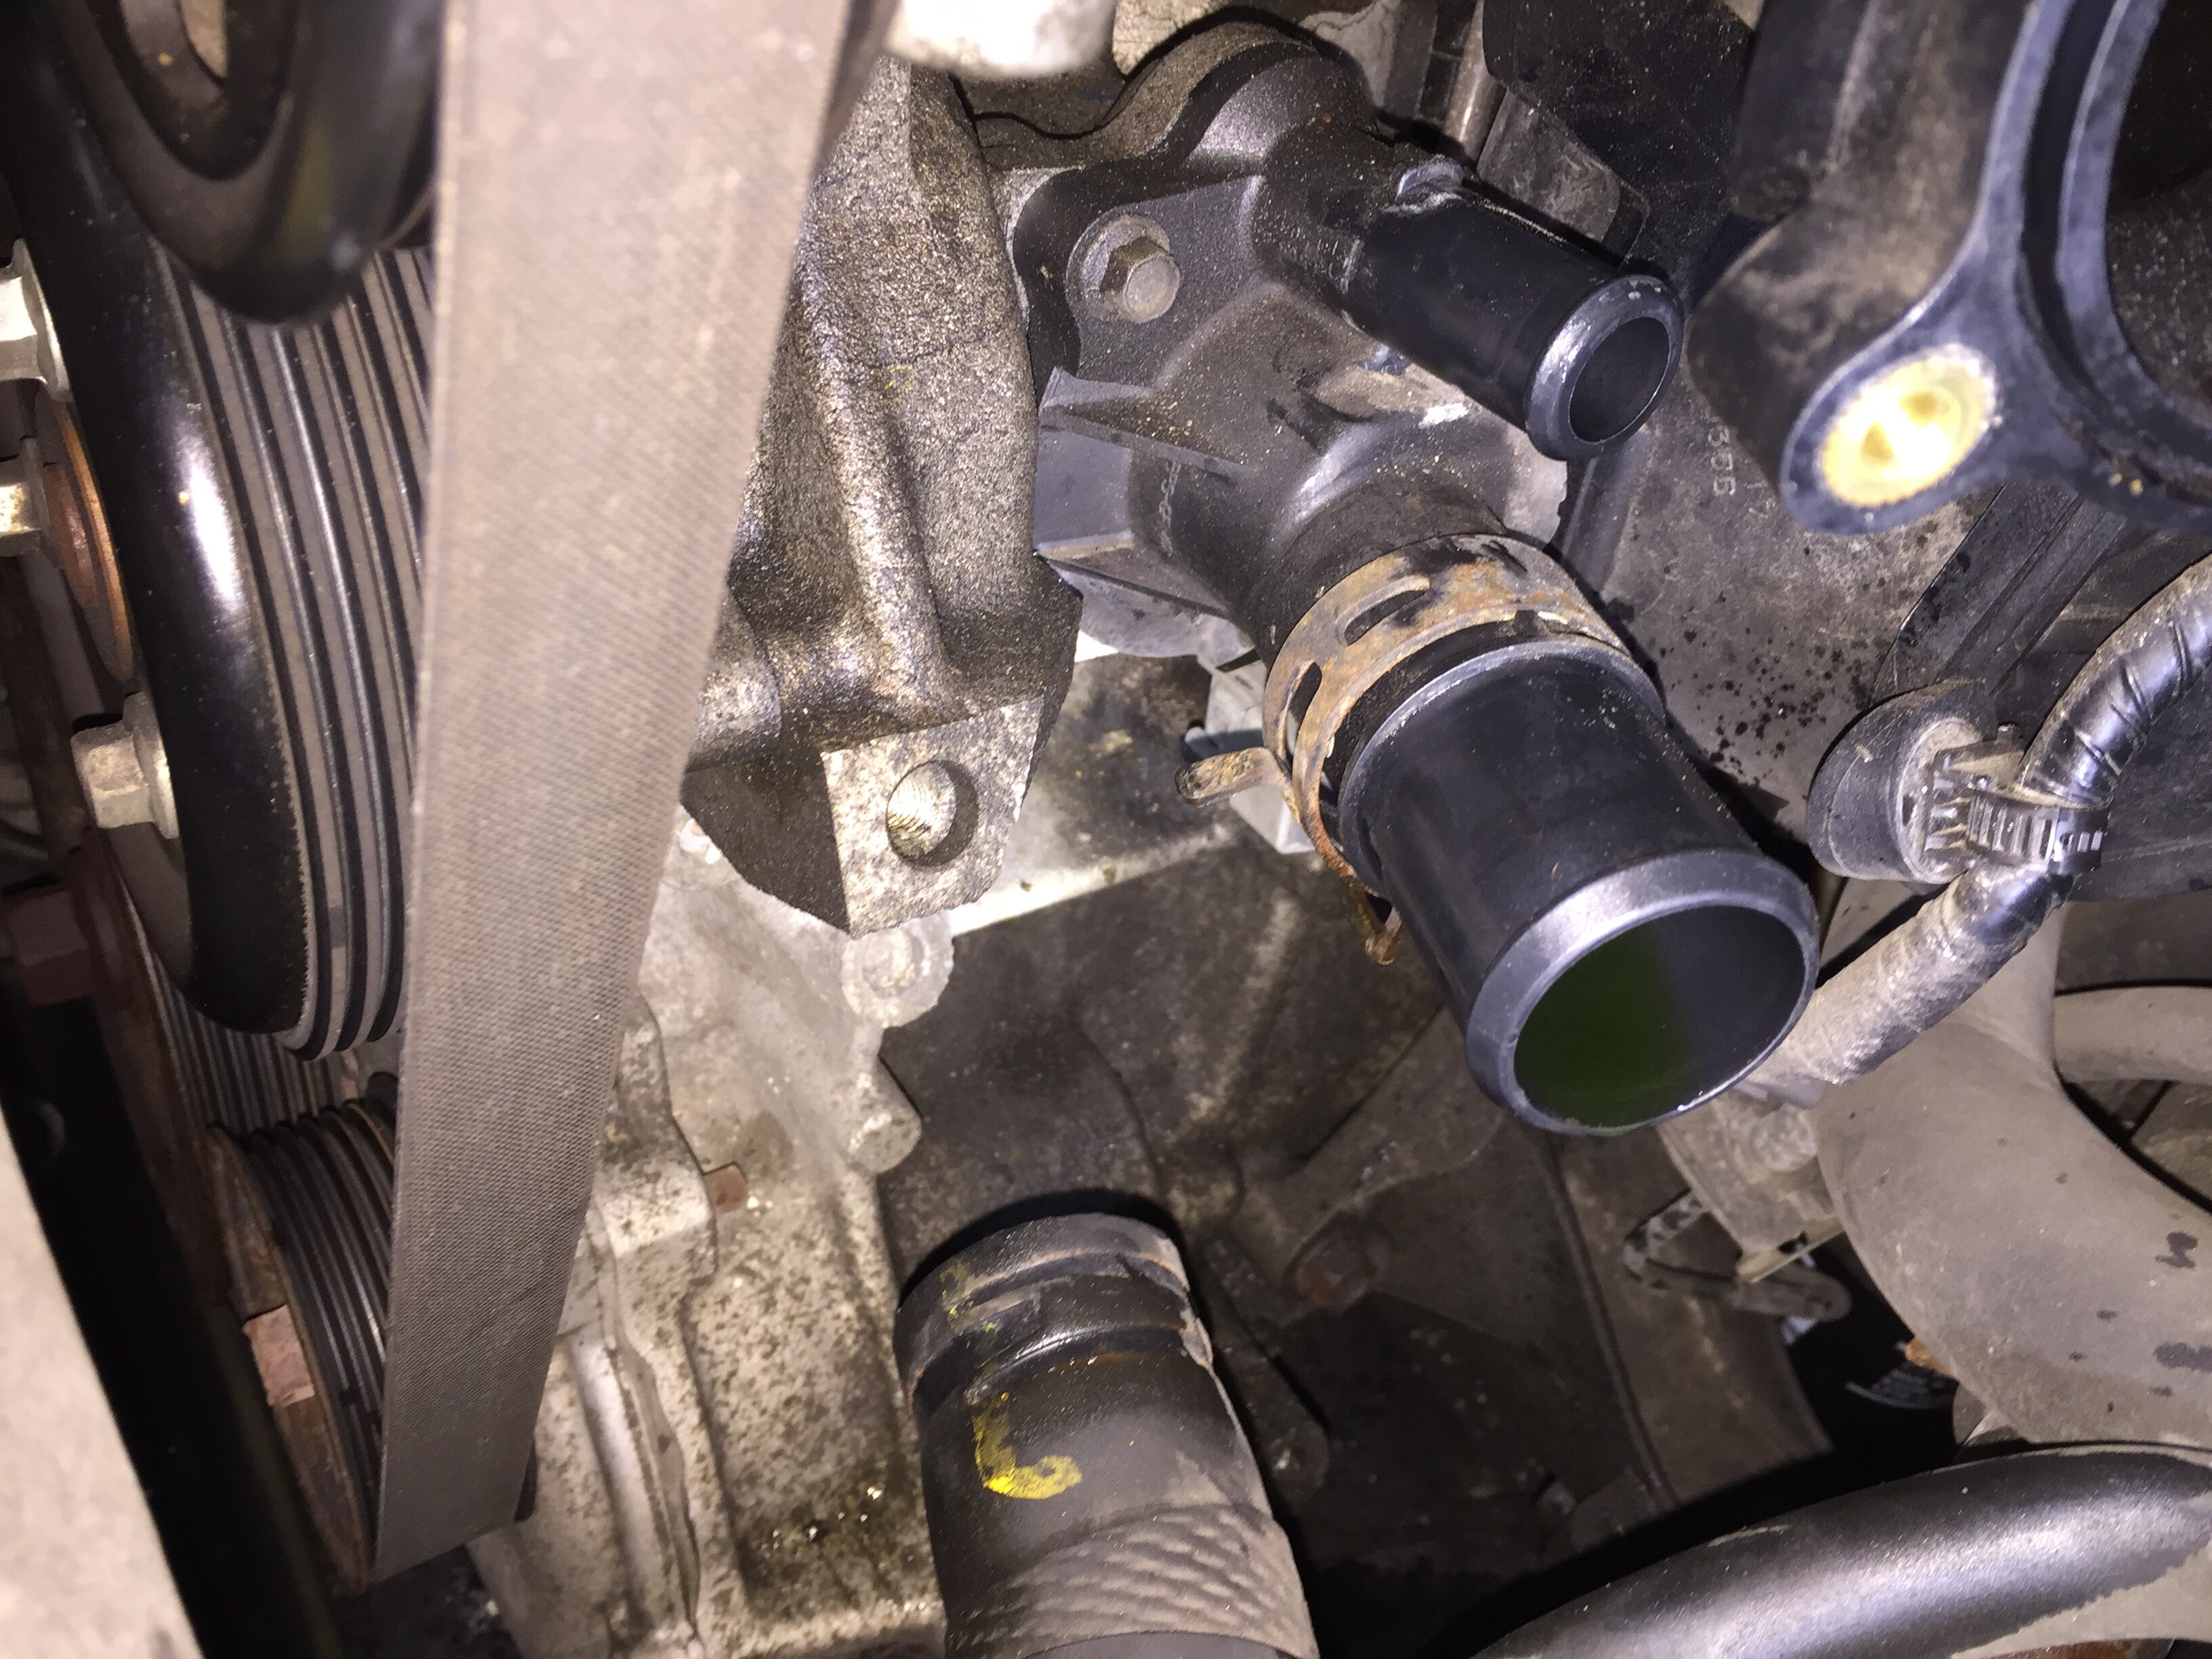
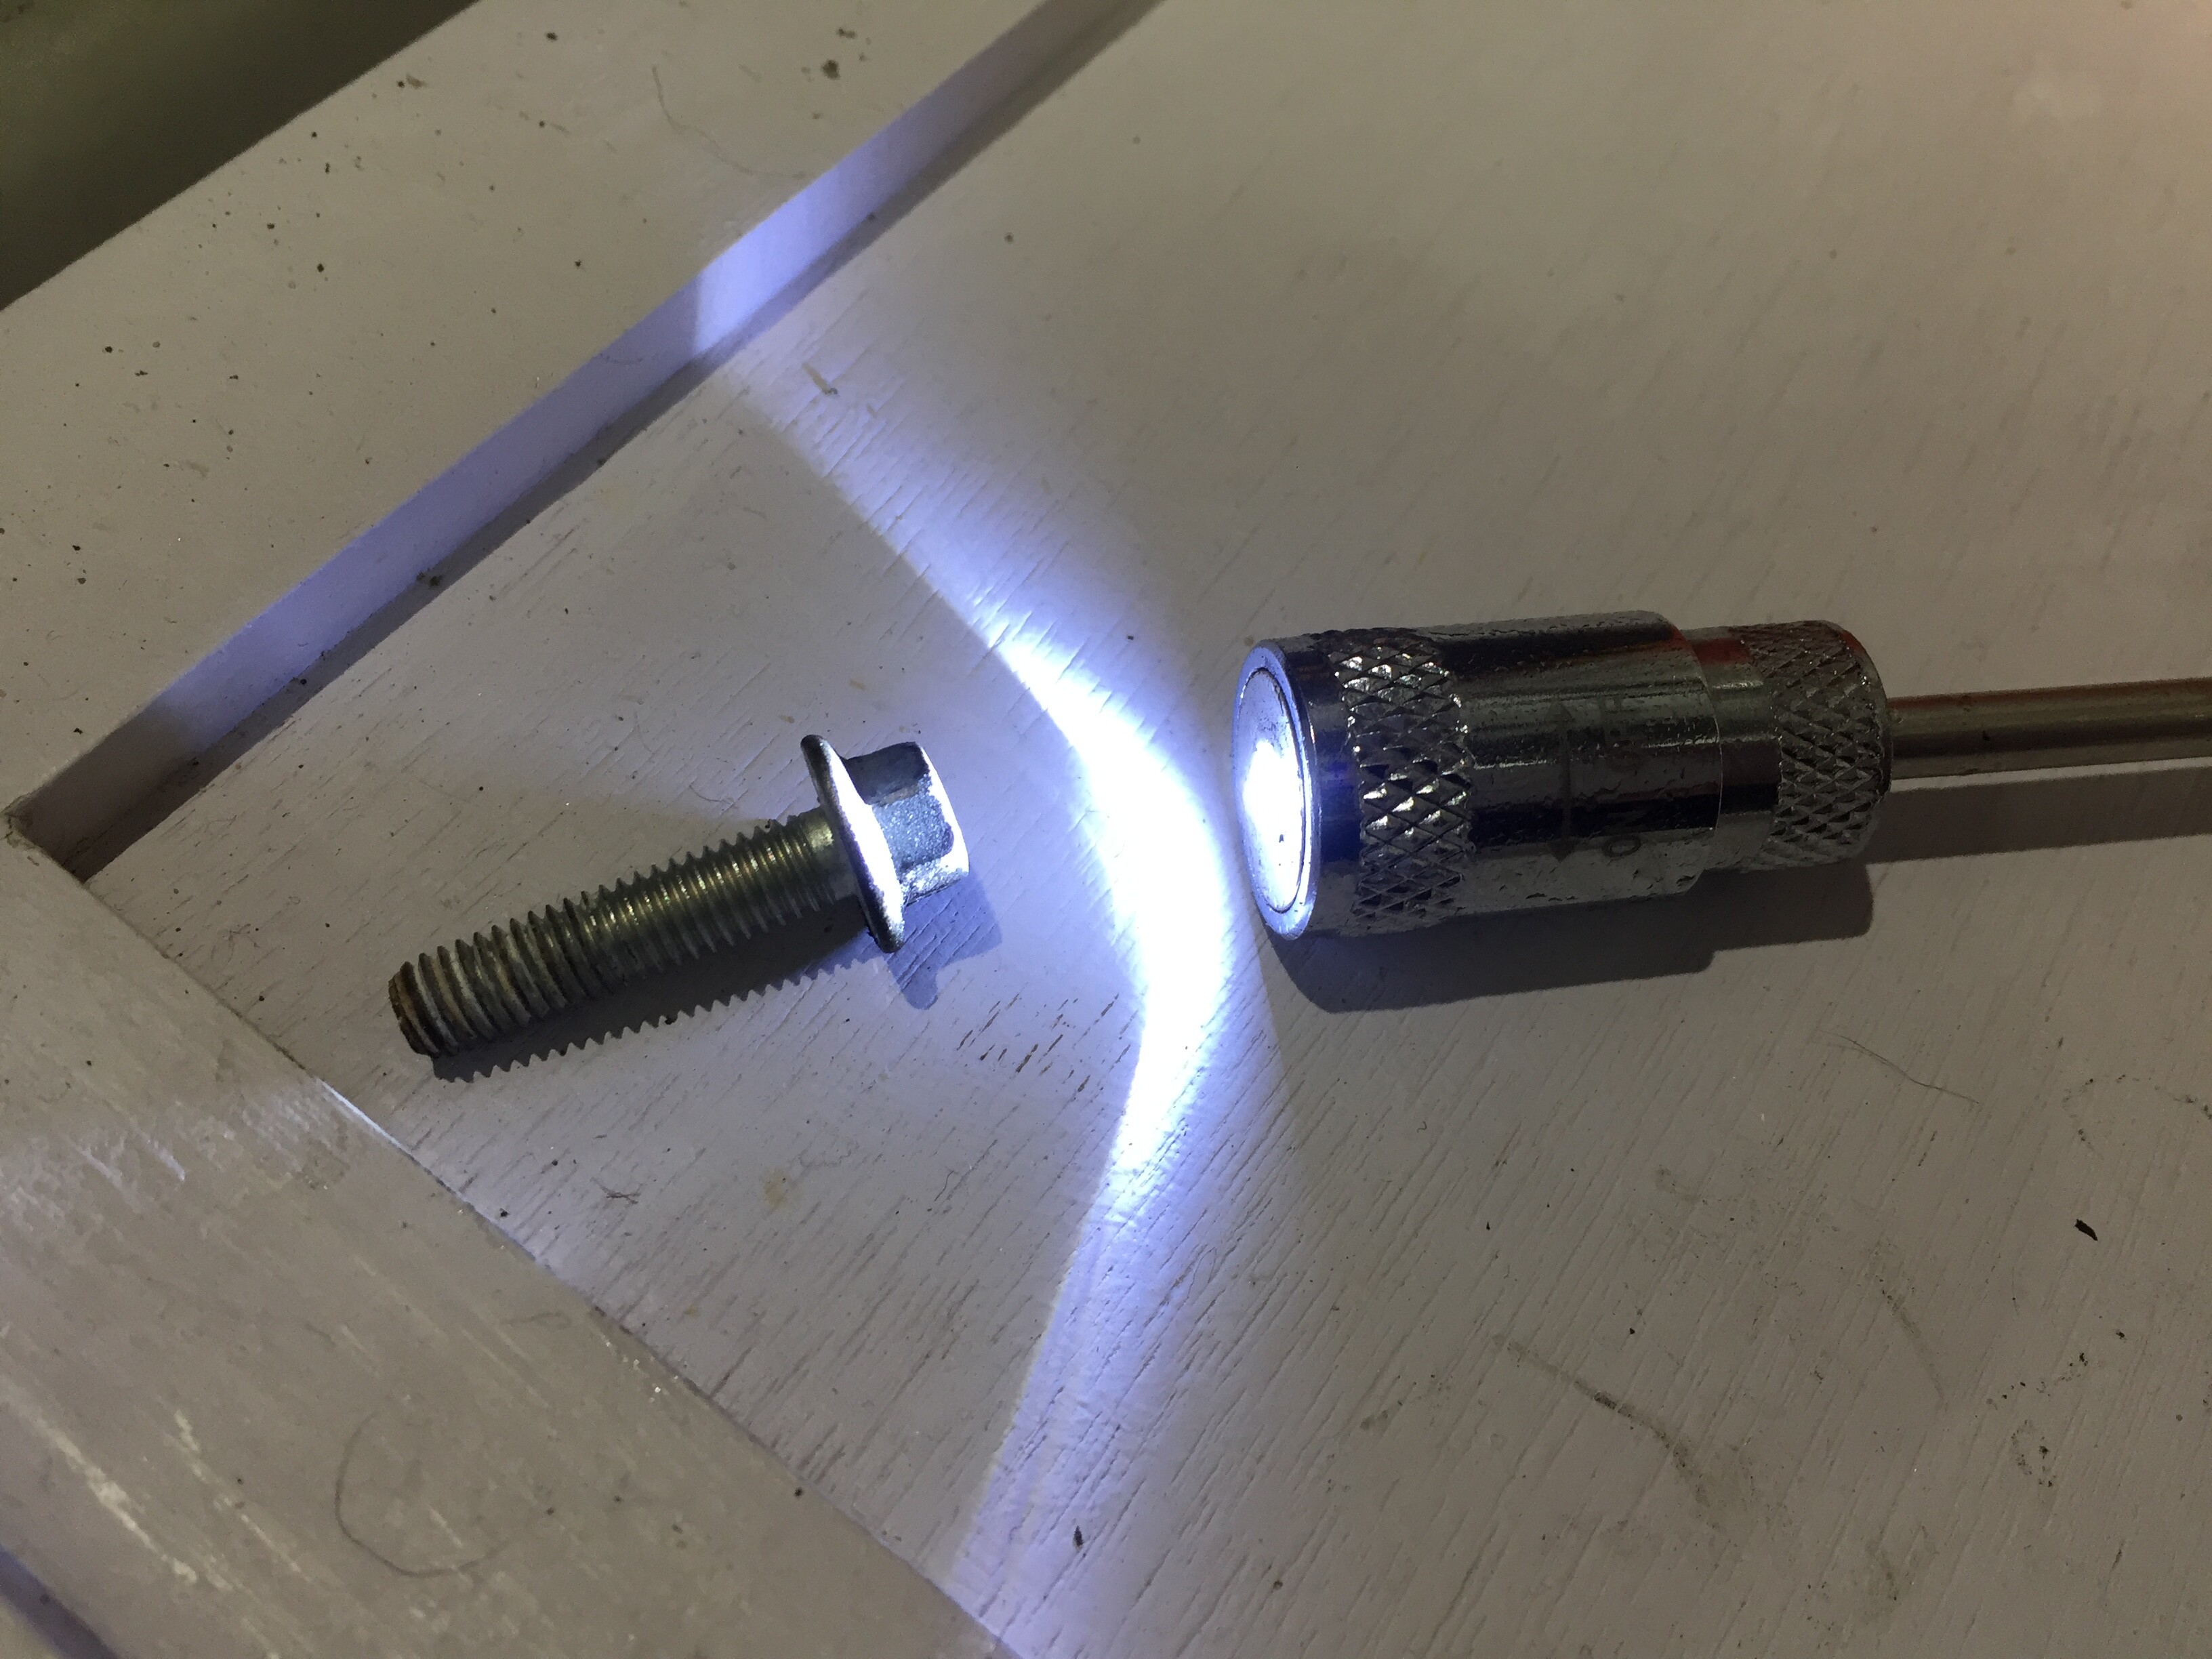
3 bolts holding it in , very tricky …here’s a selection of tools i found a big help .
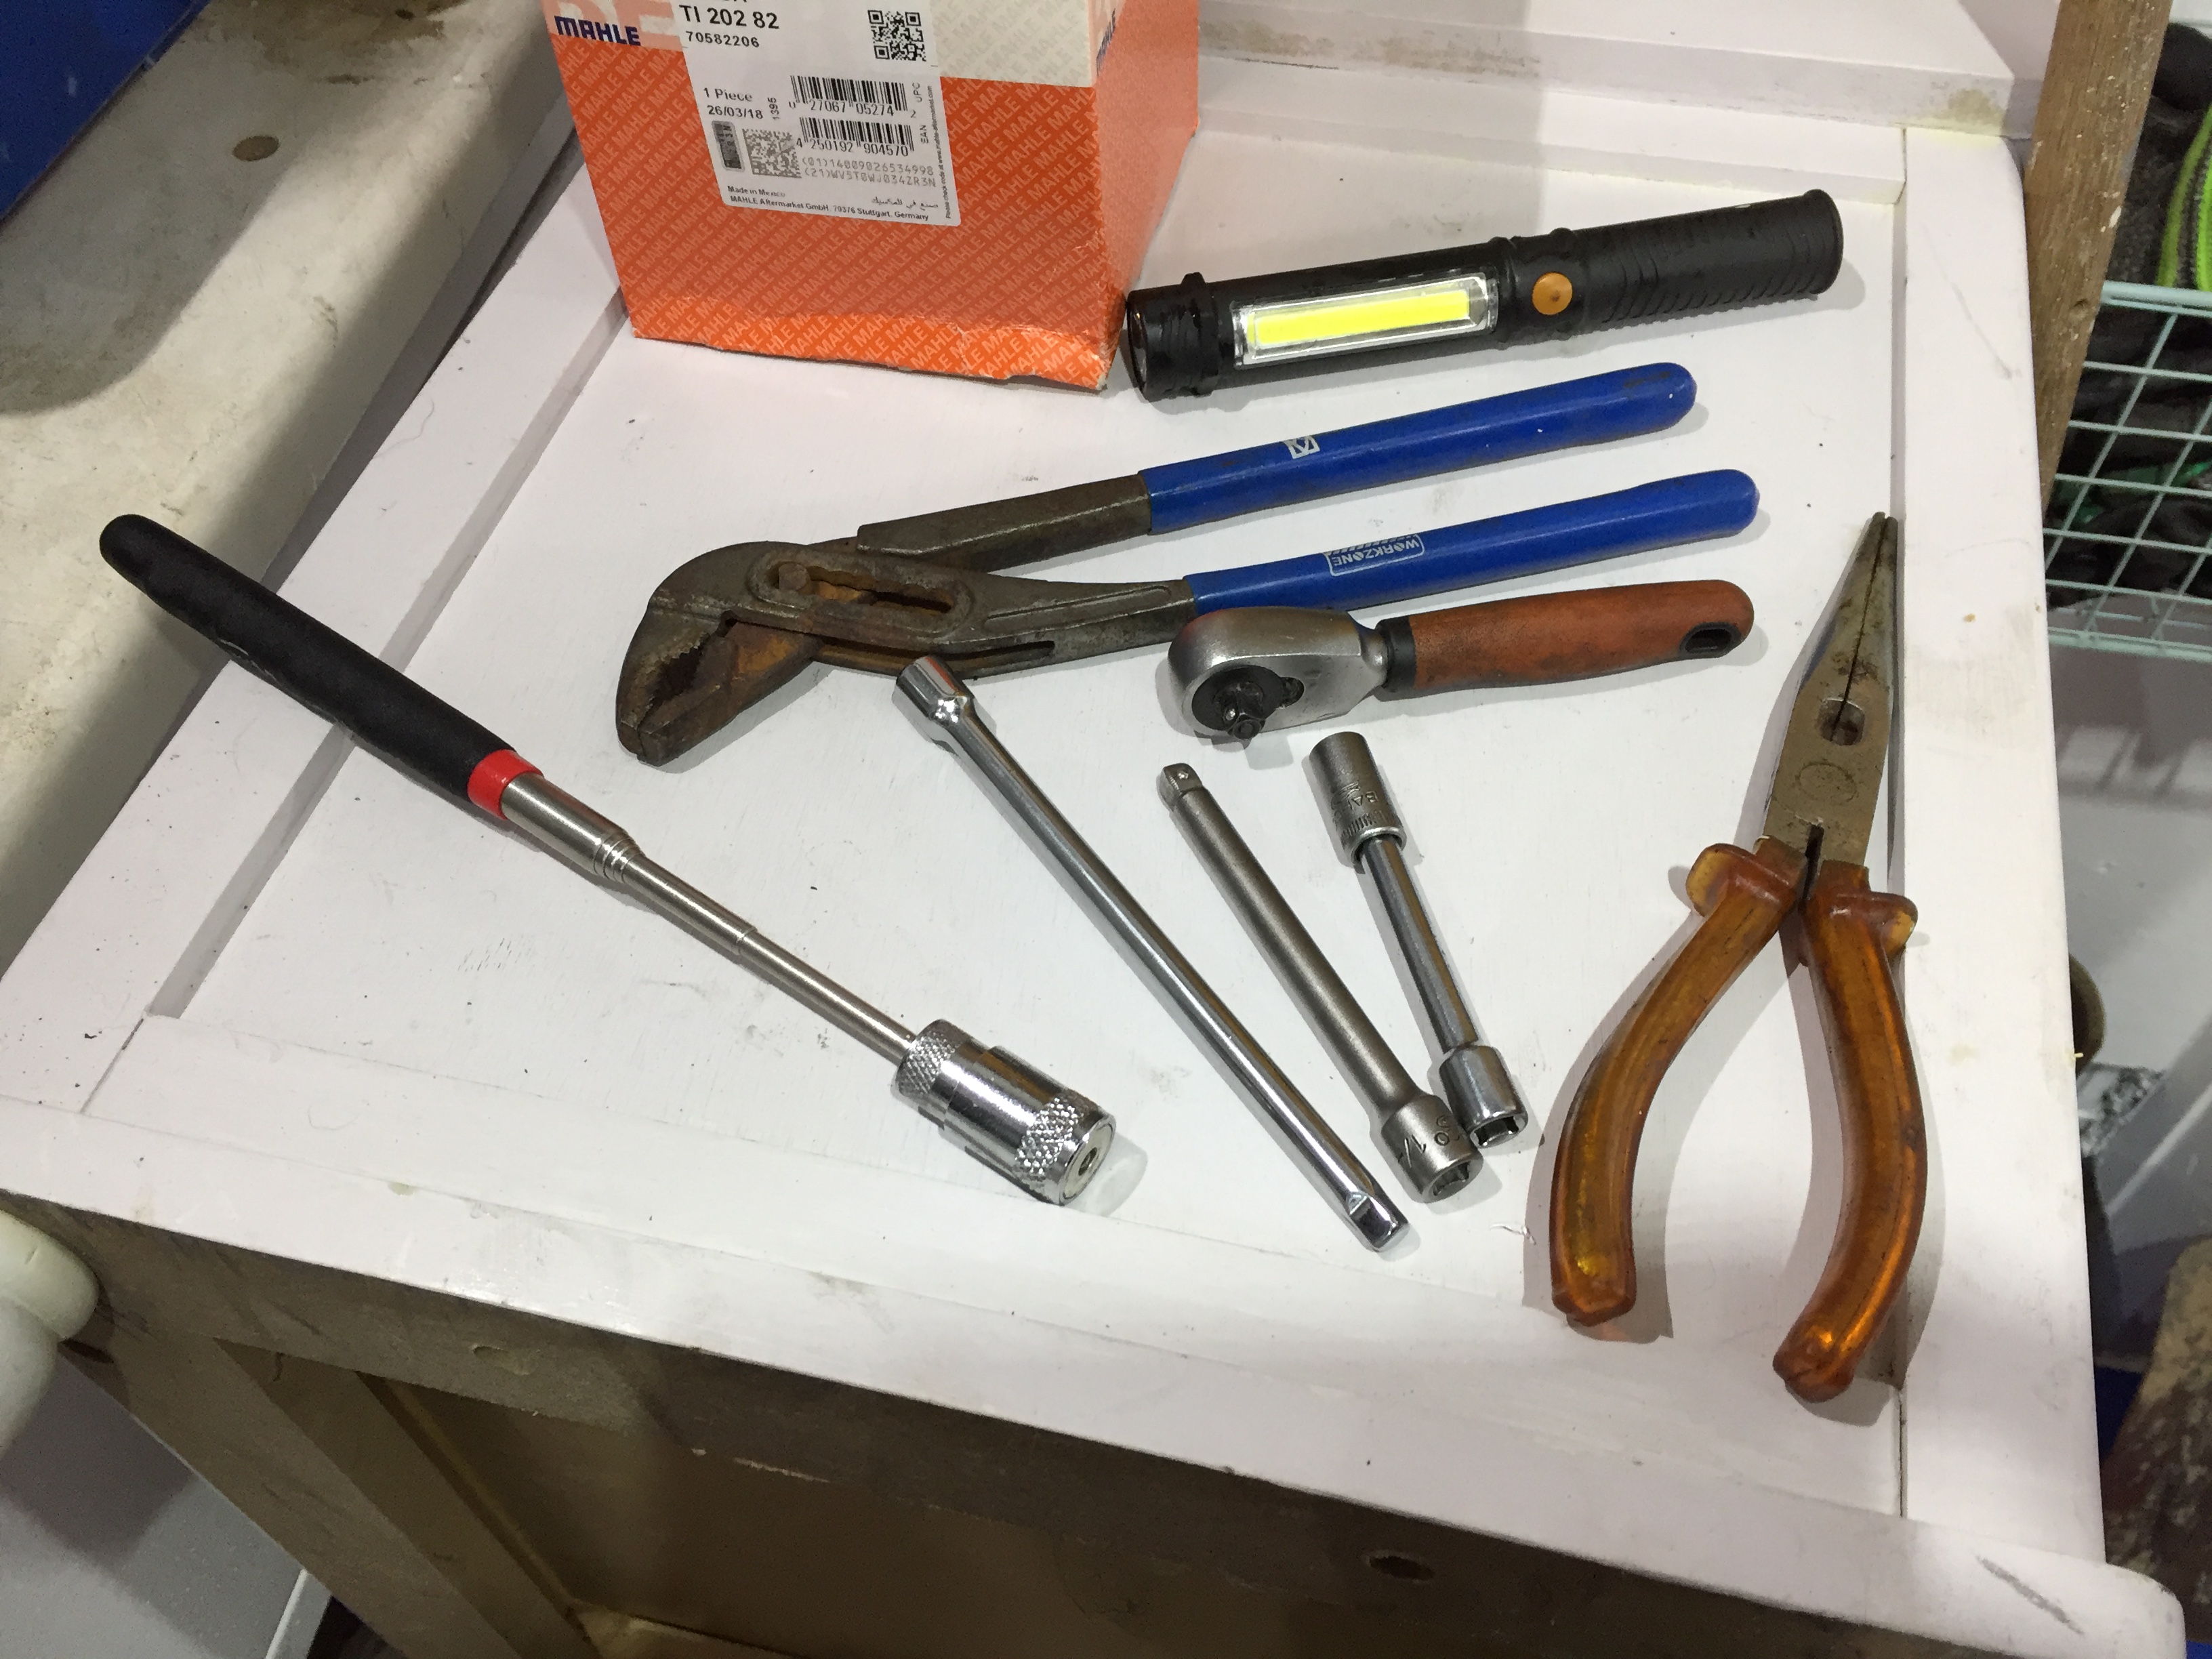
the 1/4" drive extentions are 3" , 4" and 6" …you need them all !!!
the magnetic pick up with light is great for finally getting the bolts out without dropping them ( from aldi )
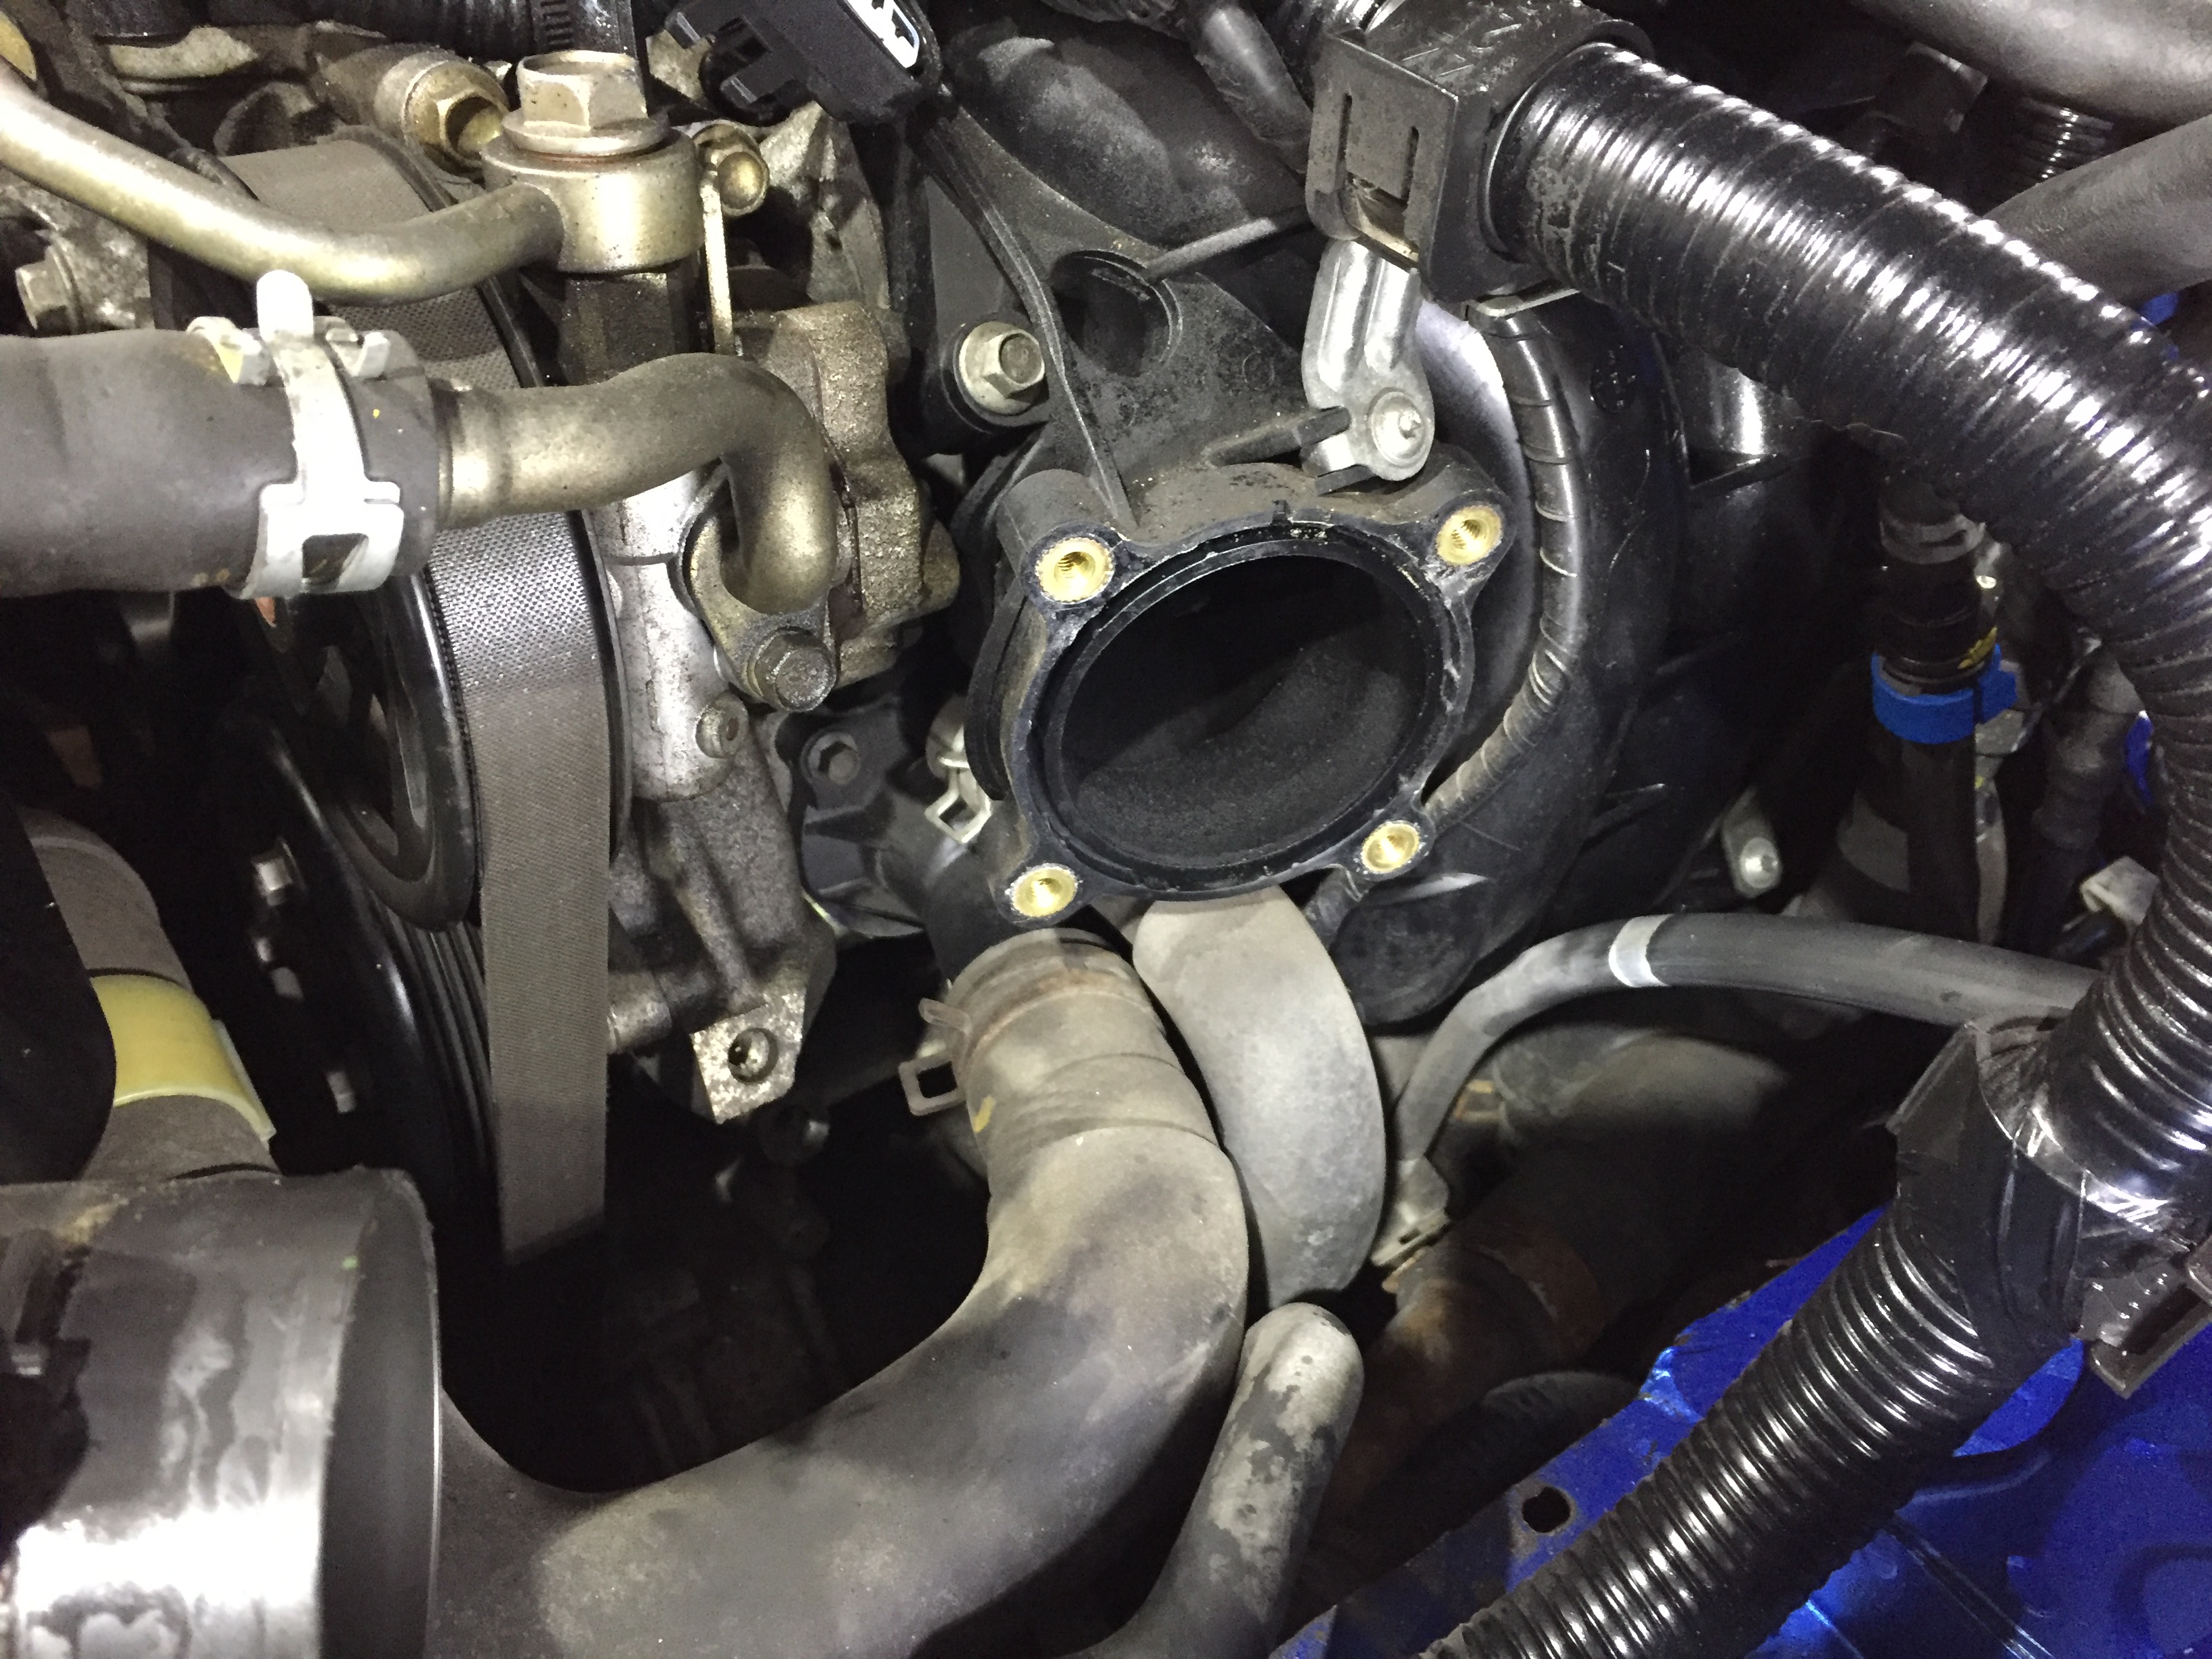
once the 'stat is off , the fitting is just the reverse … just take your time
the most difficult thing i found was to get the hose clip back on the BIG hose on the 'stat , just because its limited access and angle of attack
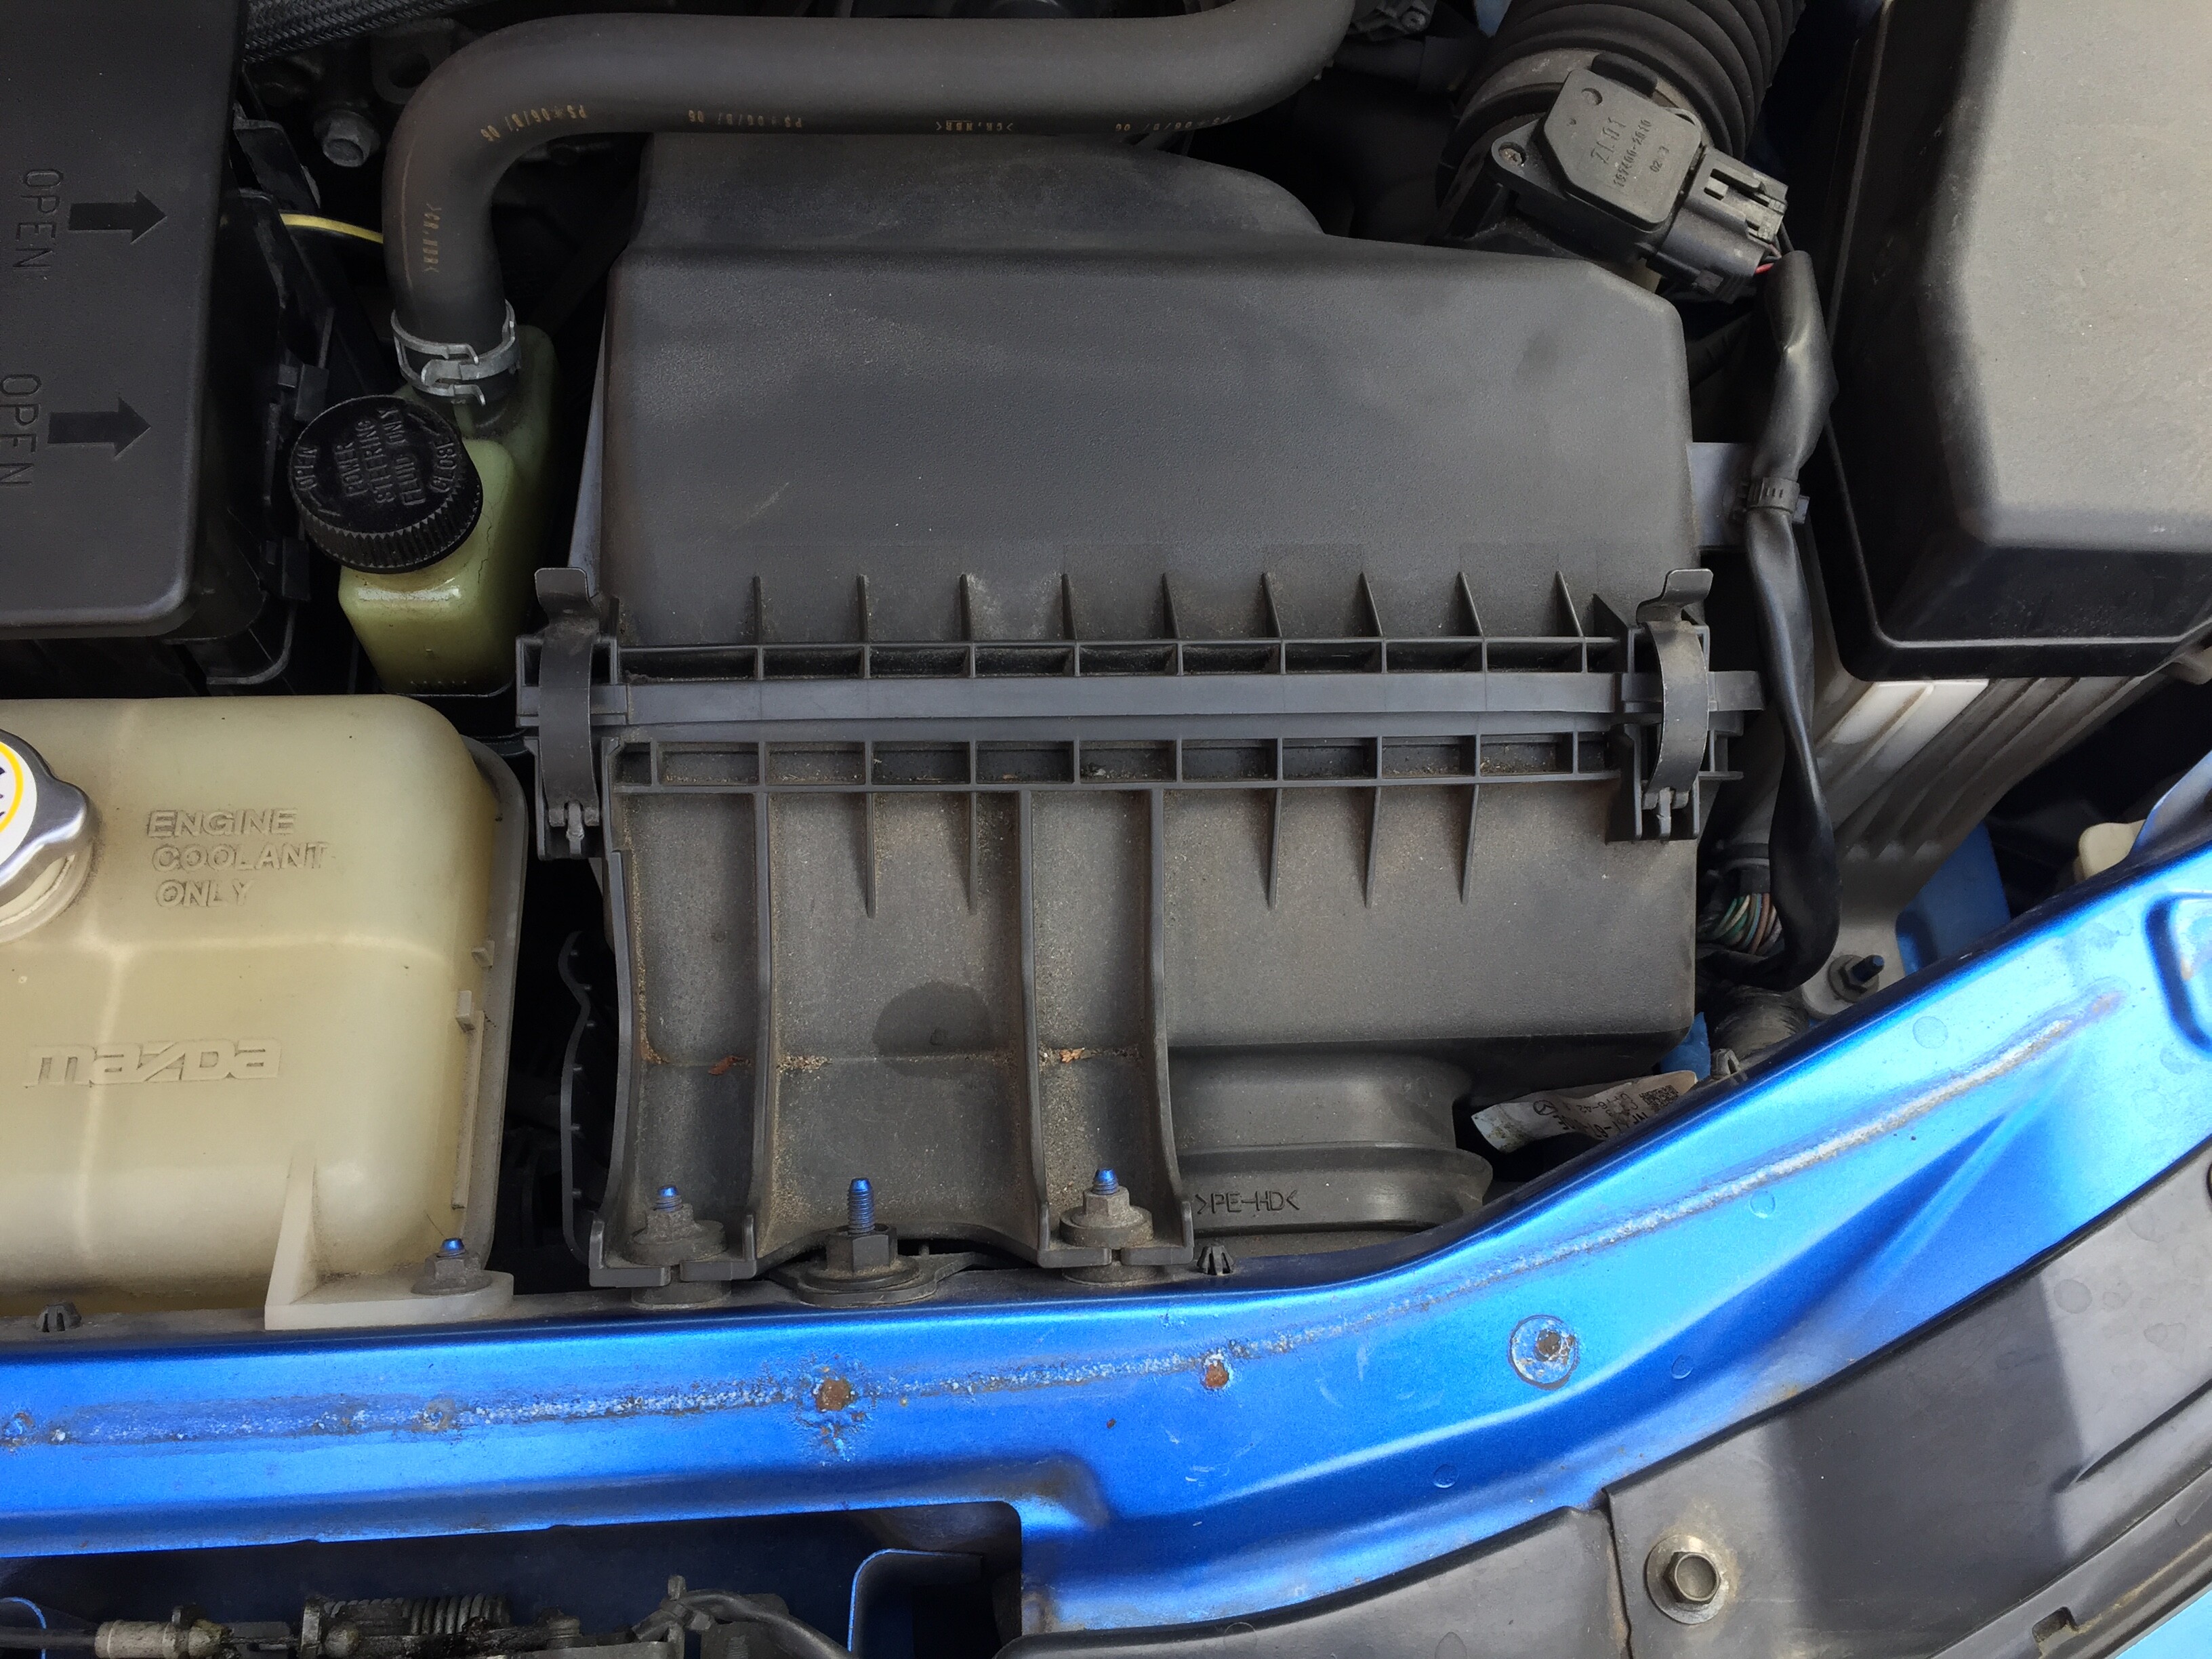
i cleaned the throttle body while i had it on the bench
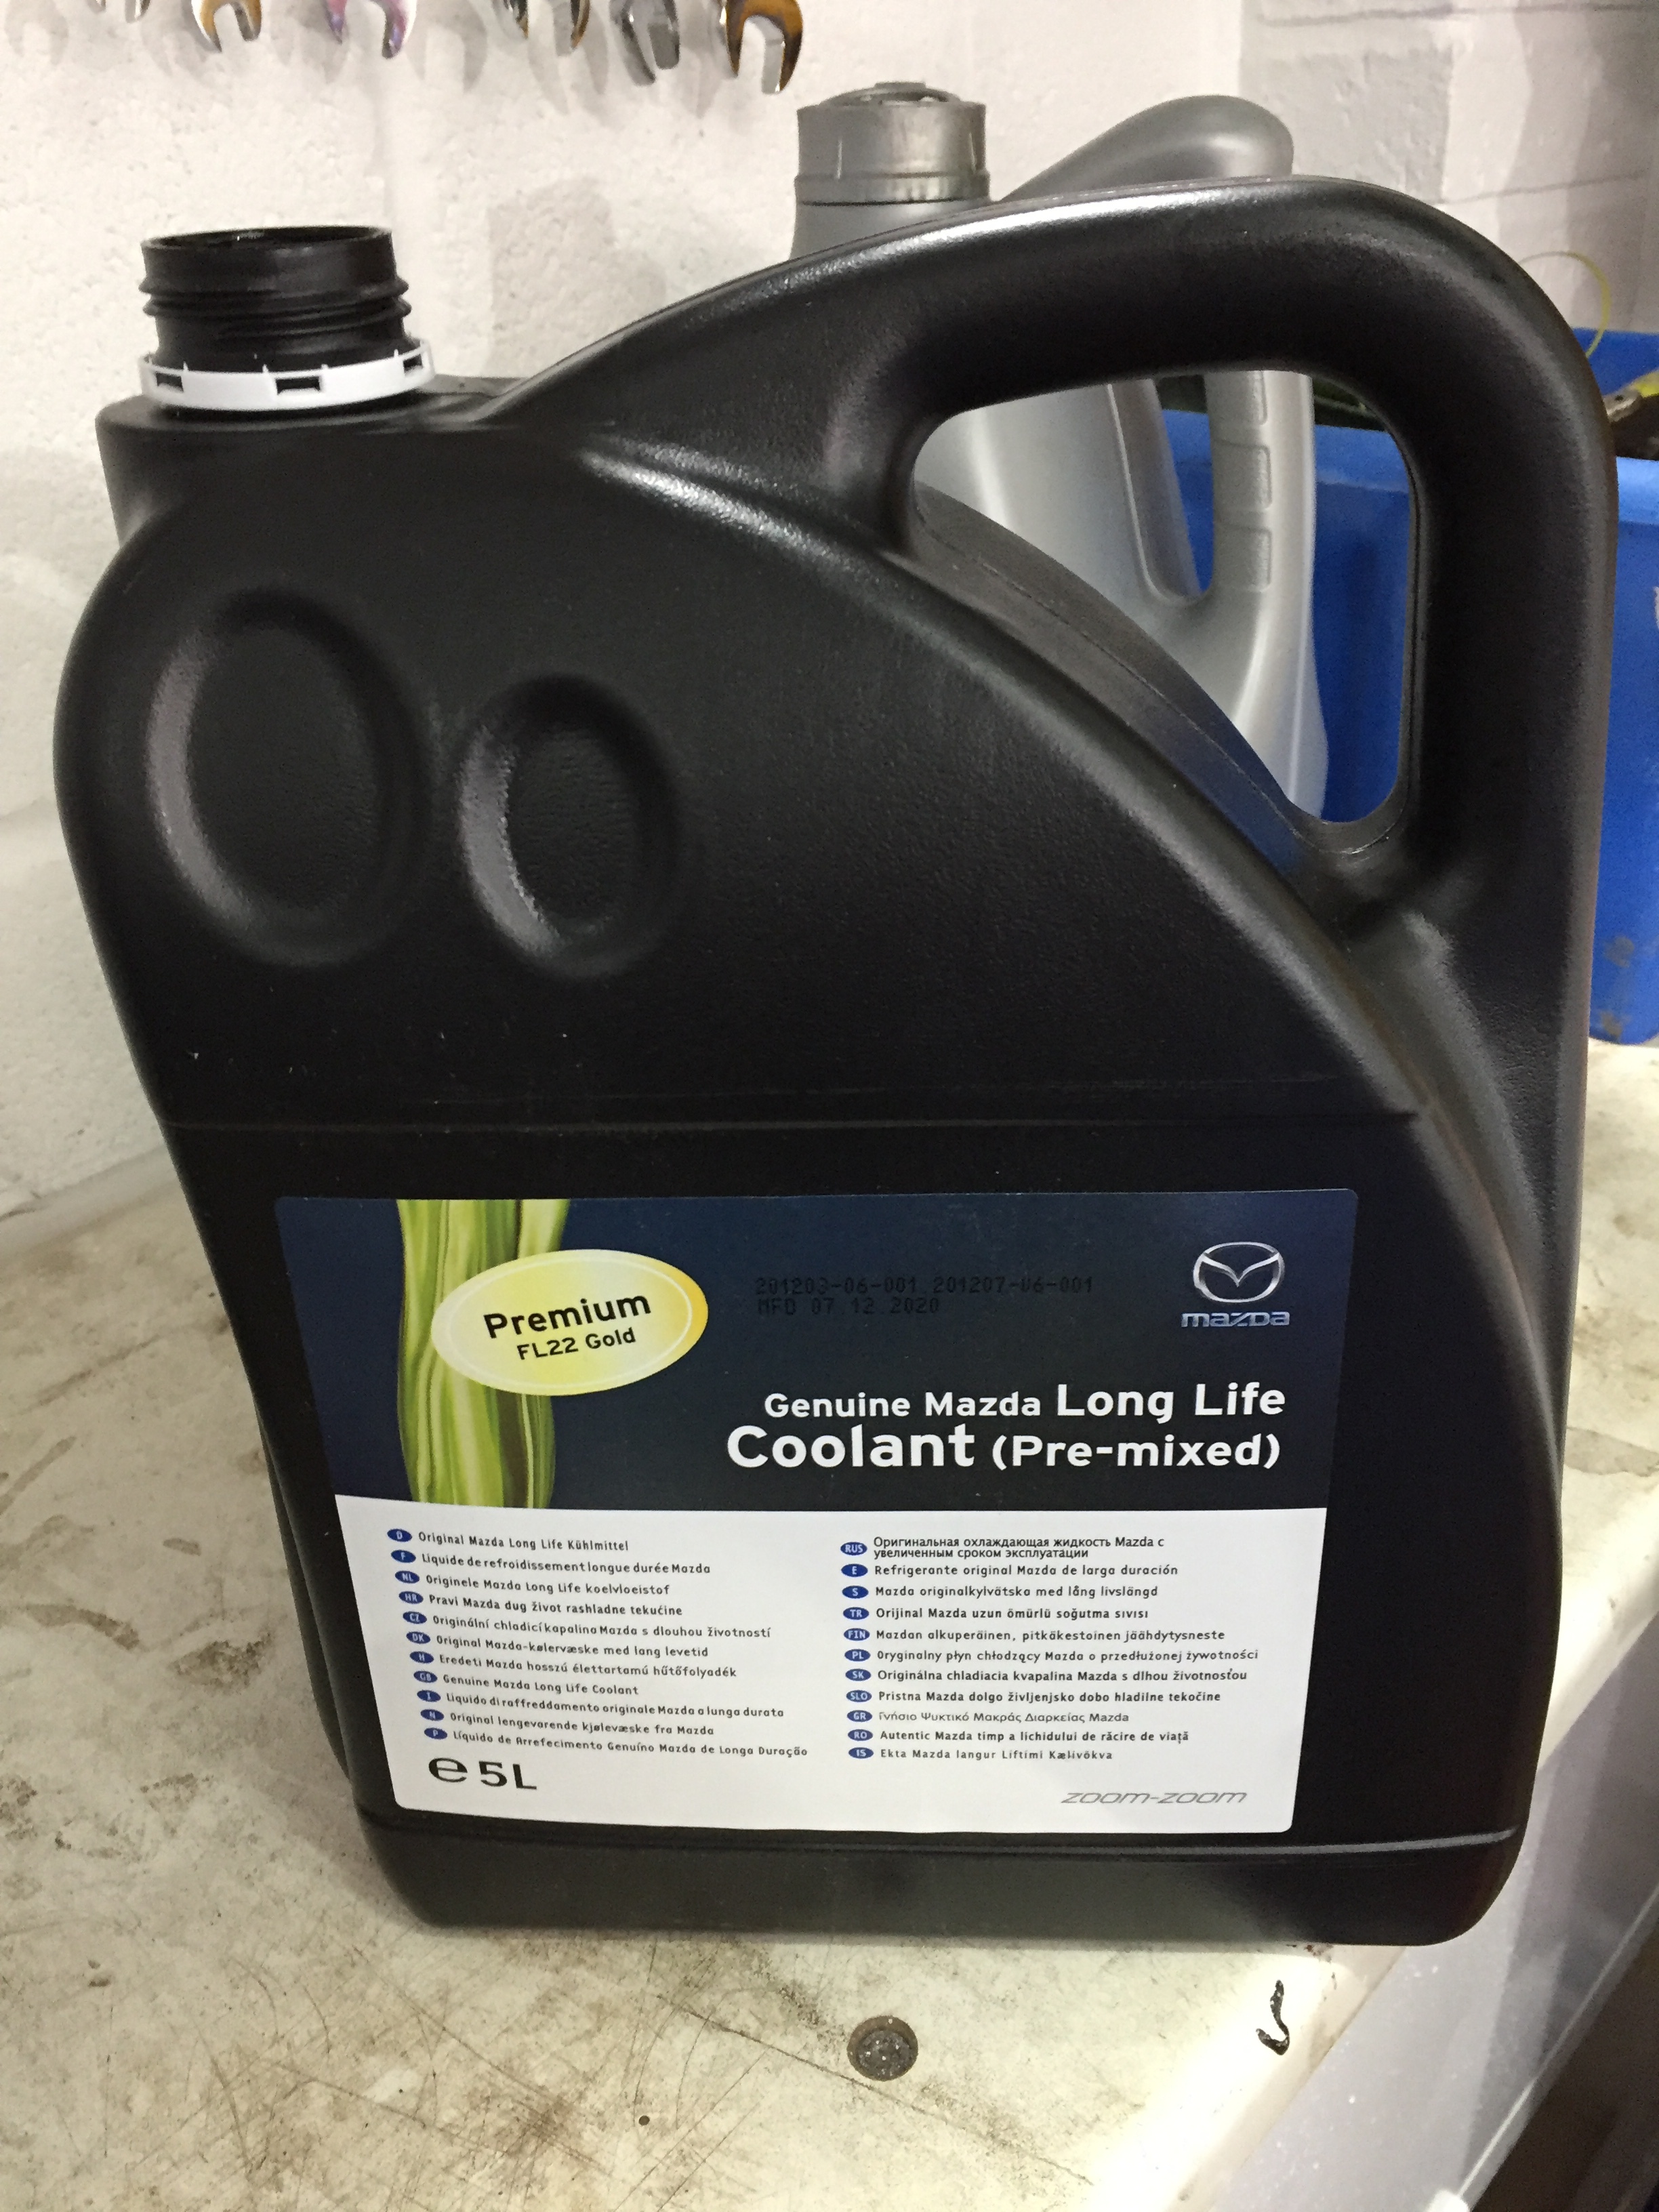
filled with FL22 long life coolant
the temp gauge is now showing normal and the engine is idling at 800 RPM instead of 900 RPM.
took approx’ 1hr 20mins
air BLEEDING took some doing , did usual of raising the front end on ramps and running it for 30 mins but ended up taking it a steady run and it sorted itself out ,its like a sauna now in the cabin
4 Likes