I bought the Jass Performance NC Seat Lowering kit (Height Adjustable Seats). After looking around for some guides I found a few threads but they were for the non adjustable seats. So I thought I’d record the headscratching moments while doing mine. Note that this is my addendum to the Jass instructions. You need to have a read through the instructions first and then have a read through my notes.
The tools that you will need are:
Socket ratchet and sockets; 10mm for the - pole on the battery, 14mm to take the seats out from he car, and you will need 13mm for the screws to take the rear brackets out and replace with the Jass ones.
6mm allen key to take the rails out and a smaller one for fitting the Jass brackets (possibly a 5mm allen)
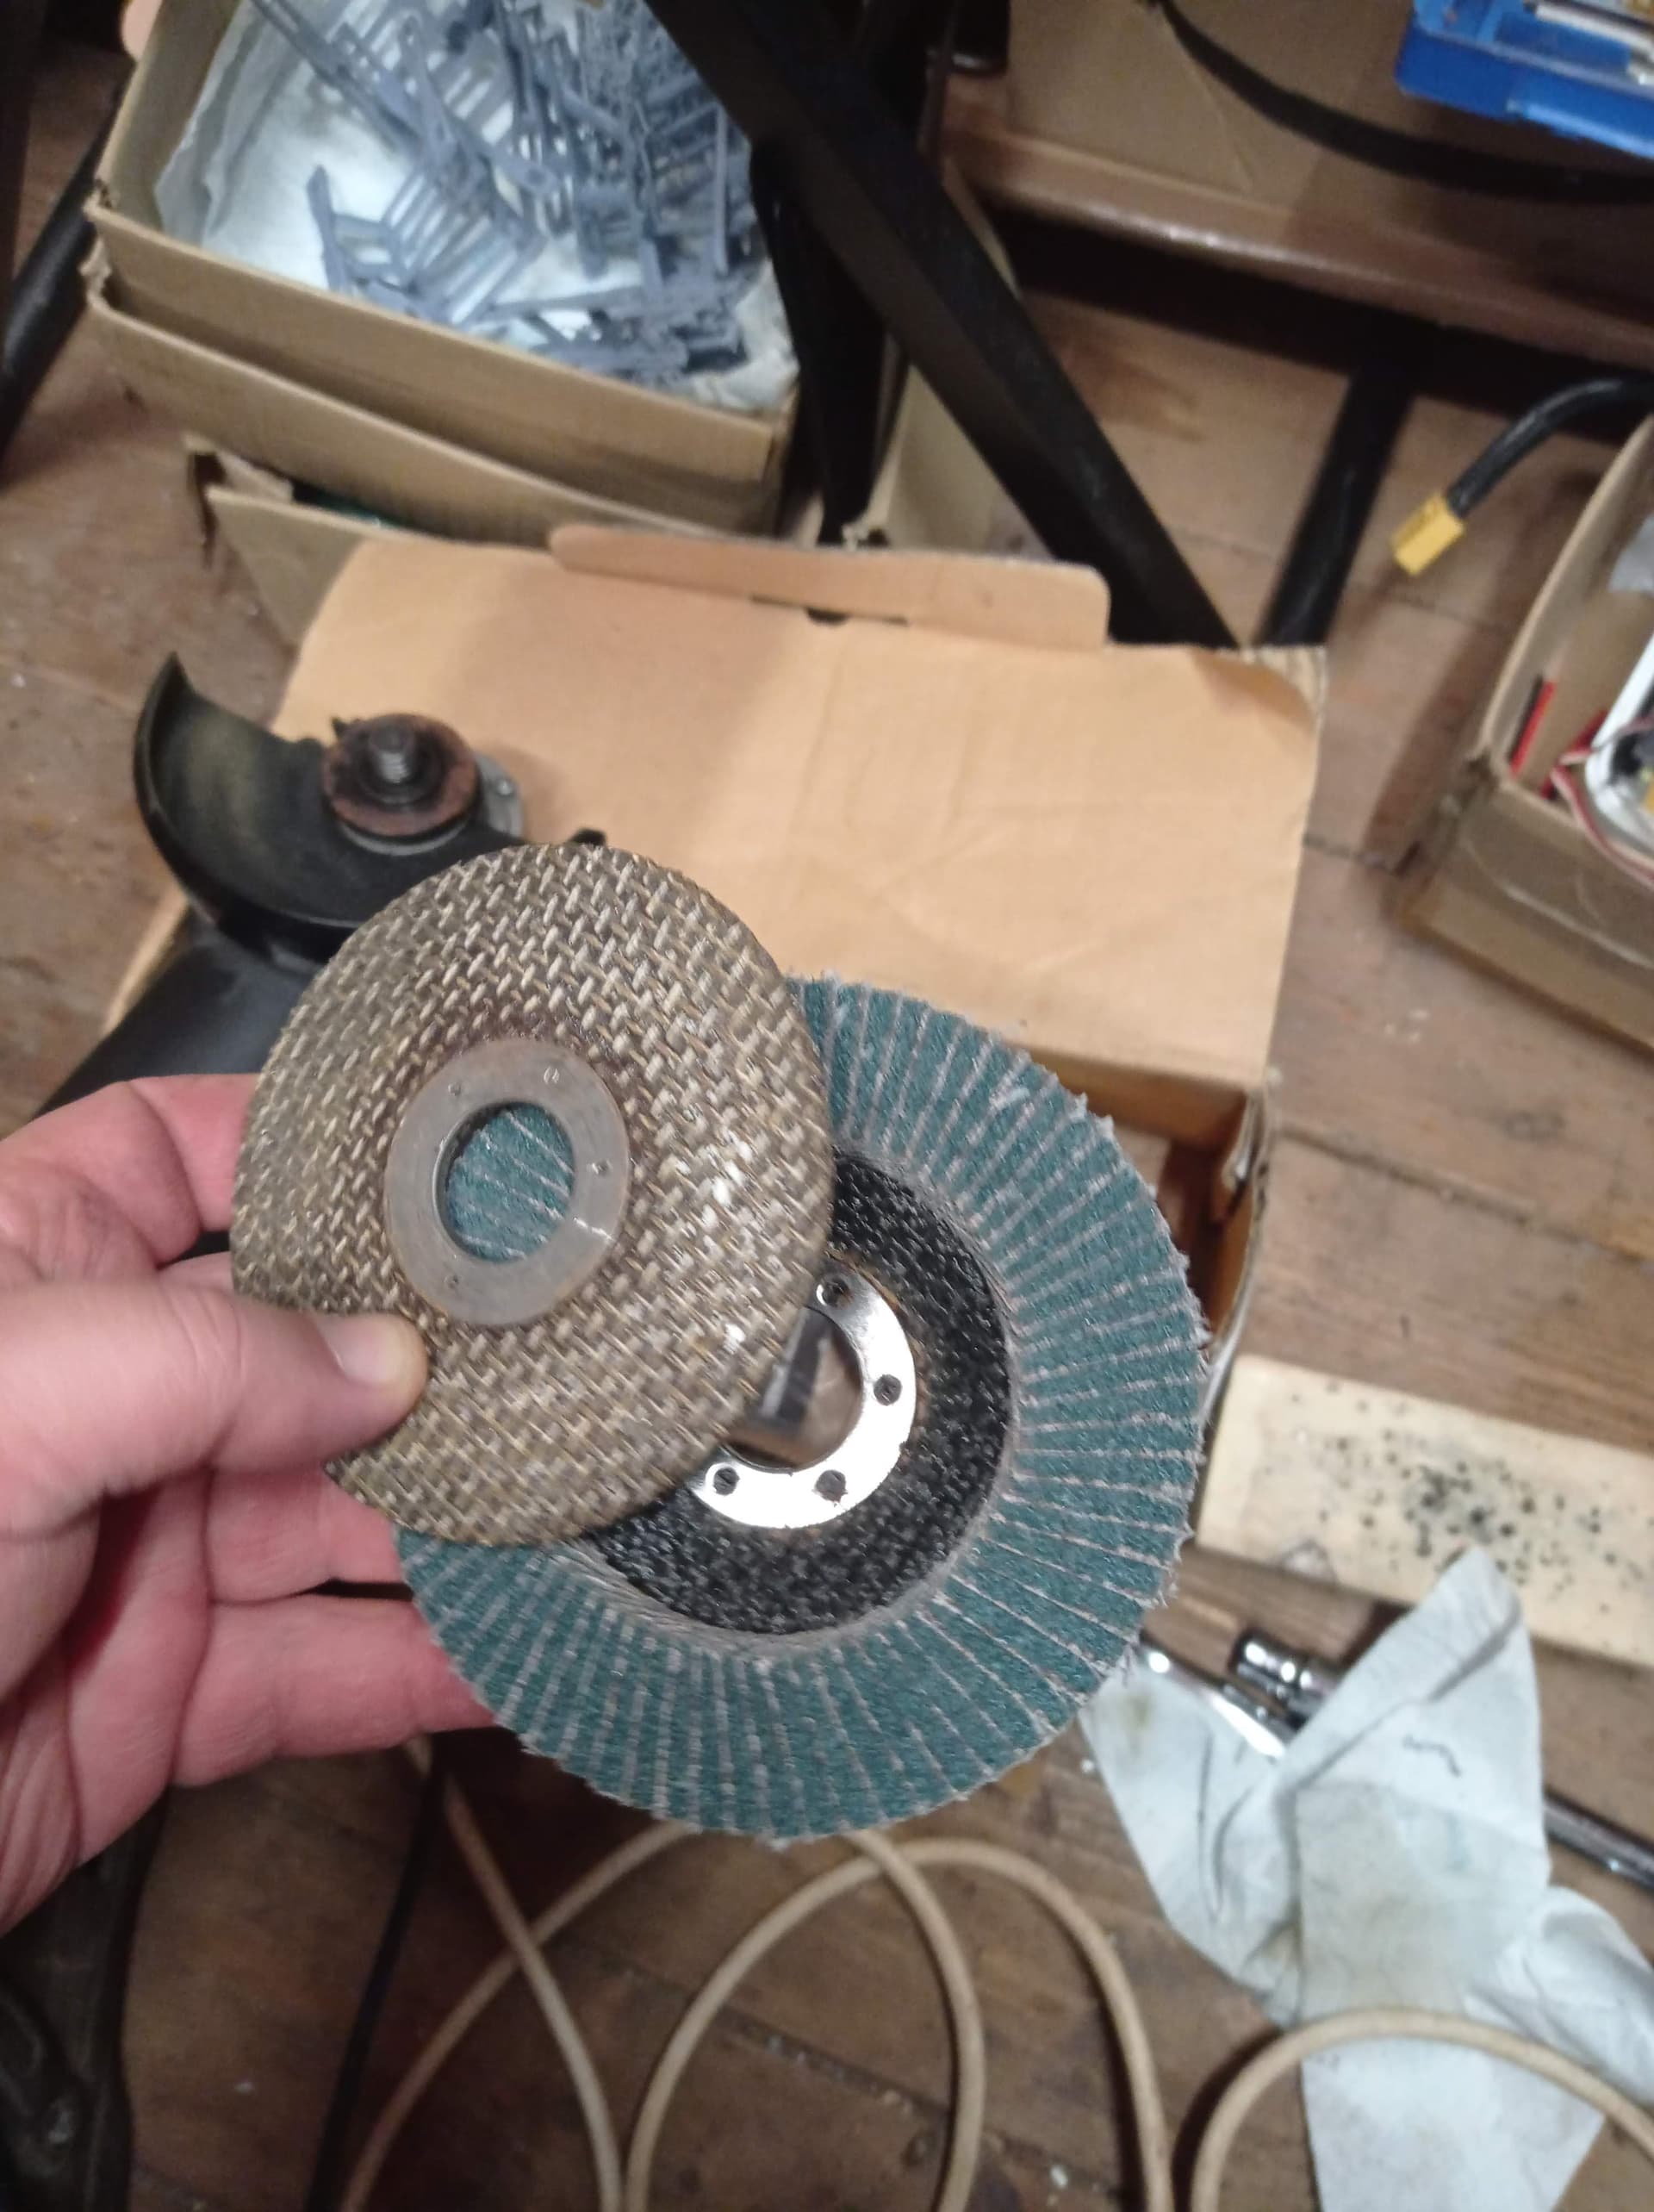
Angle girder with thin cutting disk and a grinding disk (see below)
Utility knife. you will use this to help remove the heated seats plug from the bracket that is attached on the seat.
Some tape or a white marker
A bit of hammerite to paint the bare metal once you cut the rails.
Optional 14mm washers
Thin cutting disk and a grinding disk
Step 1 - Roof & disconnect battery
Retract the roof, its much easier to work this way. Obviously if car has a hard top you need to get this done first before removing the battery. If you have a garage great, if you are like me and you do not once you take the seat out you need to connect the battery to close the roof to secure the car. Once you have the Jass brackets fitted and its time to fit back the seat you need to retract the roof and take the -ve pole on the battery again. A pain - I know - but rather do that than having an airbag explode in my face.
Step 2 - Remove the seats
To take the seats out you use the 14mm socket, that’s easy thing to do.
After you have disconnected the battery take the plug out. It has a black lever on the top, it doesn’t need much force, you just need to use the lever and pull it to the right direction and the plug will disconnect.
Use the utility knife and try to lever between the plastic and the bracket. Use a thin blade try to put if in between to lift the small inserts and wiggle the plug out. I manged to take it out without braking it so you can do it as well.
Once the seat comes out make sure the rails are not protruding, to avoid scratching anything.
Step 3 - Remove the rails from the seat
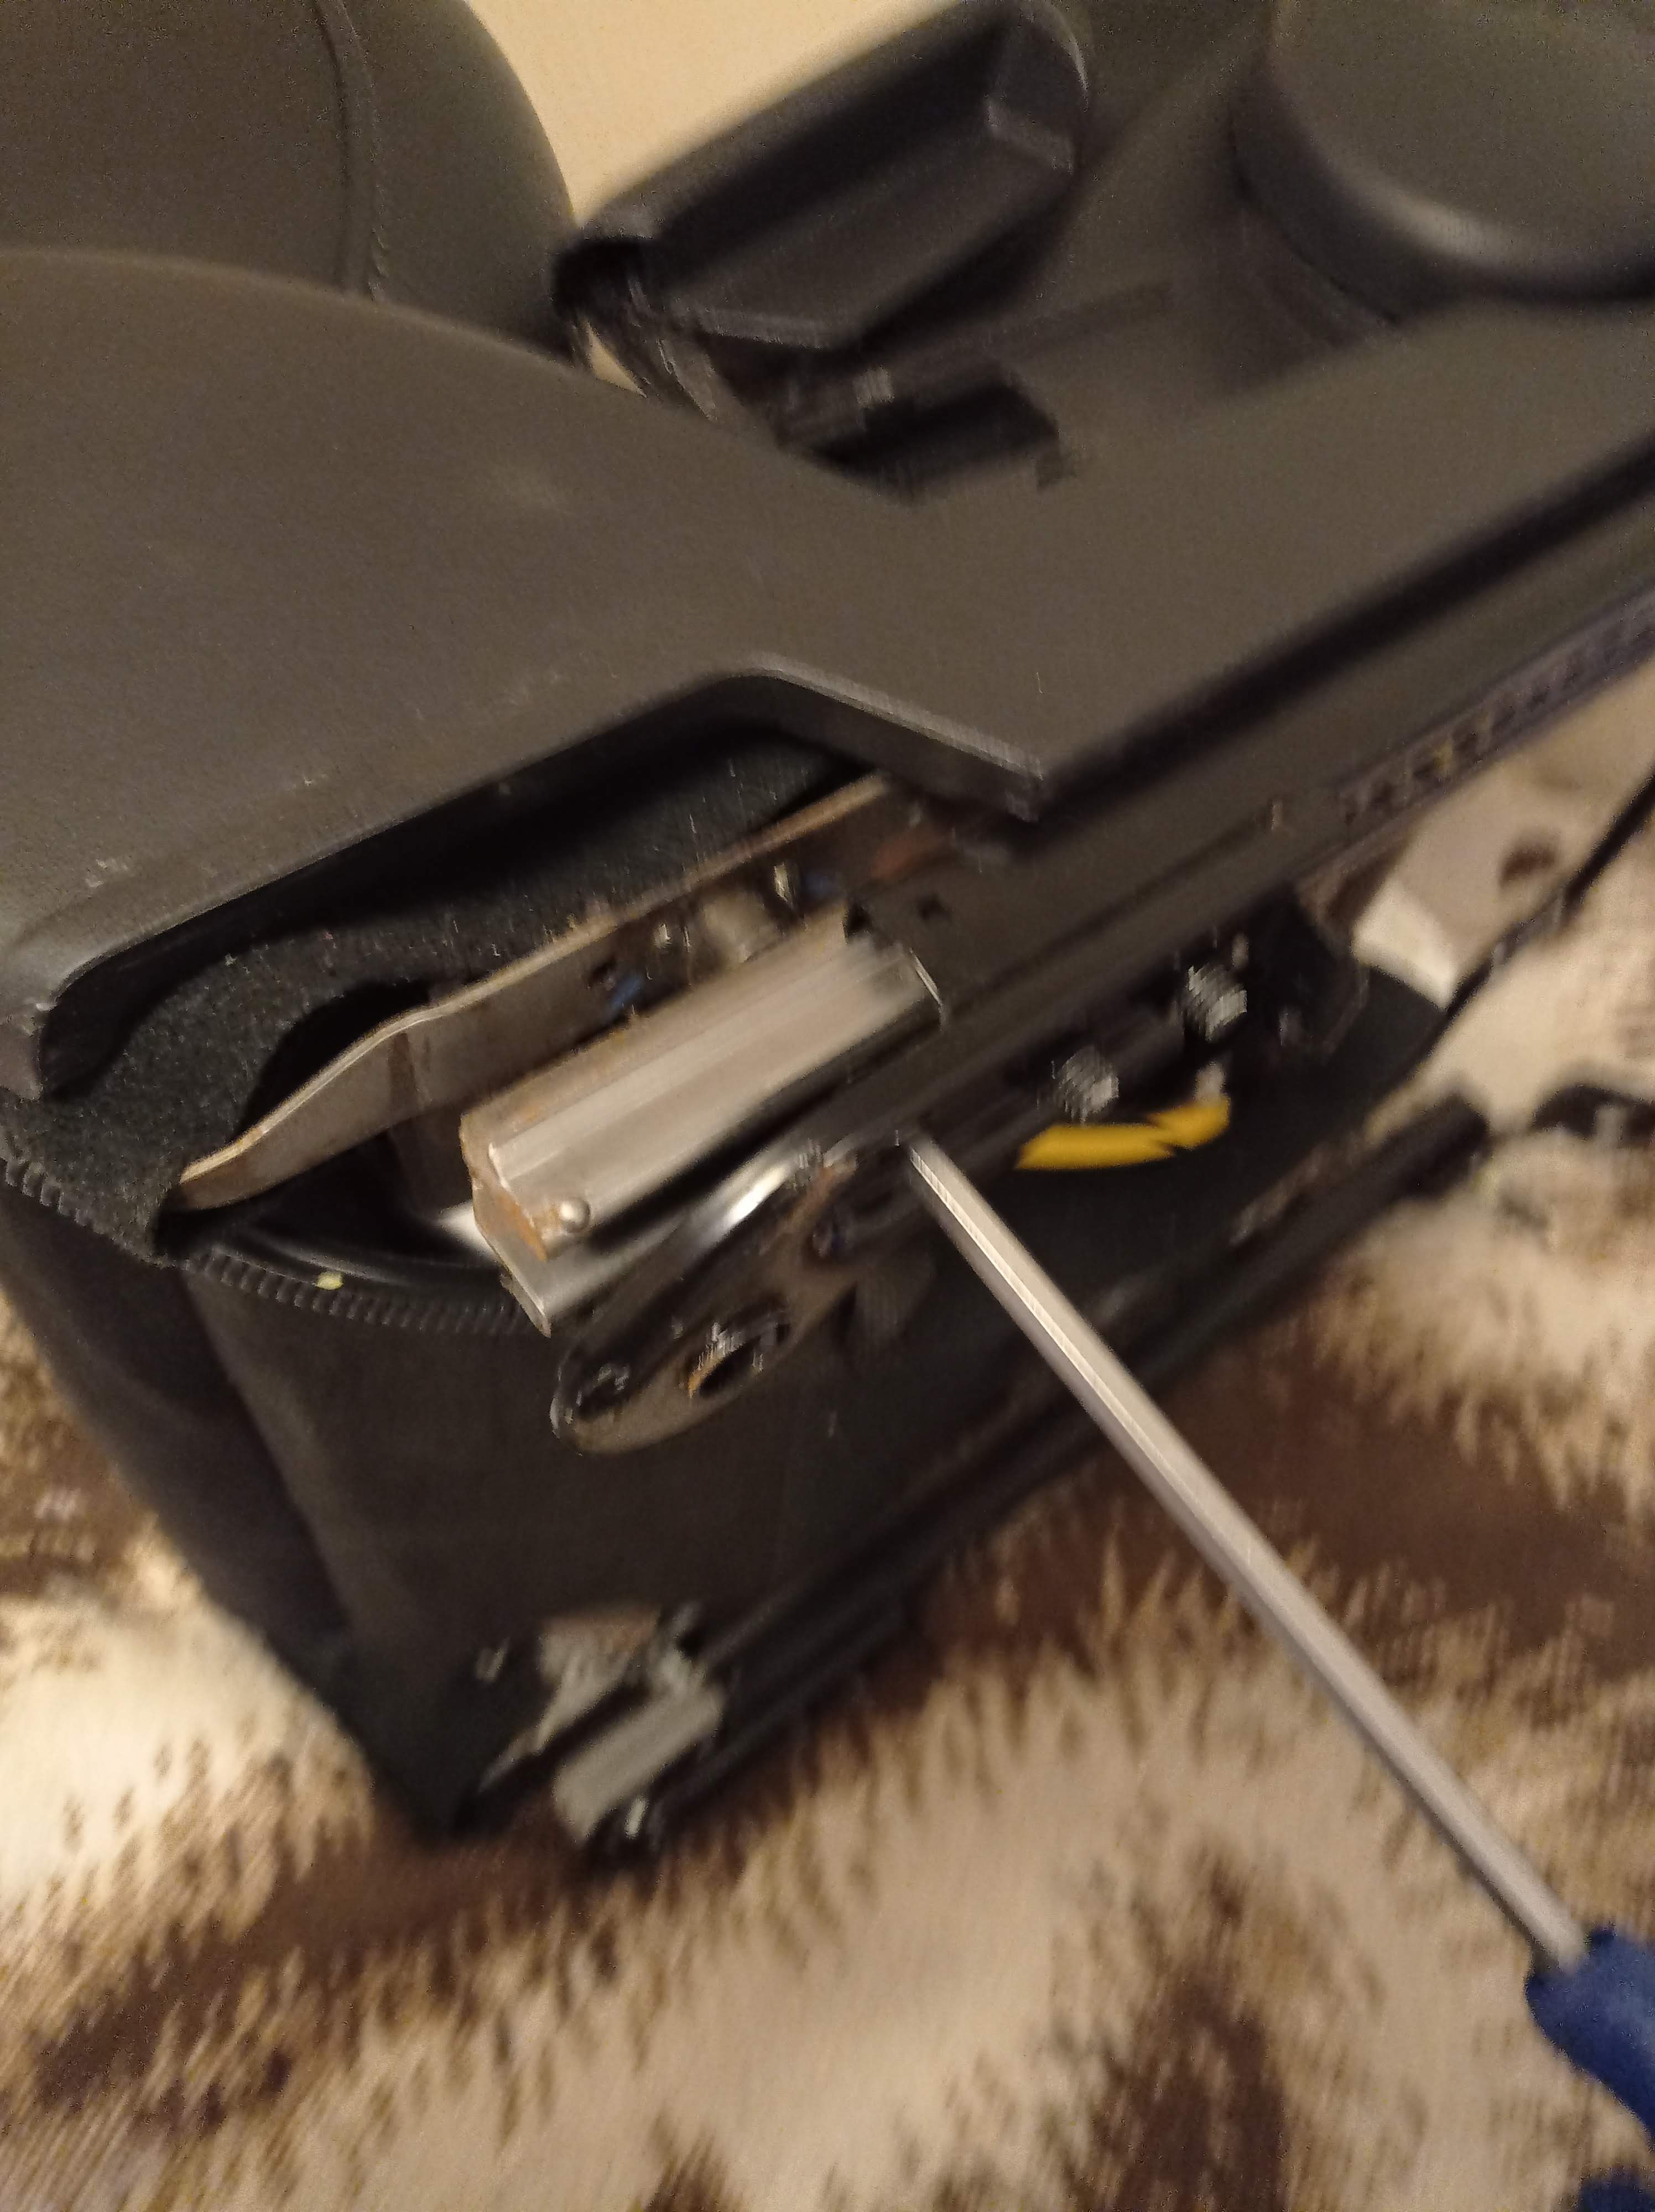
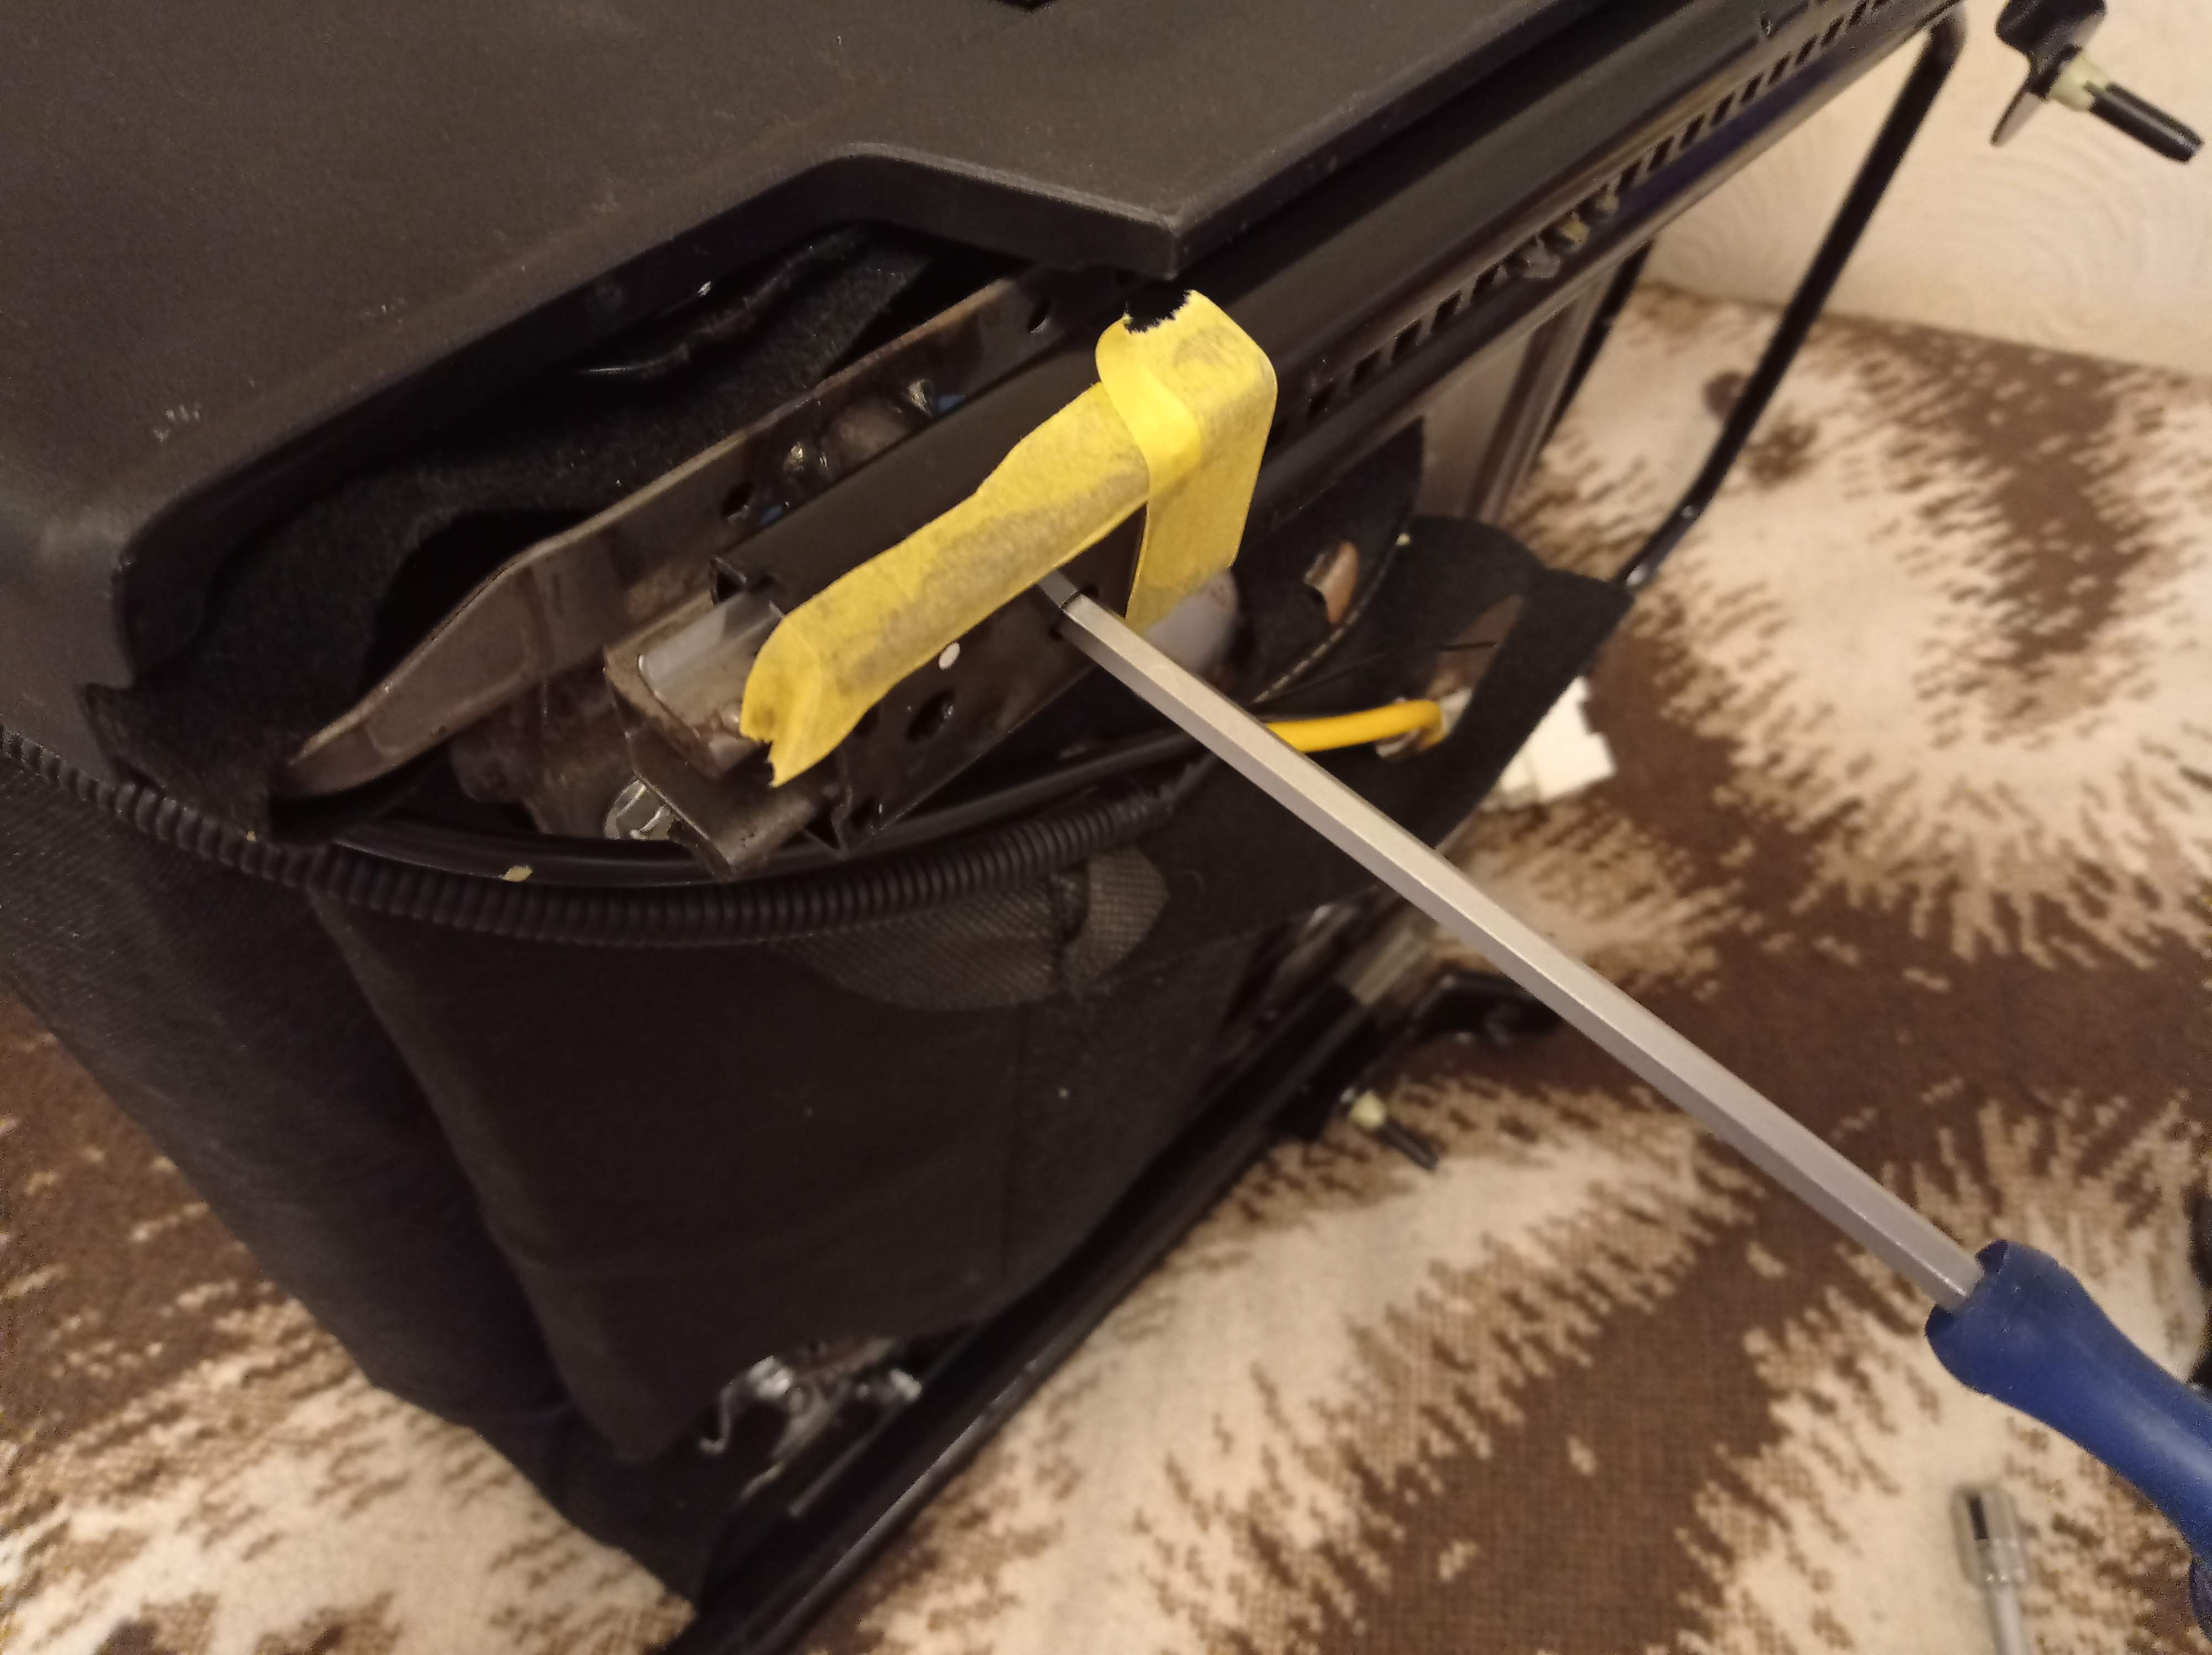
Now in order to take the rails out you need to remove the four hex bolts. The instructions were not clear about this. (There are also four 14mm screws under the seat, leave those alone. All you need to remove are the four hex screws)
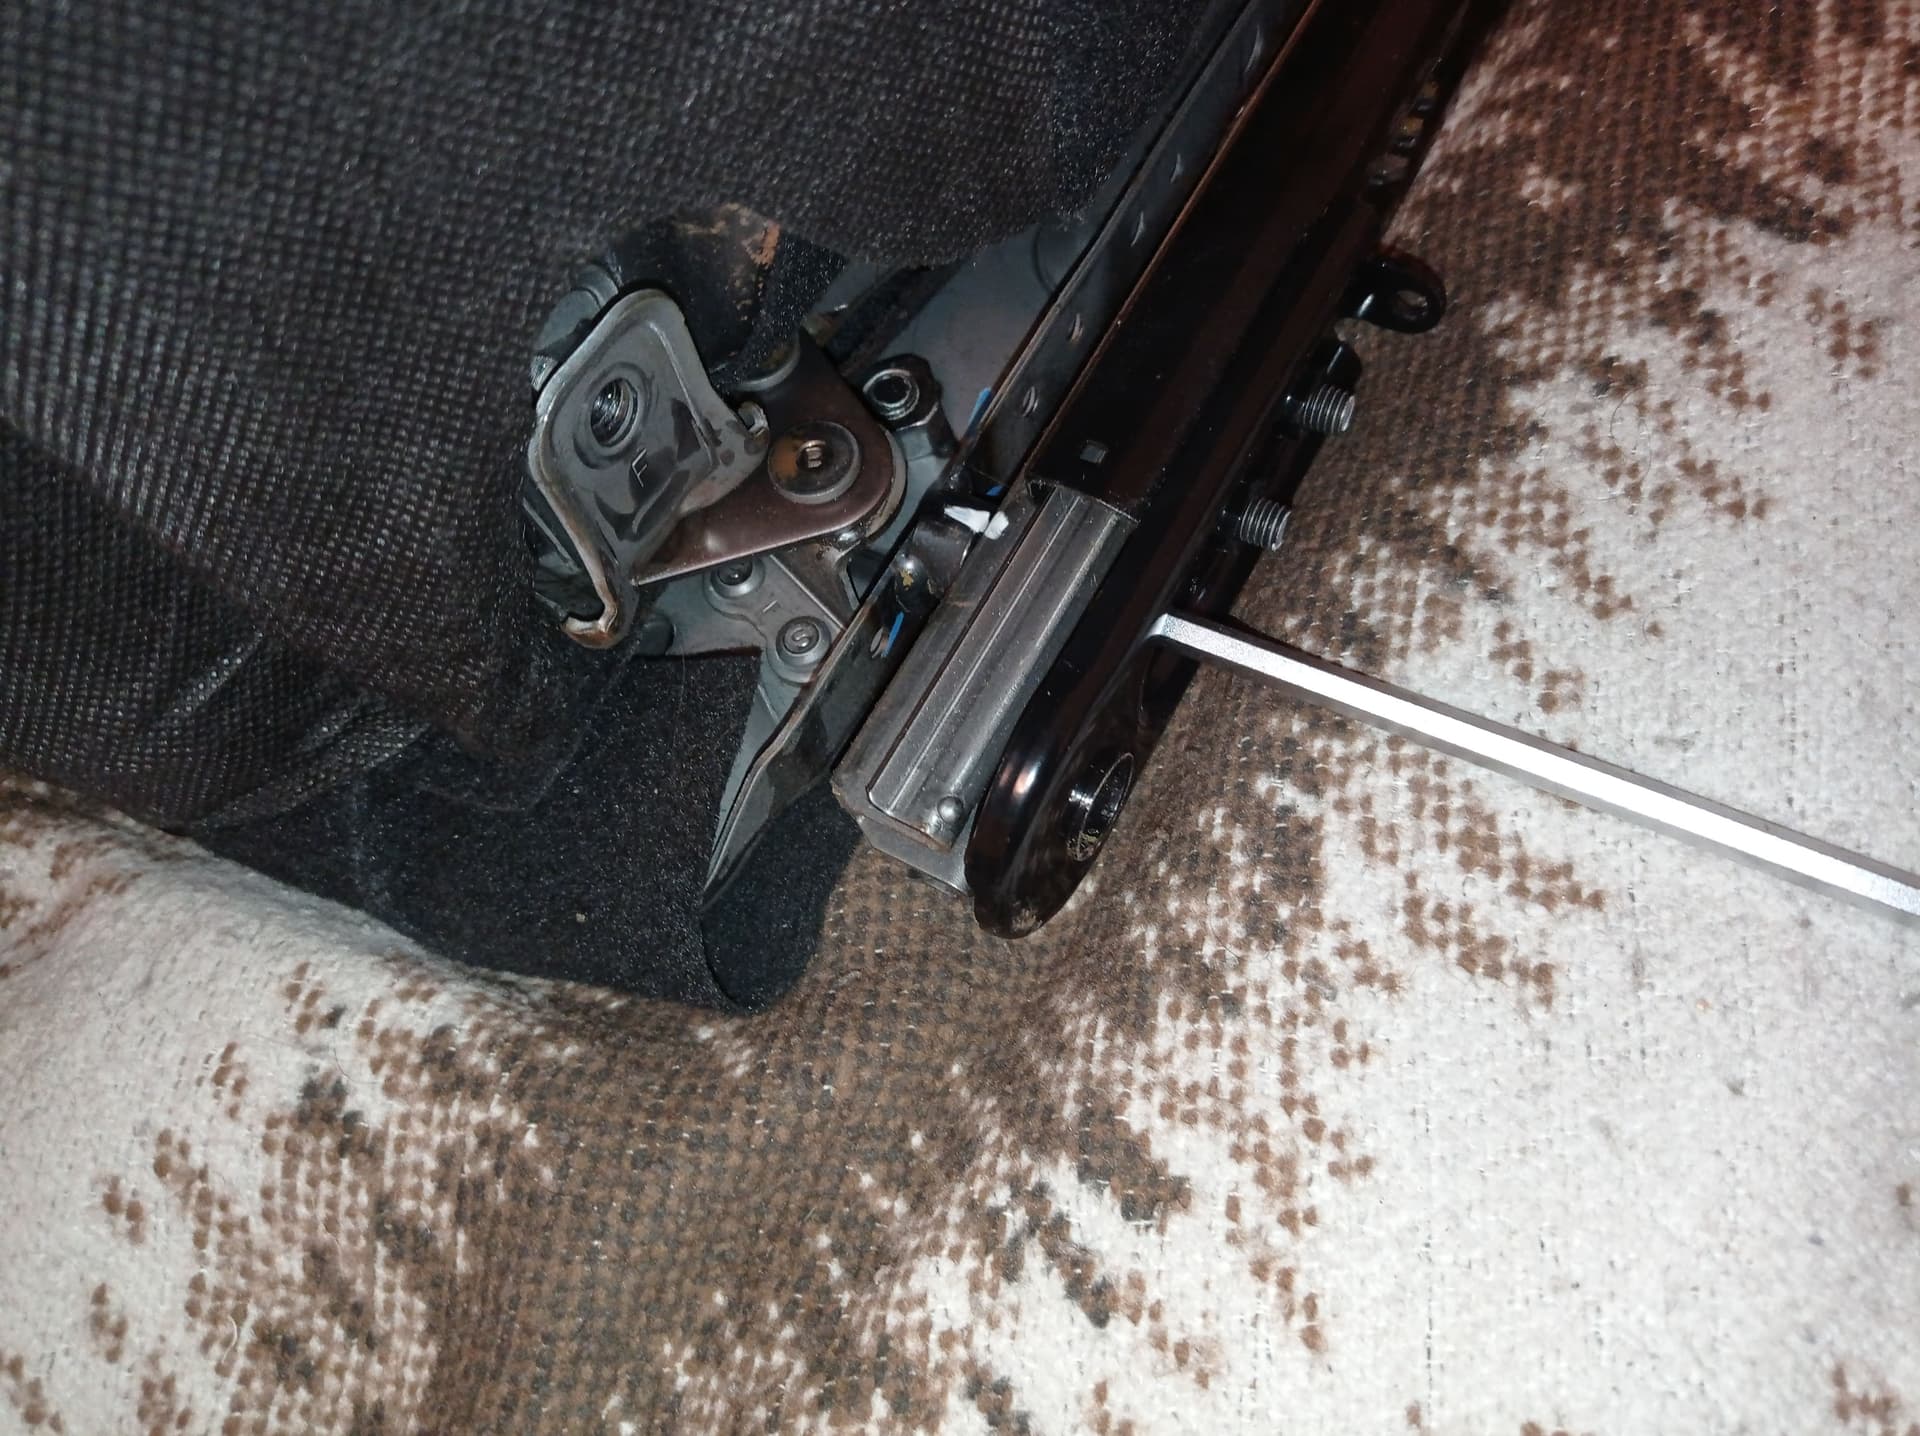
The two front screws are visible, the rear ones are not. To access the rear screws you need to move the rail at the correct location so that you can out the allen key though a hole on the rail. See picture below.
Top screw
Bottom Screw
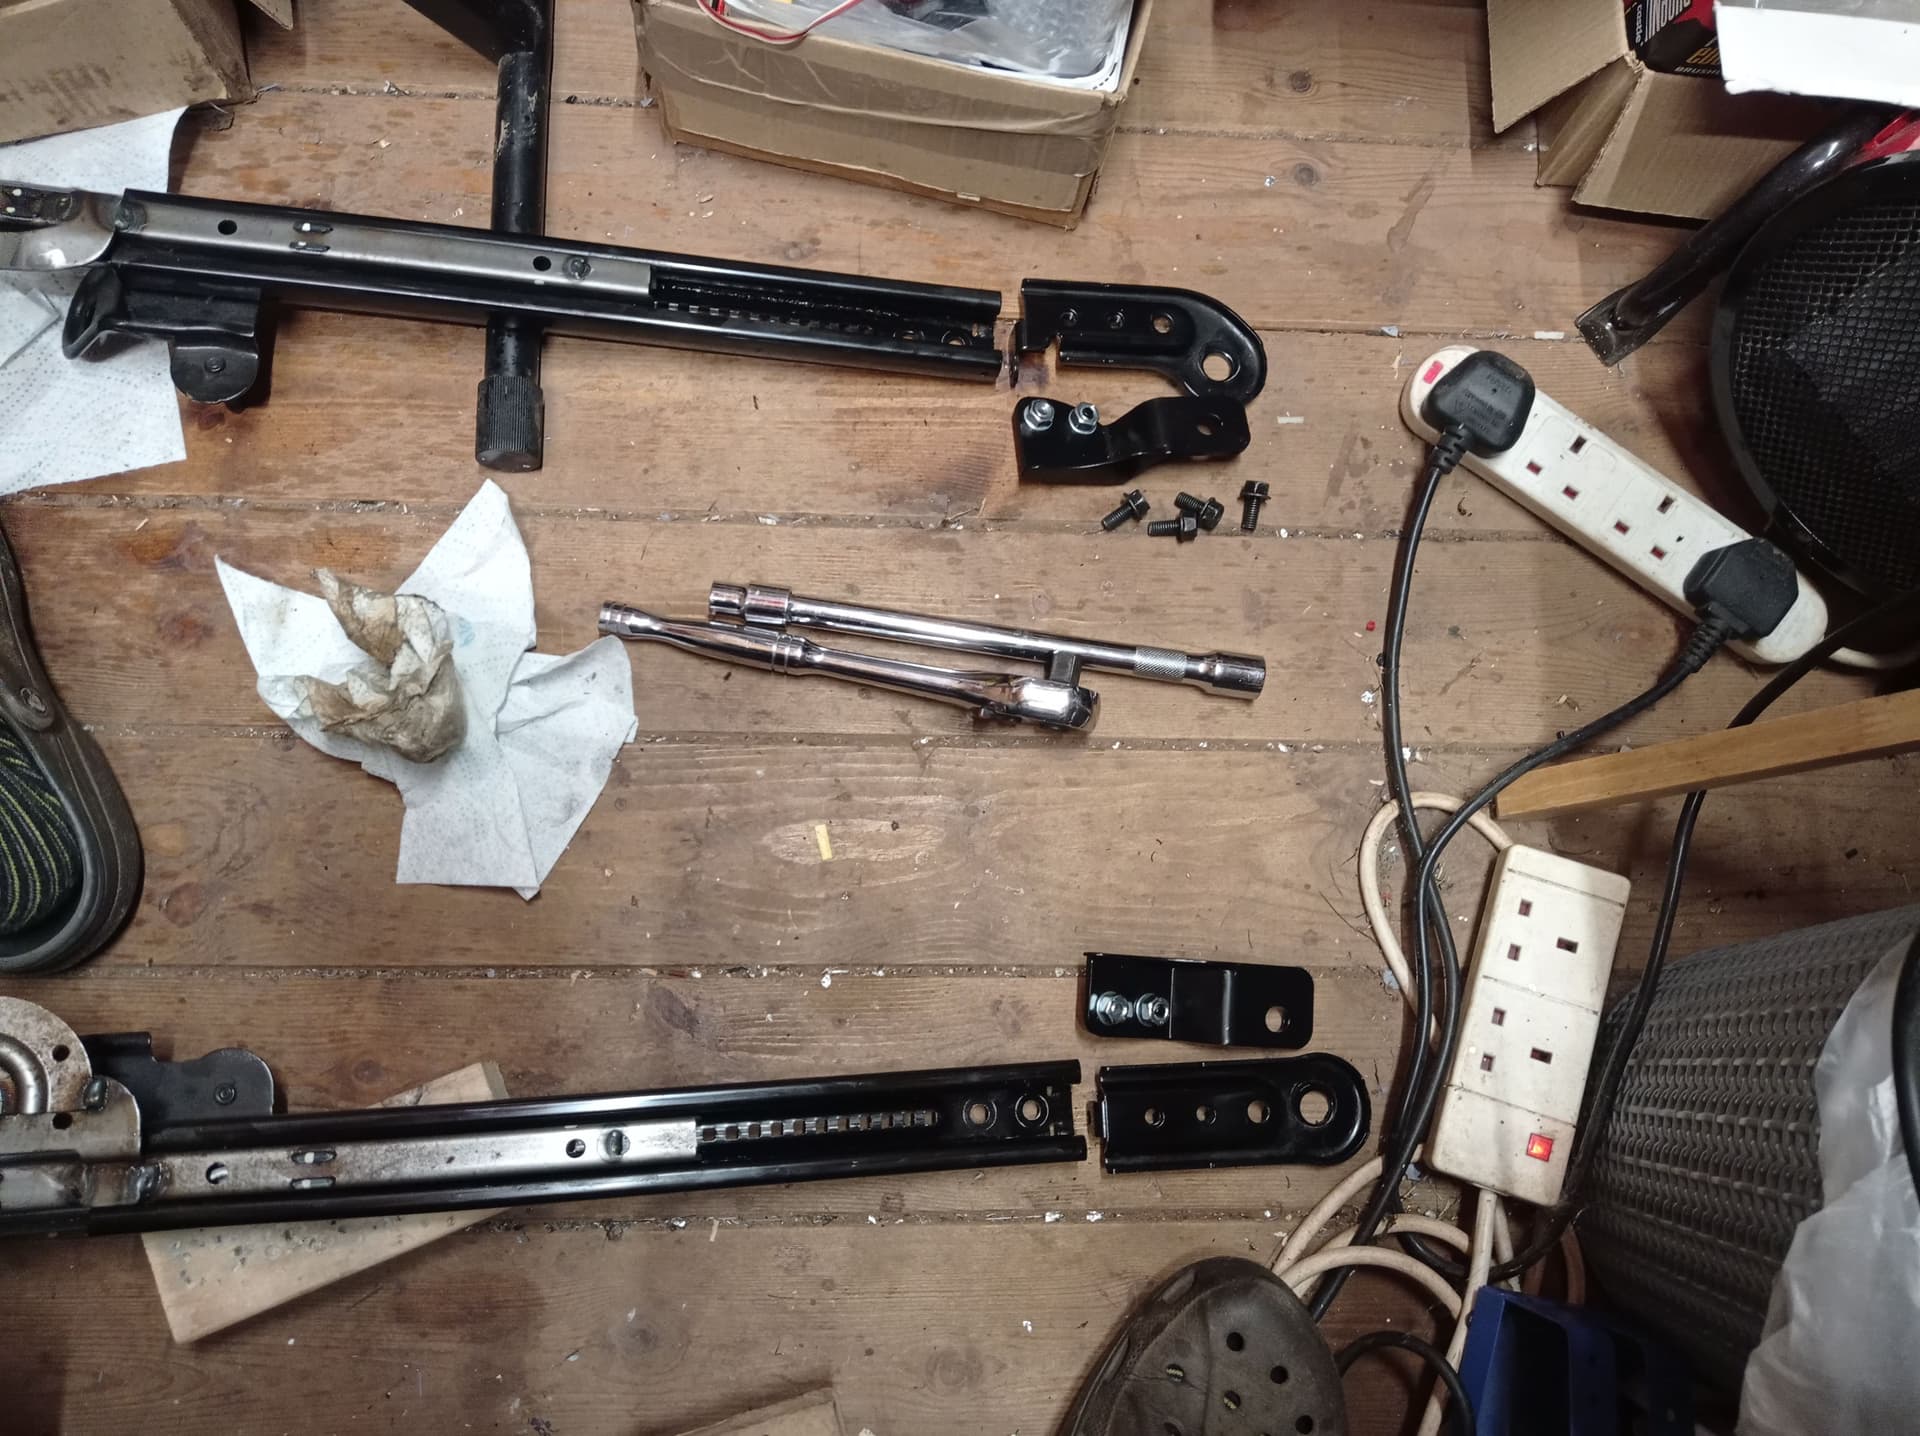
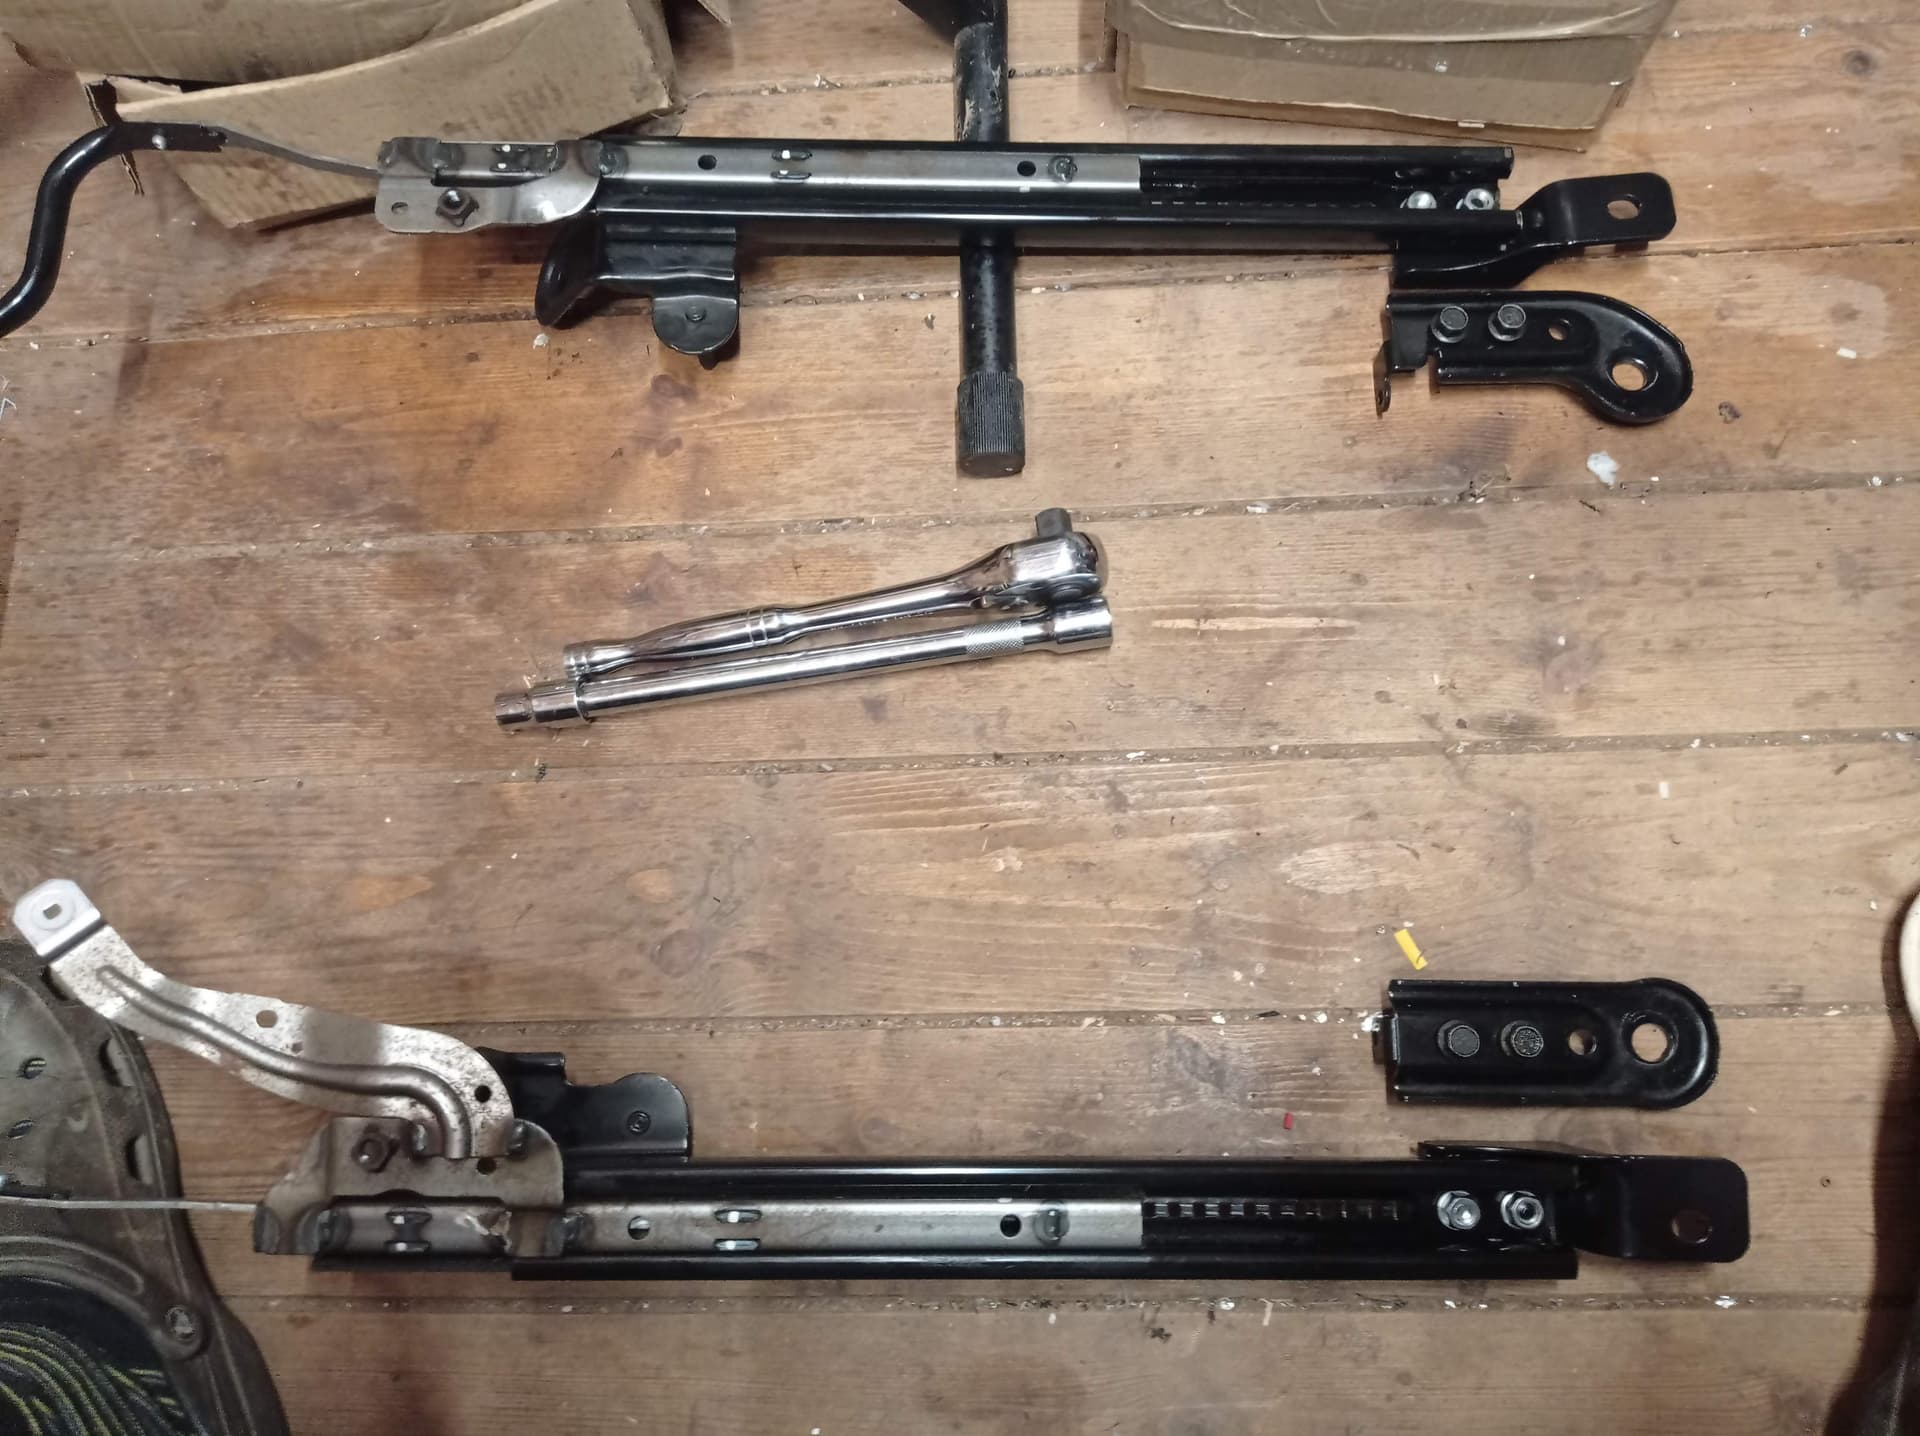
Step 4 - Remove the OEM Brackets
With the rails removed Its fairly easy to unscrew the rear brackets. This is how the OEM vs the Jass ones look like.
Step 5 - Trim the rails
With the brackets removed you now need to follow the Jass guide to trim the rails a bit. The provided instructions are fine. Try find a way to support the other rail while you have the one you are working on the vice. If you are Billy no mates you can use clamps and get creative or ask your better half to hold the other rail while you produce fireworks. A third option is to remove the rivet that holds the slider bracket (provided you have replacement rivets to put it back together)
Anyway… now using the angle grinder all you need to do is to cut the end of the rails. I found that using the cutting disk I got close to where I needed to be and with the grinding disk I could fine tune and grind exactly where I wanted so the bracket will fit. Trial and error is boss and the instructions say cut until 1mm from some protrusions on the rails. It may not make too much sense reading this if you don’t have the kit and instructions but once you do it will make sense. I came close (maybe 1.5mm) from those holes and the brackets fit fine.
Step 6 - Fit the Jass Brackets onto the rails
This is how it should look. Don’t screw the brackets firmly yet; fit them on the car (without the seat) and after you screw them on and align the rails as best you can, then tighten the Jass brackets onto the rails. You can only tighten one screw properly anyway because you need an allen key for the second screw.
Step 7 - Test fit the rails with the Jass Brackets onto the car
Now while test fitting the rails with the Jass brackets onto my car I saw that there was a gap between the Jass brackets and the car mounting points. I could mess with cutting the trim, sound insulation and try to get them lower but I opted using two 14mm washers on each side.

Step 8 - Mark the Jass Brackets fitted position
Once you have them aligned and positioned onto the rails as shown below. Use either tape or white marker to mark this position.
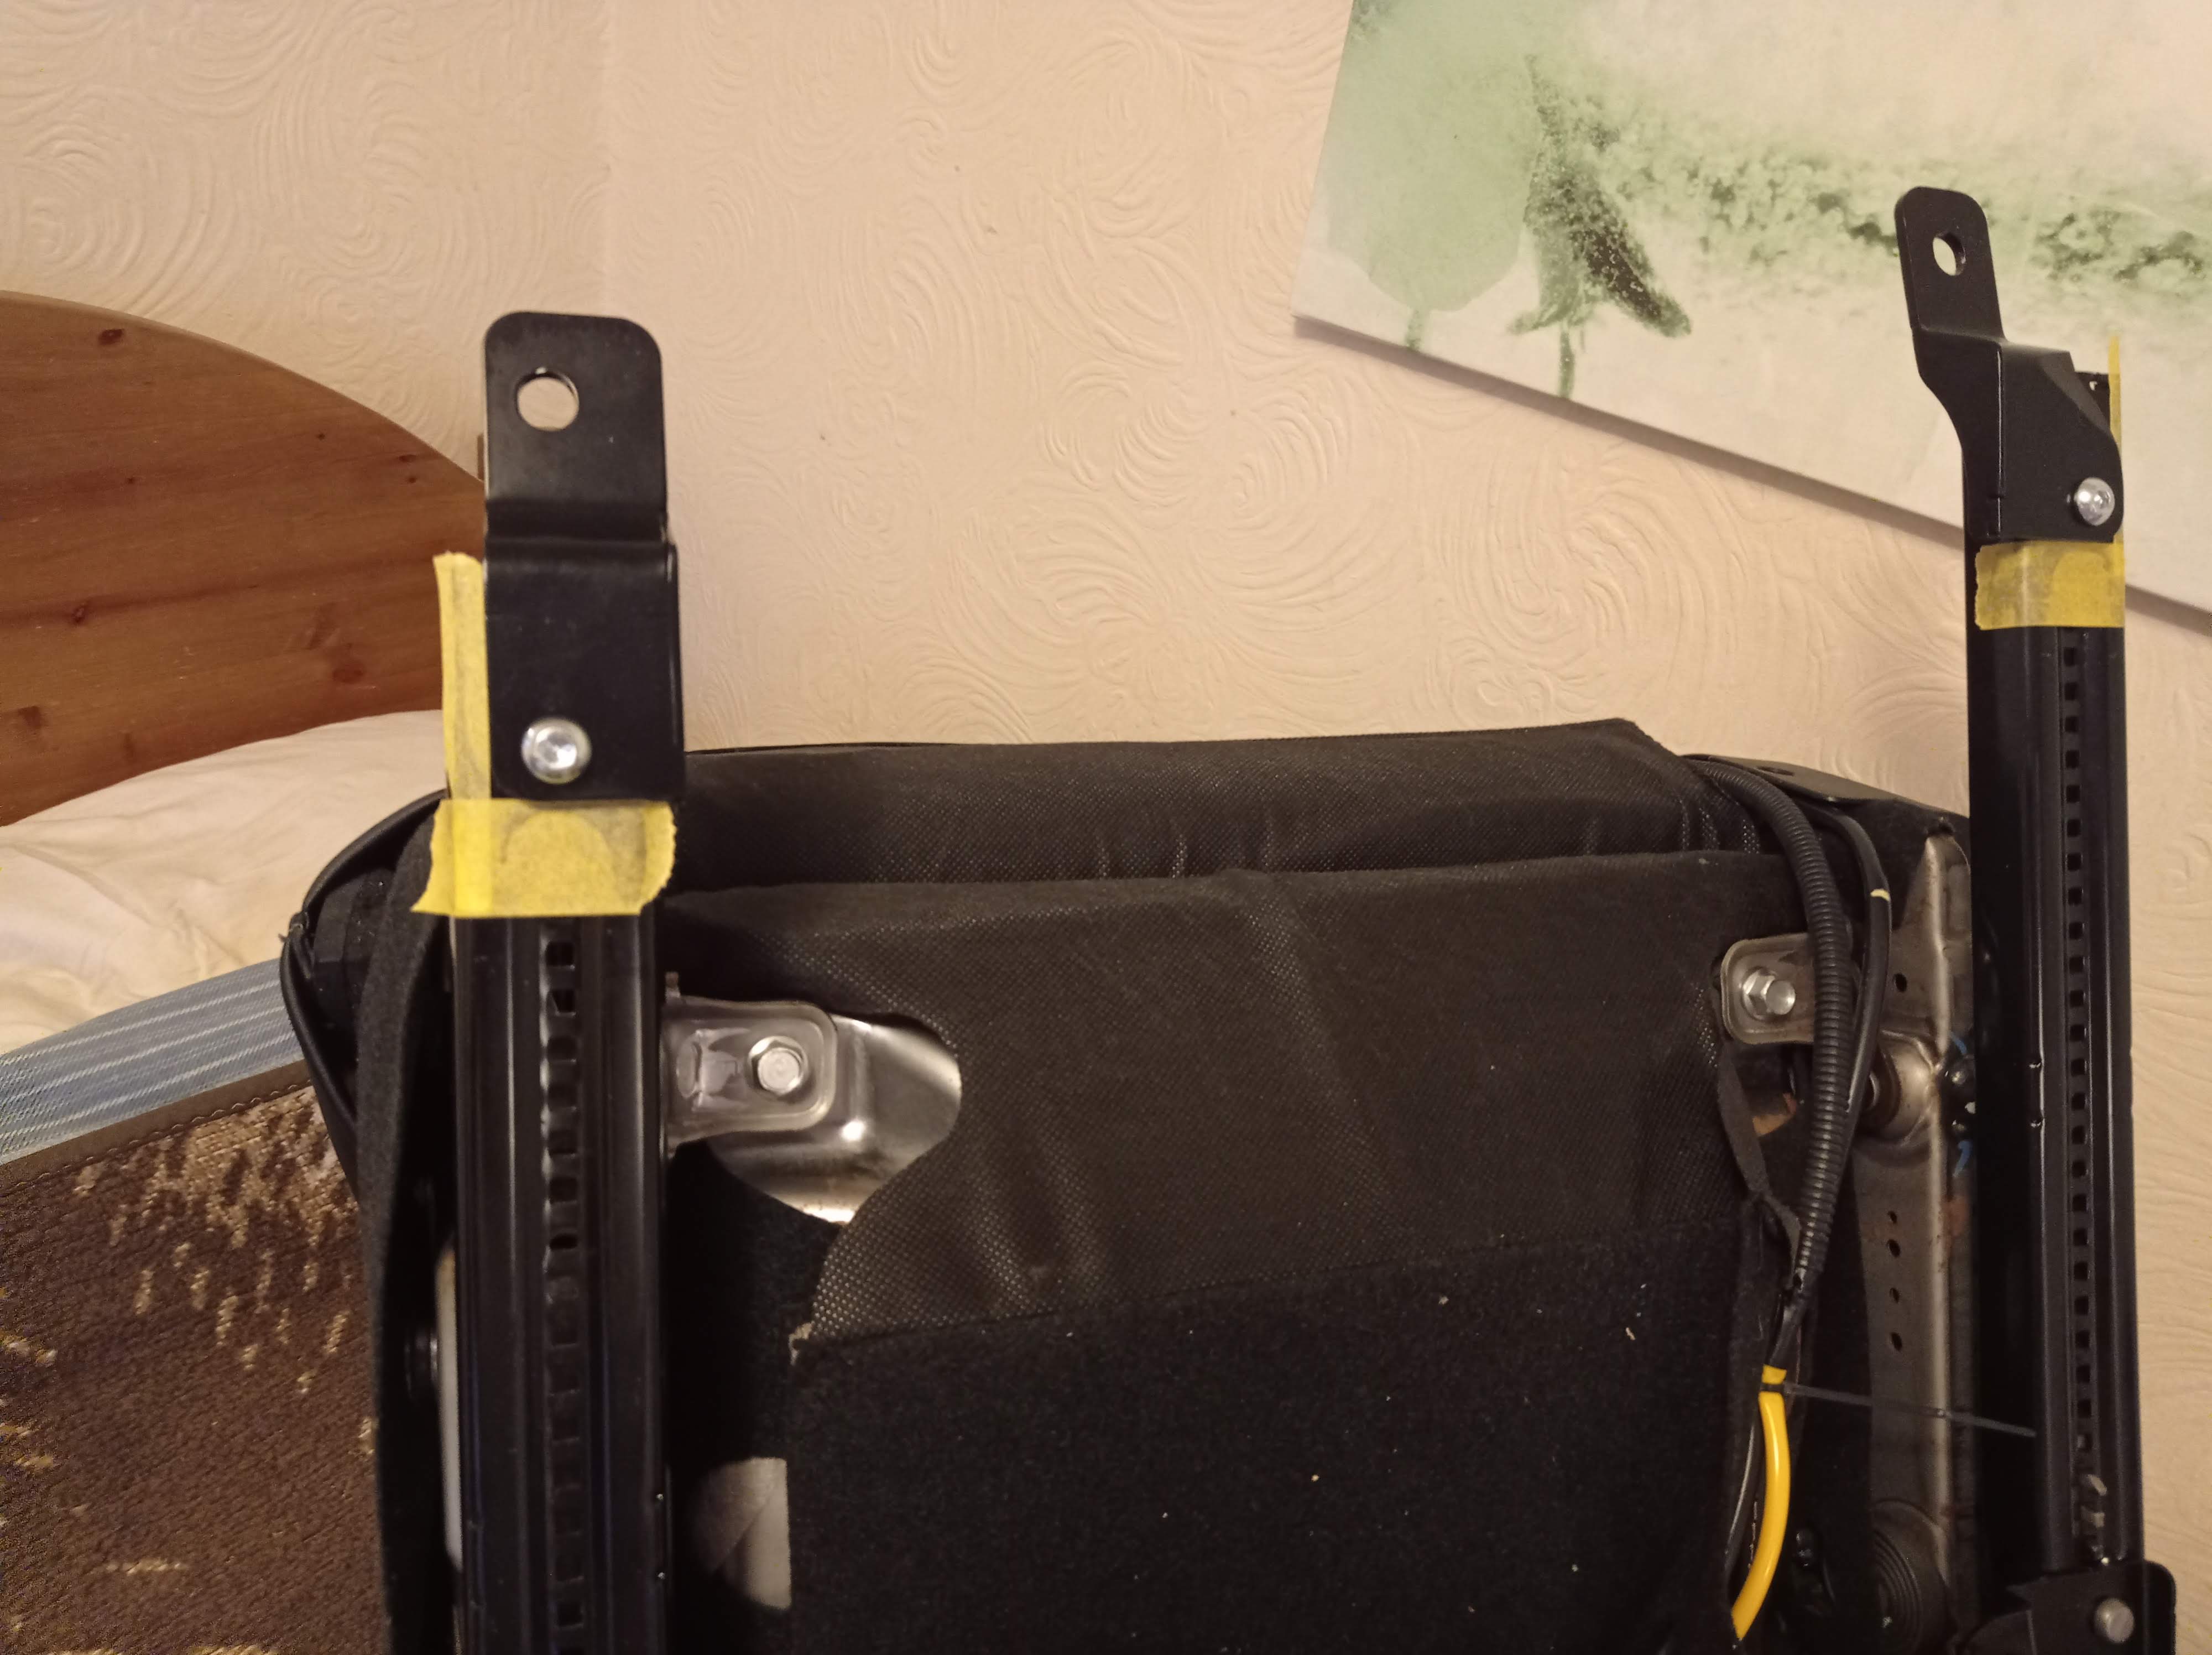
Step 9 - Fitting the rails back onto the seat
The reason for marking their position is simply because you actually need to remove the Jass Brackets in order to fit the rails on the seat. If you have the Jass Brackets on the rails you wont have access to the hex bolts.
Once you have reached this stage you should now be fairly familiar to what you need to do to fit the Jass brackets back on the rails to their marked position. Make sure you don’t mix which bracket goes where.
Notes:
At the time of writing this guide the following threads were available but they were for the Jass Performance NC Seat Lowering kit ( NOT Height Adjustable seats)
 it’s a good solution.