I used the recommended ebay Ford Focus adapters between the JVCs and existing connectors.
Saved a lot of hassle.
Any photos showing the car with the 25mm spacers on ??
They will be taken today, I decided the lighting at midnight wouldn’t be very helpful 
1 Like
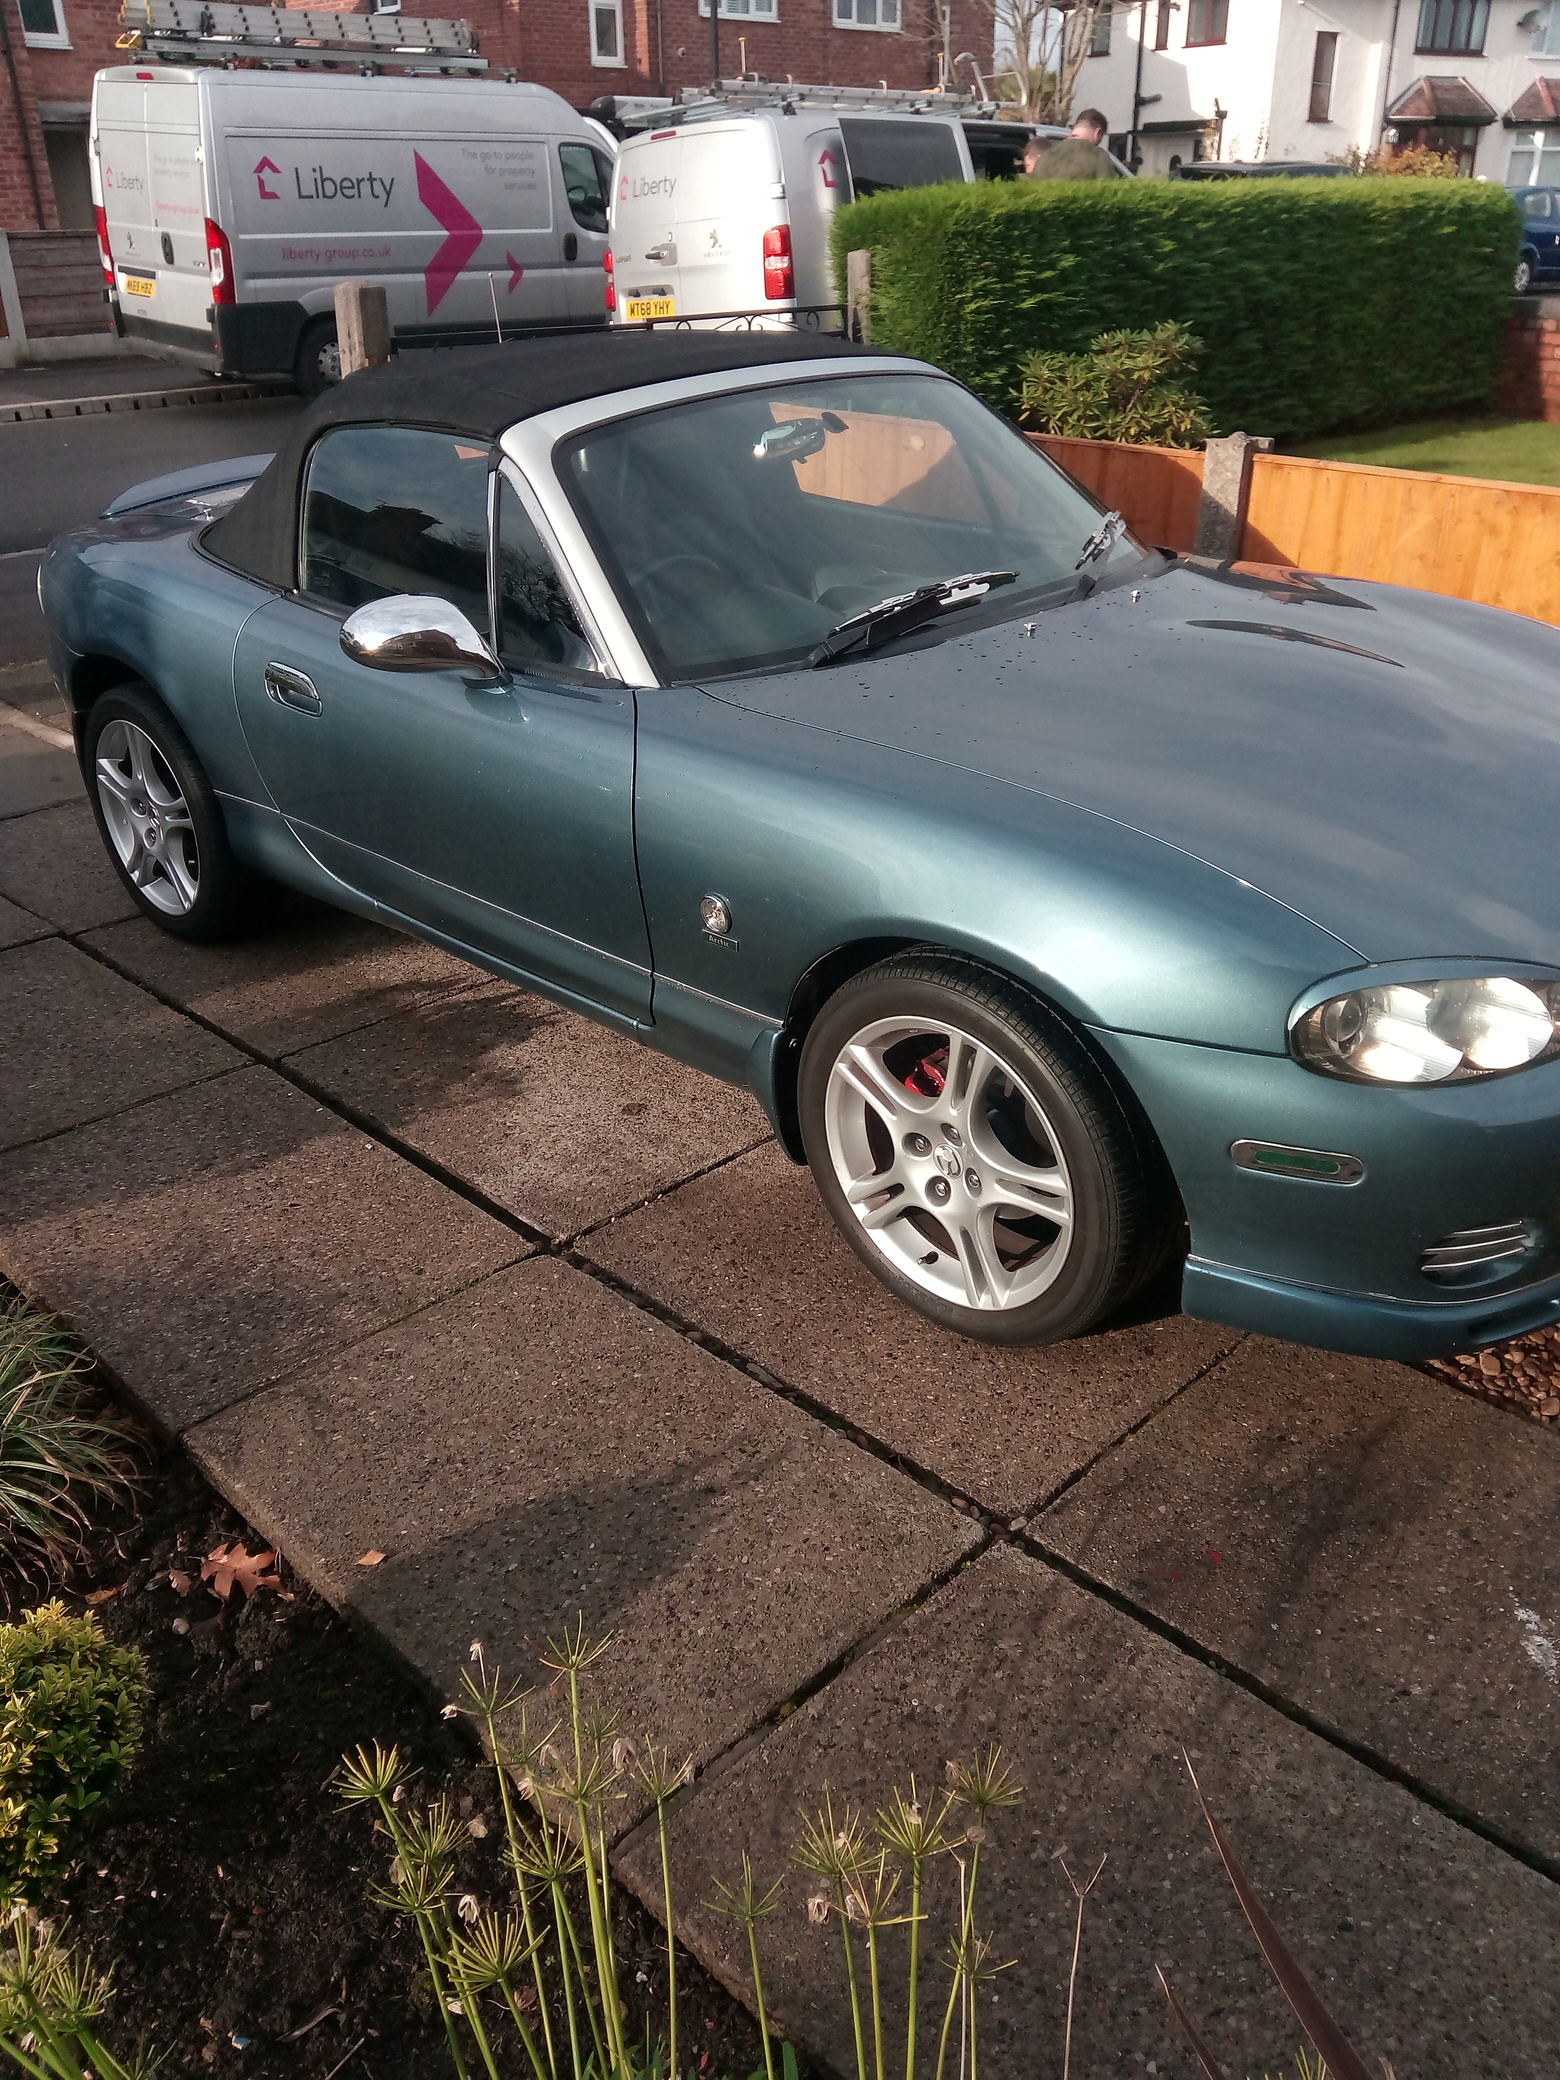
Mk3.5, what was the issue with sill? Was it corrosion 
Barrie
As promised:
Original


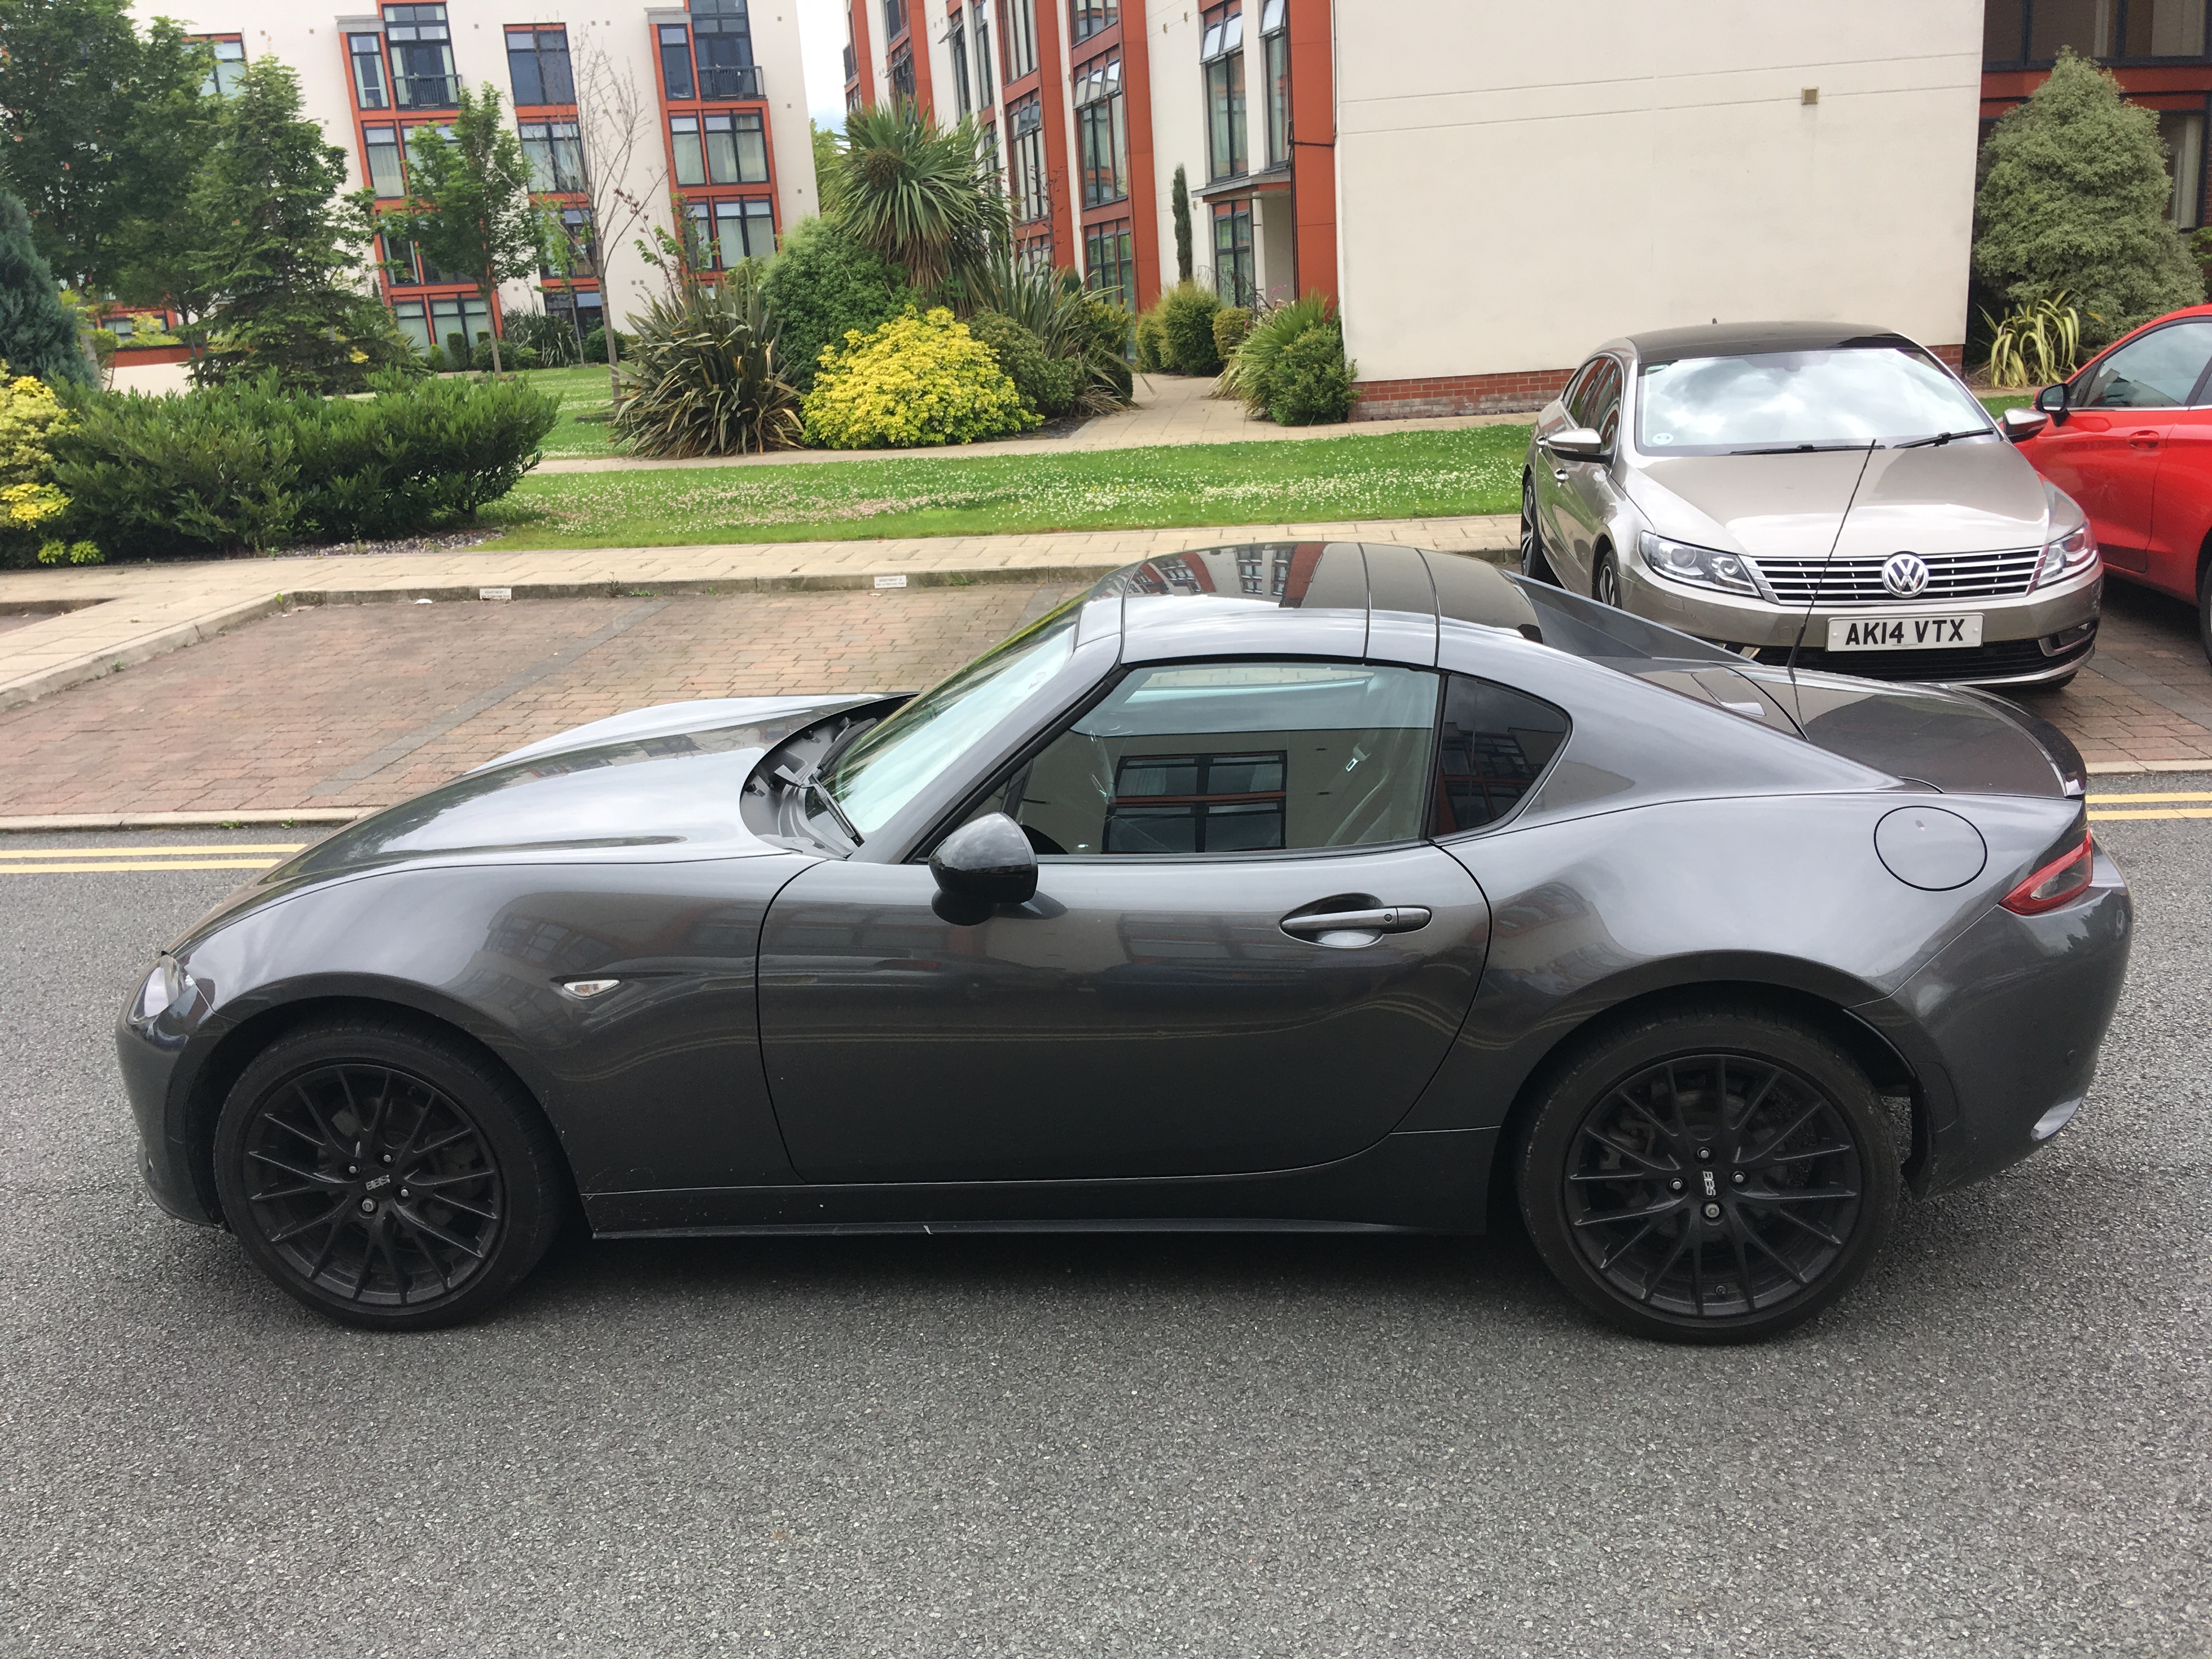
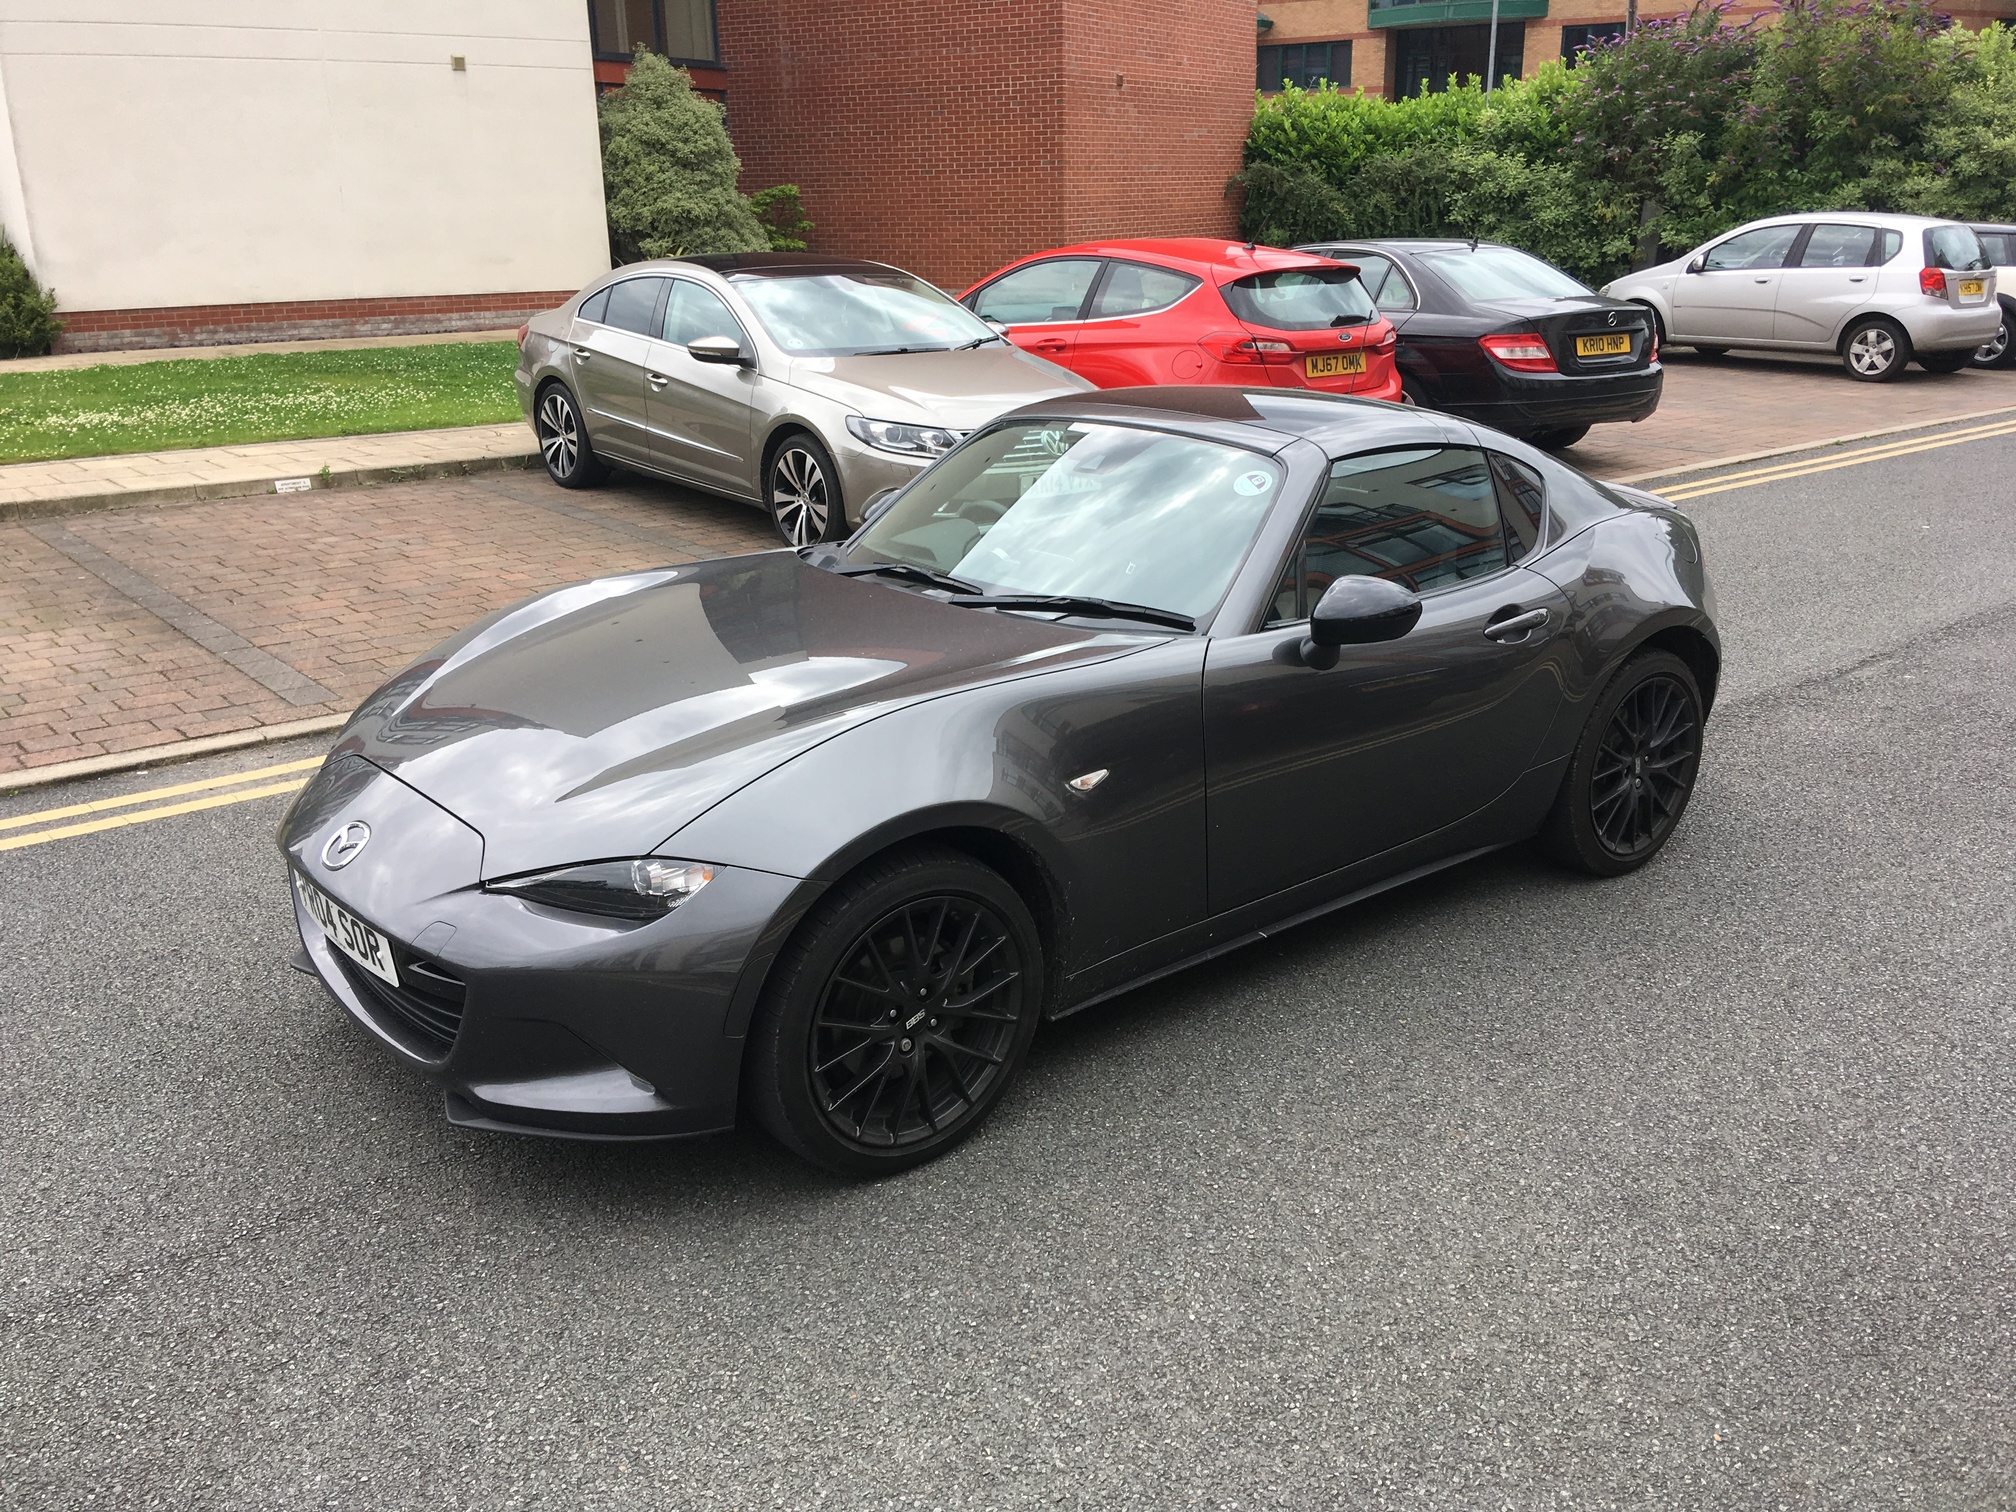
Eibach Lowering Springs with 25mm IL Motorsport Spacers


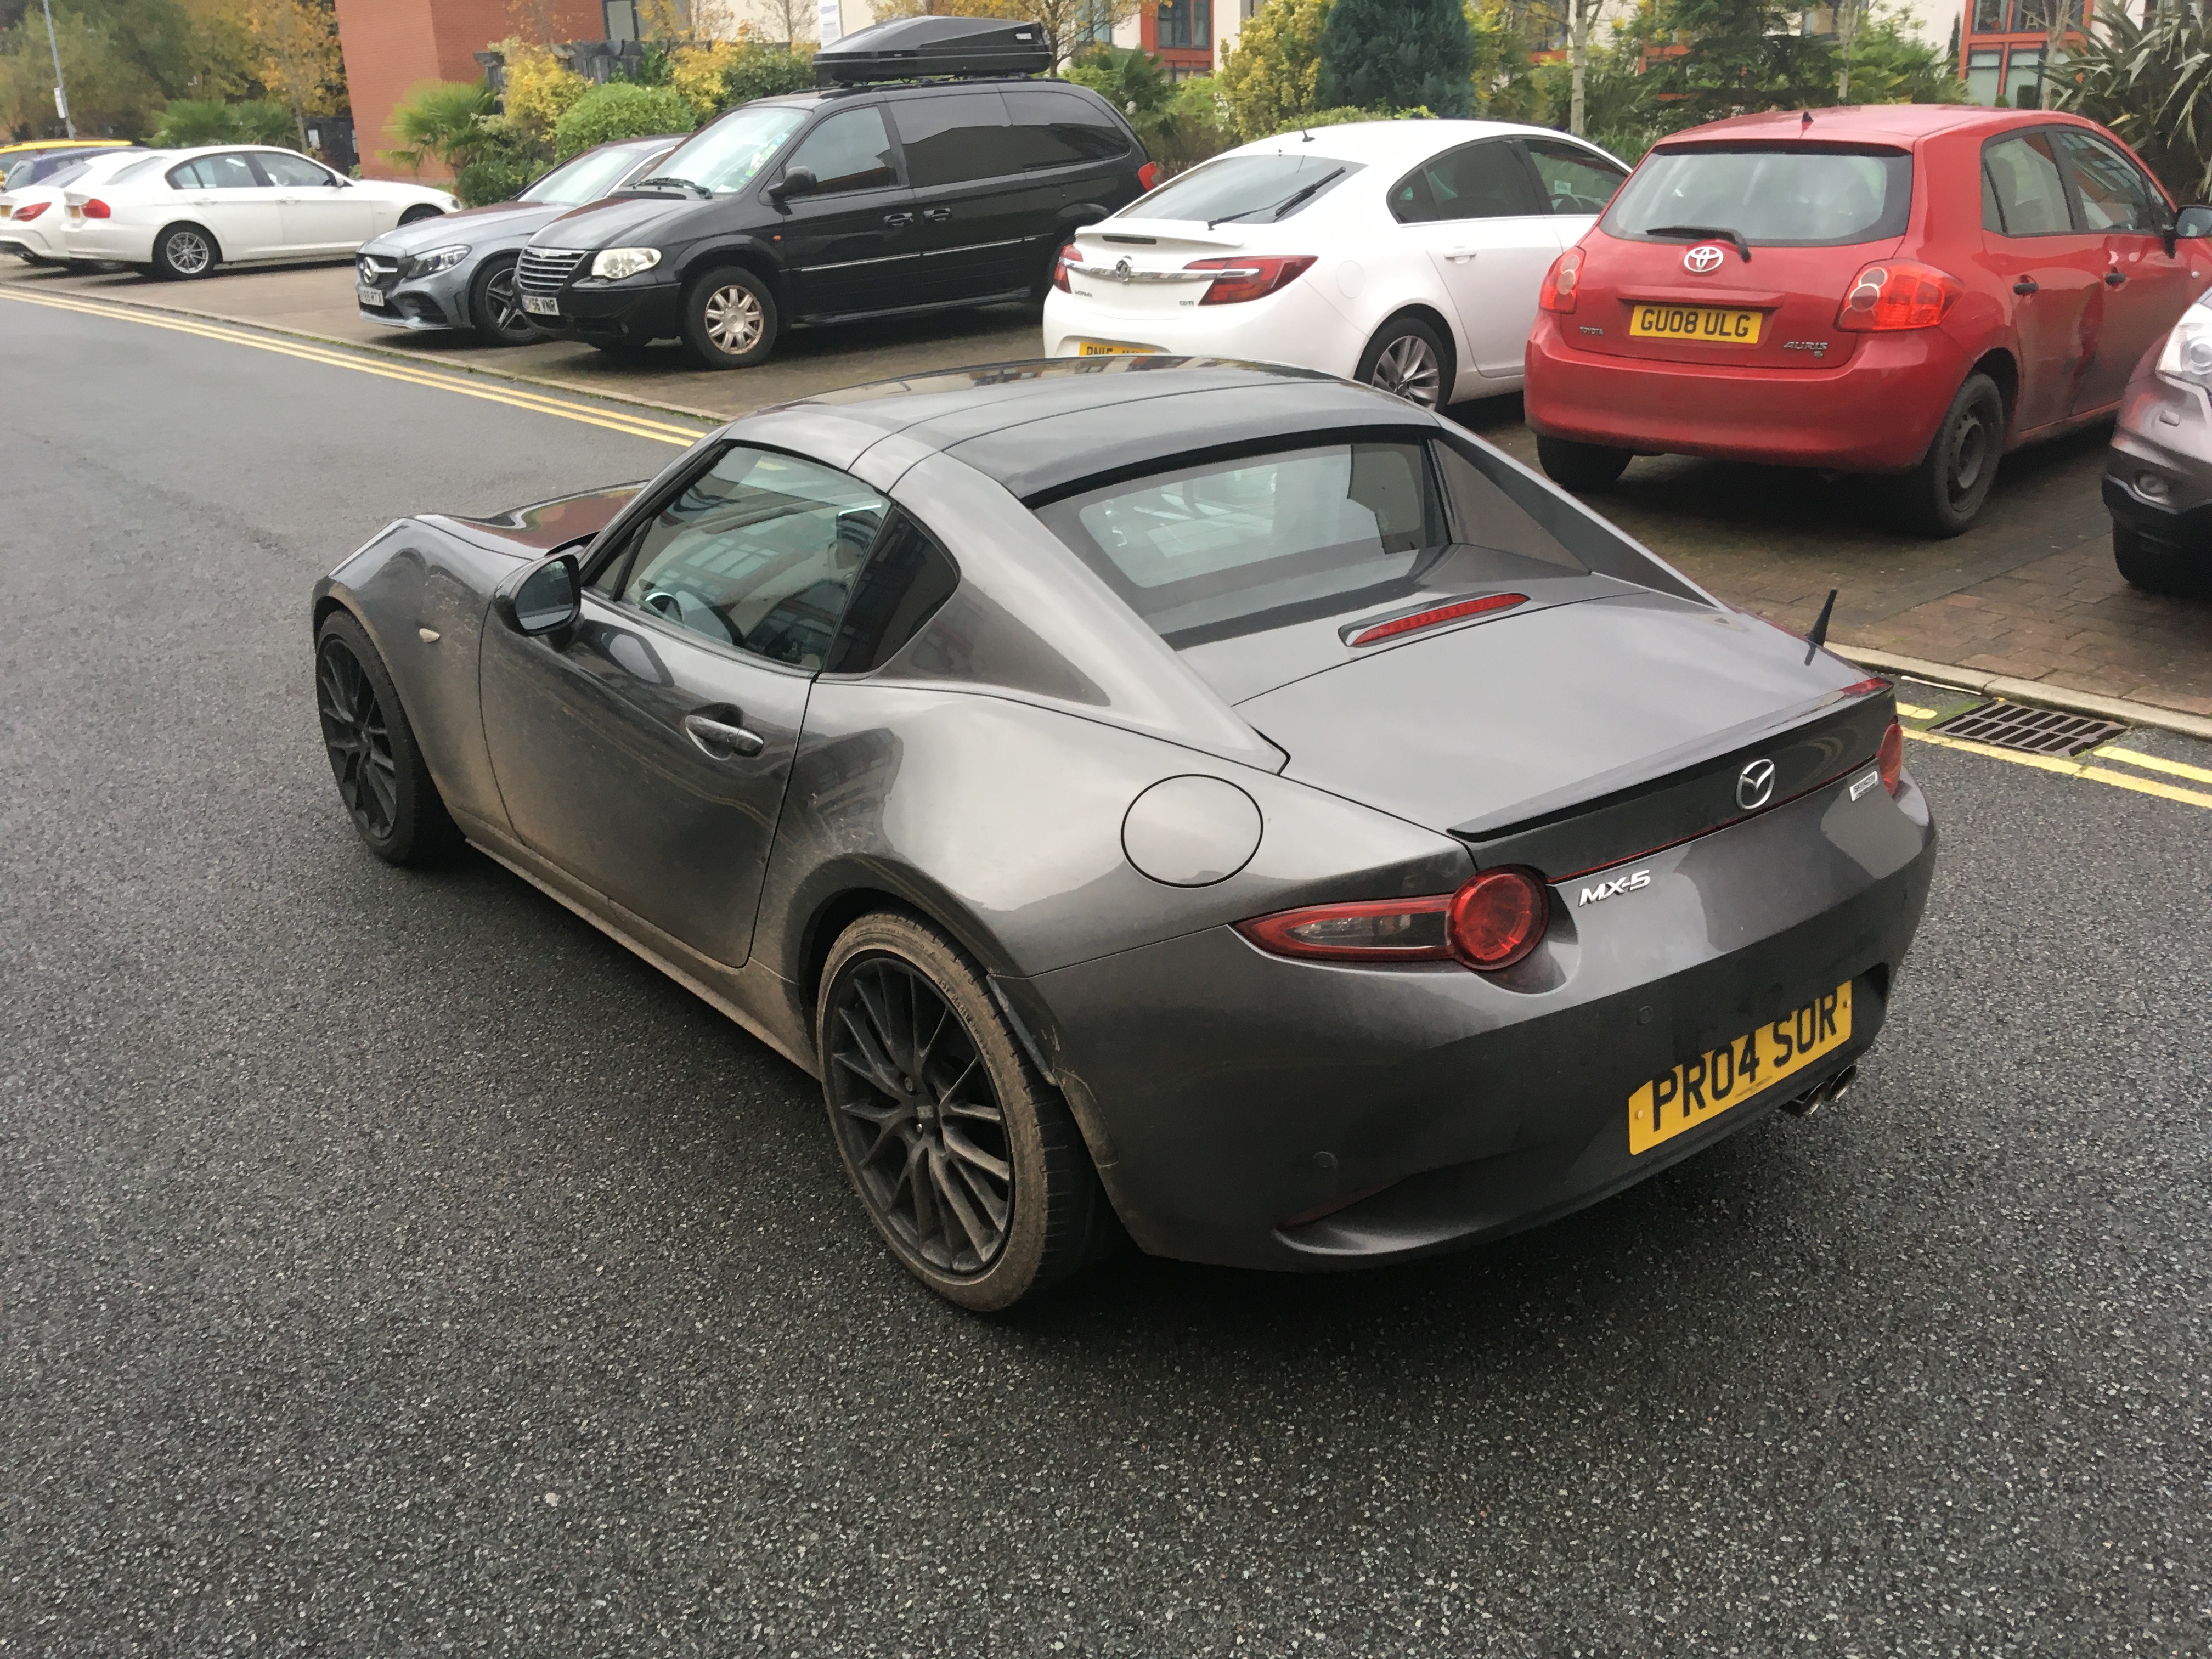
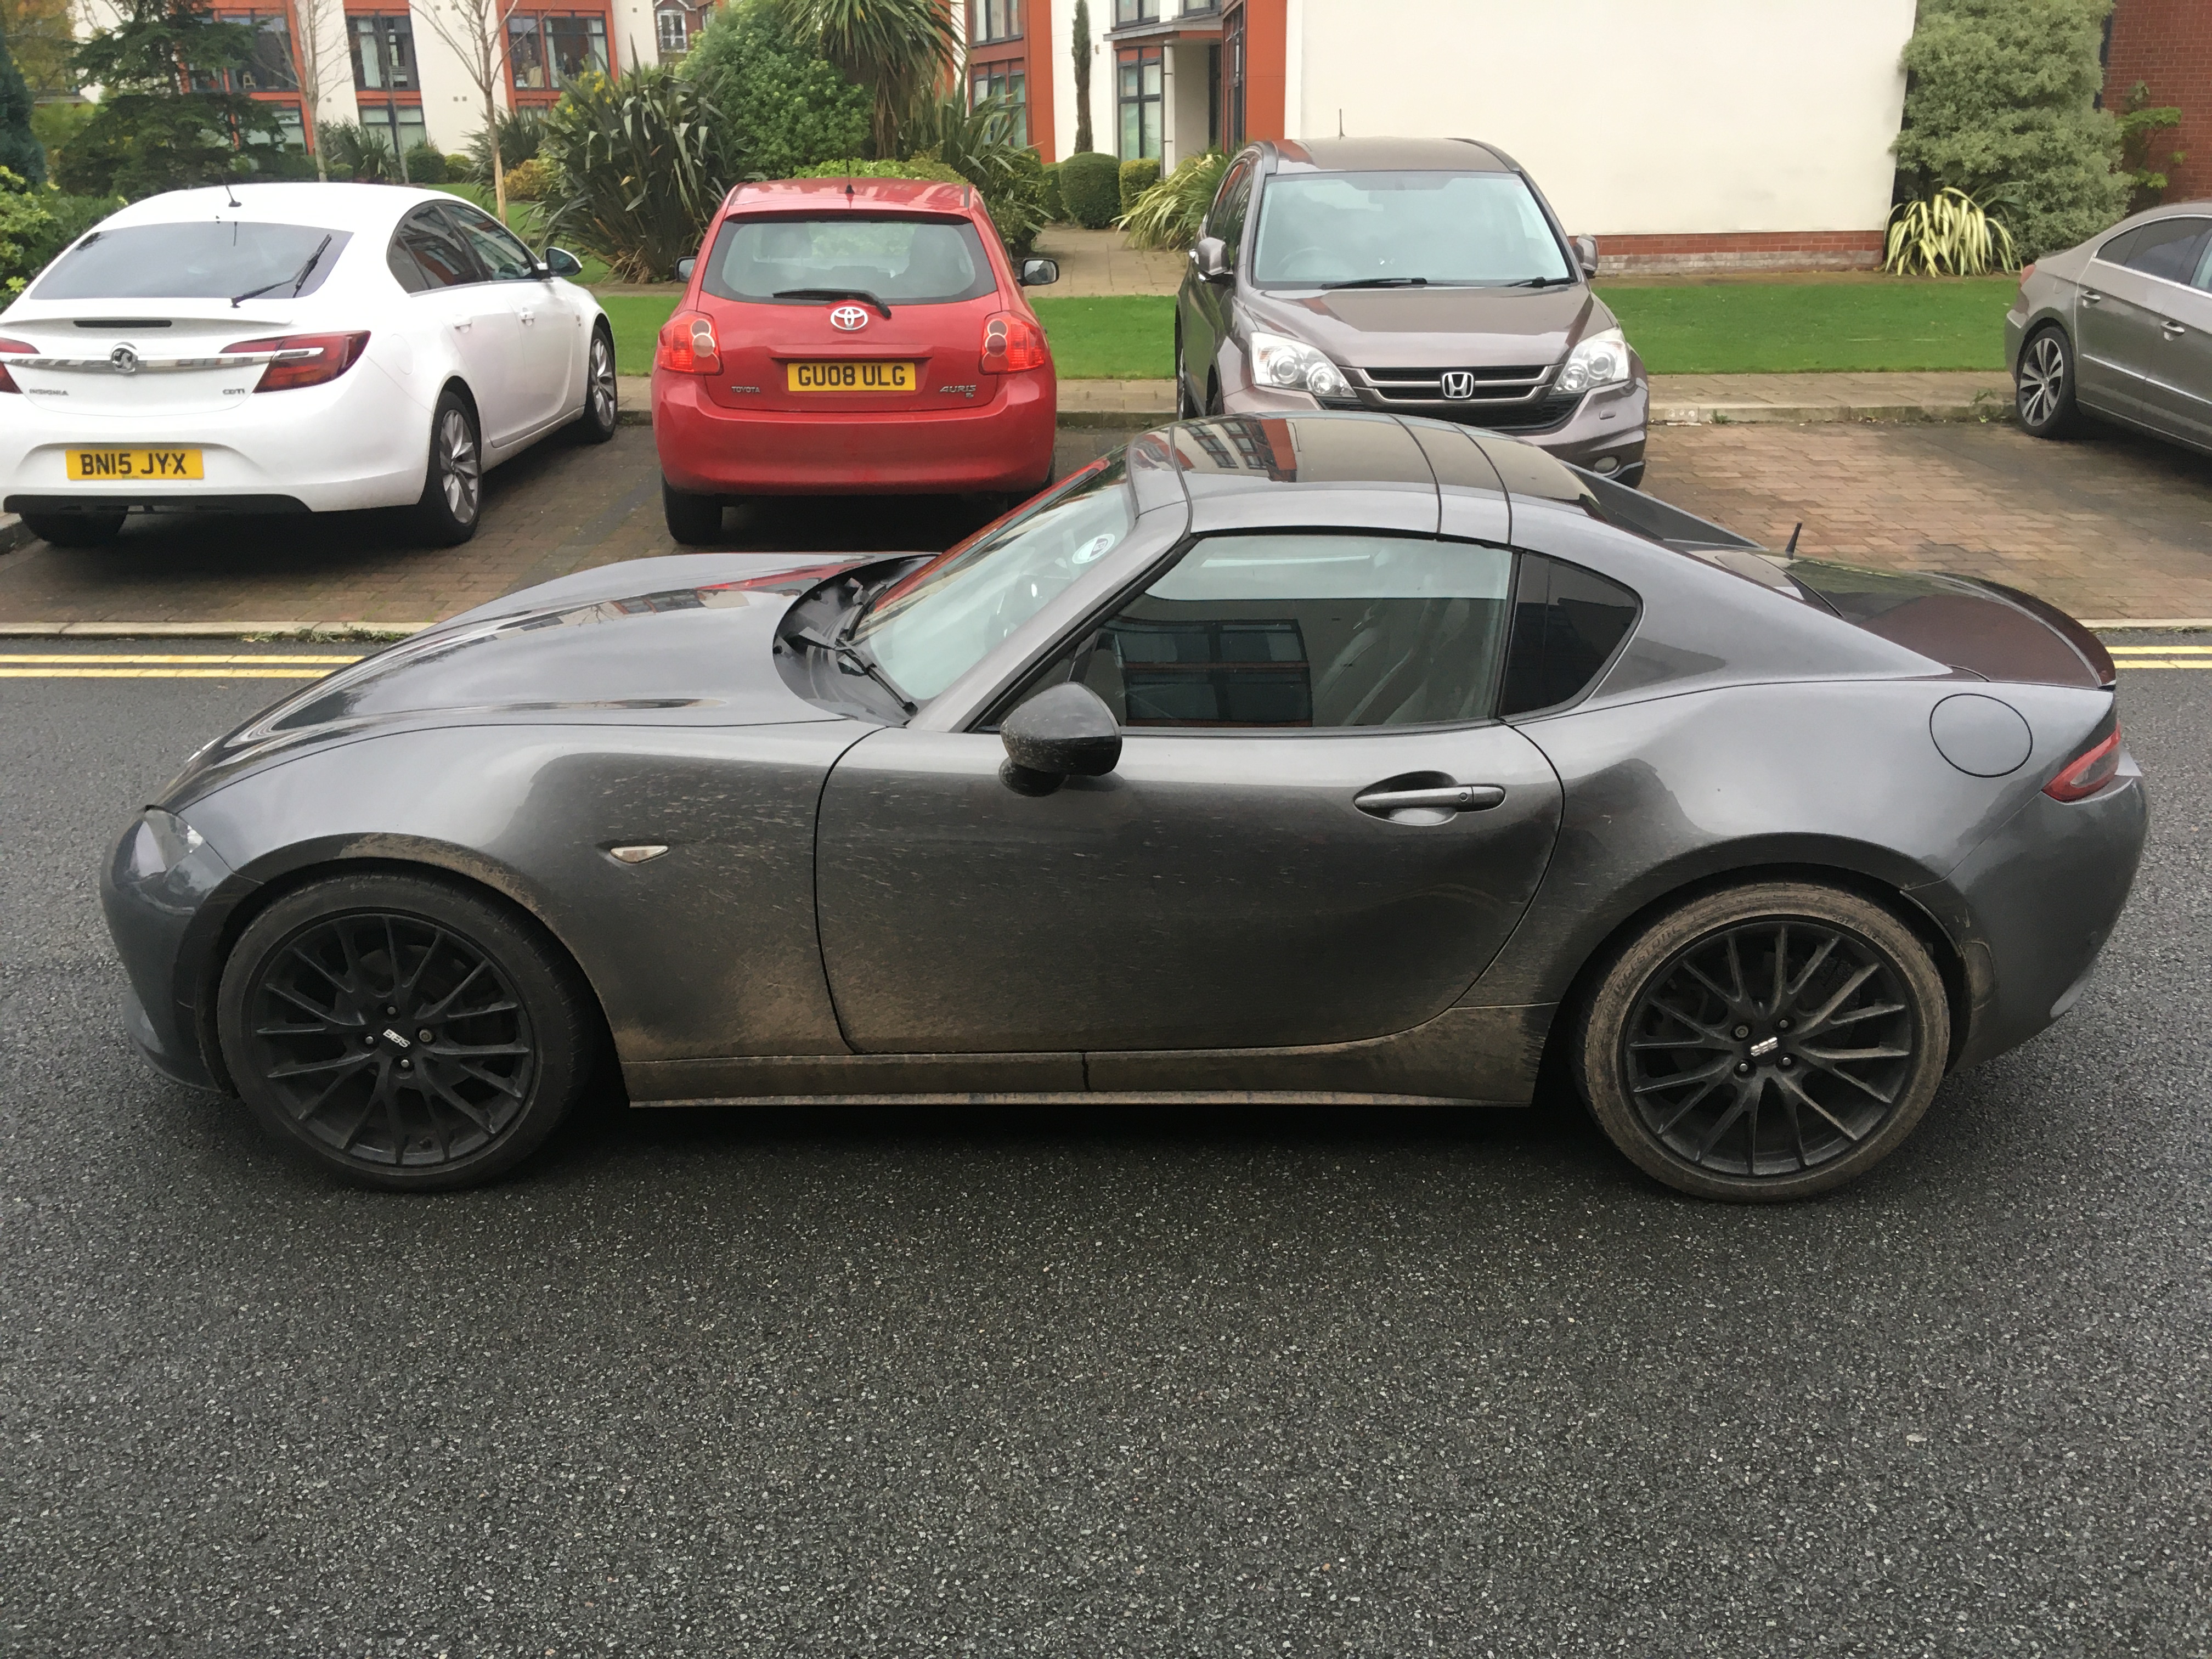
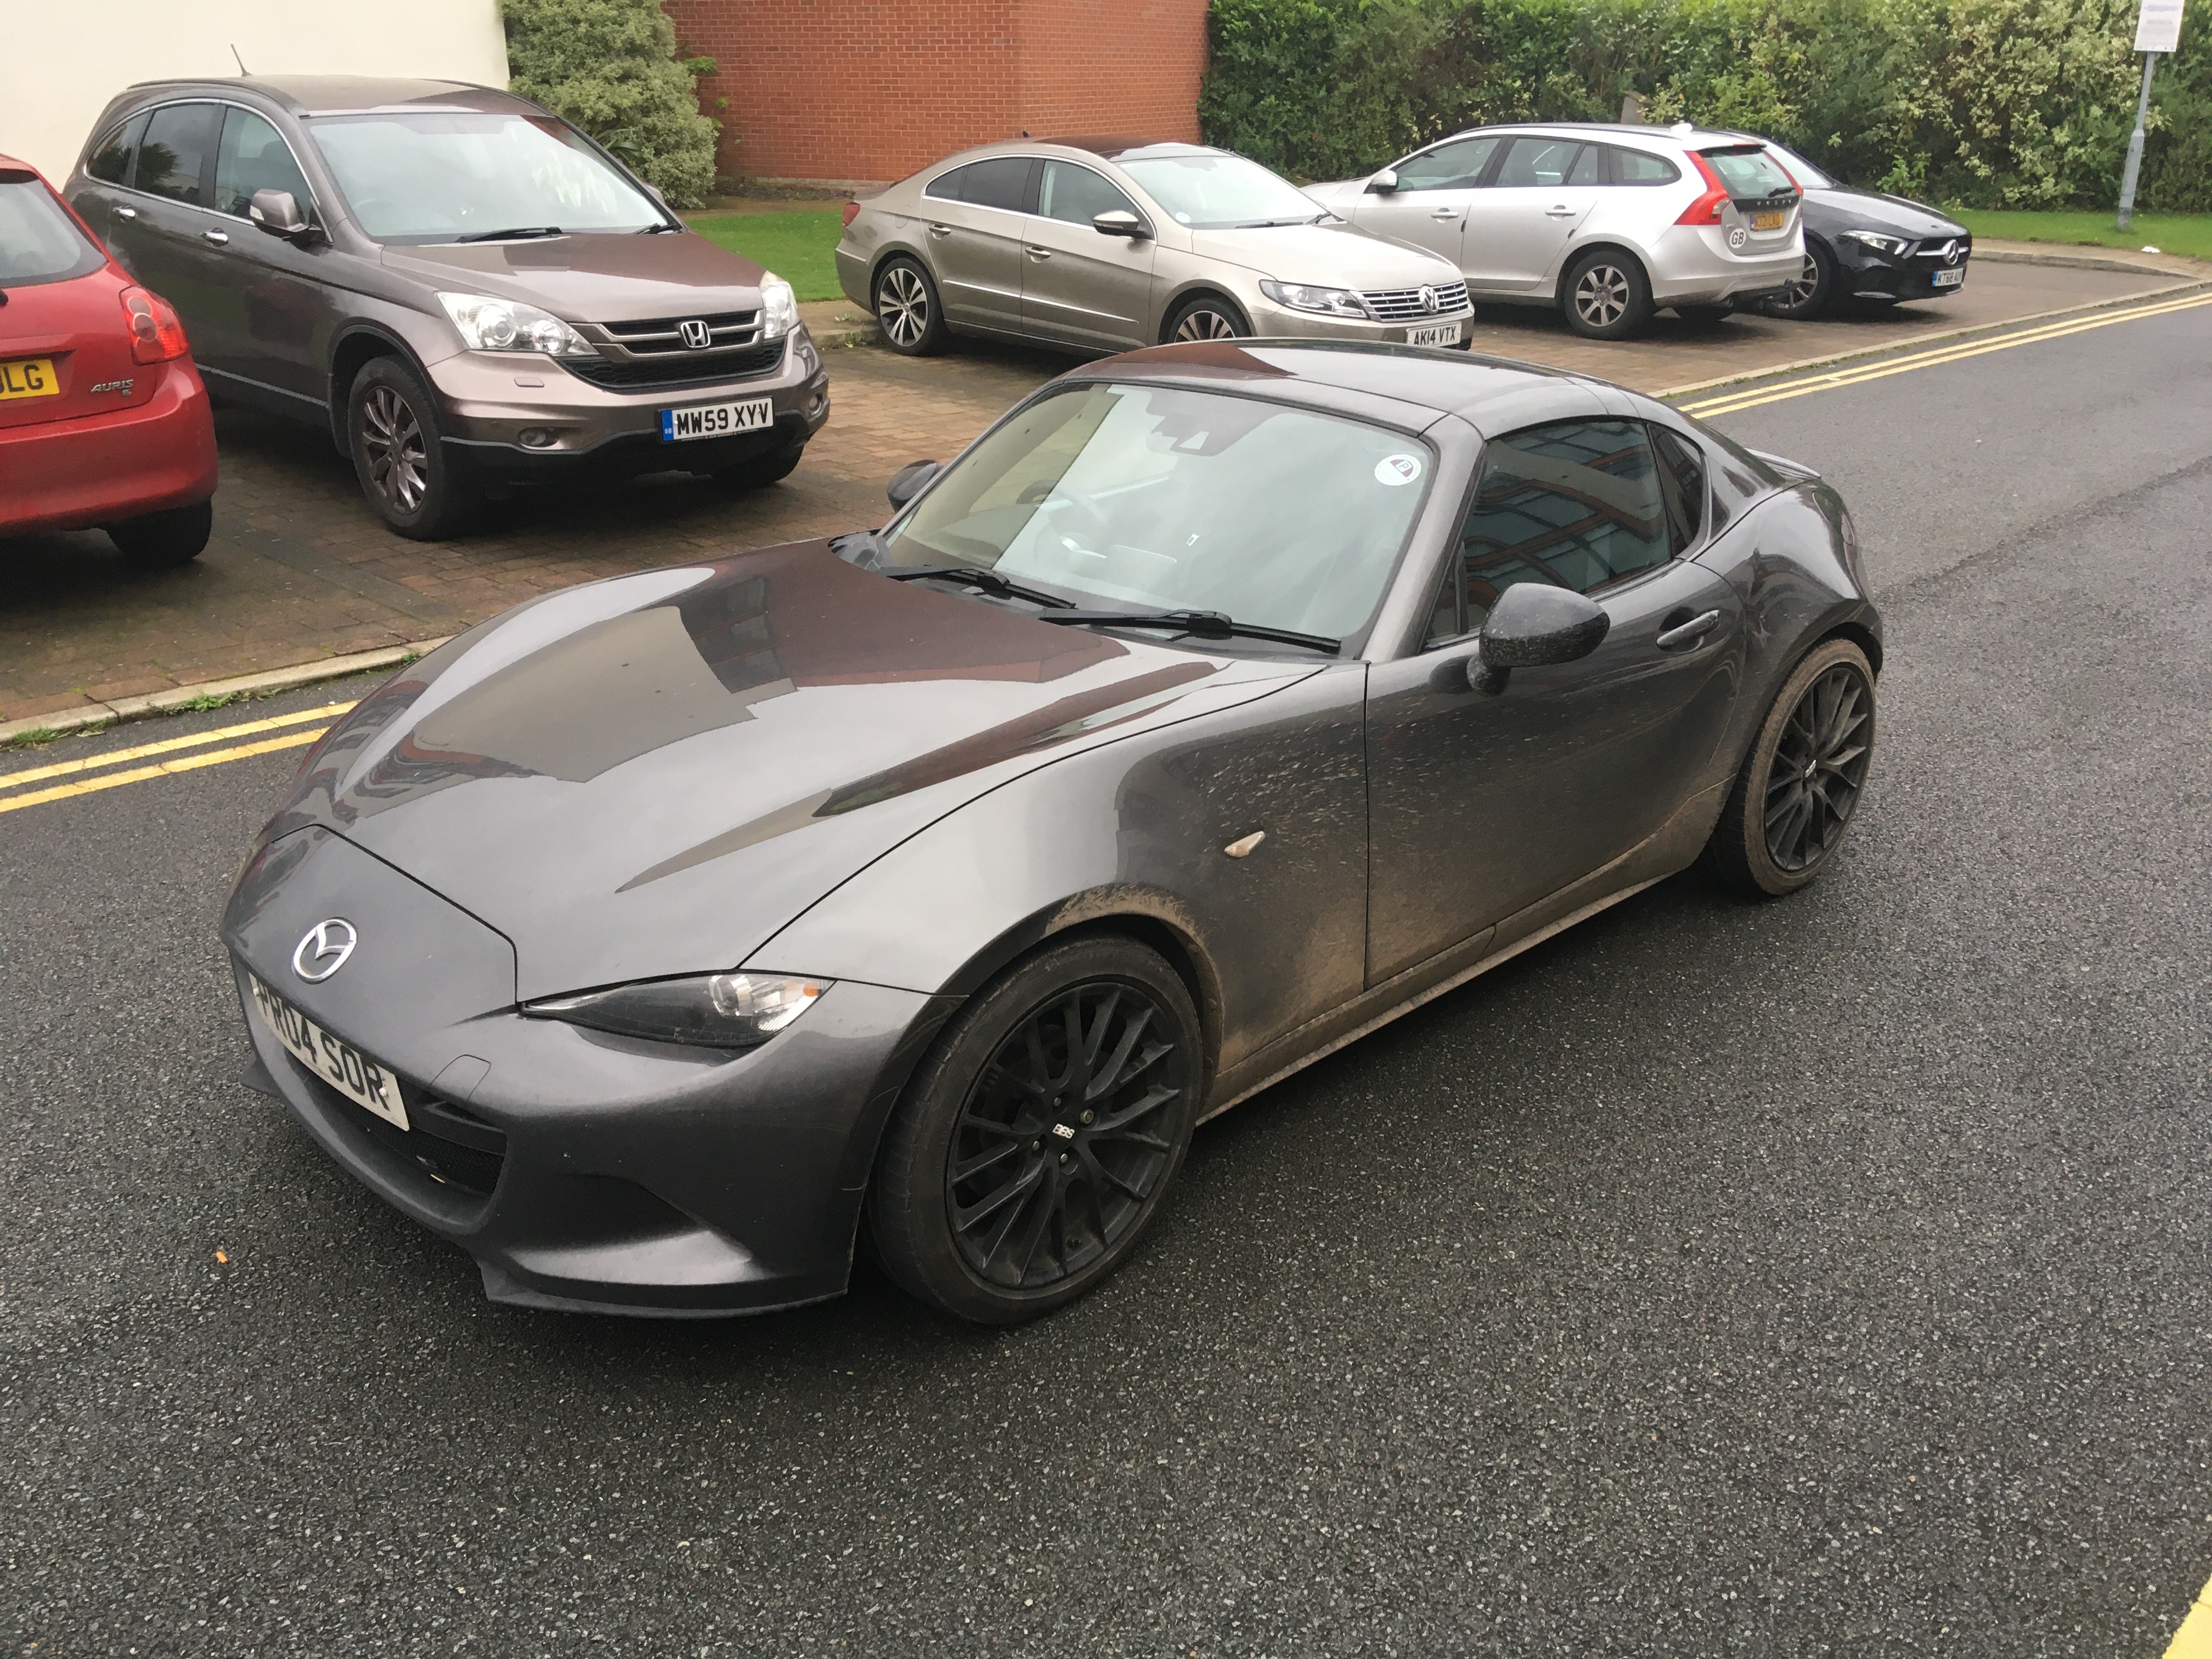
I made the most of some twisty country lanes after my Cobalt back box was fitted, hence the mud 
Big thank you to @BLiNK_Motorsport for fitting everything and the fast road alignment
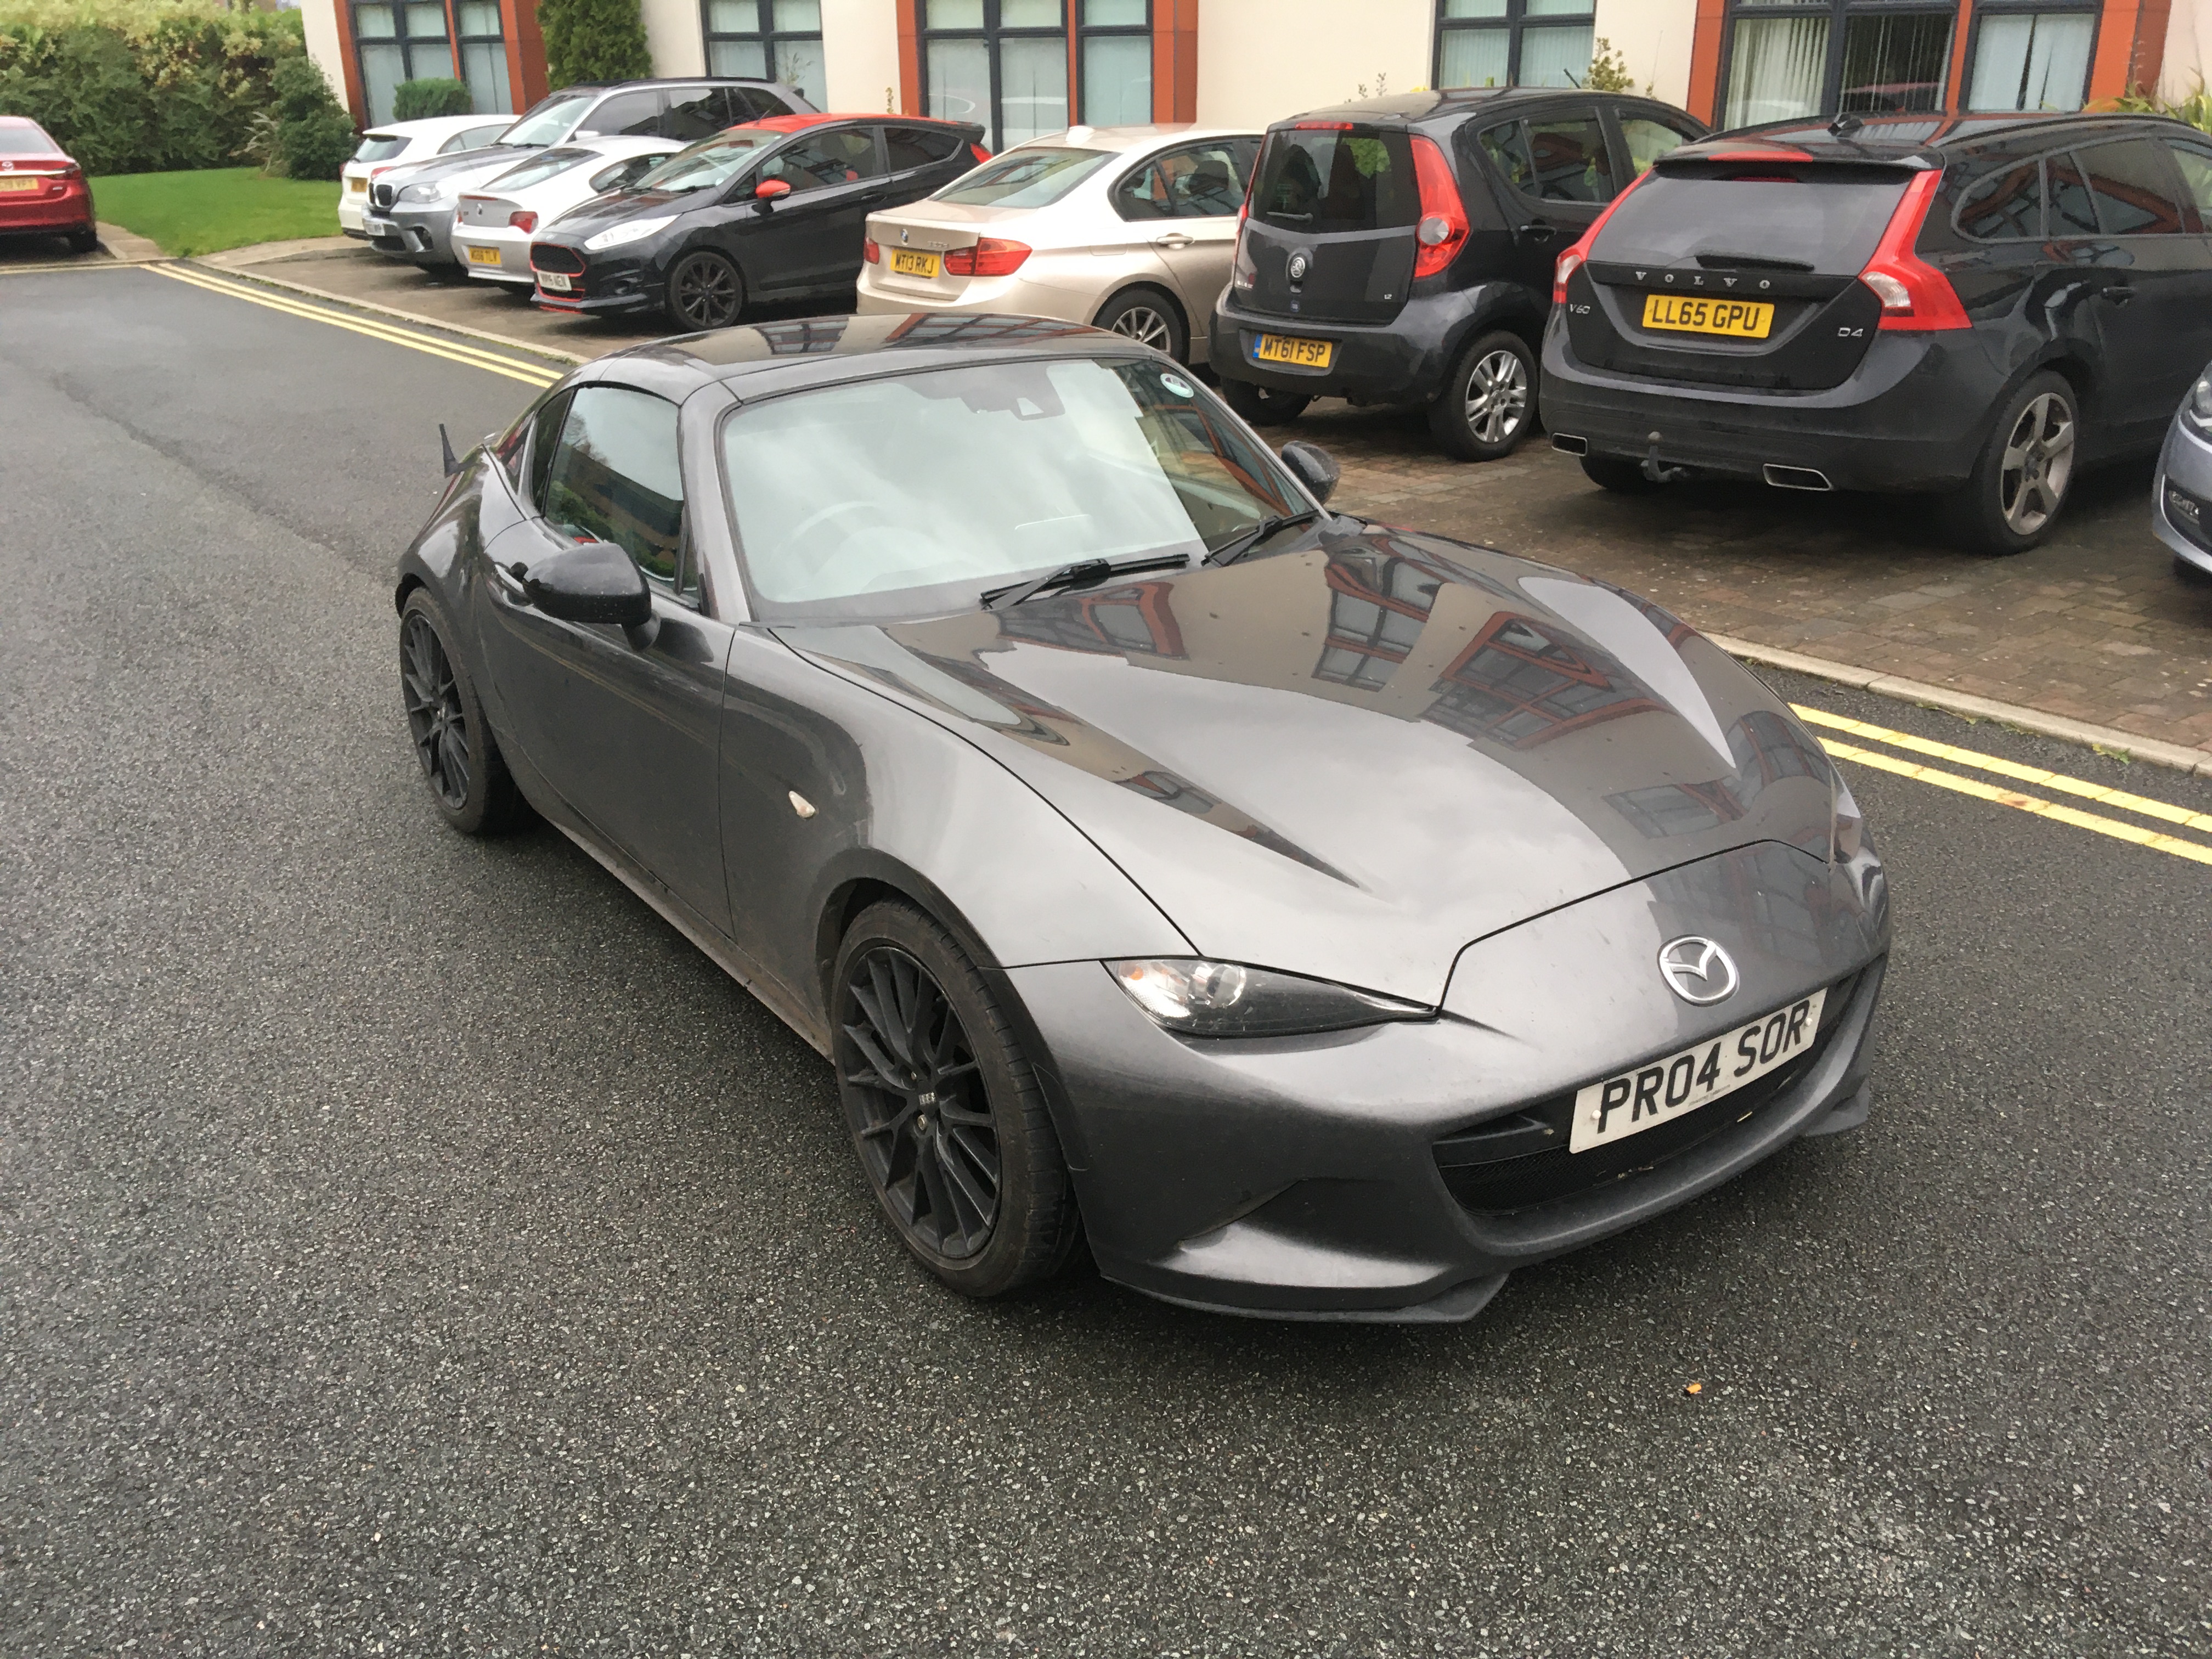
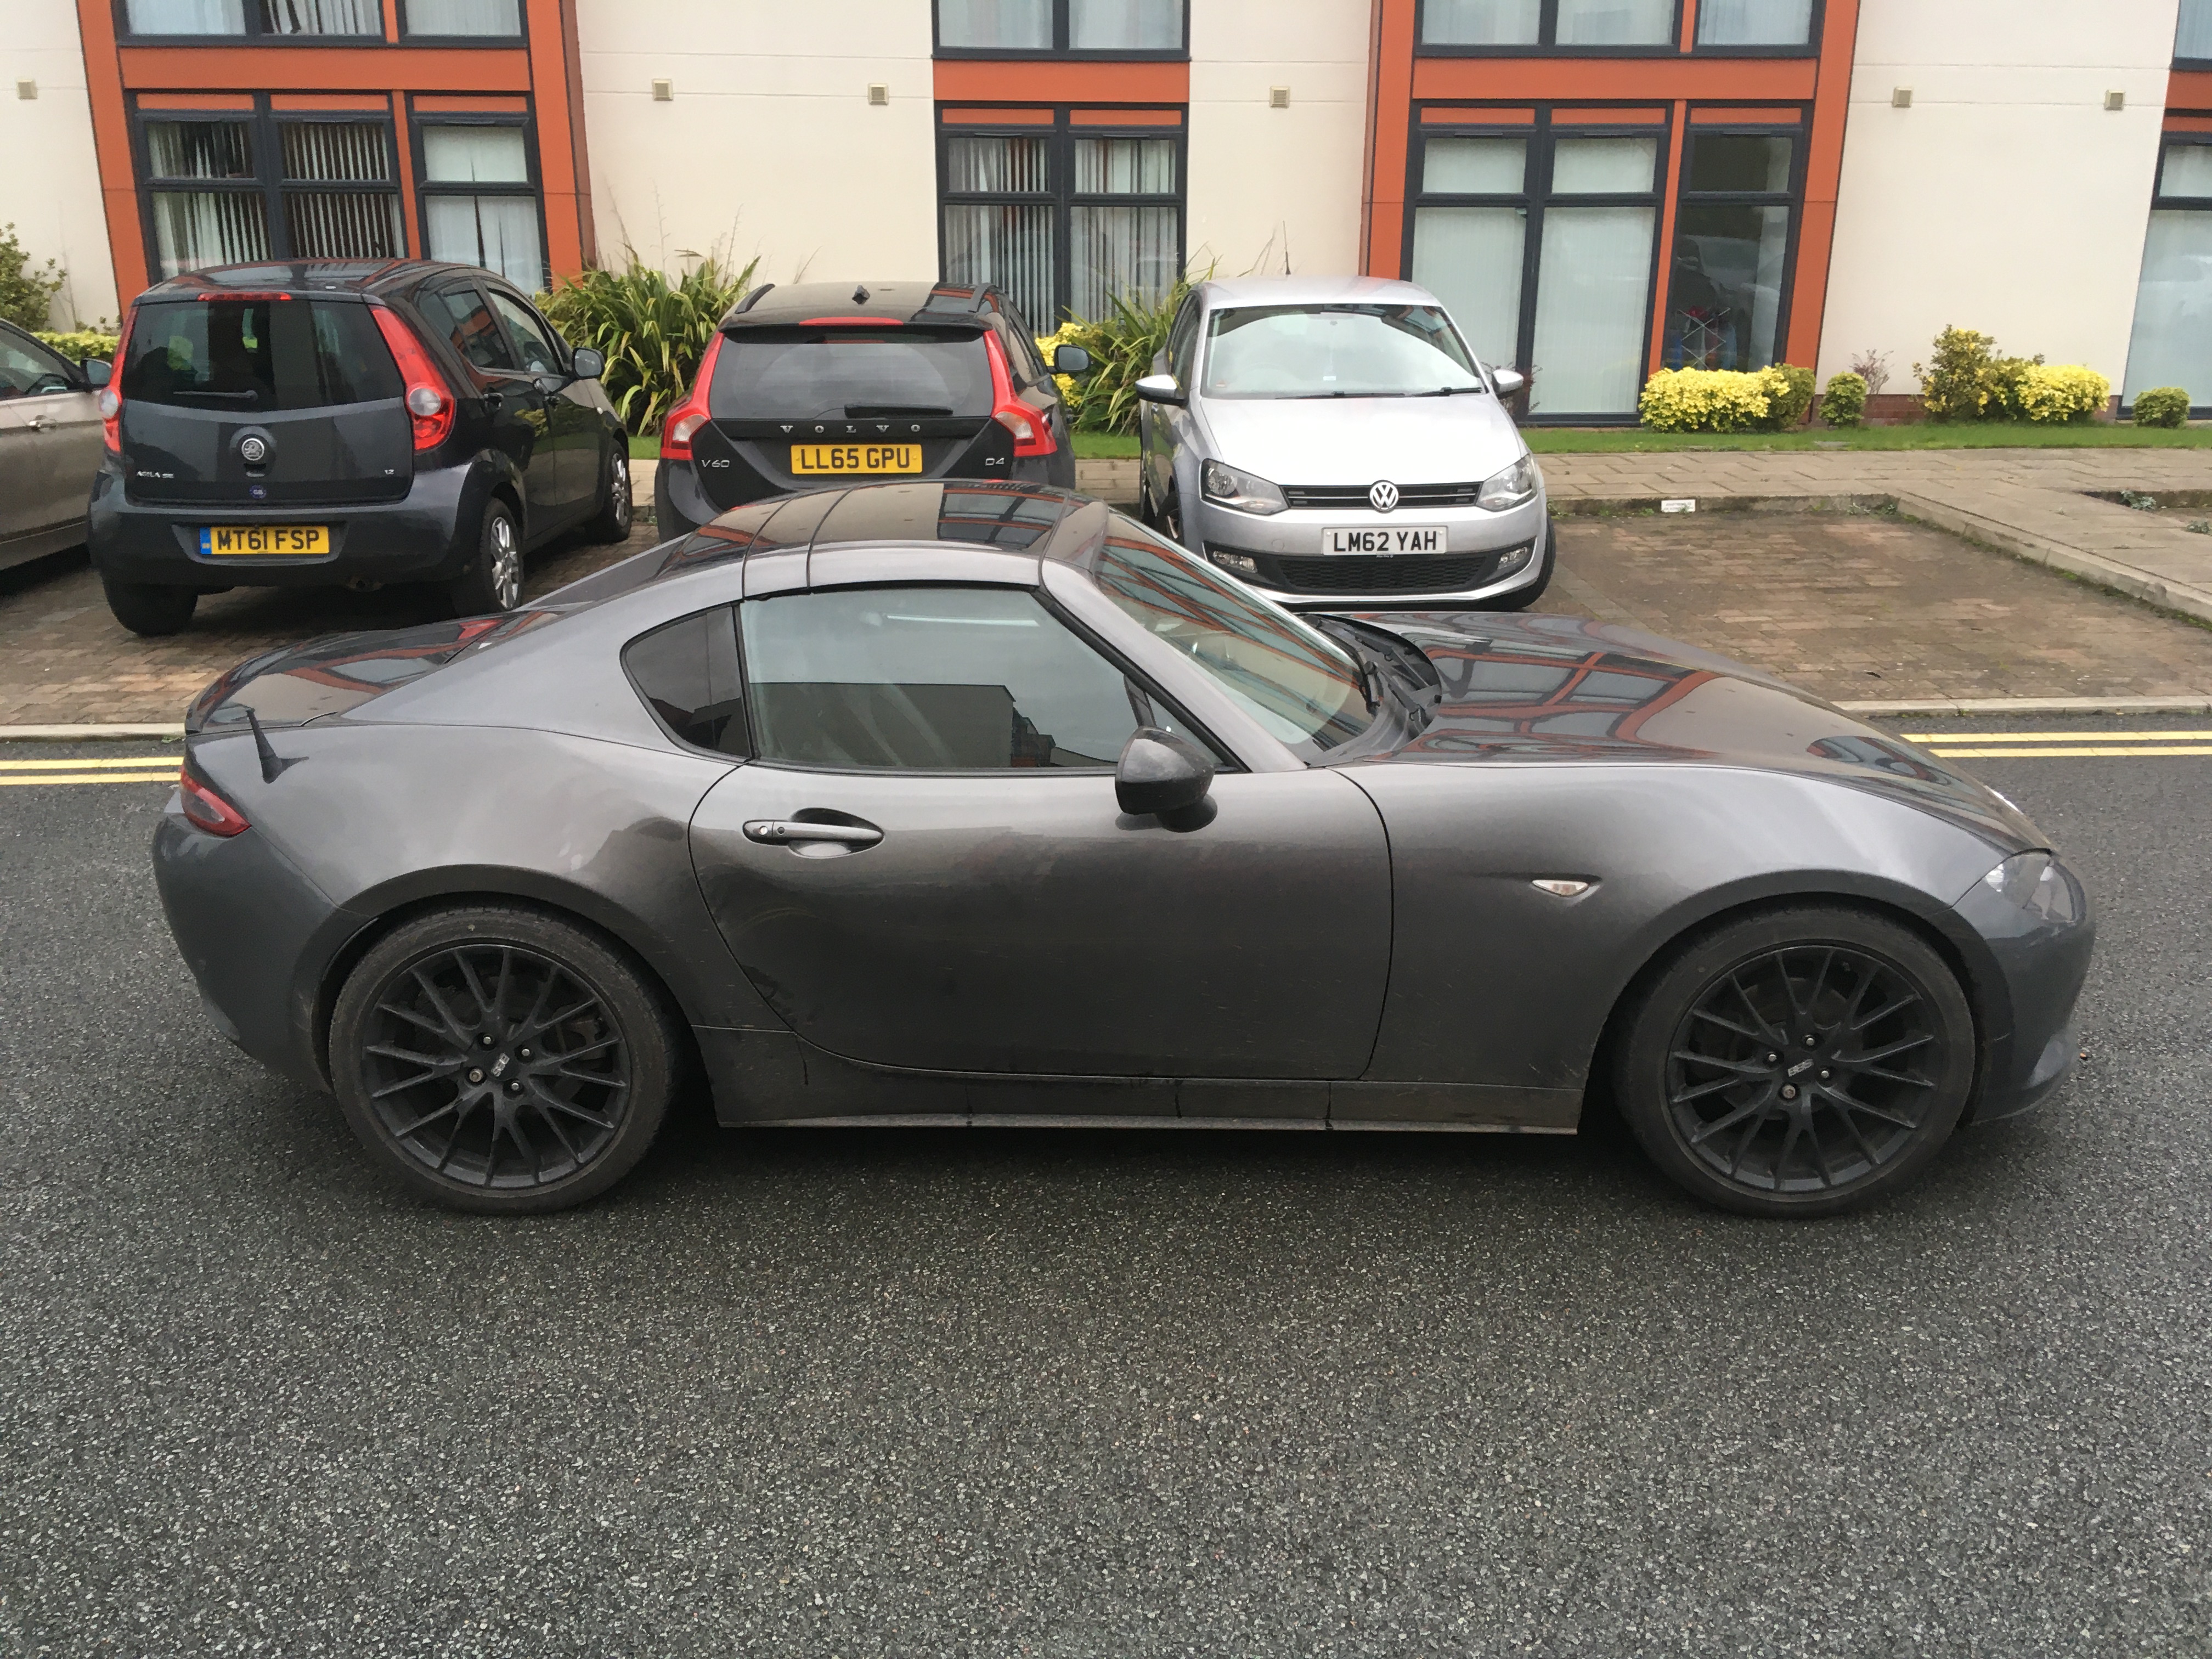
Typically, just as I finished taking those photos, it started raining so I couldn’t fit the other mods I have lined up (Sound Tube Delete and Sequential Rear Indicators)  they will just have to wait for another day
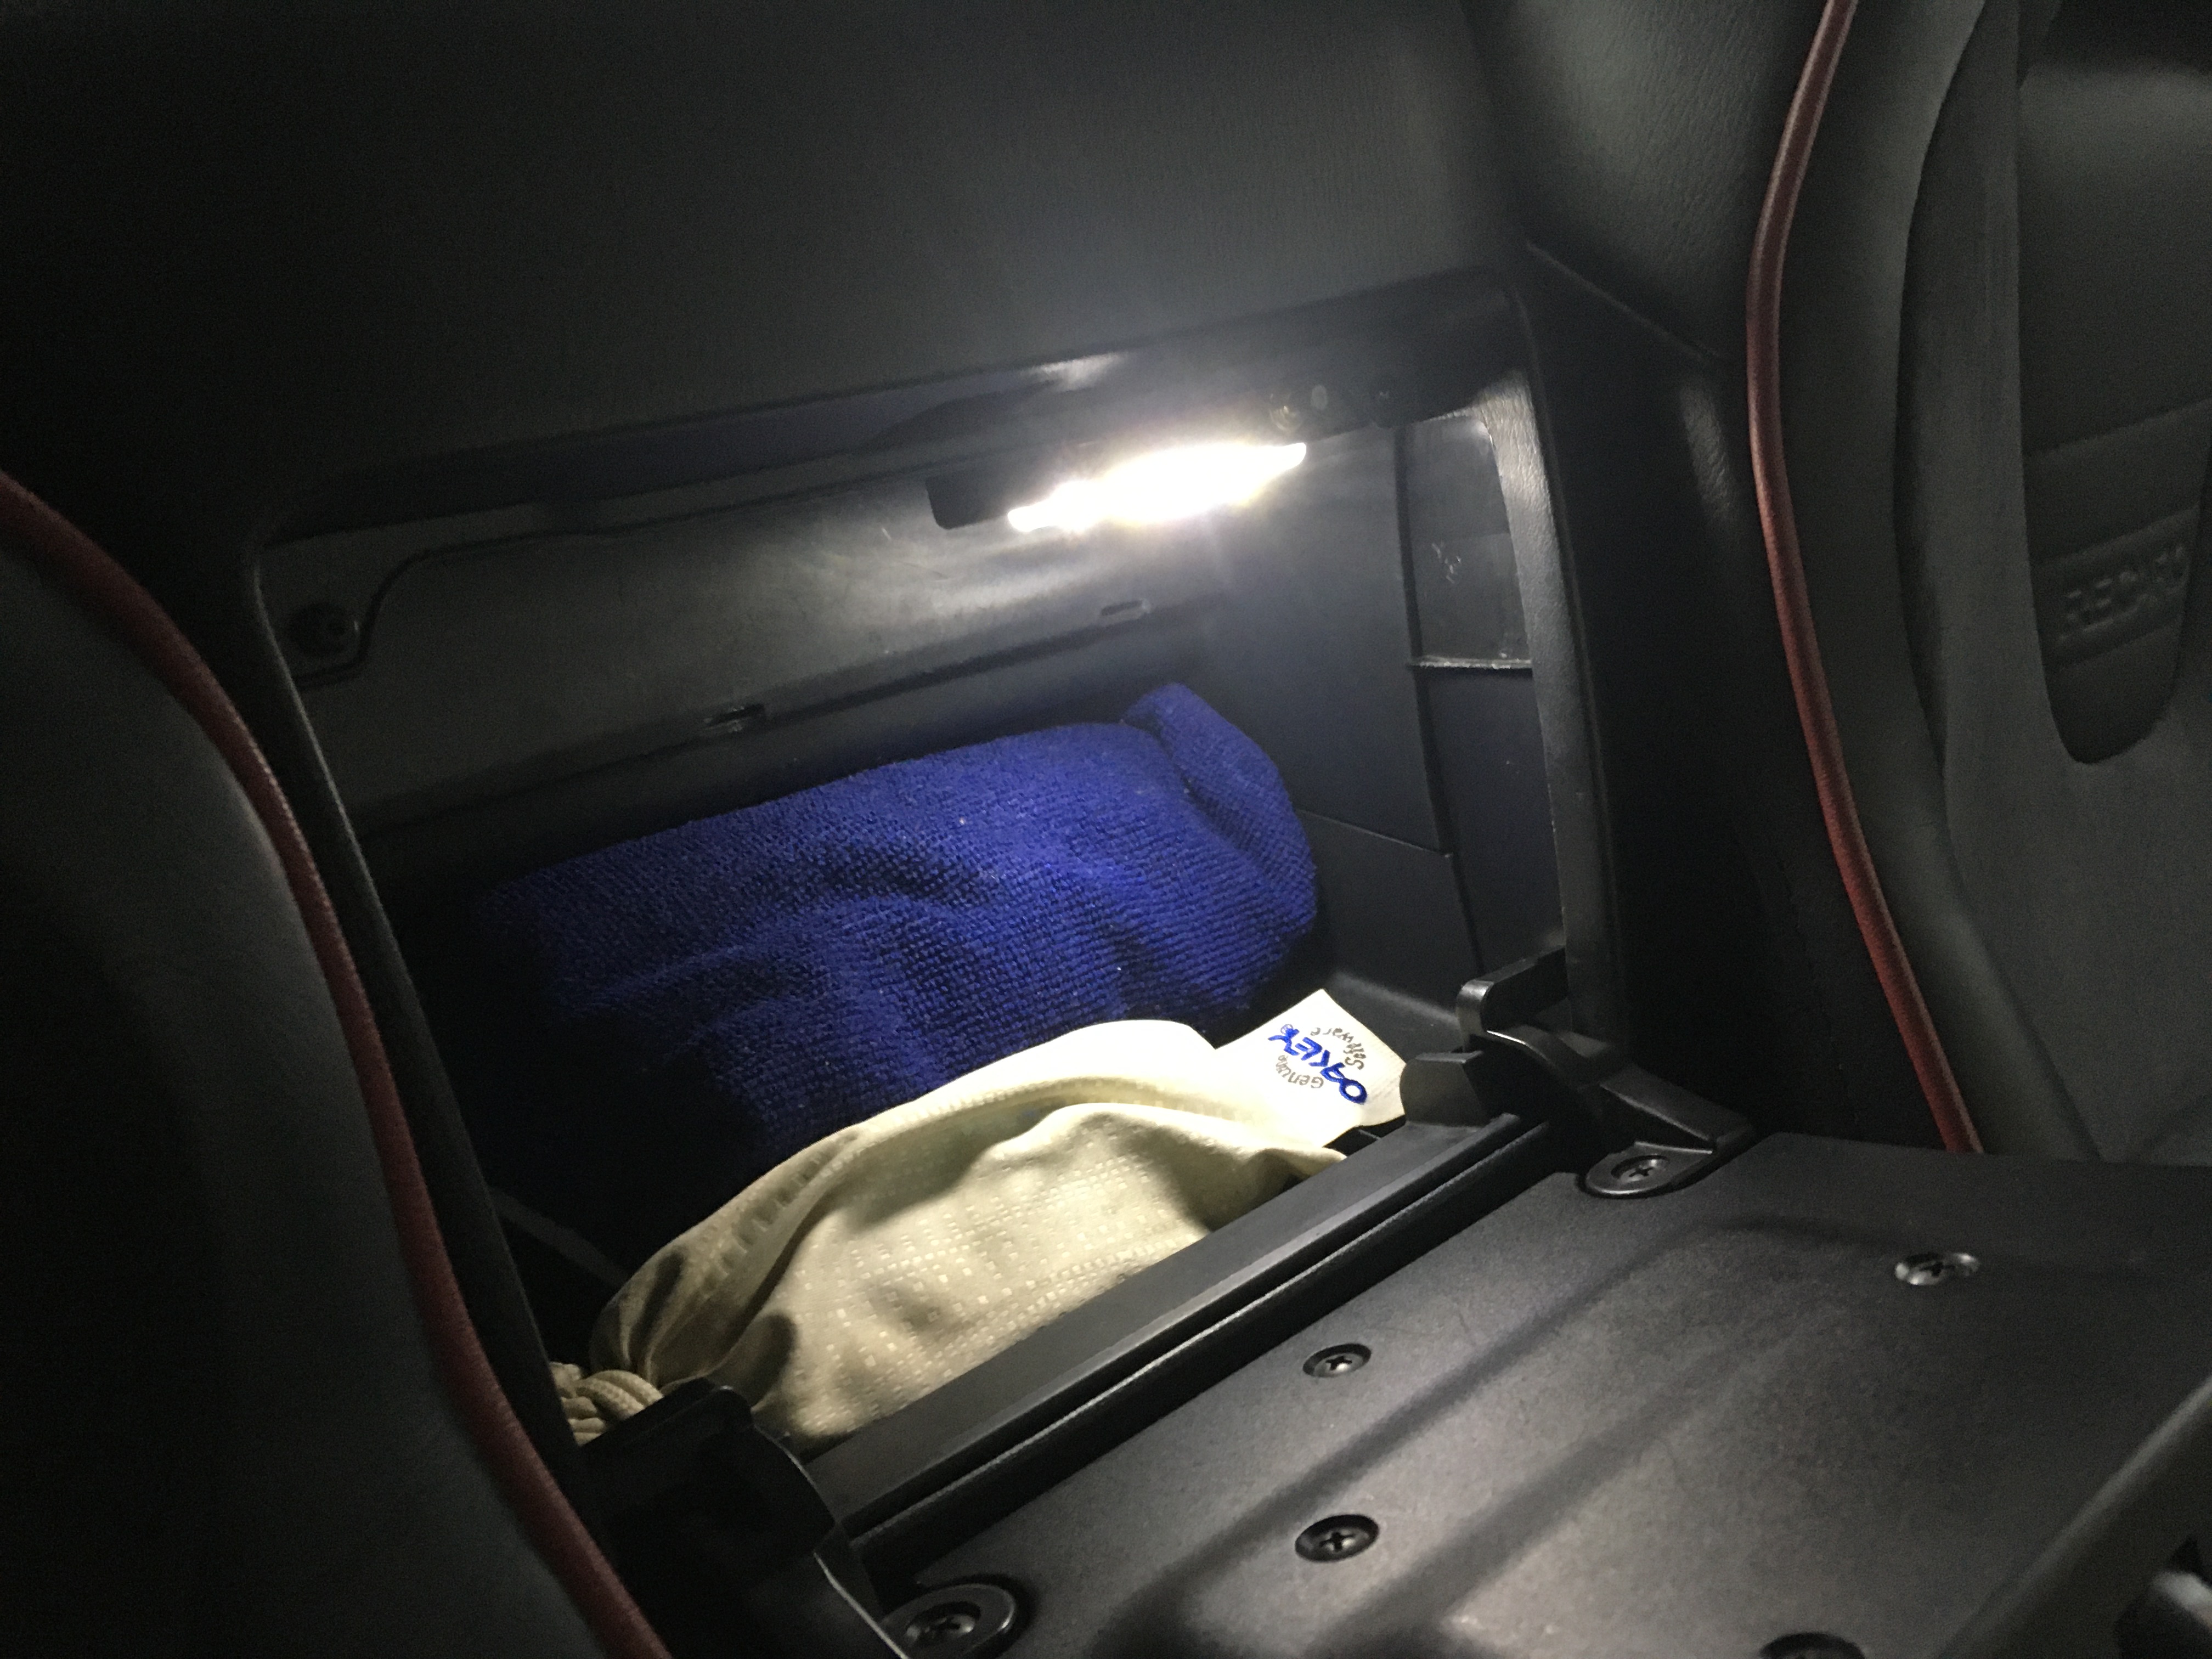
I did however have a chance to install a Centre Console Storage Box LED Light
3 Likes
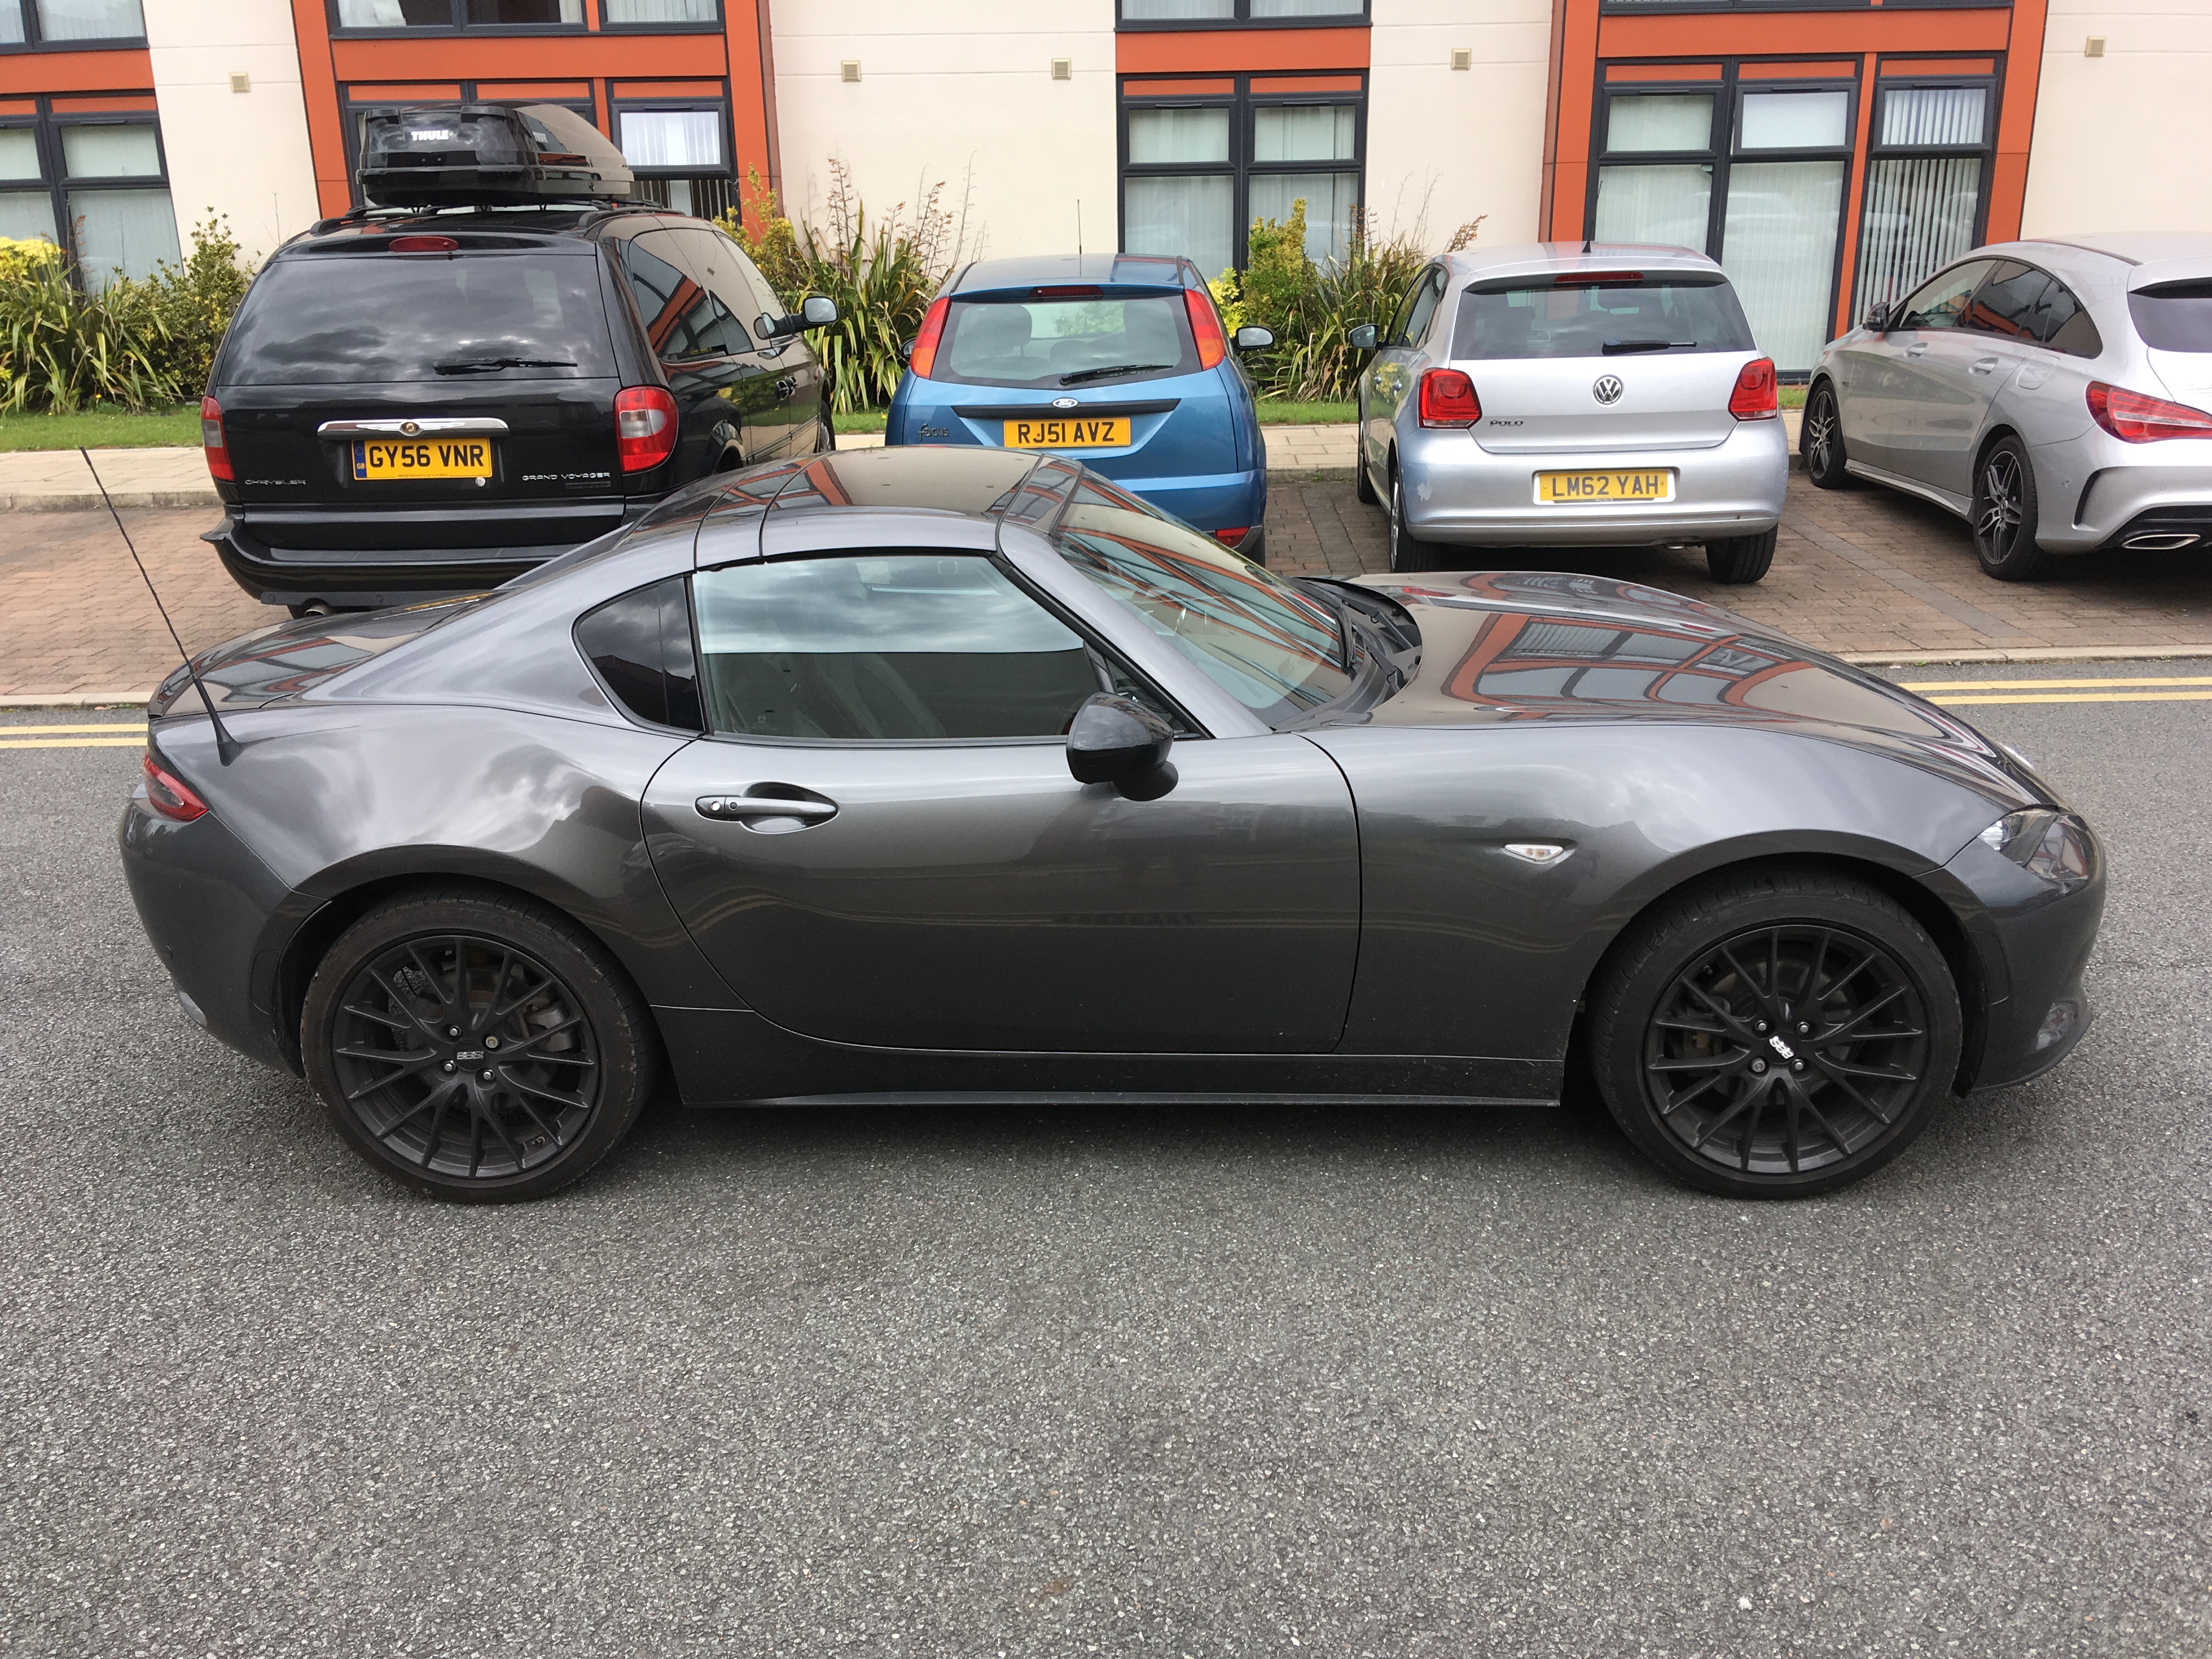
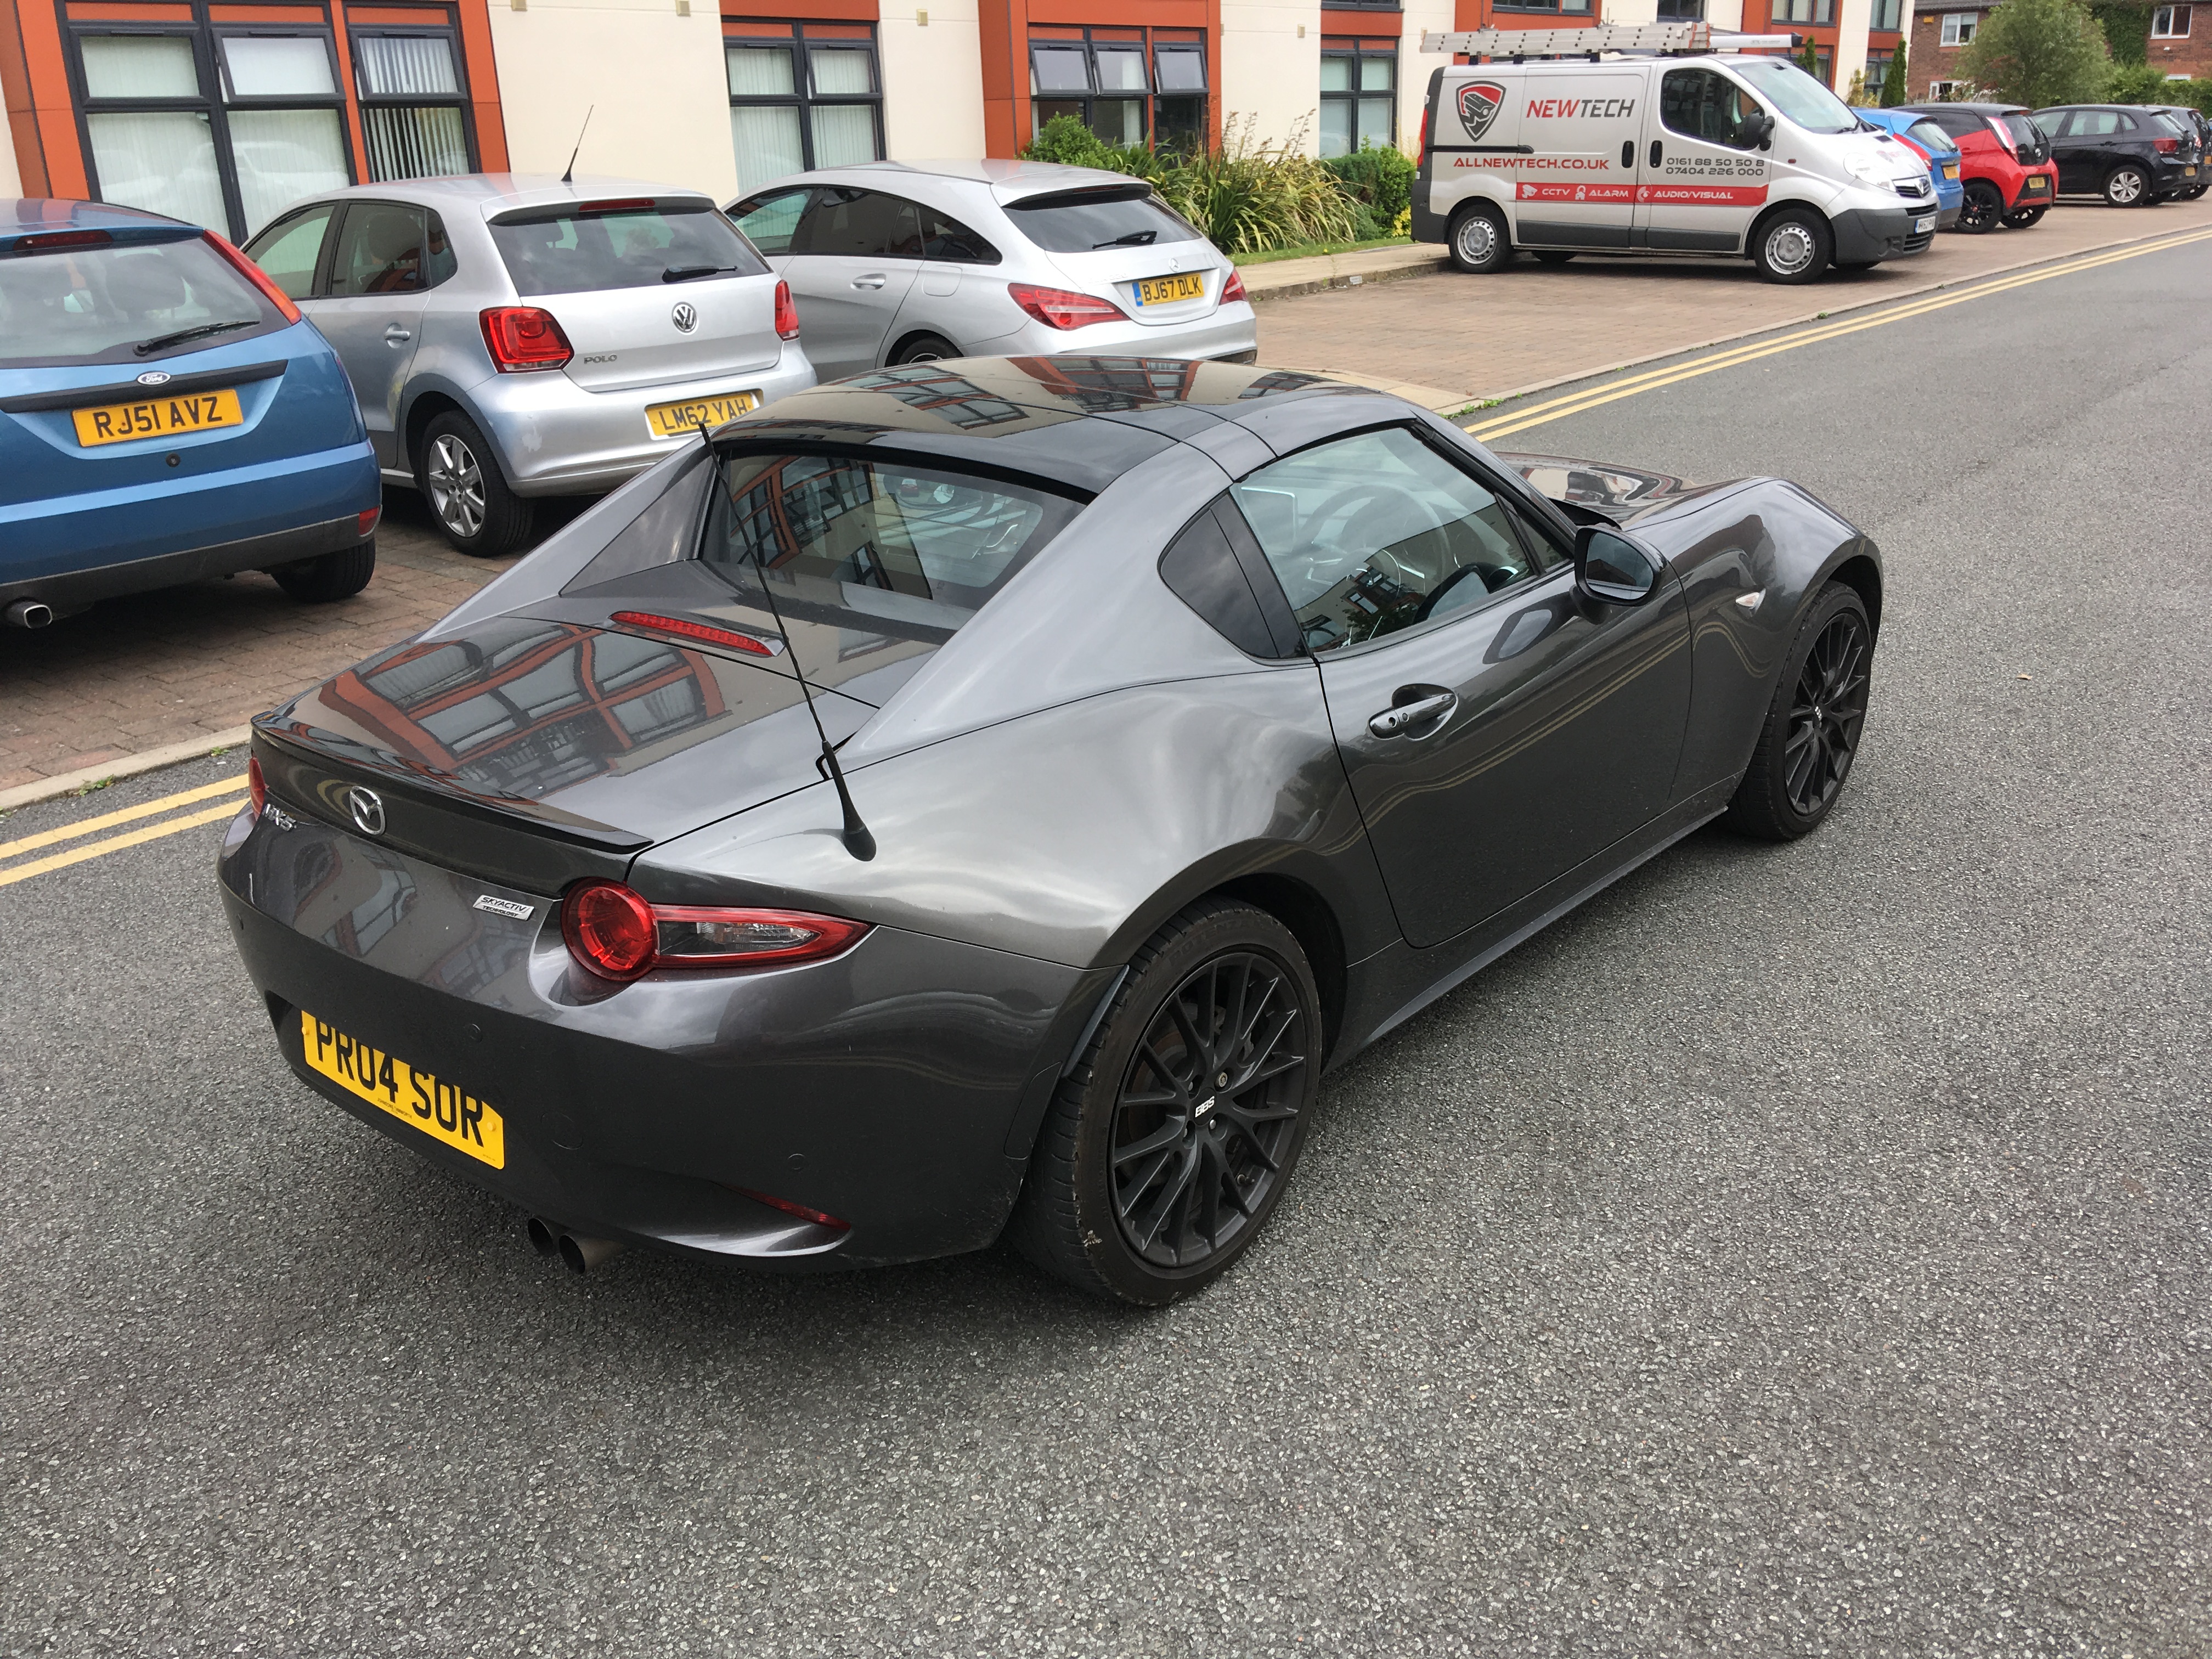
Excellent compare and contrast photo sets of a very smart car @ian.prossor 
I had decided against wheel spacers but I’m tempted again and now a centre console light too 
Thnx.
Hi barrie no corrosion, before i bought the car somebody had jacked it up on the plastic sill and cracked it all so i got a new one off ebay(wrong colour) and the wheel refurb guys also do bodywork so they are going to paint it for me and fit the decal
1 Like
Aah right, that is good news  I reckon I’m becoming paranoid about rust!
  used to be the mk1’s then the tin worm moved onto mk 2’s, now mk3’s, whats next?
Barrie
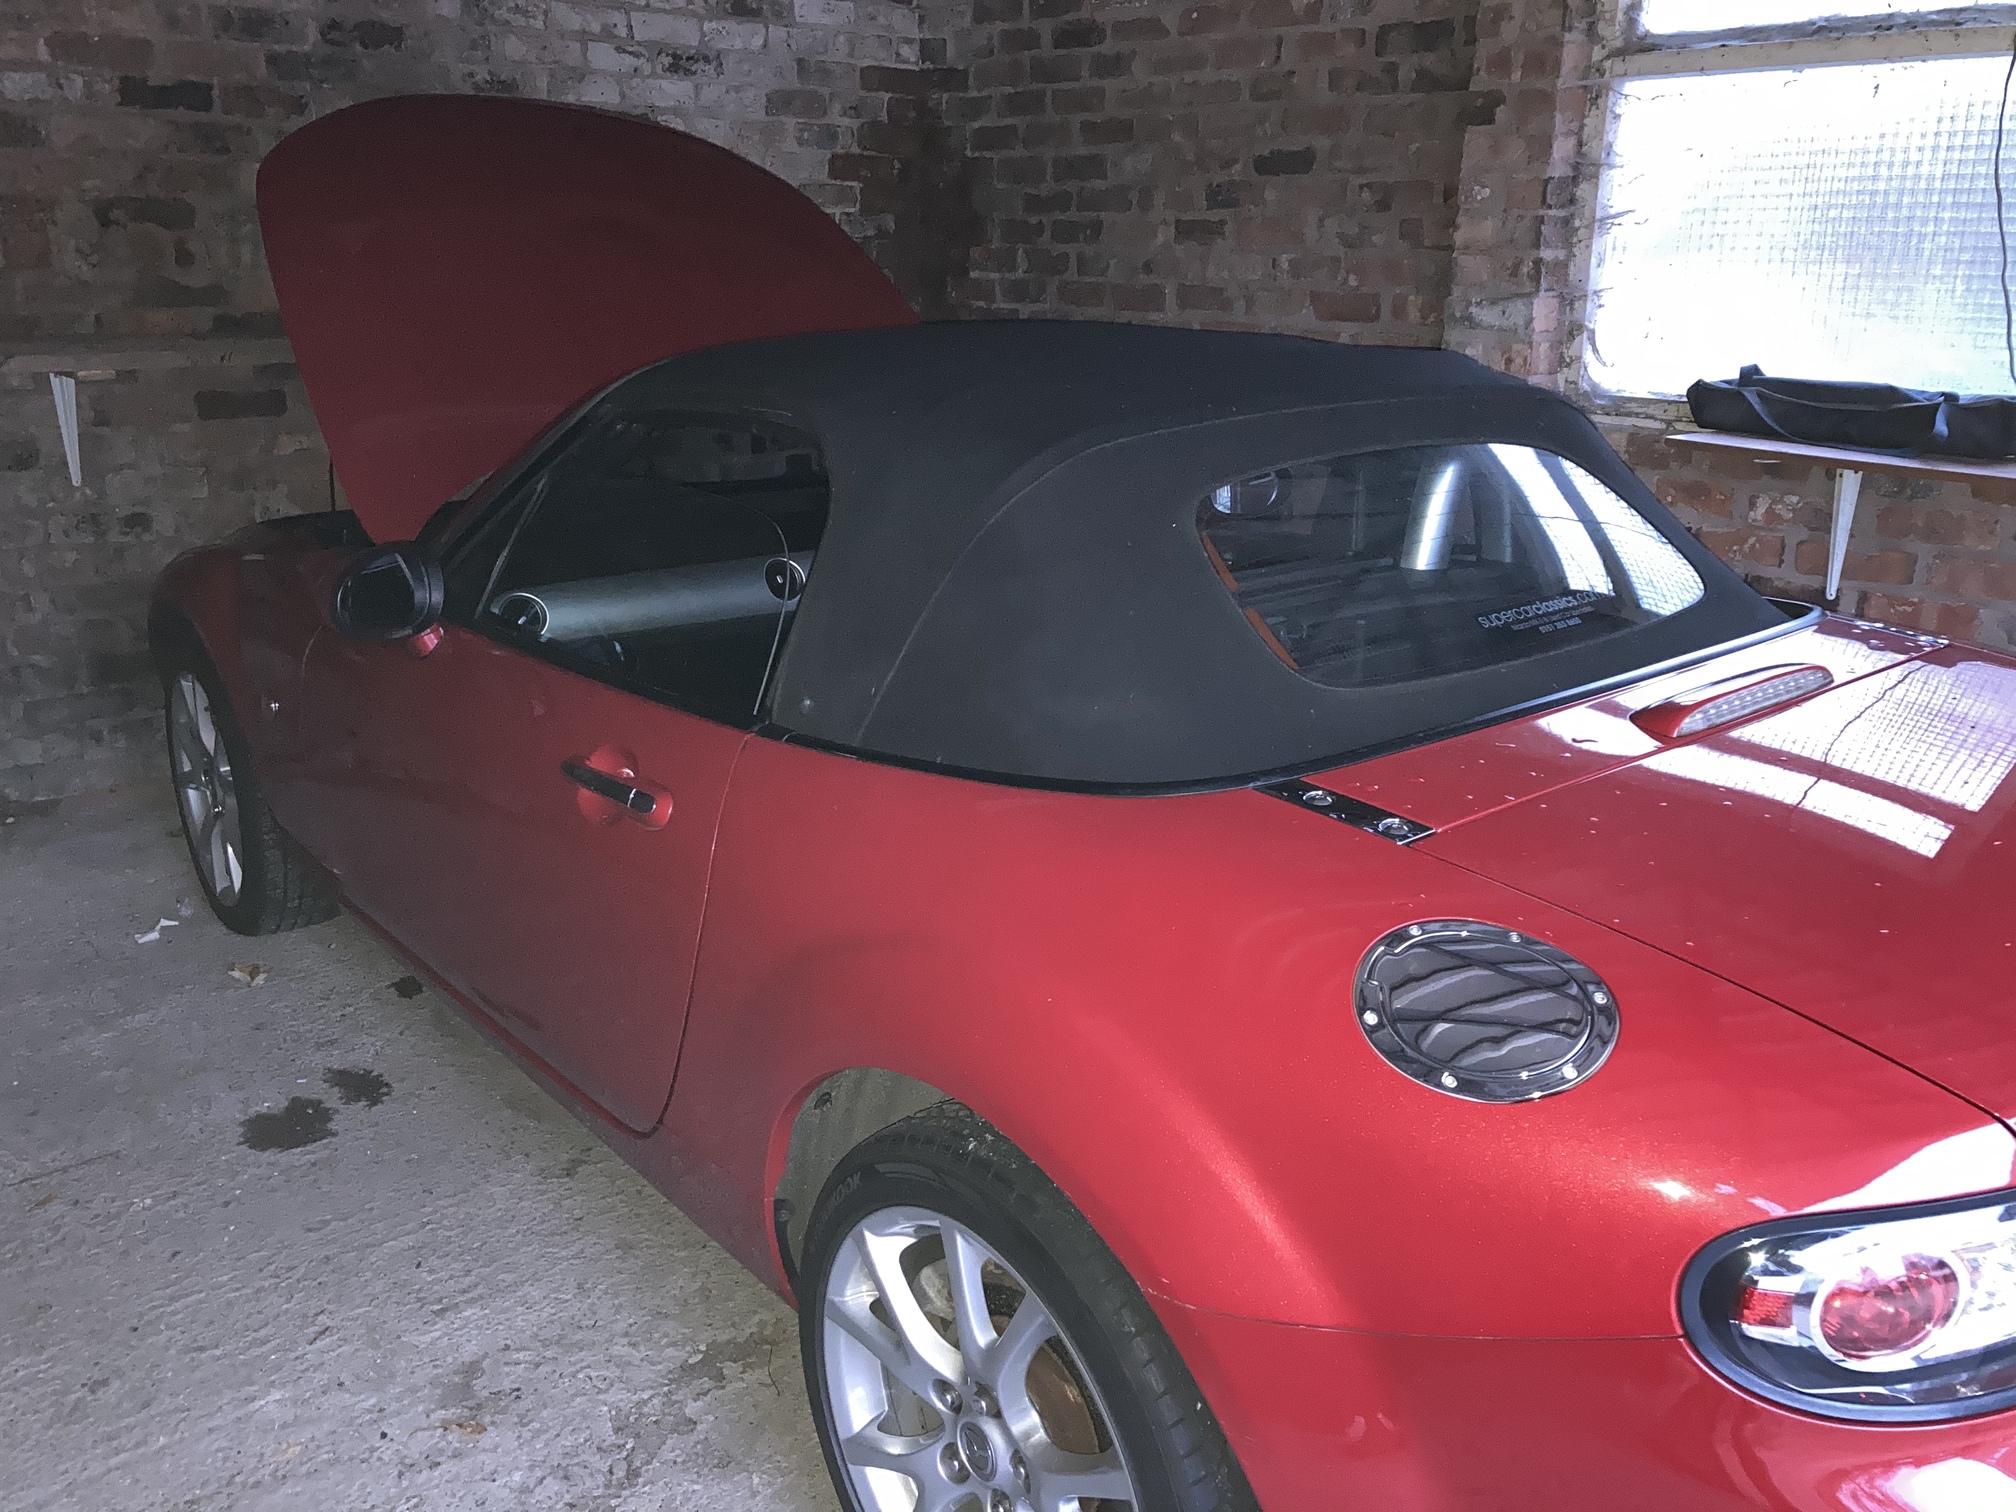
Today I finally bit the bullet and took Roxy (My Mk1 Eunos) into EMP Performance in St Albans, Hertfordshire for a custom built cat-back exhaust. Have to say I am really impressed with it so far. I went for a burnt blue tip which I think looks great and went for their “mid-sport plus” sound package (which they said was about a 6or7/10 on the loud spectrum). Unfortunately its been one of the wettest days in a while here so I haven’t had much of an opportunity to drive it, but from the drive back it sounded just right - not too loud that it would be annoying but still loud enough to have a good sporty note to it. Hopefully if its a bit dryer tomorrow I’ll take her out and try and get some good photos for you guys.
P.S. I know I tried to do a lot of research into custom exhausts and exhausts in general, and having dealt with EMP I have to say they were brilliant. If anyone wants any advice or a reference on them am happy to say they were great (+ a lifetime guarantee on the exhaust sounds brilliant).
1 Like
Fitted the Sound Tube Delete and Sequential Rear Indicators I planned to fit yesterday before the heavens opened 
Shout out to @Jeff_jthspace for his detailed posts on fitting both (ND - Sound Tube delete and ND - Sequential Indicators), made it a breeze 
Sound Tube Delete
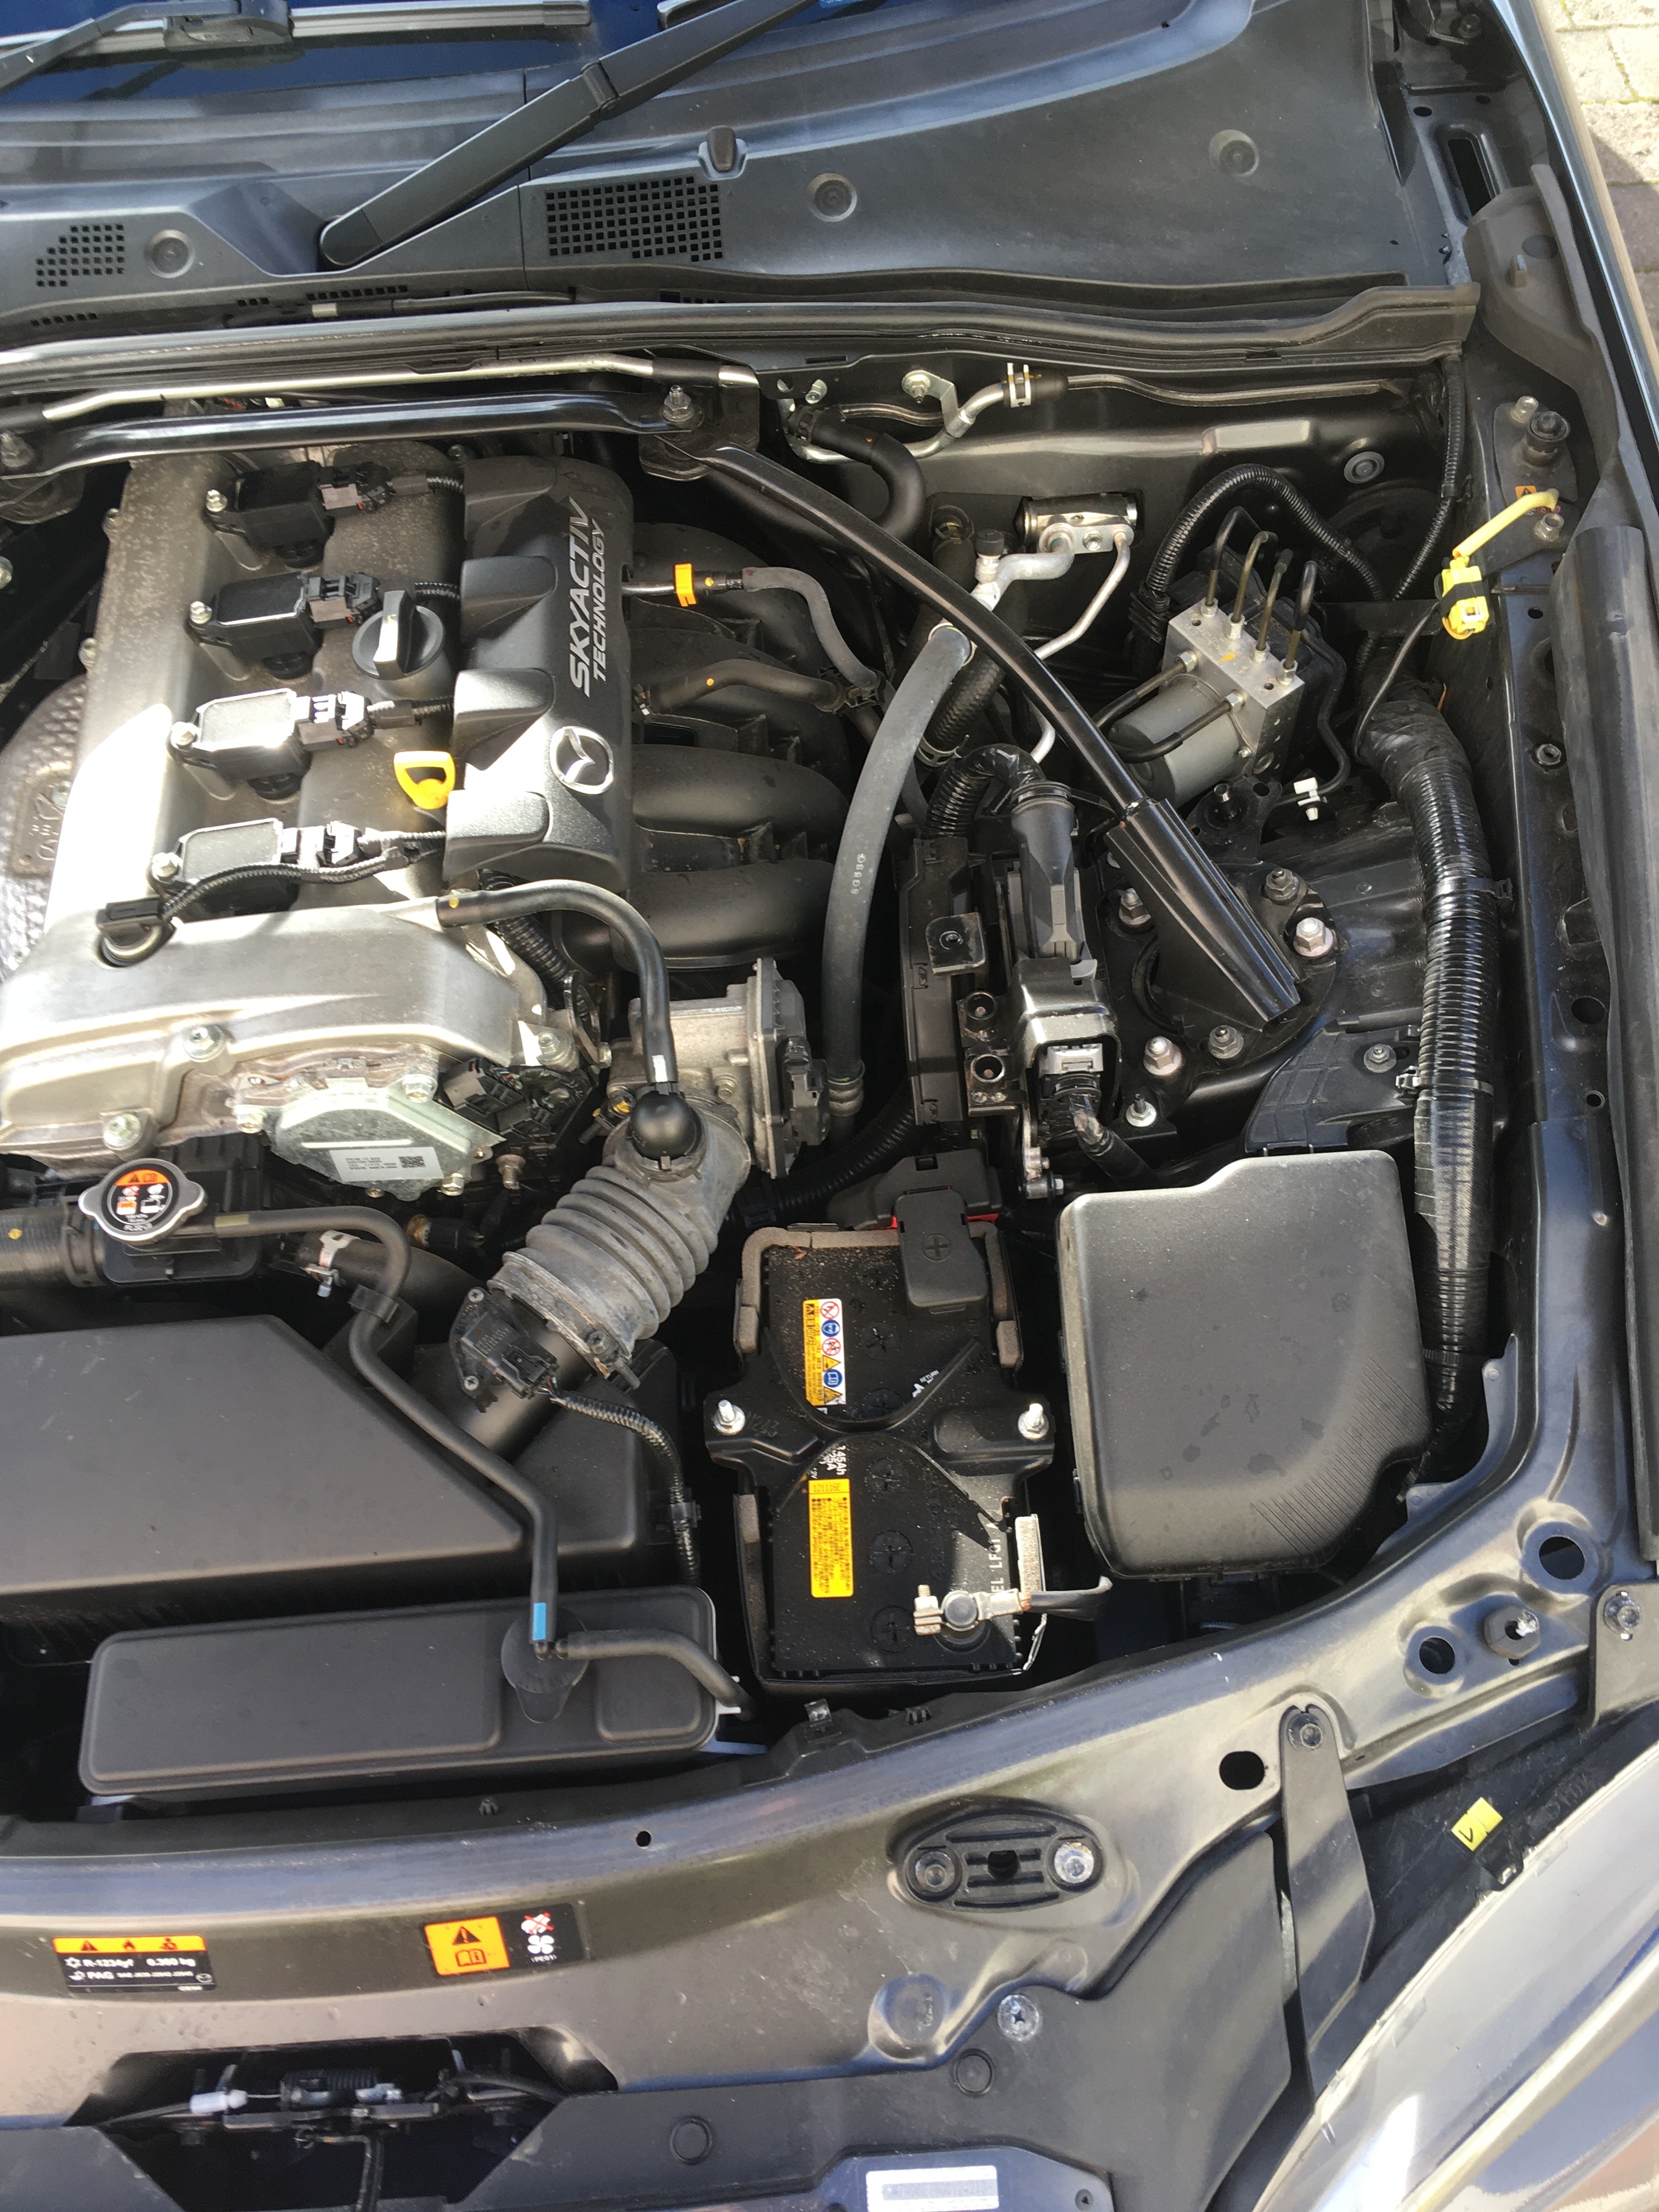
That first picture does make the battery look a bit exposed in the engine bay…
Sequential Rear Indicators
Comparison Video
After Video
There was one casualty though I did the right light unit first and it was quite stubborn which resulted in me catapulting the left unit off the car when I freed that on up 
I have the chip so will get around to gluing it at some point
1 Like
Shame about your flying n/s lamp but good you can repair it.
I happened to be looking at the Flyin Miata video yesterday and I think they mentioned not detaching the loom before taking the lamp out, that way it would check any unintended rapid egress of said lamp. Once the lamp is loose the loom is unclipped and lamp can be removed in a measured manner. https://youtu.be/GgtIF931RXE
Ian, you mentioned the battery looks a bit exposed. I thought mine did too so got a cover. In case you’re interested, I’ll try to add a link to a previous post with a picture of the cover and contact details if the supplier.
Thinking about it, that is exactly what I had done of the right lamp, last thing I removed was the grommet and wiring, guess I just got ahead of myself 
I have already sourced a battery cover, but thanks for the link, seems like your one is no longer listed ayway
1 Like
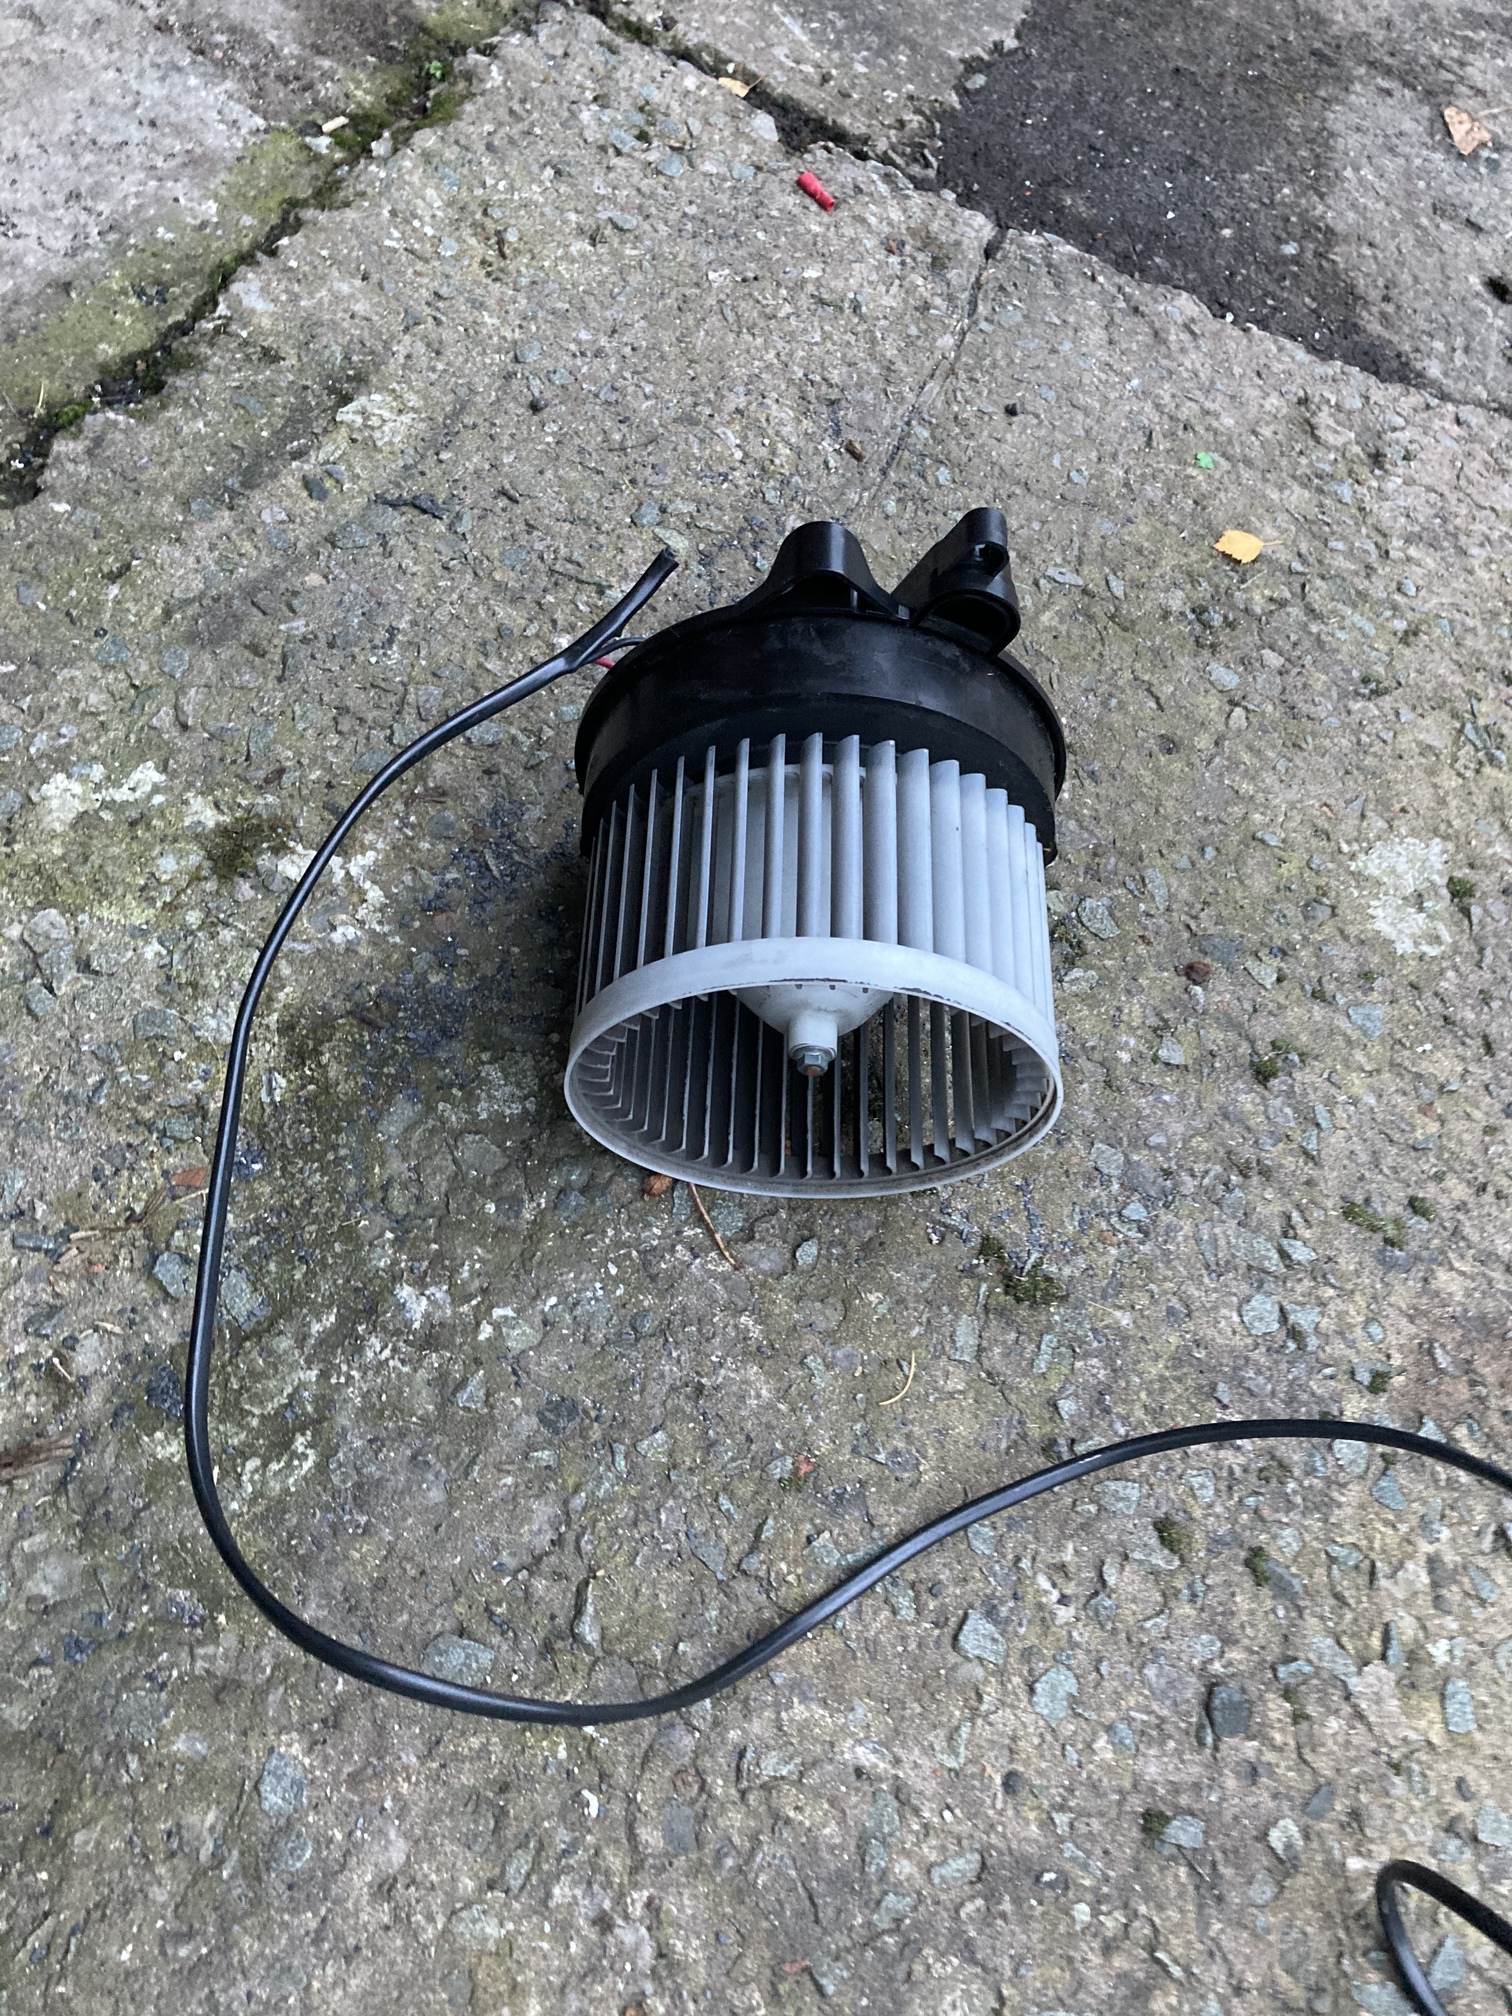
Finally got an hour this afternoon to investigate why the radio and blower wasn’t working, i’d had the radio working a couple of times but would shut down and ask for the code.
So i removed the blower motor and found it full of water, dried it as best as possible and ran it off a slave battery for 20 min, then patch lead it back to the car which restored all the blower speeds and radio functions.
Even though the carpet seemed to be dry i am suspecting water is getting to the fuse box and blower which is very close to the fuses.
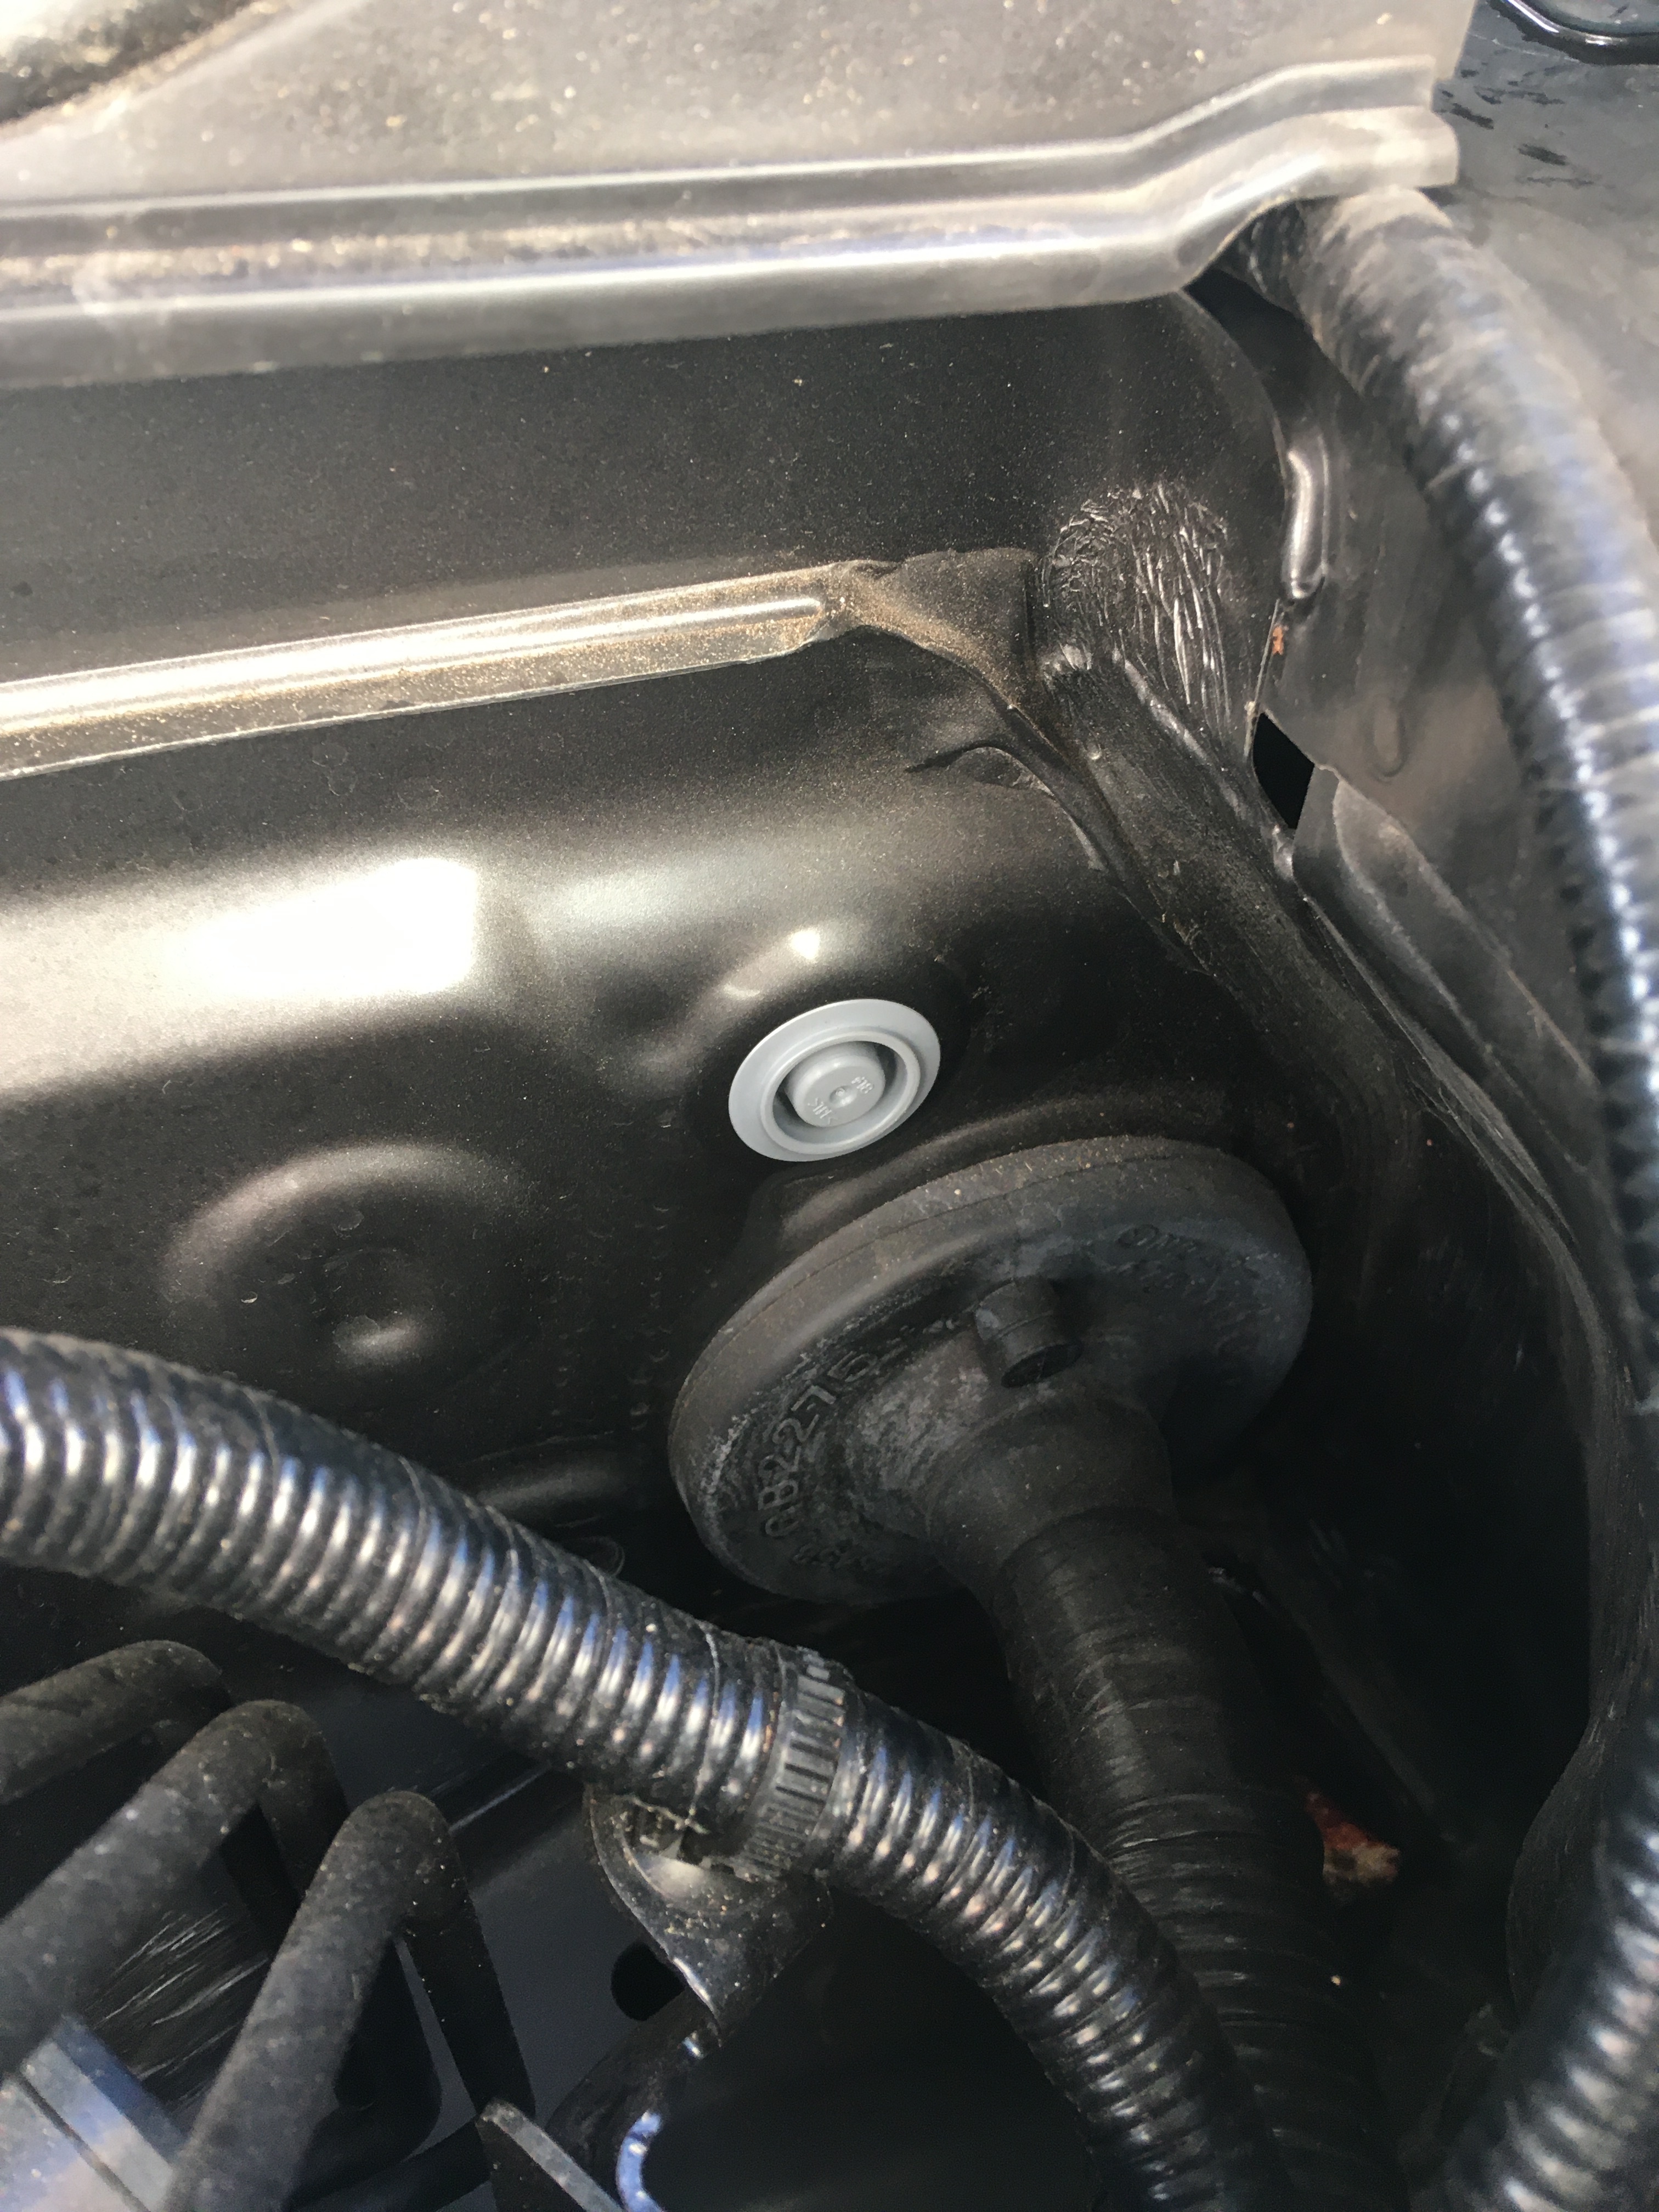
Next job on the list is scuttle grommets,
I’ve brought the fan assembly home, stripped, dried and lubricated.
As i test ran the fan off the car with a patch lead and all the fan speeds work i doubt the rectifier is faulty as a faulty rectifier would usually fail at full speed or not work at all.
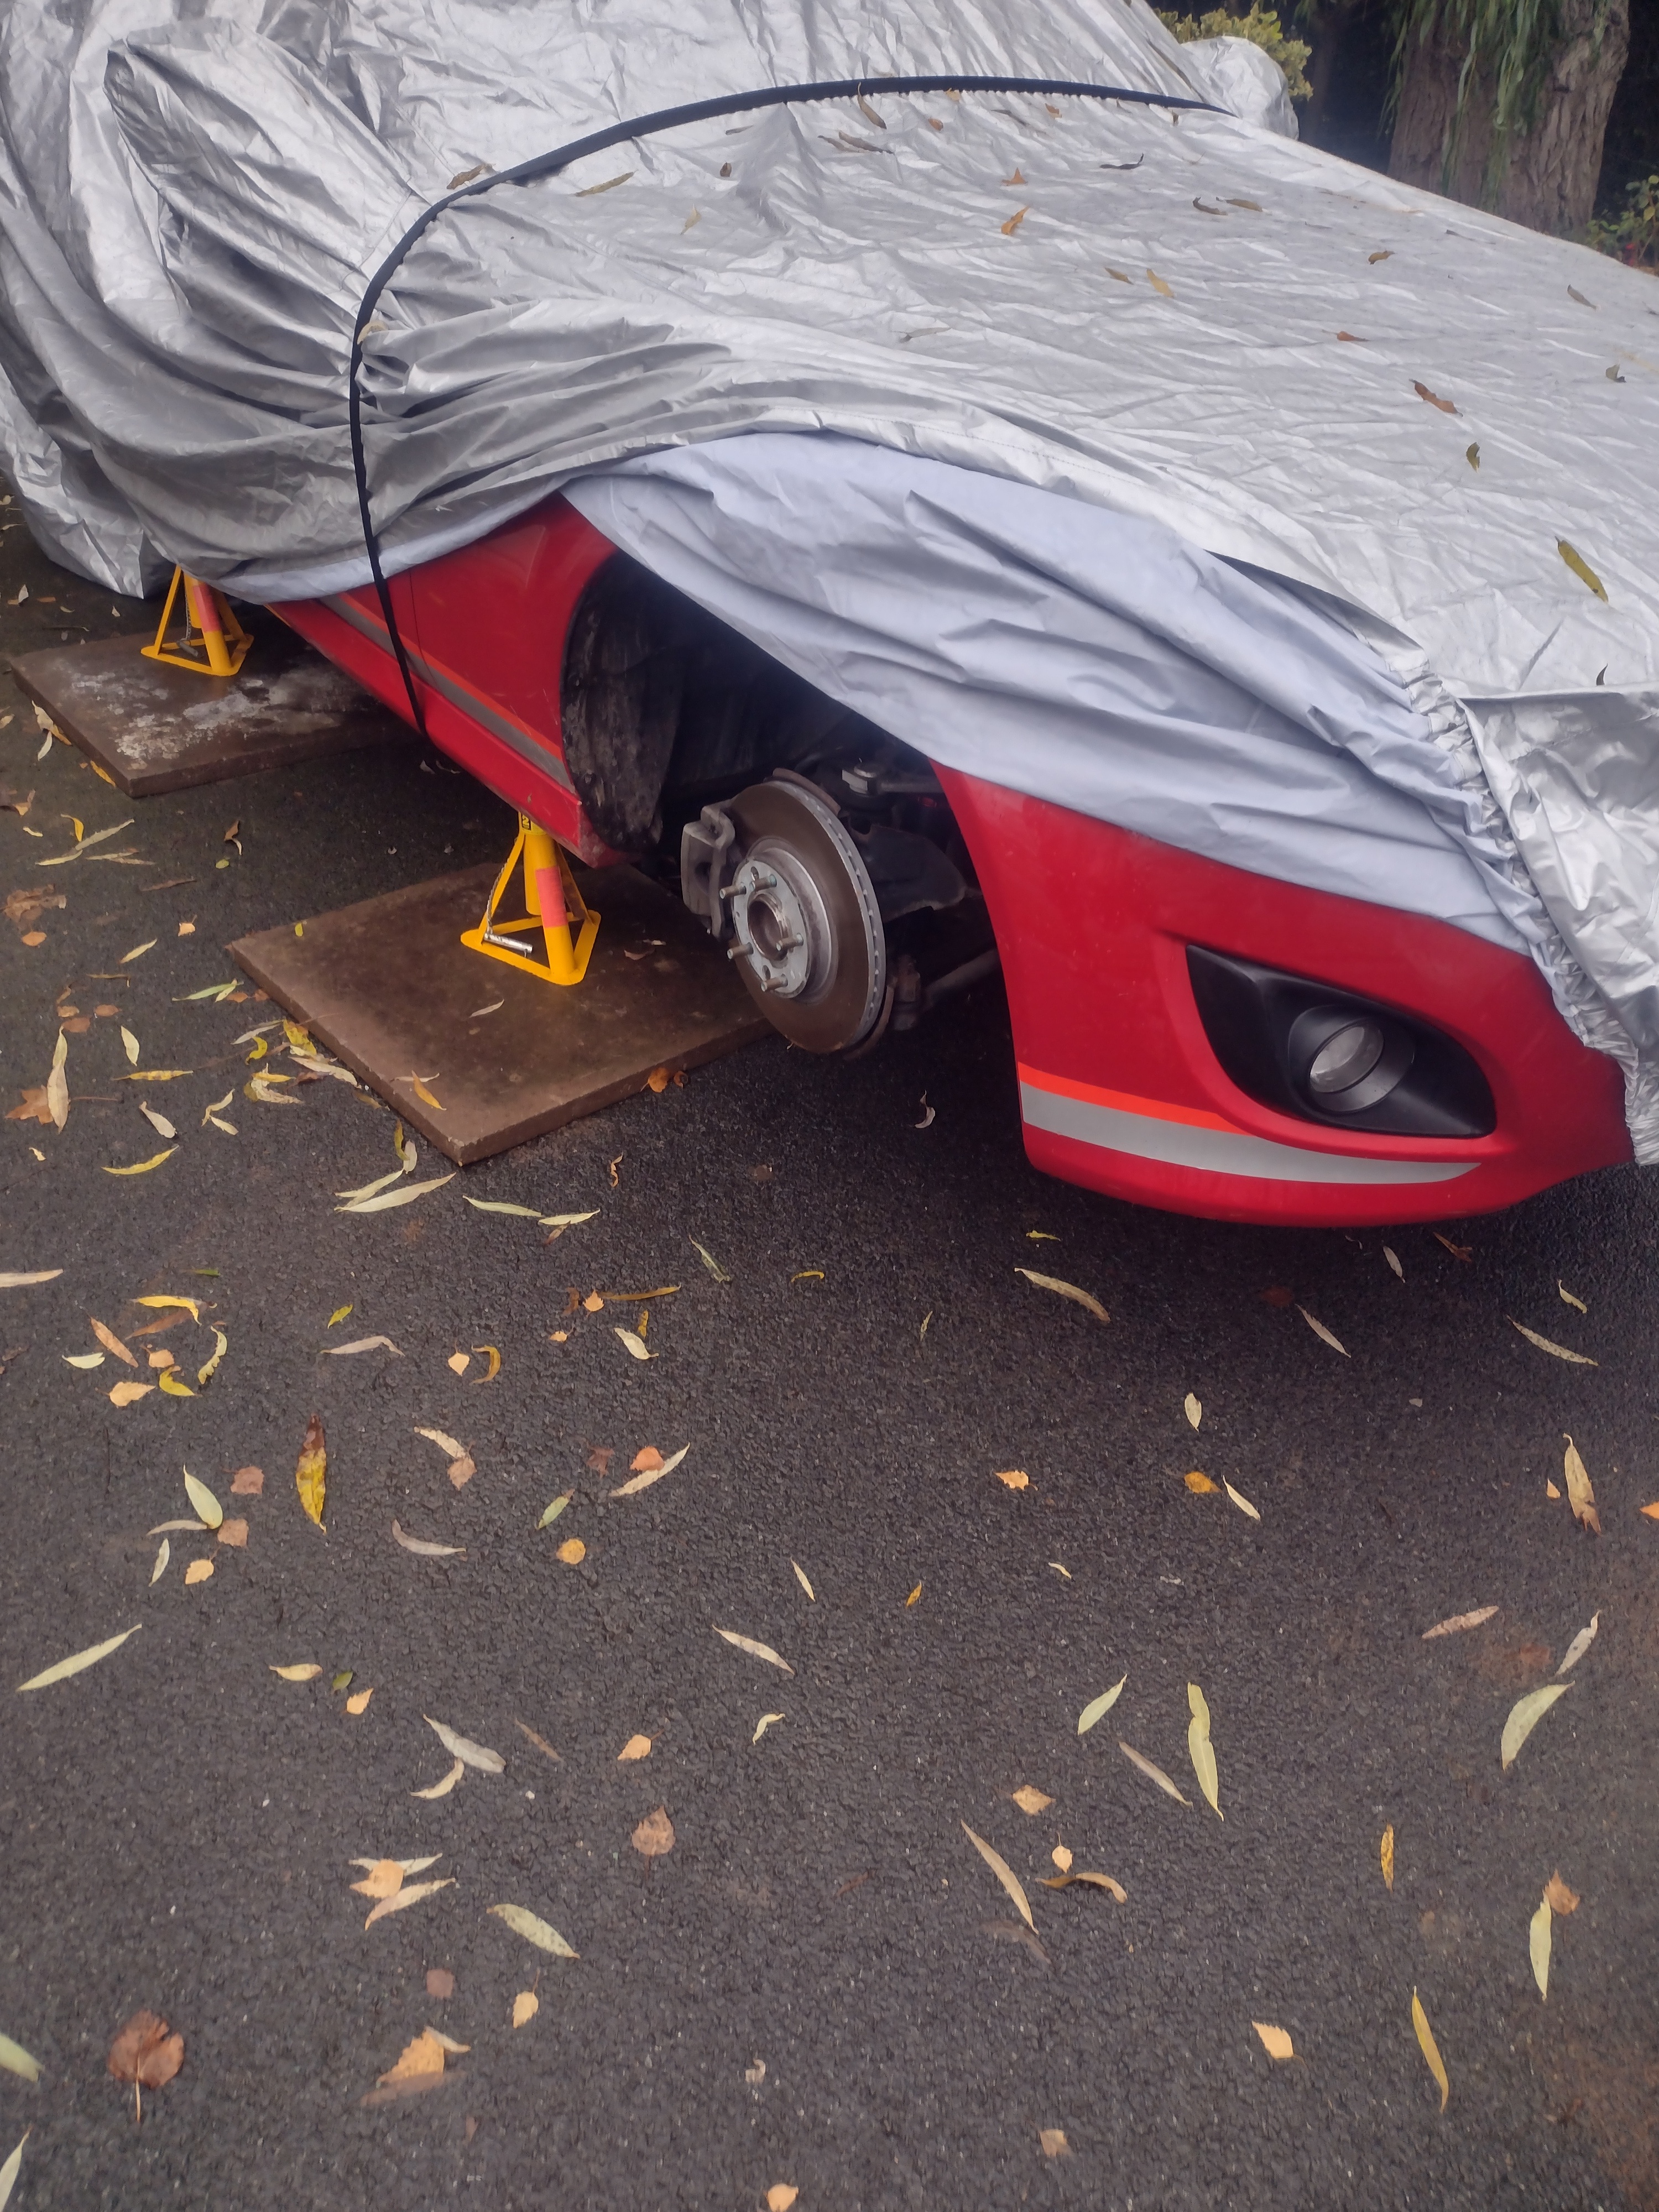
Pictures attached show a damp patch at the side of the door which is the water that came out of the blower body.

Oops sorry, not terribly helpful of me to offer a dud link for the battery cover Good you’ve already got one sorted.
Regards, Chris.
That will probably be the scuttle grommets. Get them sorted before your electrics get totally fried.
1 Like
Imho, don’t replace the inserts or ‘grommets’ with new ones.
The inserts themselves will be fine and in my view there is little point in replacing the biodegradable gaskets with more biodegradable gaskets.
Much better to simply seal the inserts with a bead of silicone sealant which may well last the life of the car.
You’ll need to remove the remains of the old gaskets and get everything clean.
Without gaskets, the inserts will be a loose fit in the scuttle so you will need to lift the inserts and run a neat bead between the inserts and the top face of the scuttle along all four sides. Do not leave the inserts in place and seal around the outside or the seal will break when you tighten the scuttle cover screws. You must lift them first and seal underneath.
Allow some time for the sealant to cure before reassembly.
3 Likes